

This isn’t anything new and not my idea or innovation, but it is, however a great way to improve the nebari and roots on your bonsai. What is “nebari”, you ask. Well for those who aren’t familiar with the term, it is a Japanese term, and simply means “the surface roots flaring from the base of the tree”. Using “nebari” just makes it easier to spit all of that out! Having a nice root flare adds balance to your tree. Using this technique will drastically improve your roots and flare.
First, the board doesn’t necessarily have to be a board, it can be anything that is flat and strong enough to keep the roots growing horizontally. In the beginning, I used ceramic tiles but found them to be cumbersome to use and if you want to affix the tree to it, you must drill a hole through it. Difficult and time consuming. I later used boards, scrap 1x6s, 1x10s, or ¾ inch plywood, this was easier to work with but in my wet climate, we are one of the rainiest cities in the U.S., the wood quickly rotted and sometimes did not last a whole season. I now use plastic cutting boards, you can get the on the cheap at the dollar store, or for a little more at the Evil Empire – Walmart. My favorite ones come from Ikea, if you are lucky enough to have one in your area, you can get some nice thick ones for a good price. The best thing about them is they are reusable.
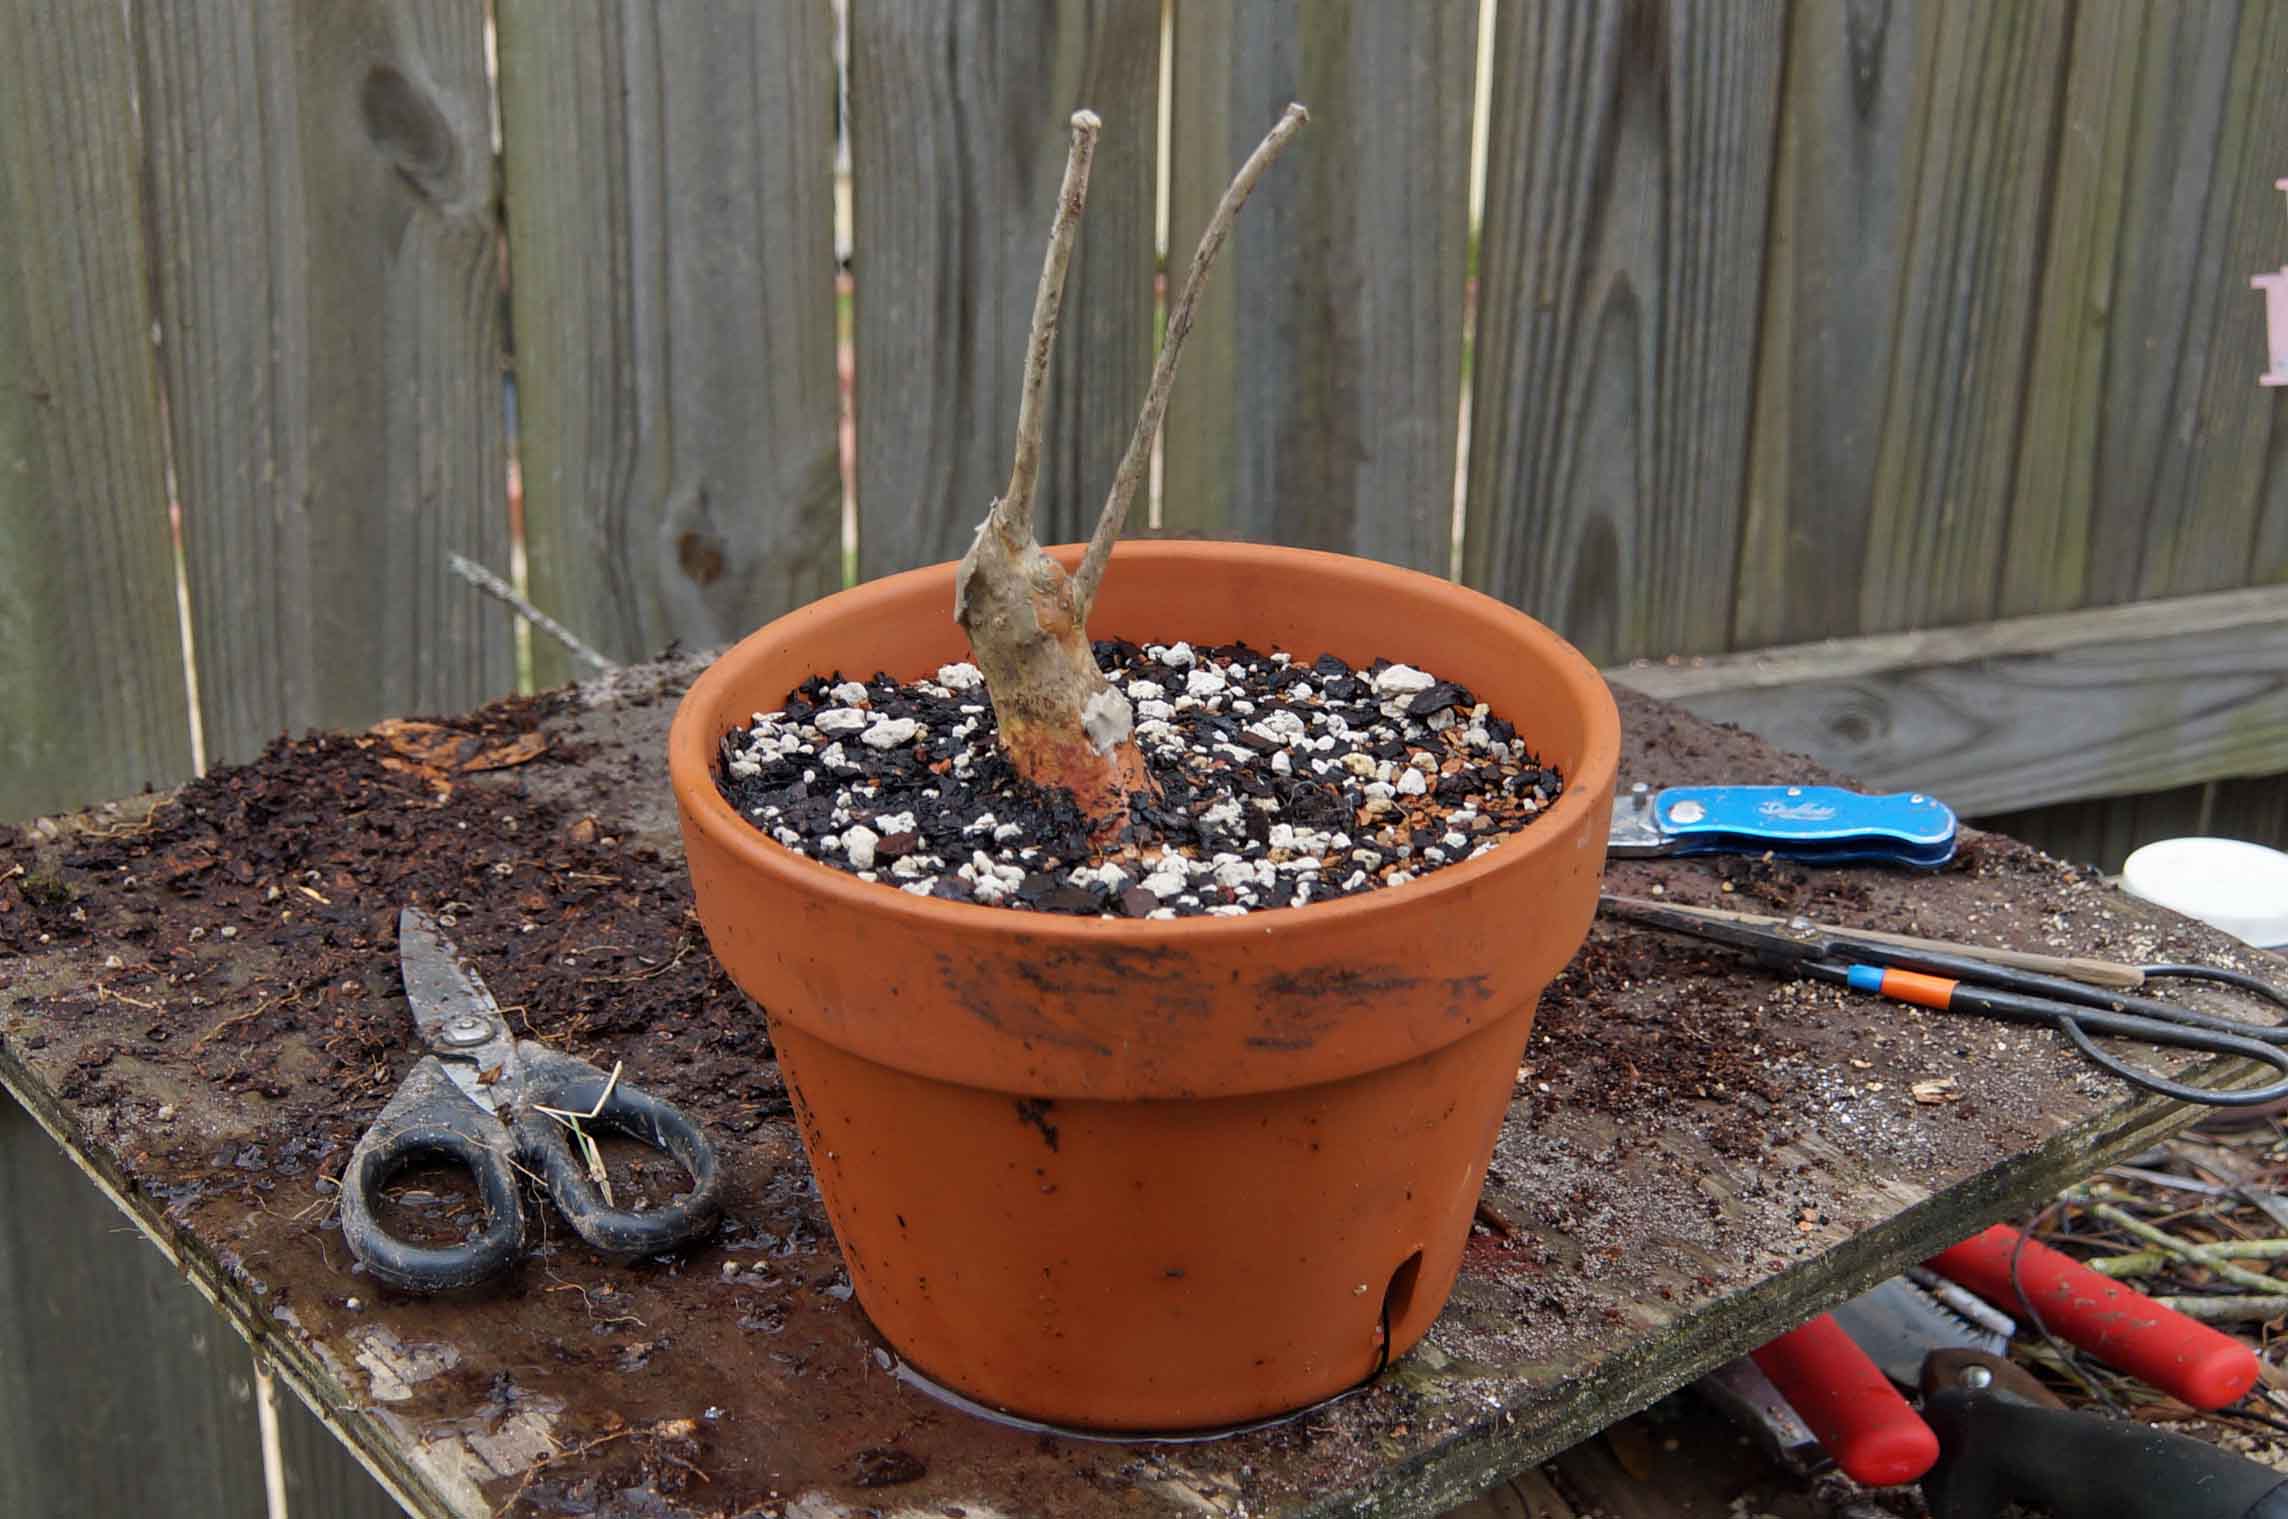
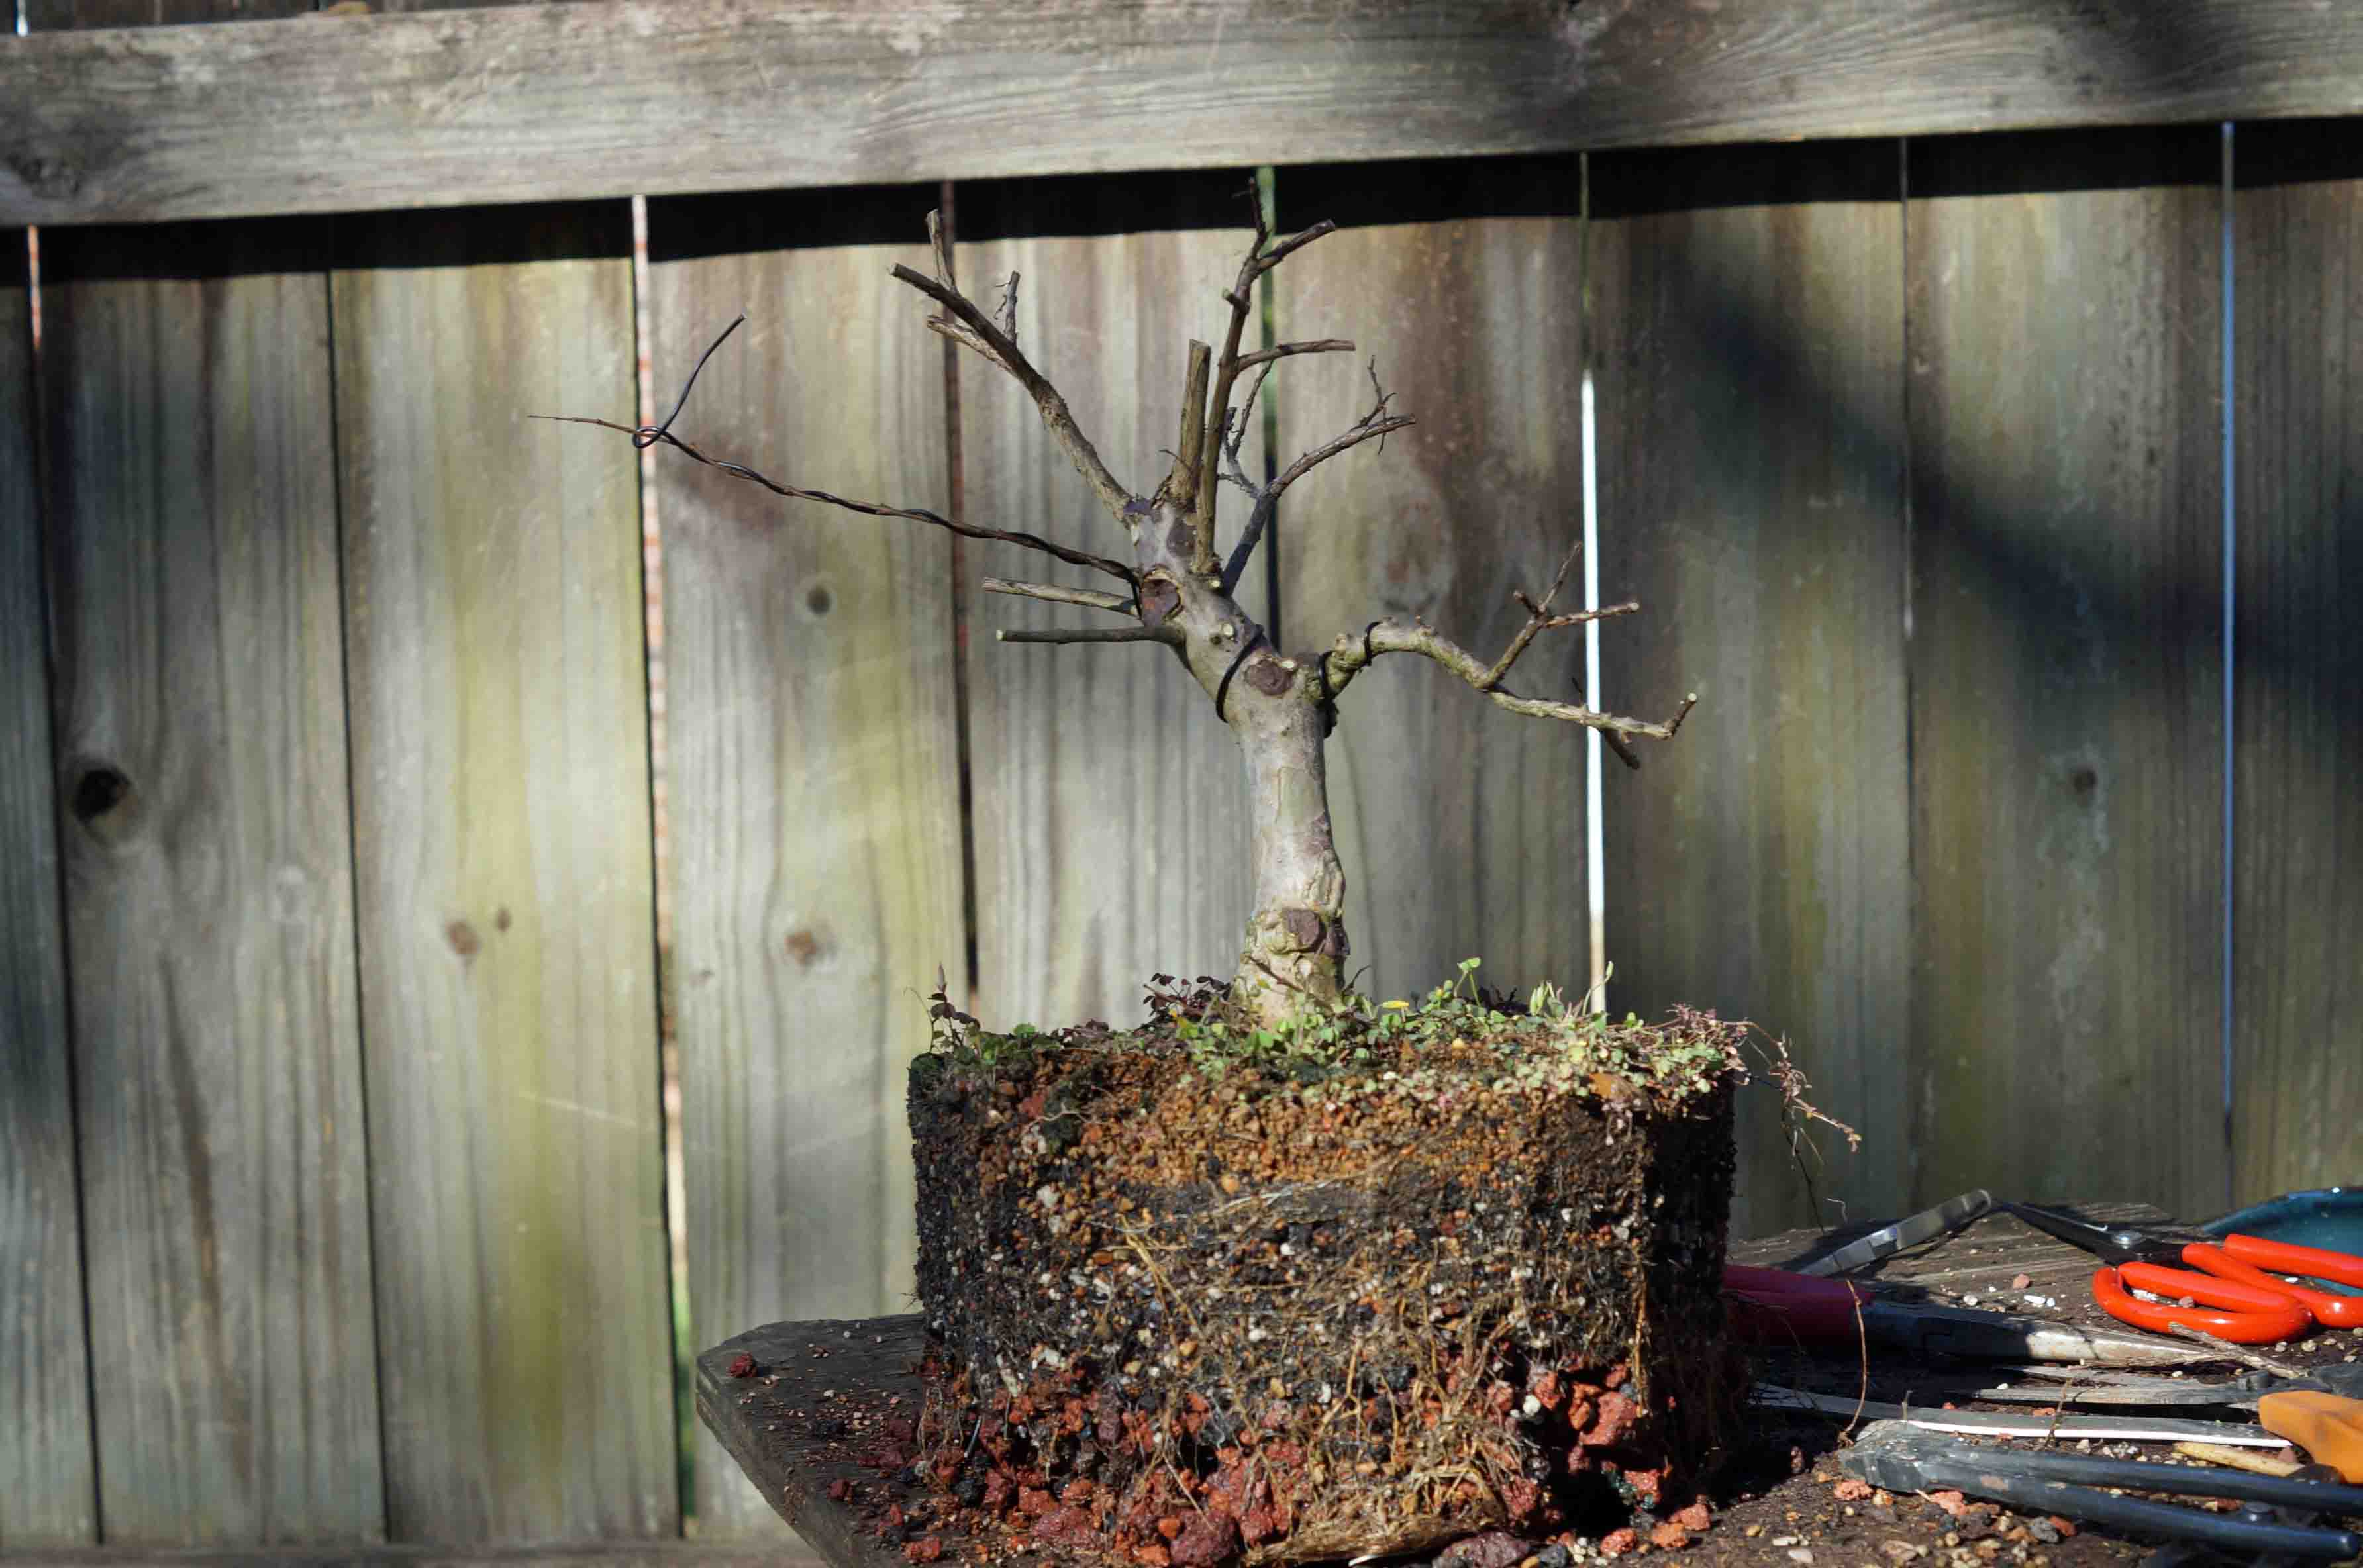
Here is the technique demonstrated on a couple of dwarf crepe myrtles, “Chickasaw” variety, that I picked up at a nursery that had gone out of business. They were both over six feet tall and were cut down to less than 10 inches. The process started in March of 2016, here is one of them before the work started:
First, the board doesn’t necessarily have to be a board, it can be anything that is flat and strong enough to keep the roots growing horizontally. In the beginning, I used ceramic tiles but found them to be cumbersome to use and if you want to affix the tree to it, you must drill a hole through it. Difficult and time consuming. I later used boards, scrap 1x6s, 1x10s, or ¾ inch plywood, this was easier to work with but in my wet climate, we are one of the rainiest cities in the U.S., the wood quickly rotted and sometimes did not last a whole season. I now use plastic cutting boards, you can get the on the cheap at the dollar store, or for a little more at the Evil Empire – Walmart. My favorite ones come from Ikea, if you are lucky enough to have one in your area, you can get some nice thick ones for a good price. The best thing about them is they are reusable.
Here is the technique demonstrated on a couple of dwarf crepe myrtles, “Chickasaw” variety, that I picked up at a nursery that had gone out of business. They were both over six feet tall and were cut down to less than 10 inches. The process started in March of 2016, here is one of them before the work started:
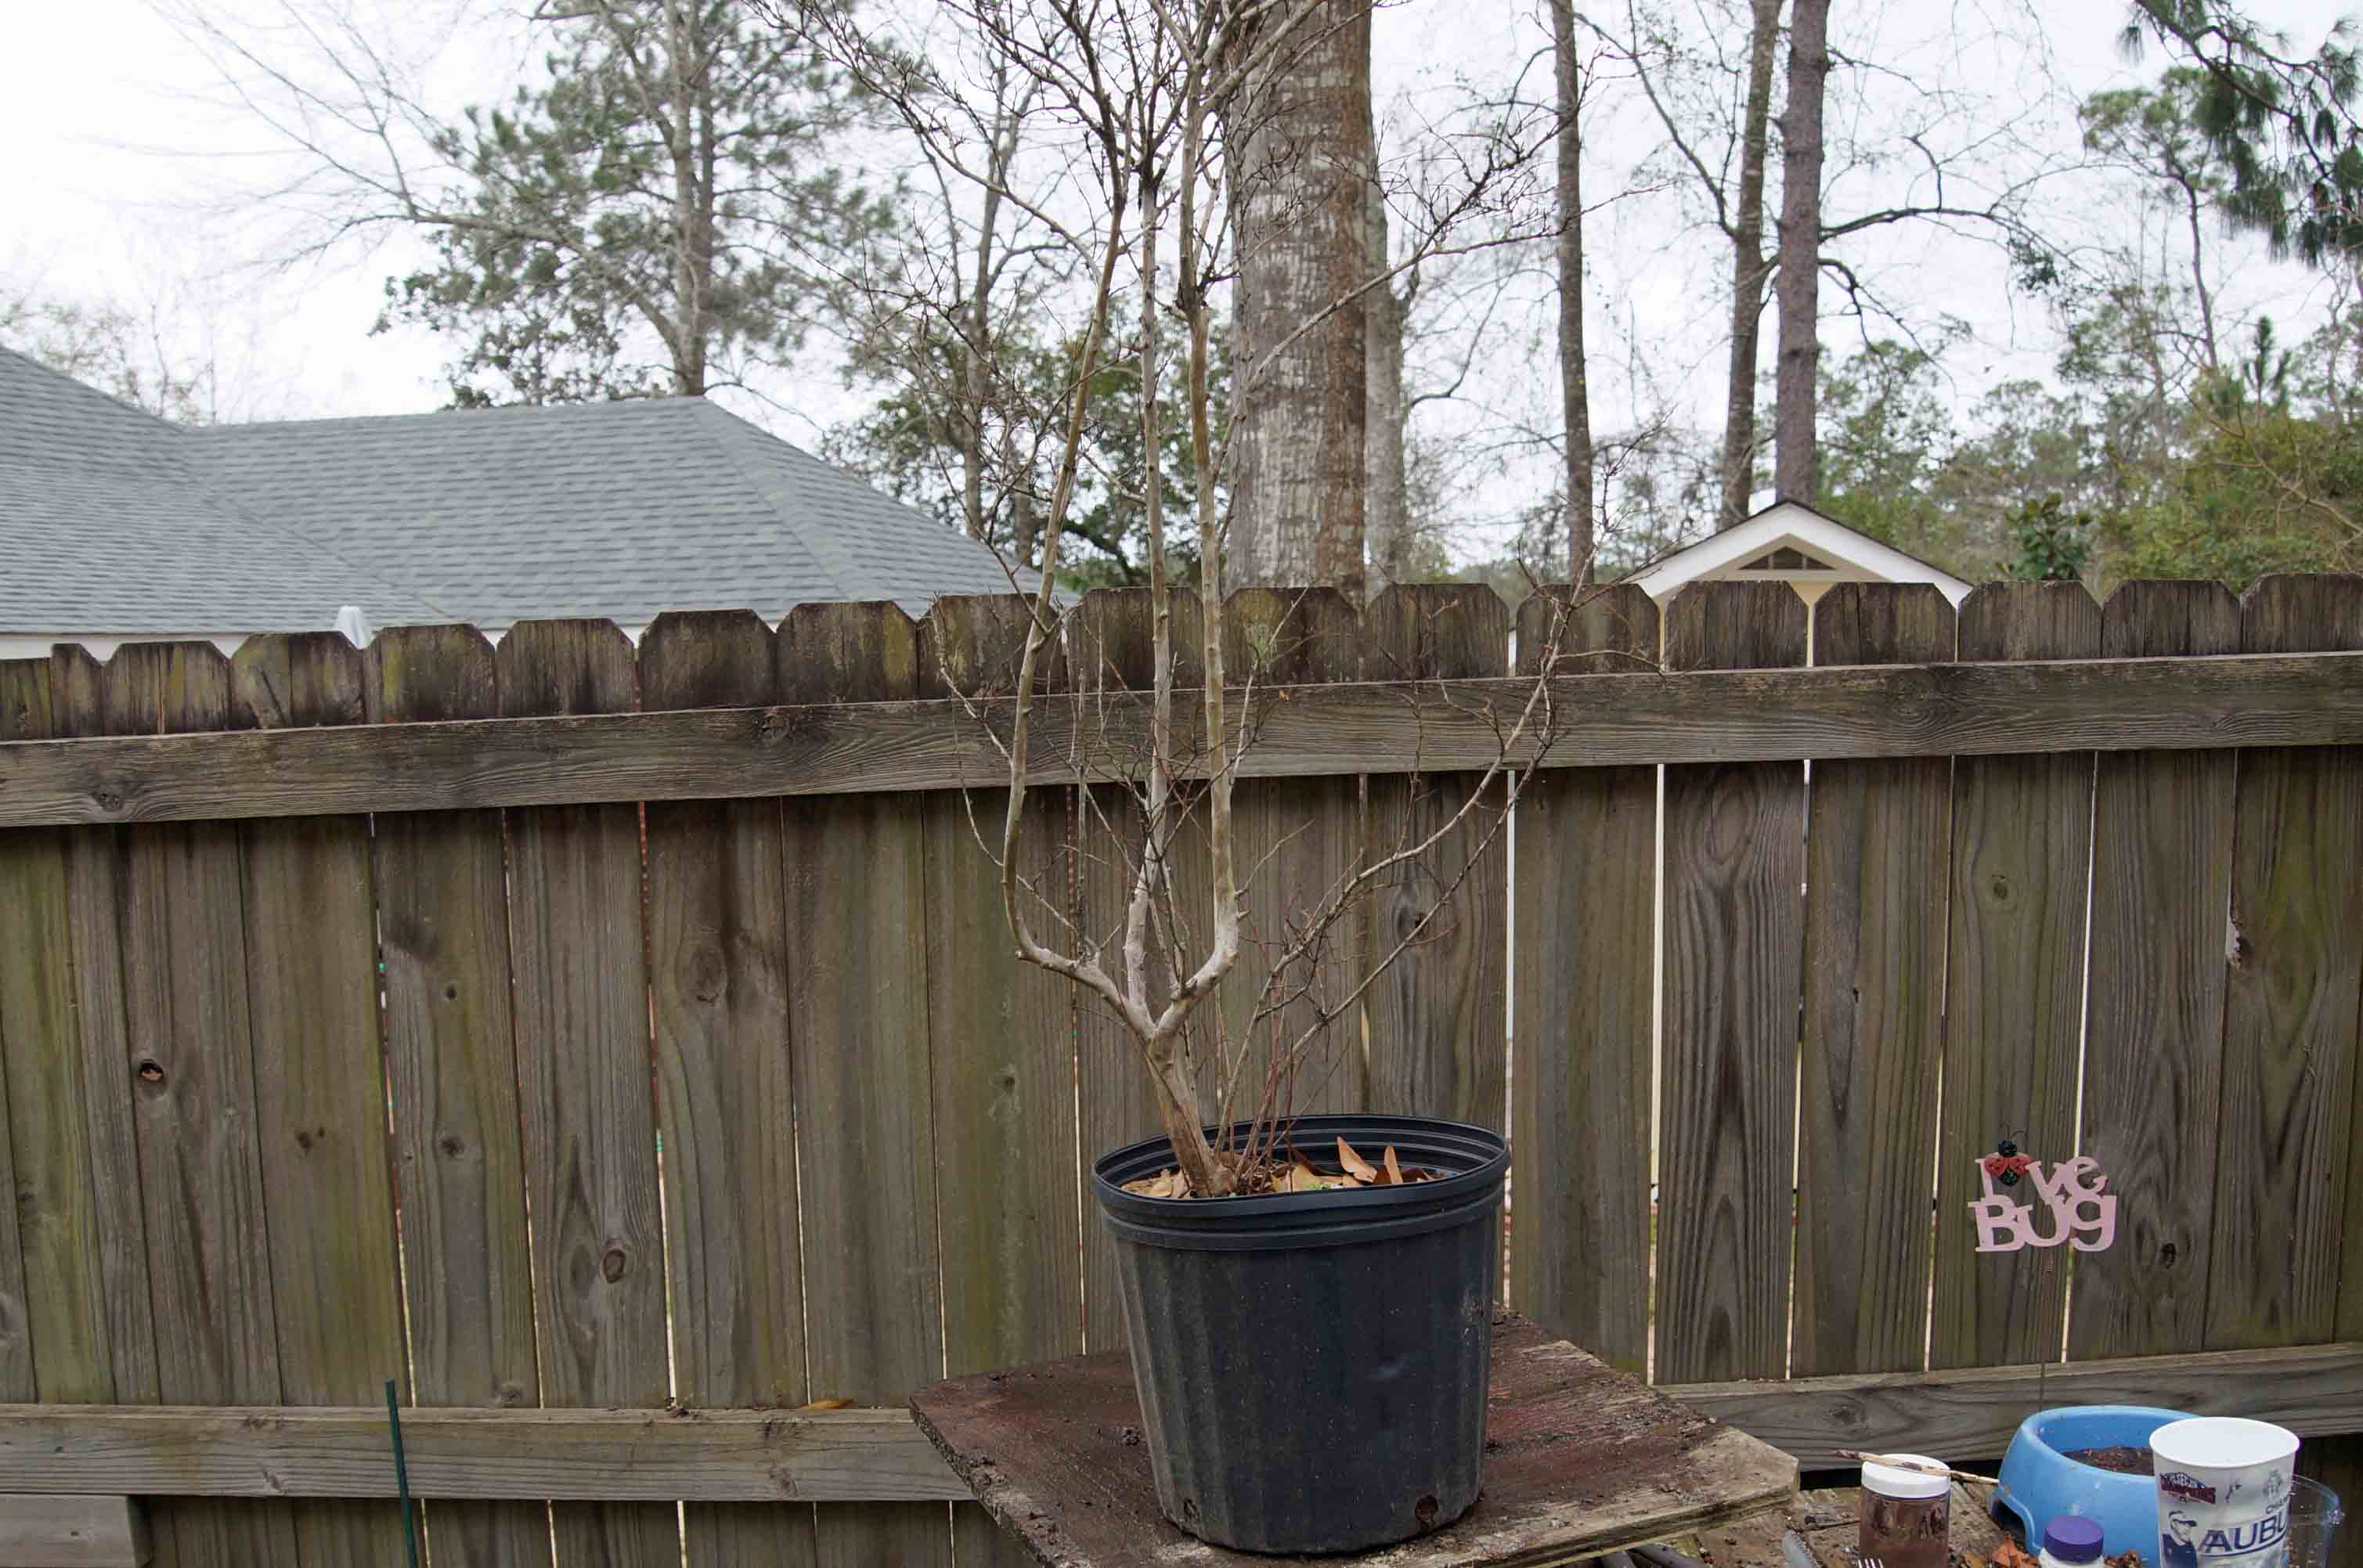
I used the same technique on both and will start on this one, I started by reducing it some to make more manageable. This is not the final height, just a rough chop job to make it more manageable.

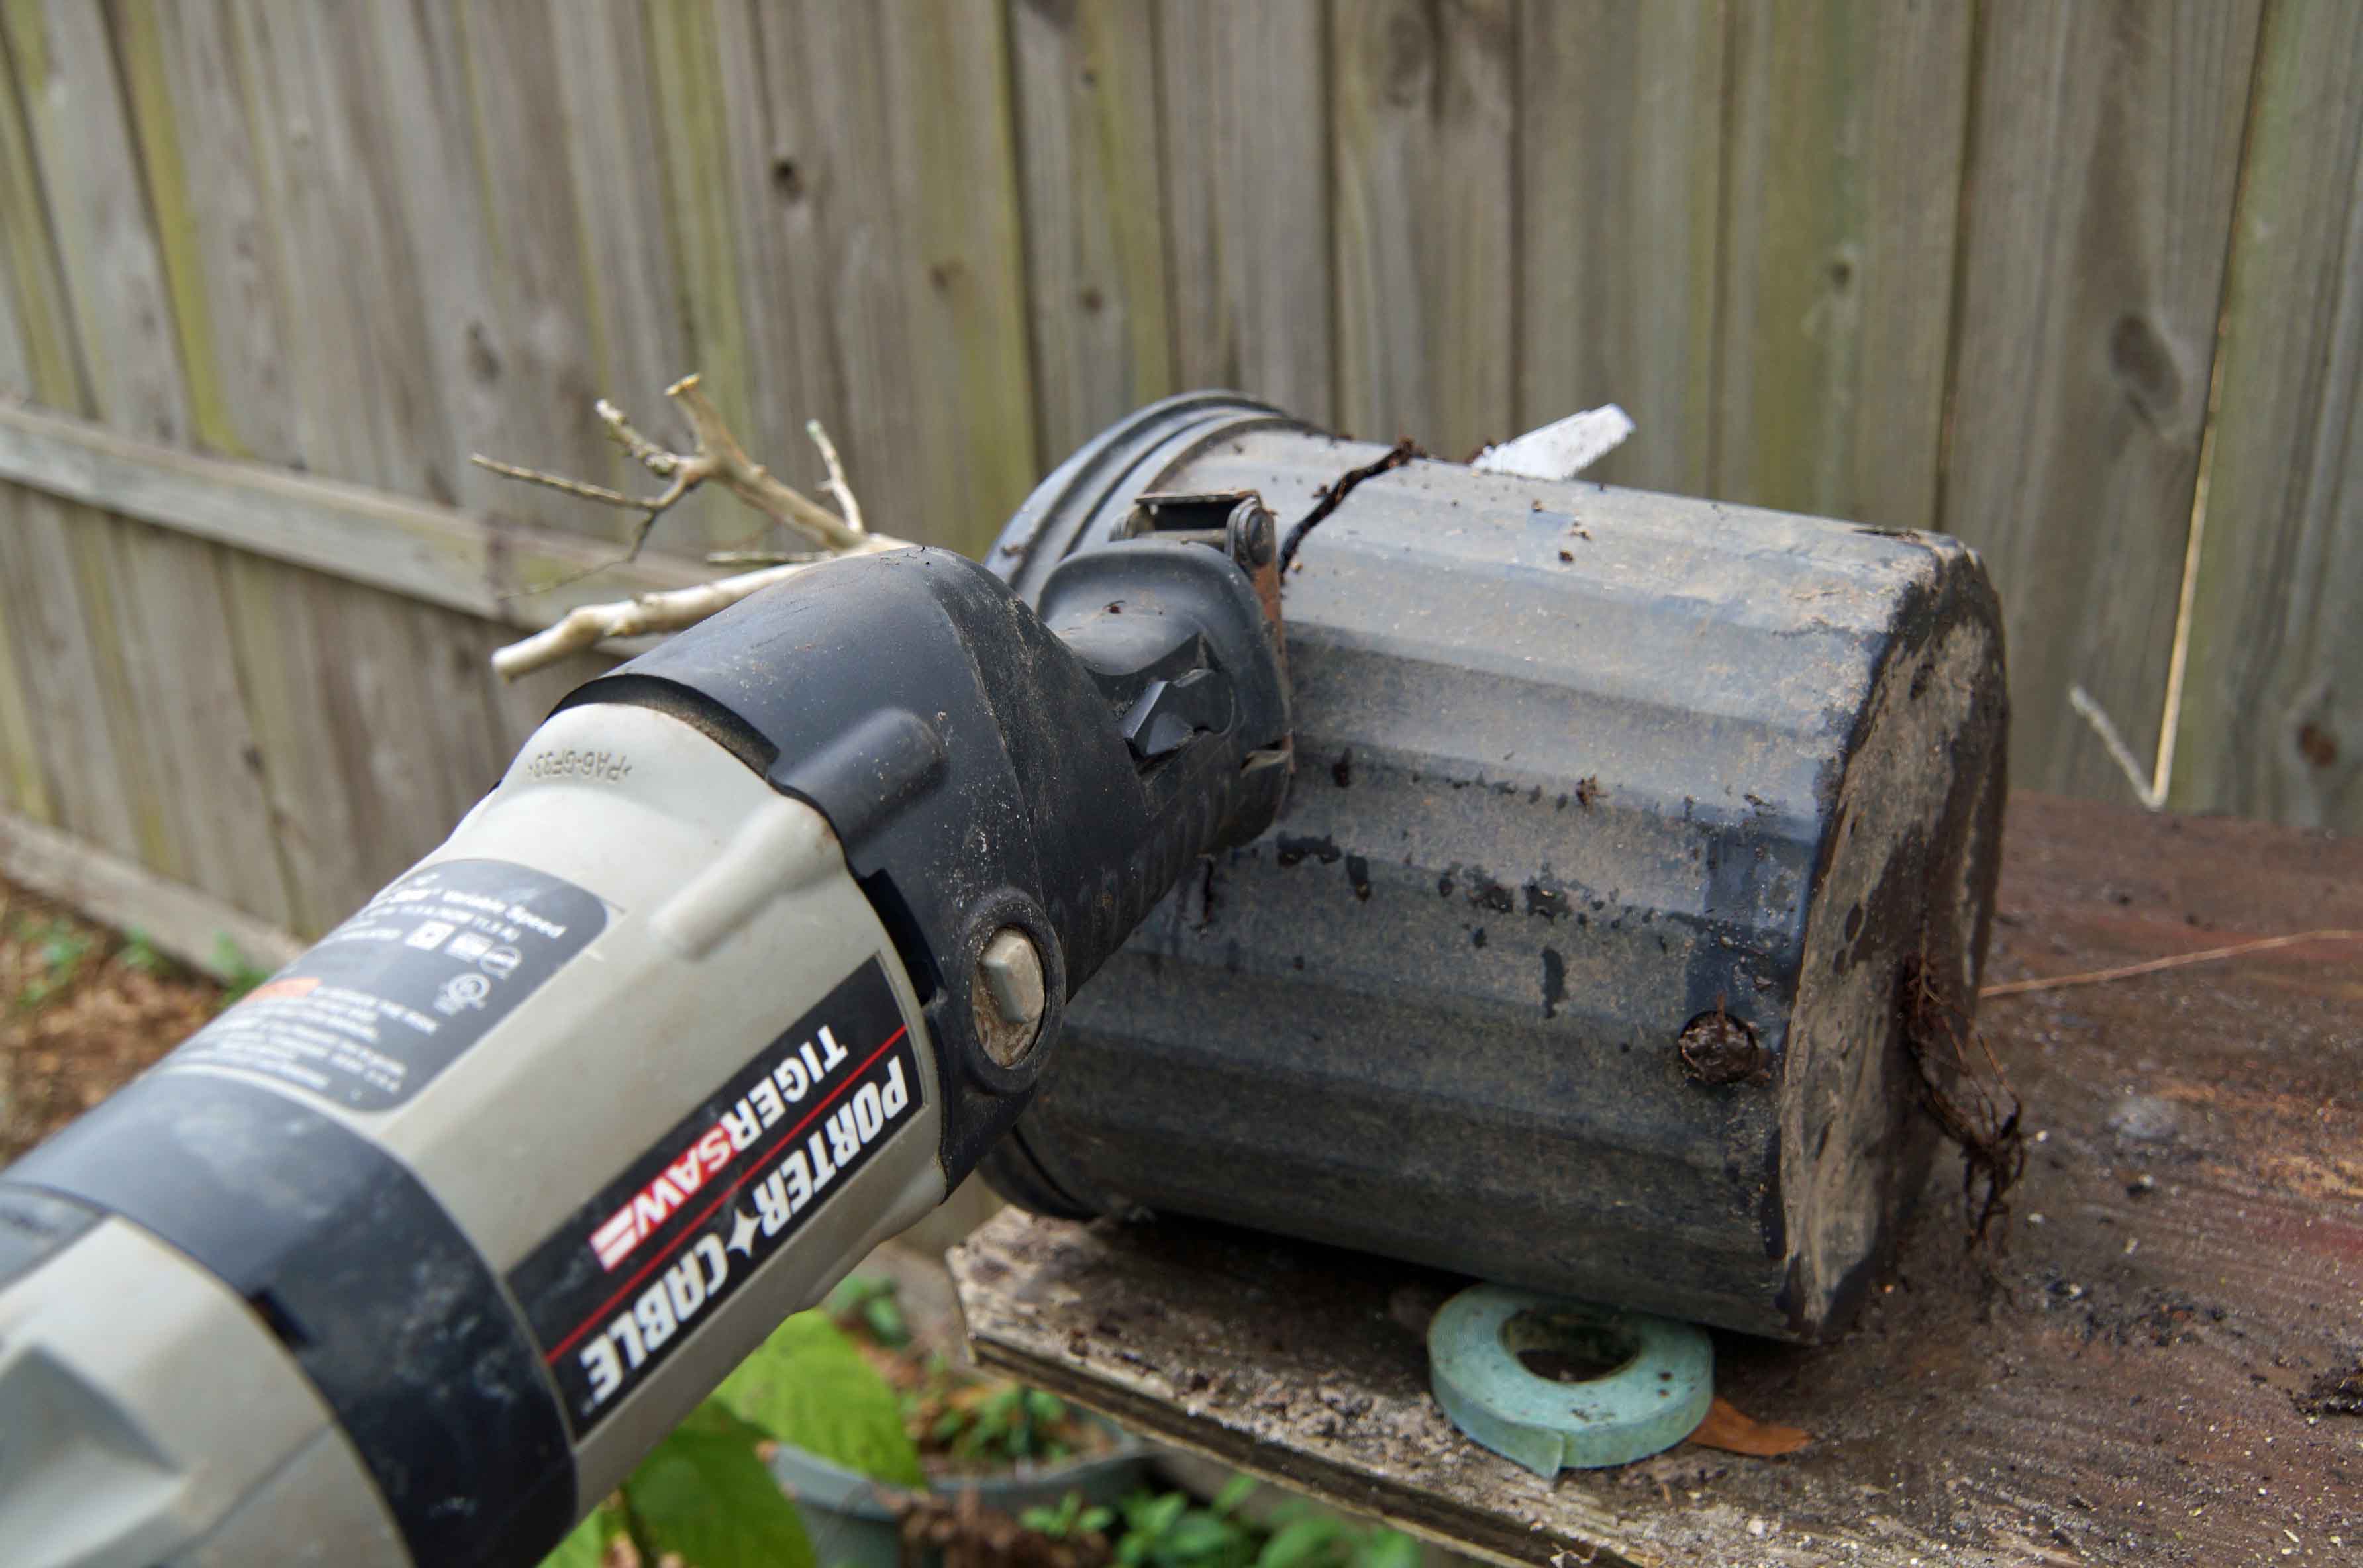
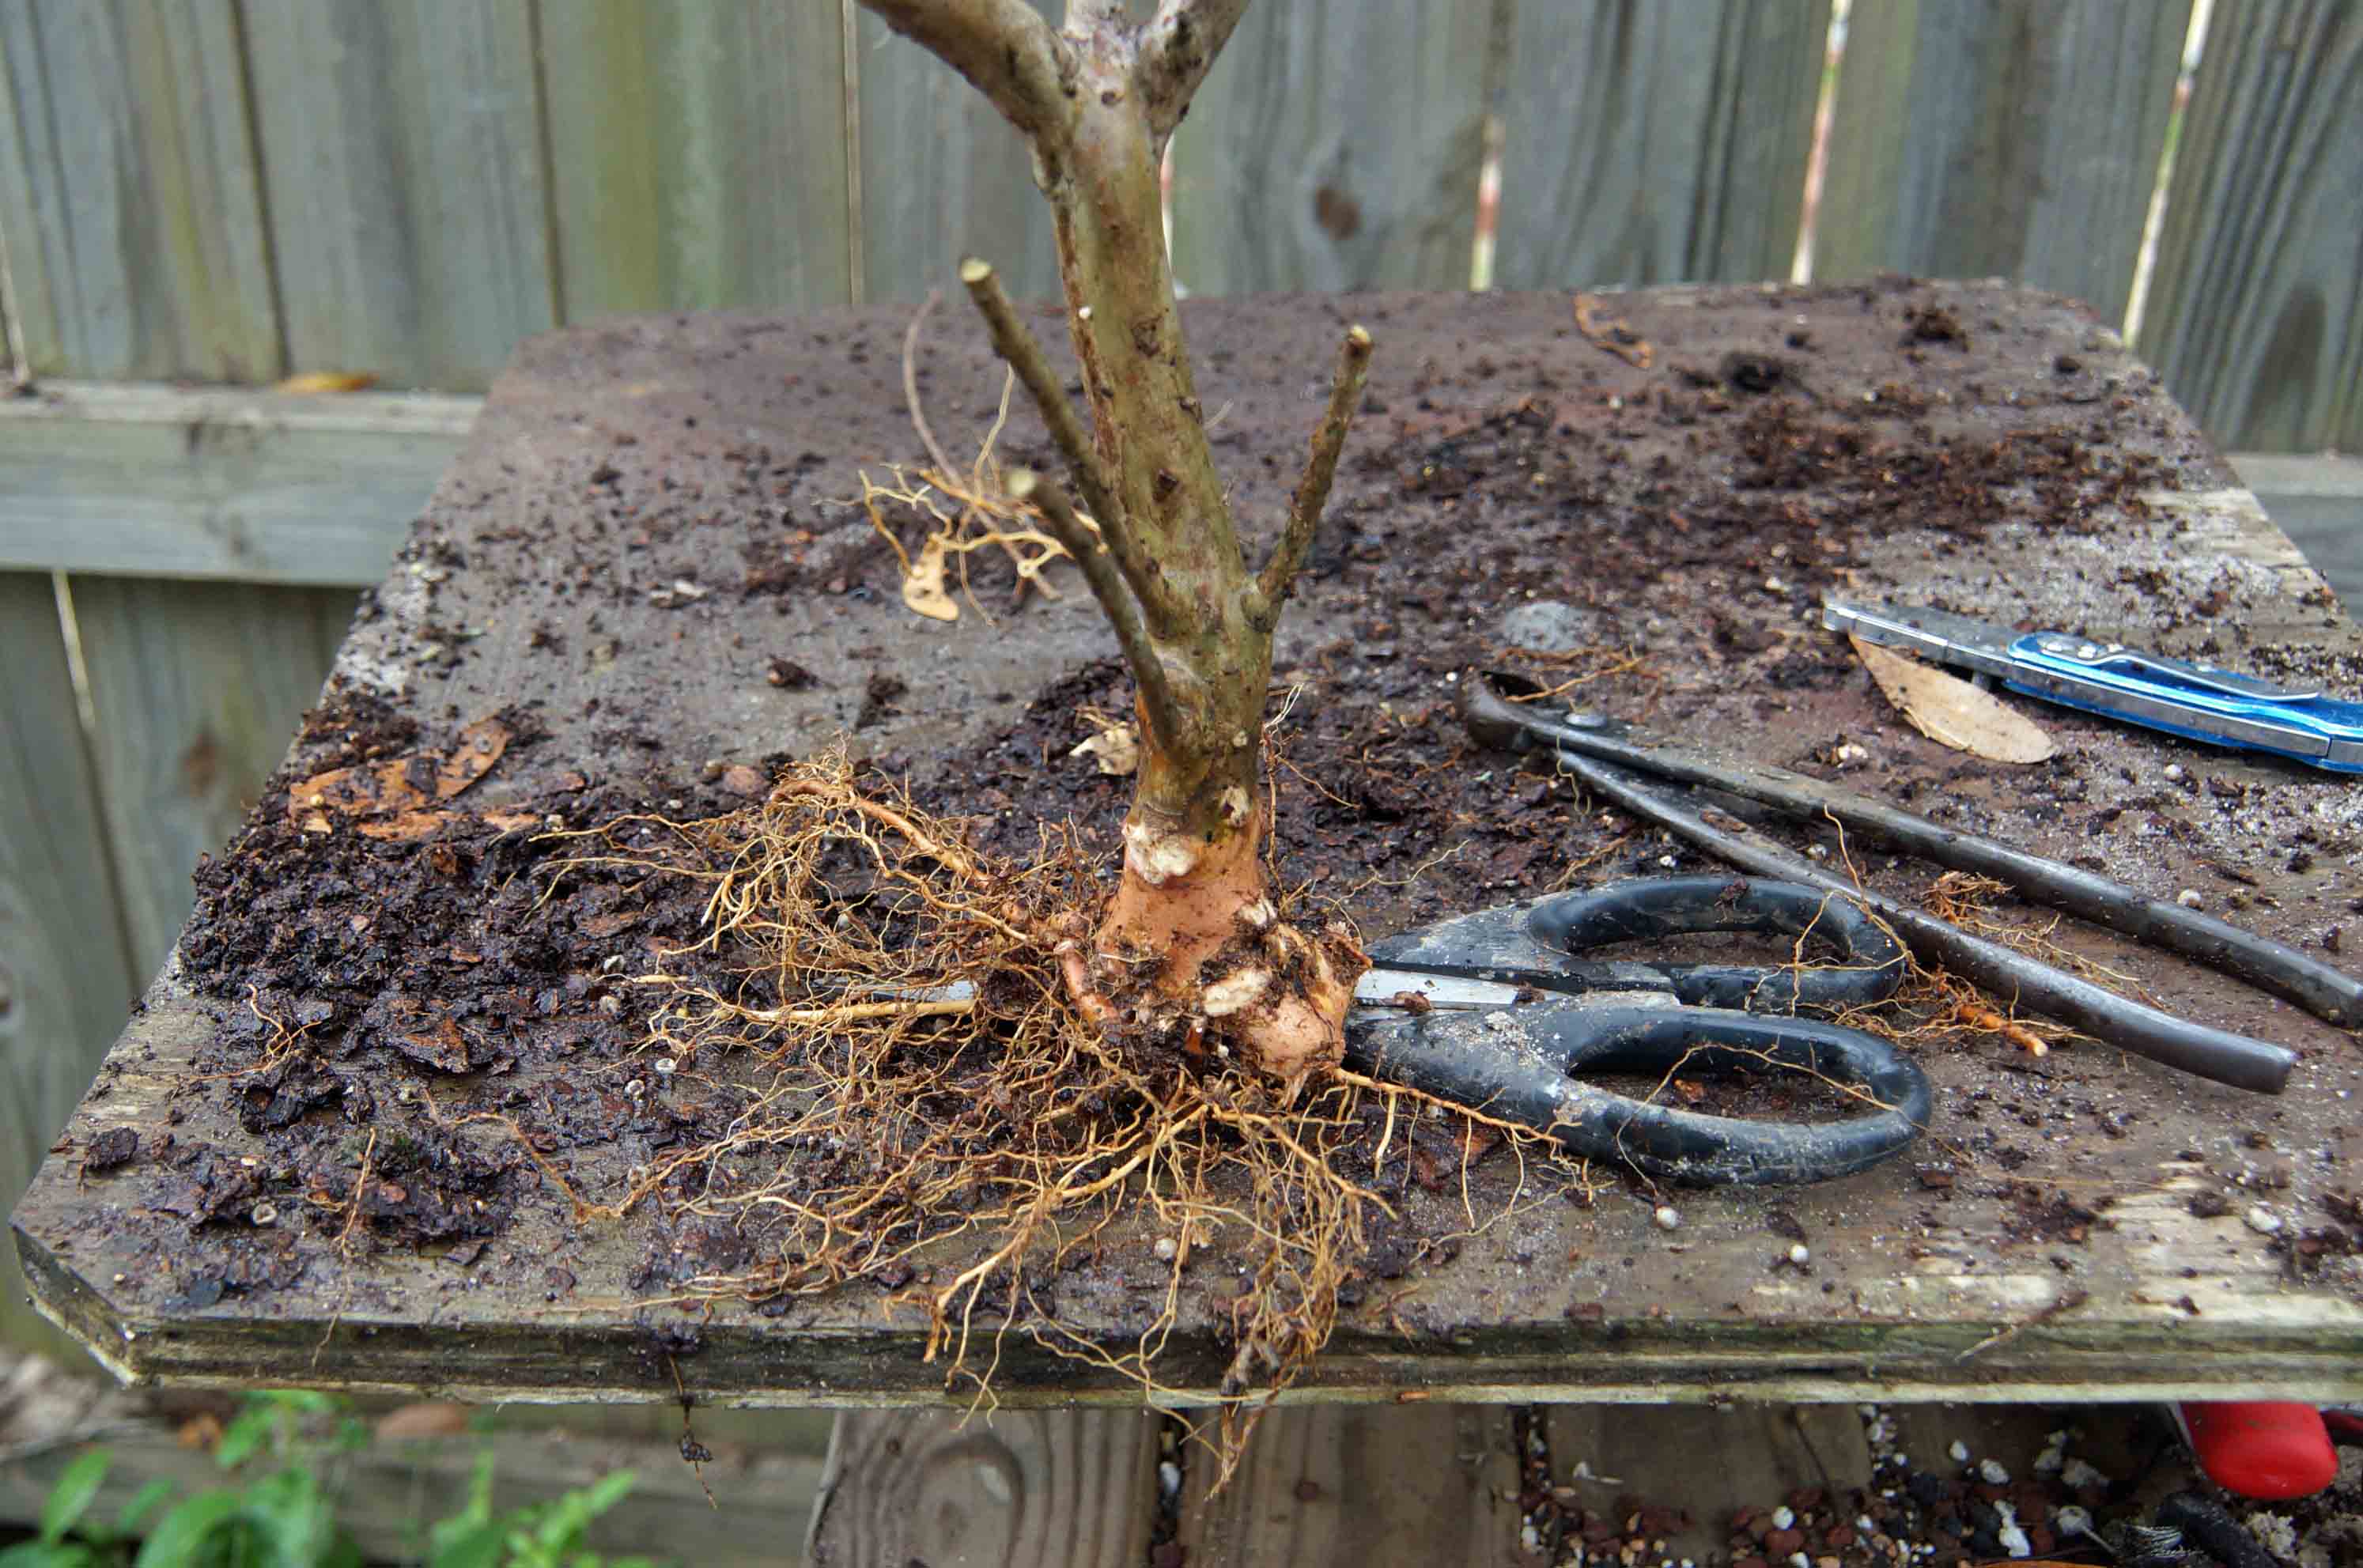
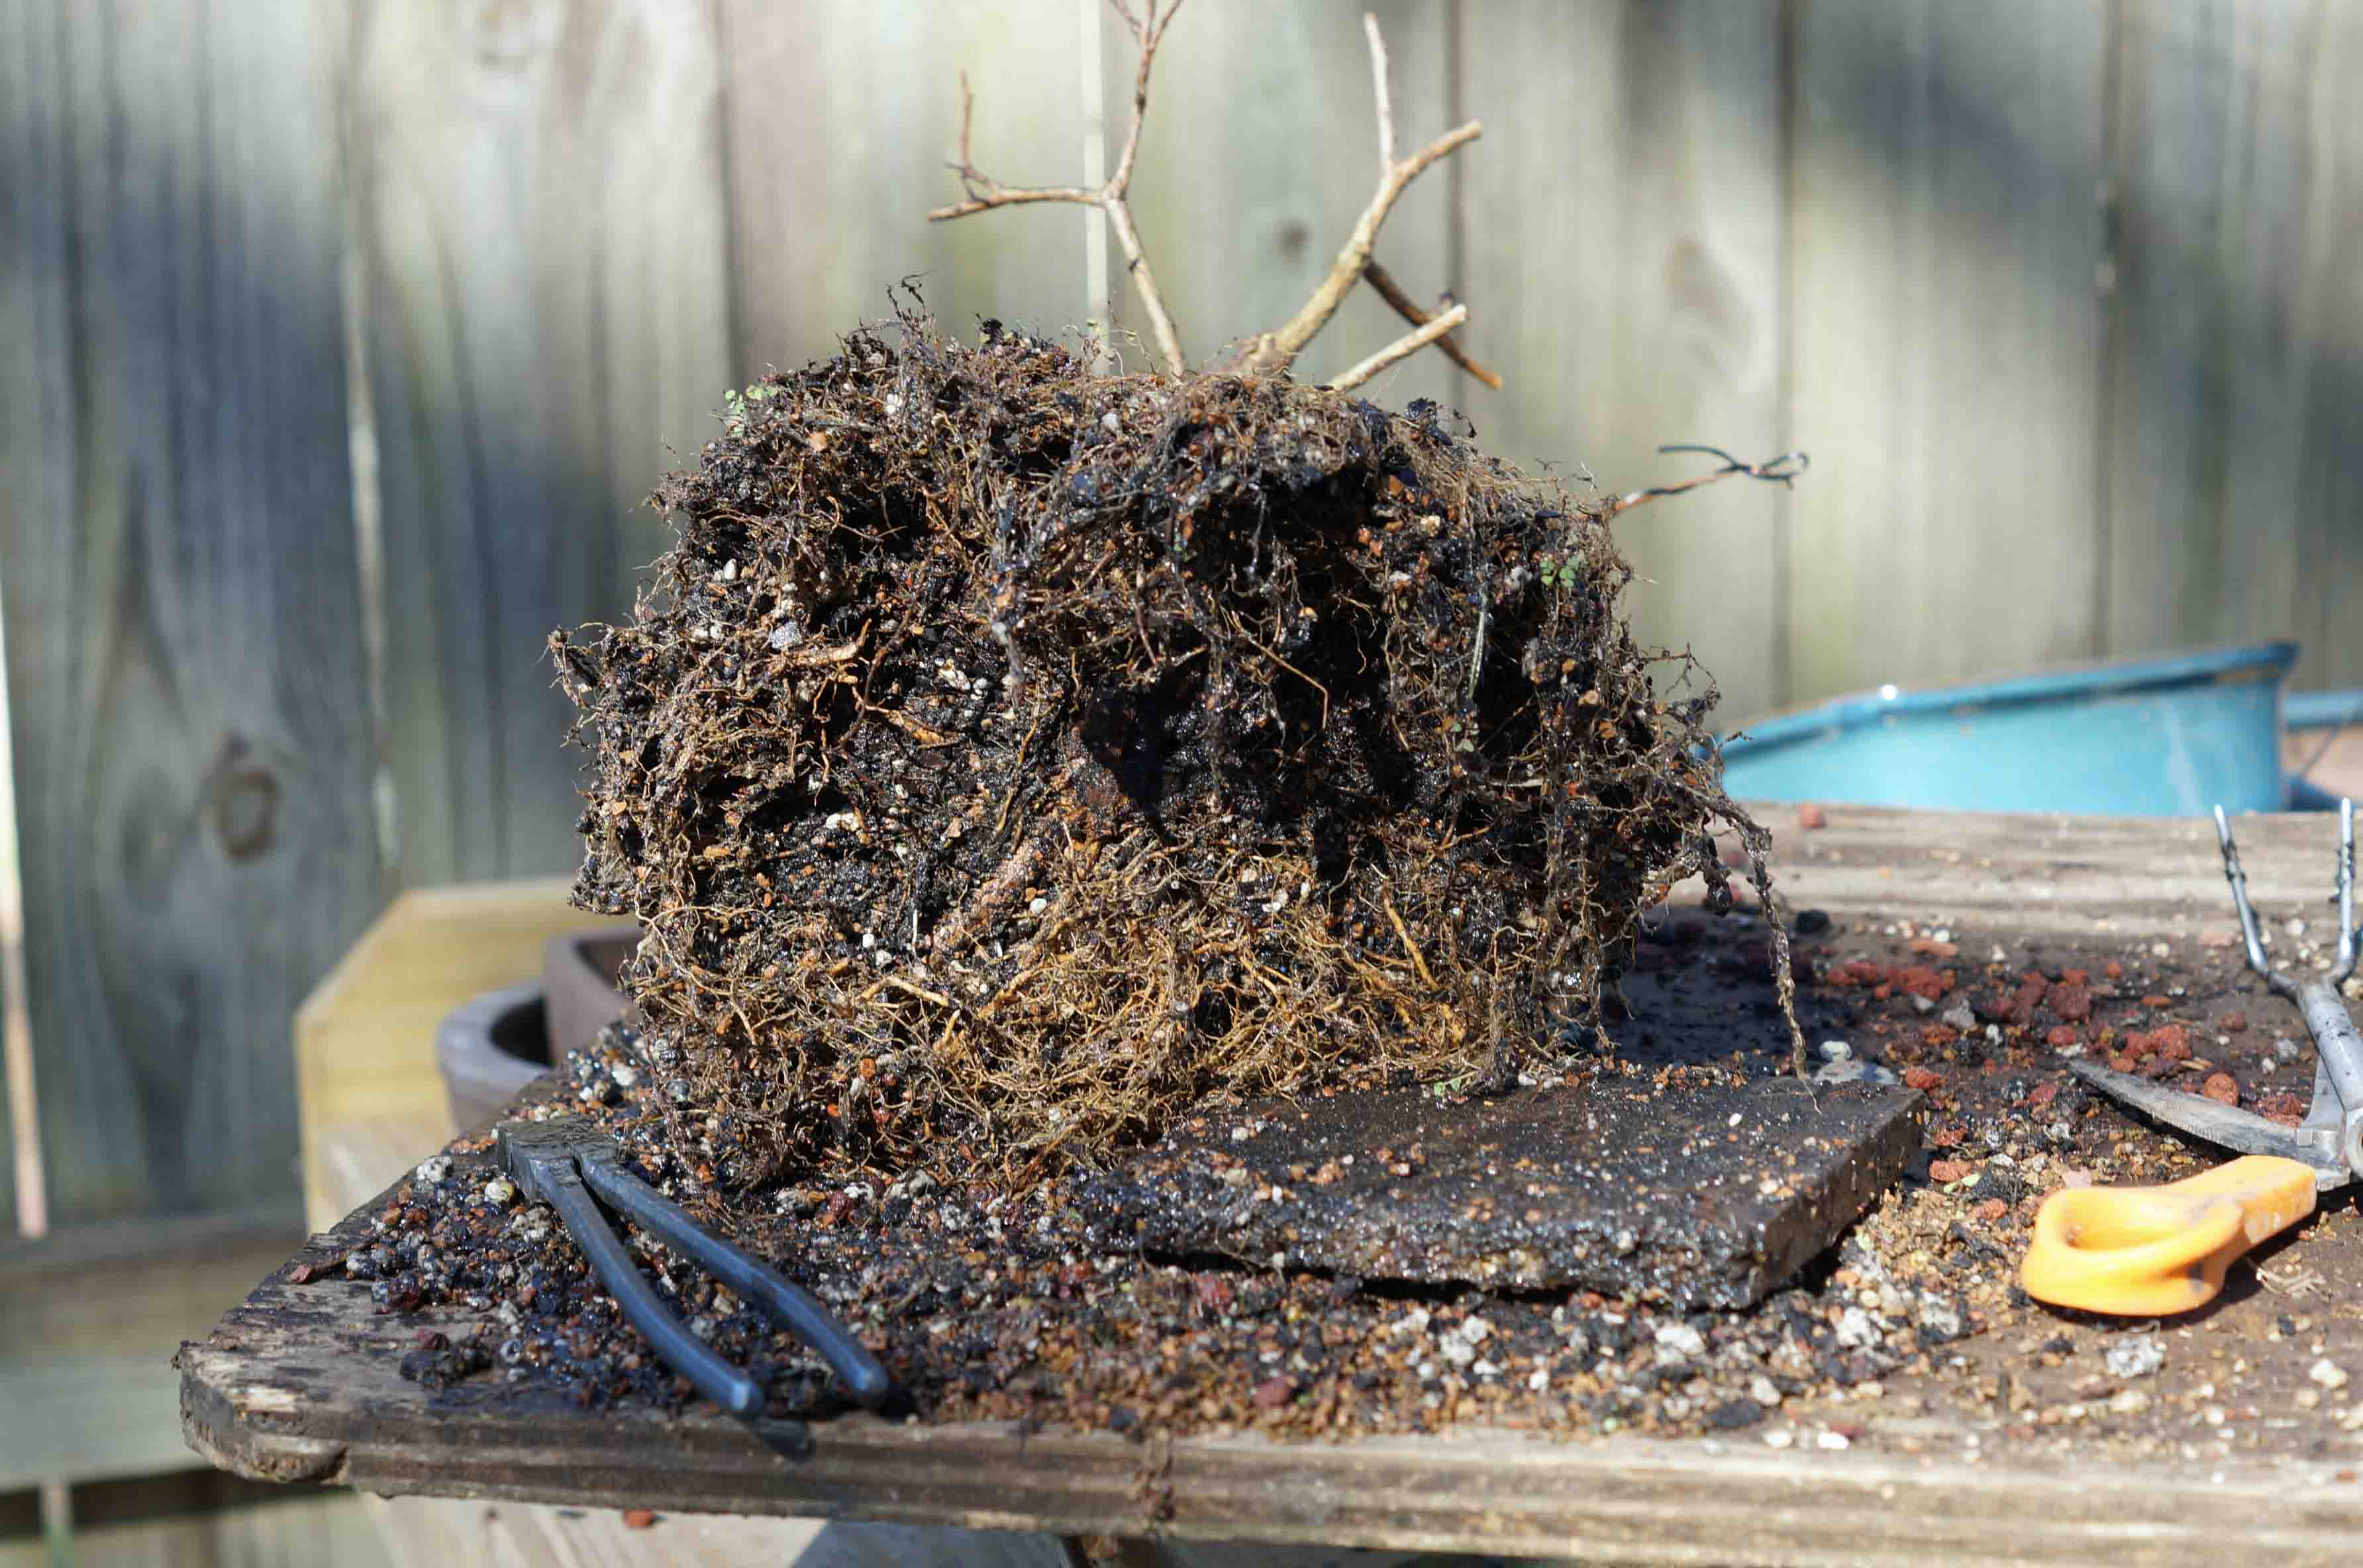
After poking around were the soil and trunk meet to figure out how far down below the surface the roots stated, it was time to reduce the roots some to see what I had to work with. I have found that the best way to do this is – POWER TOOLS. Nothing better than the trusty saws-all.
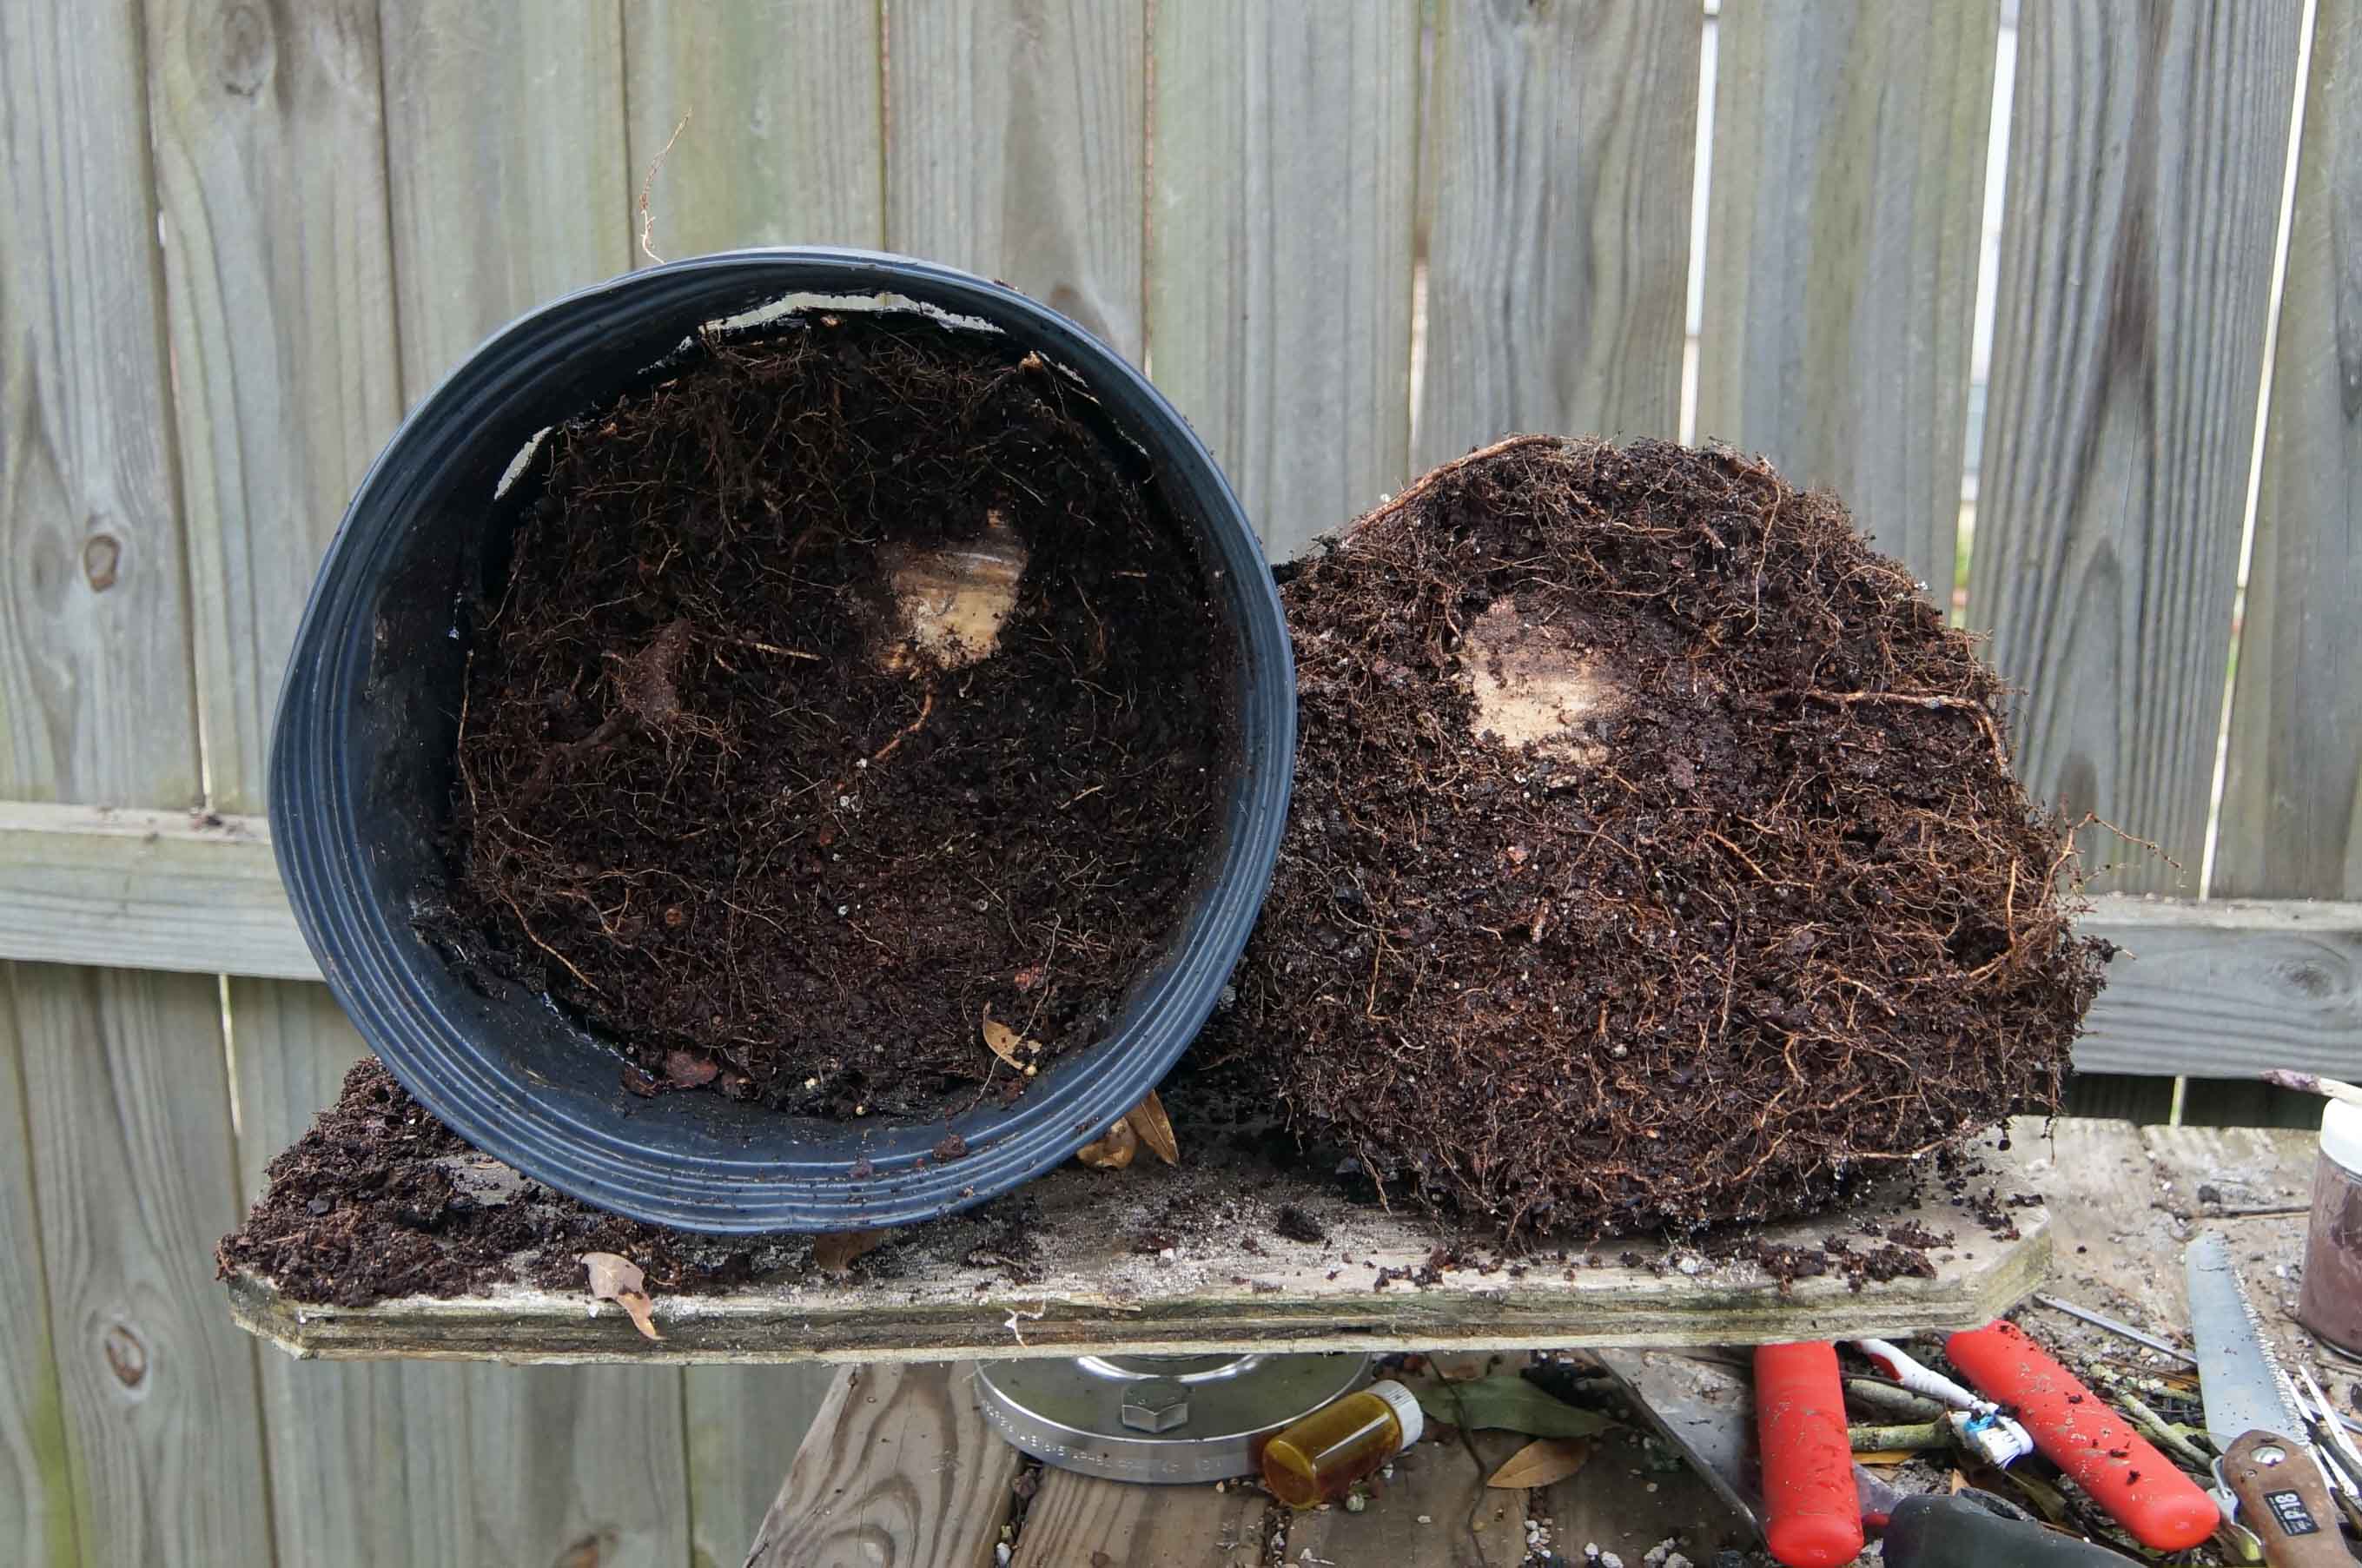
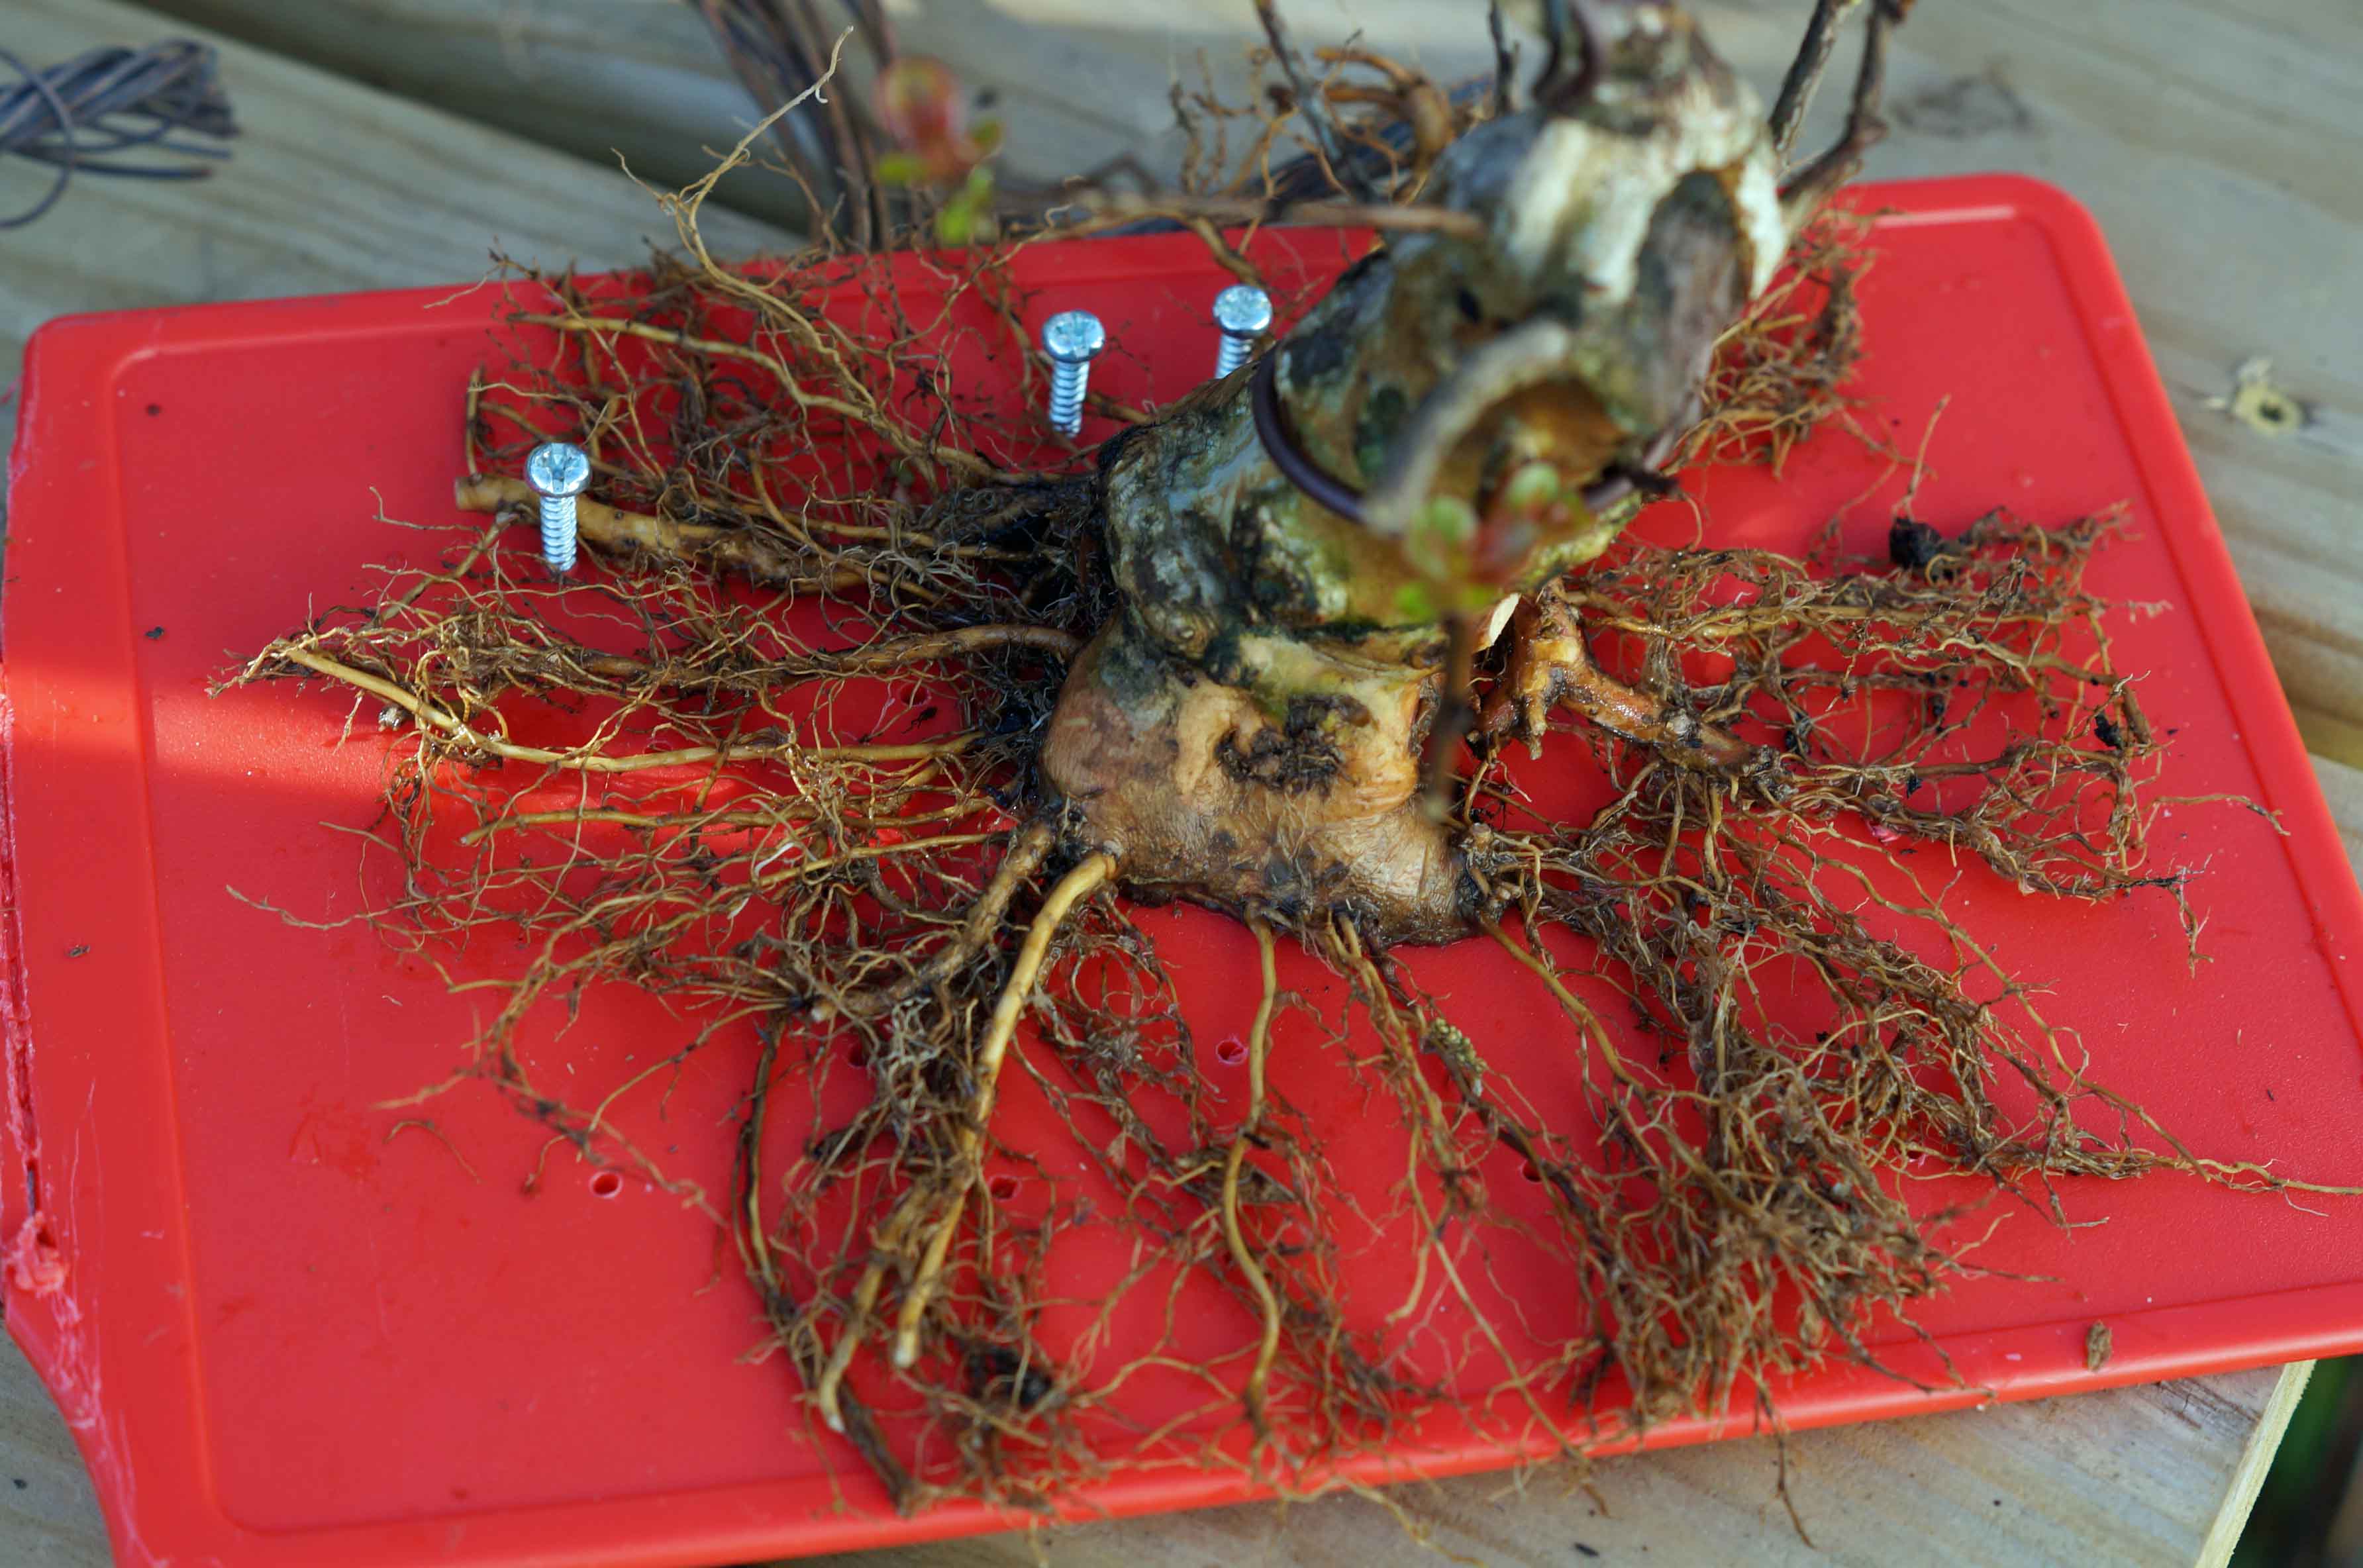
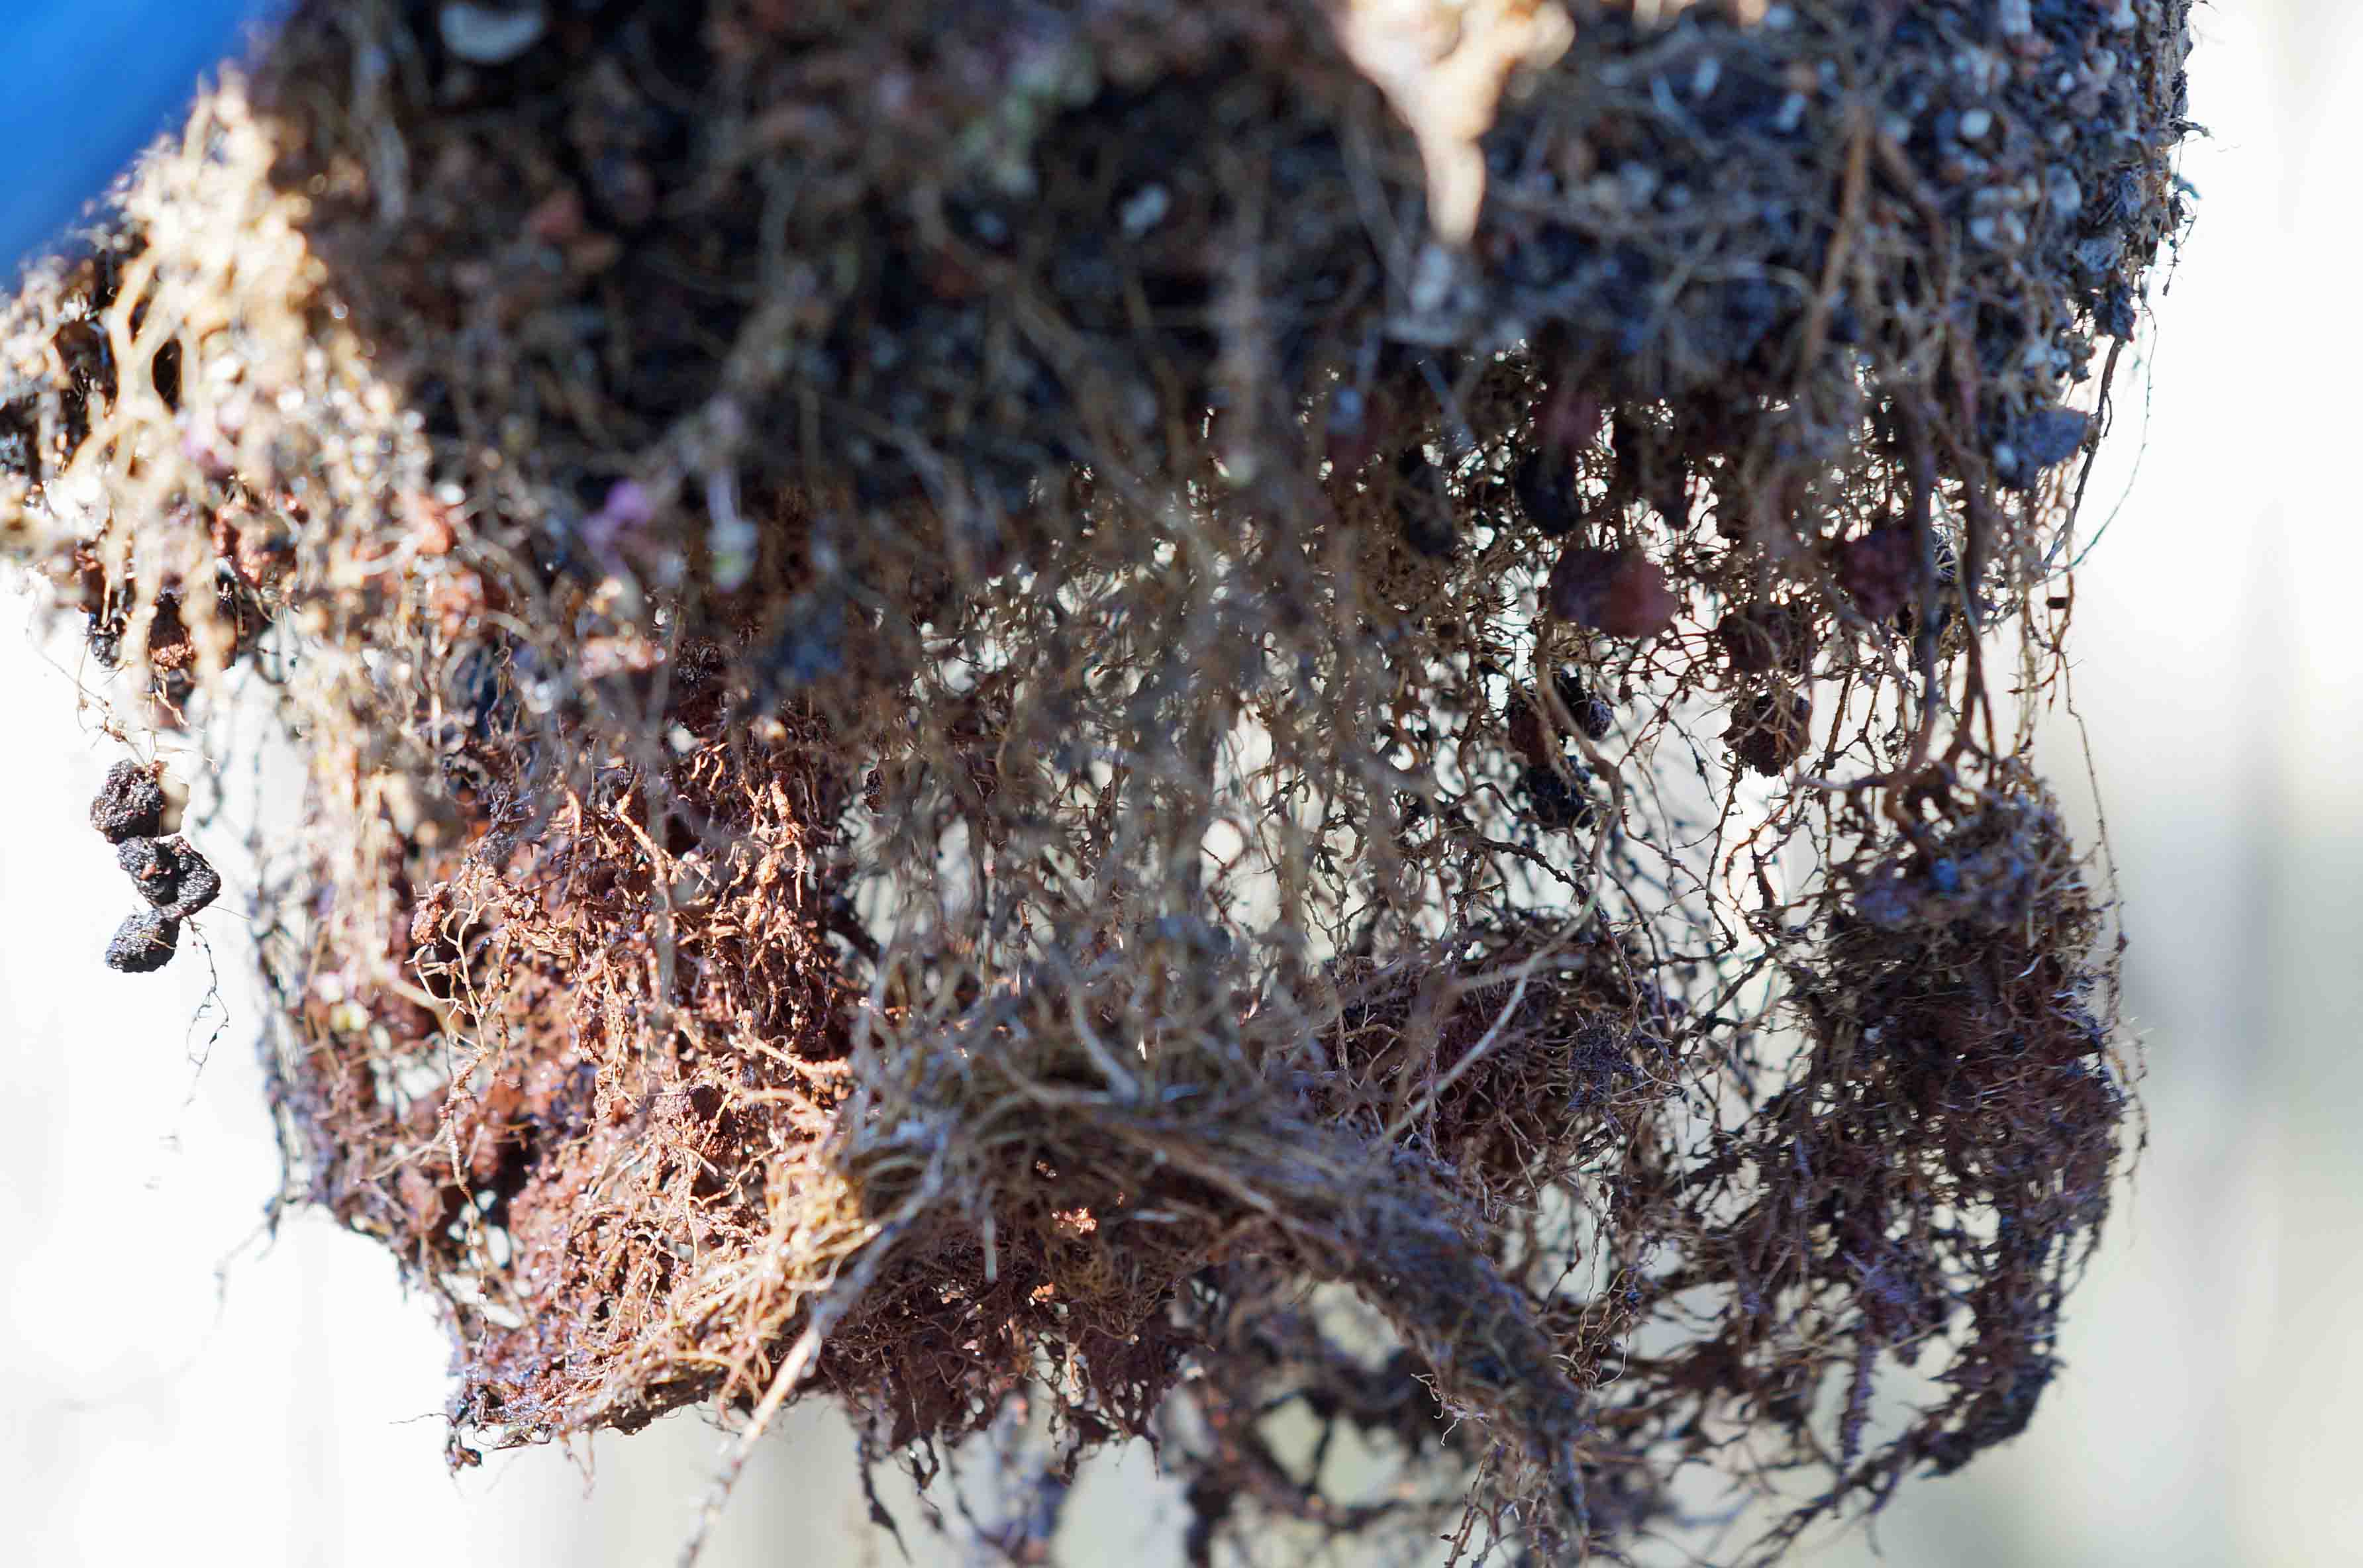
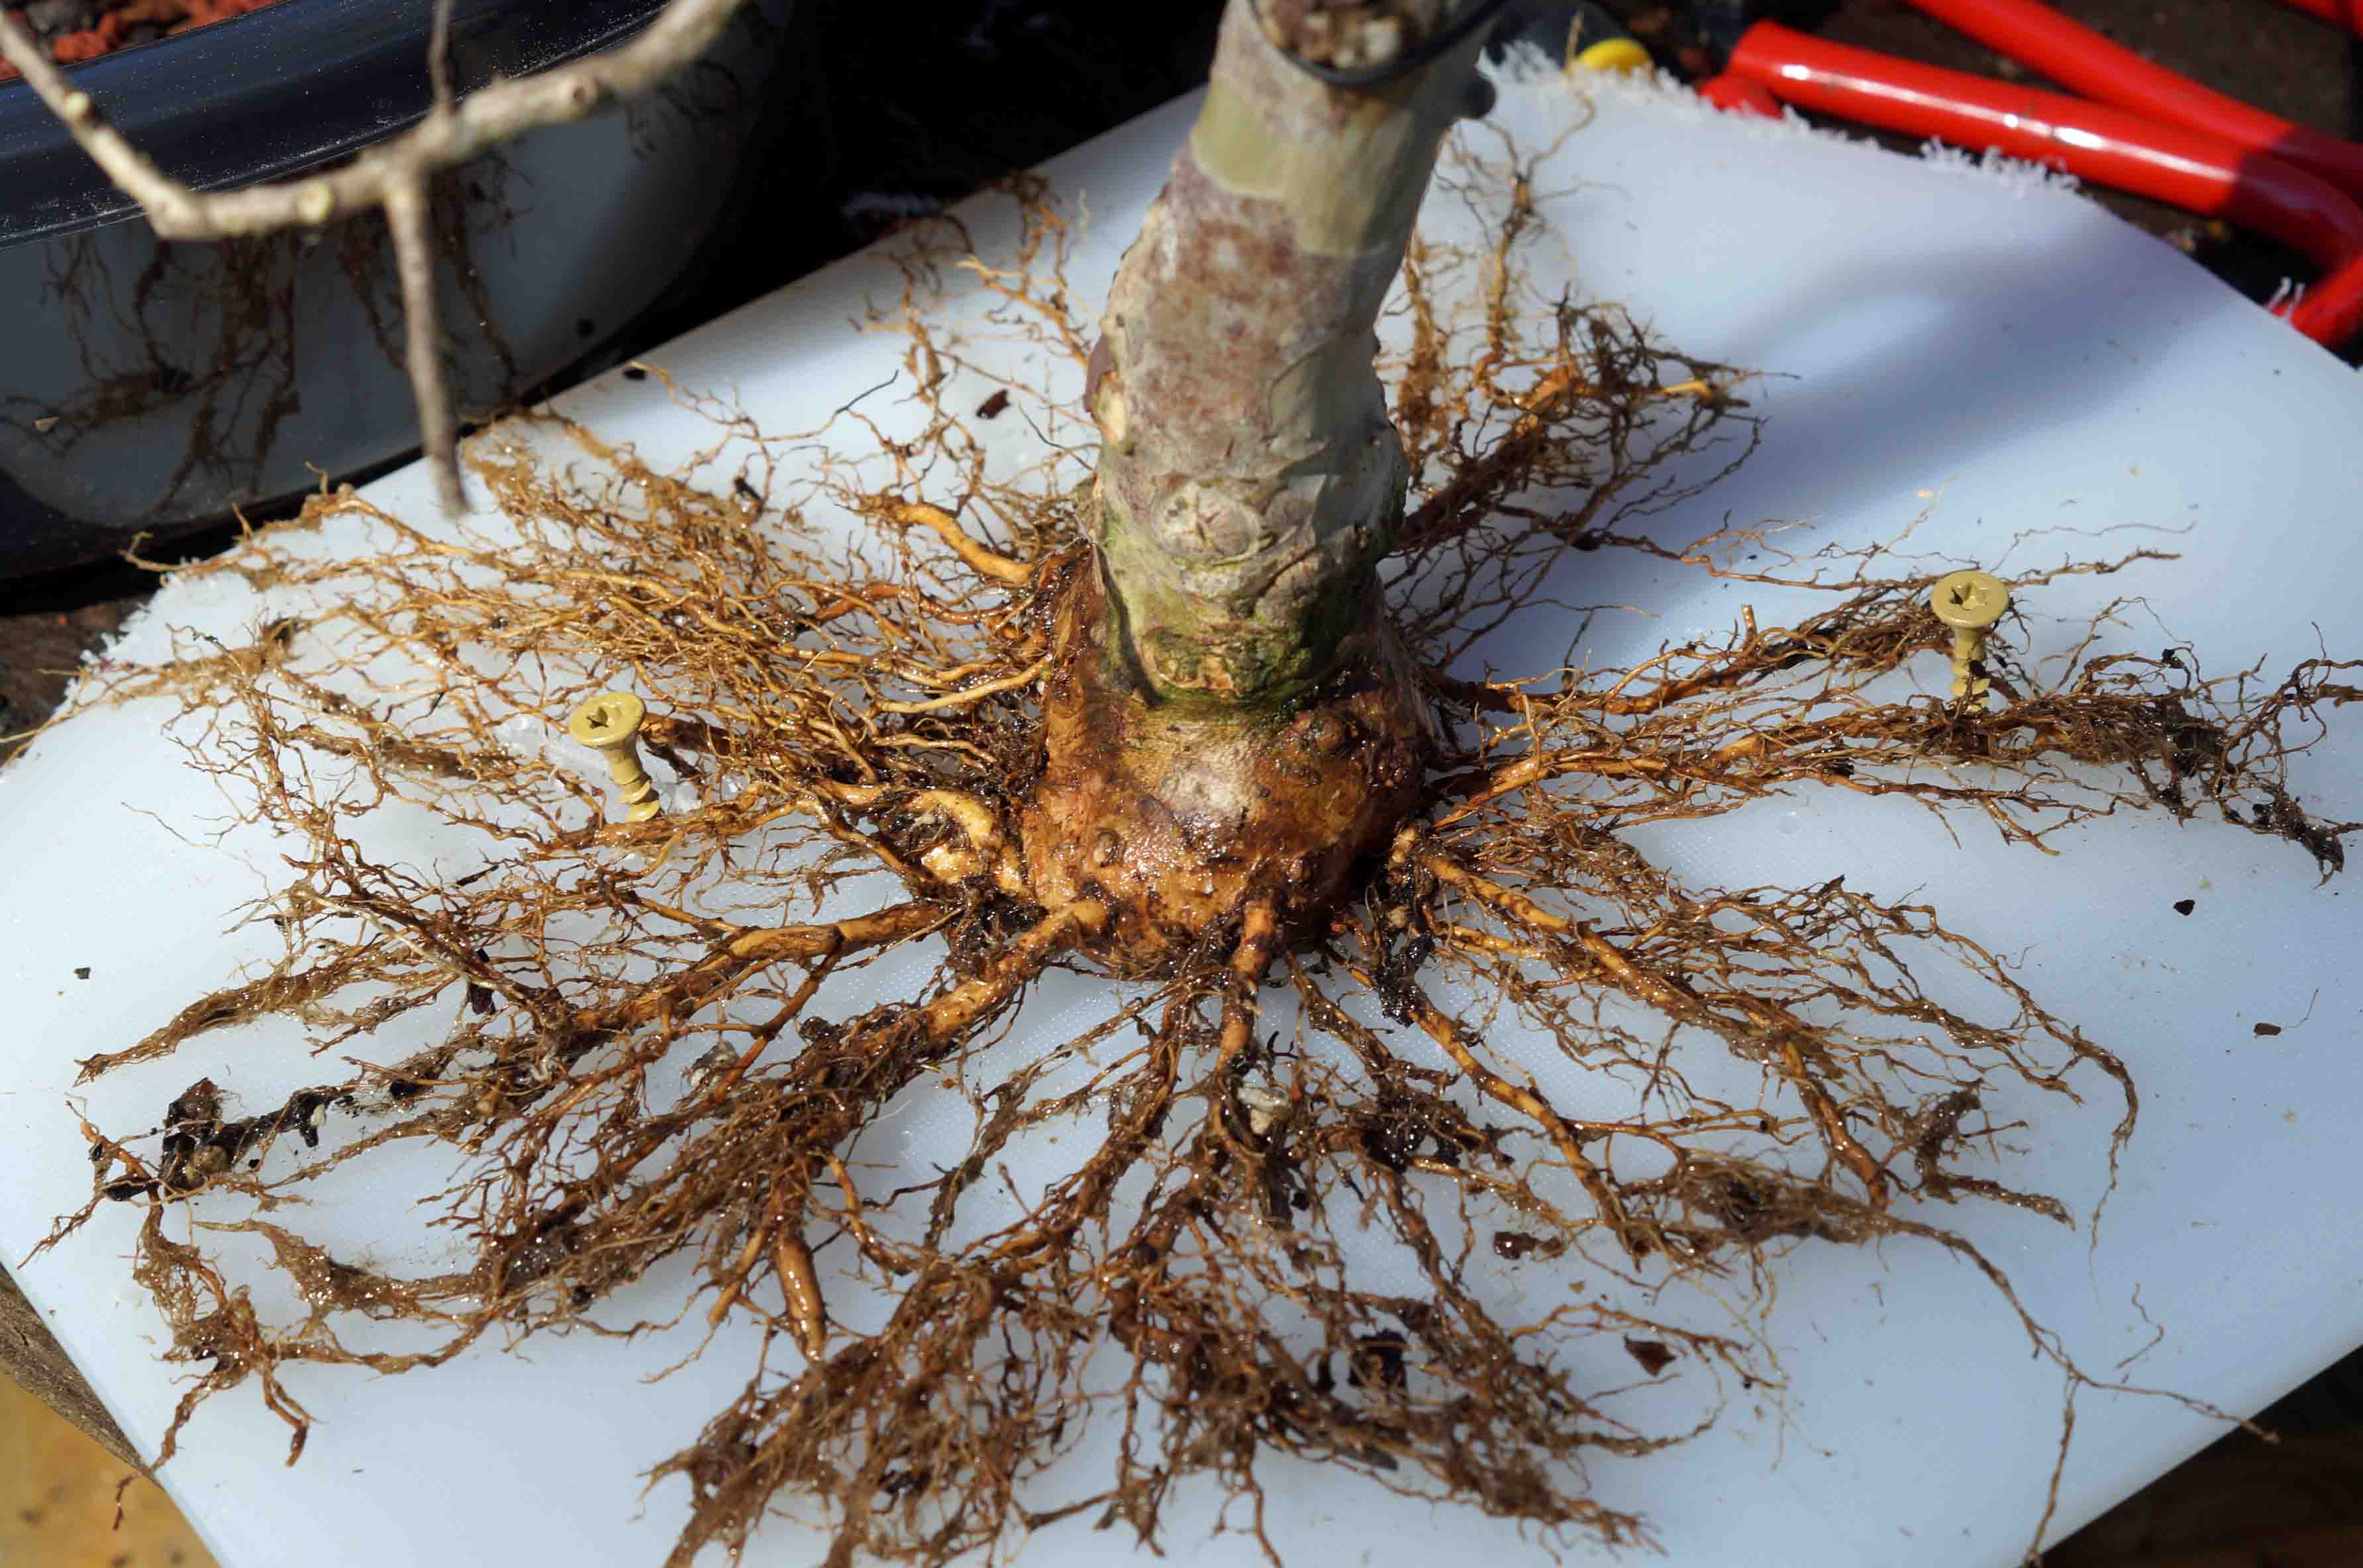
After that precise surgery, the roots were combed out and the nursery soil was washed out so the roots could be examined. What a hot mess! Don’t worry, we’ll fix that.
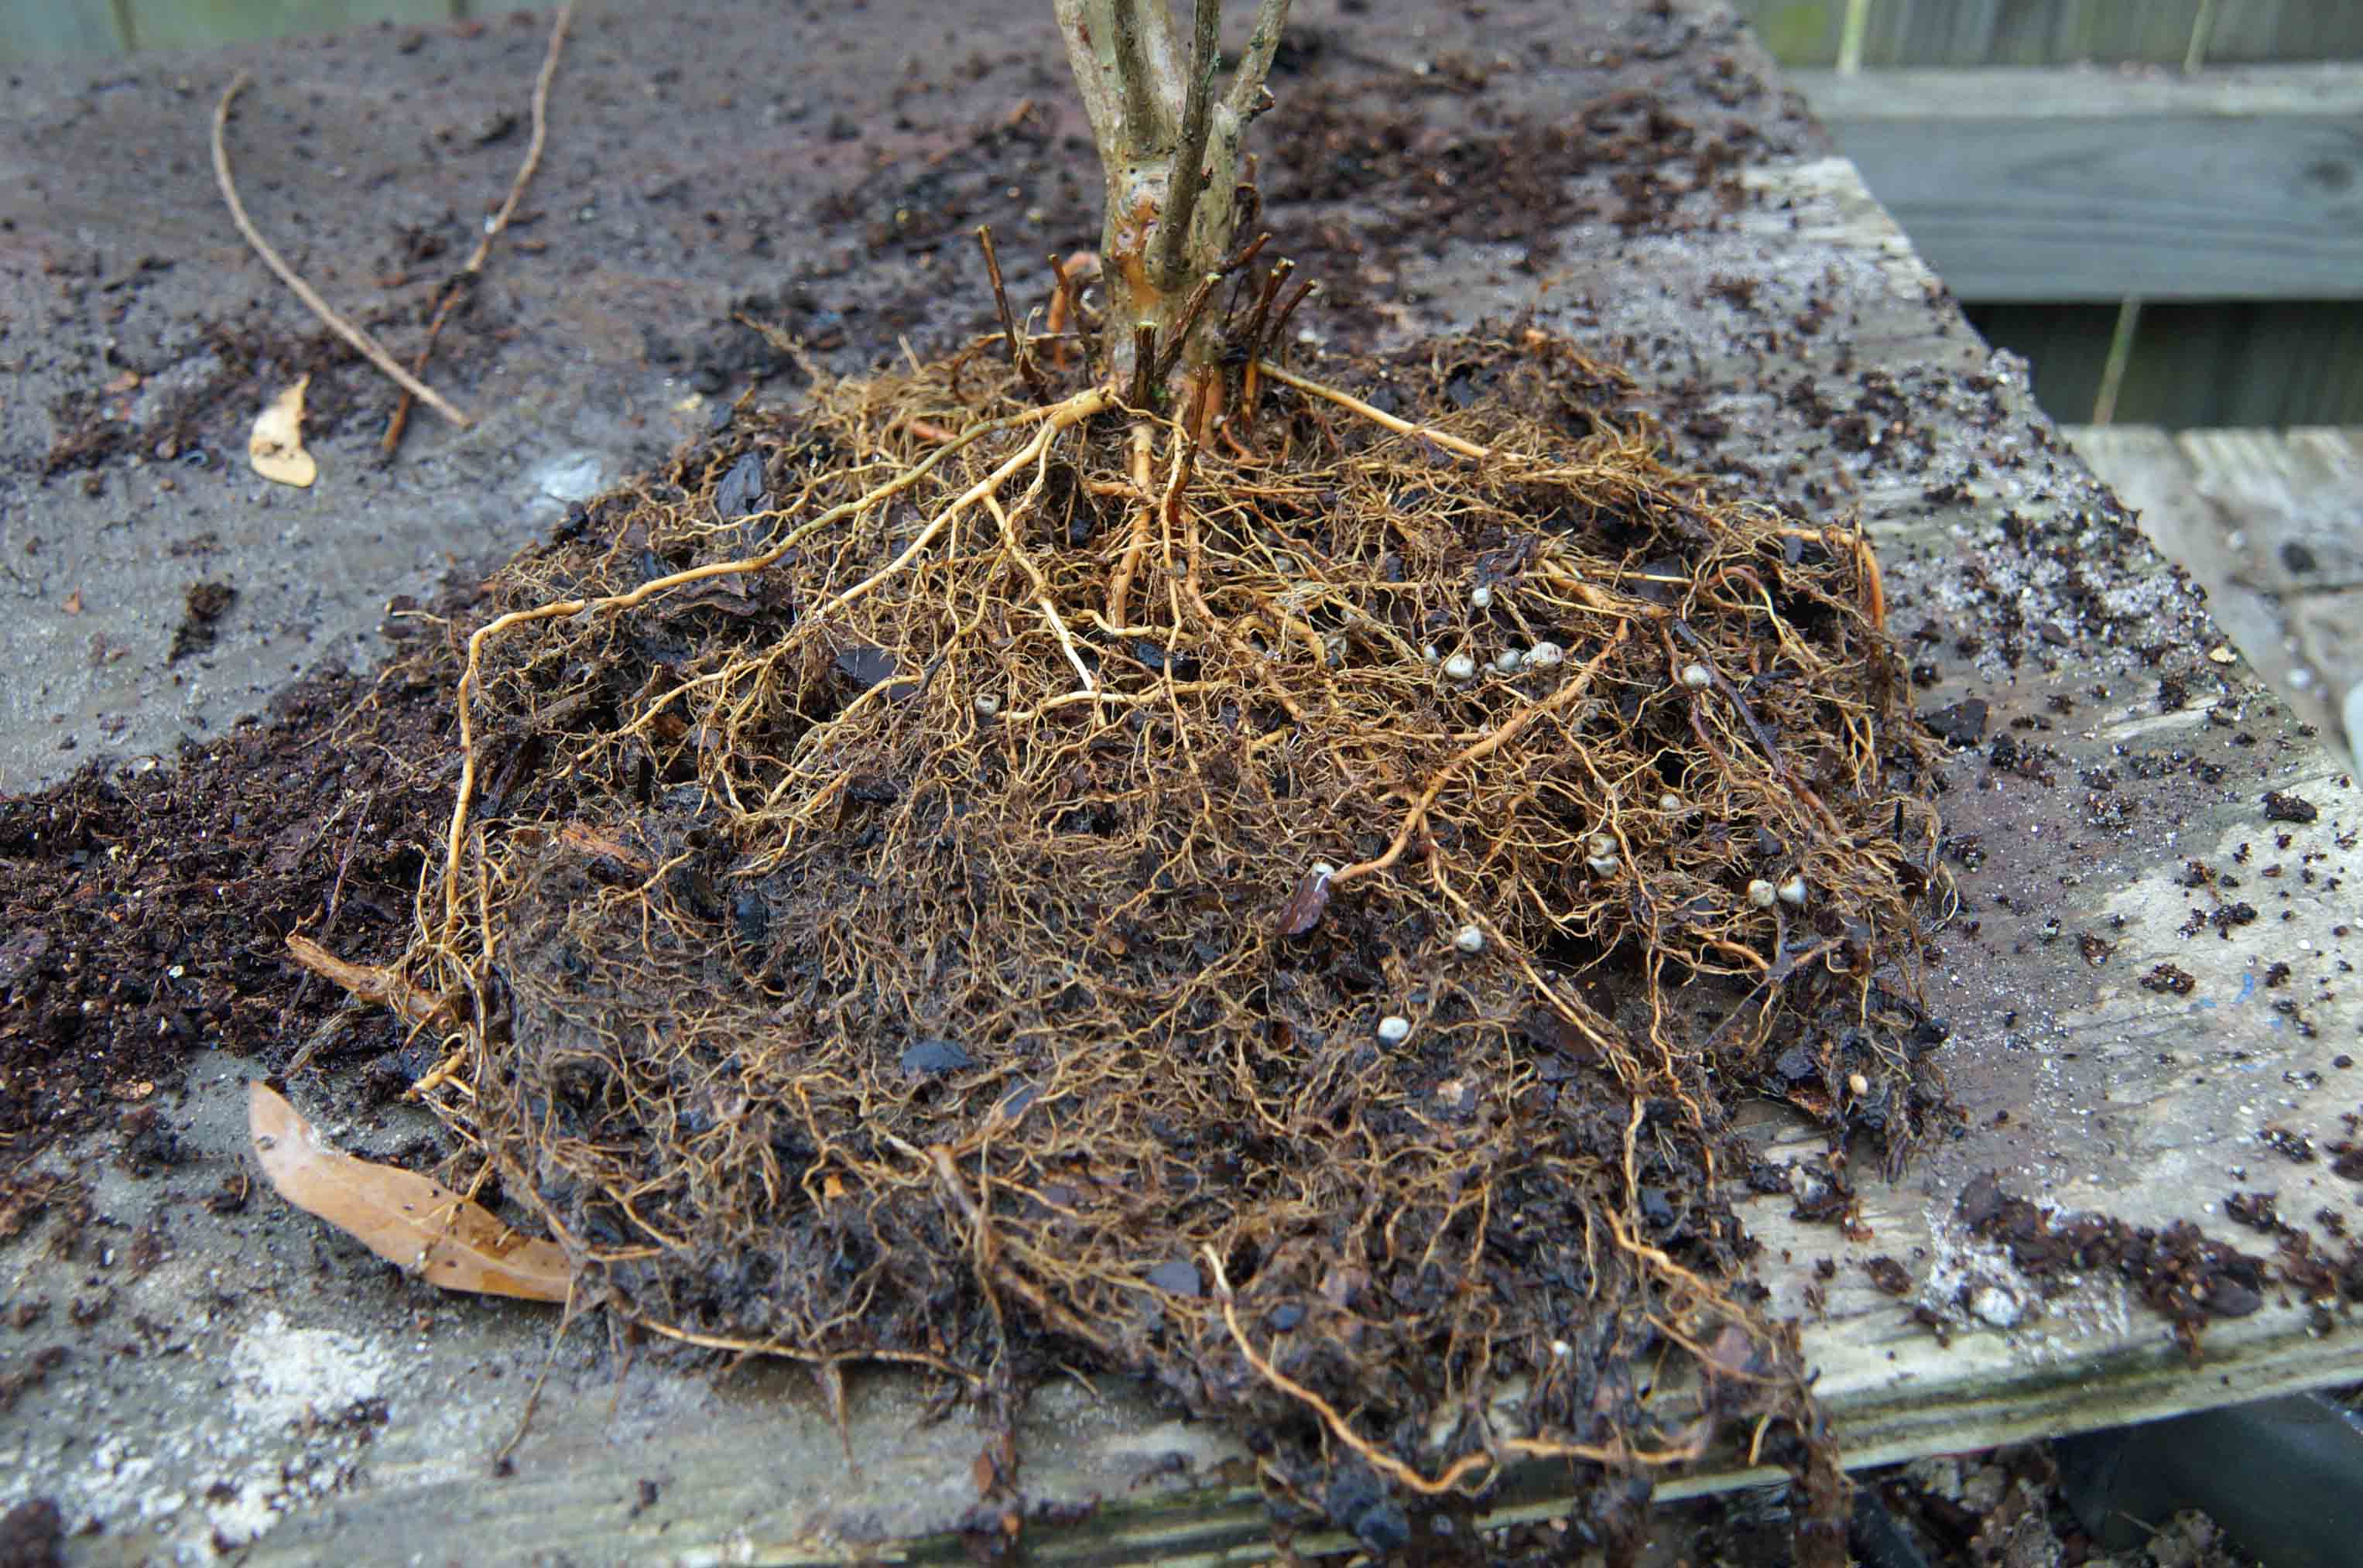
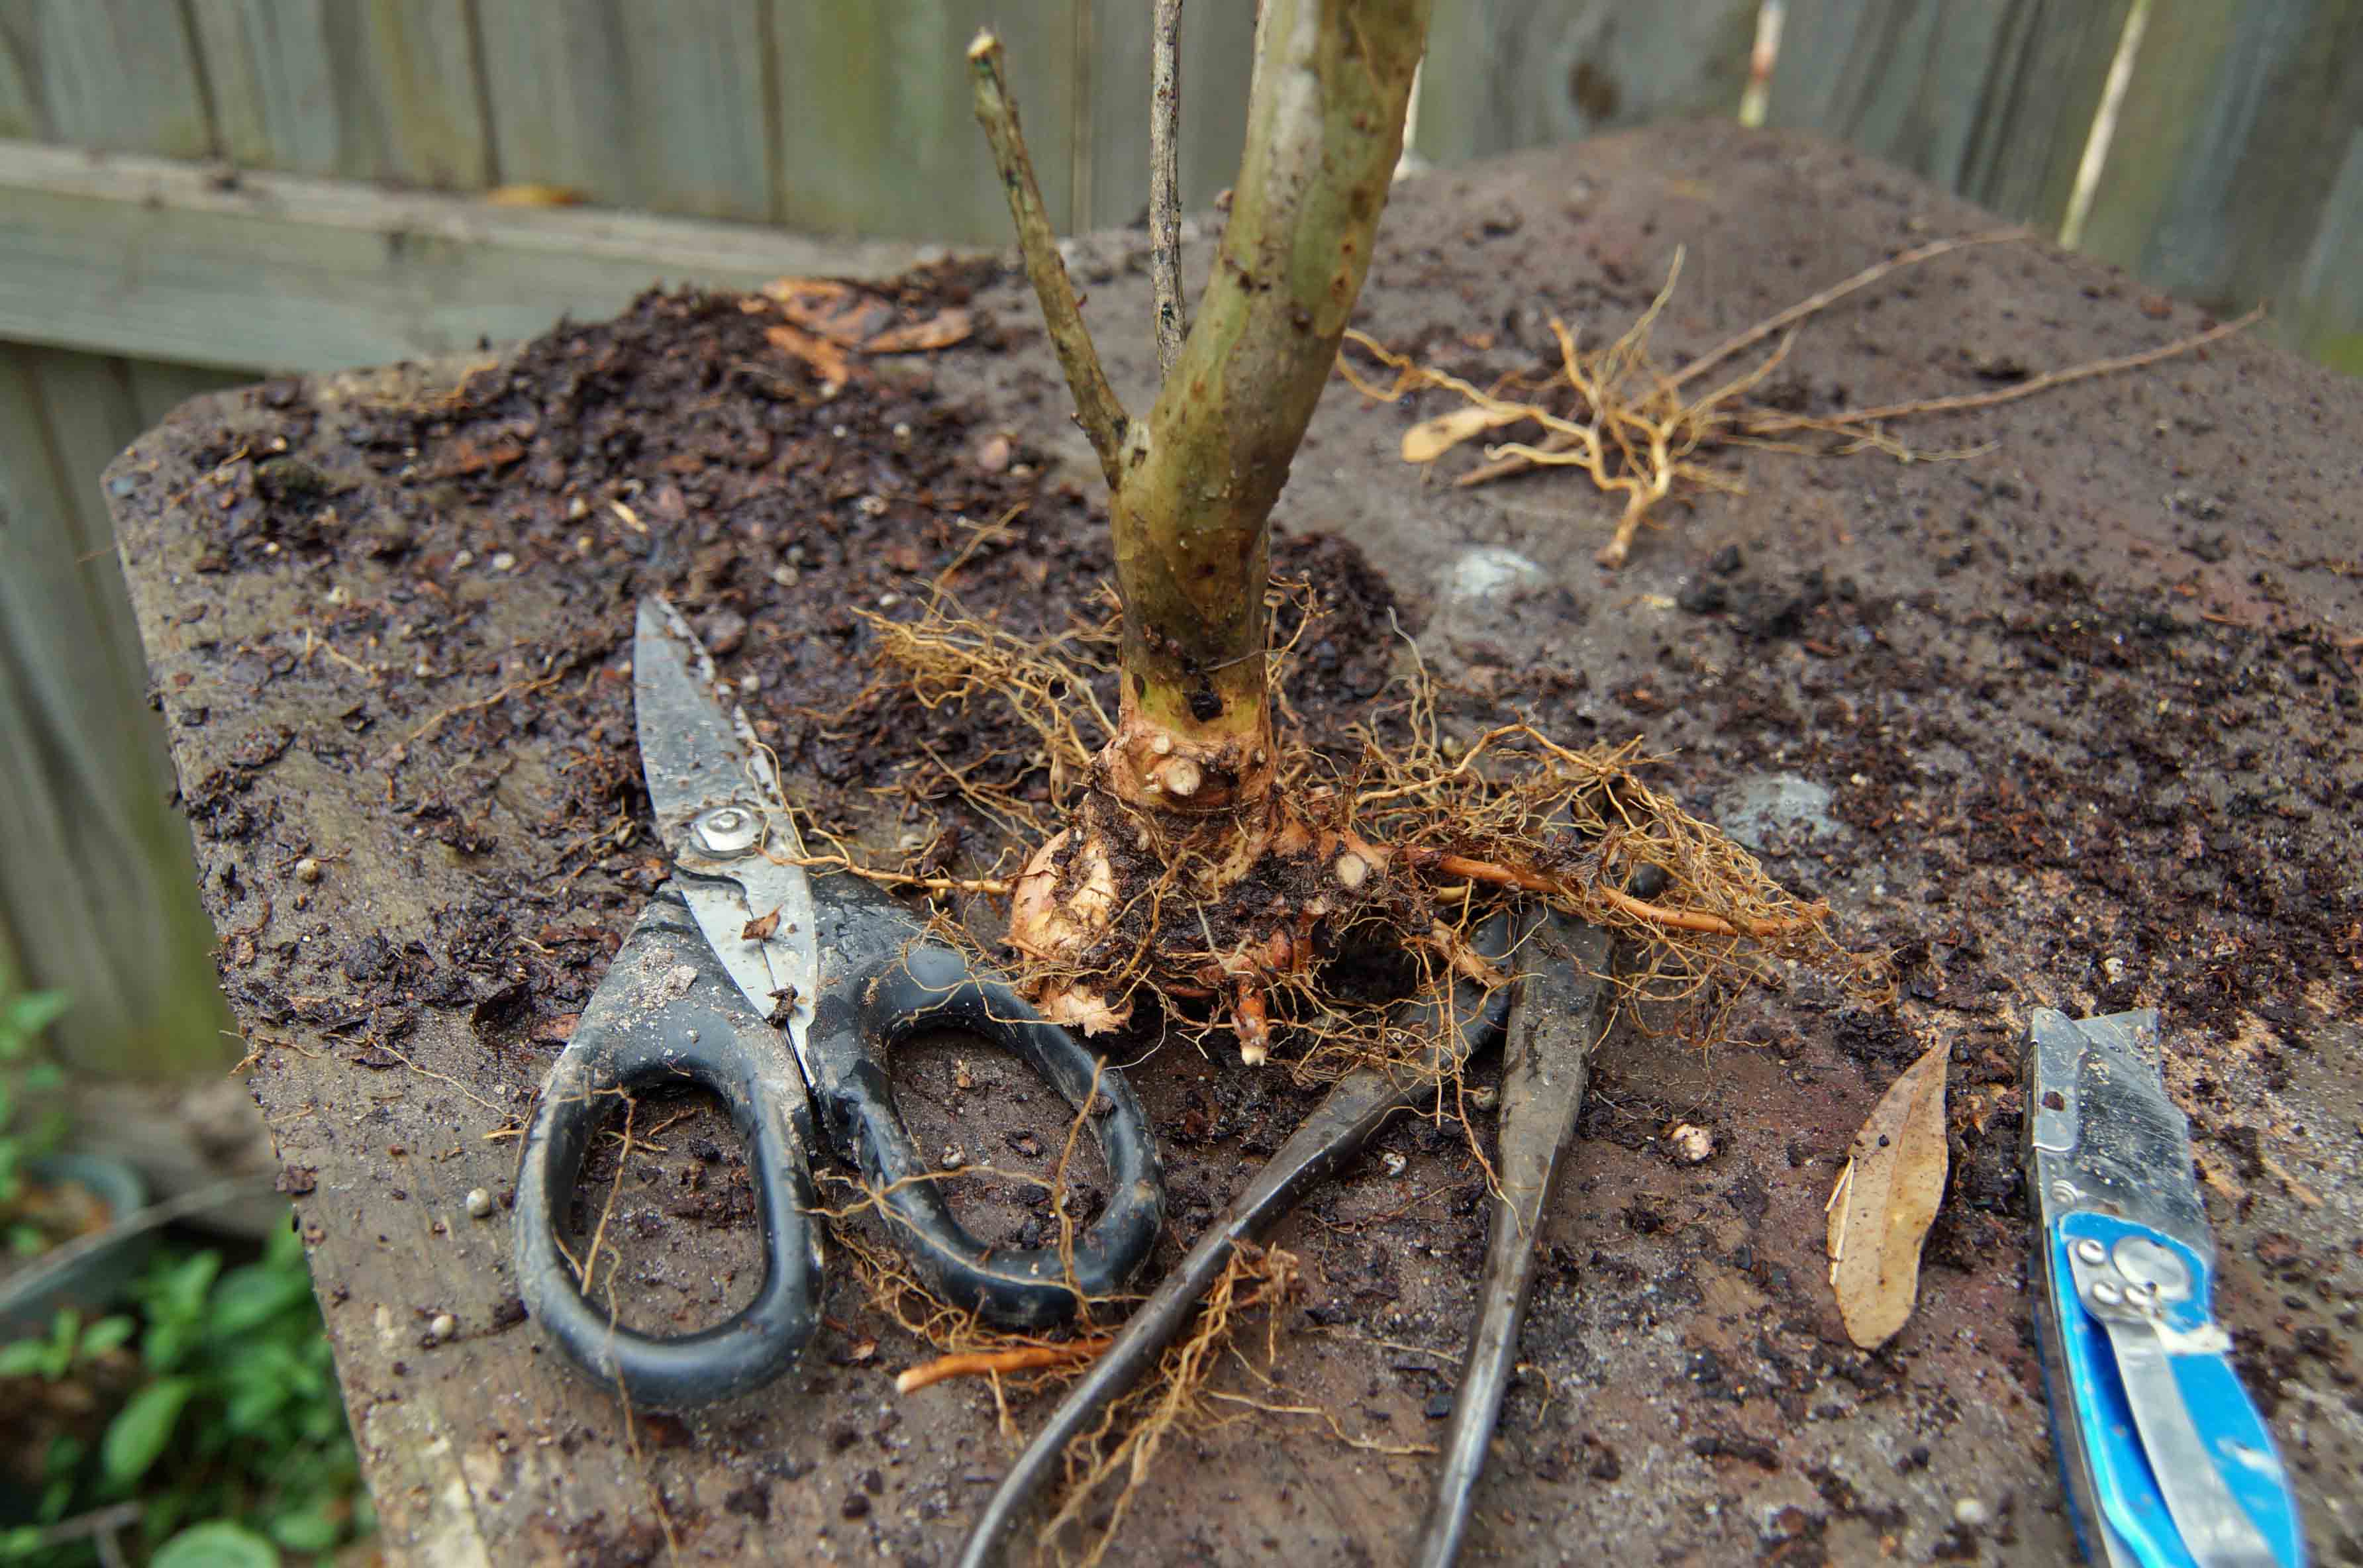
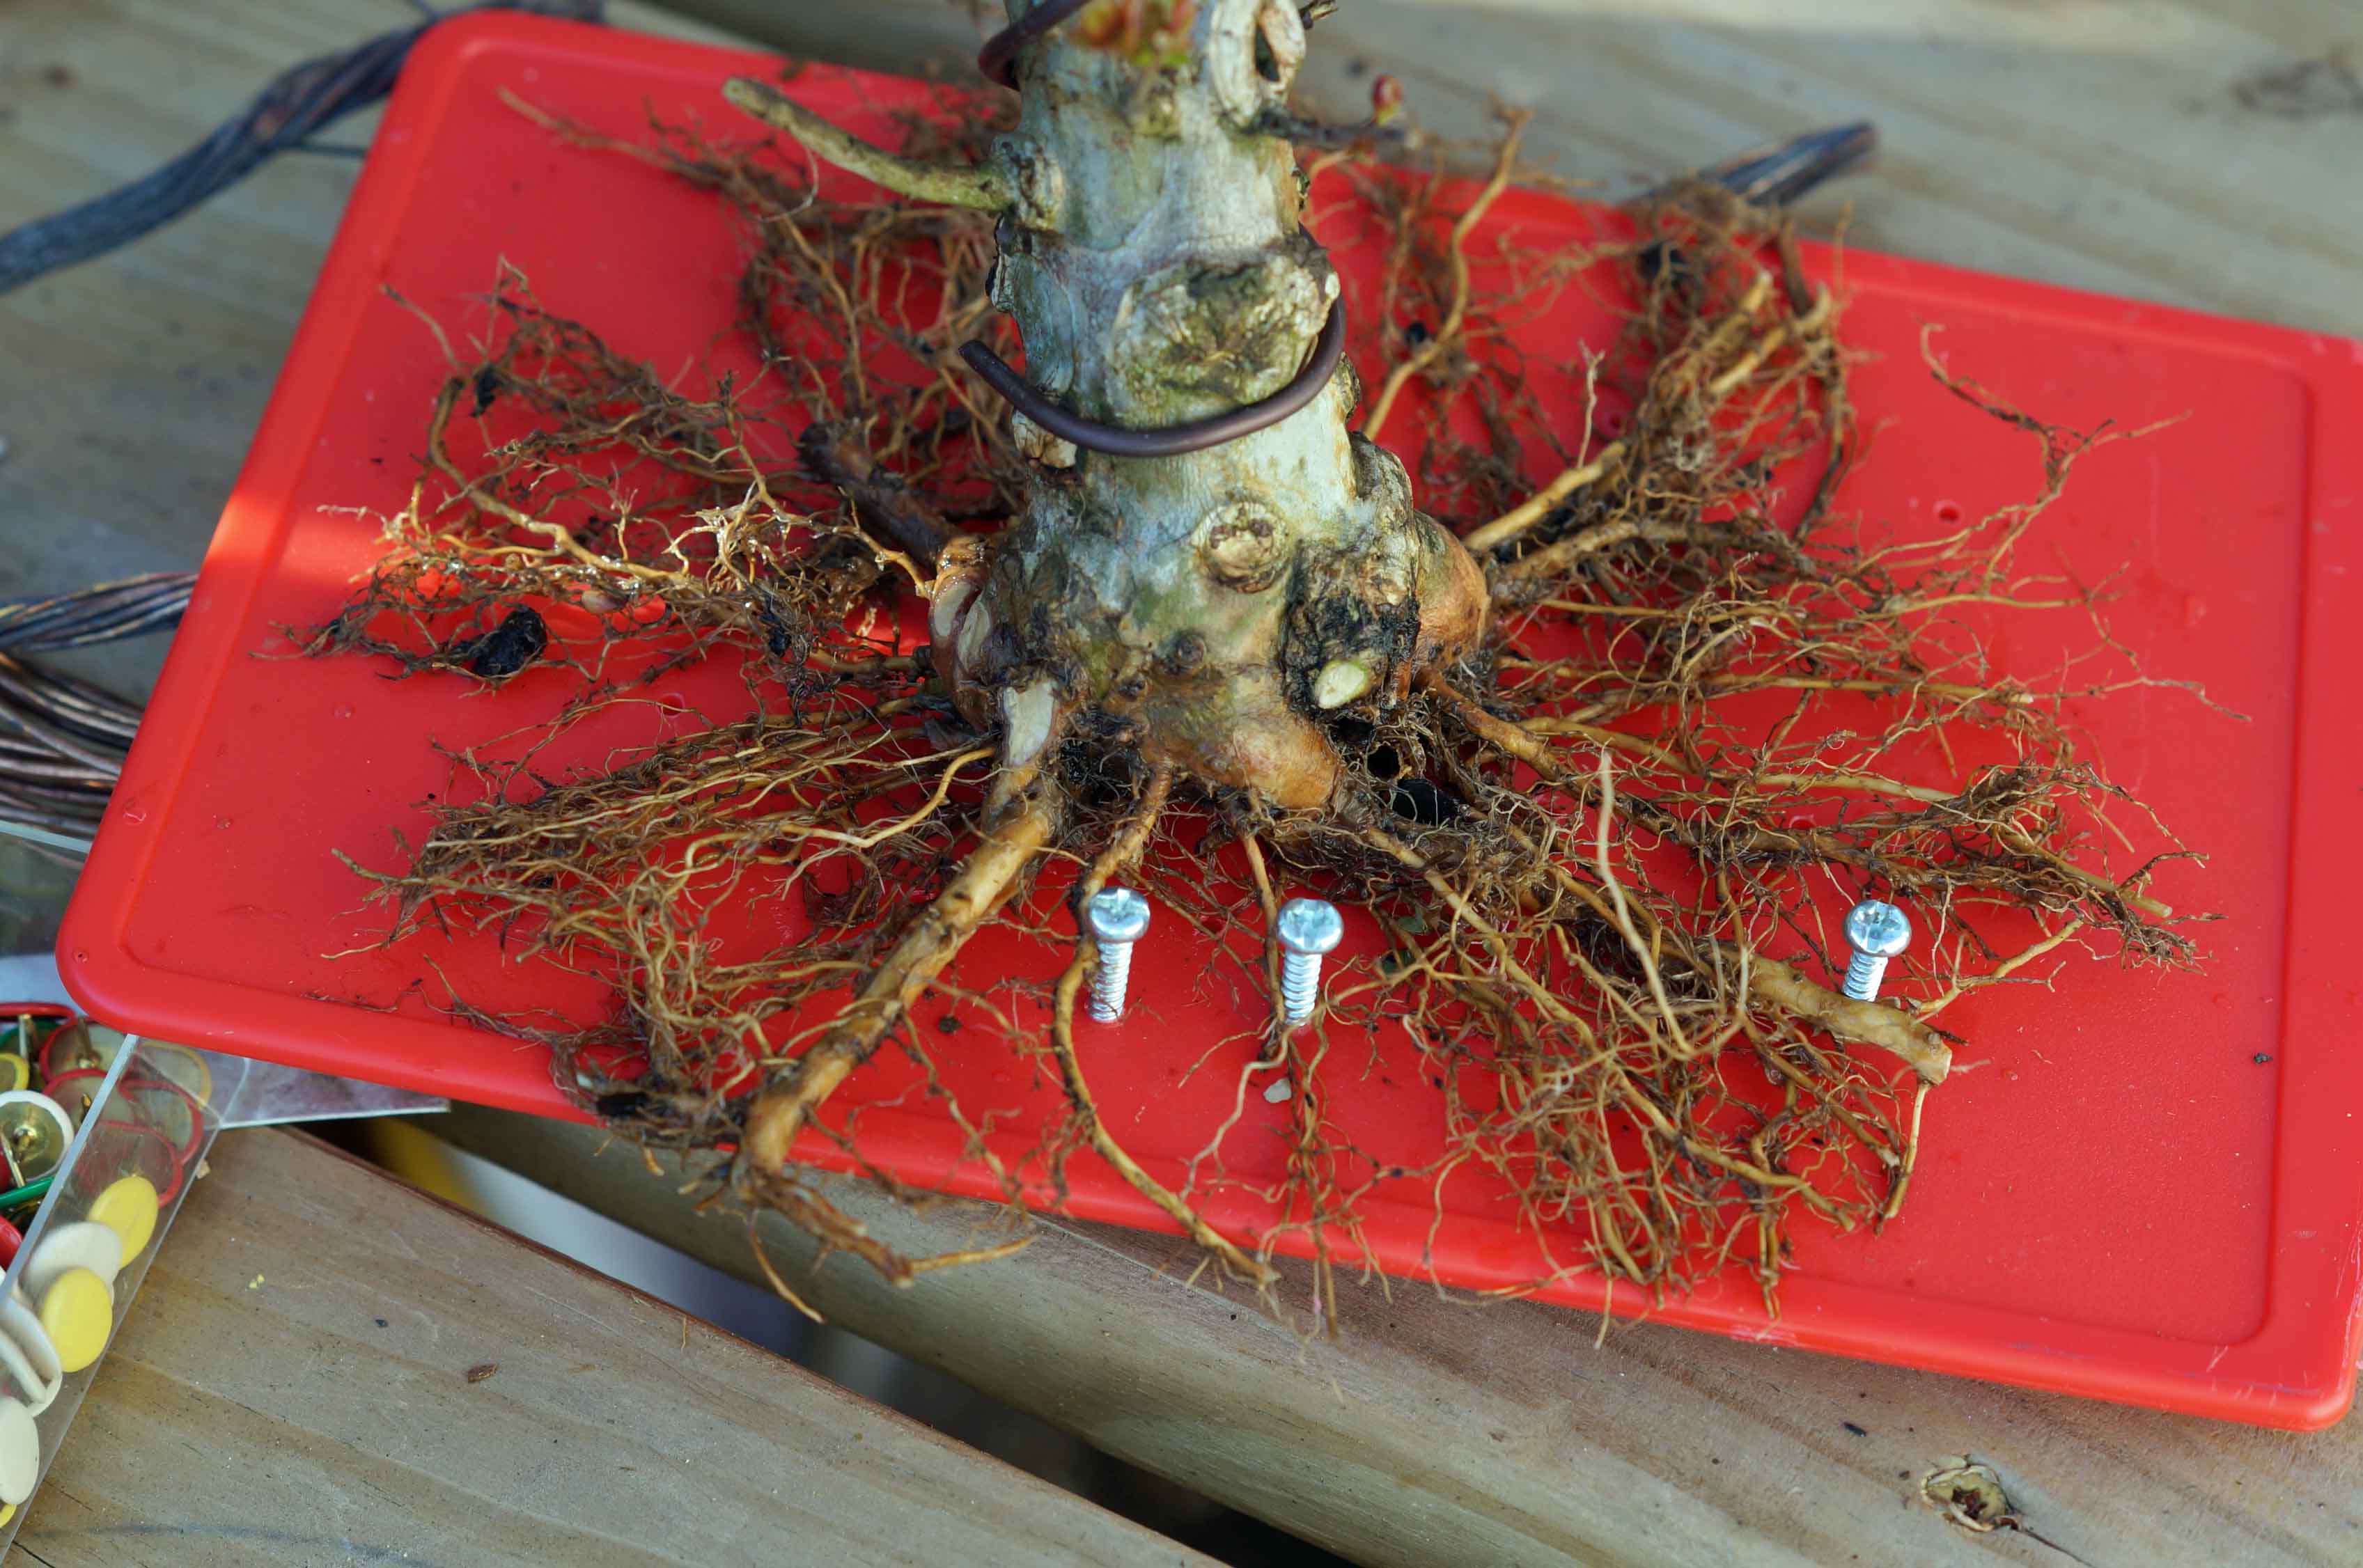
More combing and slowly trimming the roots away that were coming off the trunk at odd places, we were left with this. I know it doesn’t look like much but crepe myrtles can take it, you can trim the roots a lot and get away with it. The goal is to get the roots that you intend to keep to come off of the trunk in the same plane.
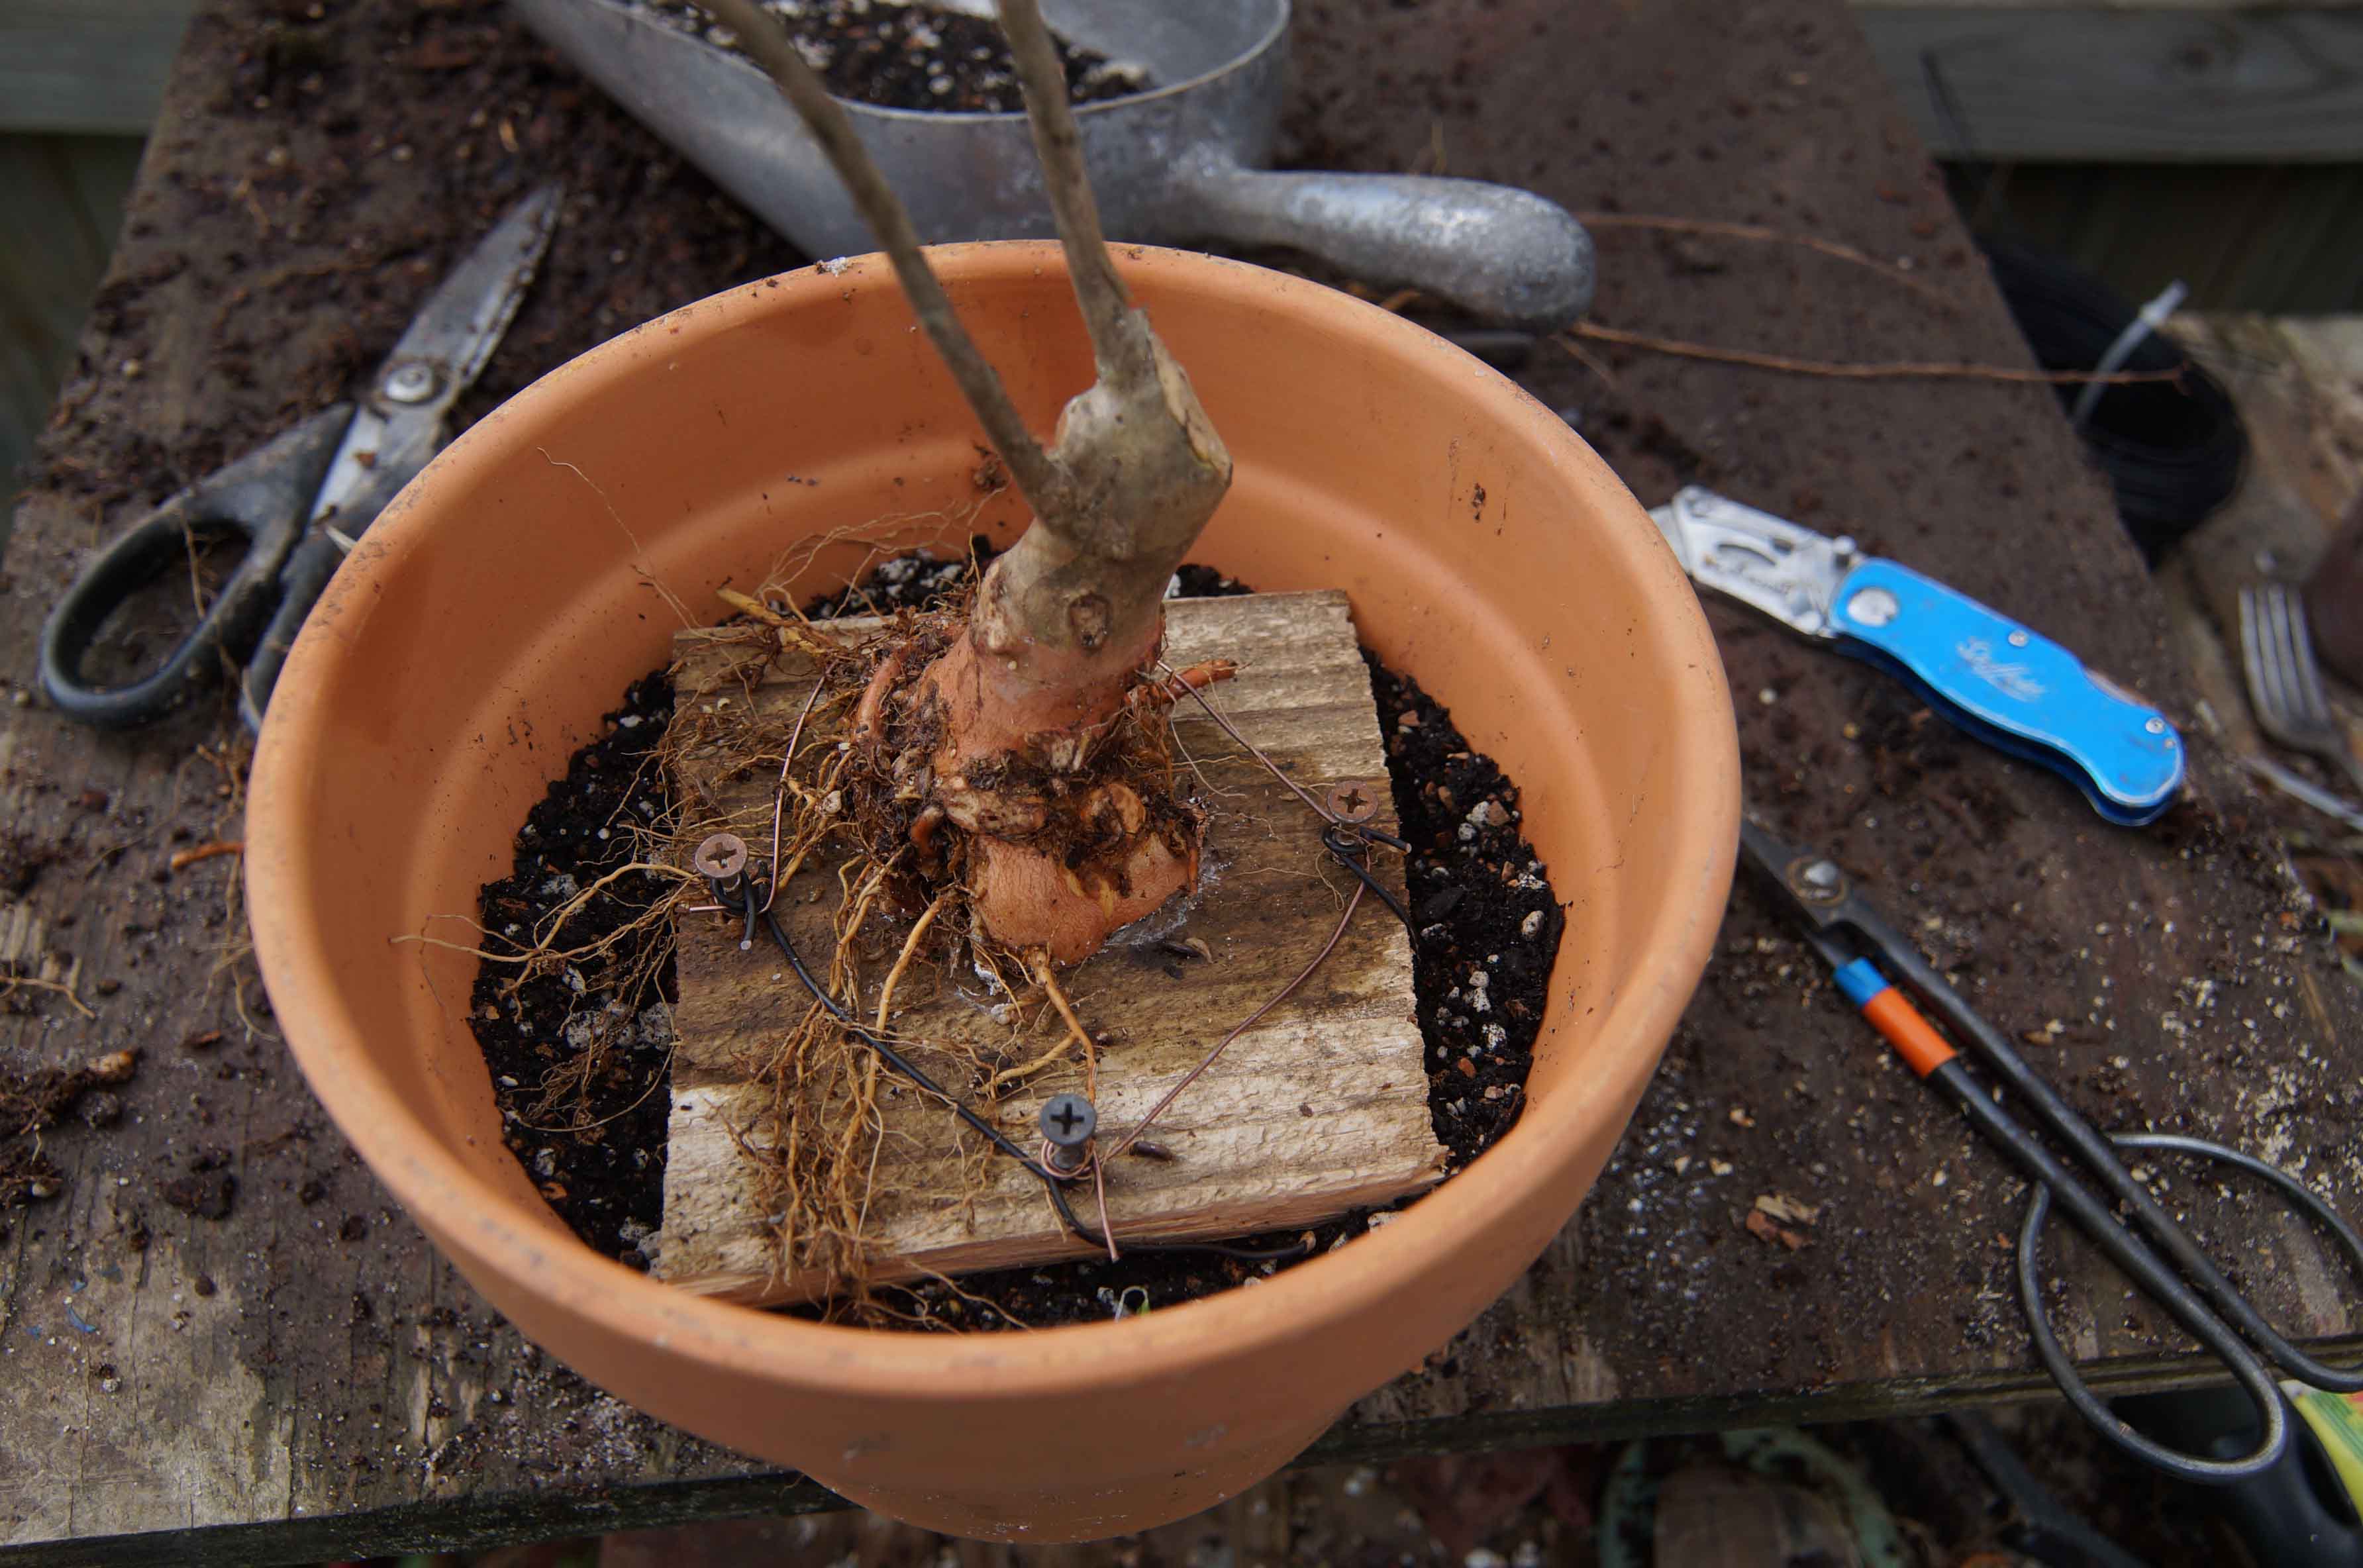
After the root work was done, I decided that I wanted to make this one a shohin or mame size so I reduced the height even further. The other one I left taller and they were both screwed to a piece of plywood and a web of wire was used to keep the roots in place. Both were placed in pots and the roots were covered with soil and left to grow.
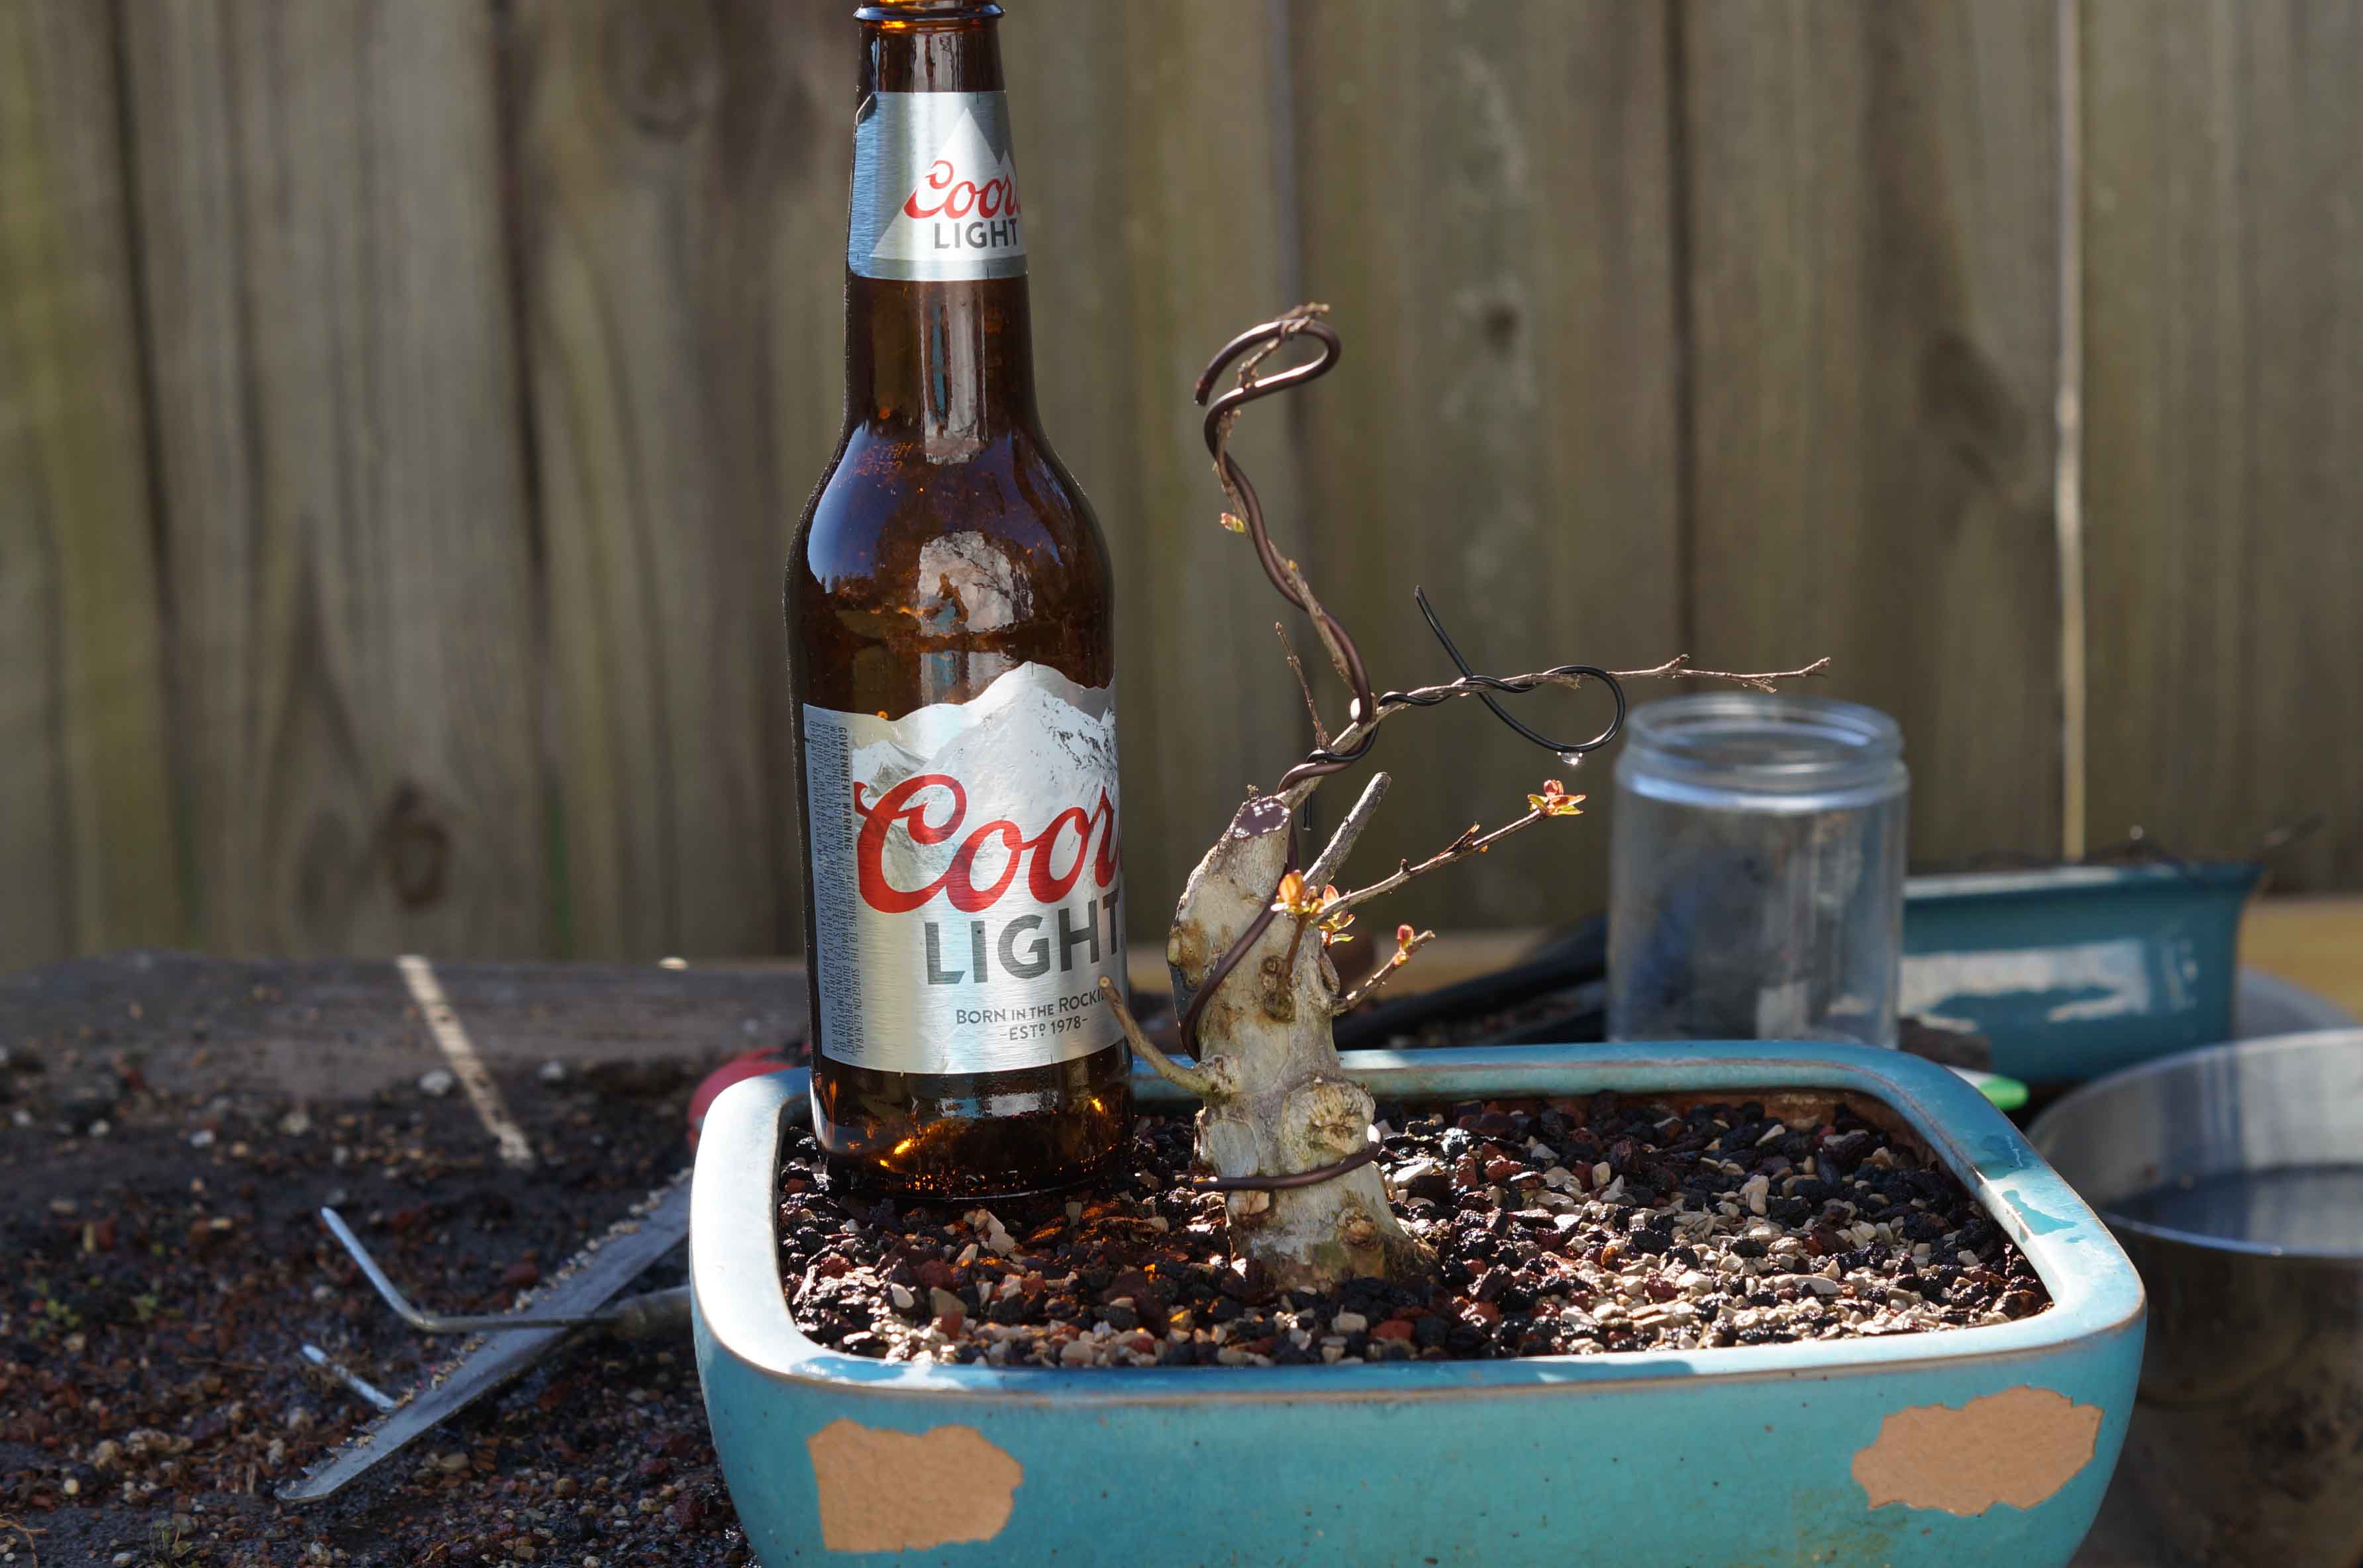
They were allowed to grow freely and seemed to recover quite well, both bloomed in July.


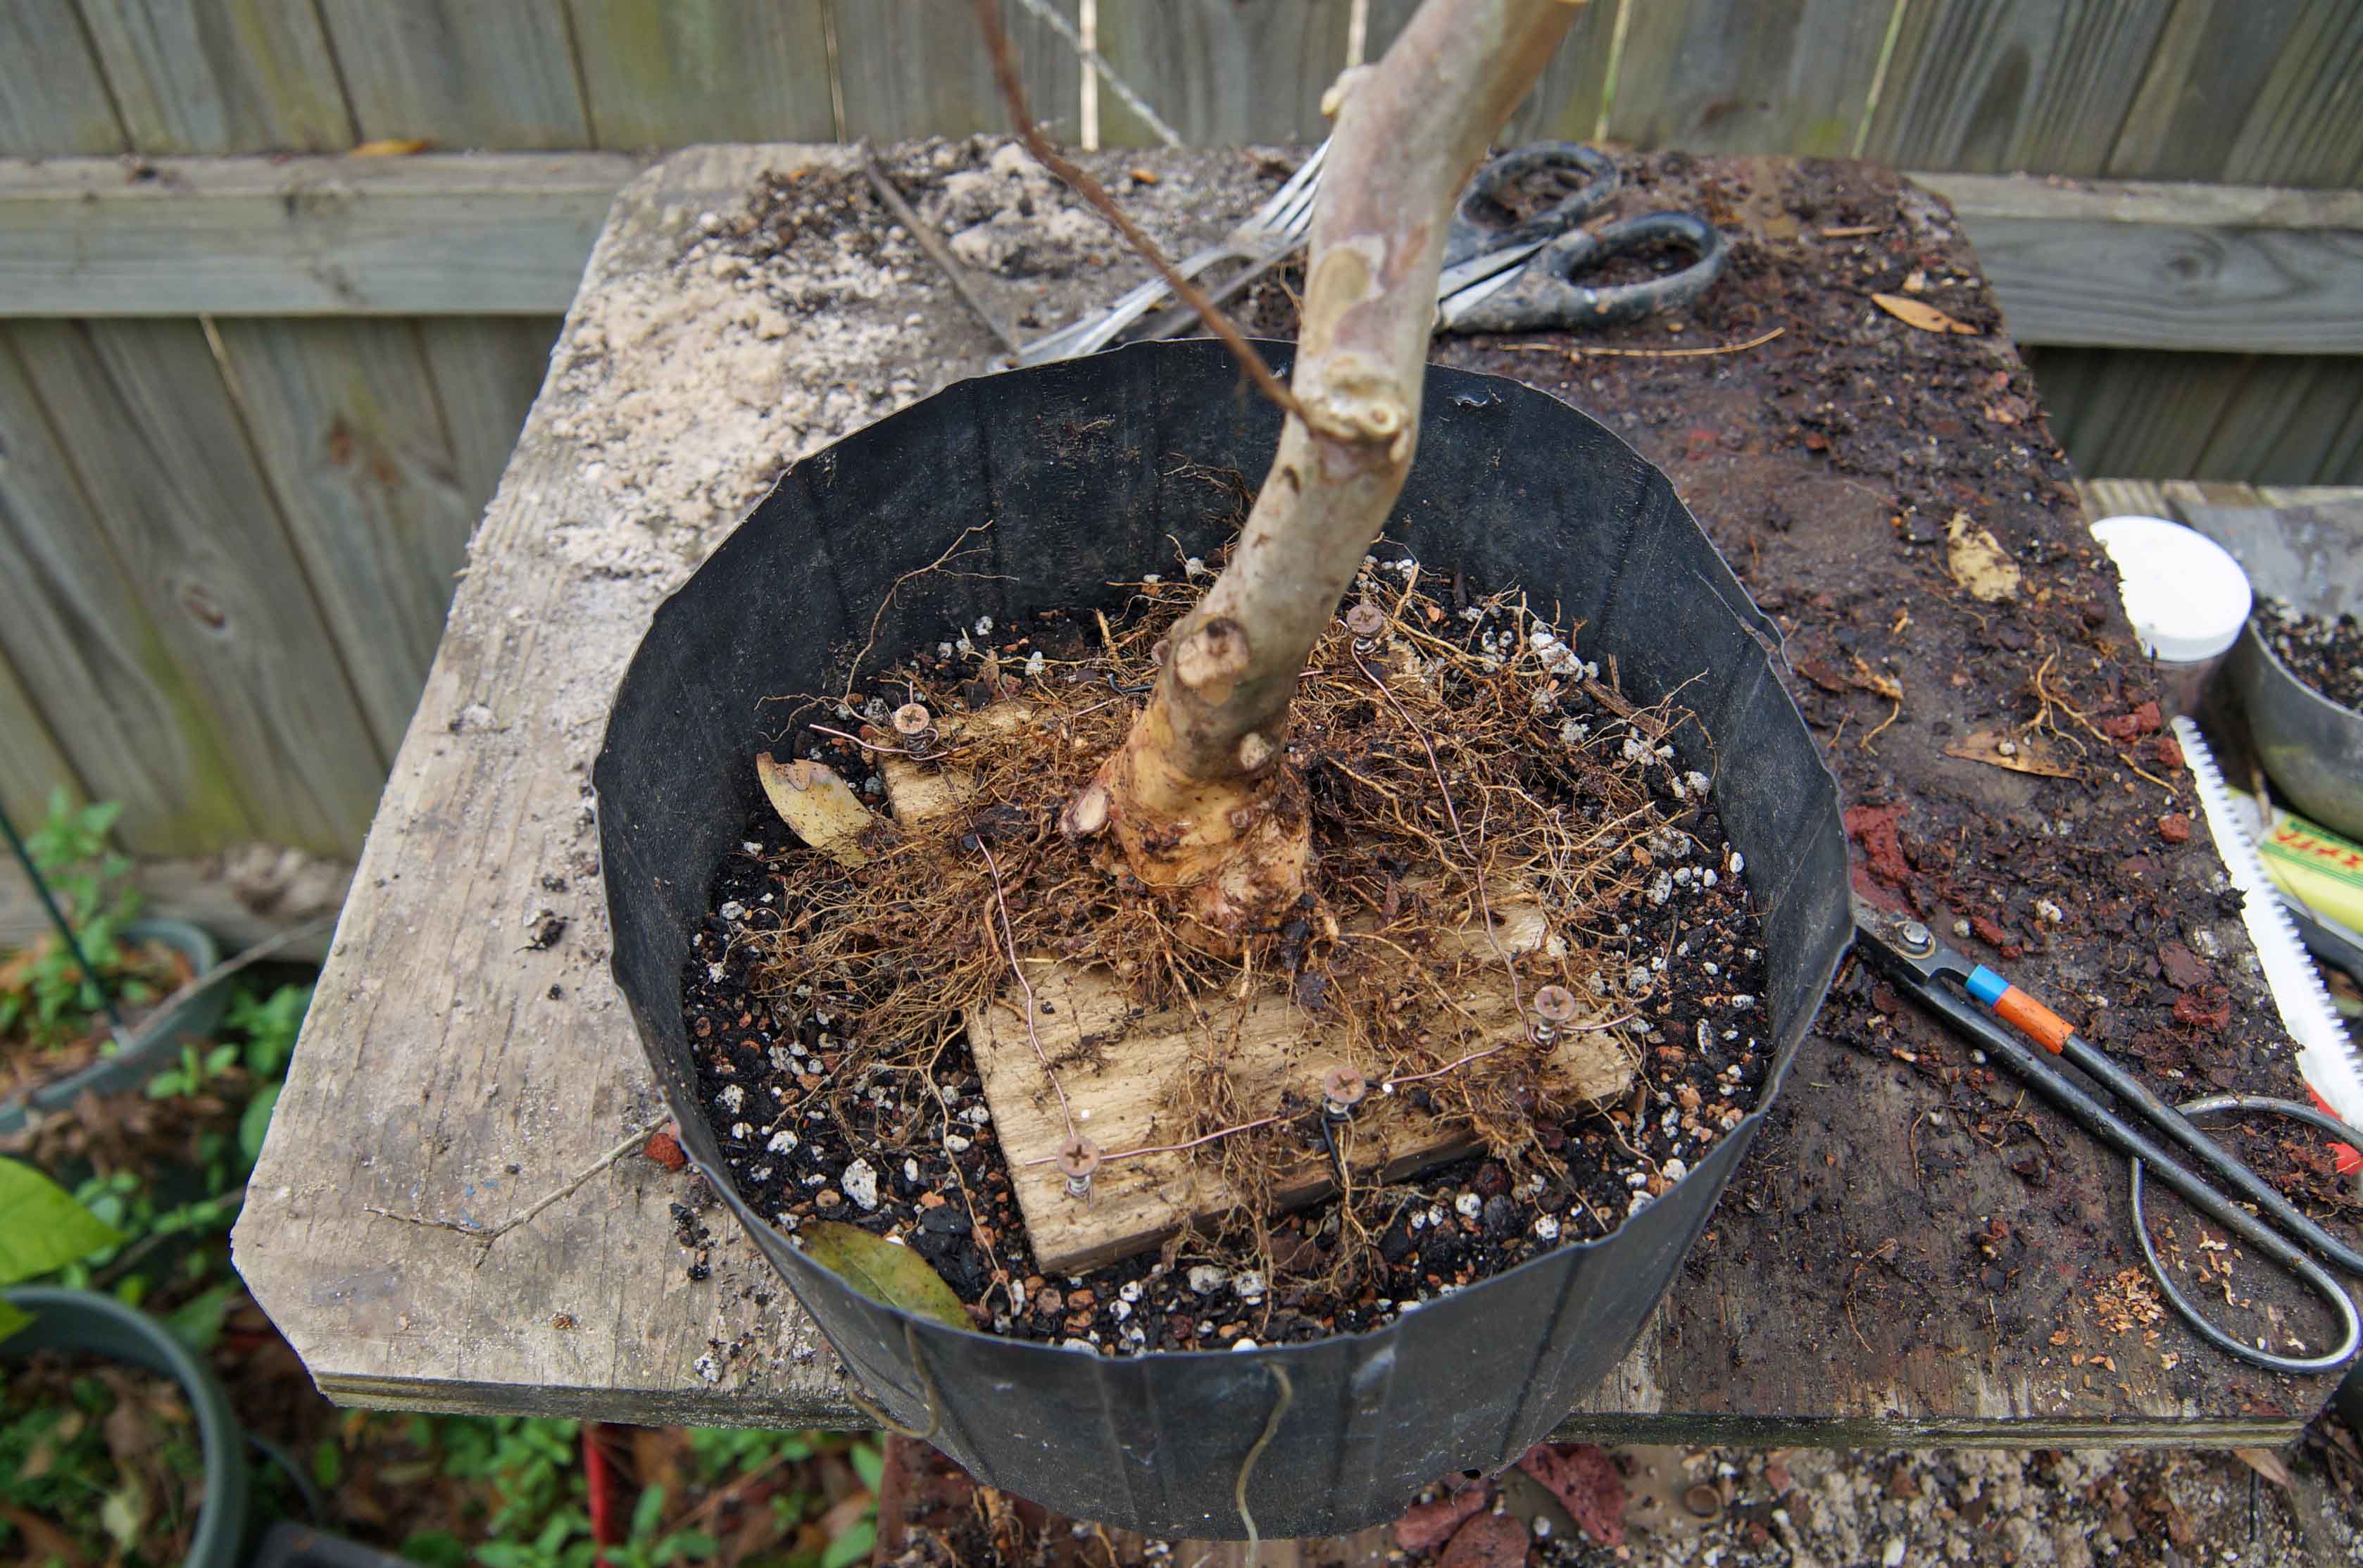
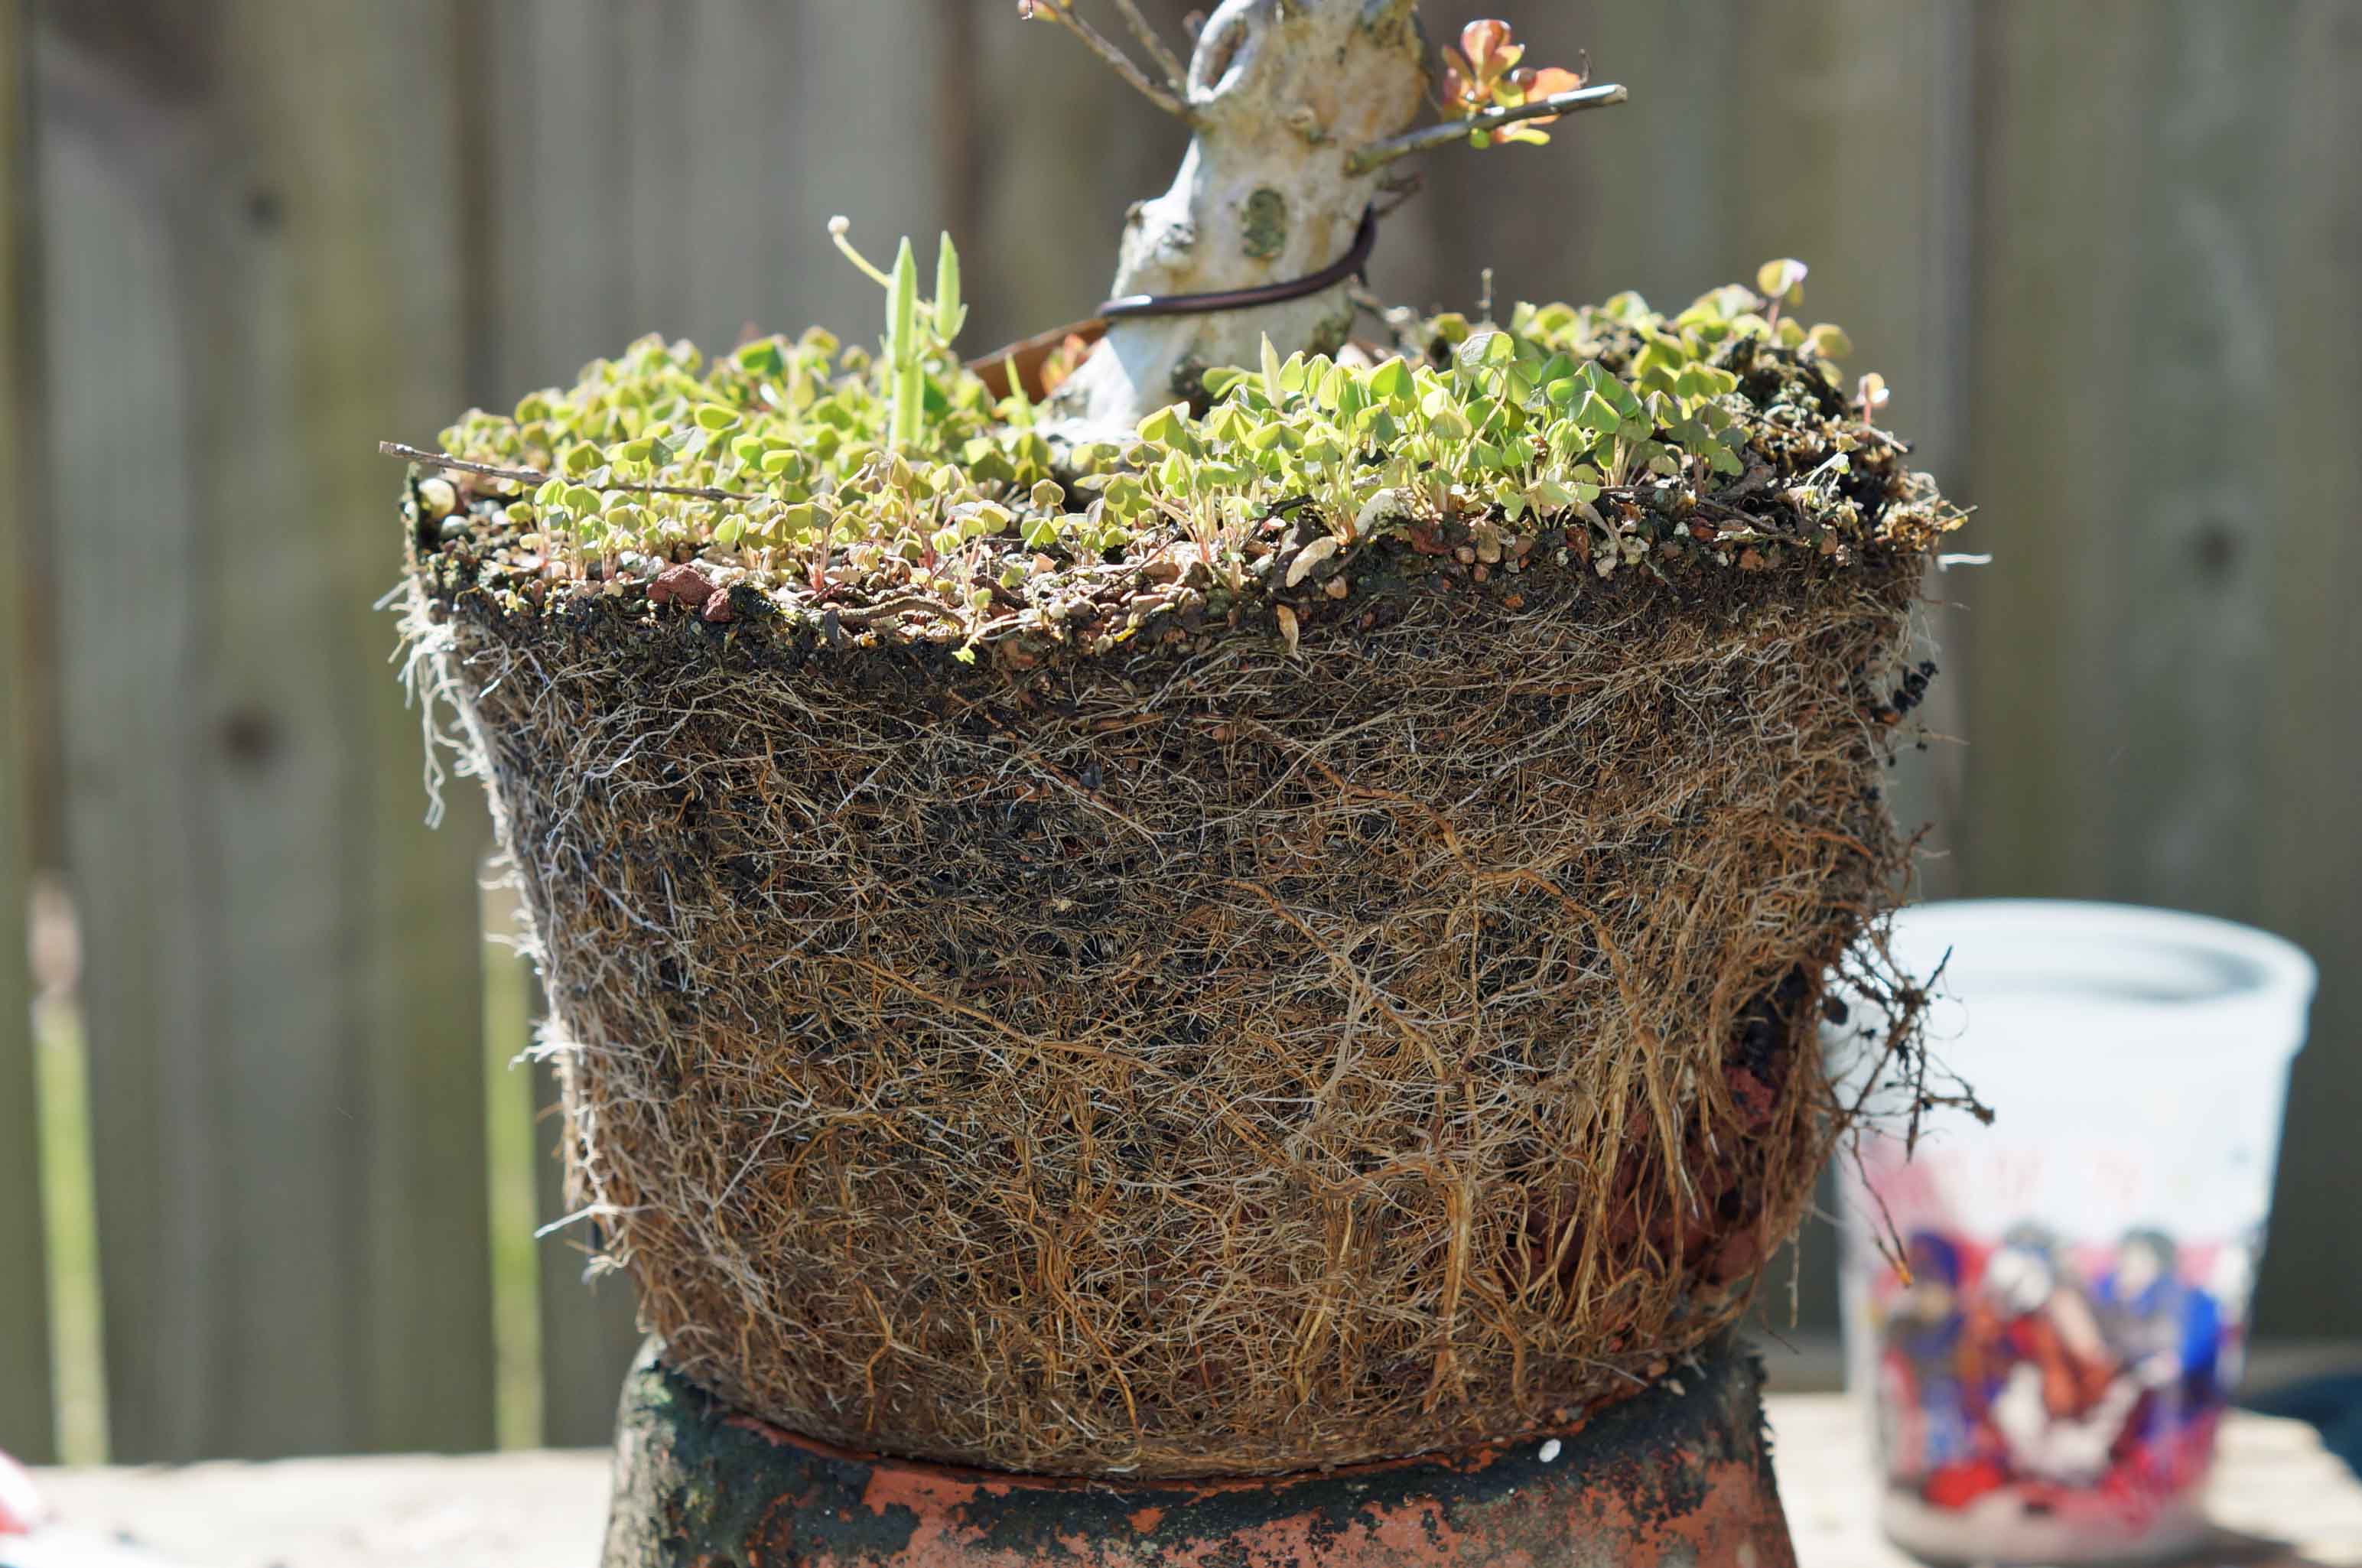
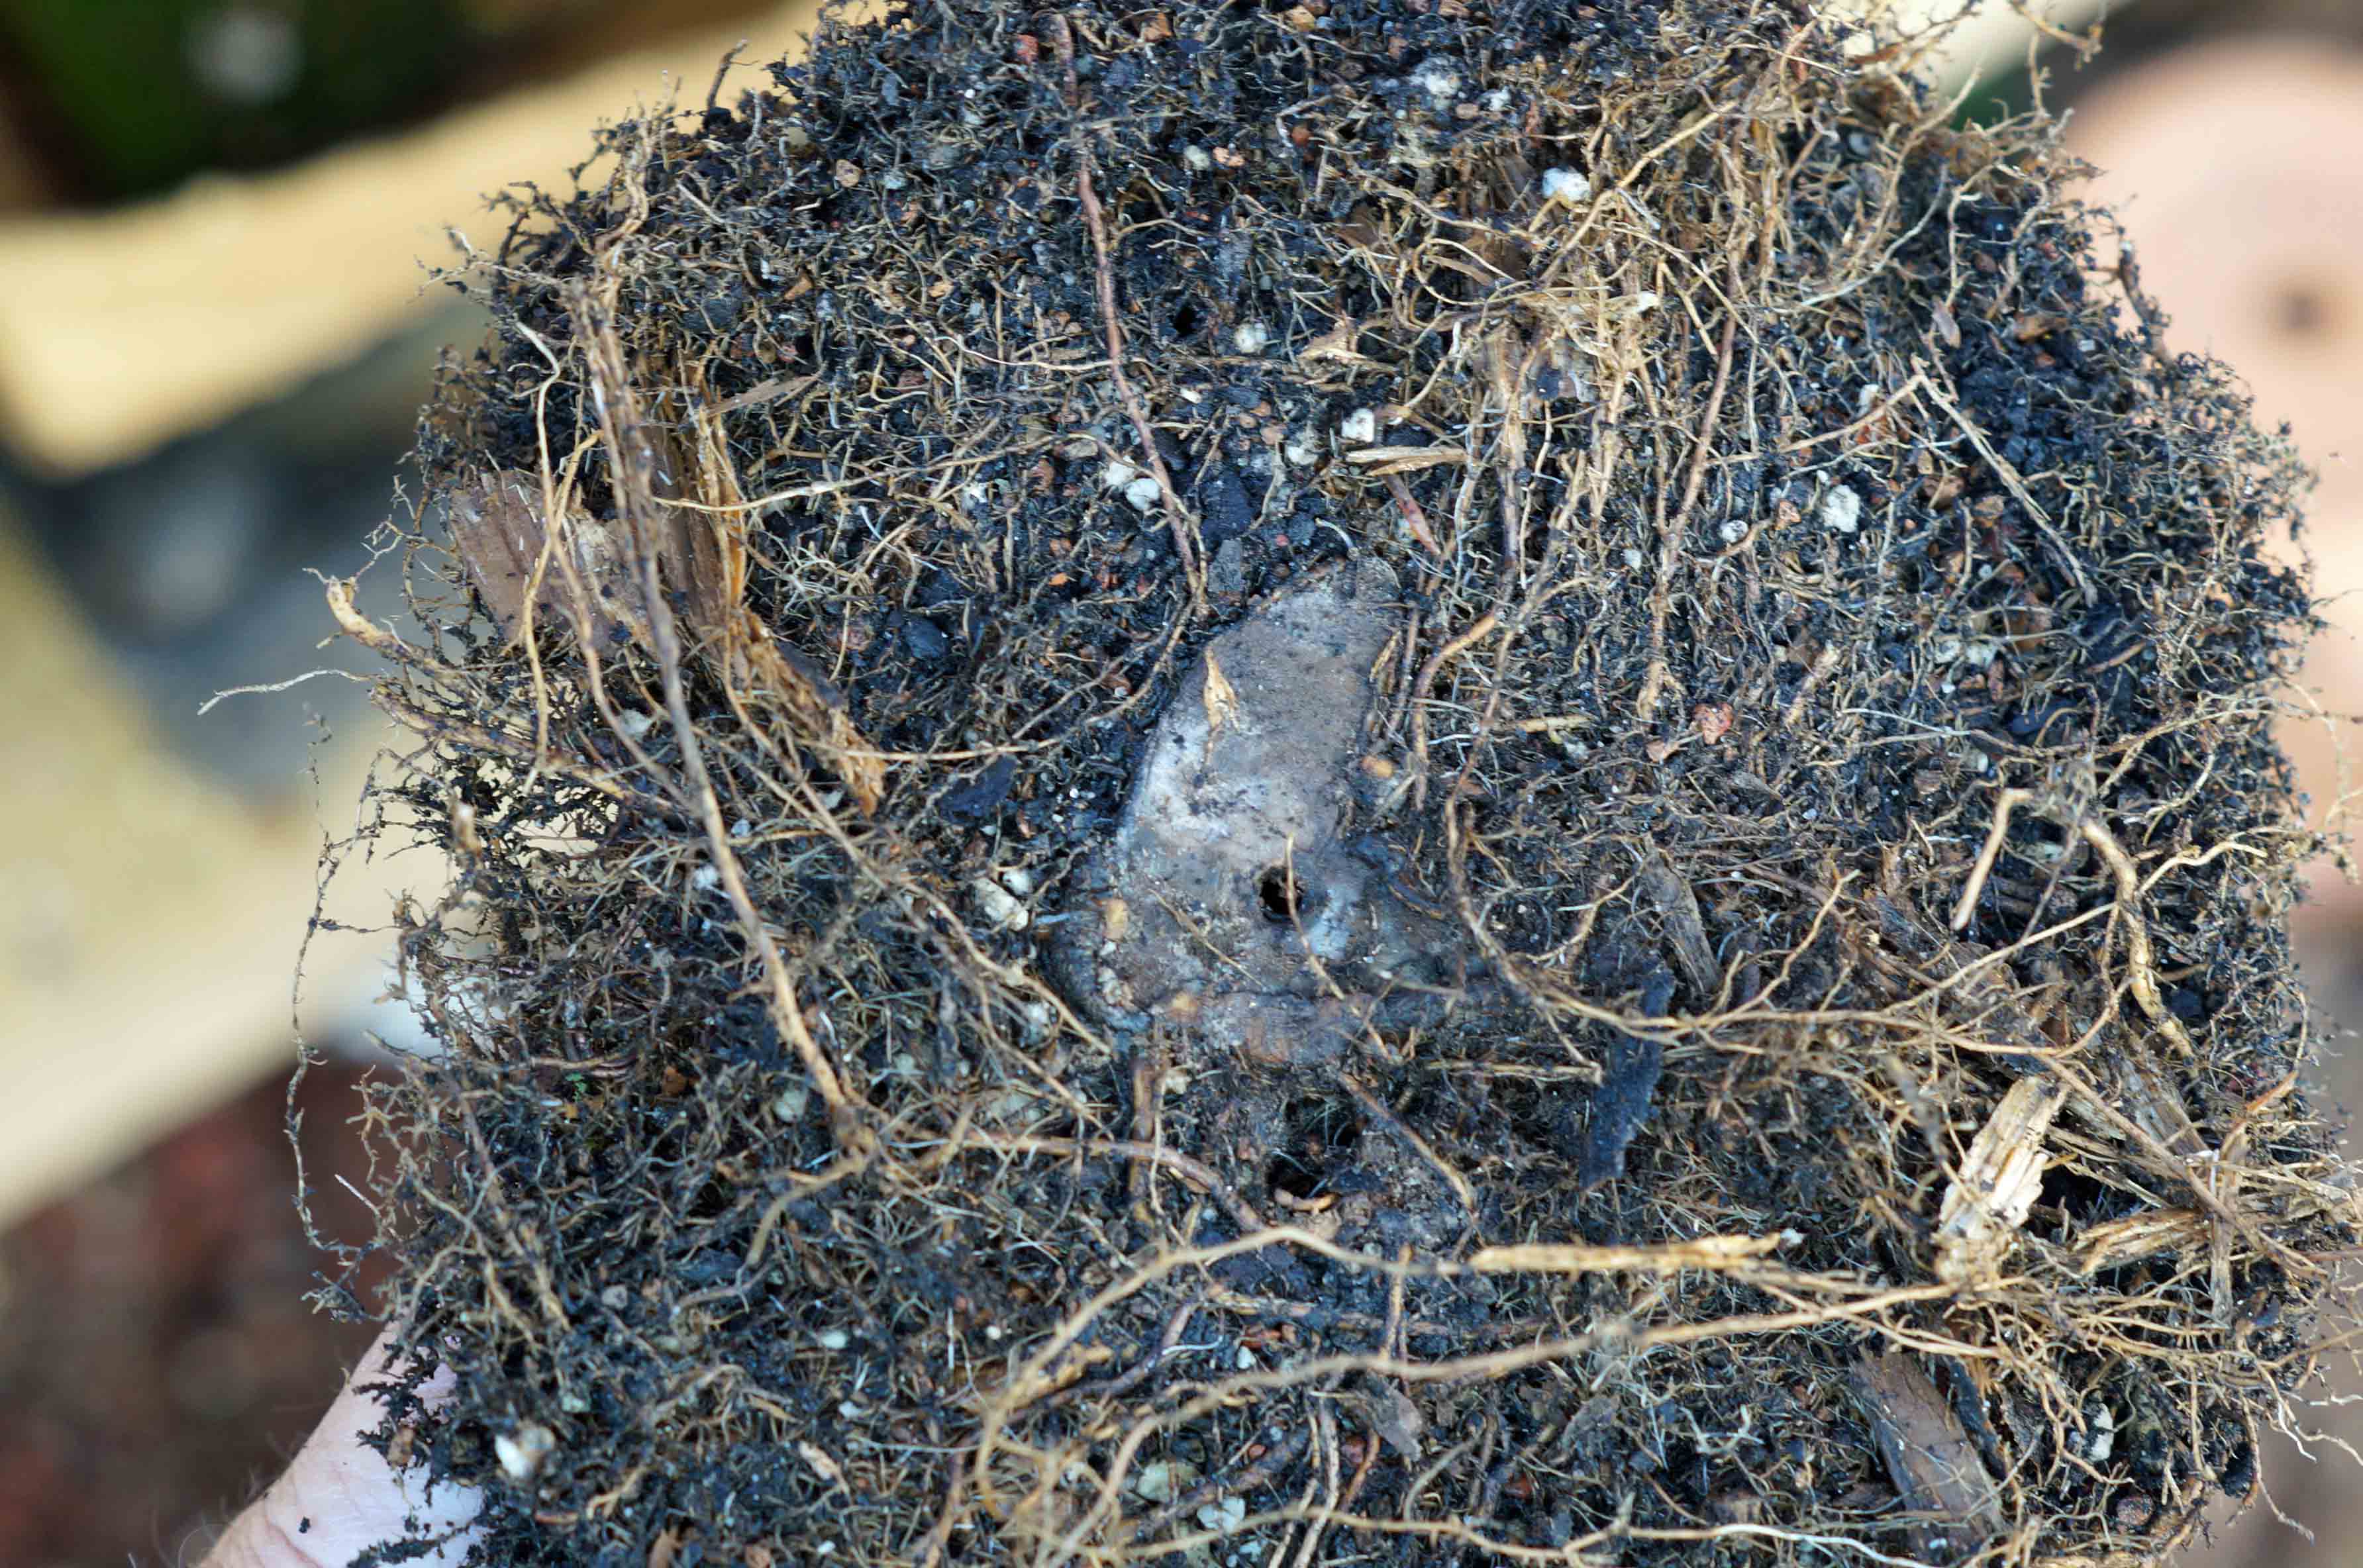
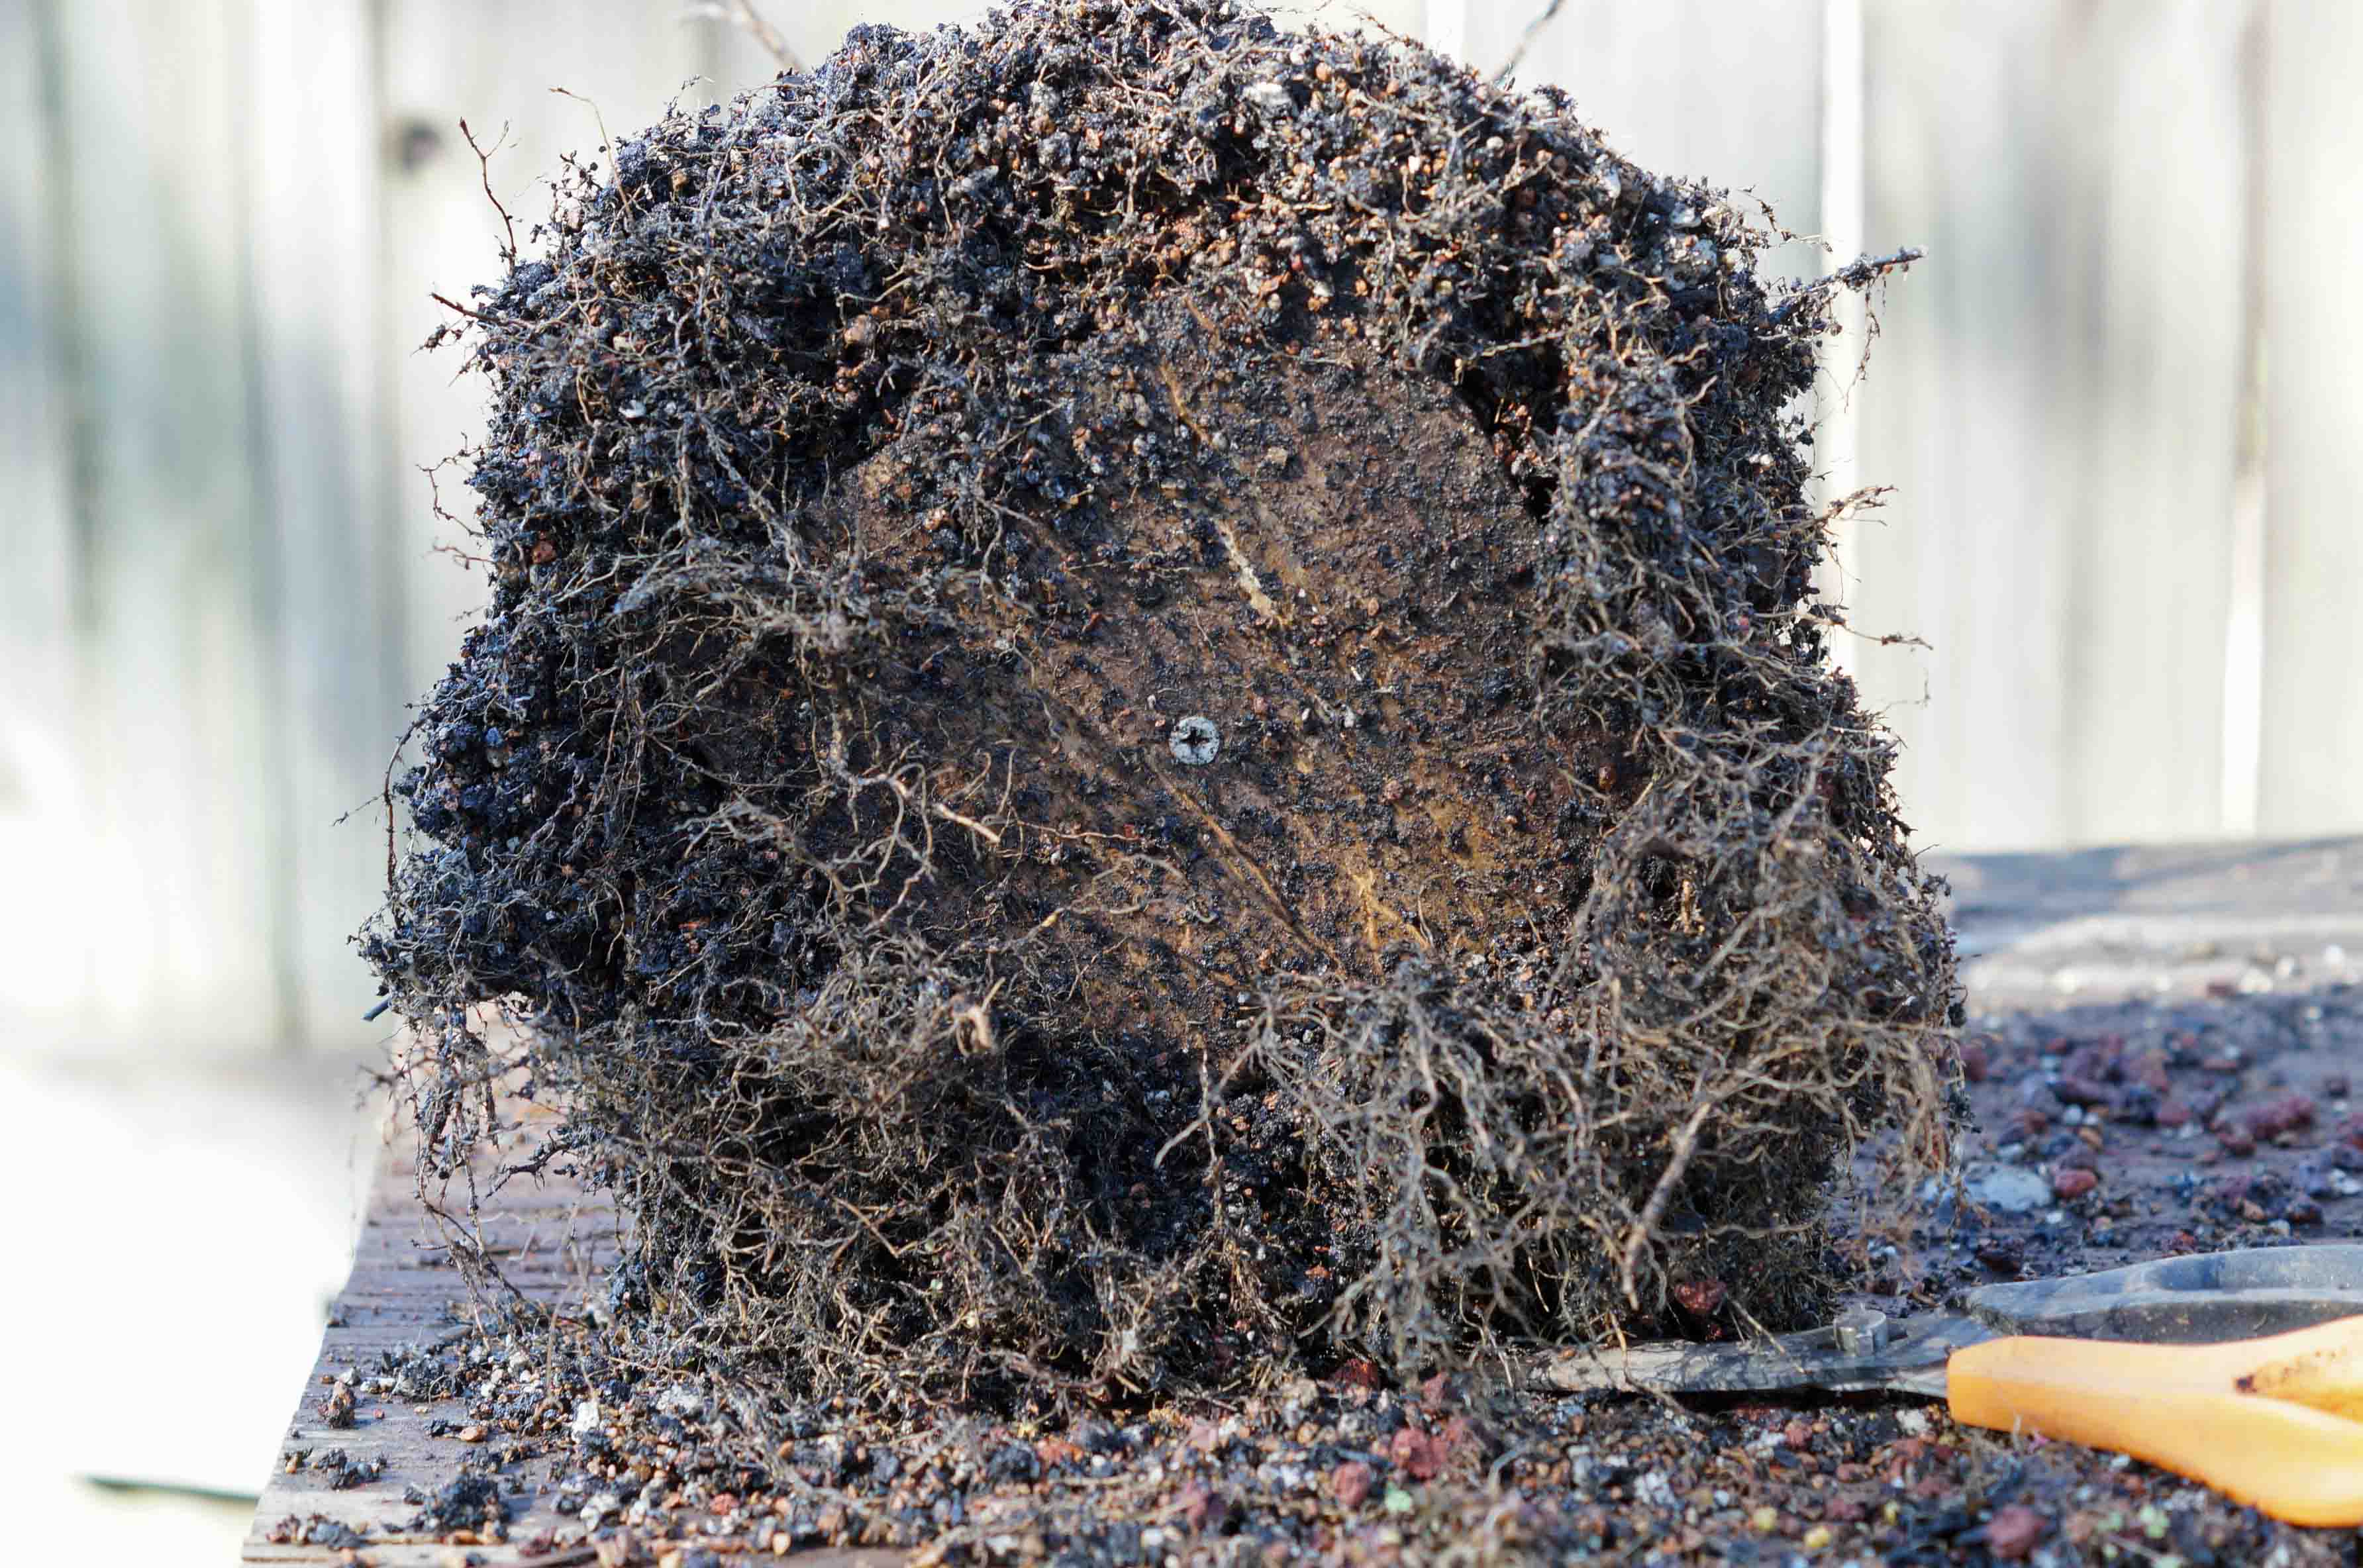
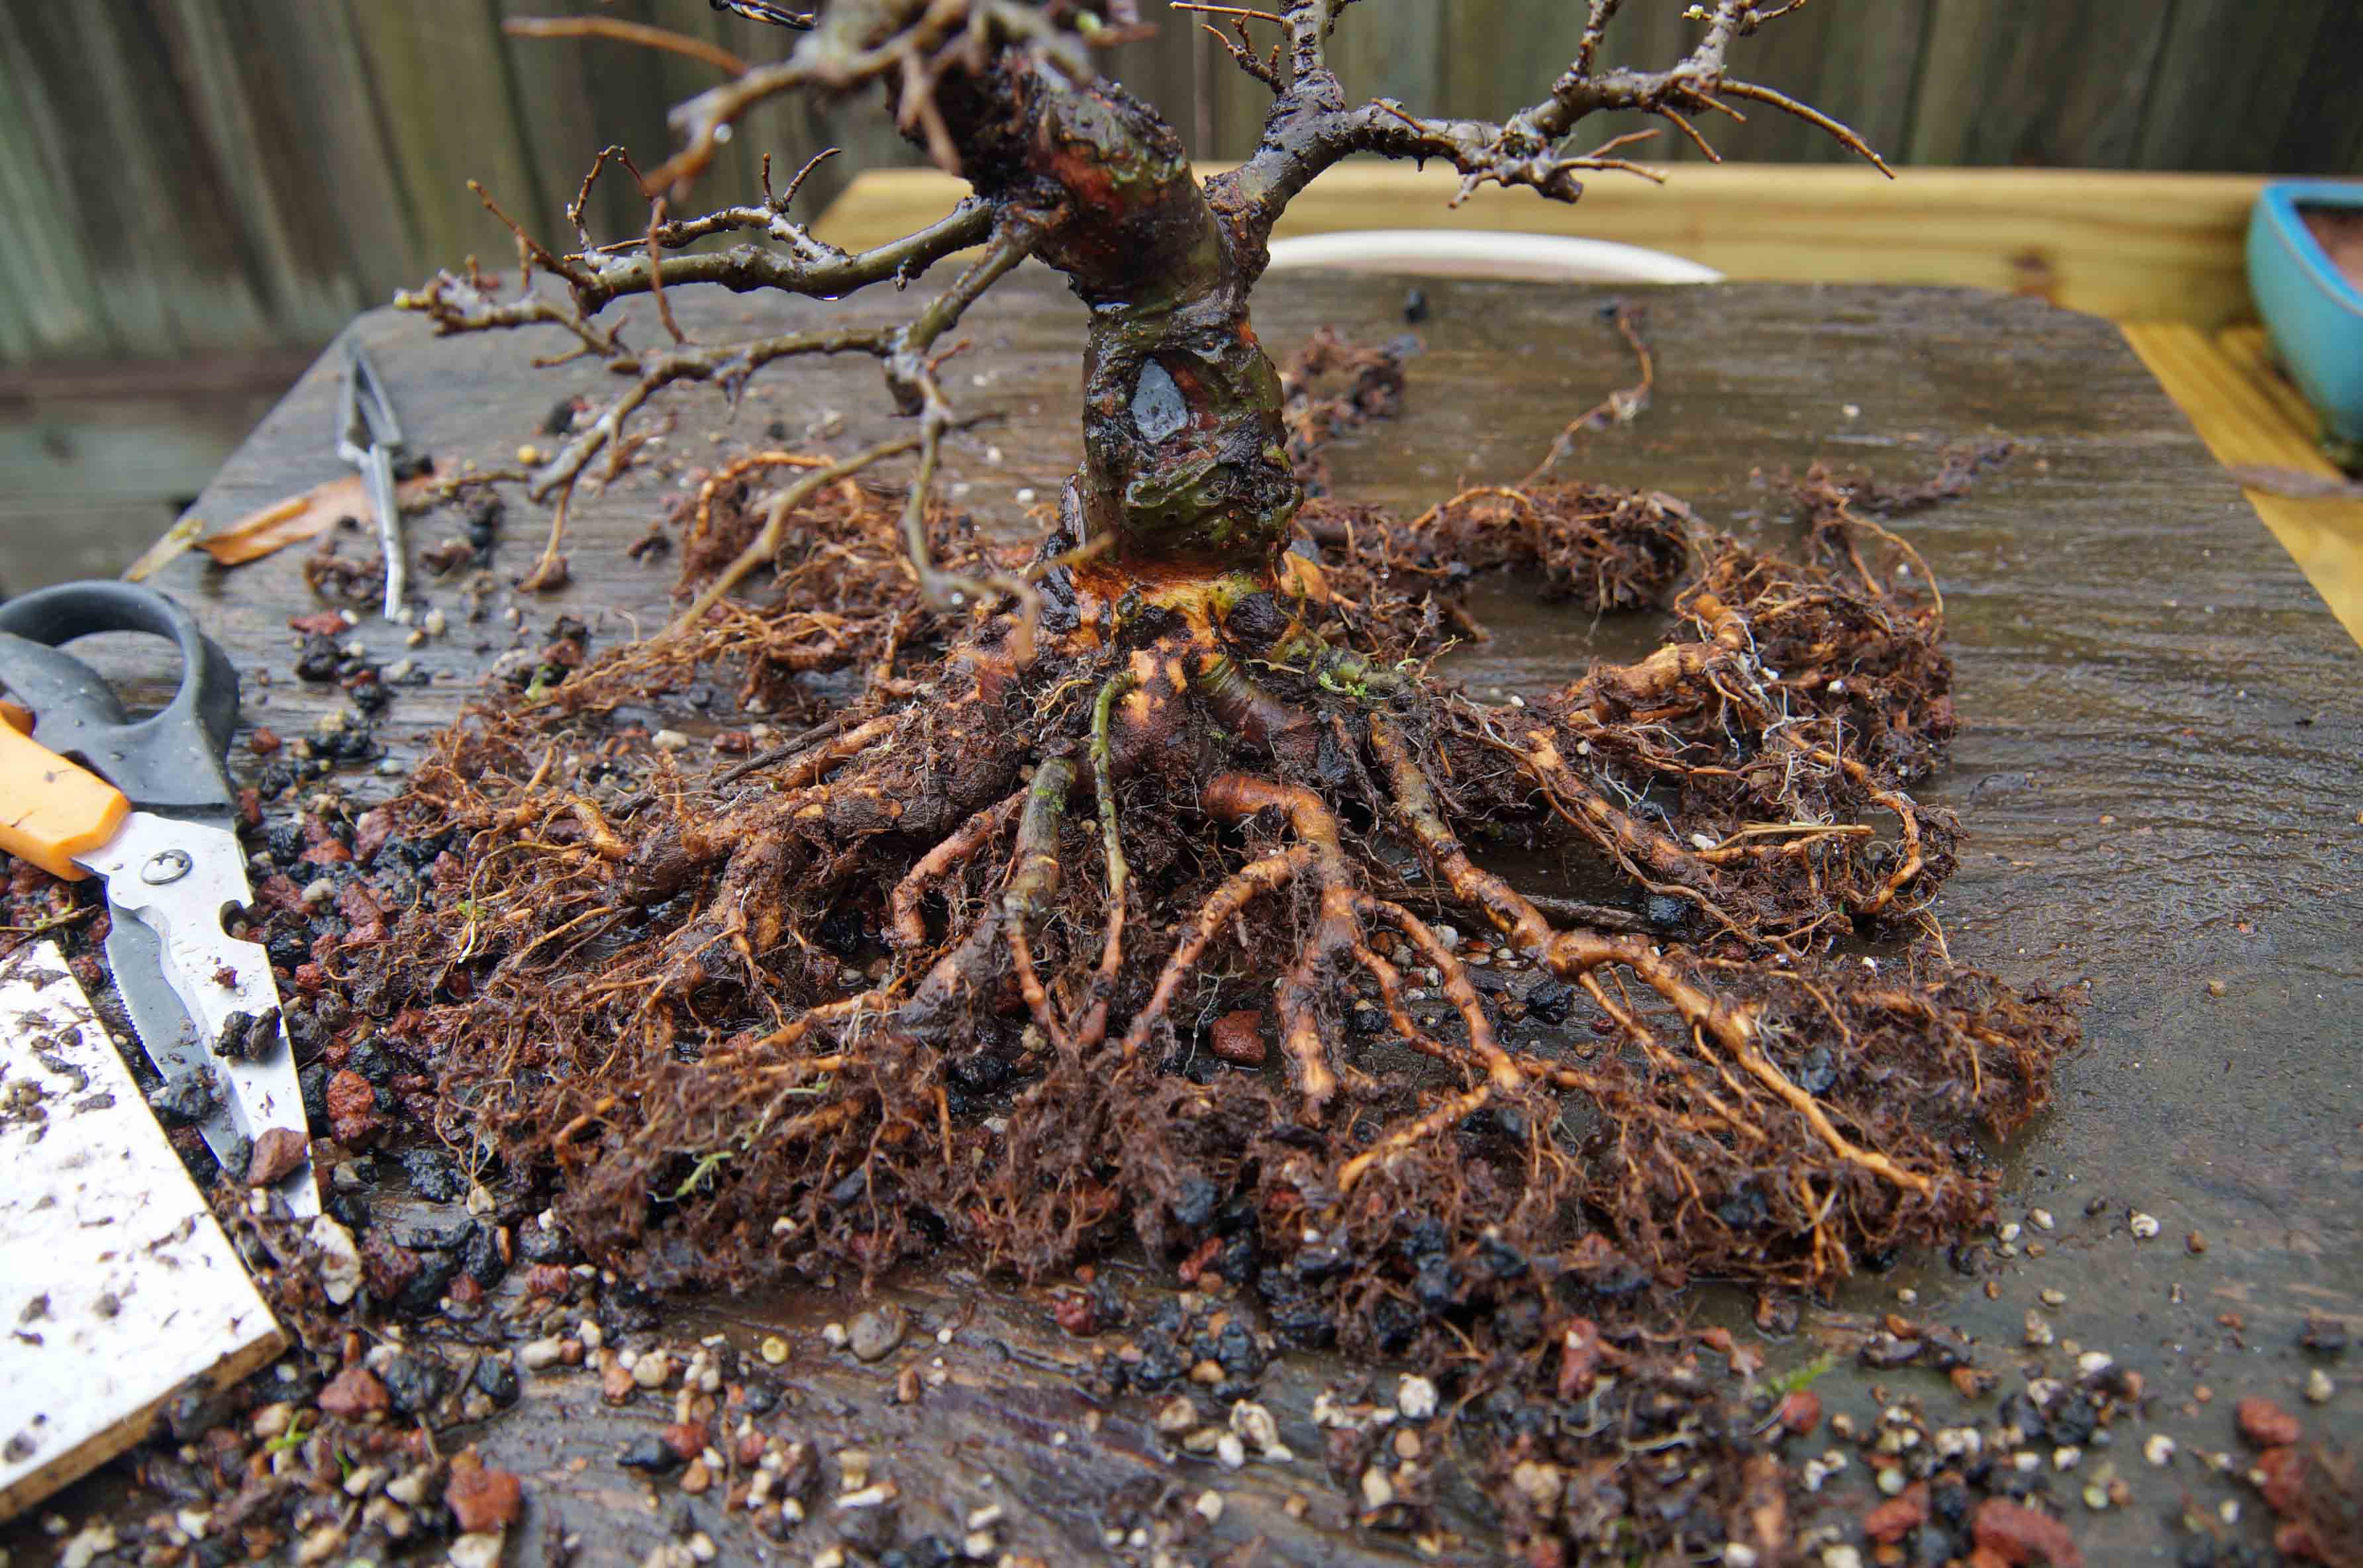
In March of 2018, they were both repotted and the roots were examined. Here is tree number one, we will call him Stubby. Stubby filled the pot with roots and after trimming away what was below the board, you can see why I don’t like plywood, it is rotting. At least the epoxy coated deck screw held up and after removing it you can see how flat the bottom is.

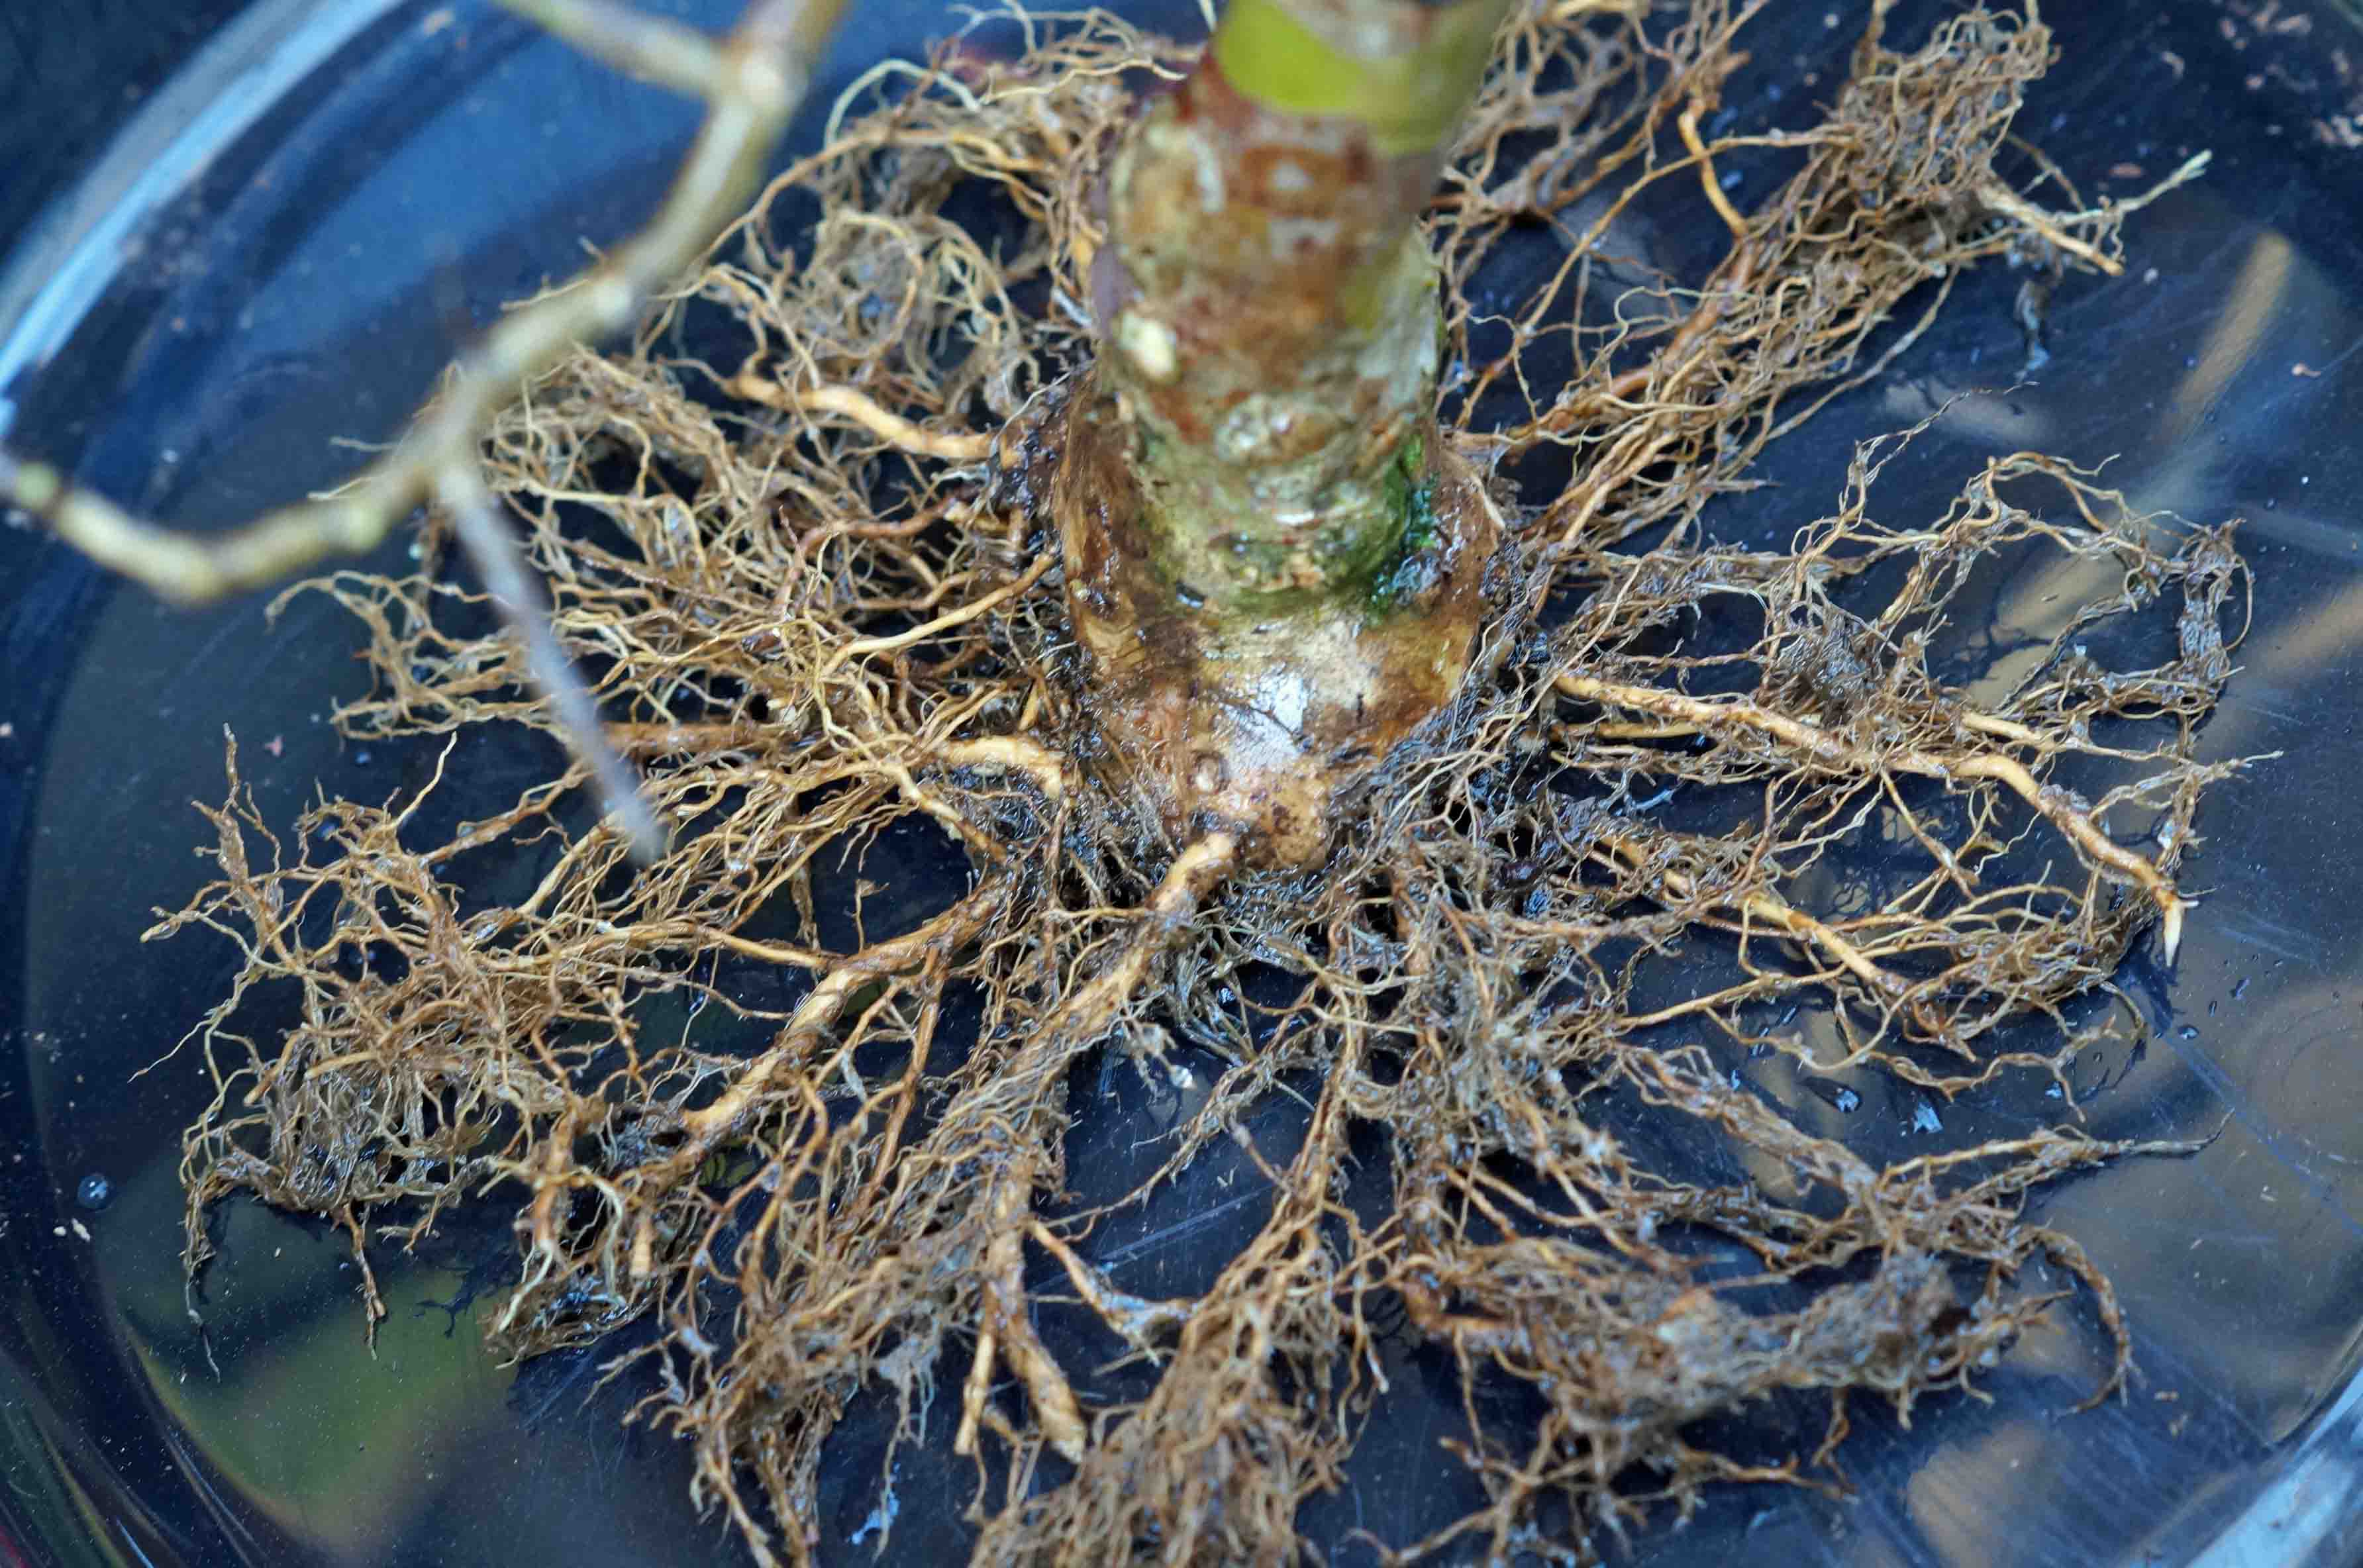
The roots were combed out and washed and this is what we have, not the hot mess that we started with, but the beginnings of a nice flat root mass and hopefully a nice flare in the future.
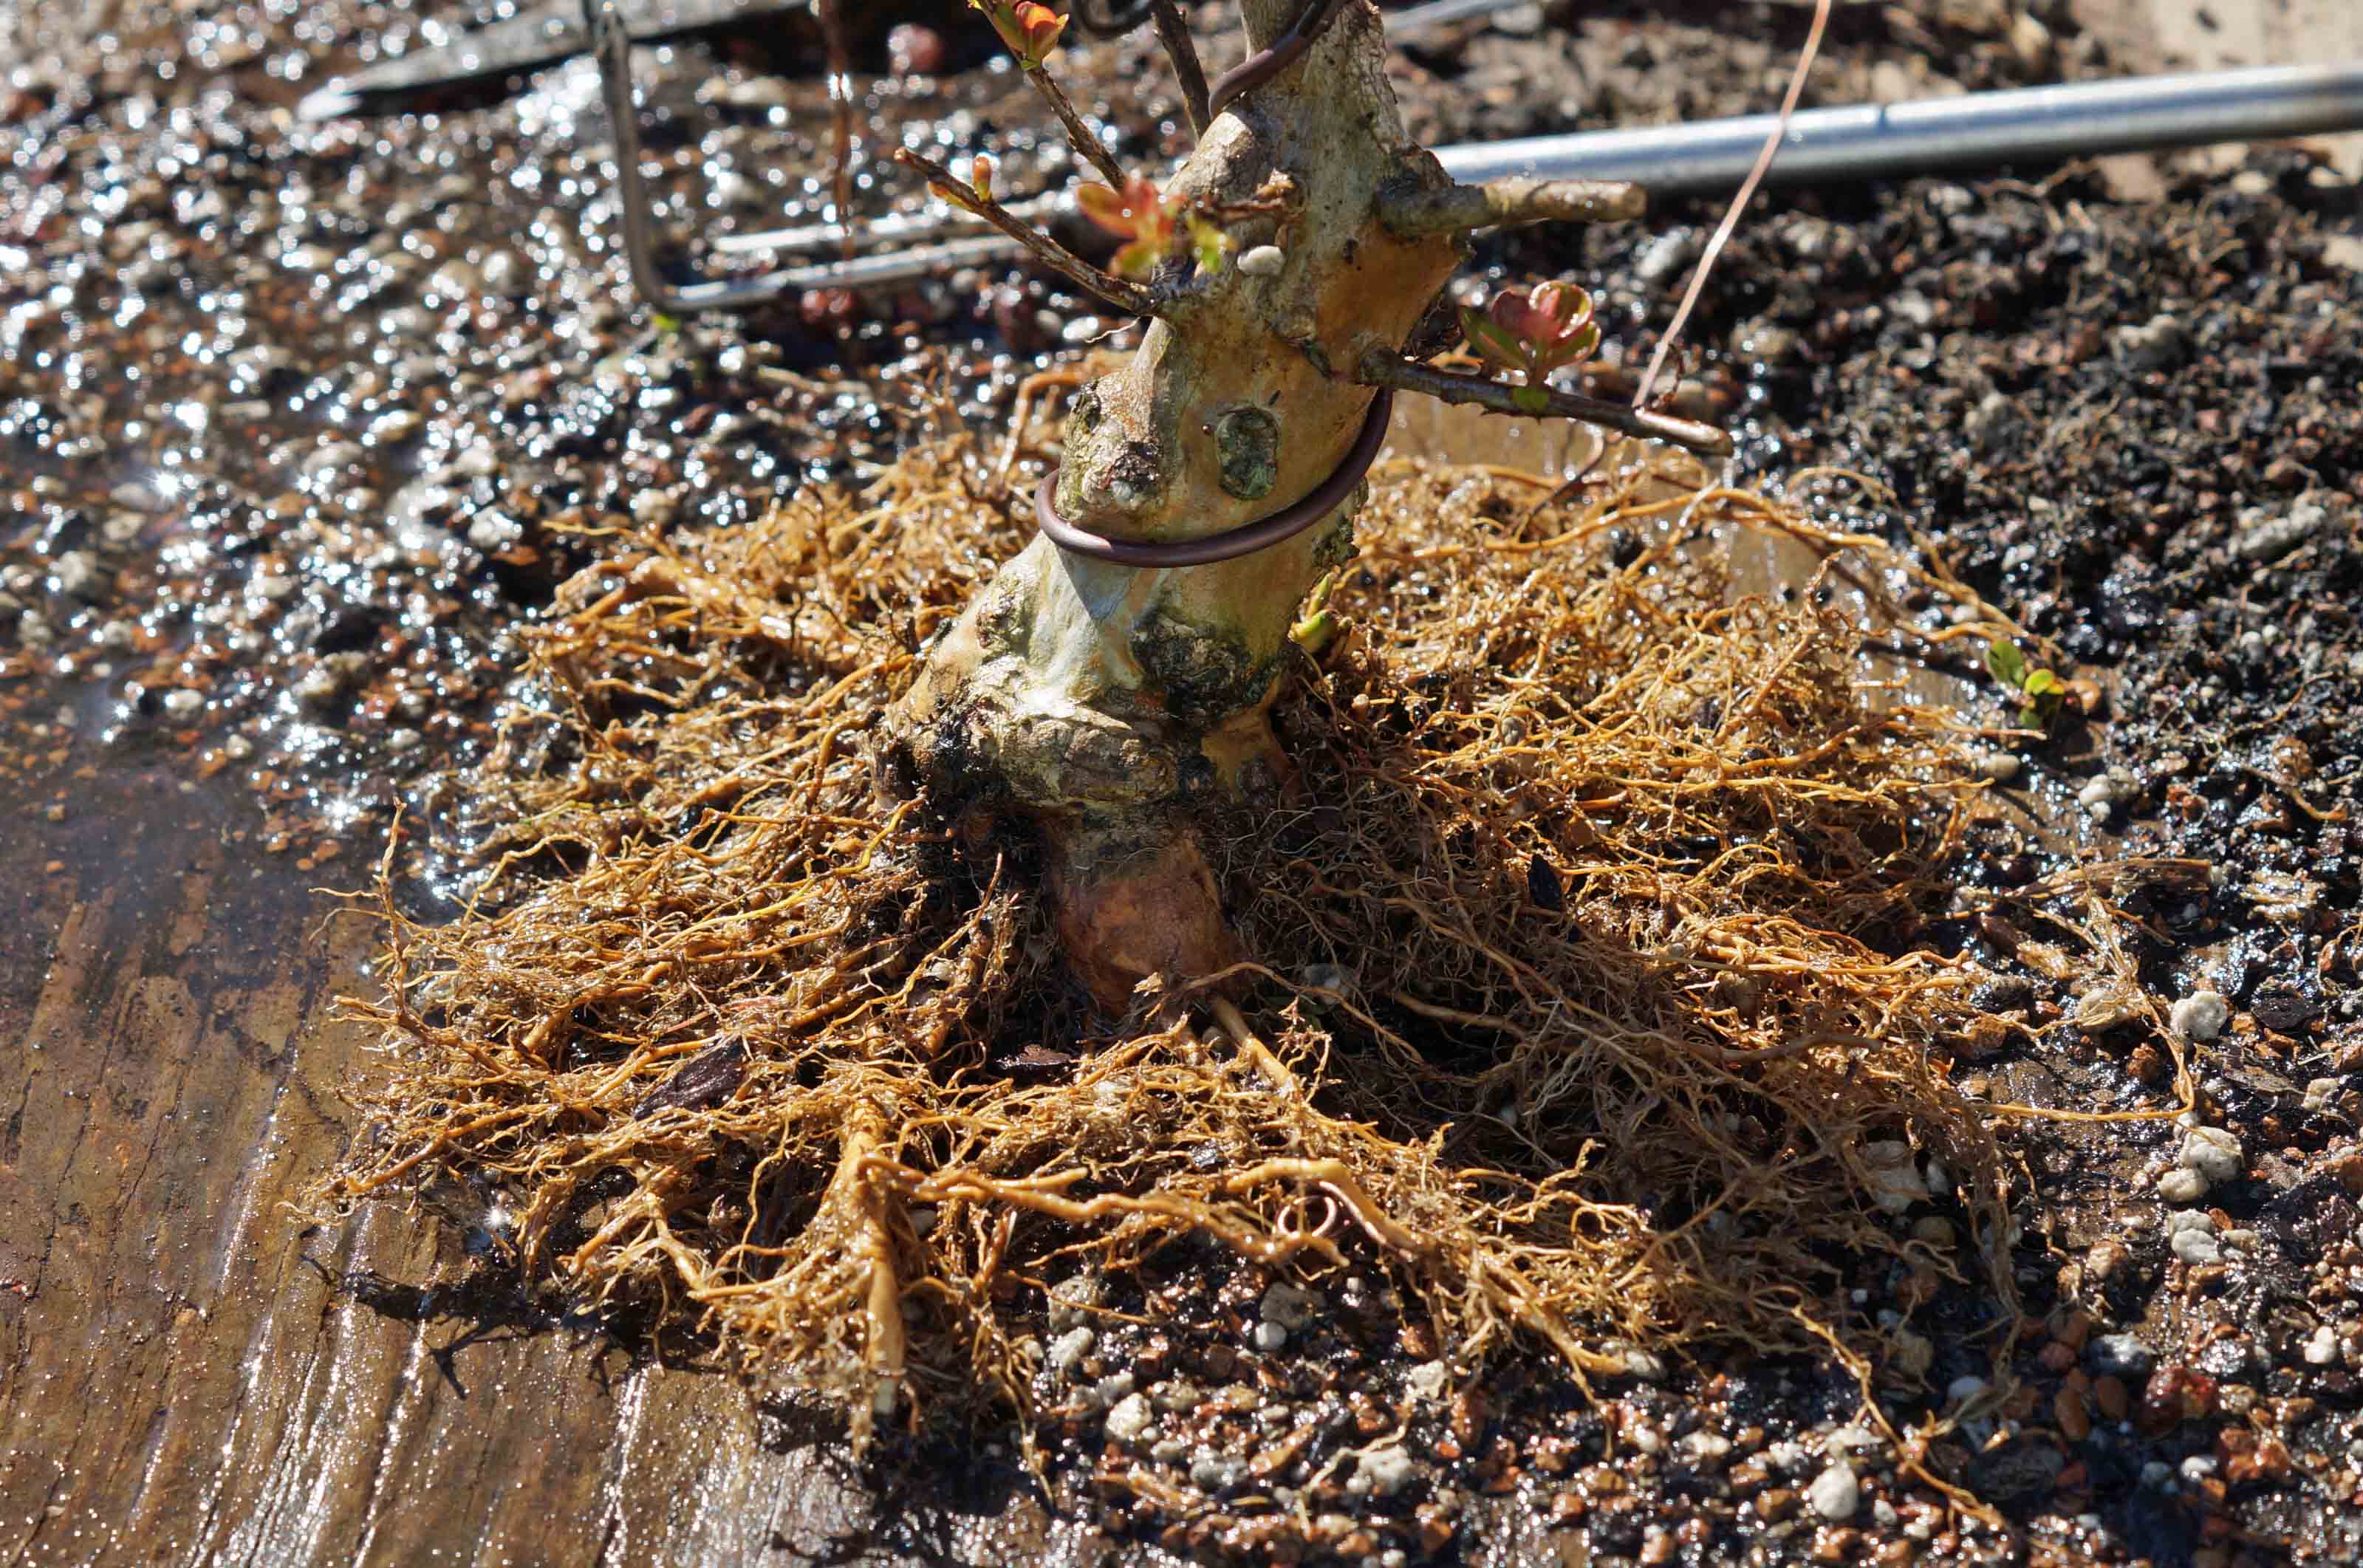
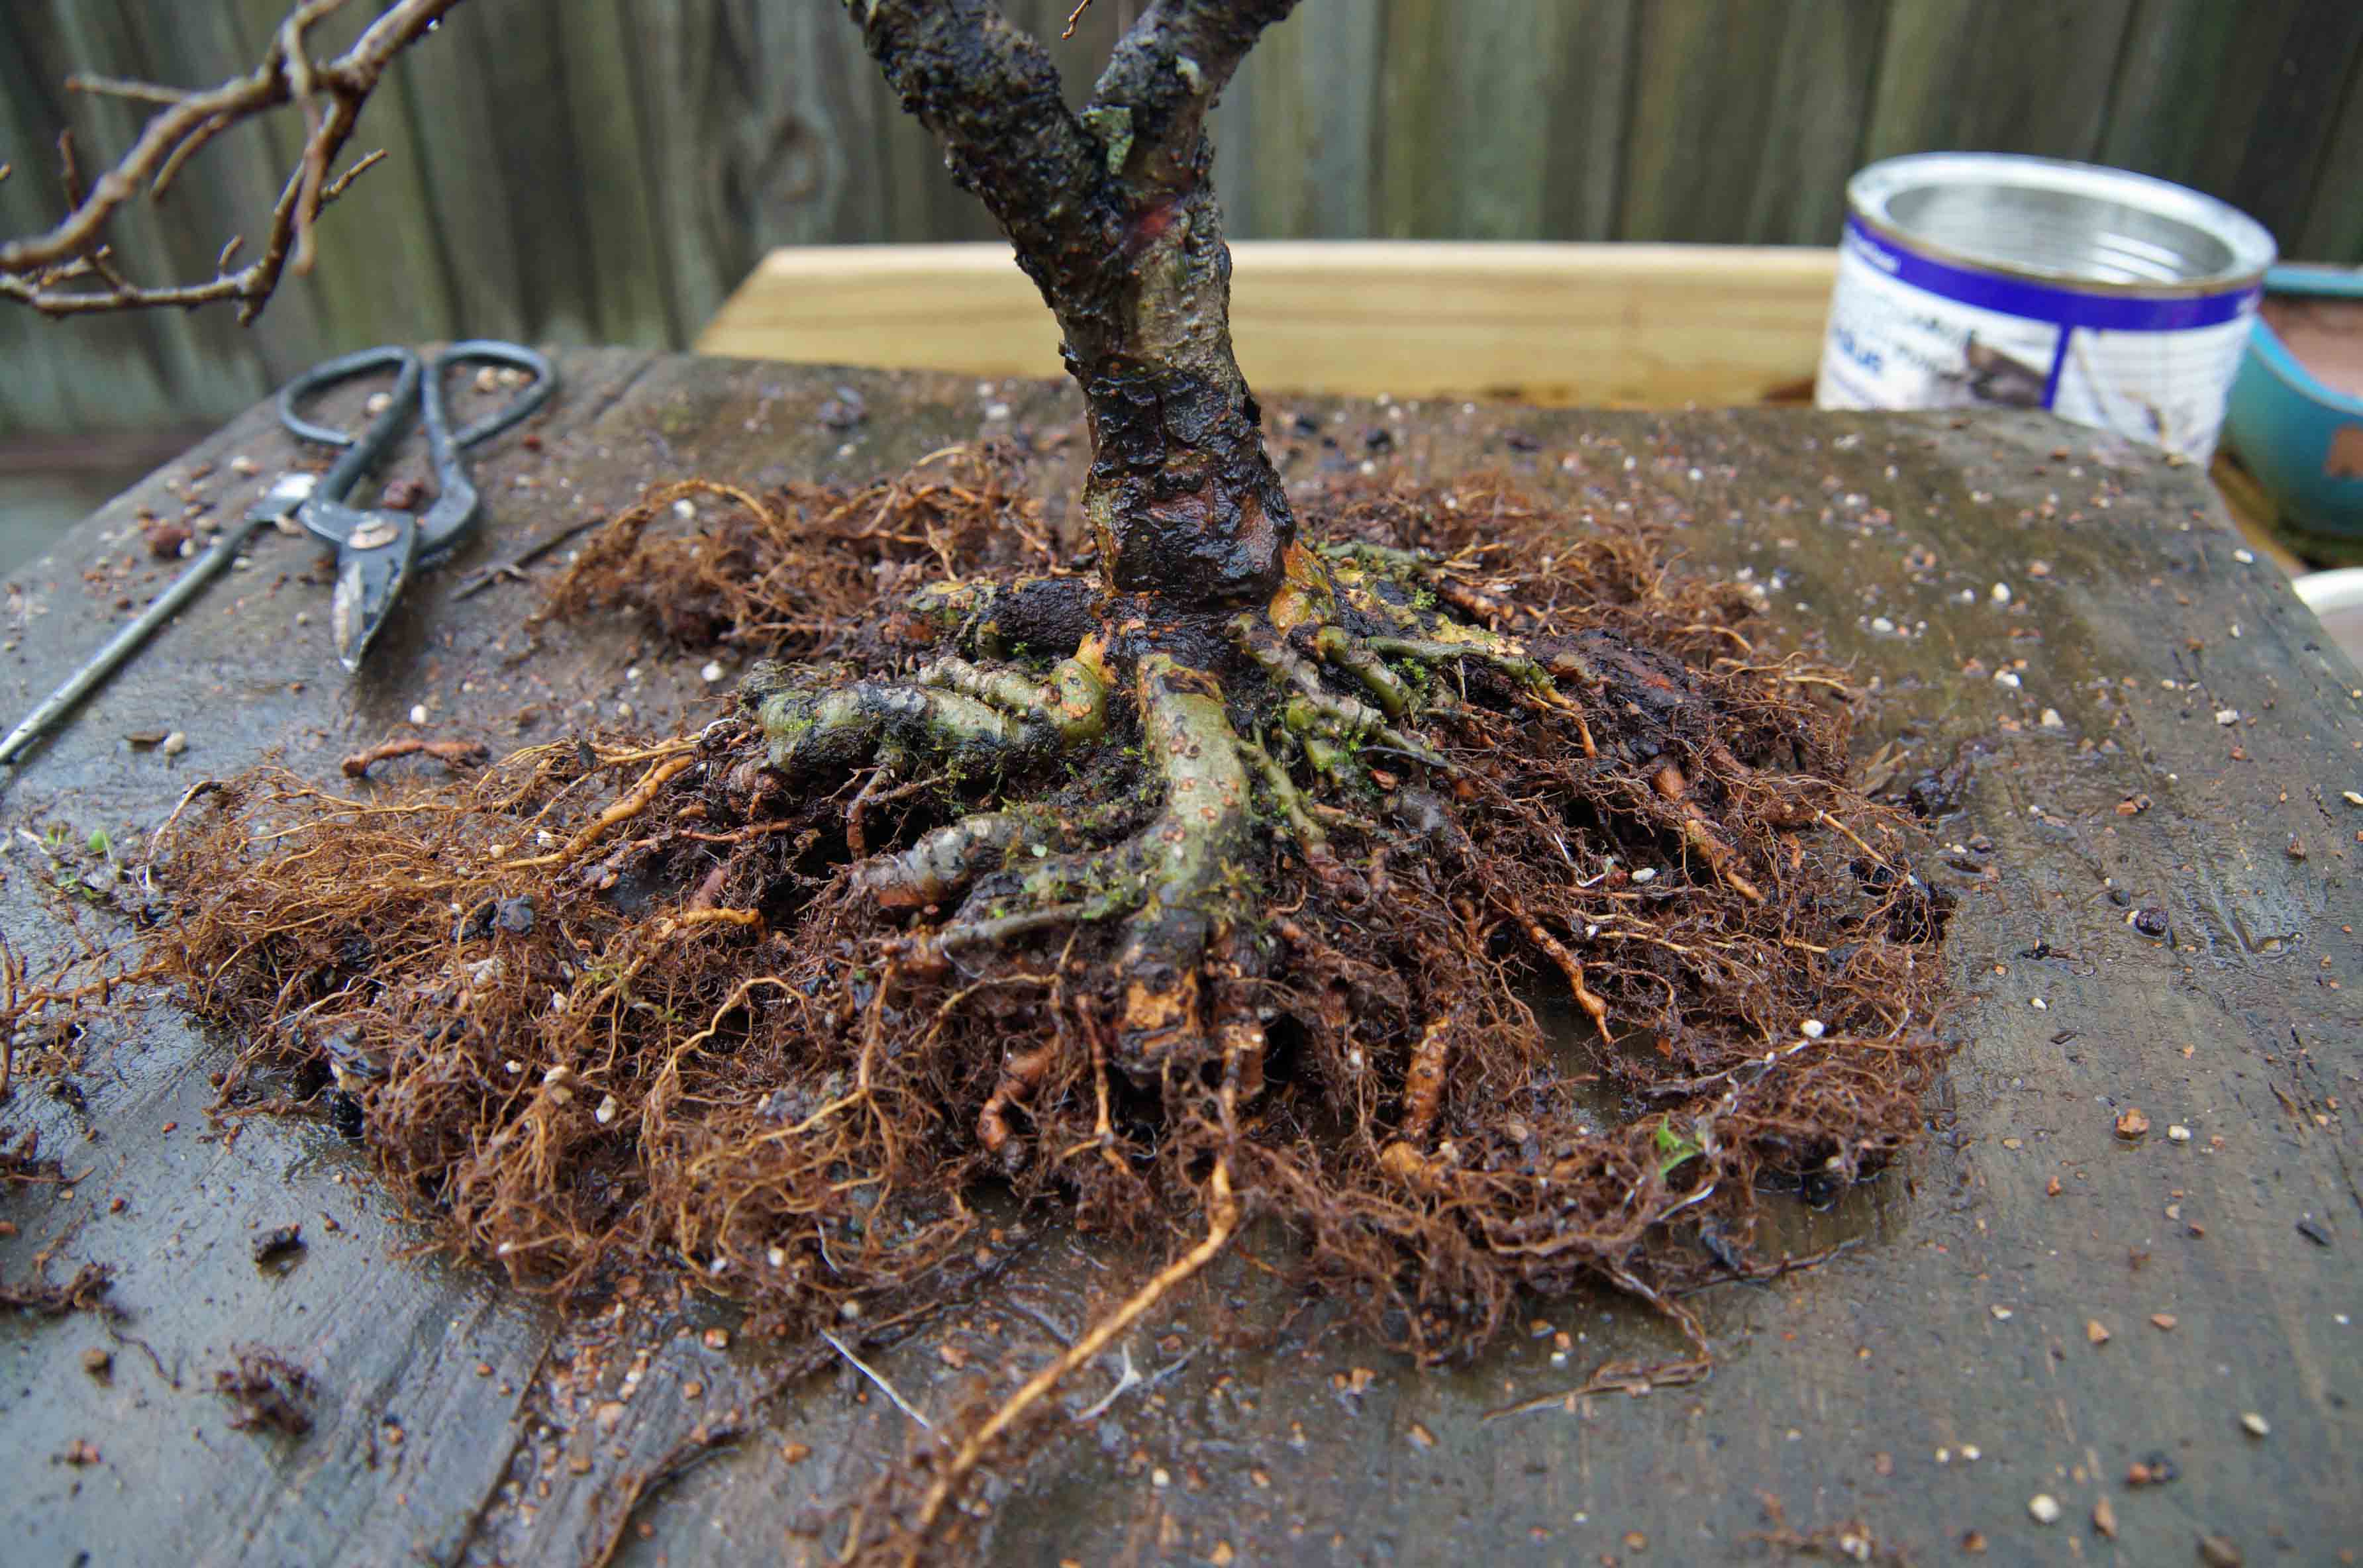
I went through the roots and removed the ones that weren’t needed, the crossing ones, and the ones that were in a bad location. This is what is left, and nice clean root pad.


Remember the dollar tree cutting board I mentioned above, well this time I used one those and screwed the tree to it. Smaller screws were used to position some wayward roots. The whole thing was put back into a training pot to grow for another season.
Remember tree number two? Just to see that the results are repeatable, let’s take a look at it. It, too, filled the pot with roots. It went through the same drill the first one did.


All that is left to do is to attach it to another board; since this one is a bit larger, an Ikea cutting board was used and small screws were used here also to reposition some roots. Back into a training pot to allow the roots to thicken, I failed to get a picture of this. I will update this post when I repot next to show future results.
Just to show you what you can accomplish, here are some photos of an elm that I used this technique on.
So, there you have it, give it a whirl. If you have any questions or comments, use the contact form and drop me a line, I will get back to you.