MAGNOLIA STELLATA
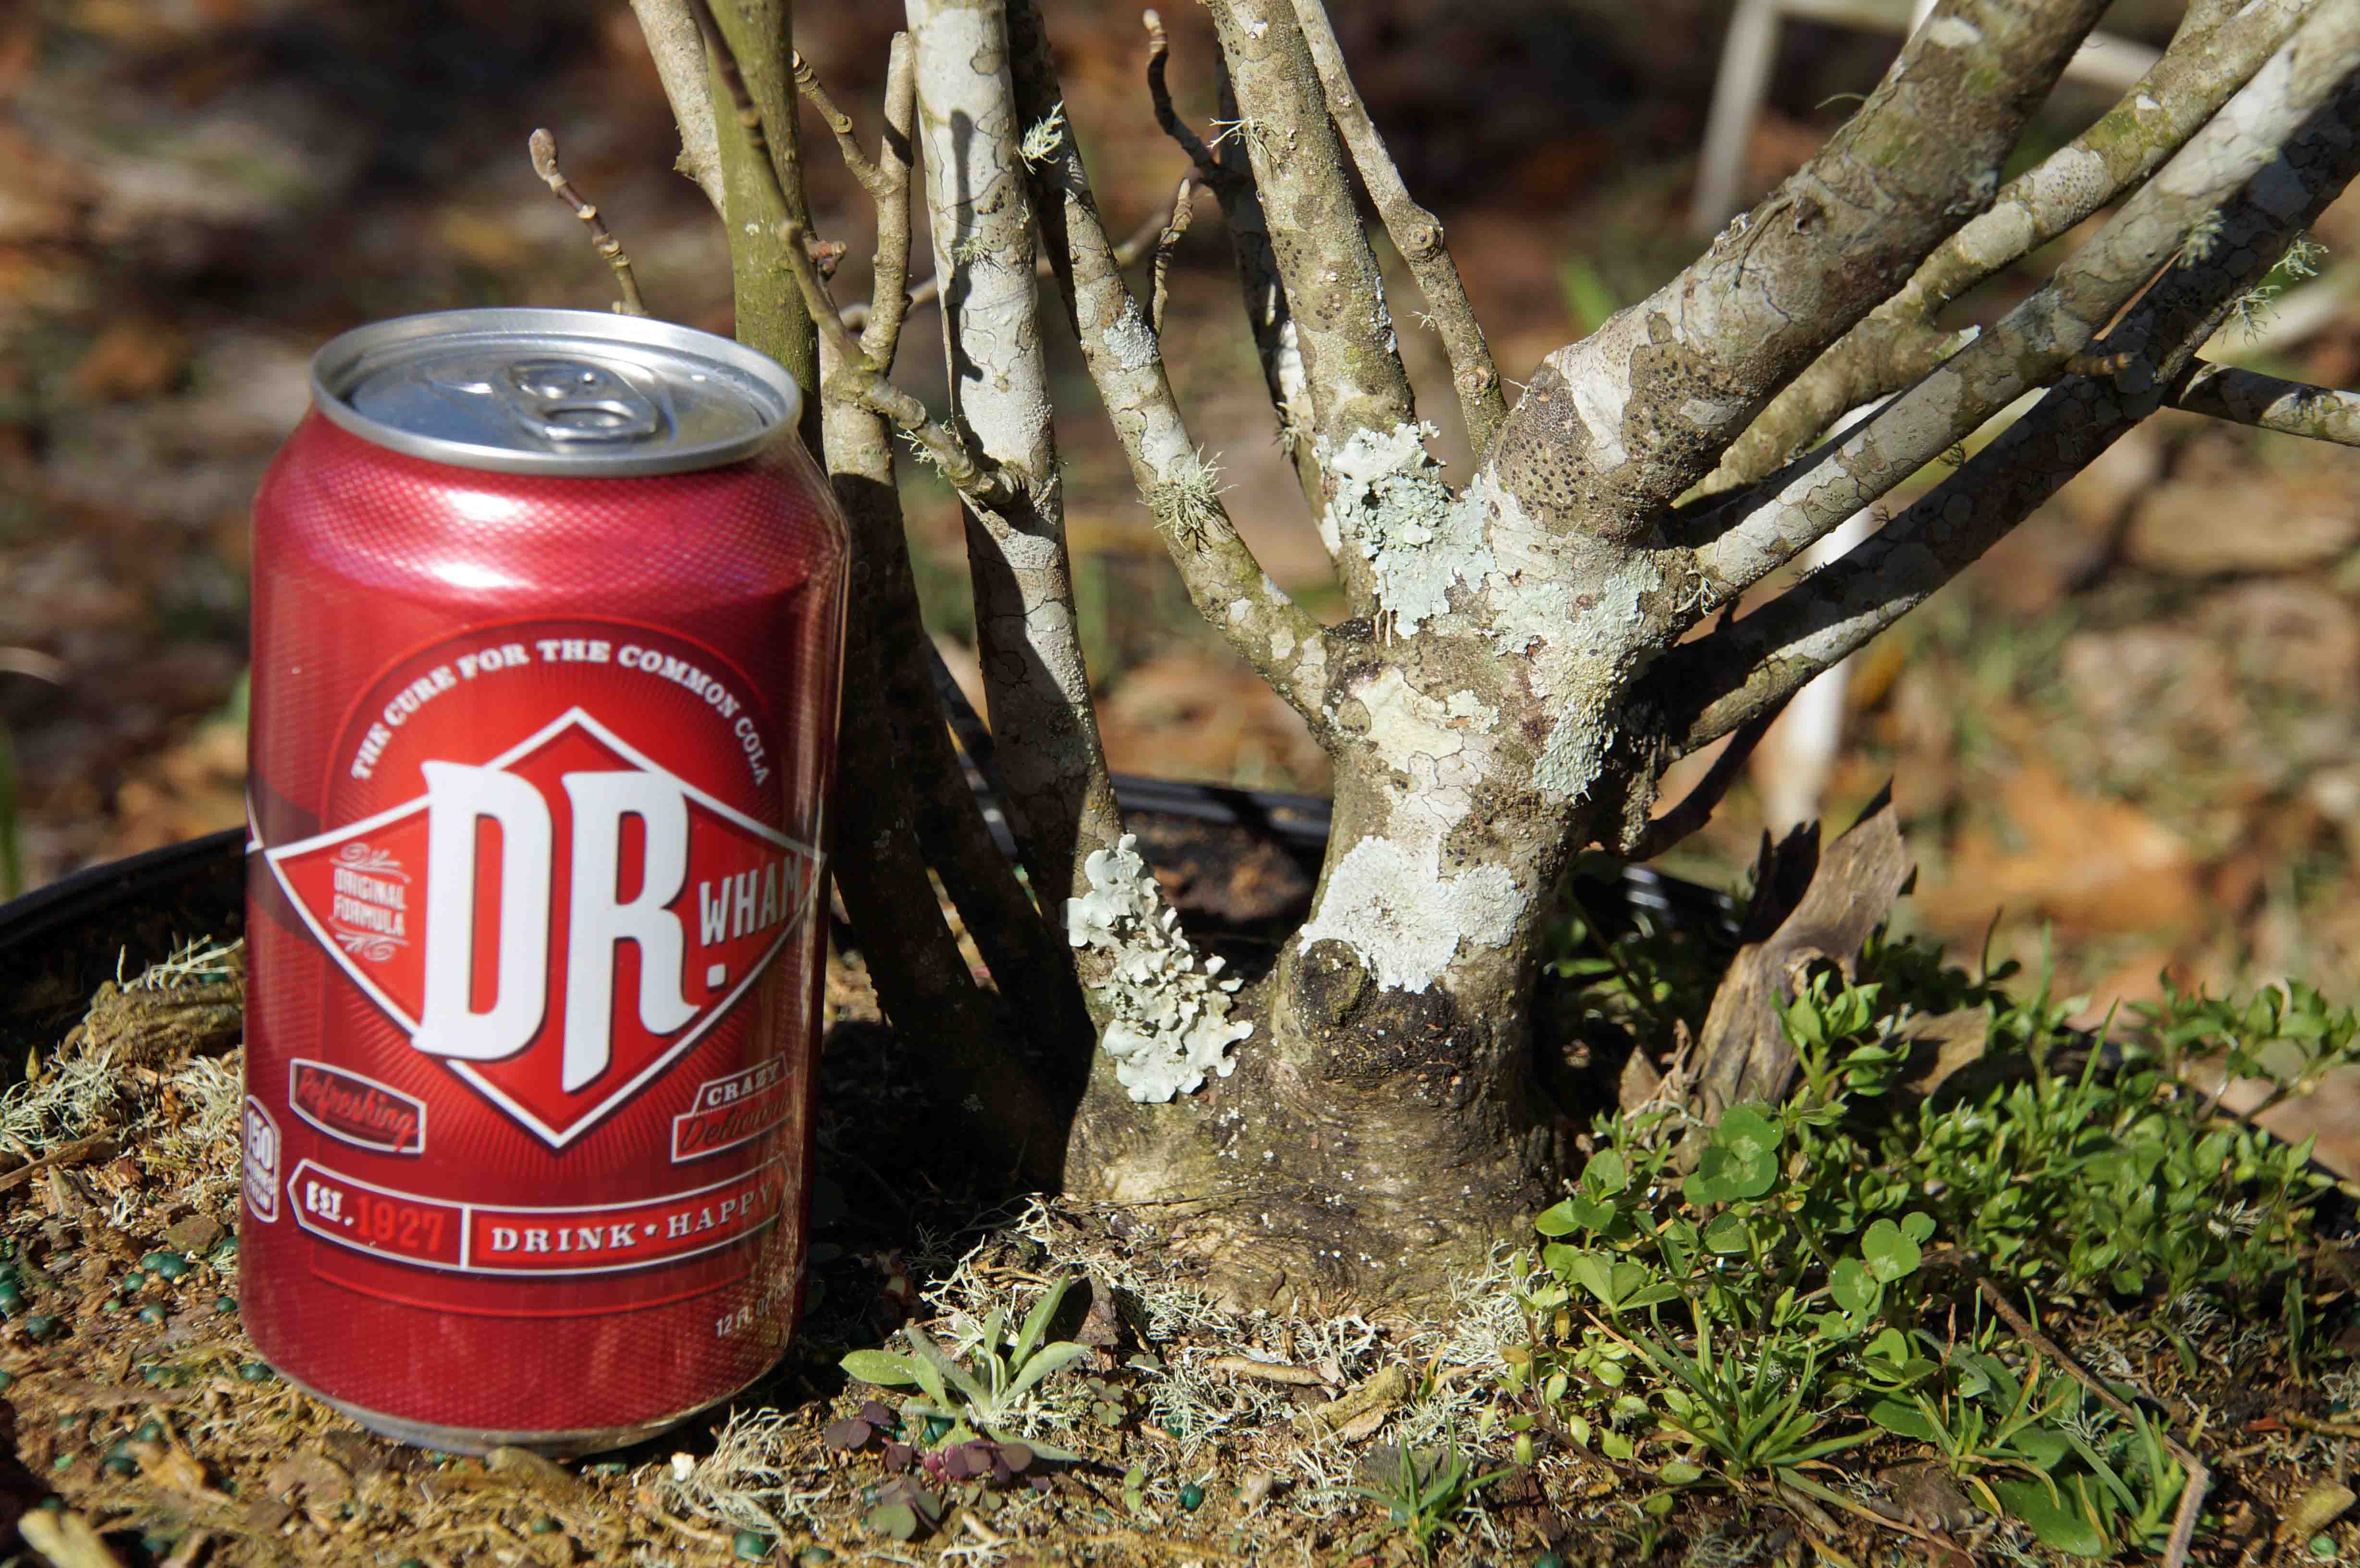
In 2013, I was at the local flea market and came across a vendor that had a bunch of these for sale, must have been 50 or so. Having seen pictures of some nice bonsai featuring this tree, I decided to get one, for $5.00 I figured that I could not go wrong. They all had nice size trunks so I picked one, knowing what I know now, I wished that I had gotten several or at least picked a better trunk.
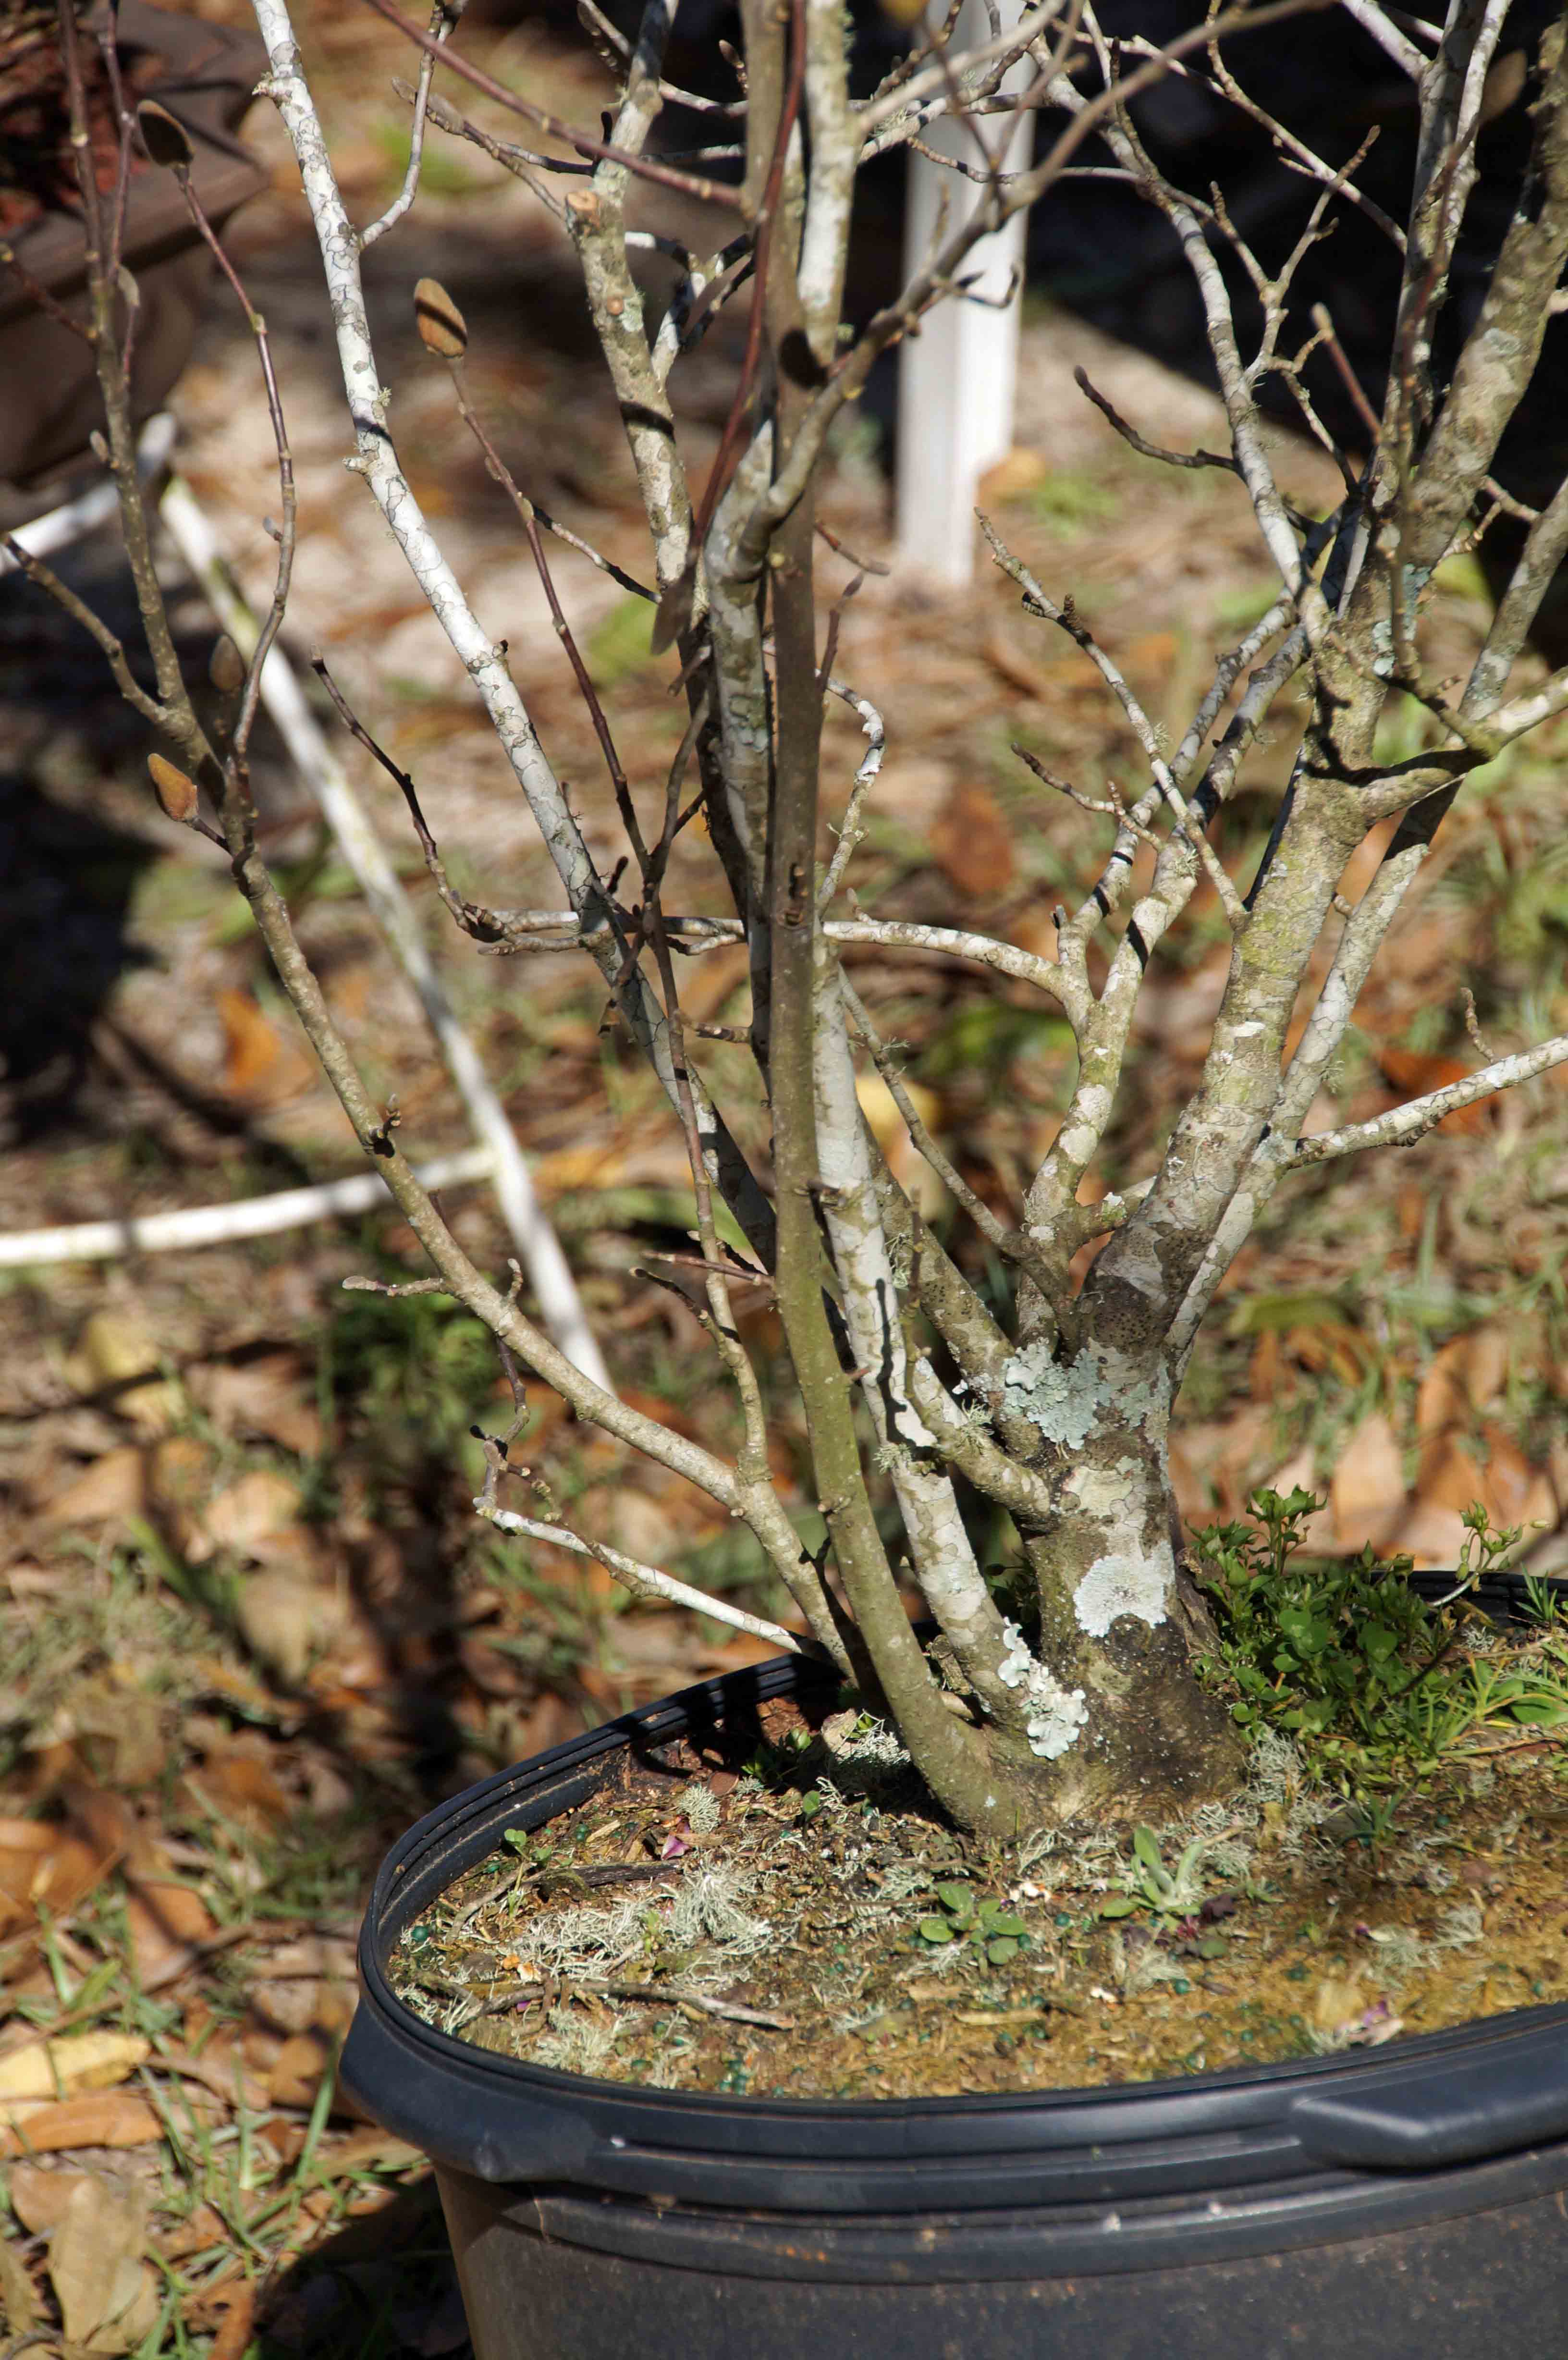
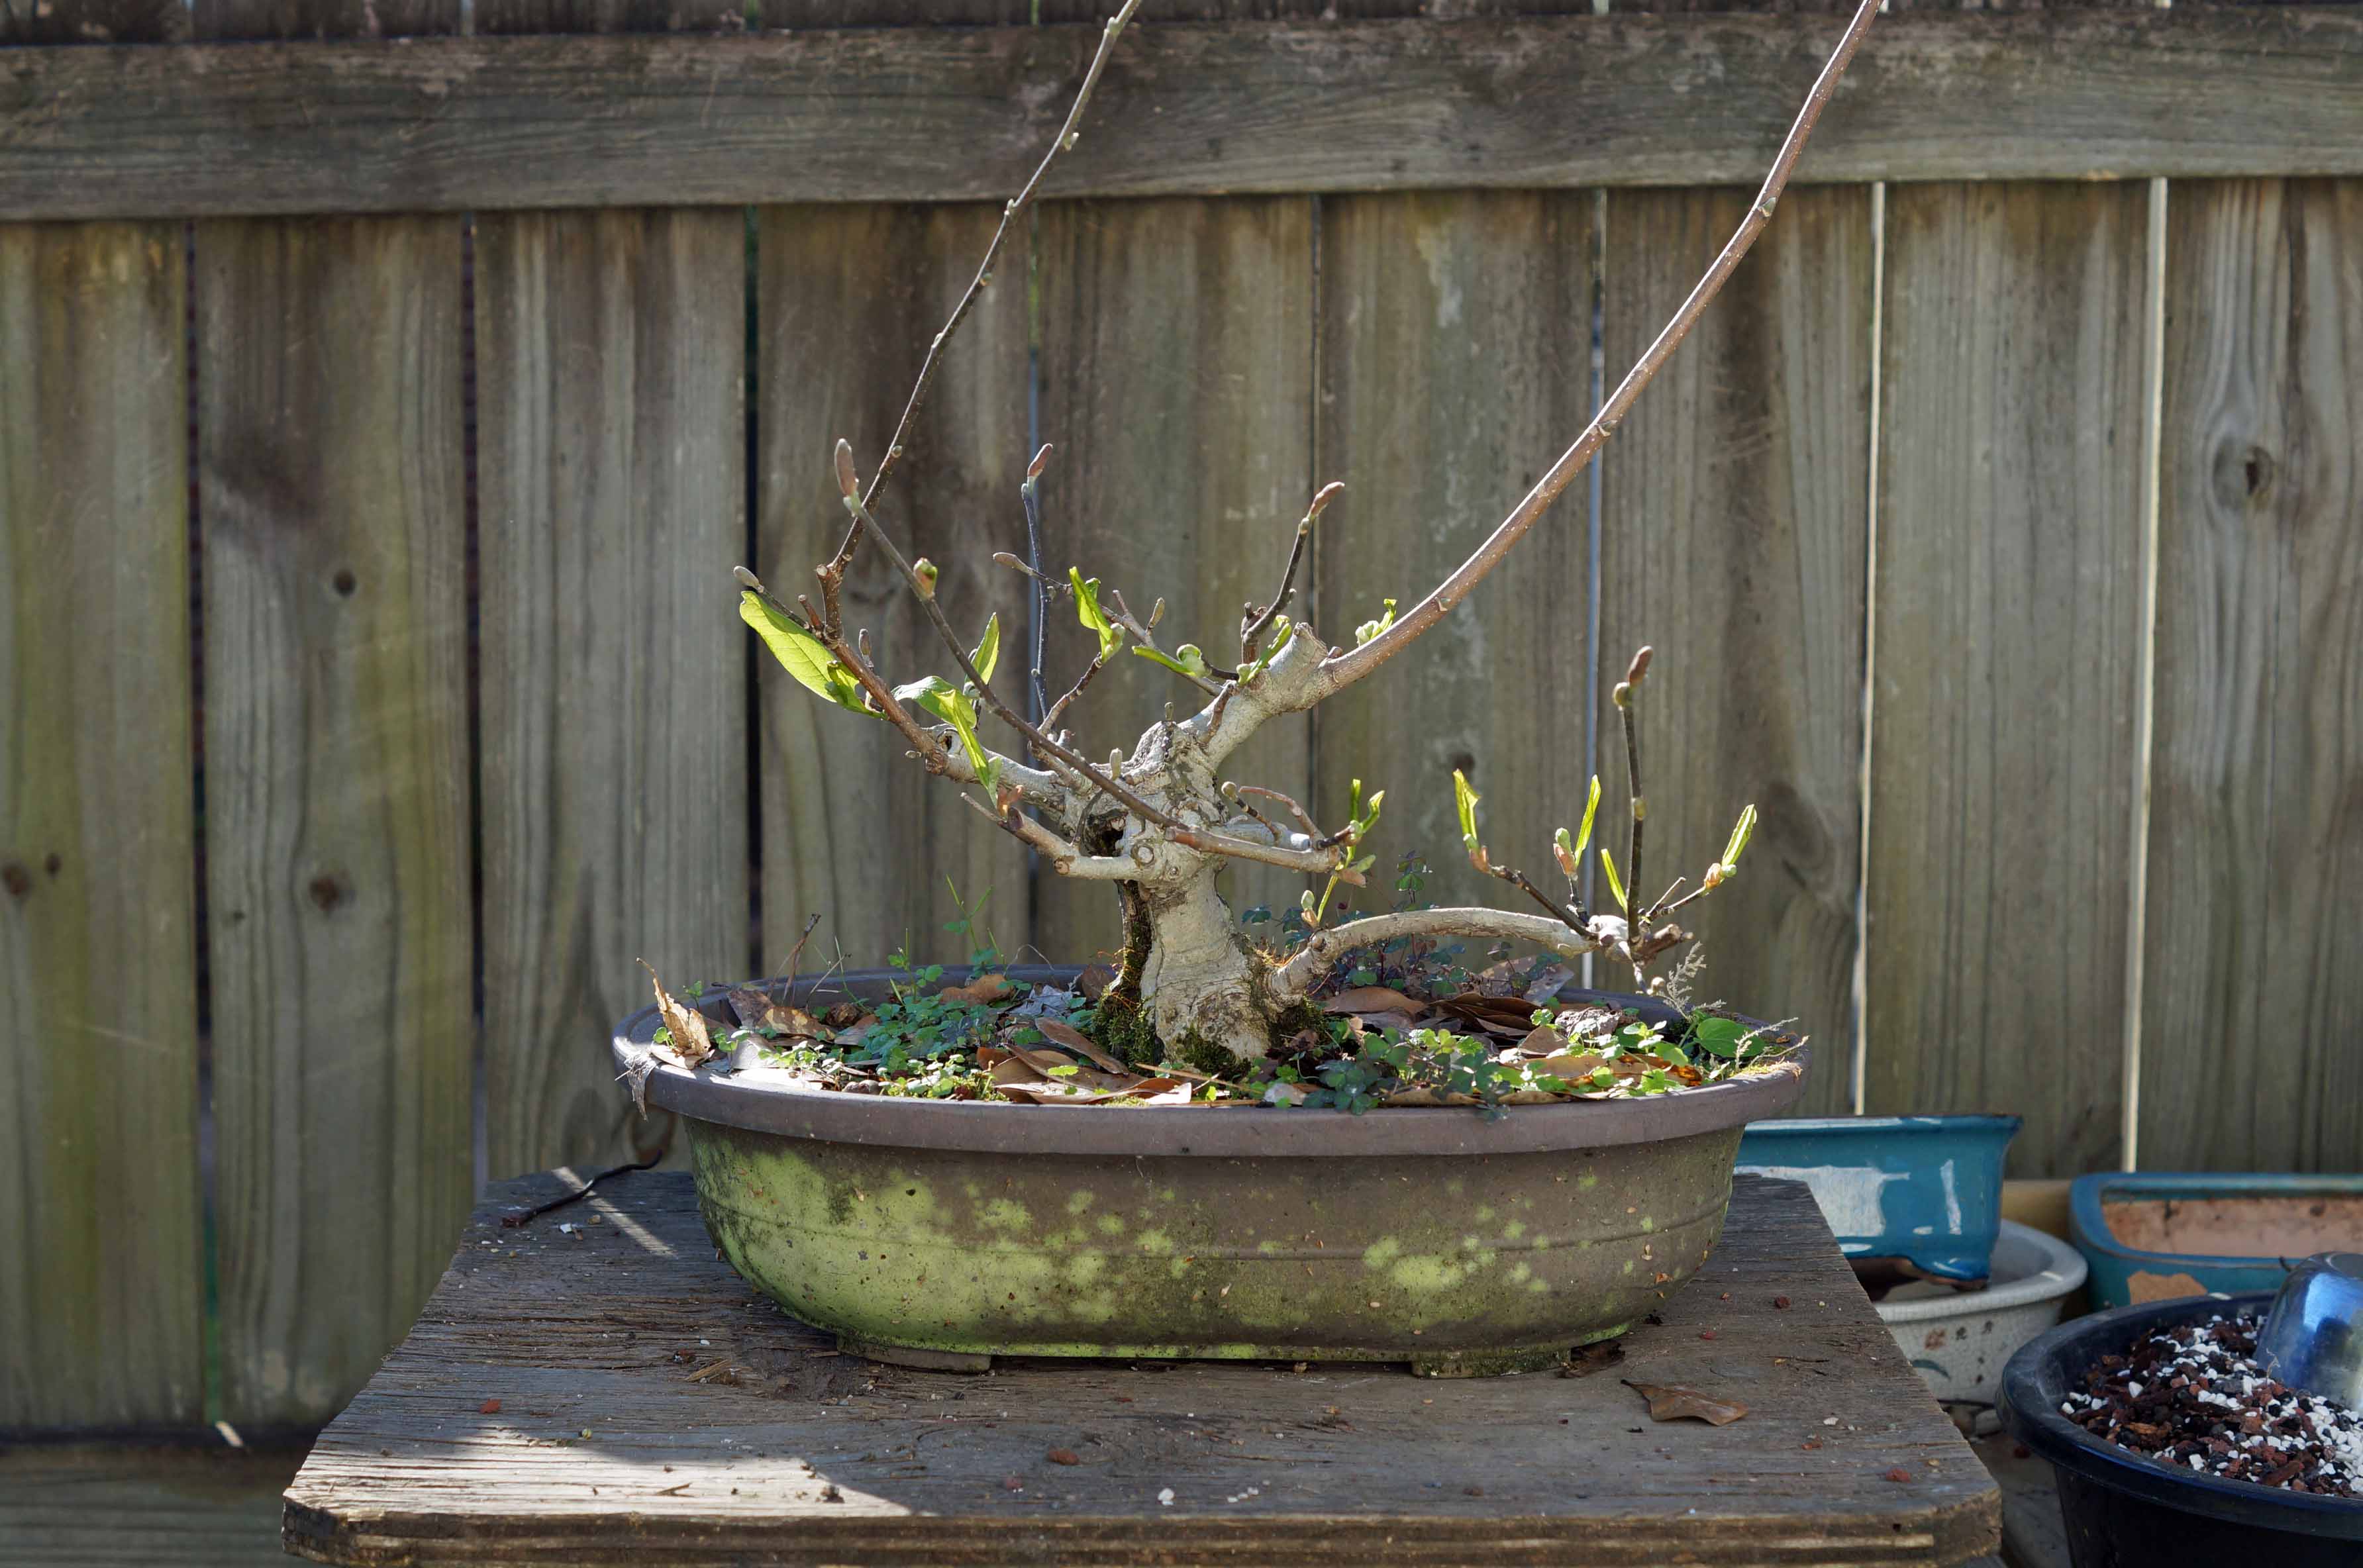
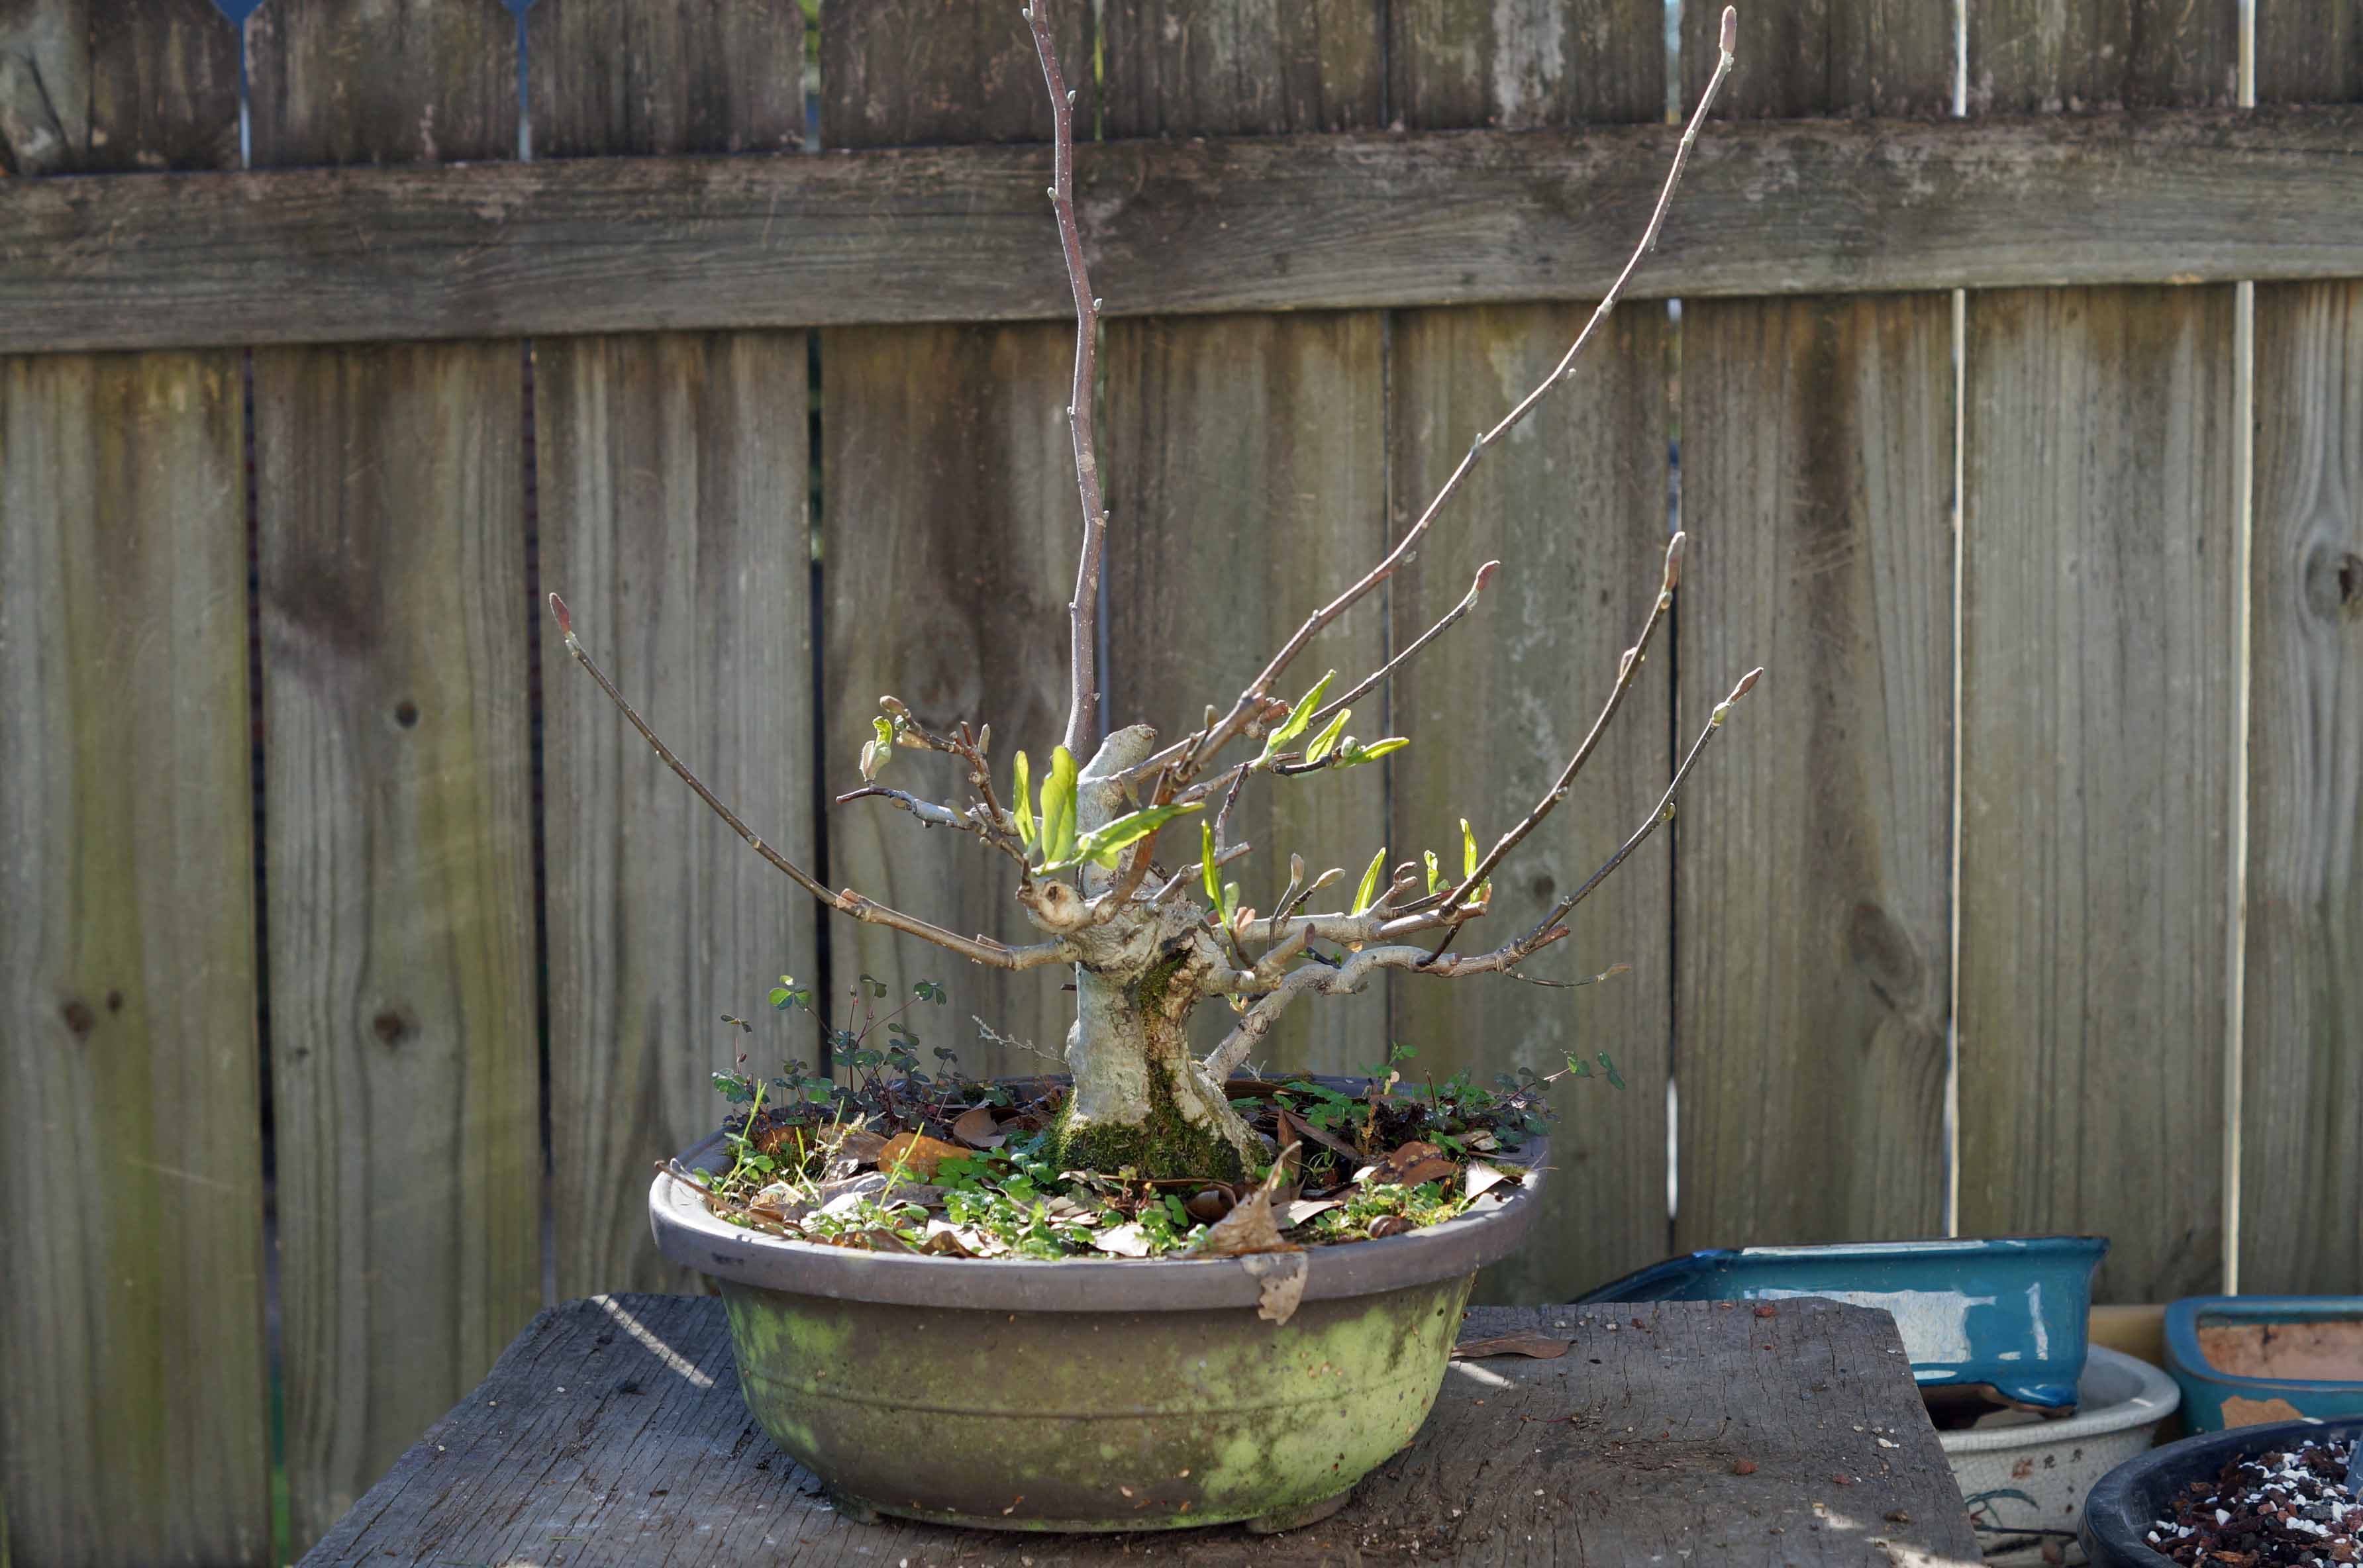
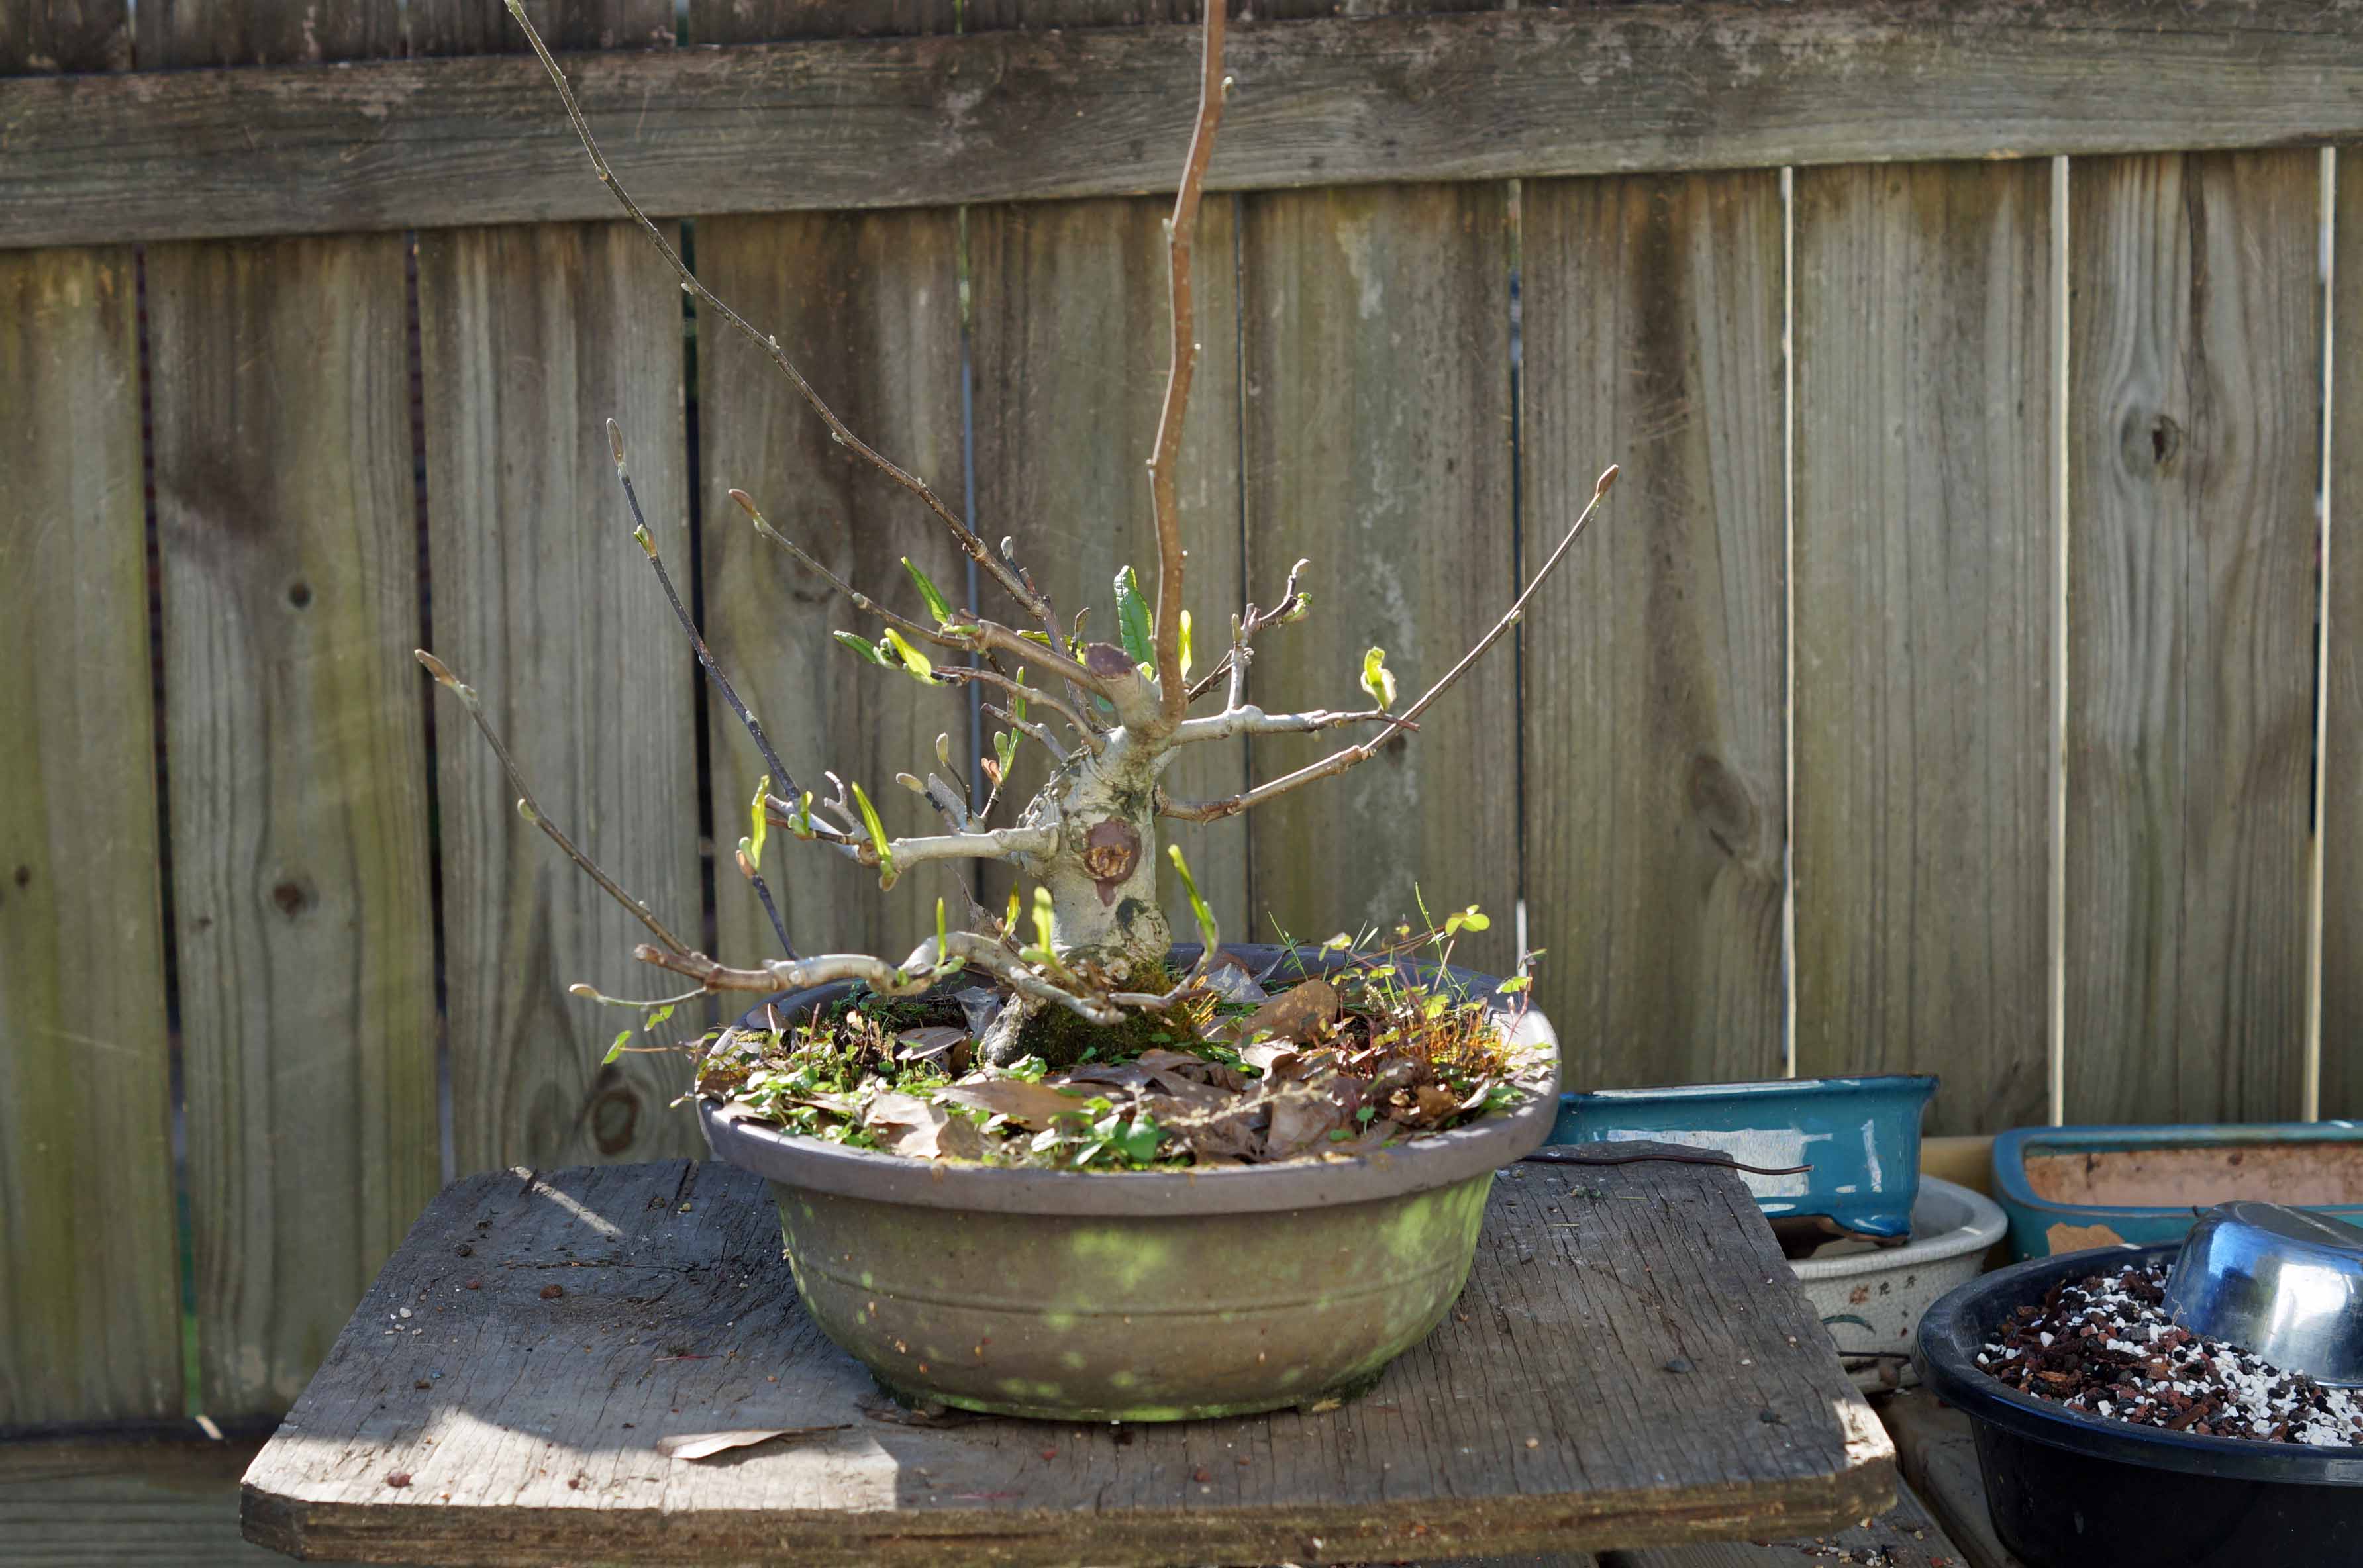
This is what I ended up with:
This is what I ended up with:
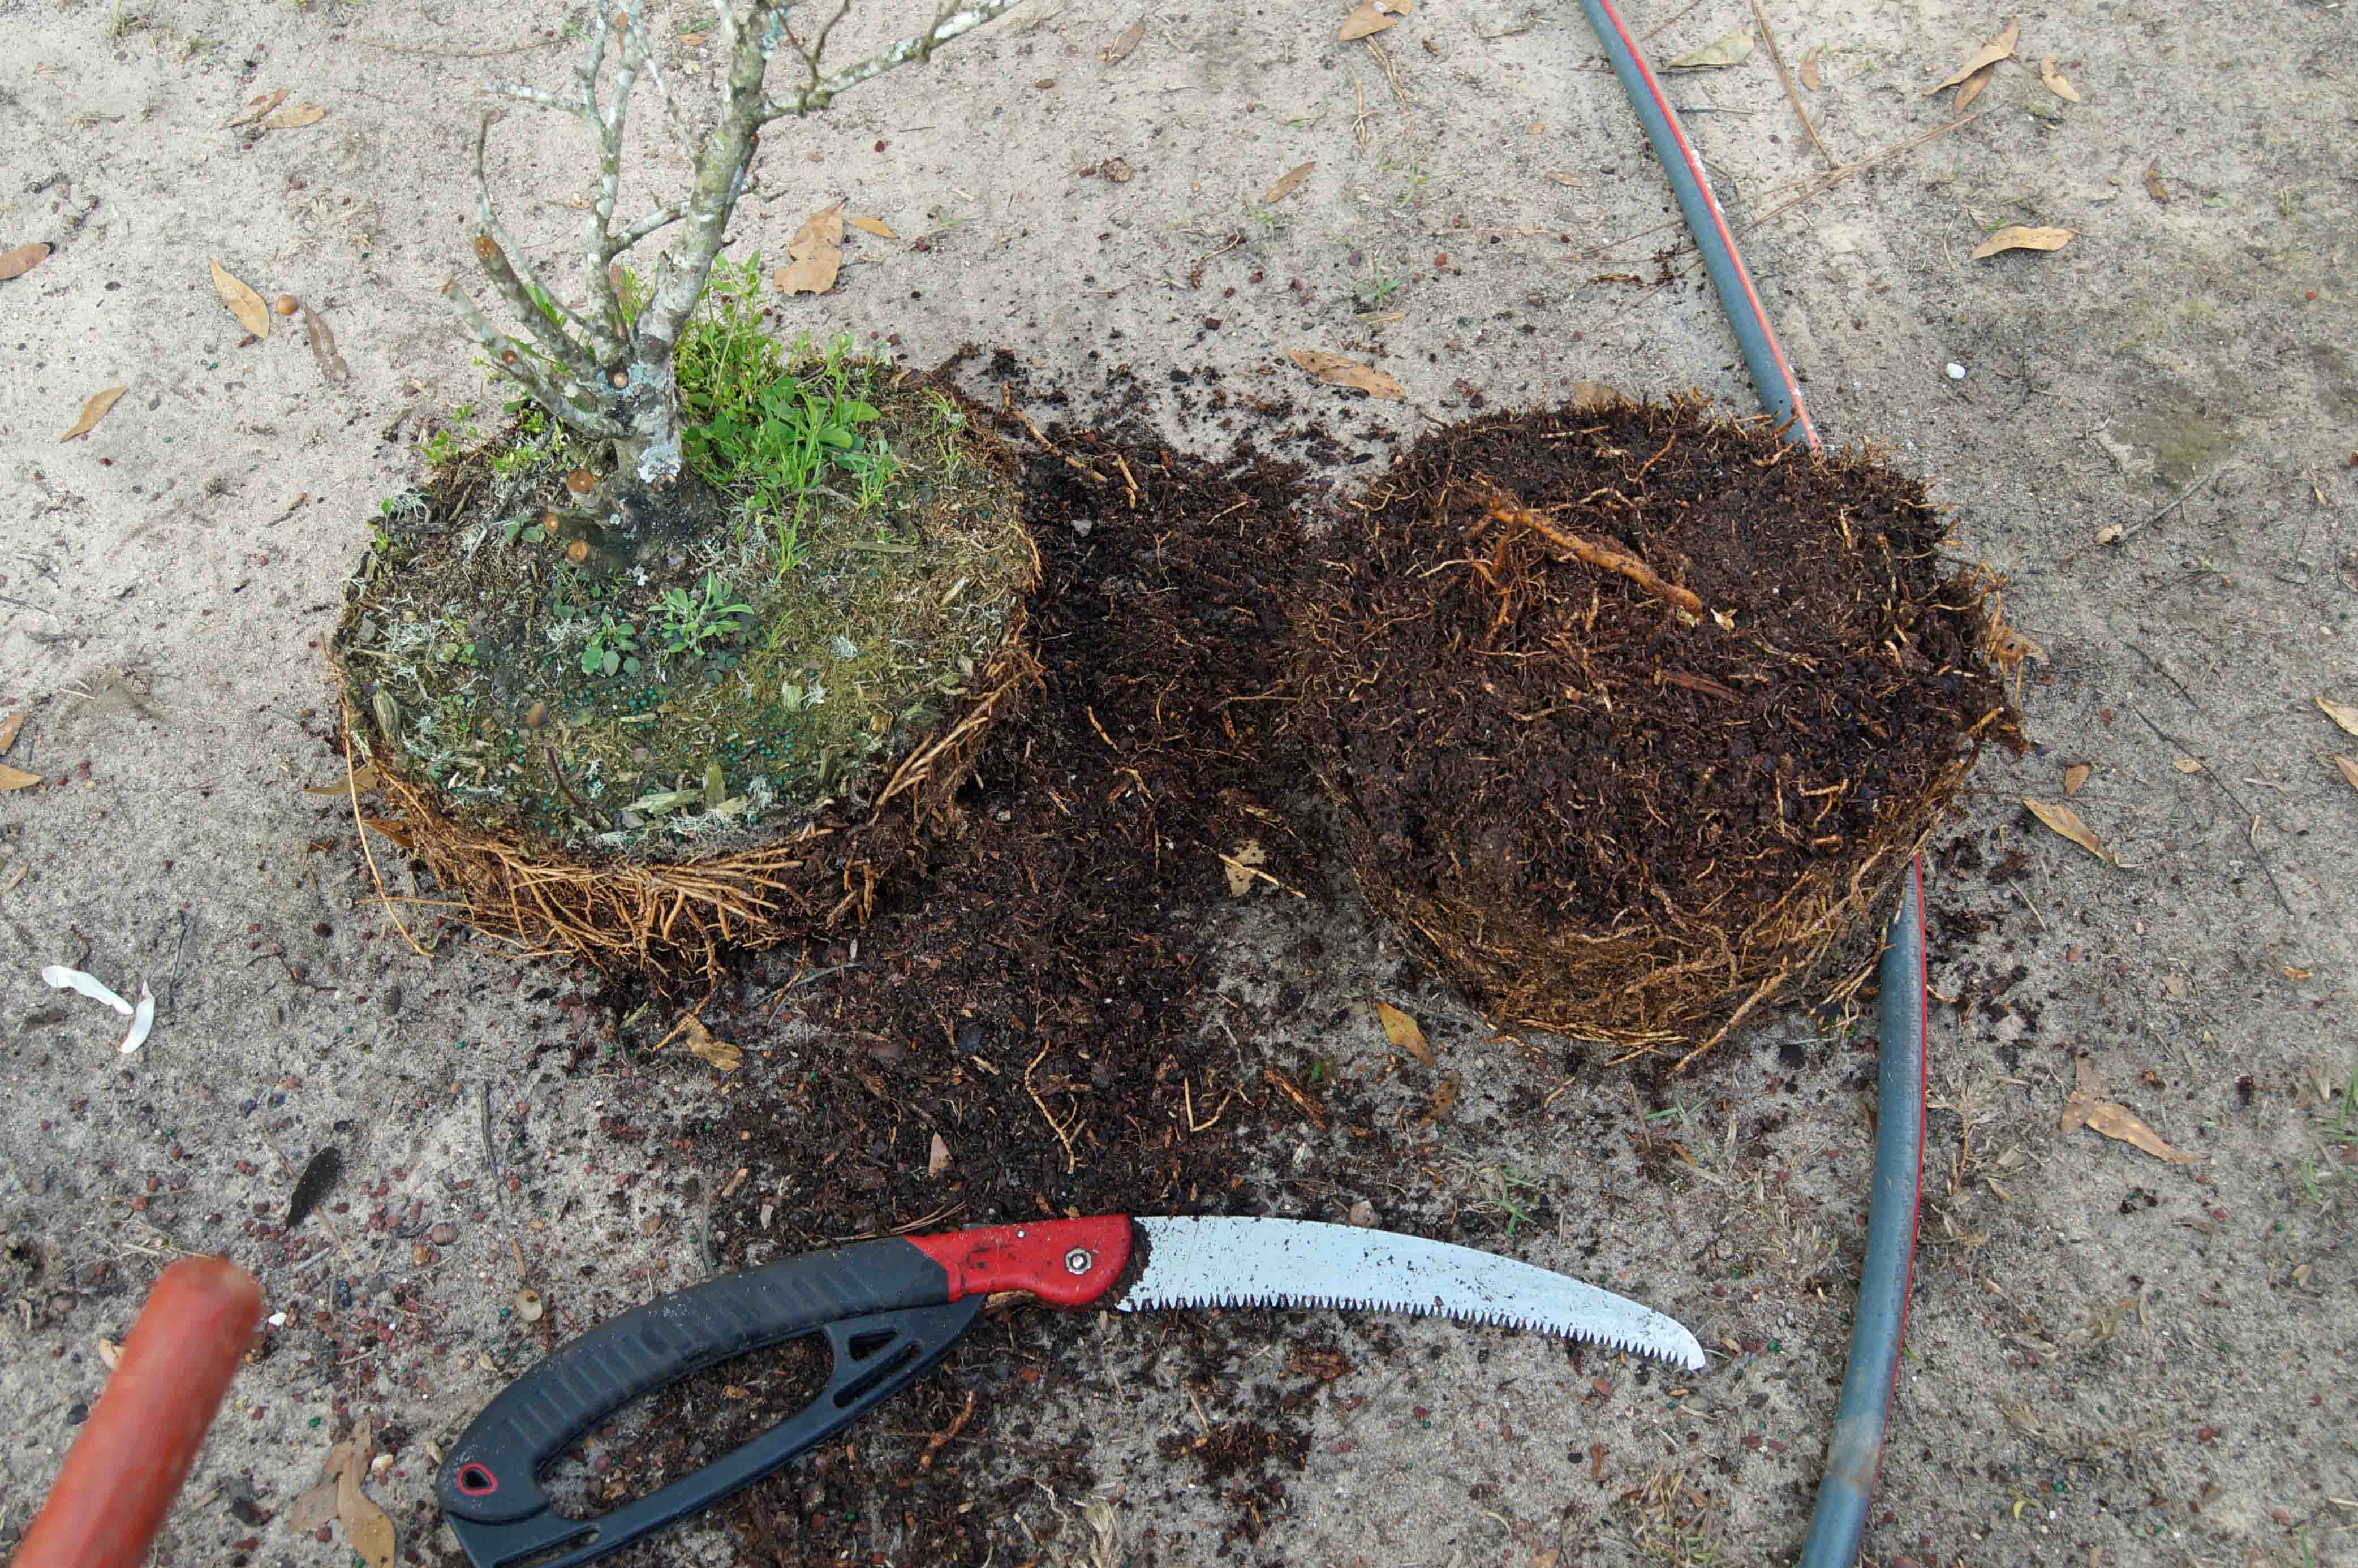
There is not much information about preparing these trees for bonsai cultivation on the internet and lot of it is conflicting. Some say they can handle a lot of root work, some say they don't tolerate it at all. So, I kinda went in the middle. I had a medium-sized mica training pot that was pretty deep which allowed me, after cutting the root ball in half and taking minimal material off the sides, to pot it up with minimal root work. I got it fitted to the pot and back filled with bonsai soil.
The following Spring, it responded well to the repotting with lots of new growth. Here are a couple of shots of it from 2014 and 2015. Lots of growth, but unfortunately, most of it was coarse.
I lost intrest in the project and it sat on the bench for the next three years untouched, except for some randon trimming here and there. I was hoping to at least see it bloom, but it never did, most likley due to my pruning it too late in the summer.
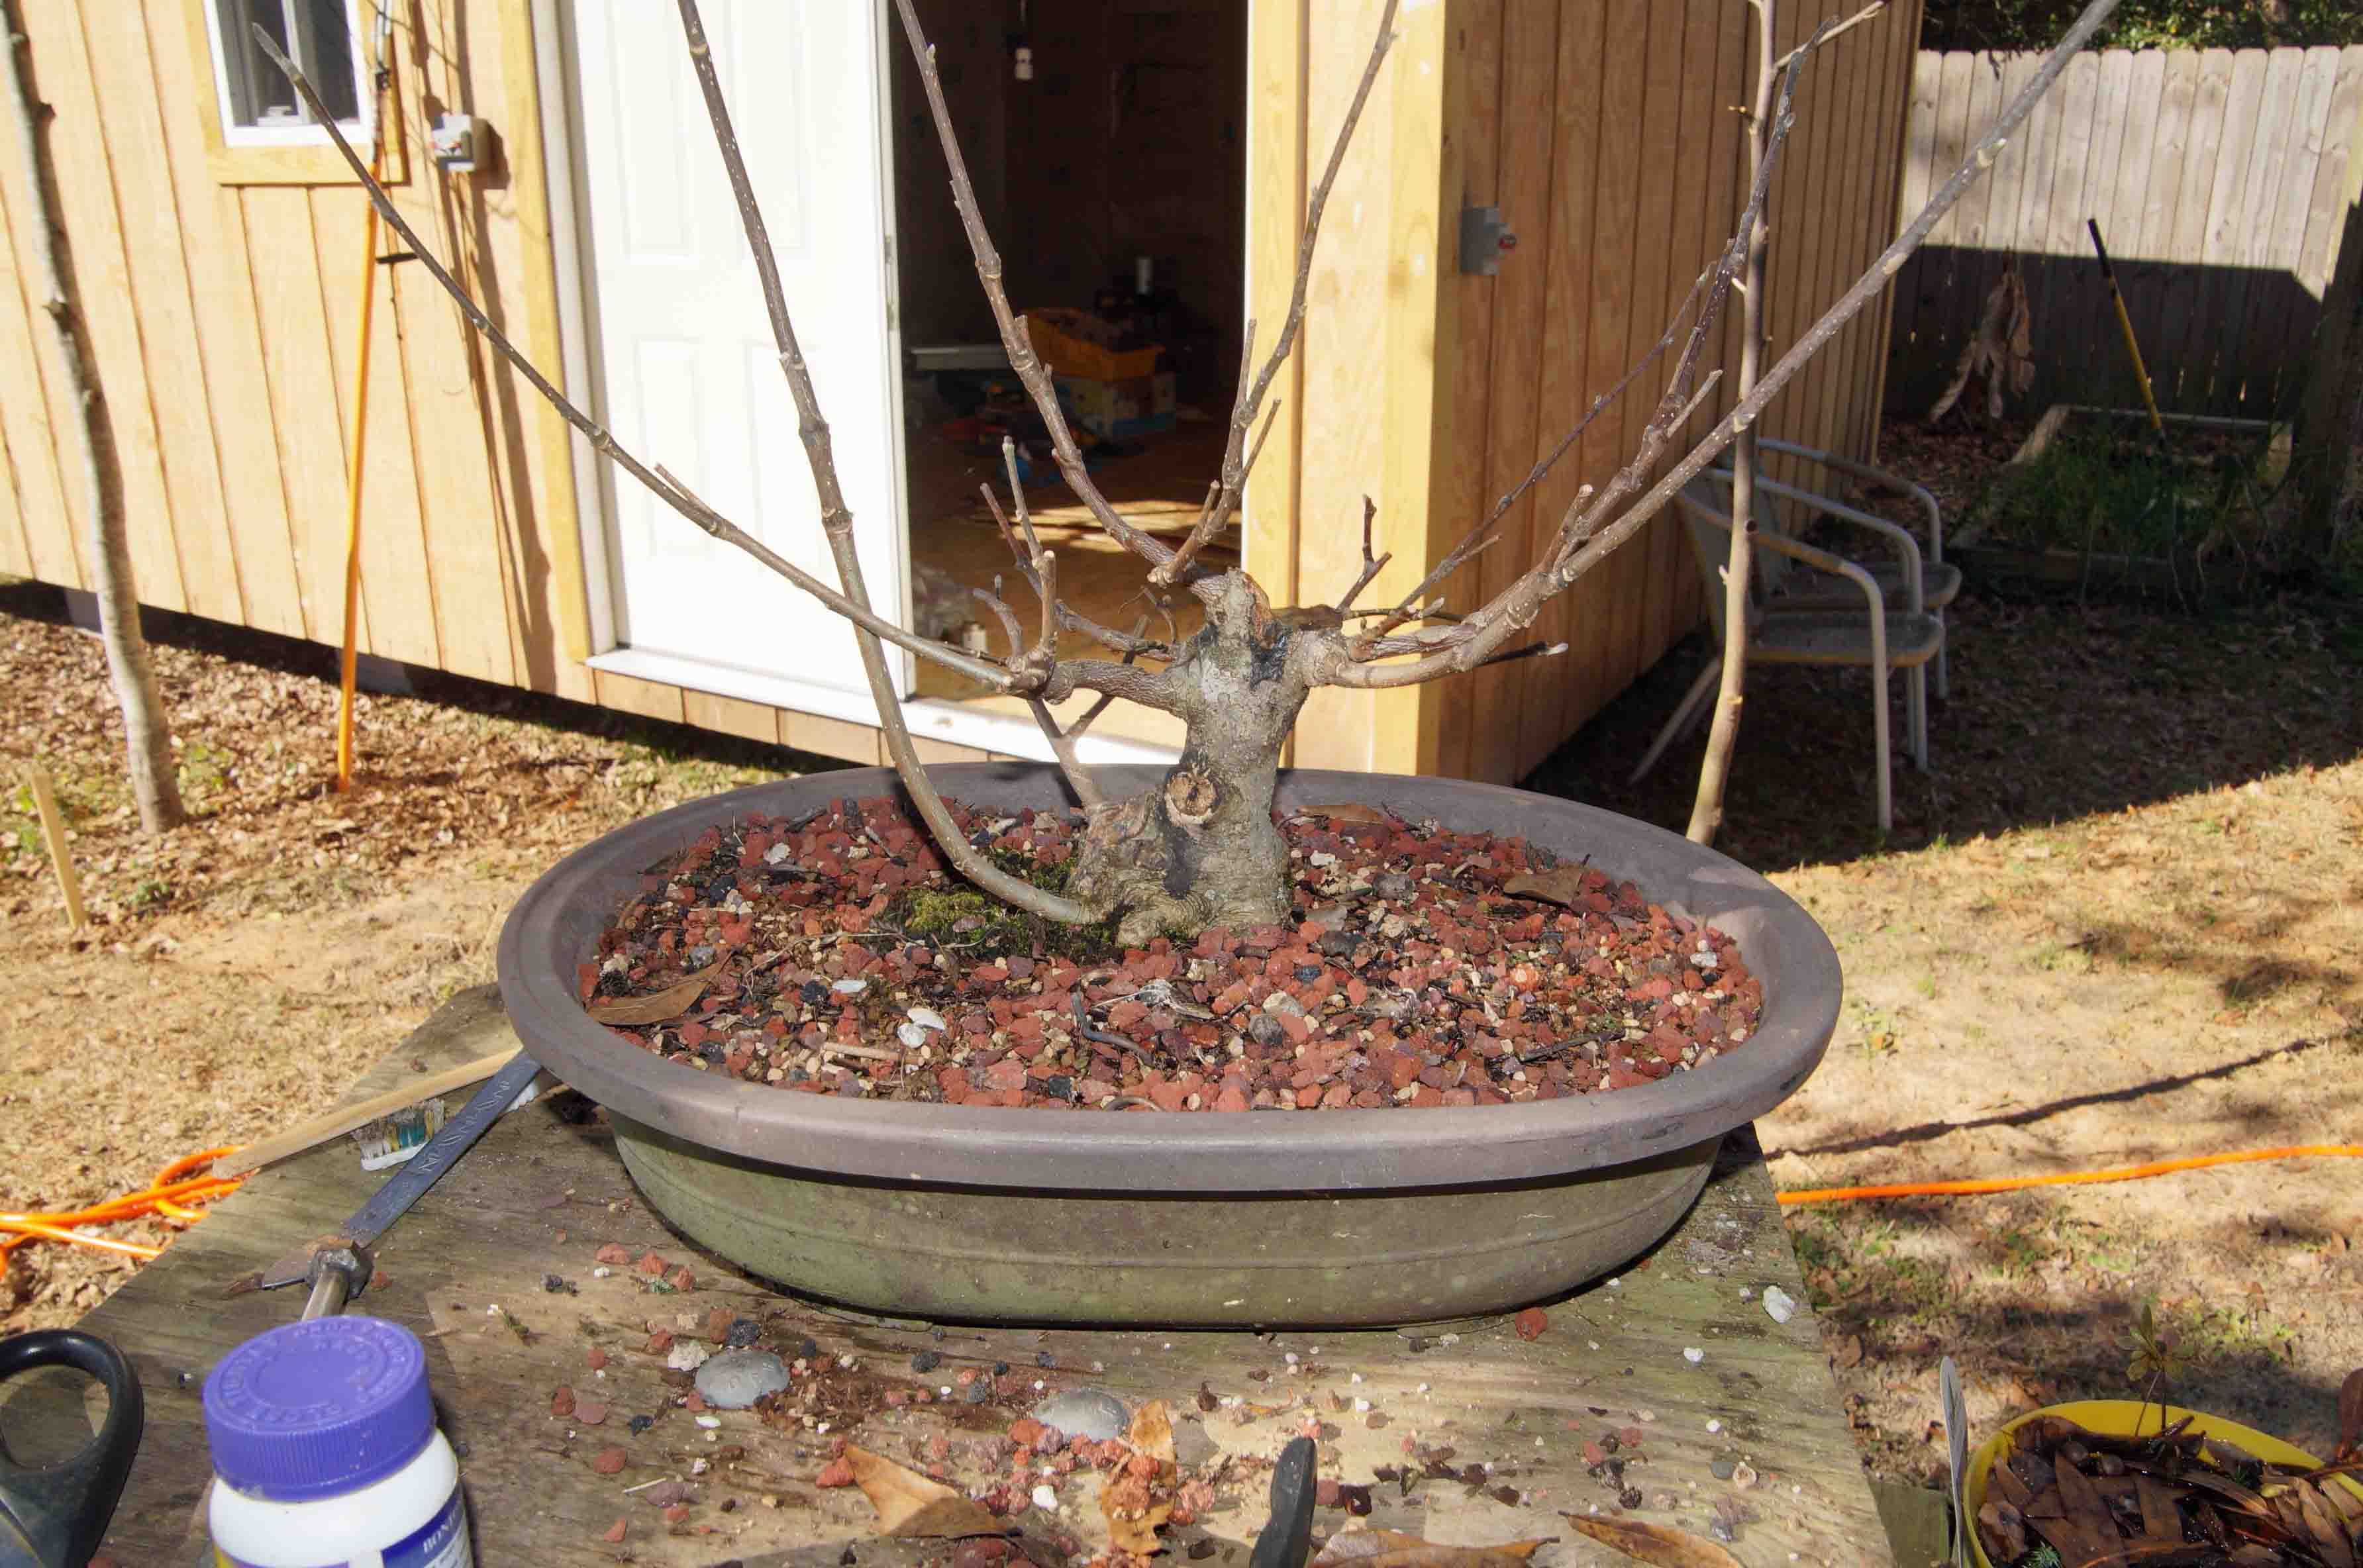
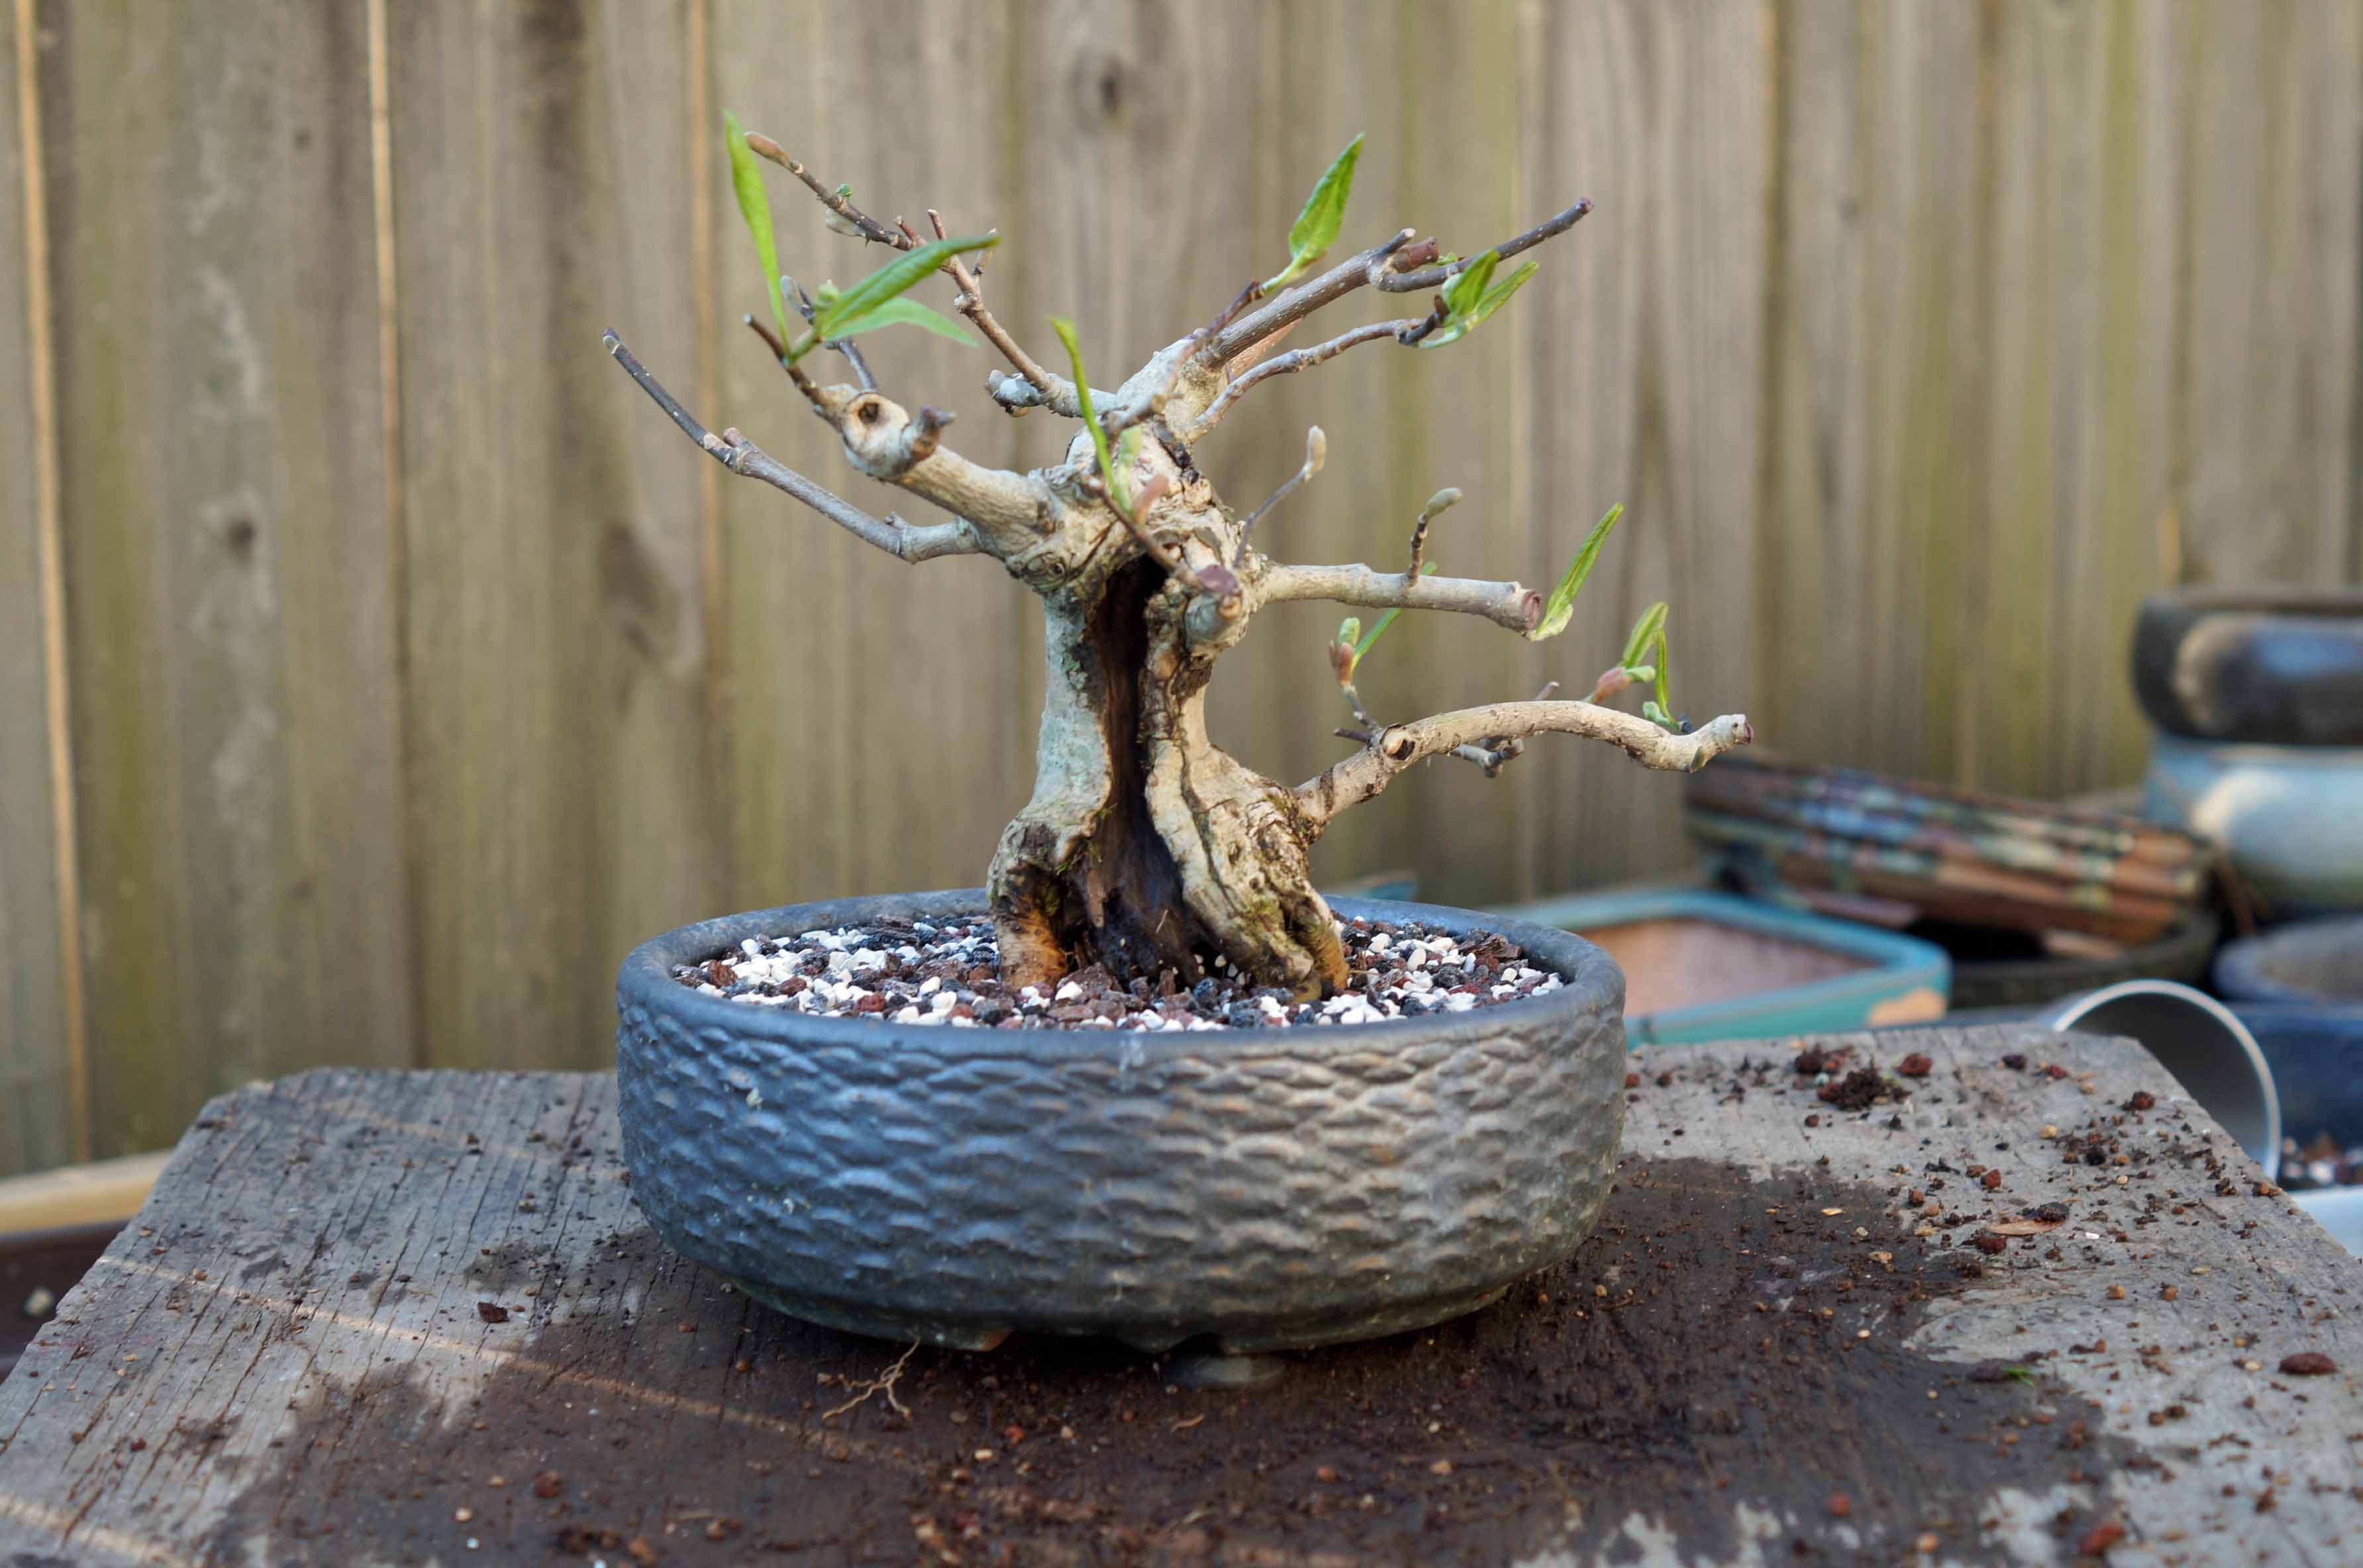
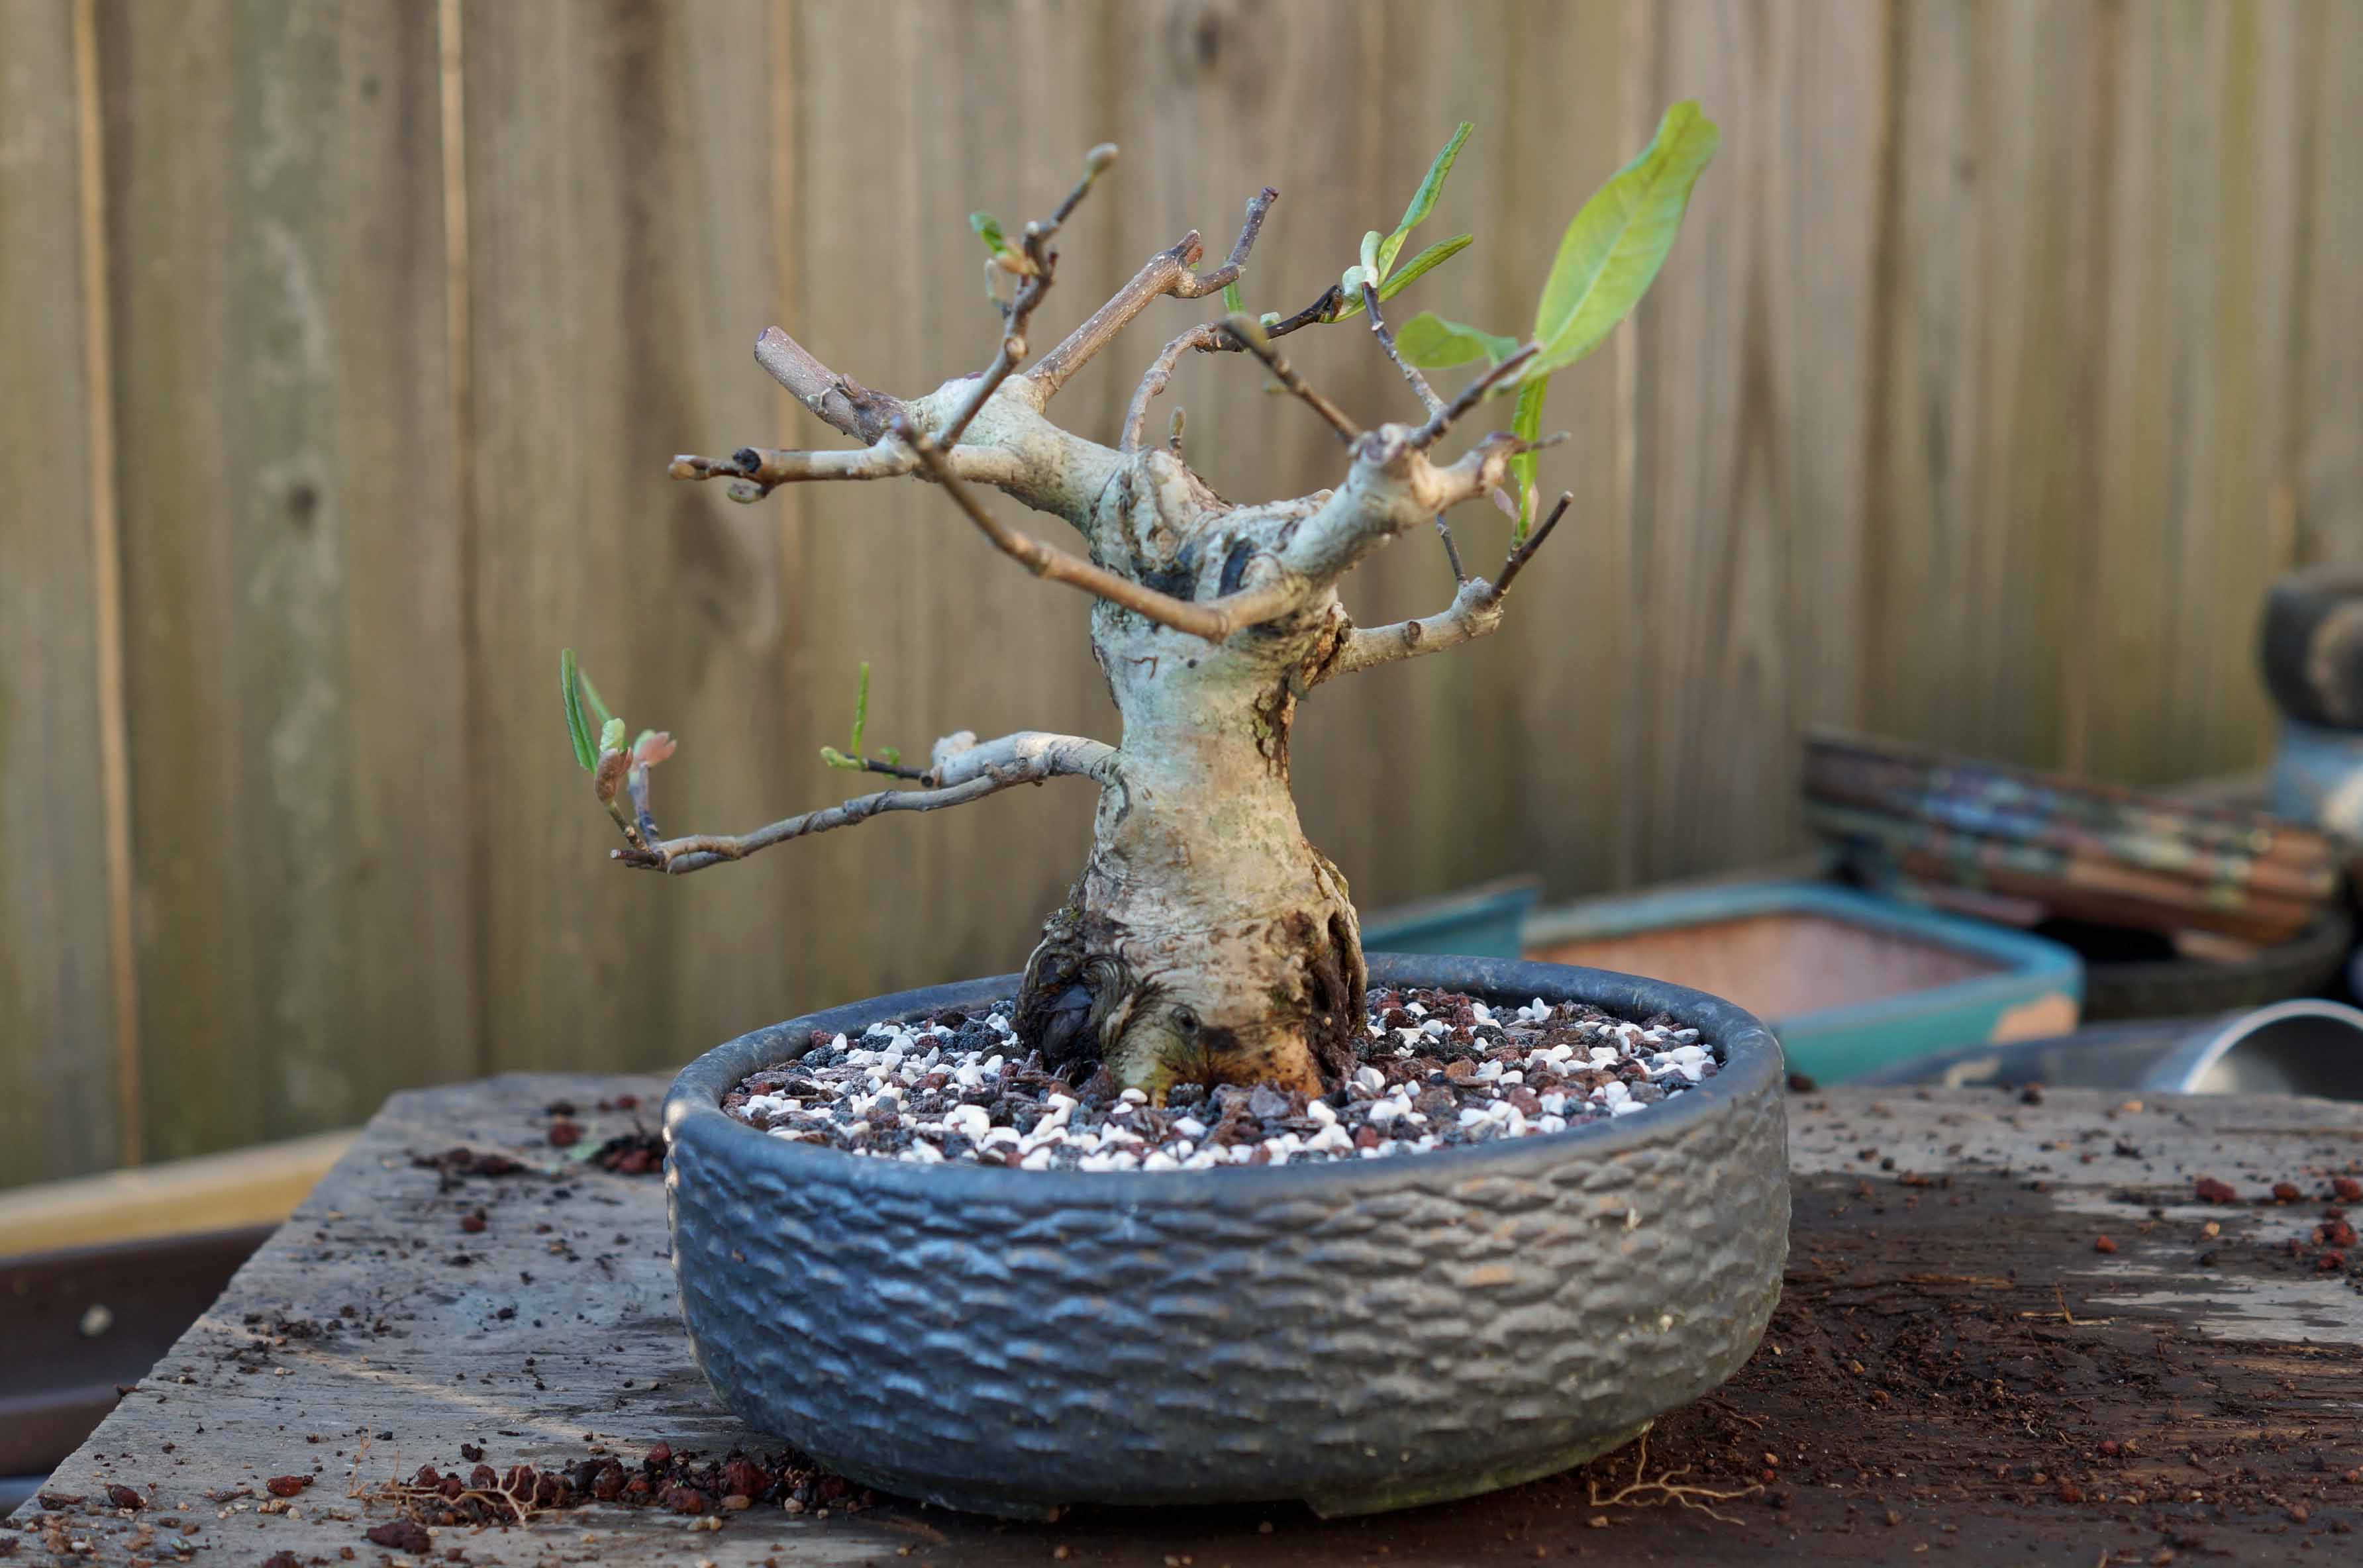
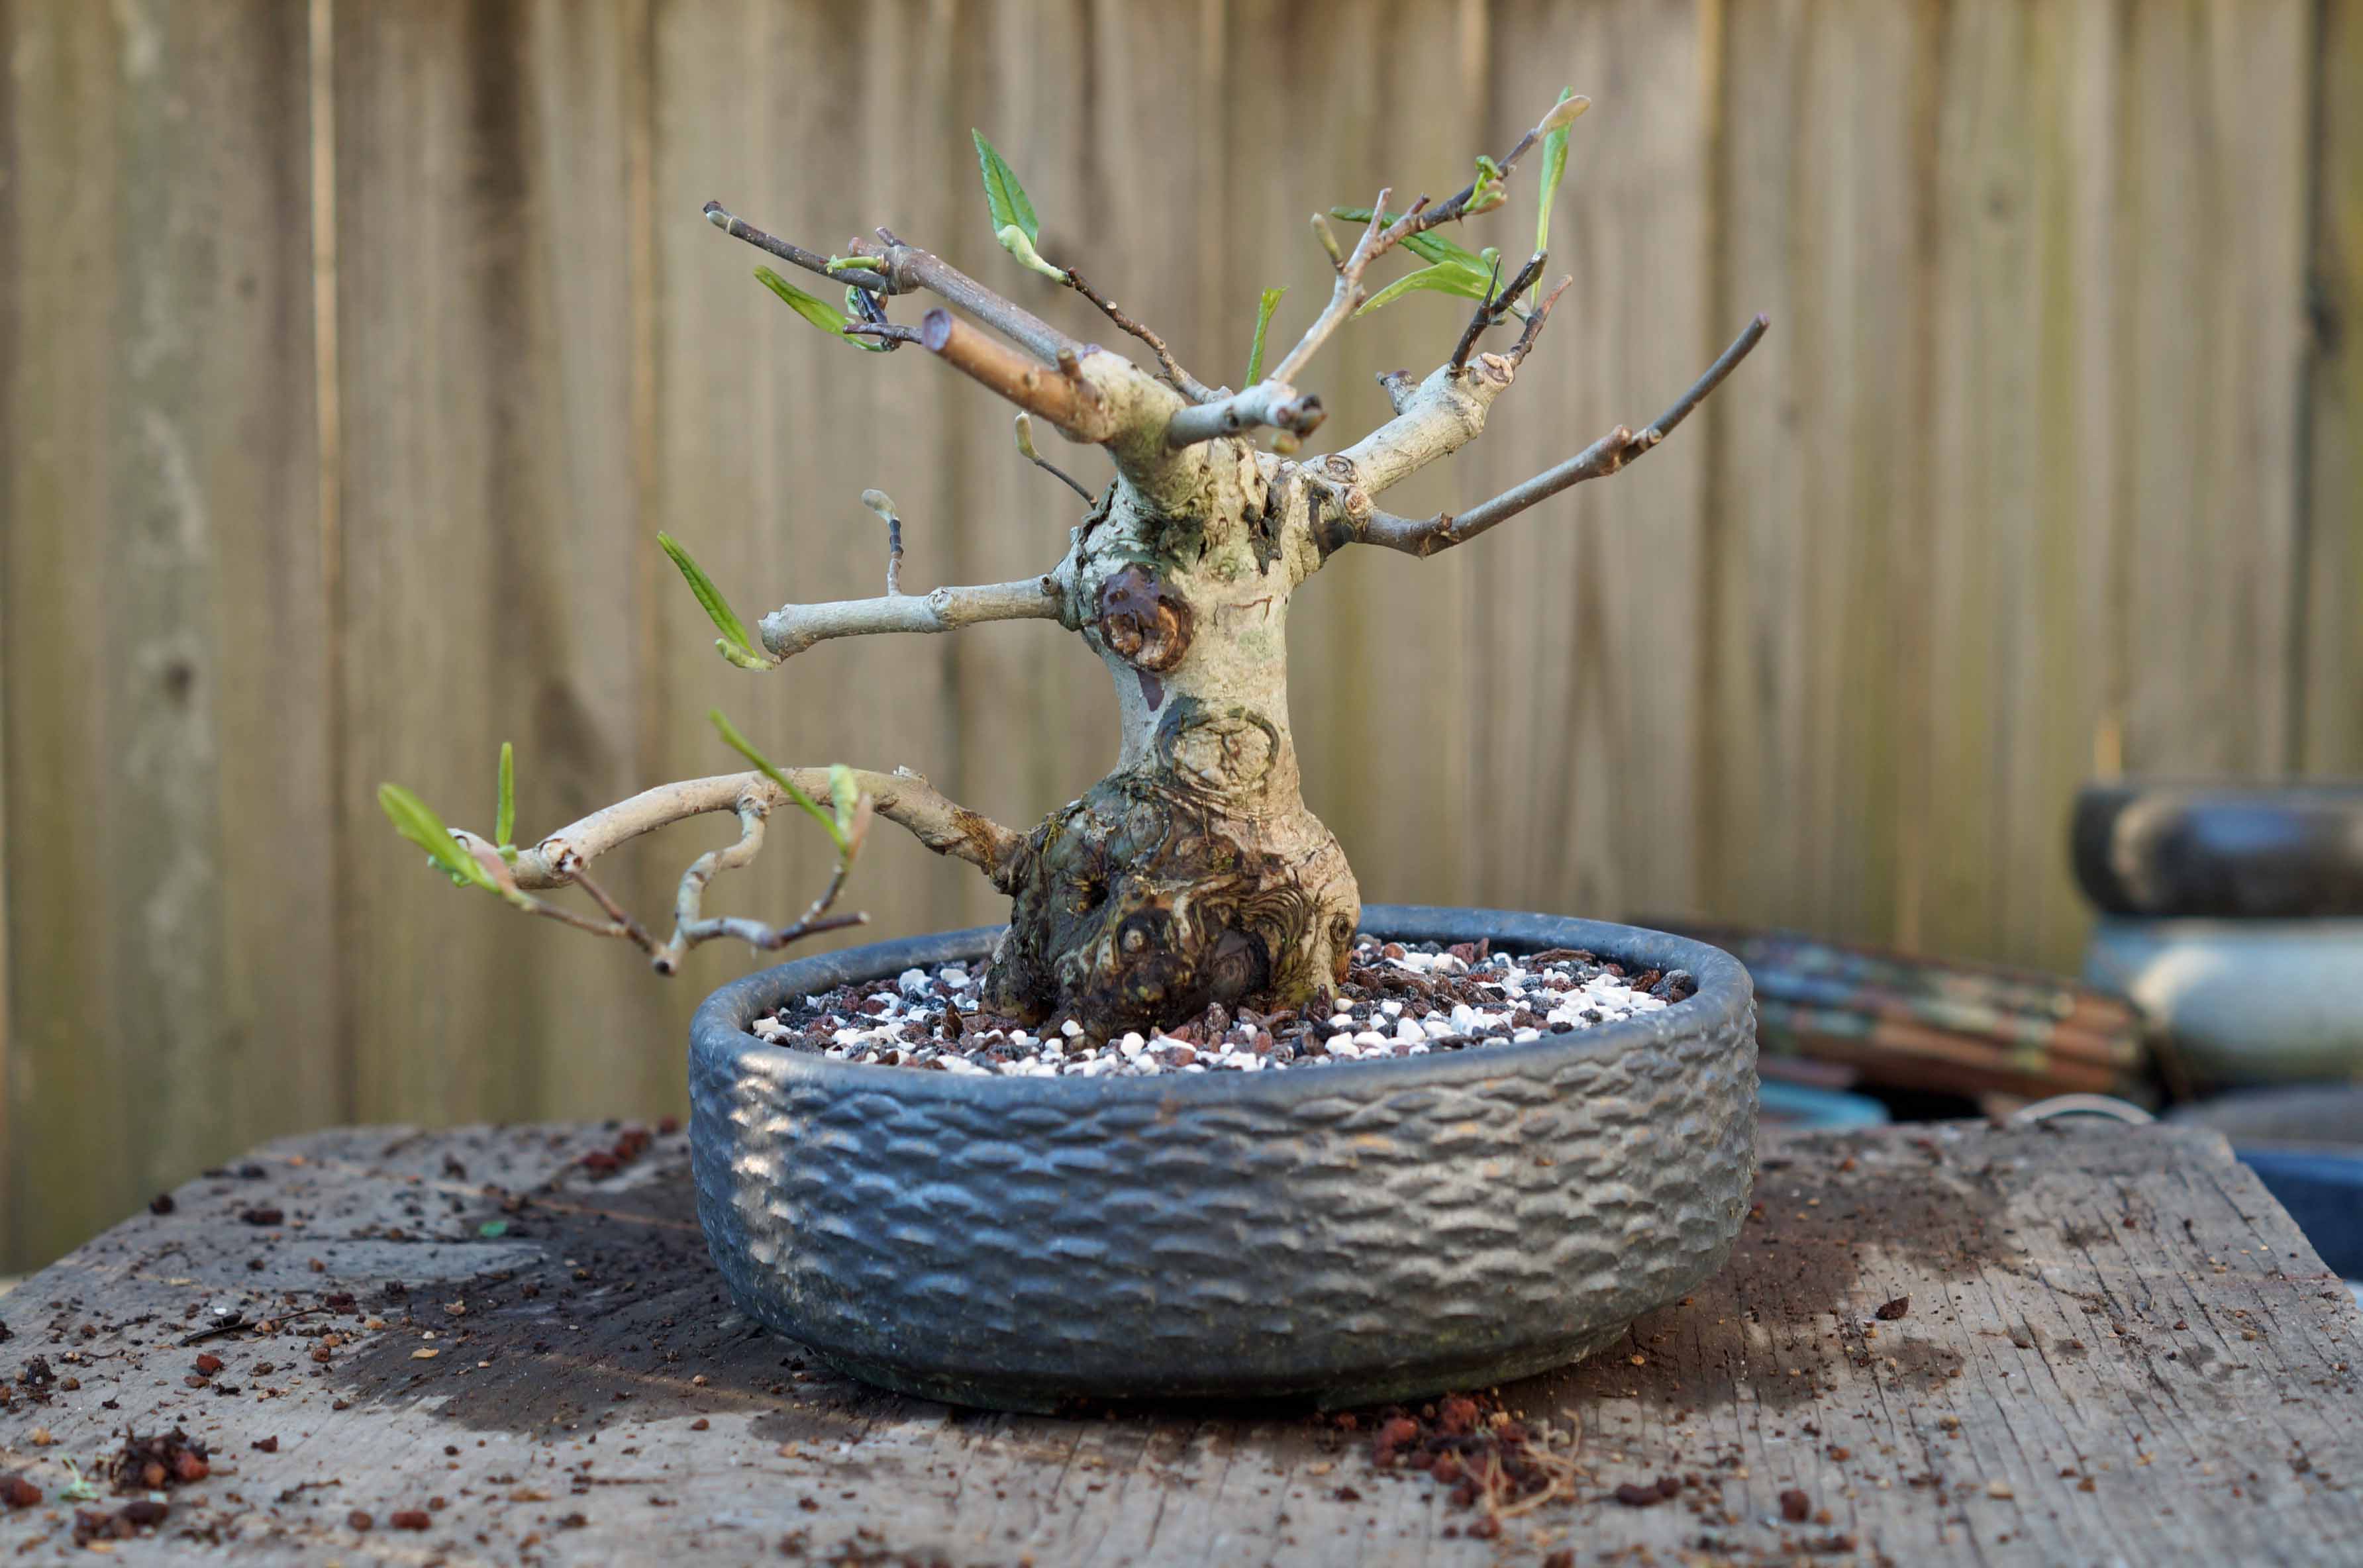
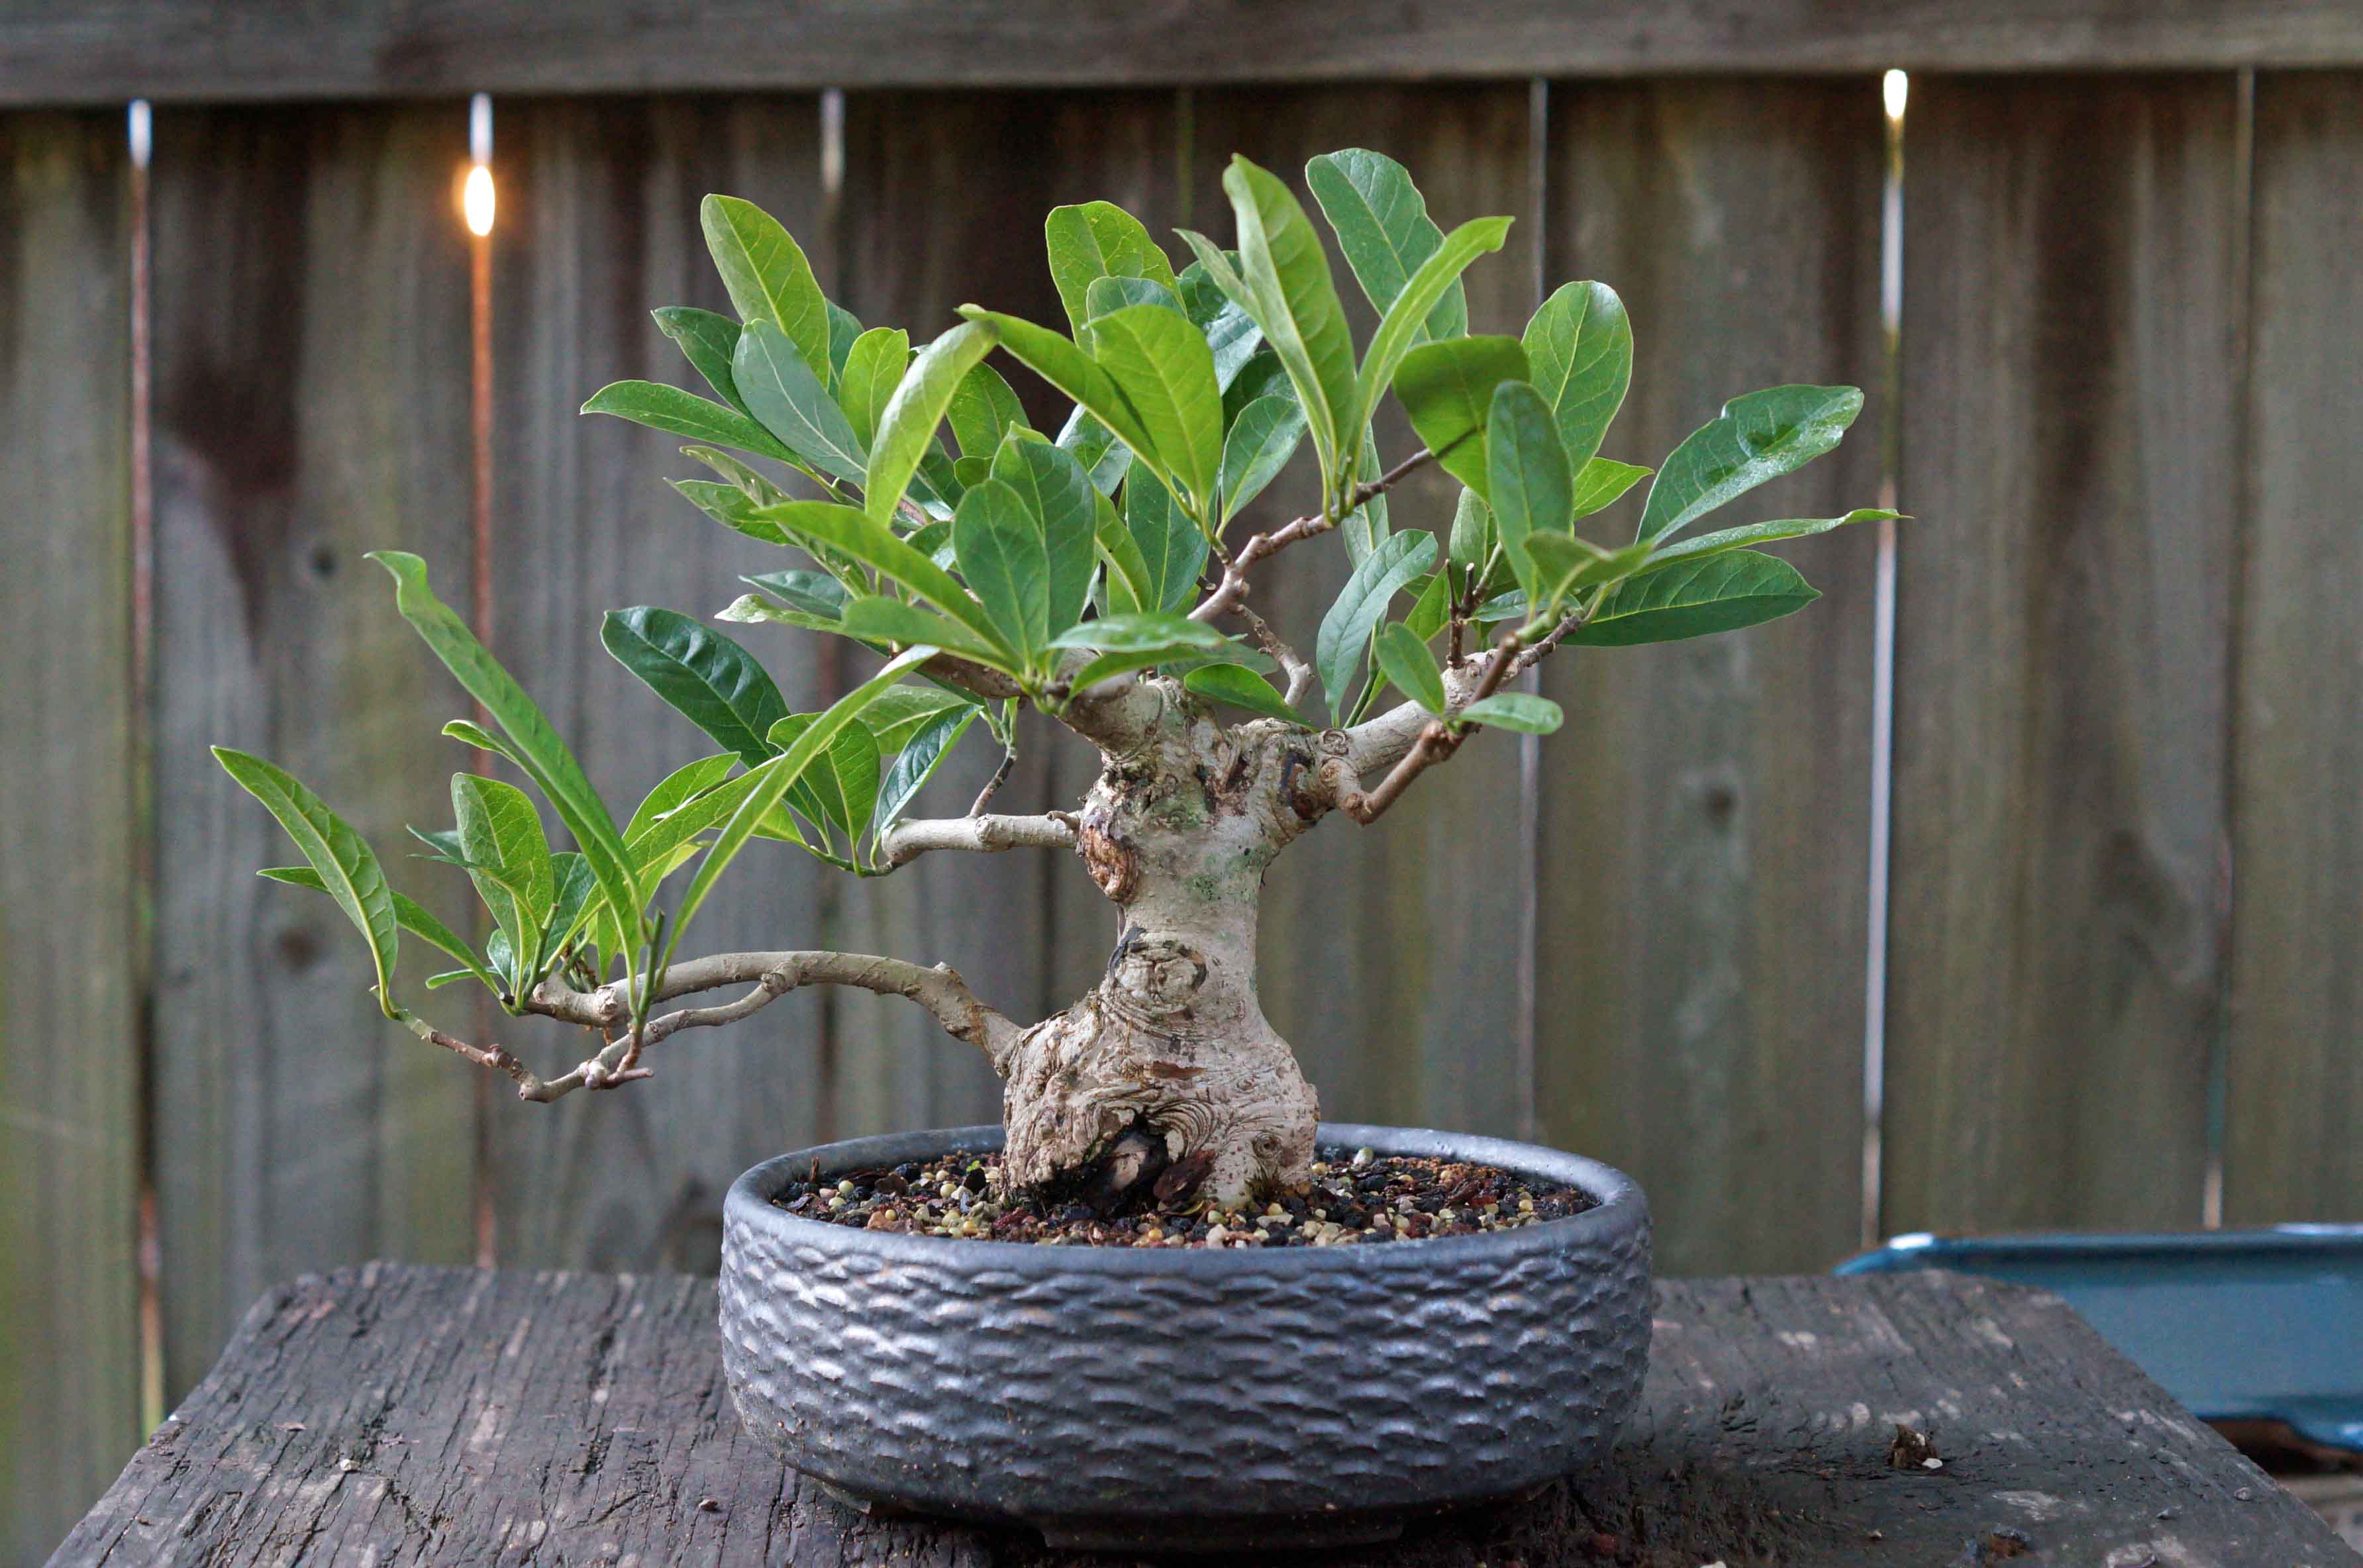
Fast-forward to 2018. I decided that I needed to either move forward with the tree or just plant it in the yard. It was in bad need of a repot, so I gave it one. This what it look like at the time, March 2018.
Fast-forward to 2018. I decided that I needed to either move forward with the tree or just plant it in the yard. It was in bad need of a repot, so I gave it one. This what it look like at the time, March 2018.
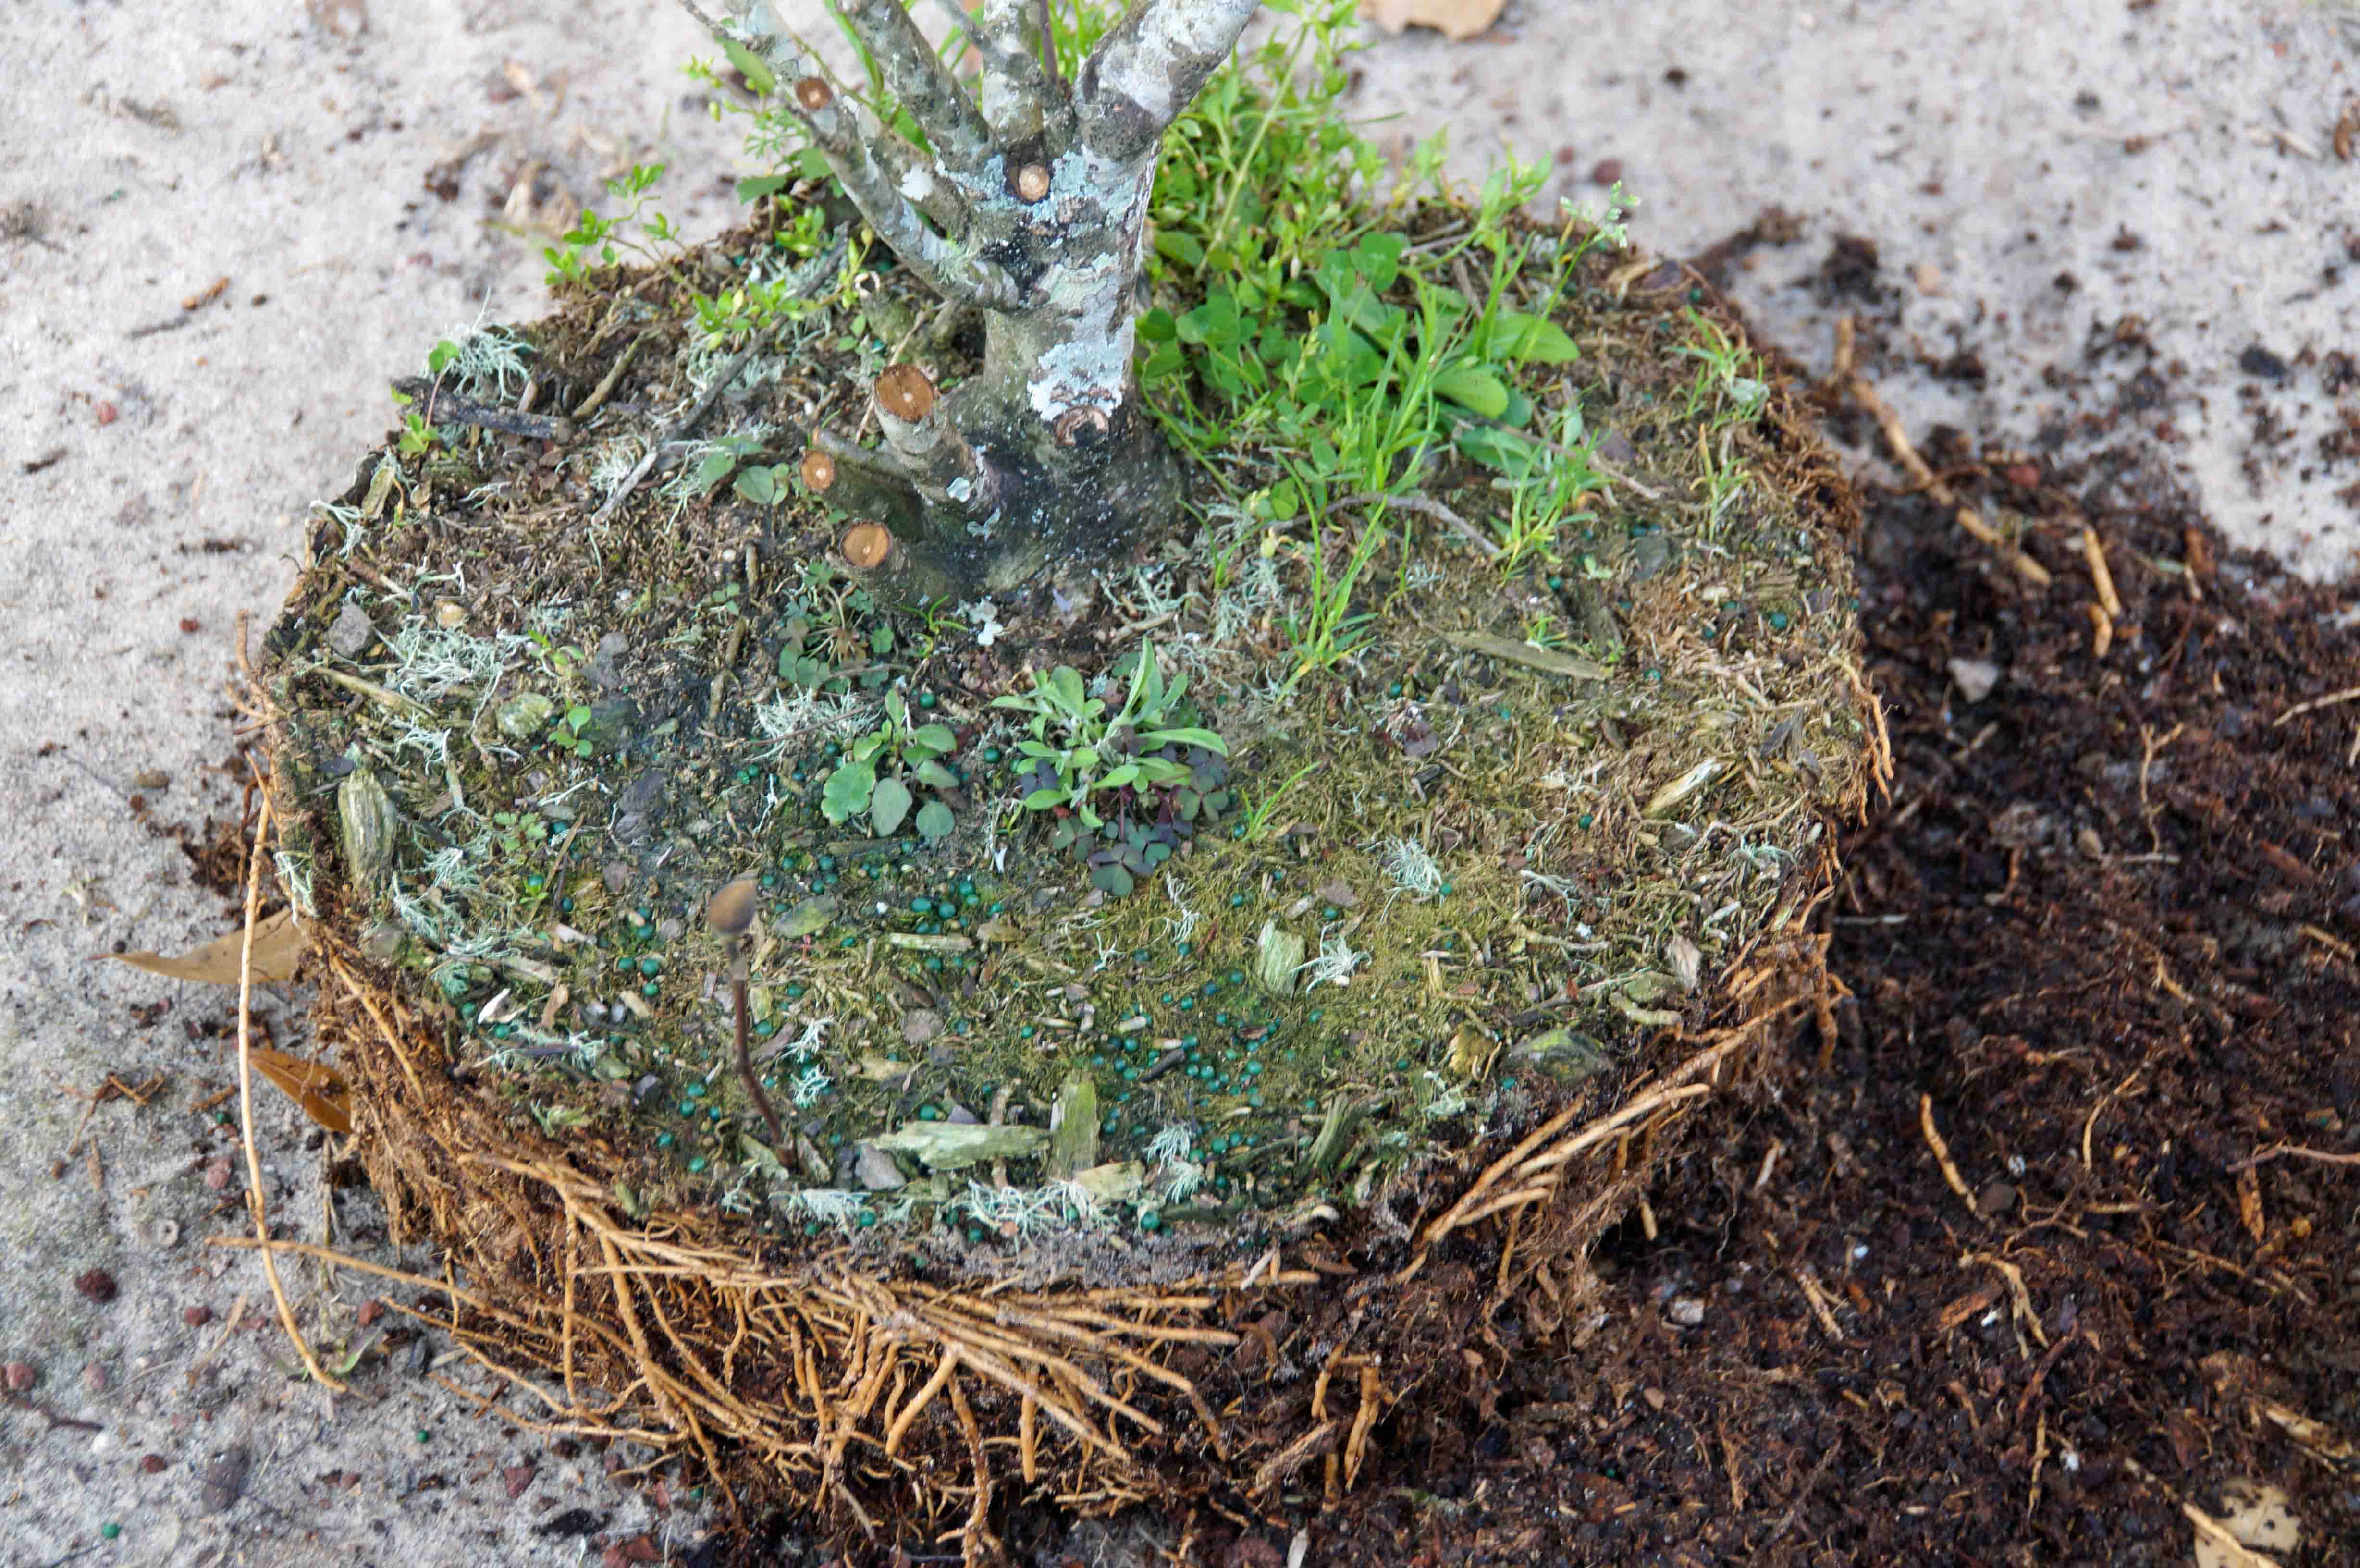
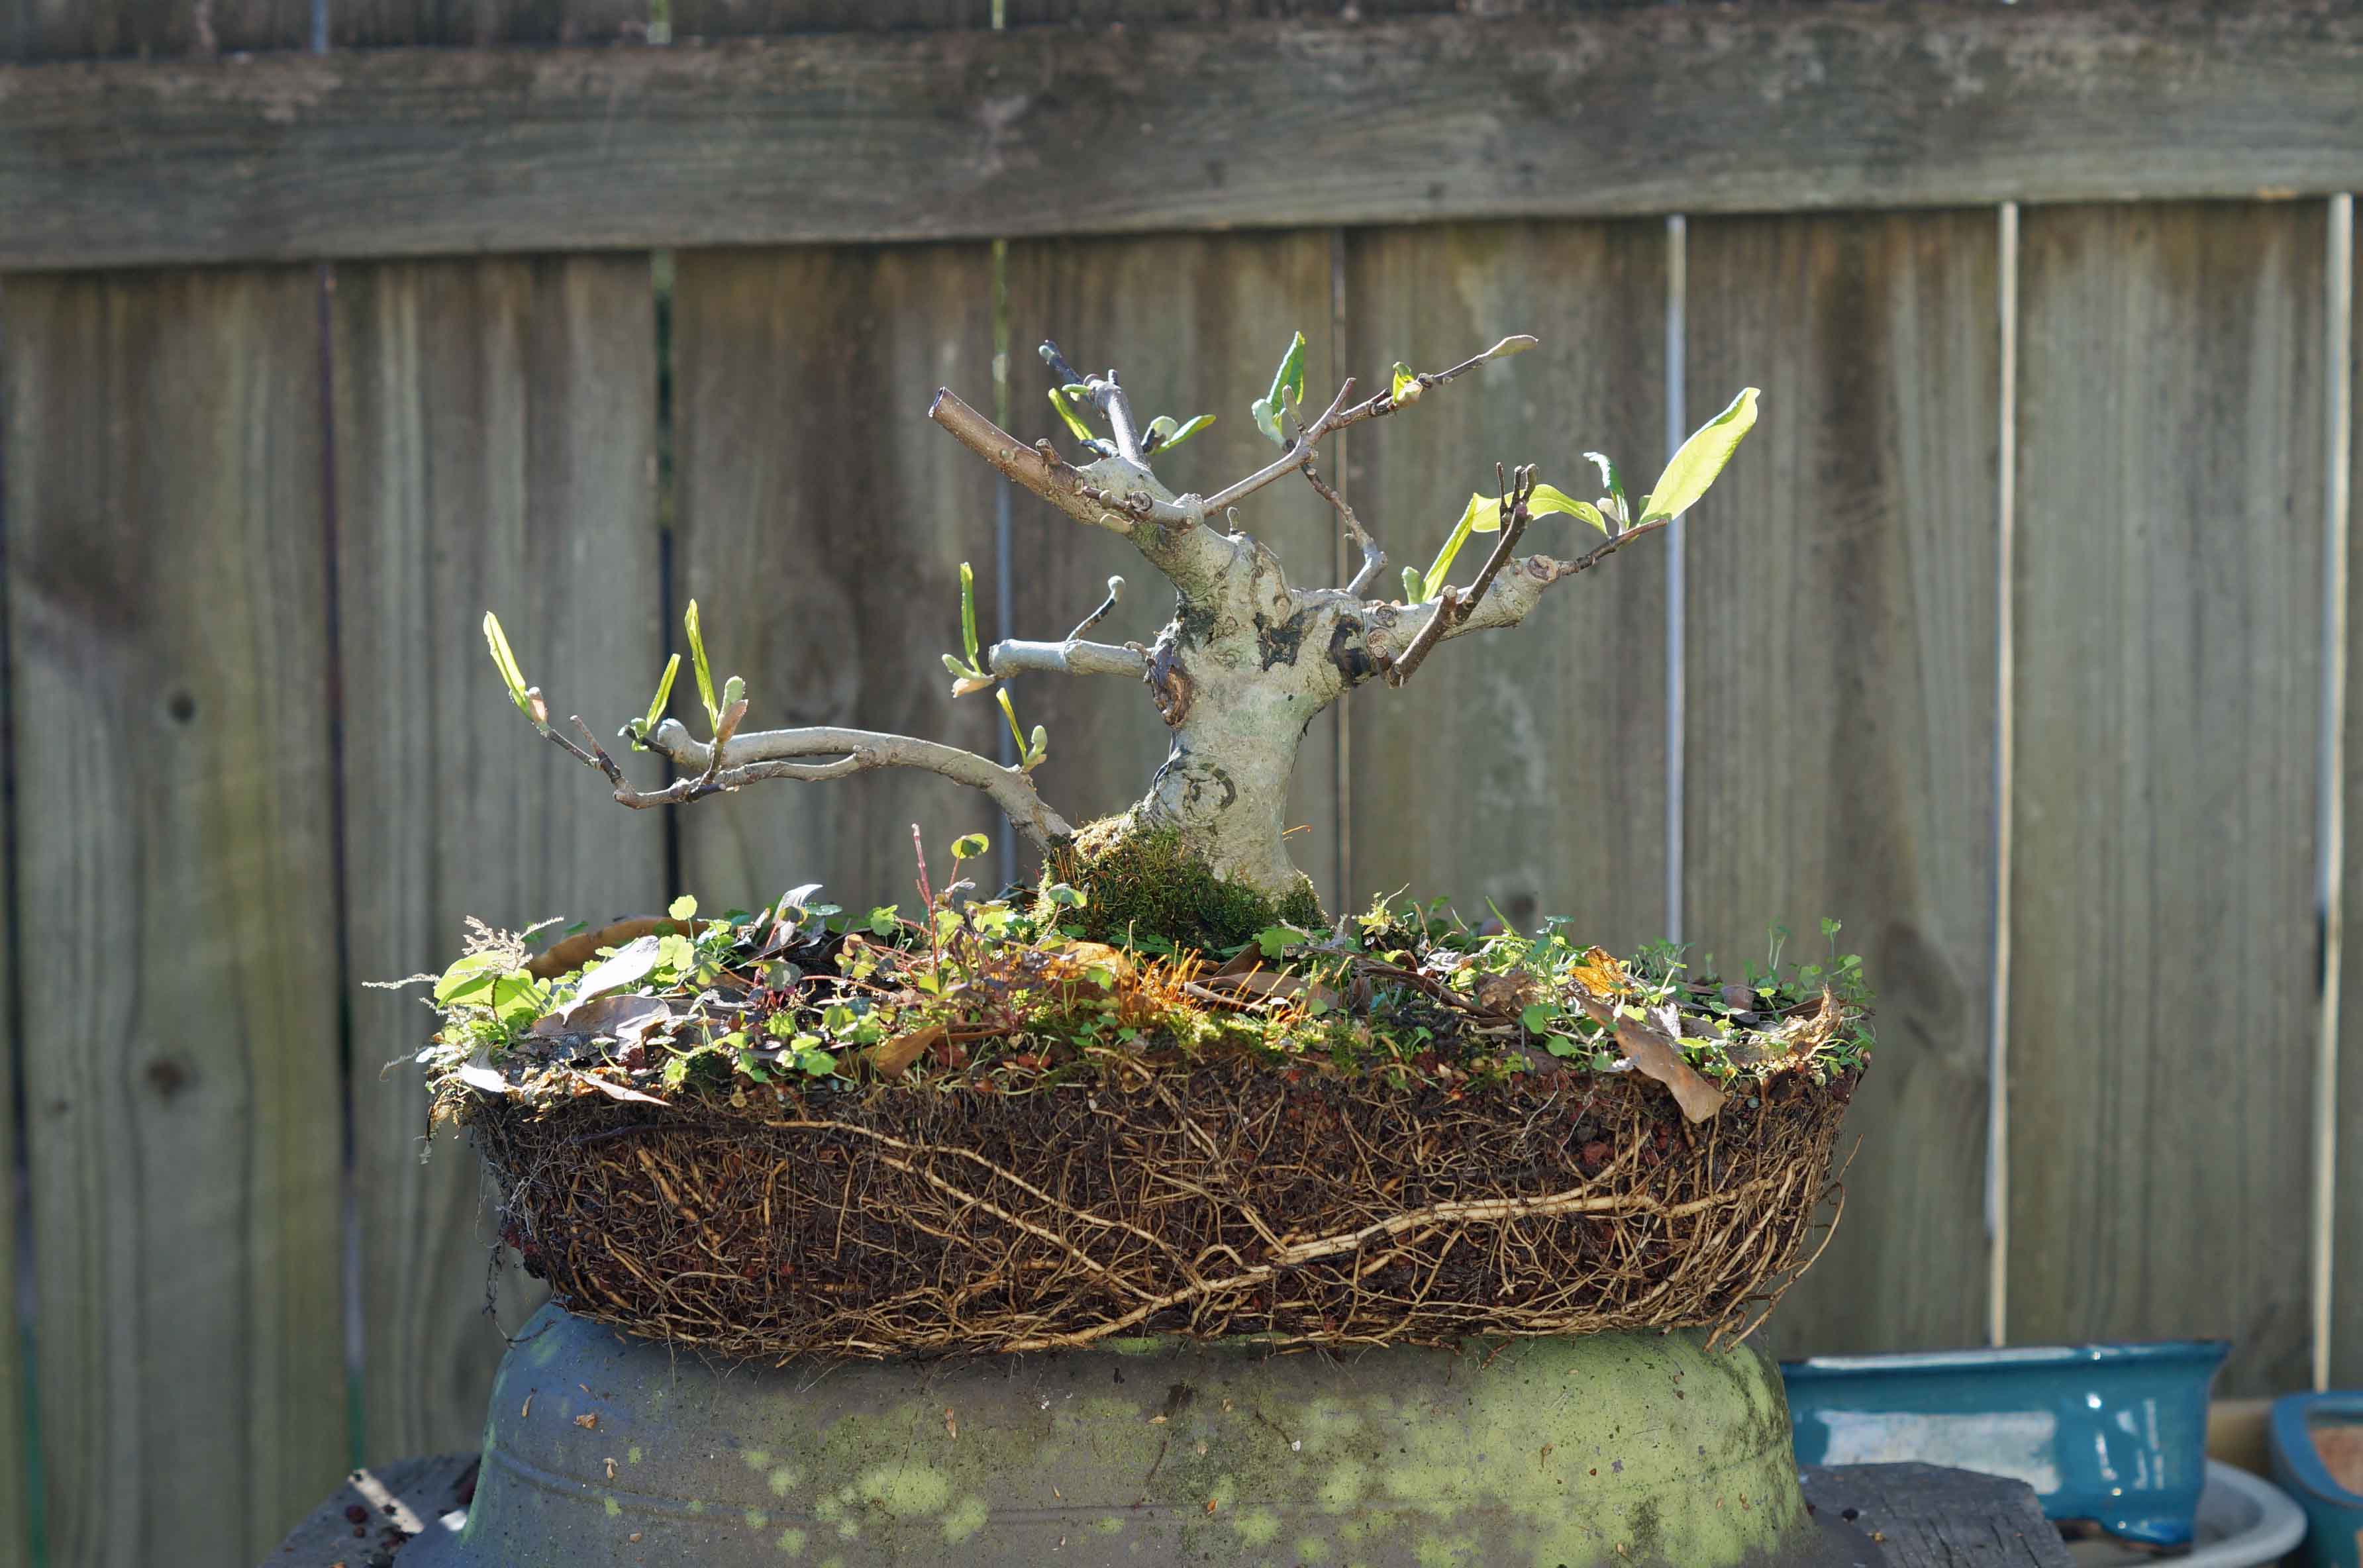
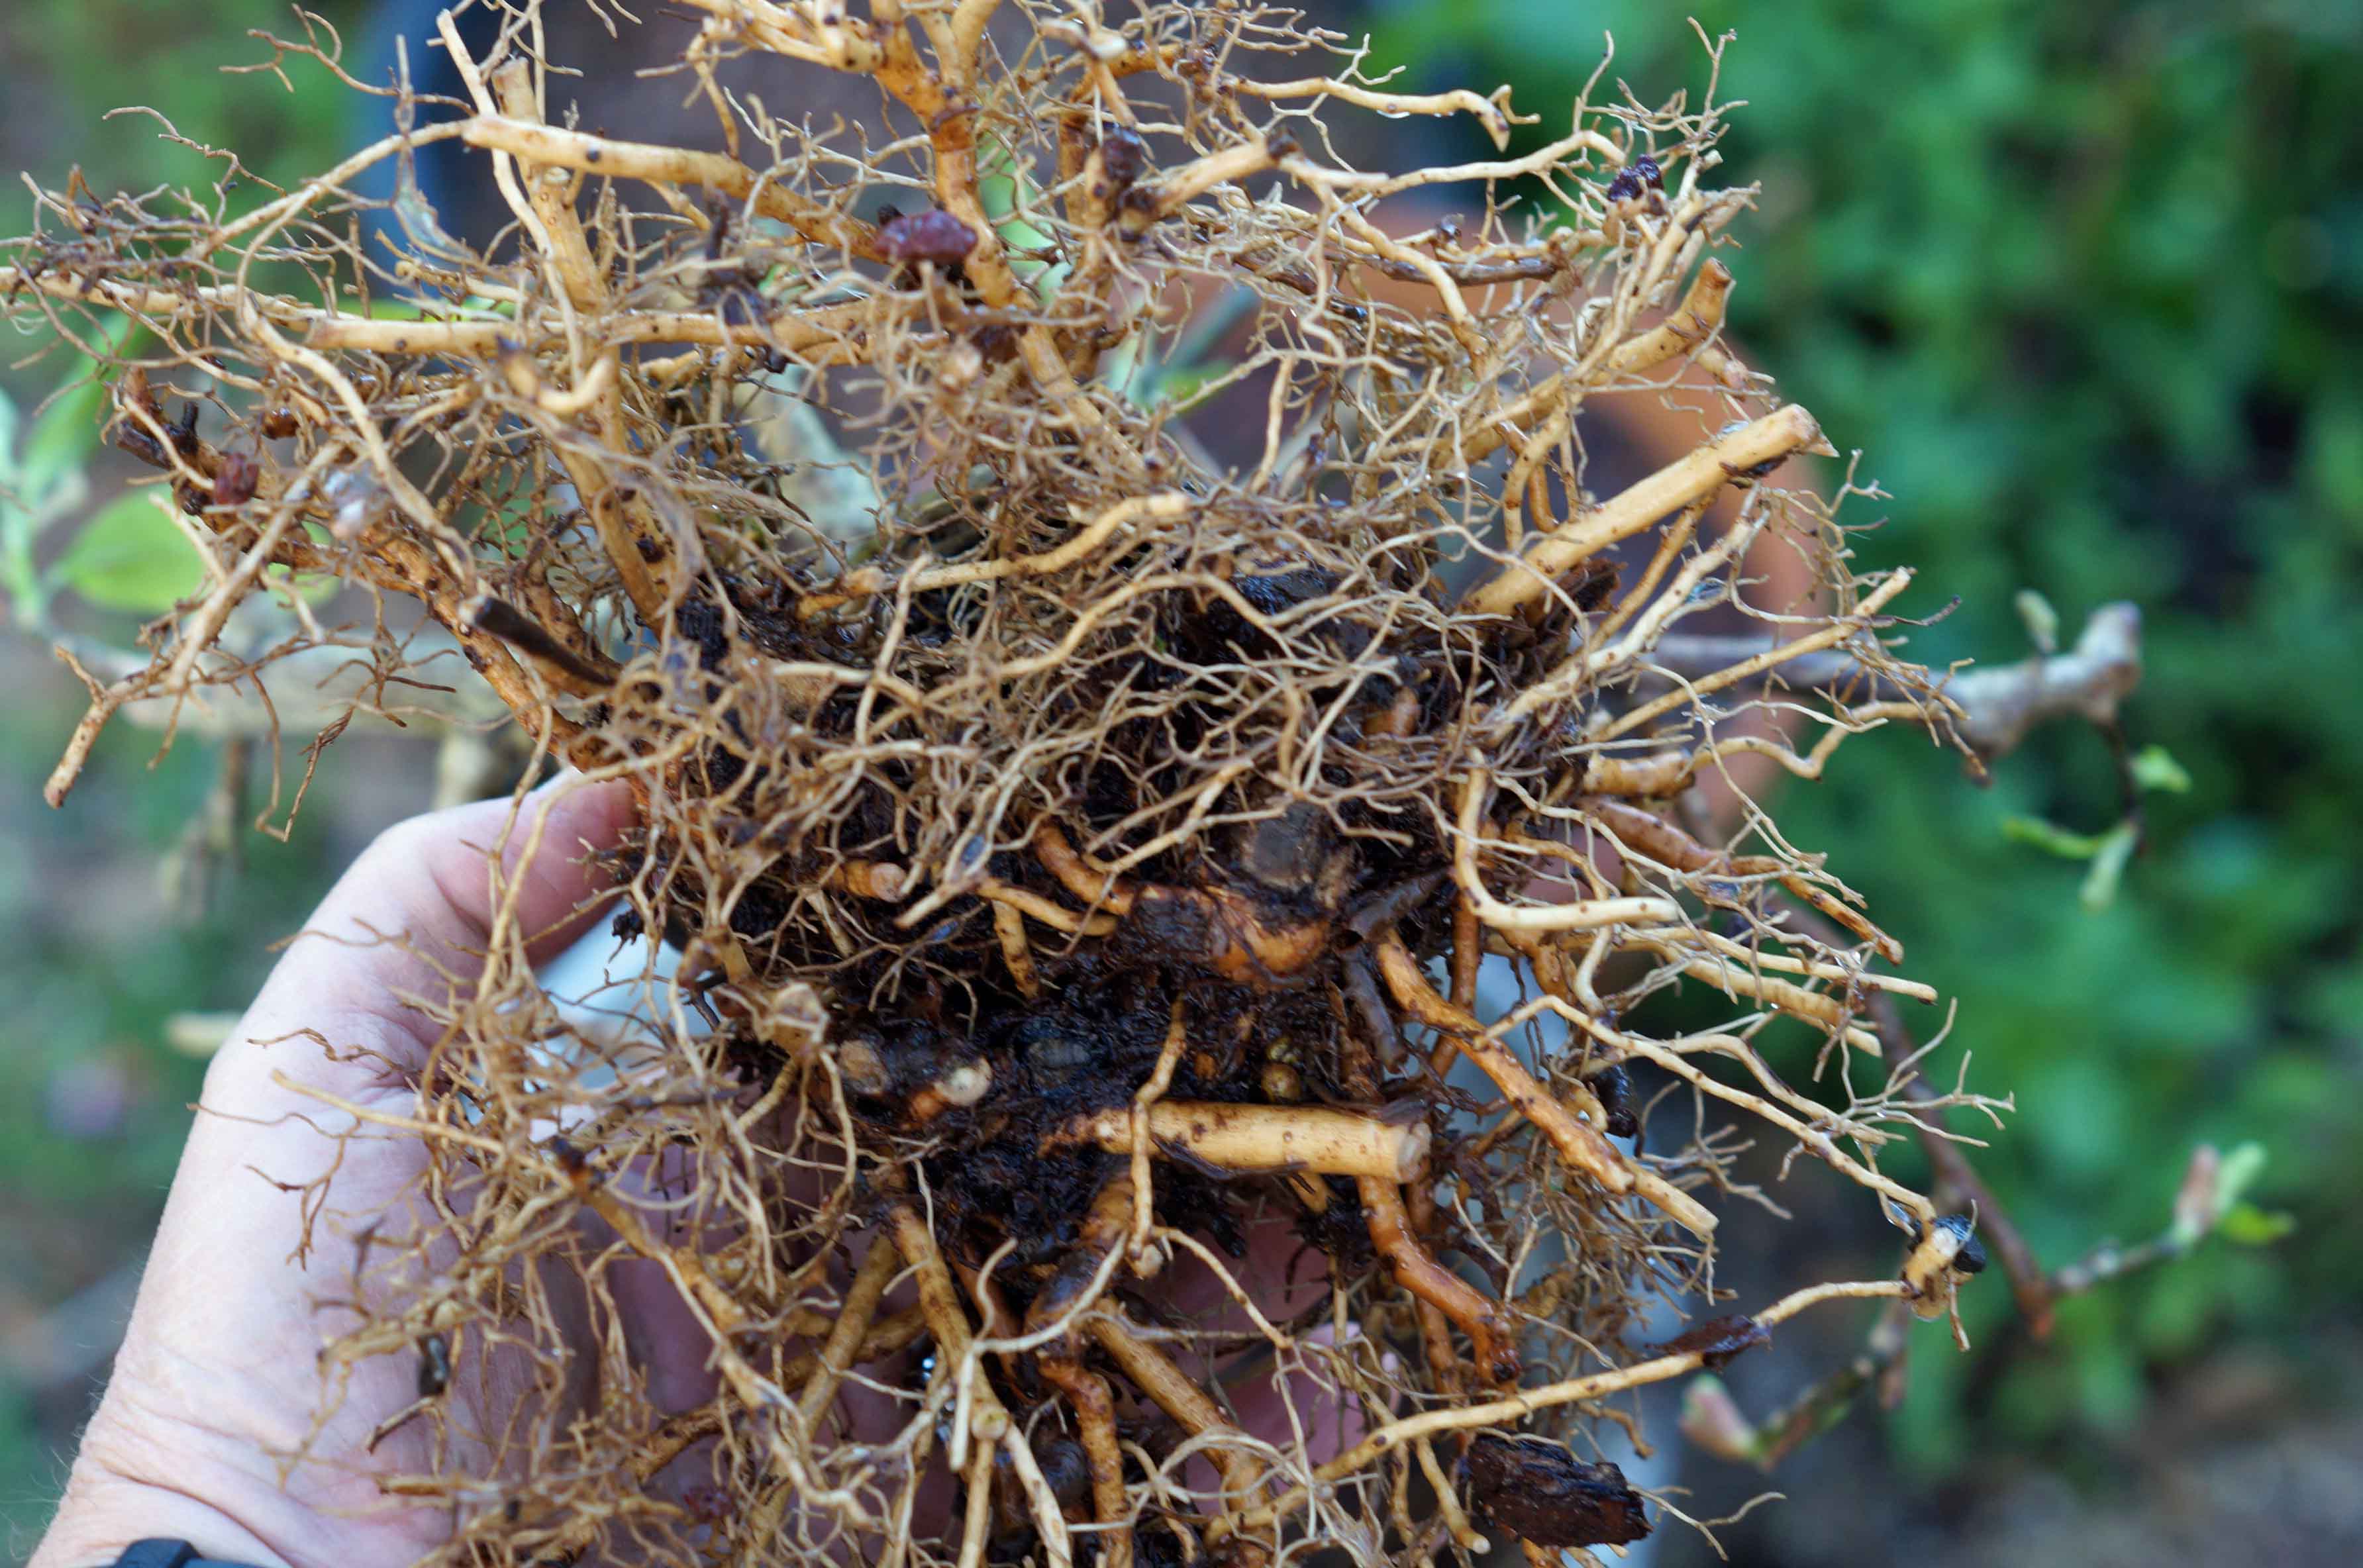
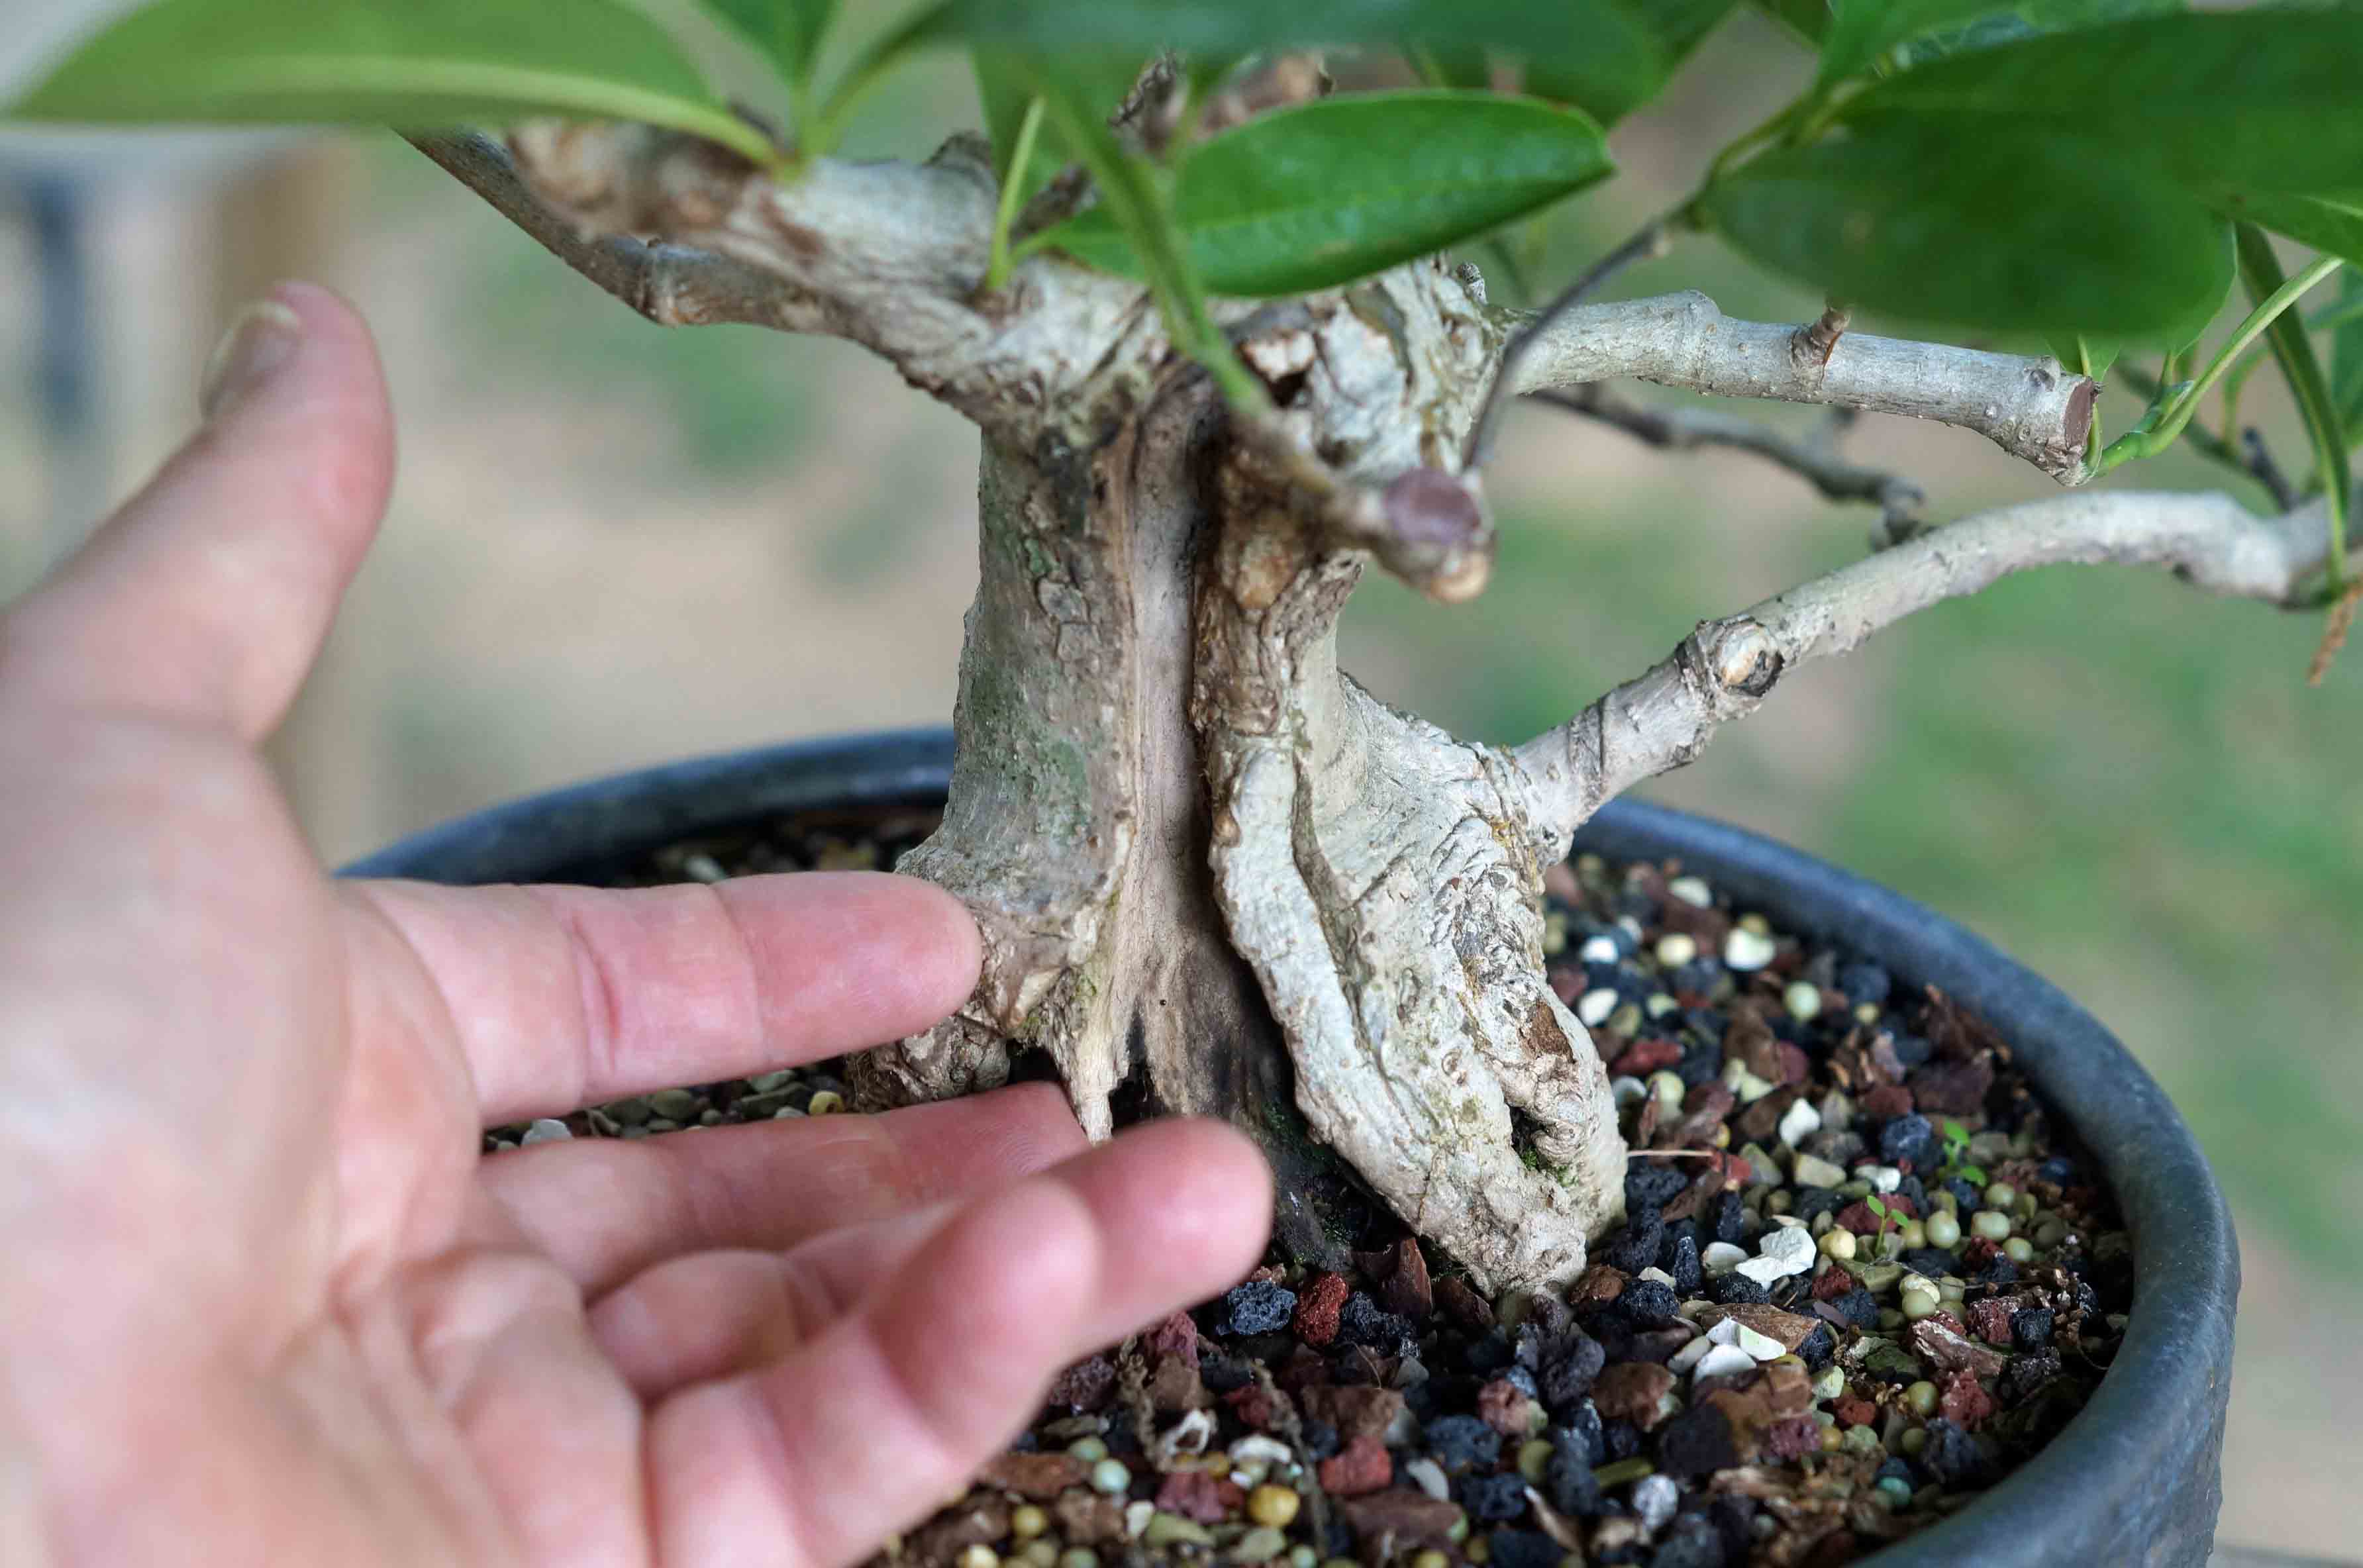
A look under the hood:
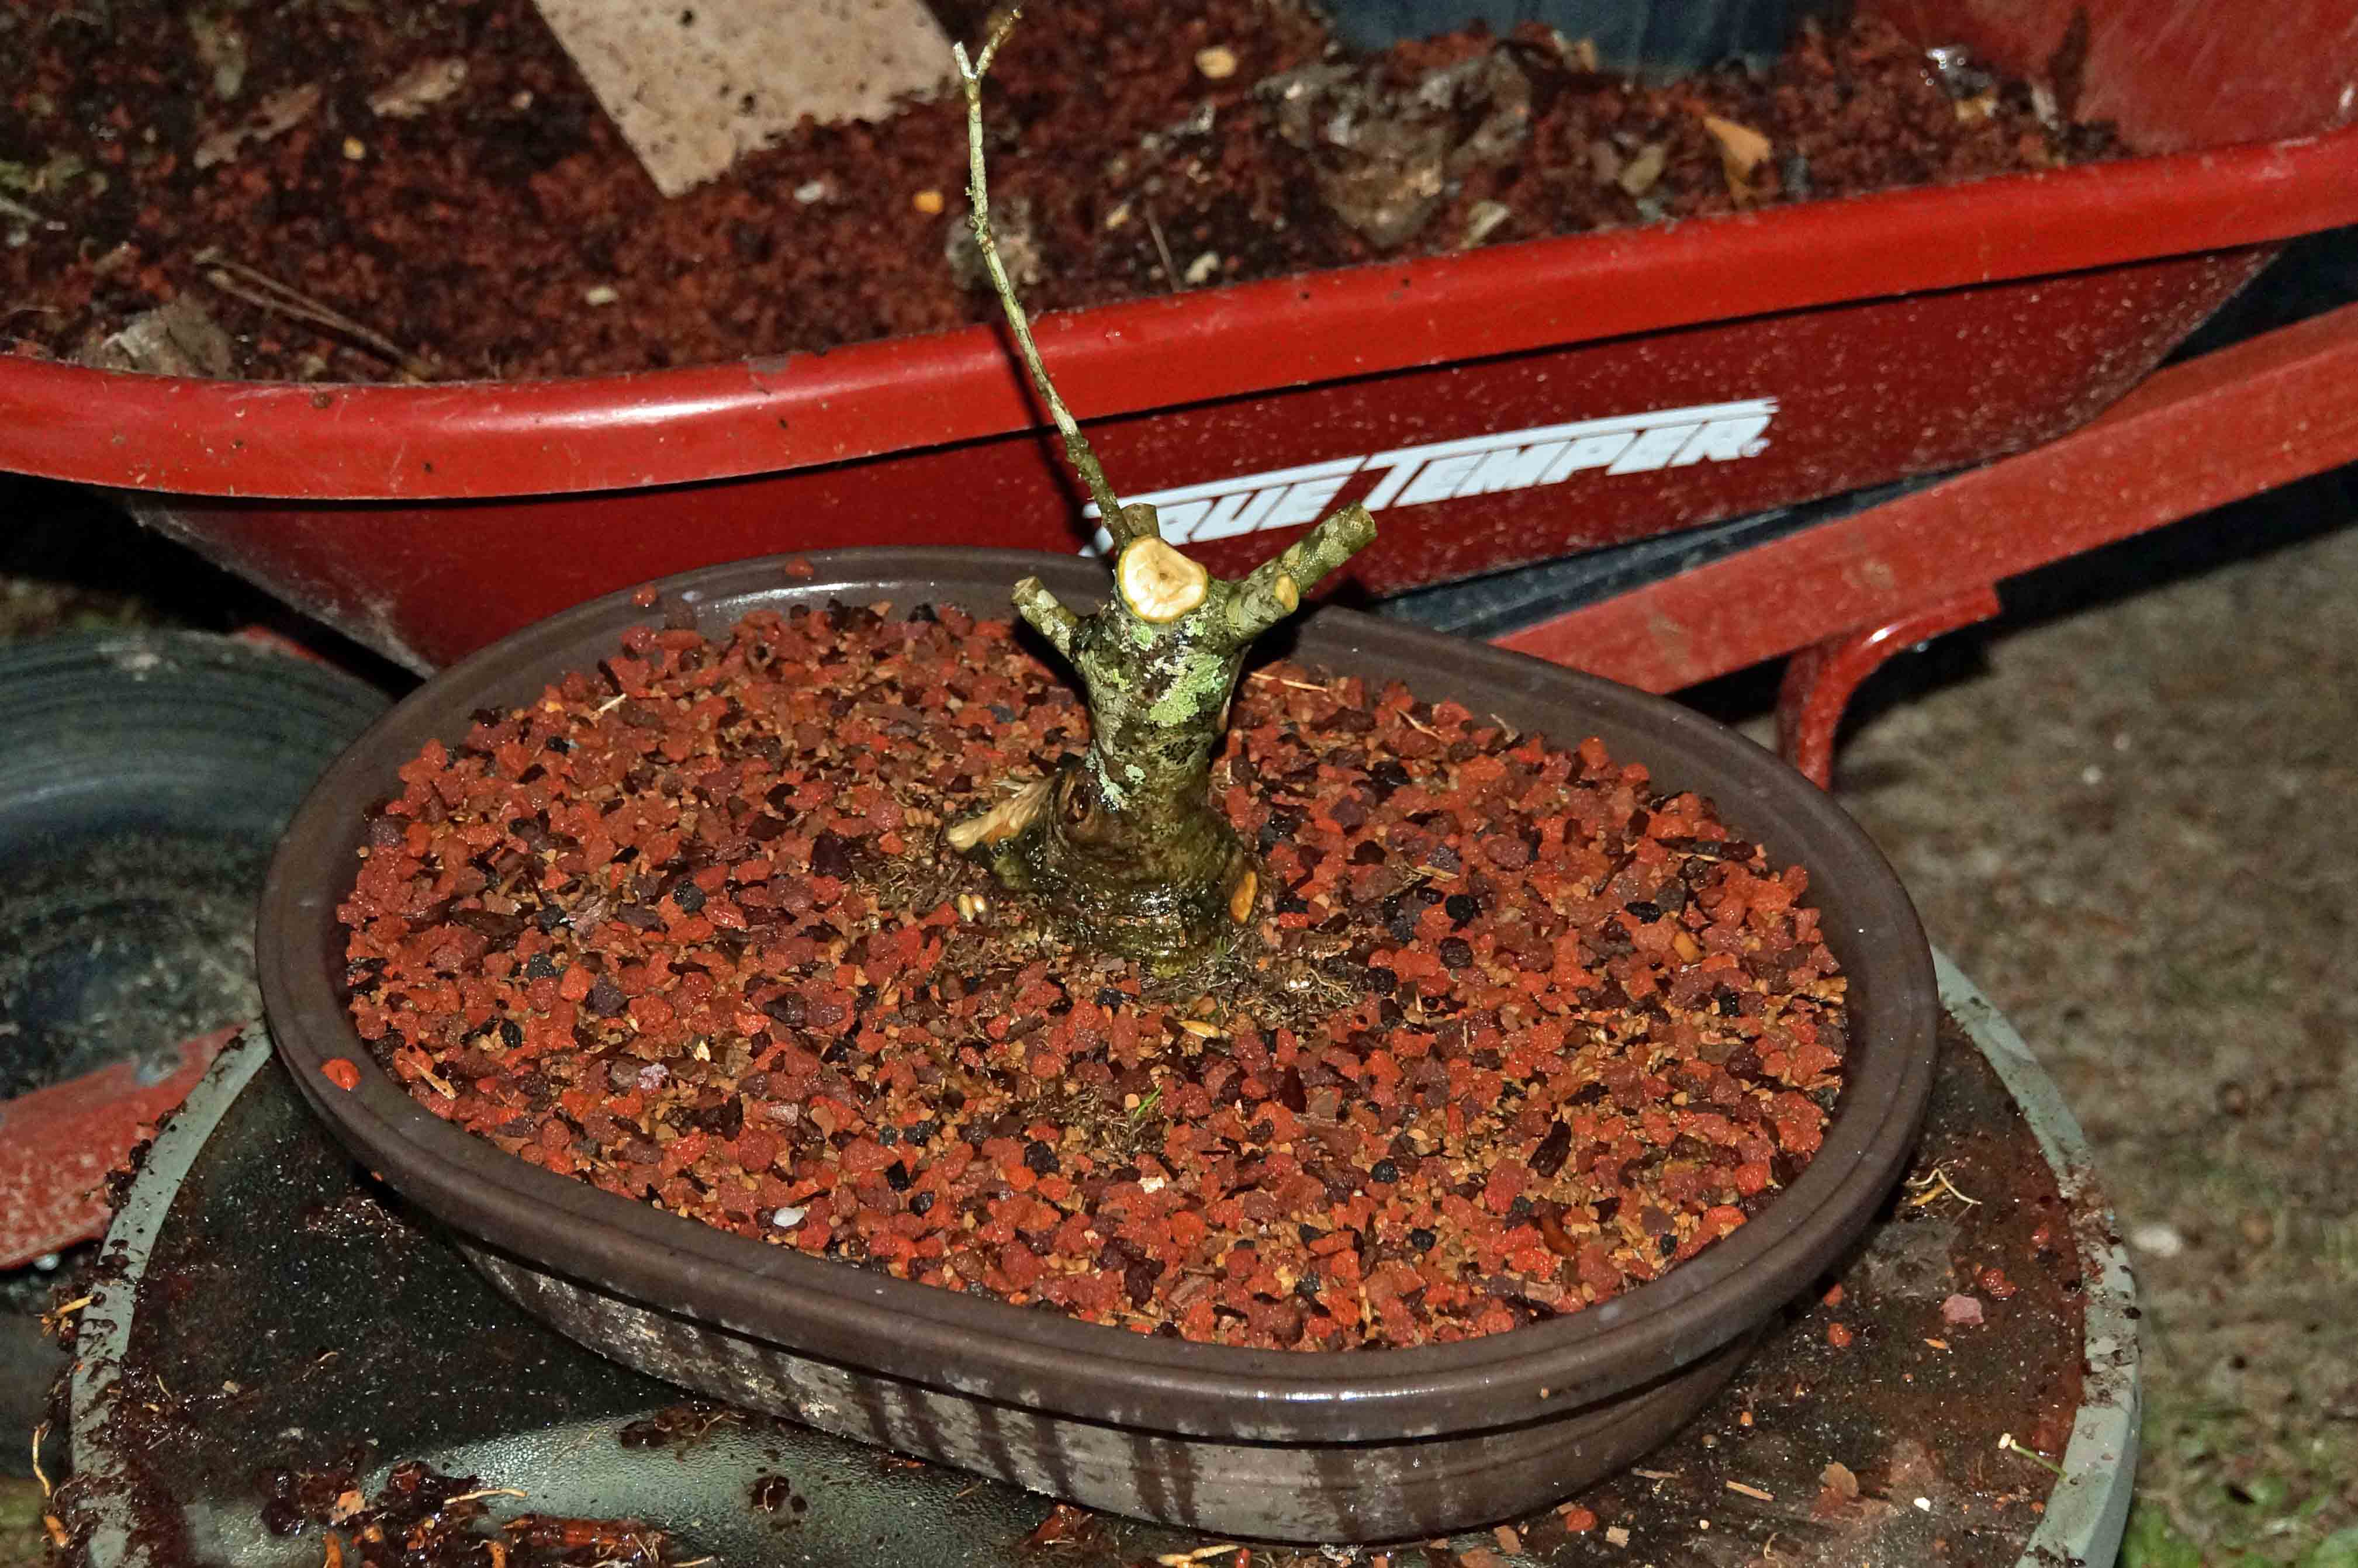
The roots were not in the best of shape, partly due to the collapse of the nursery soil I left in the root ball in 2013 and also I think because of the unusually brutal winter that we had. I needed to get all of the old soil out of the roots so I bare-rooted it and test the current statement that the don't like a lot of root work. After cleaning, here is what is left:
Since the roots were reduced, I was able to get it in a more suitable pot. Hopefully, it will survive. As you can see, I had some die back on one side of the trunk that I will have to deal with. Deadwood on deciduous trees in the Heart of Dixie does not last very long.
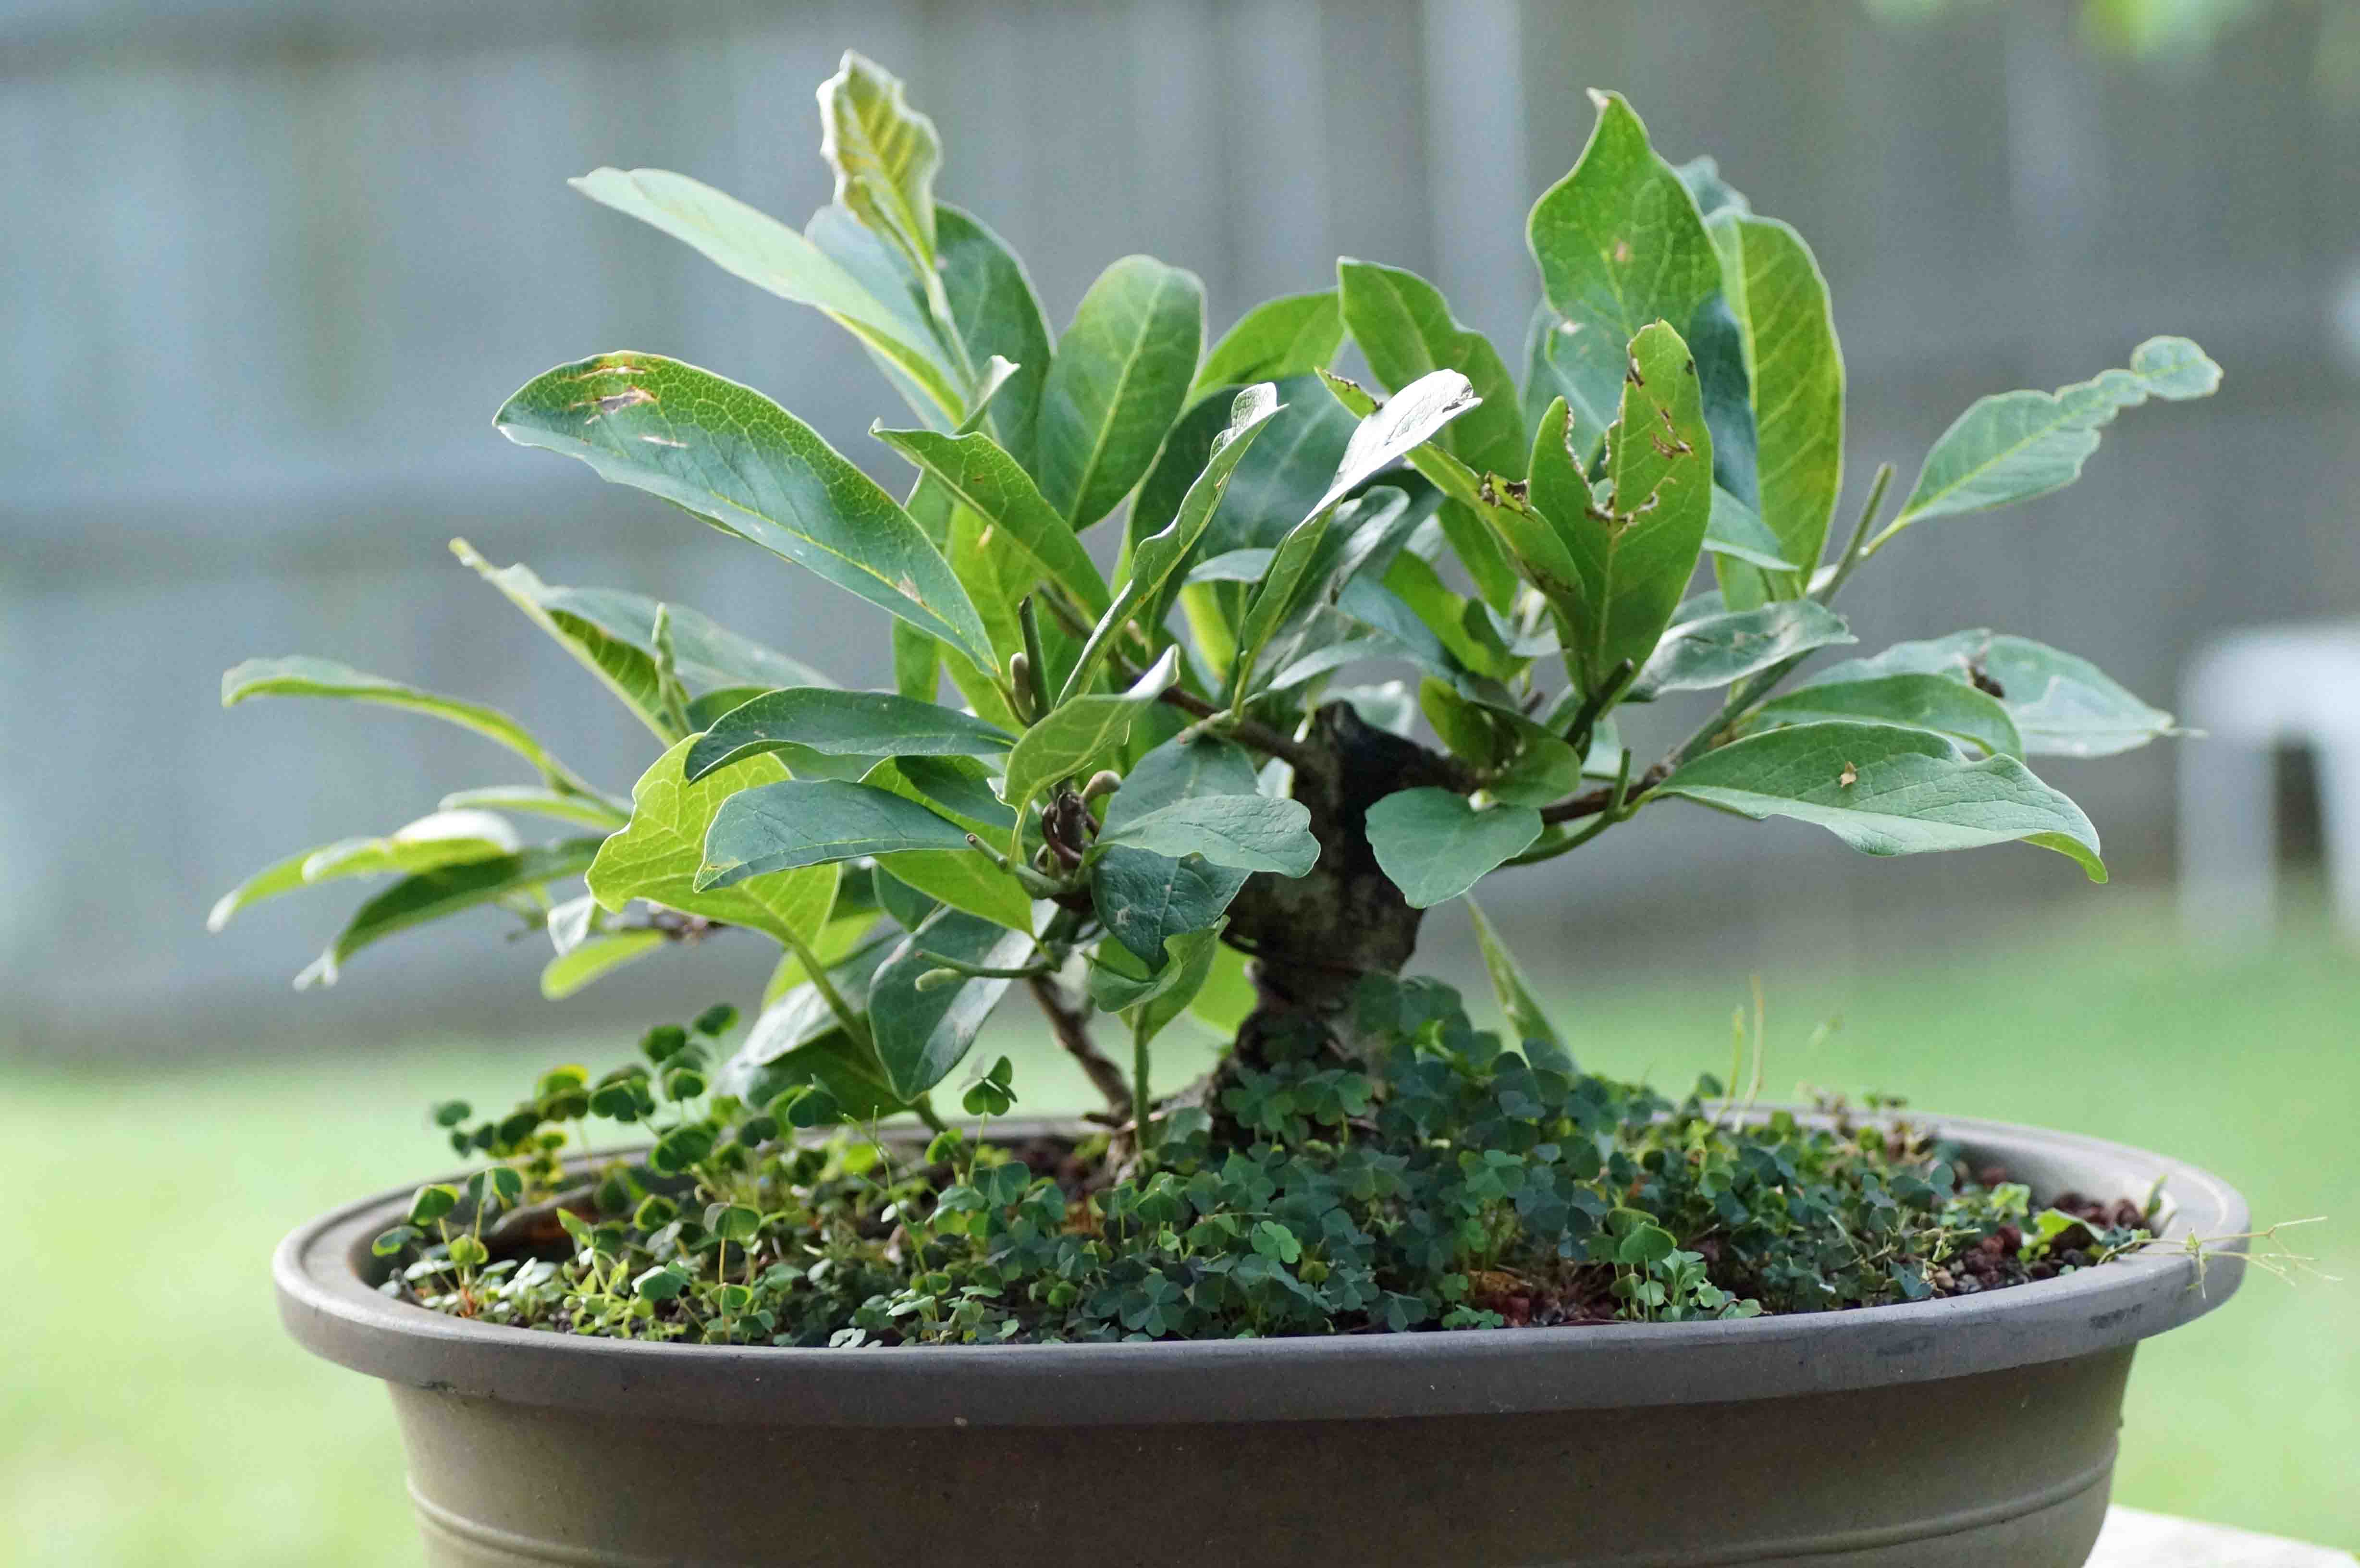
It seemed to enjoy the harsh treatment and by April it had put out a lot of new growth. I decided to give it a little trim and try to figure out what to do about the exposed wook on the trunk.
Before:
Before:
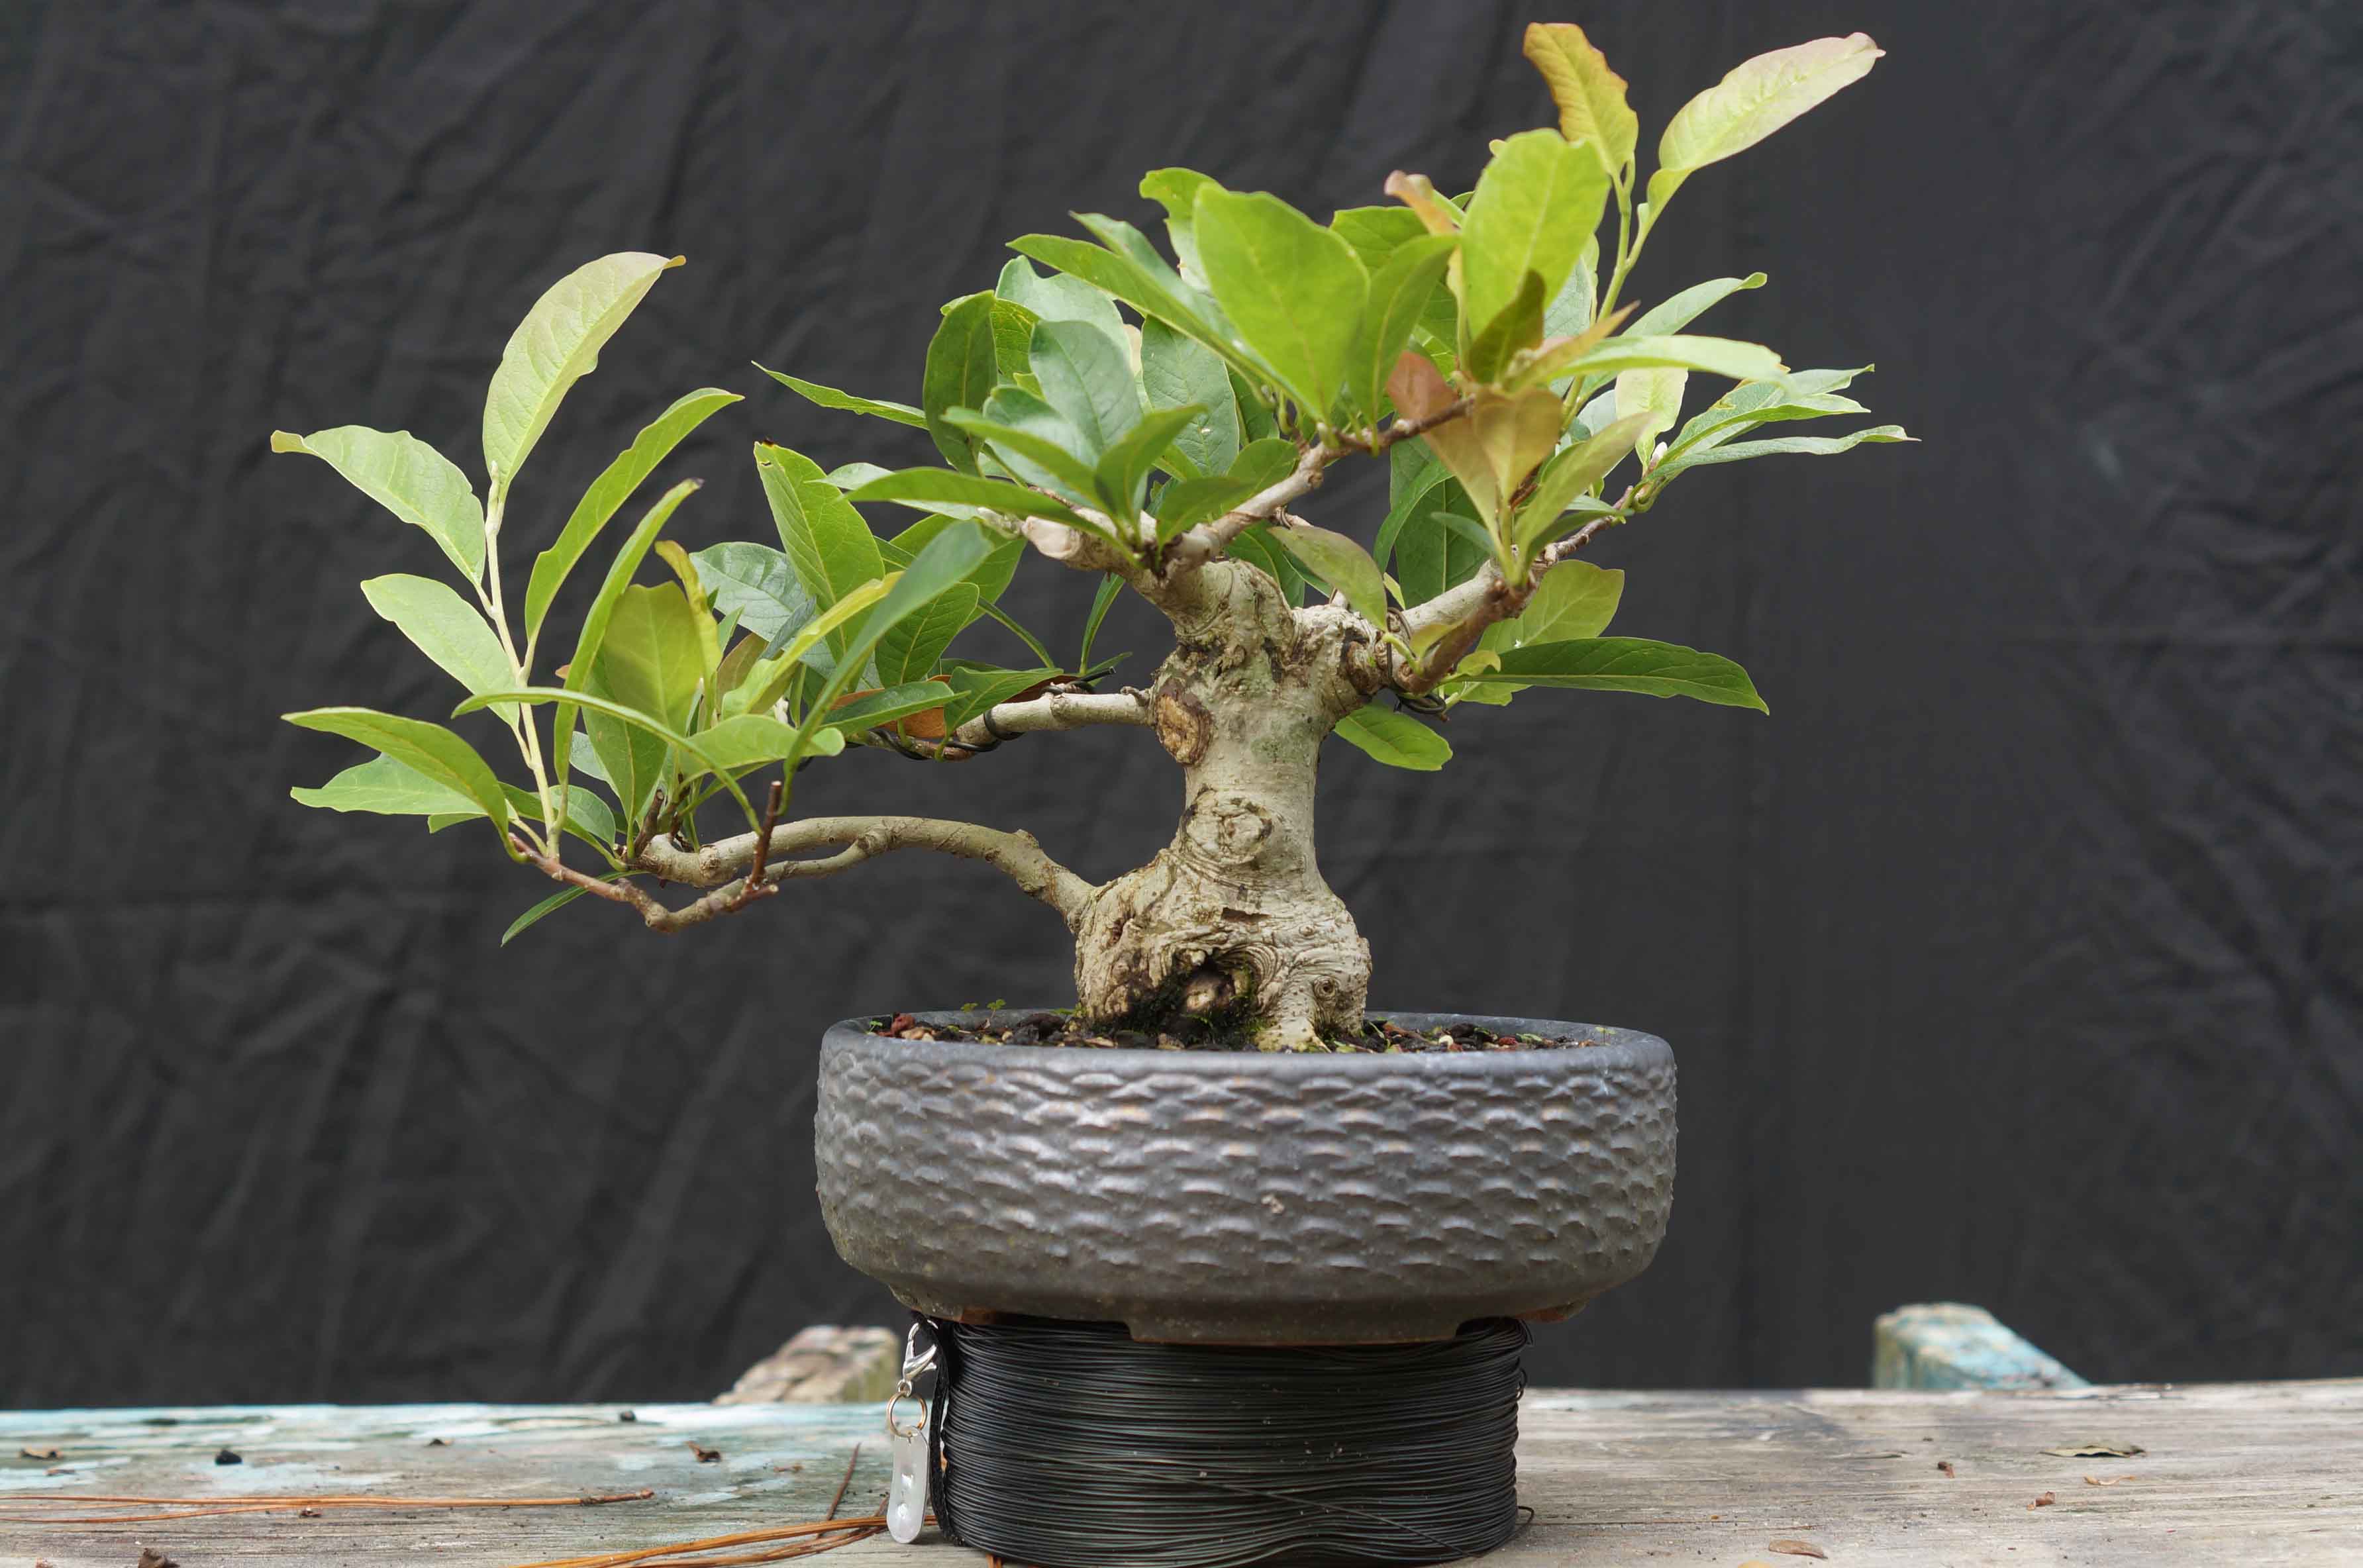
After the trim:
The wound from the initial chop had completely healed. These trees seem to be good and fast healers.
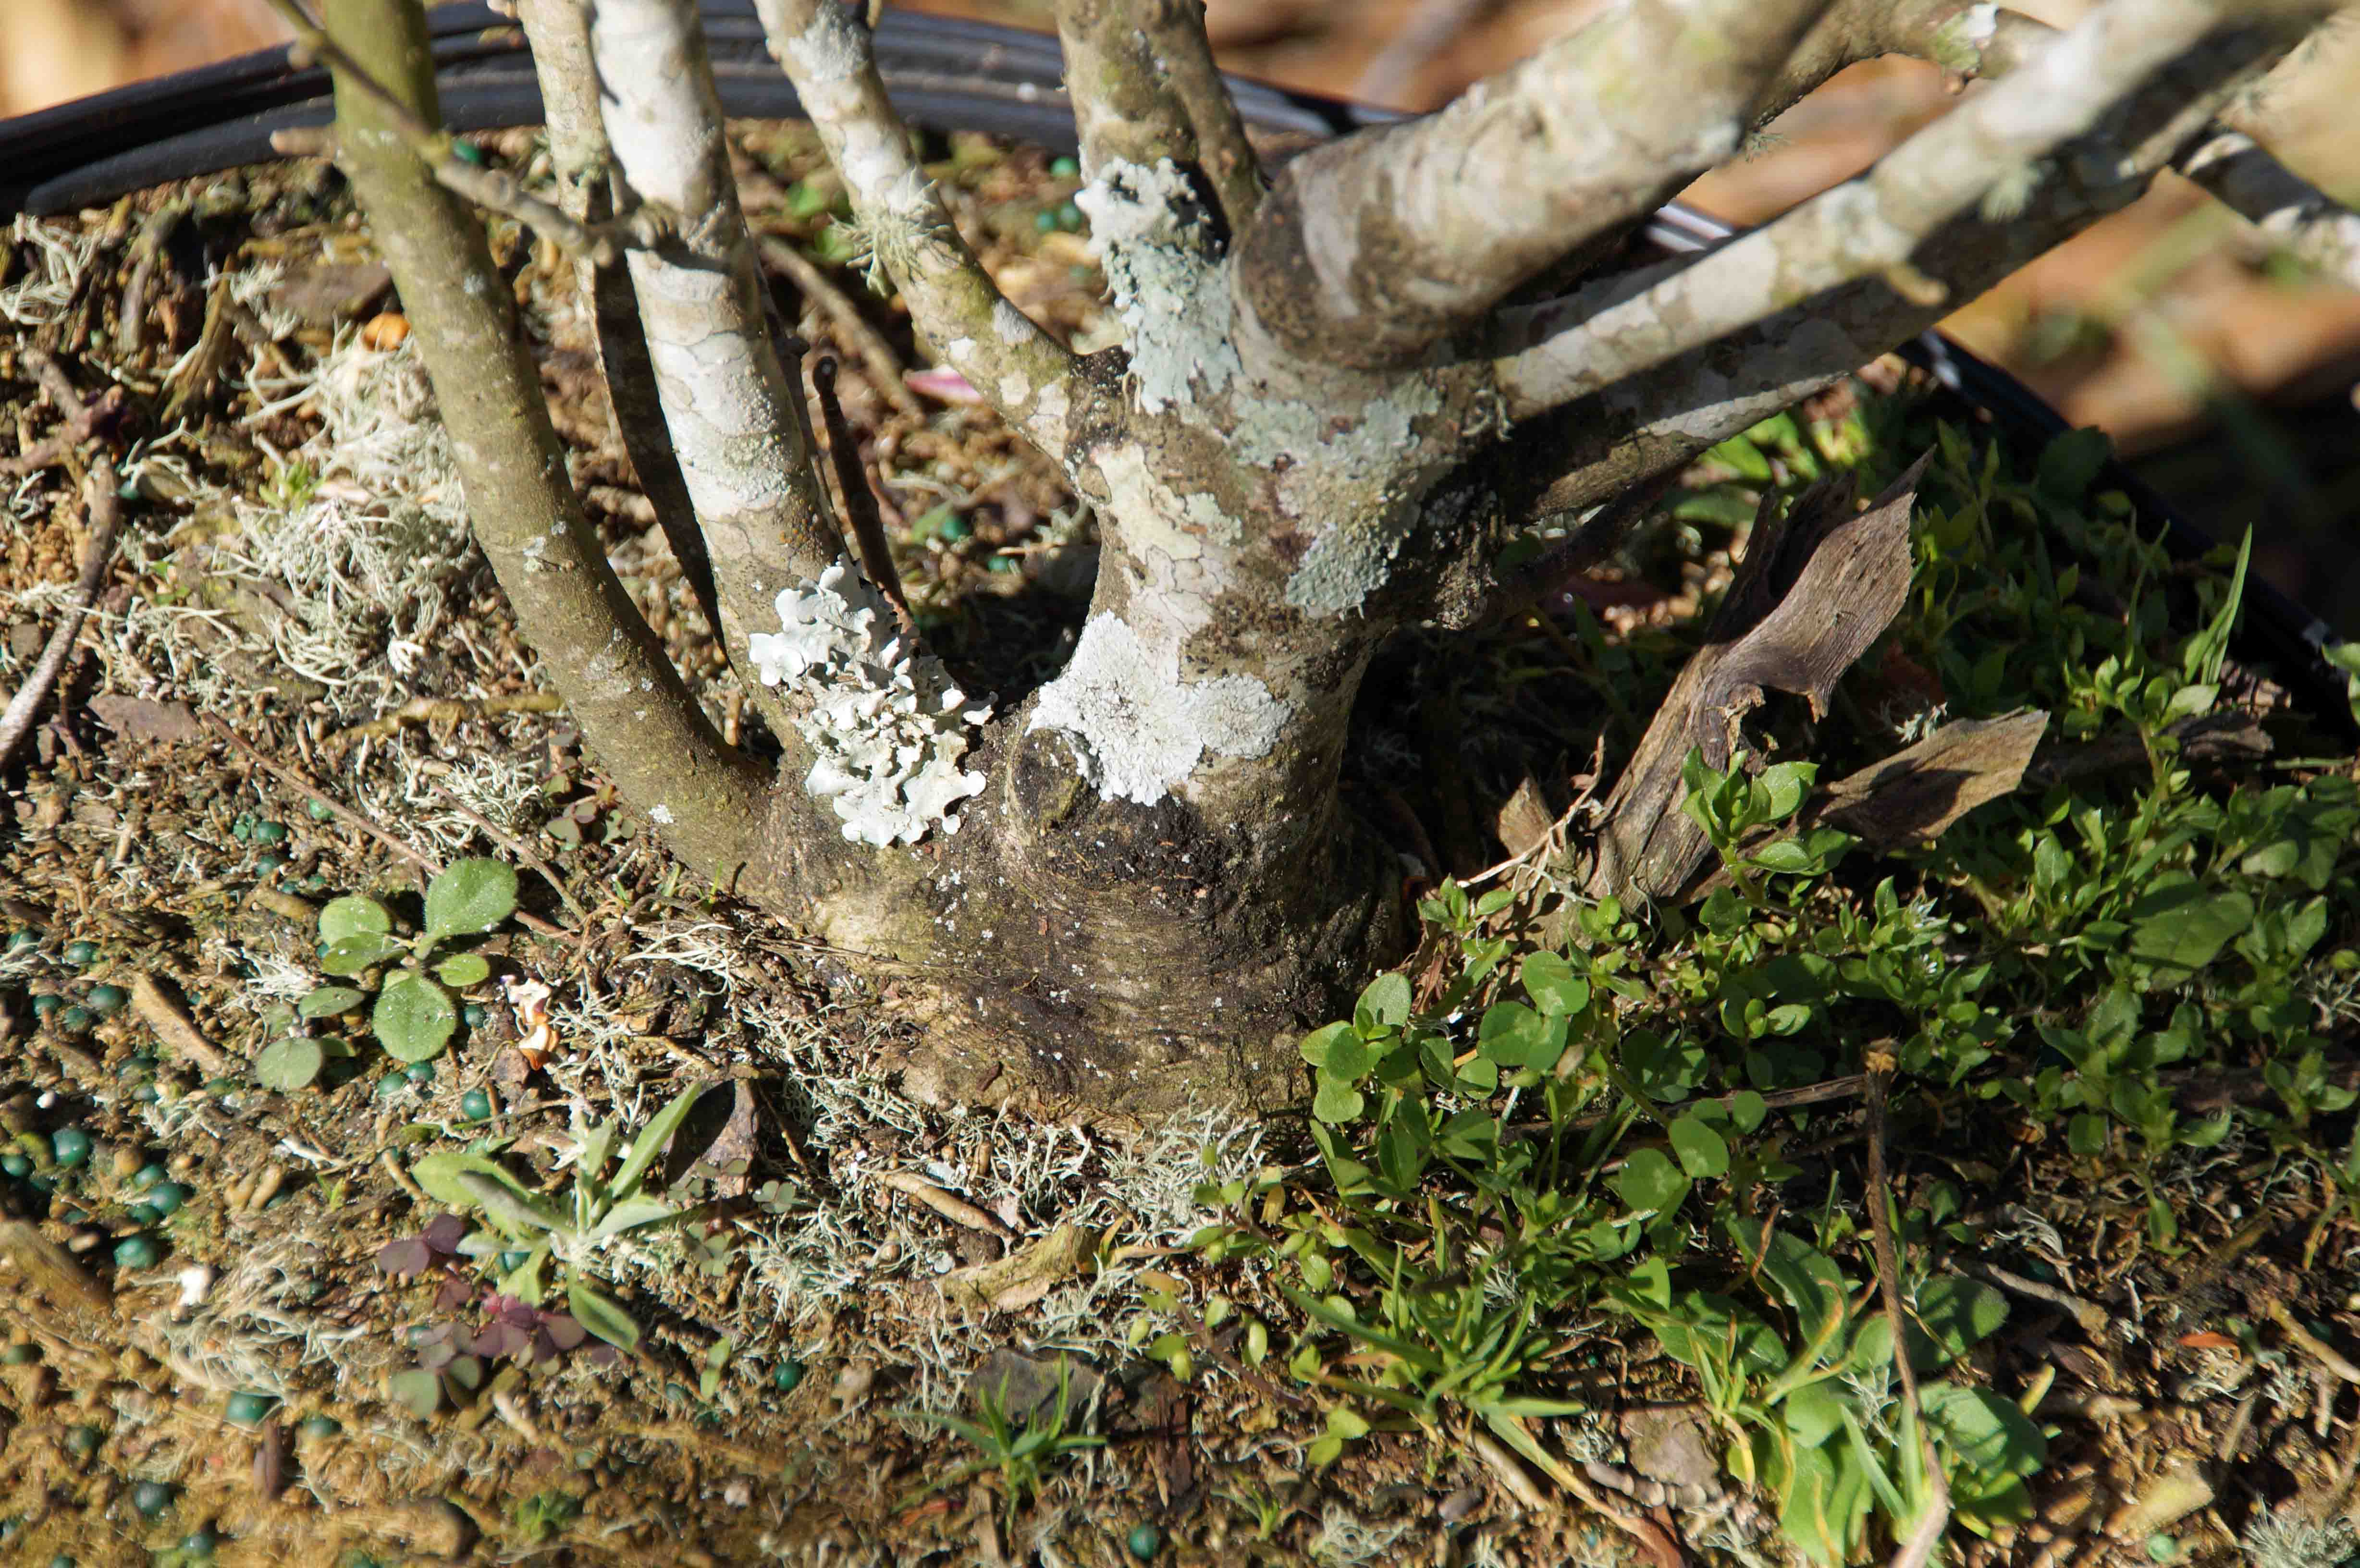
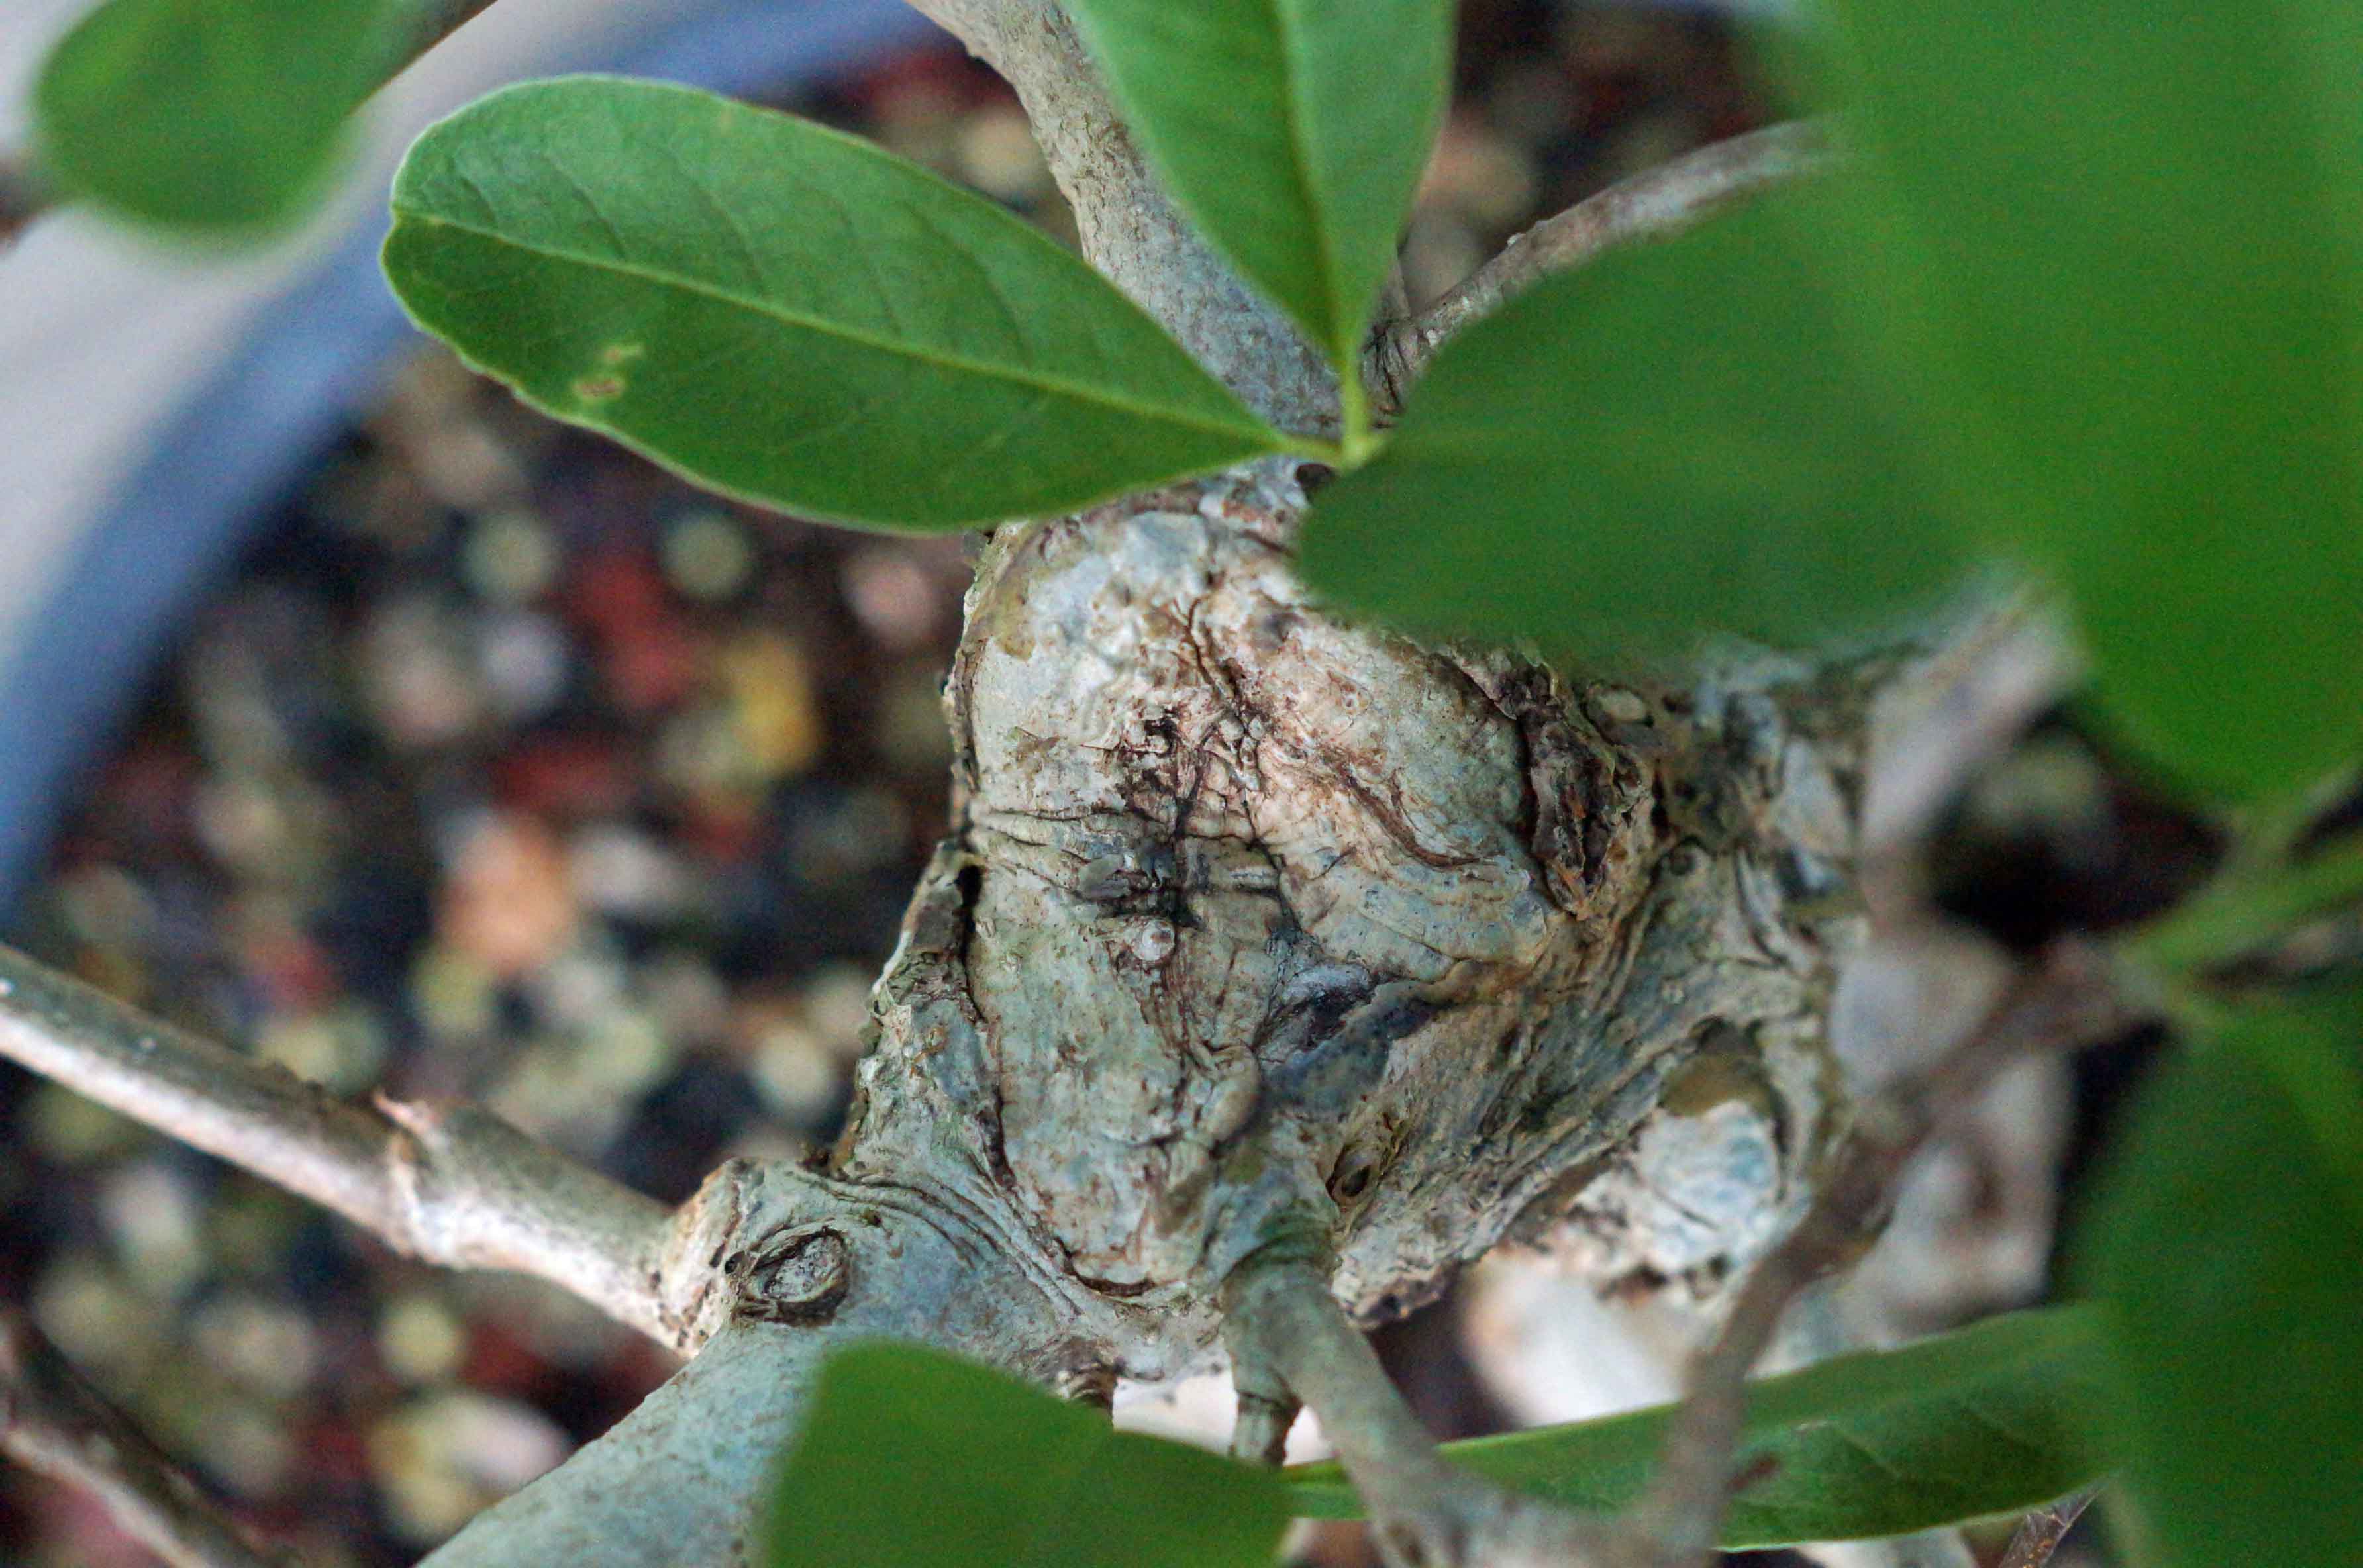
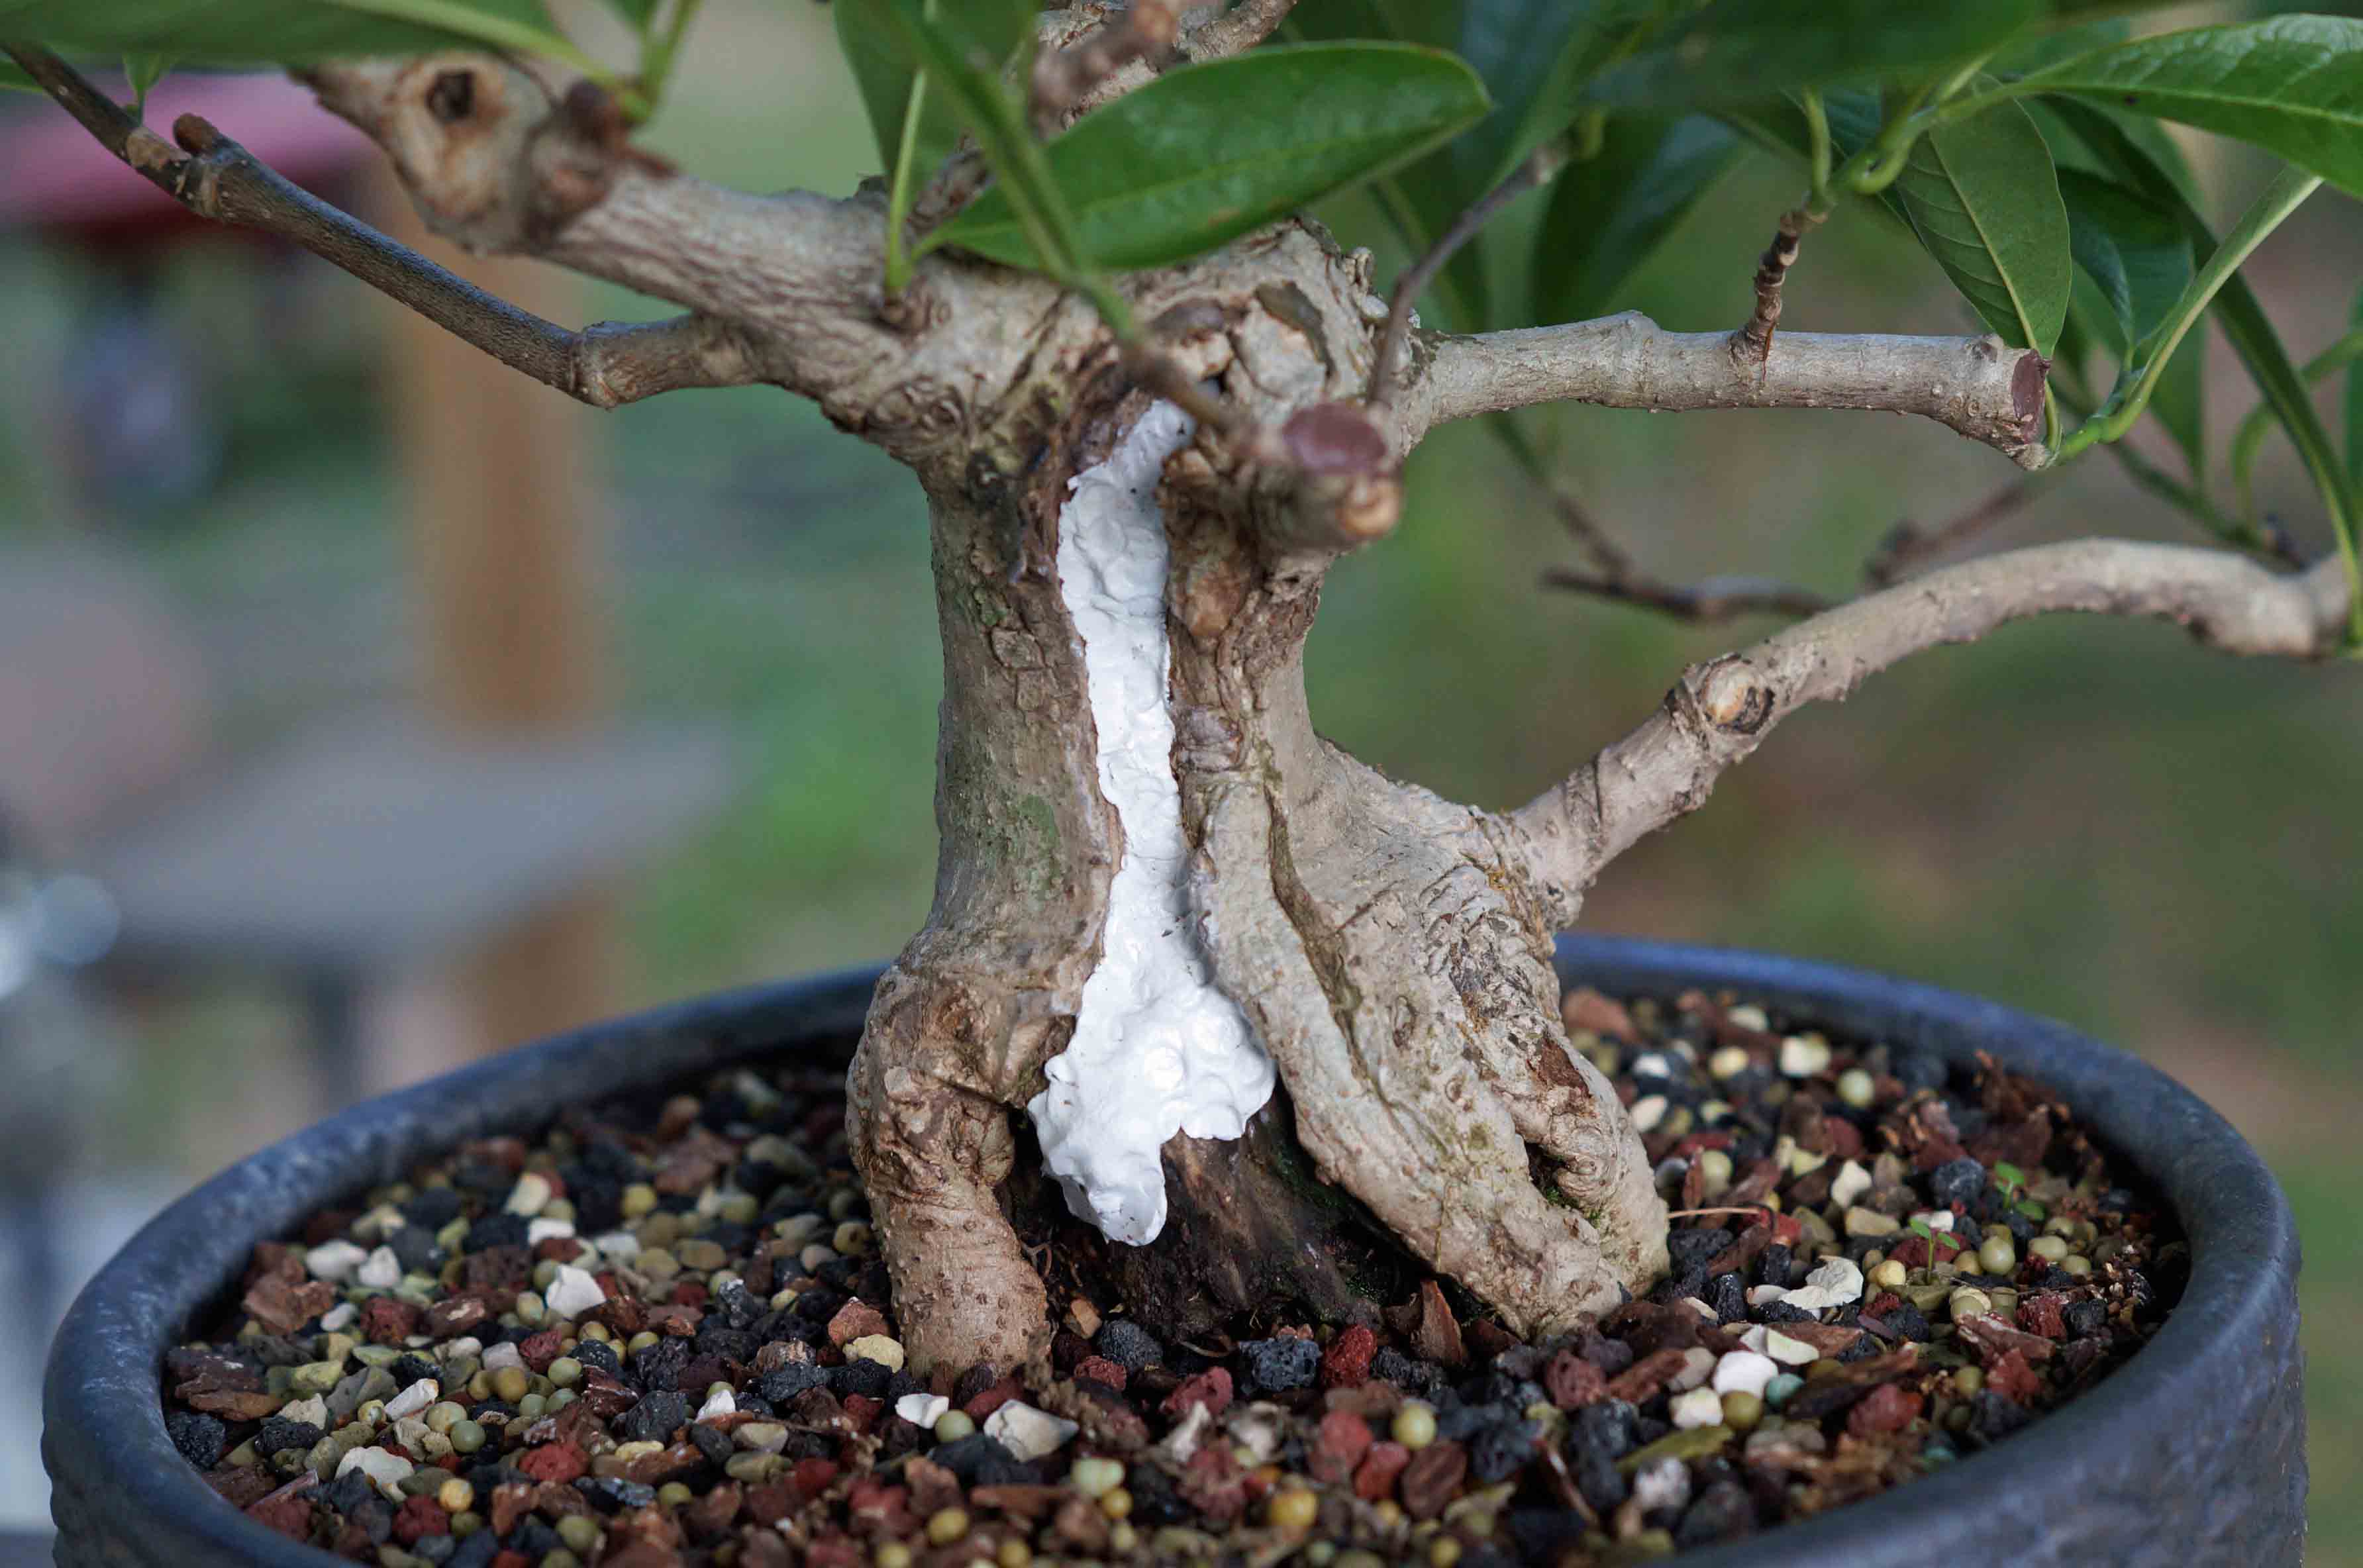
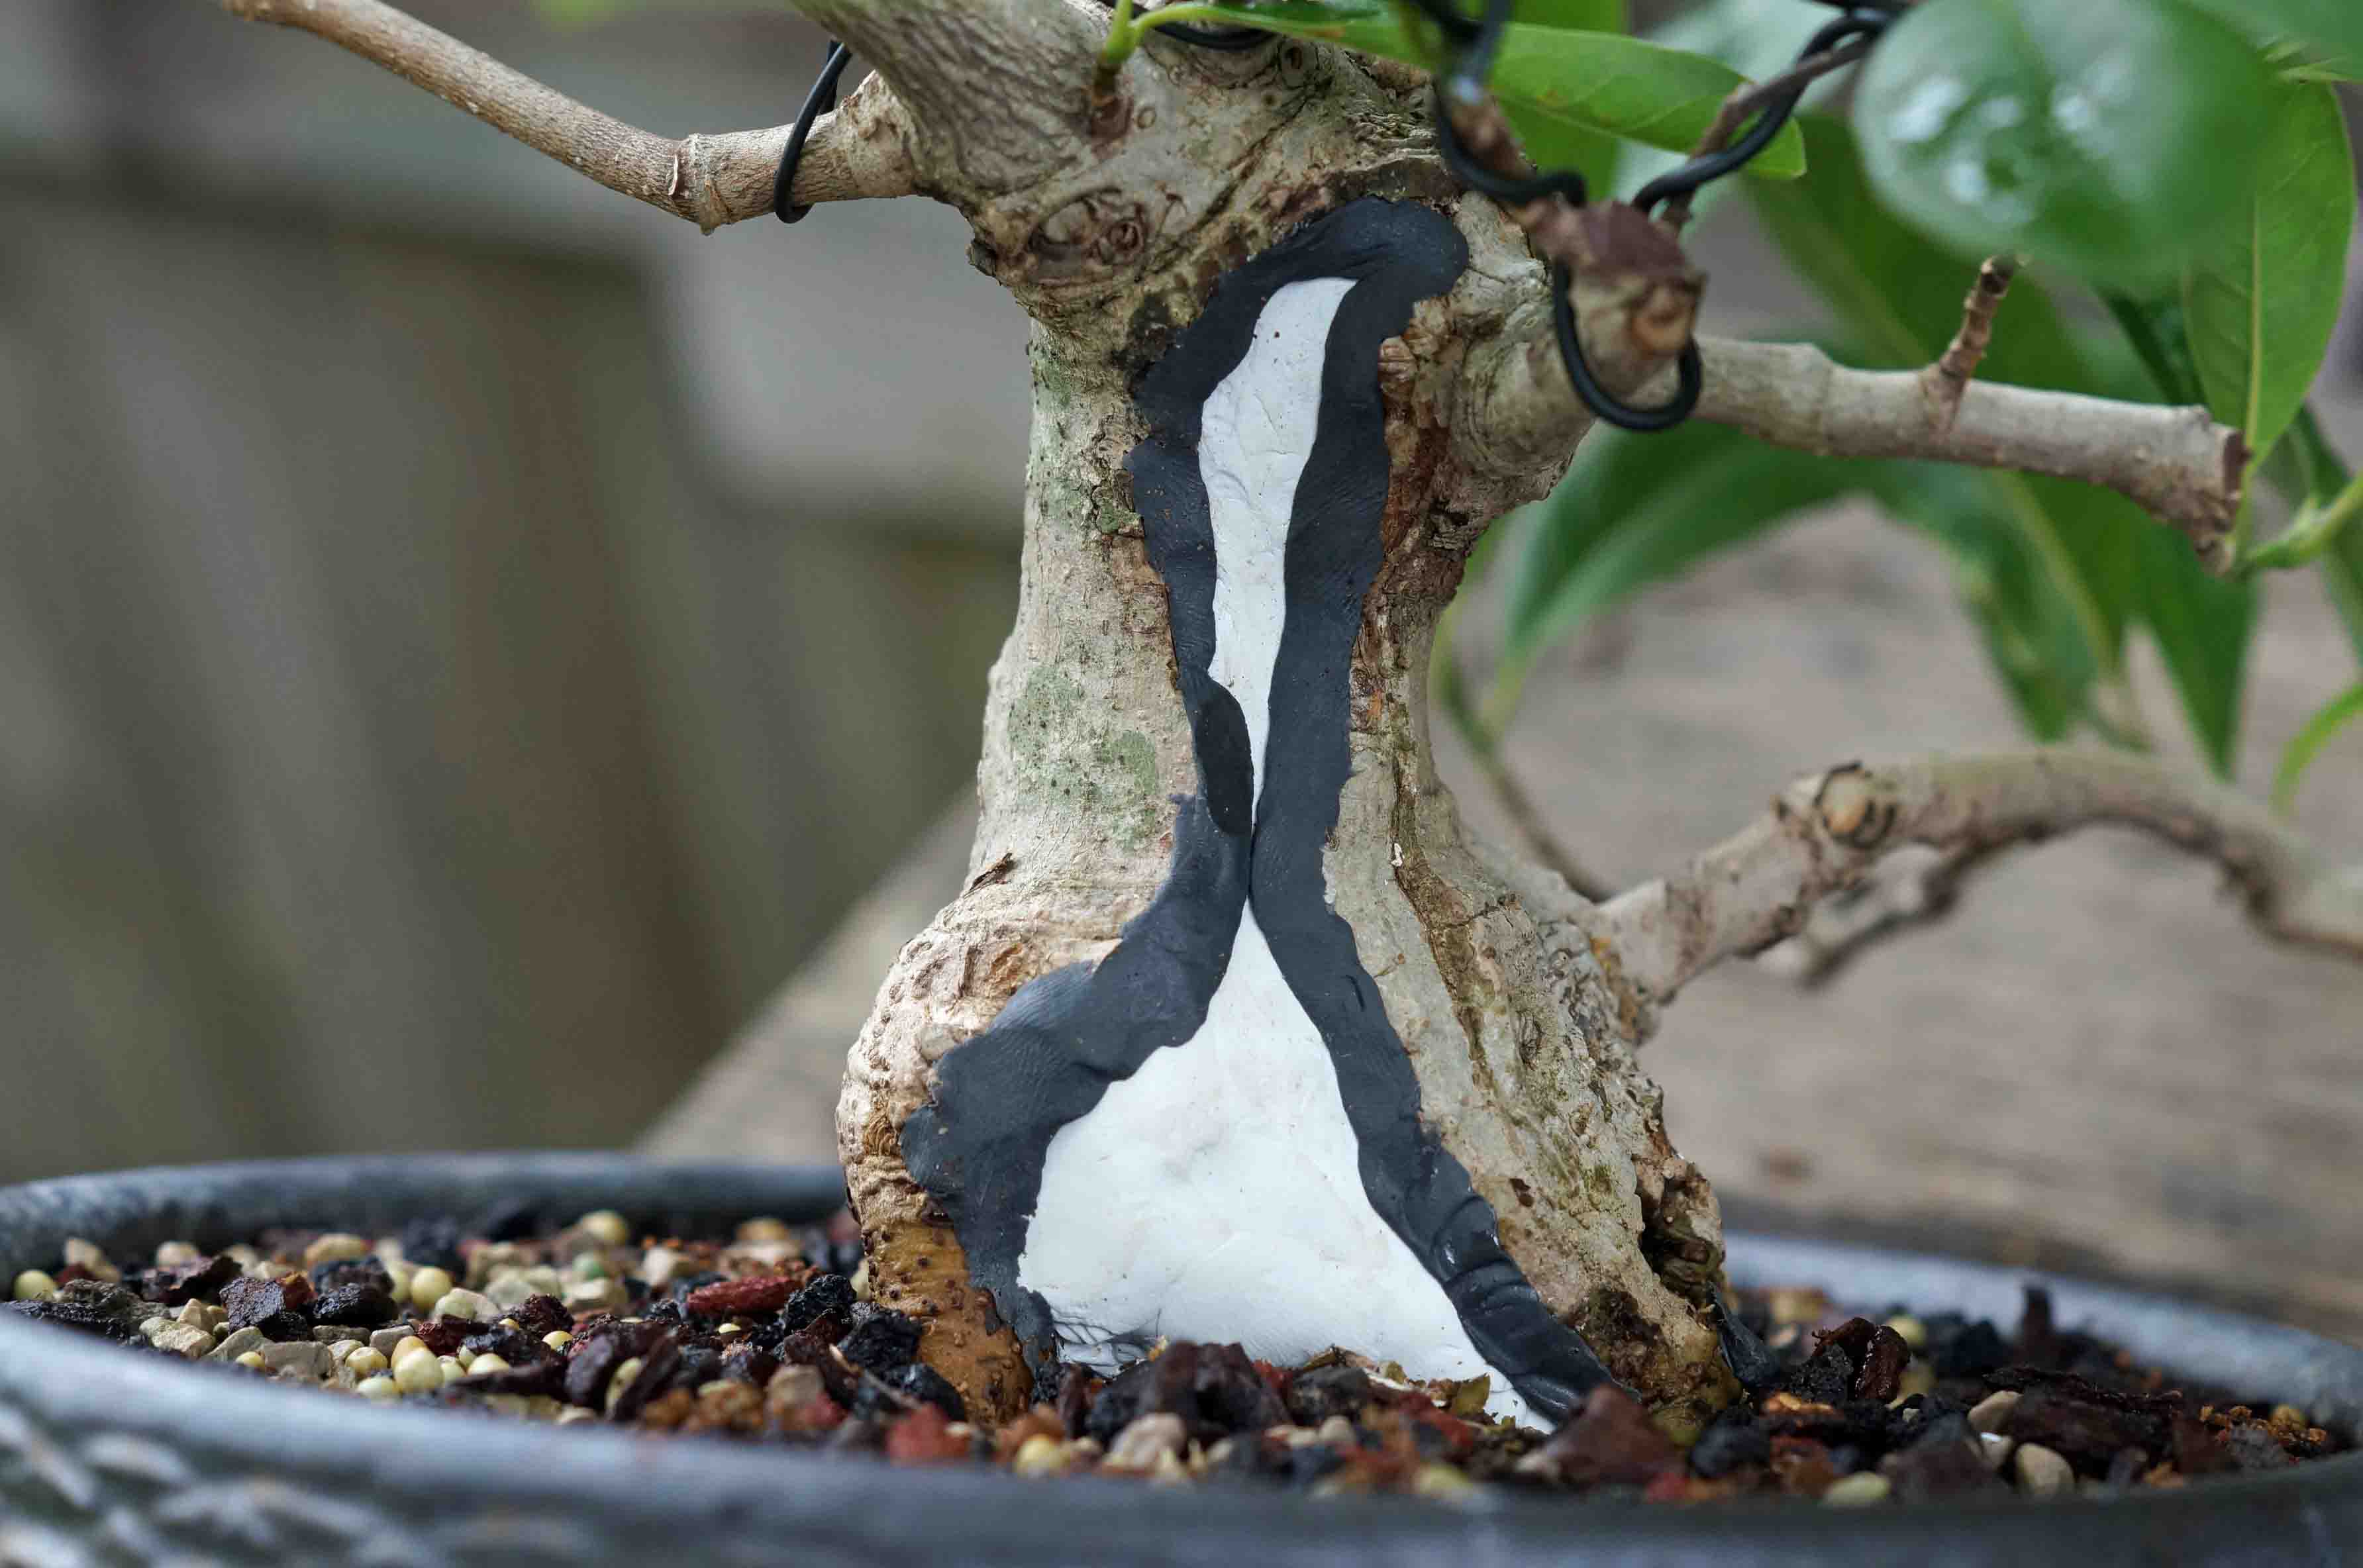
After the trim, the trunk was addressed. I decided to use a technique that involves filling the void with epoxy putty and encouraging the callous to roll over the epoxy to close the void, you can read about it here. I have used the technique successfully on a large arakawa maple. A close up of the trunk I am working on:
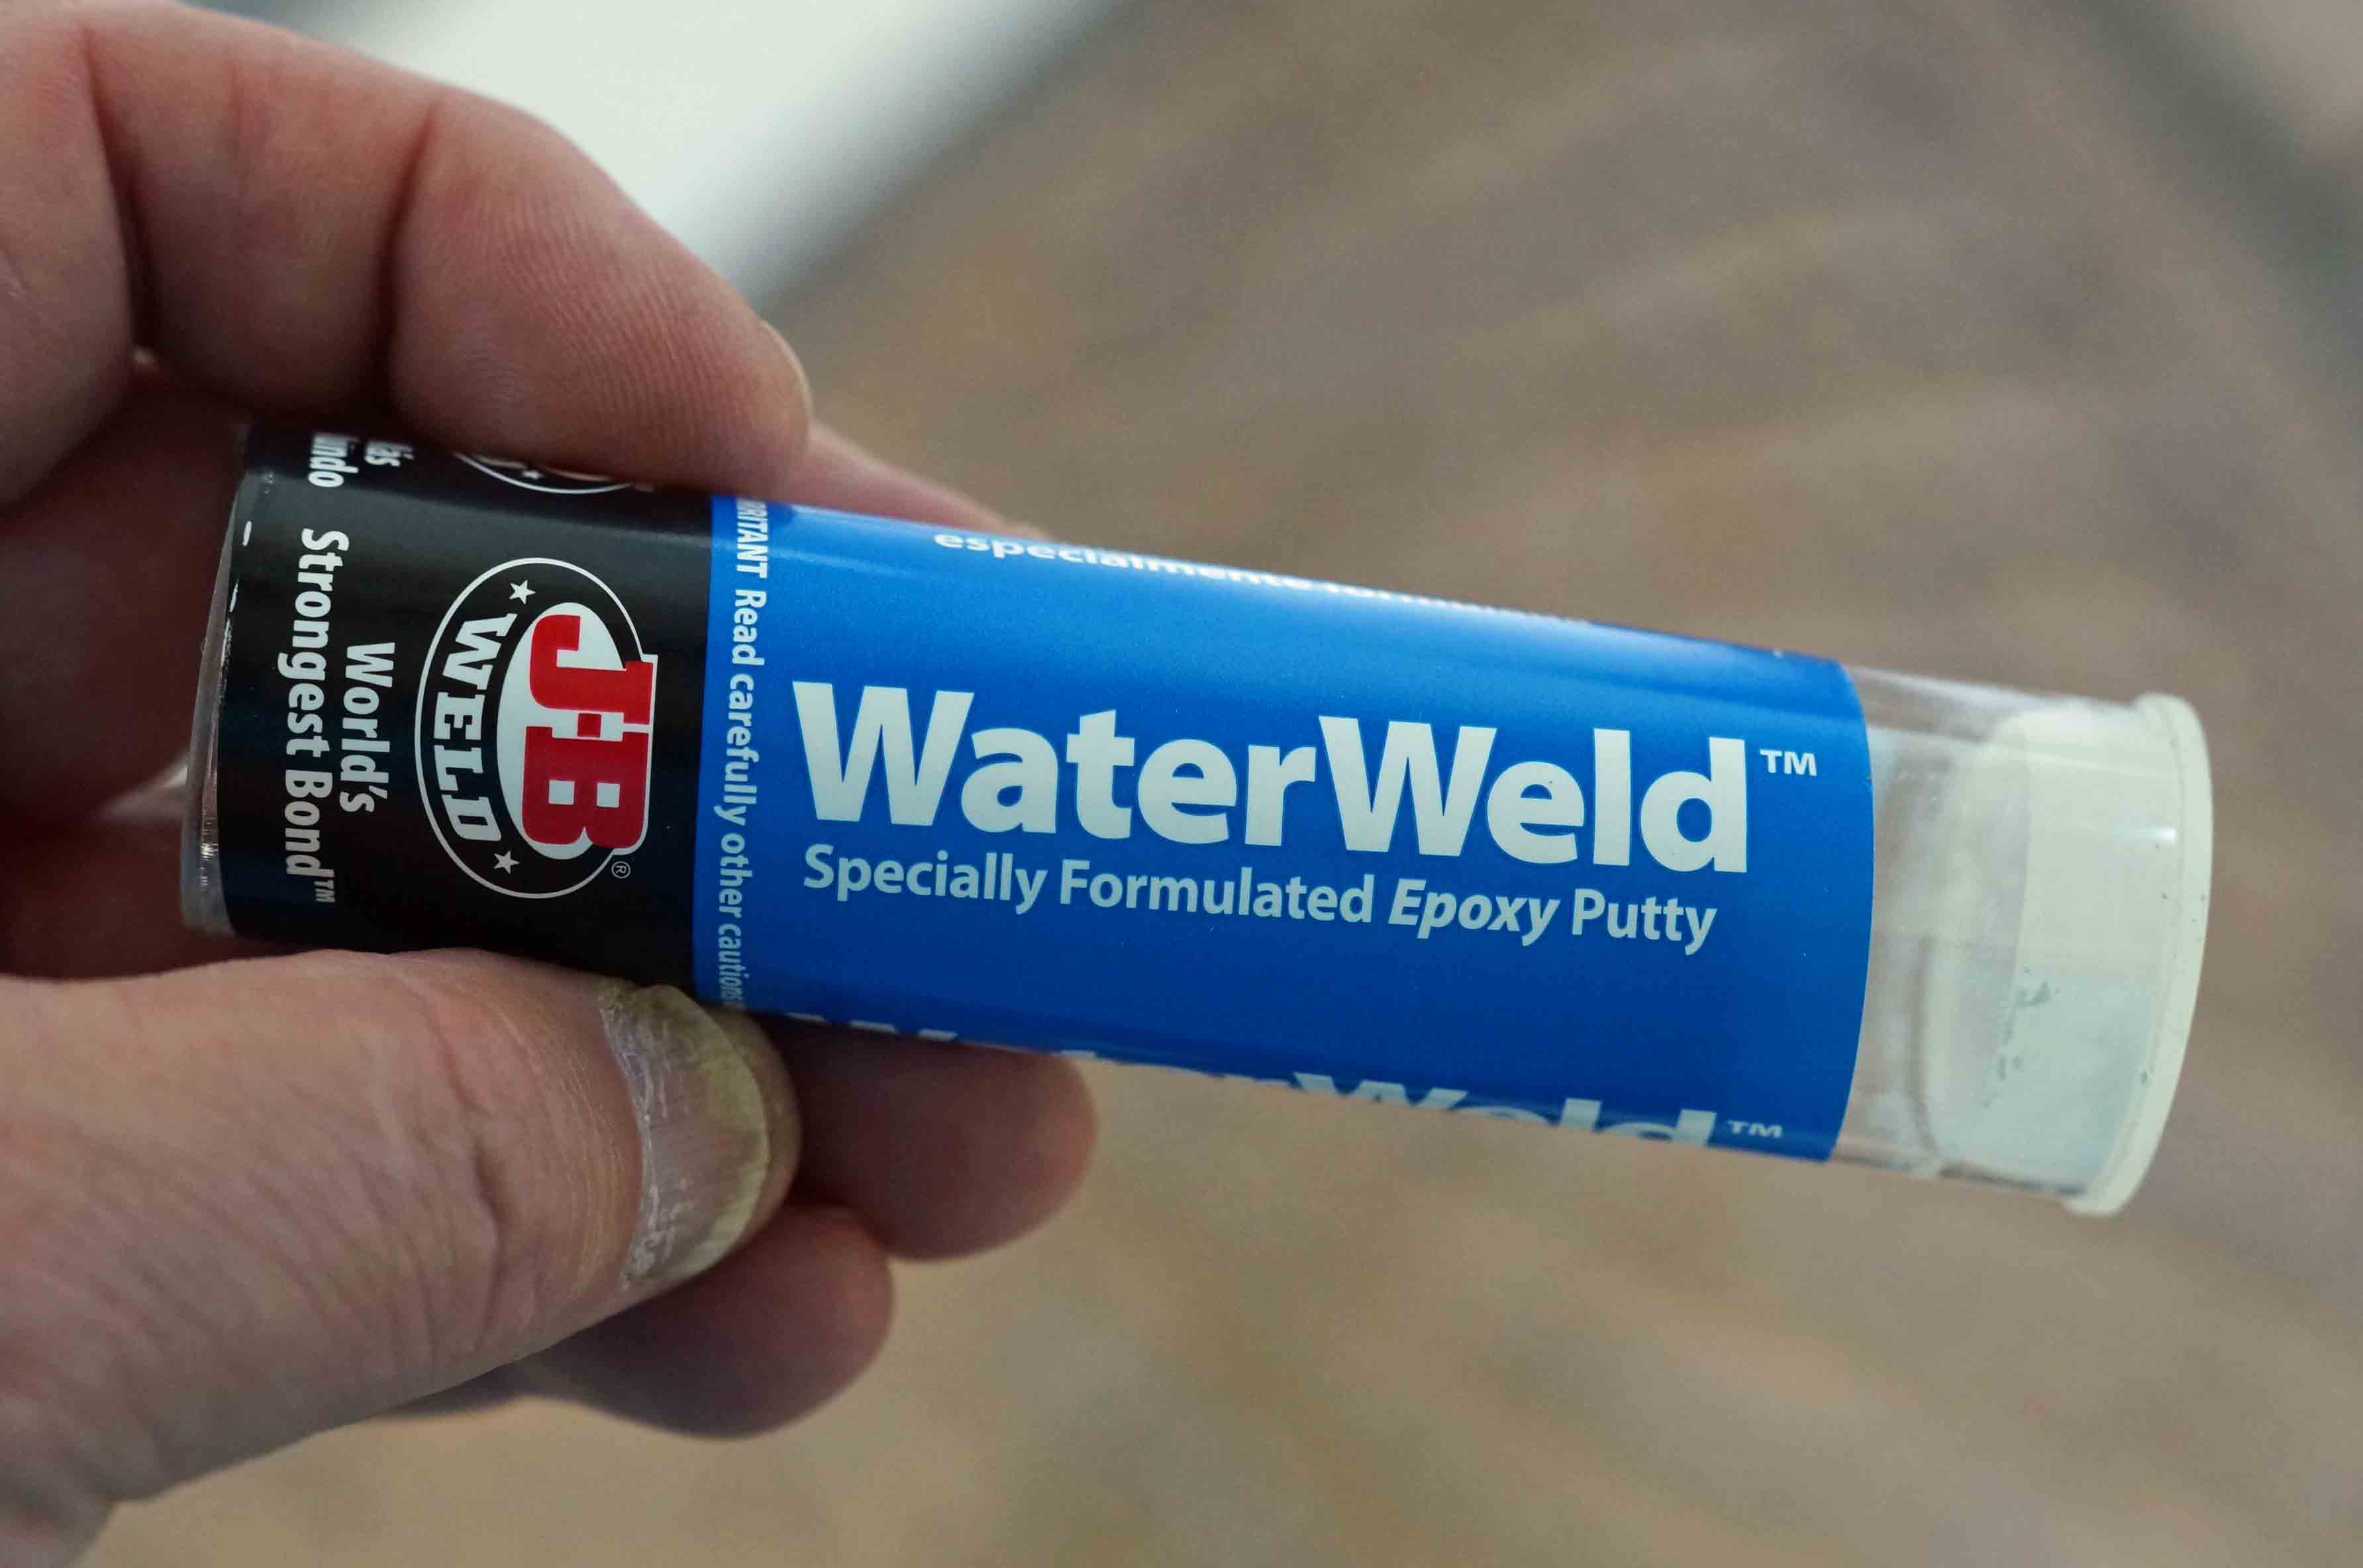
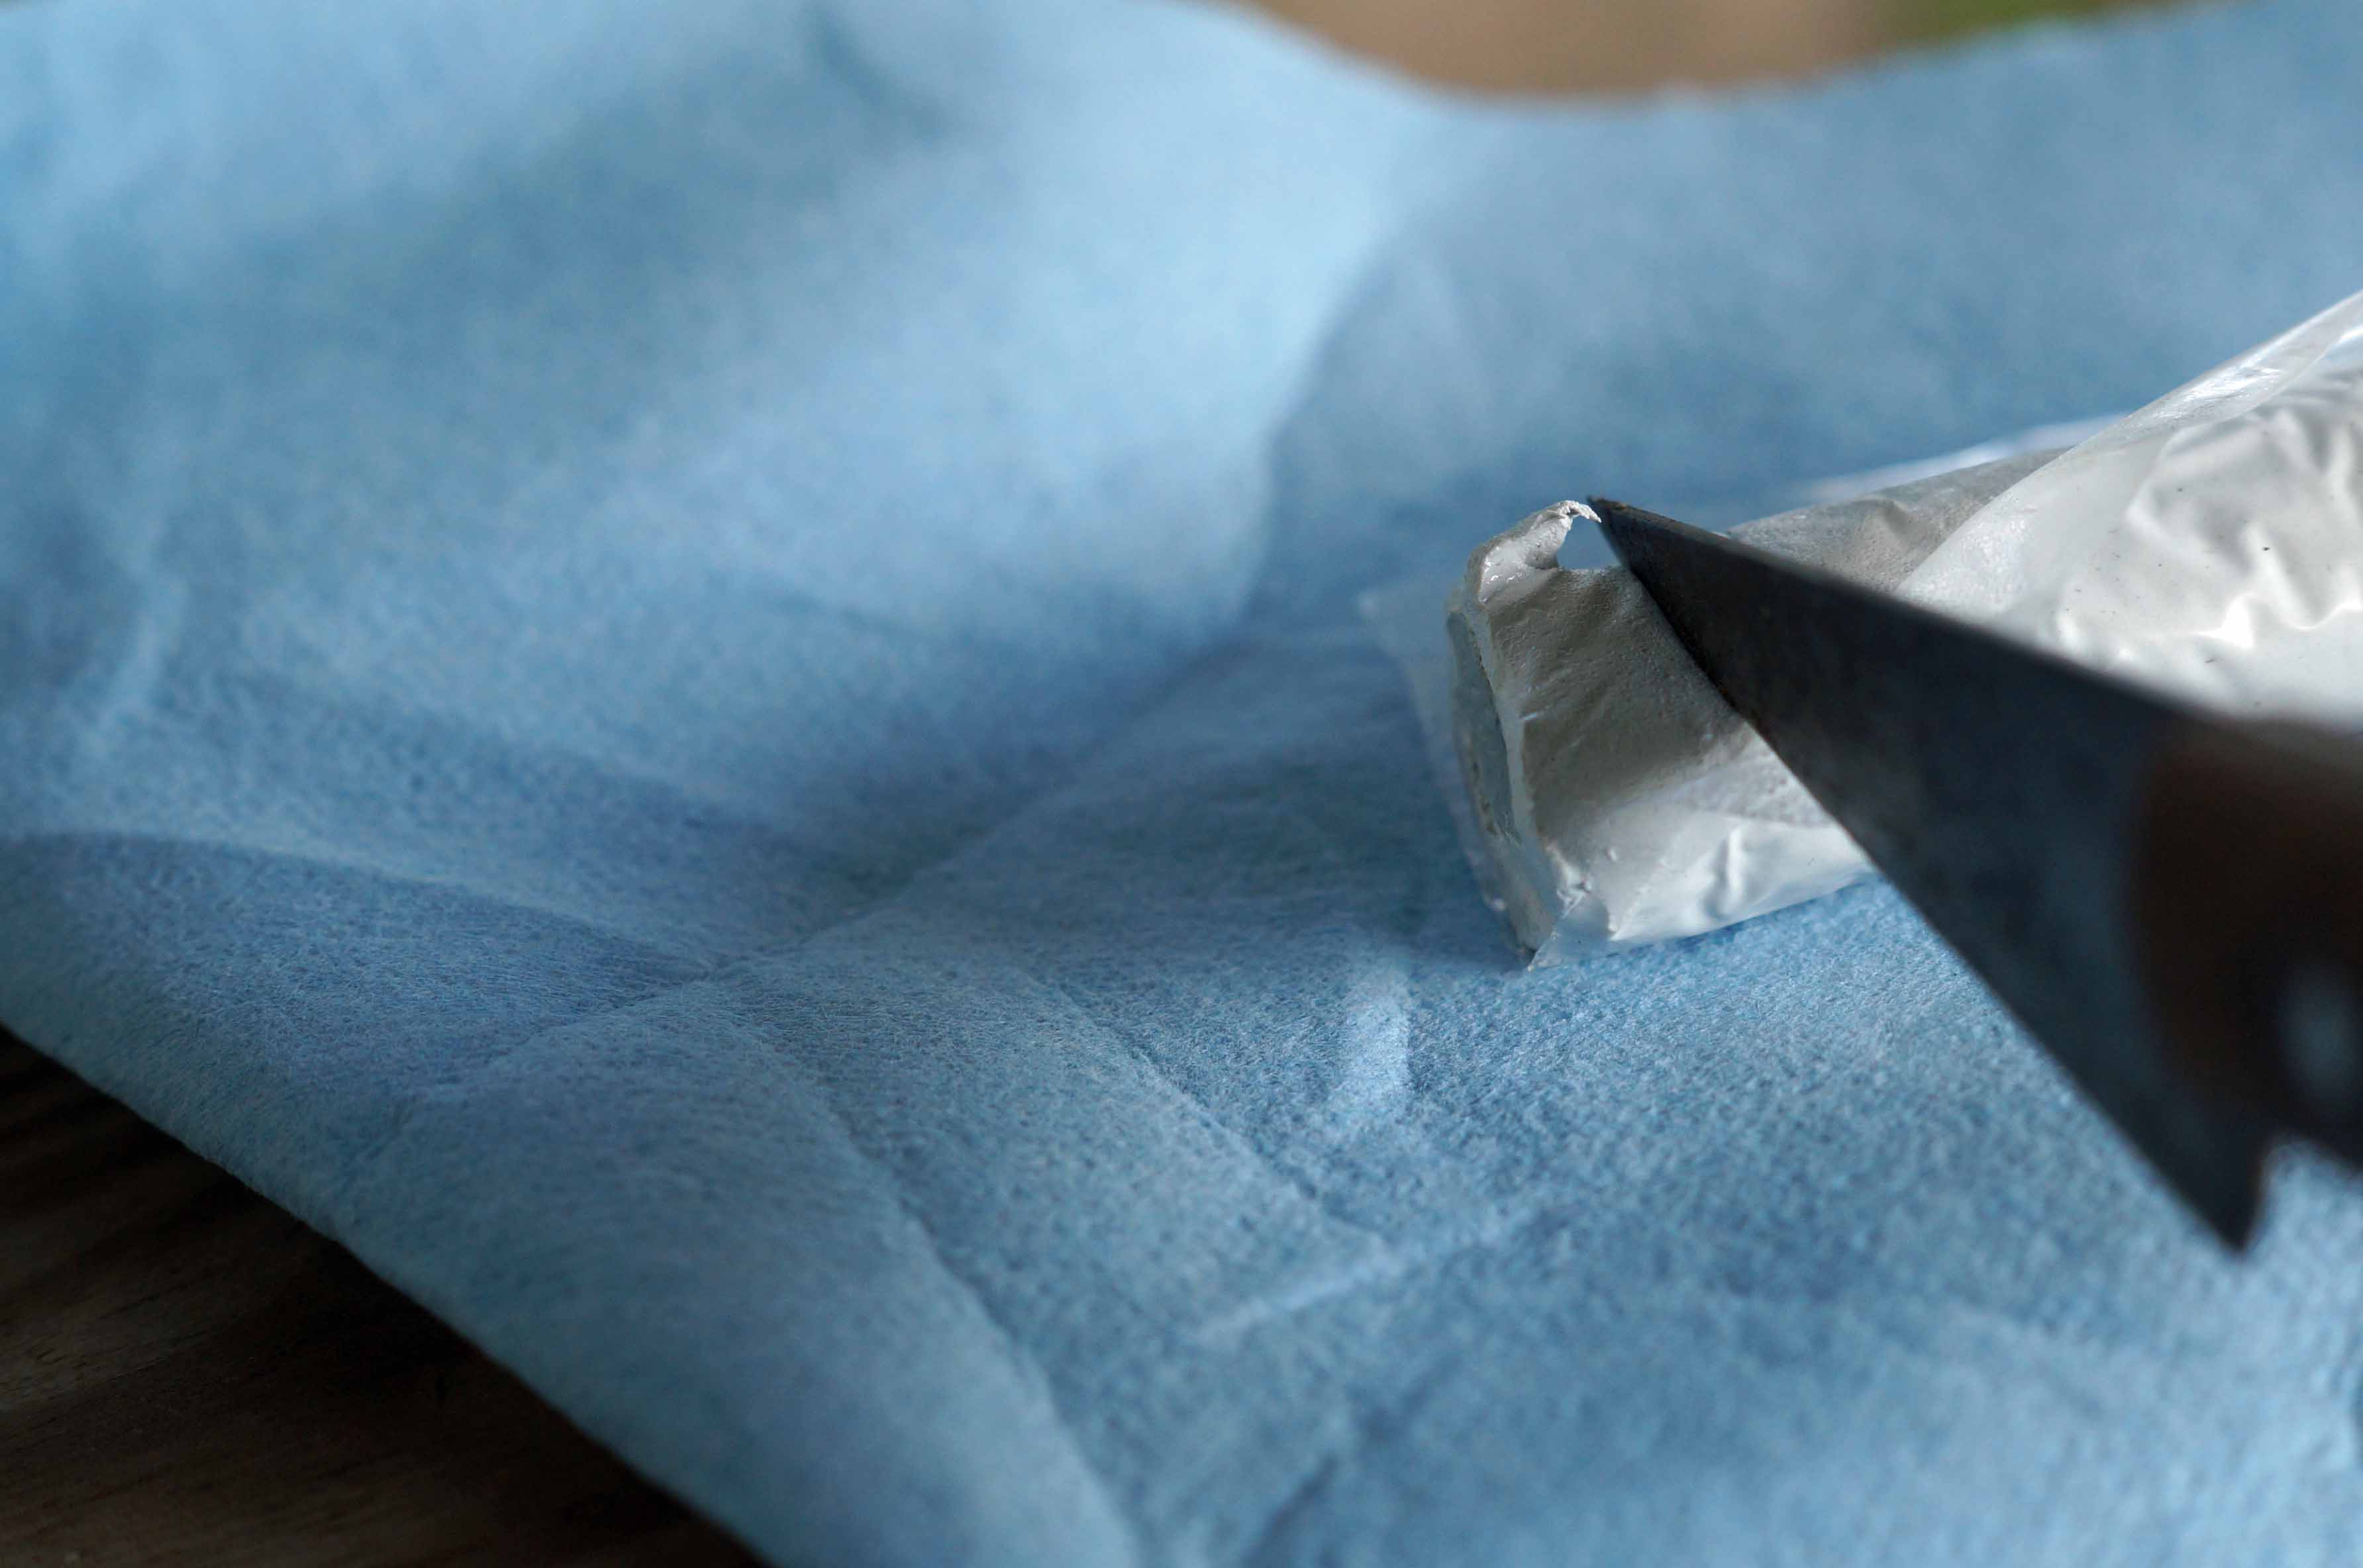
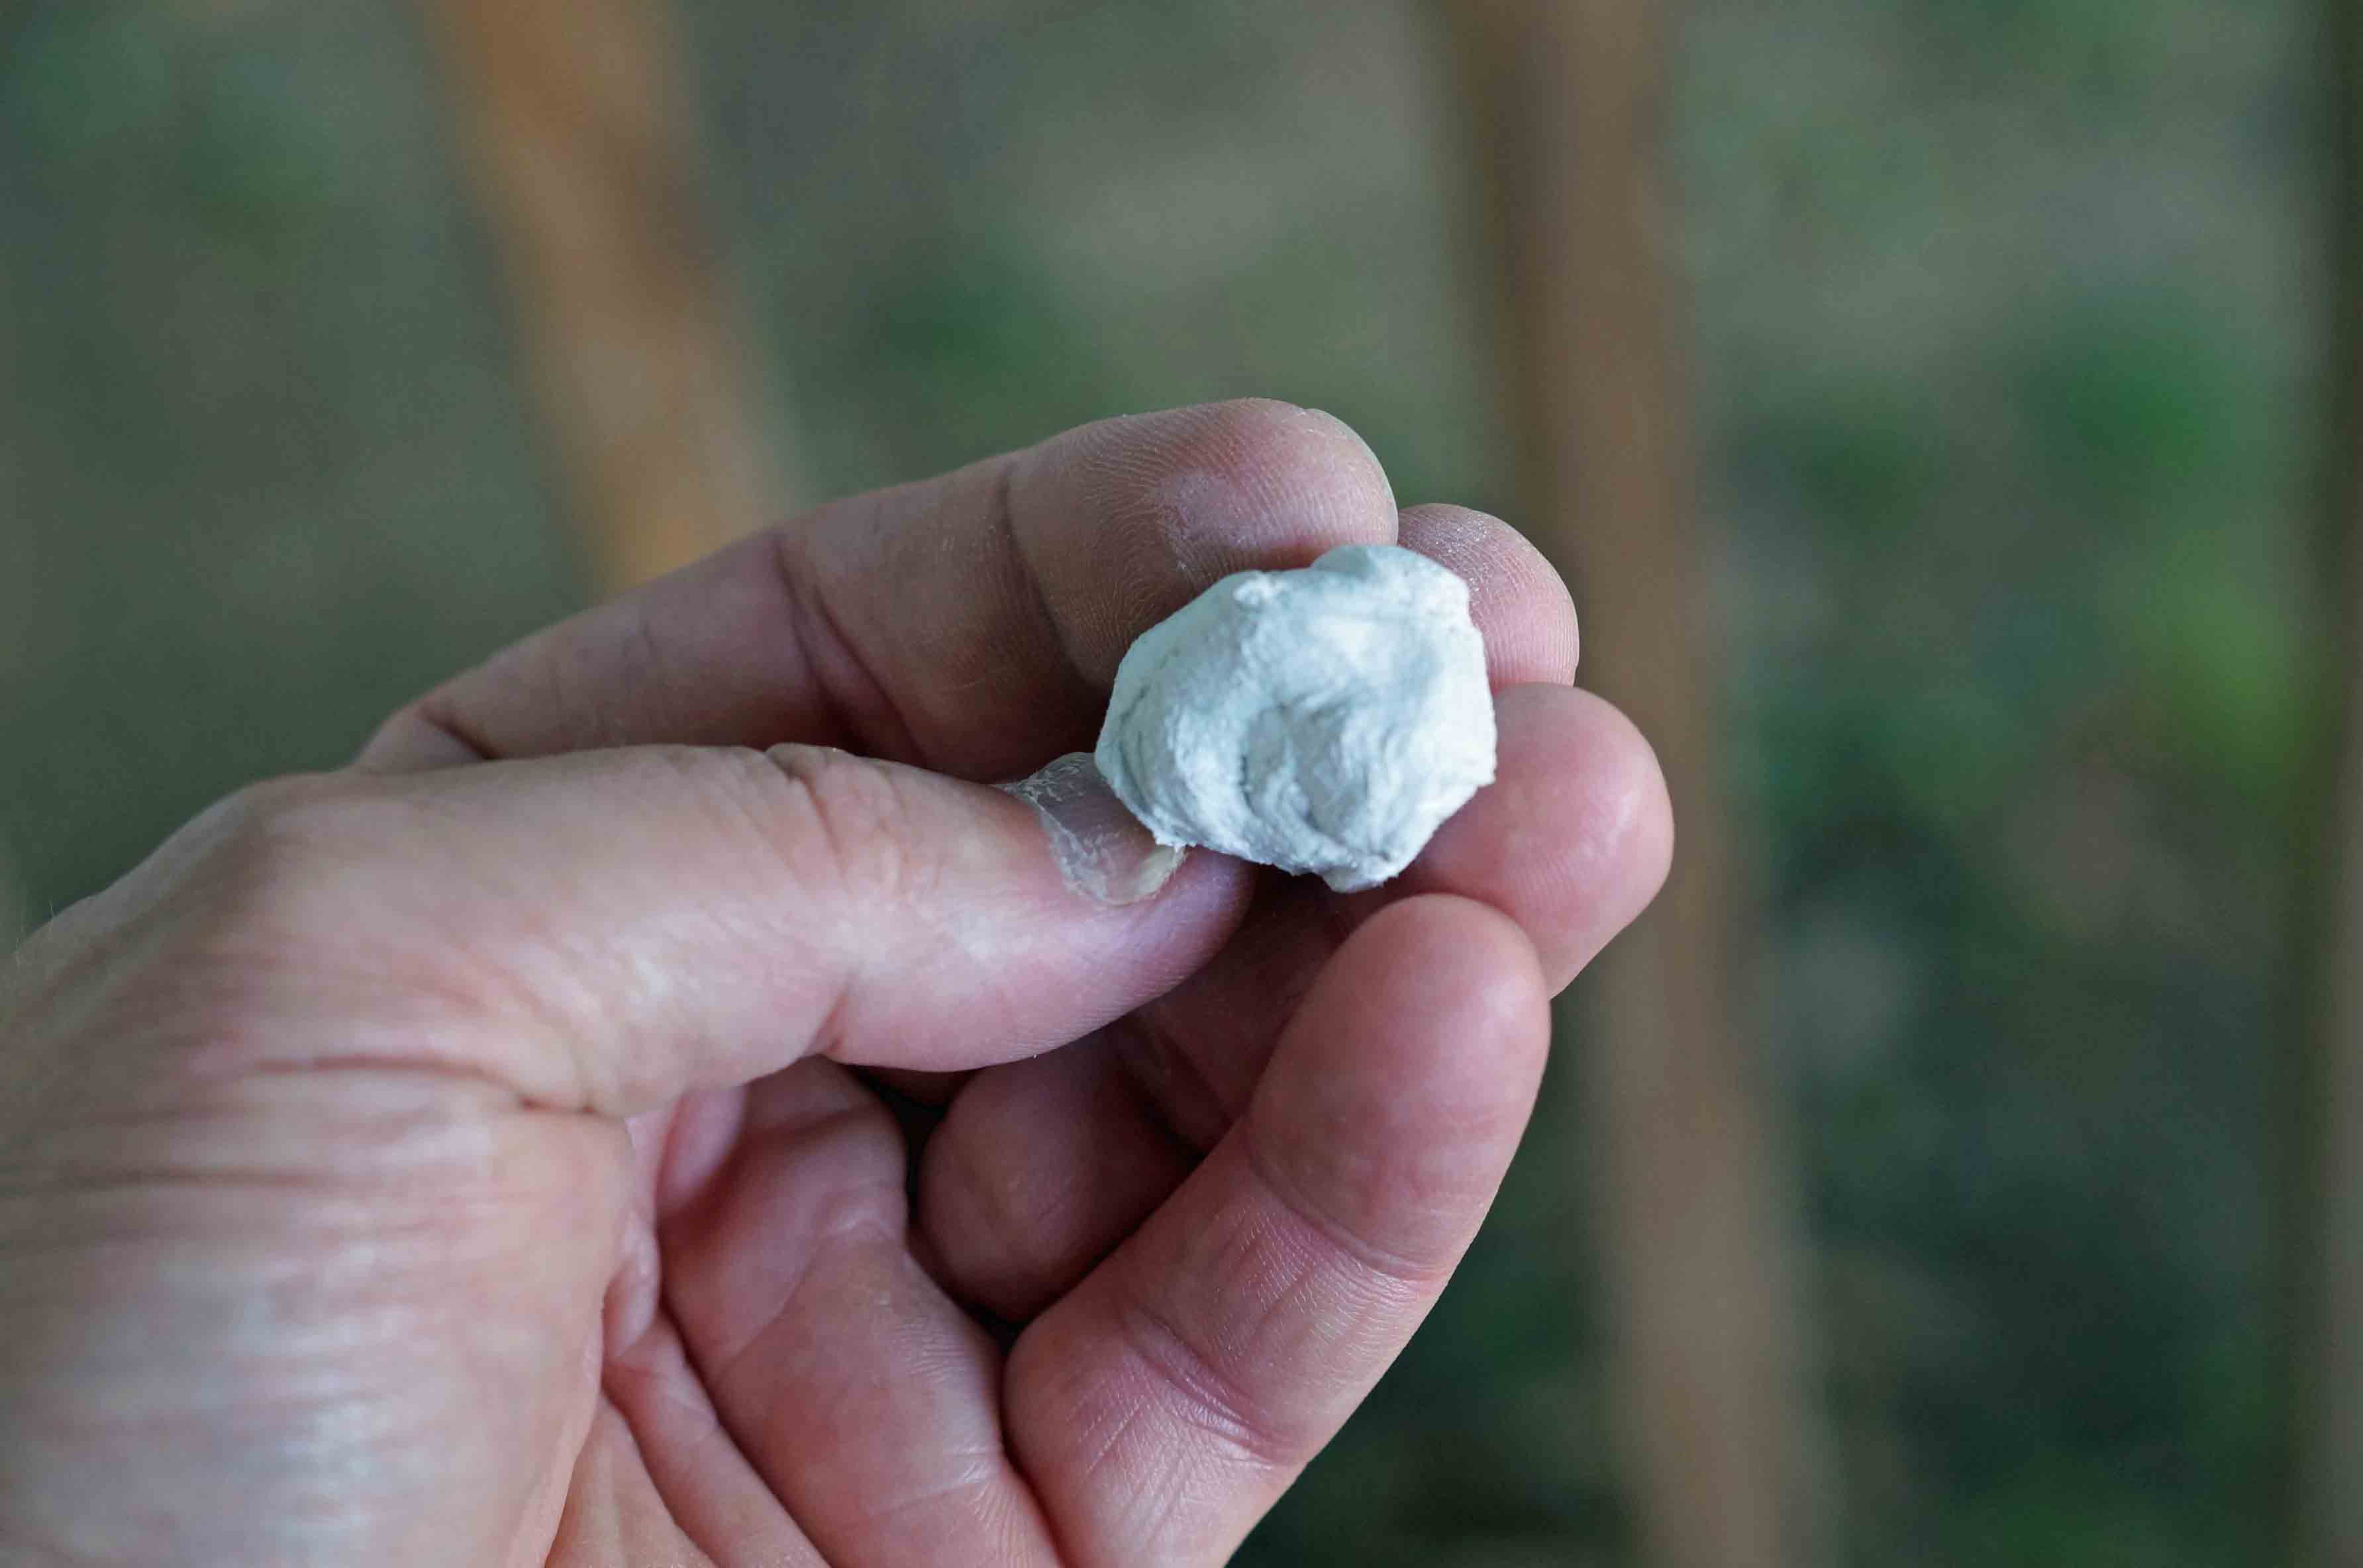
This my favorite brand of putty, it is for marine applications and sticks well to the wood. You can find it a Lowe's or Home Depot. Out of the tube, it is basically a two part epoxy, hardner in the middle and resin on the outside. You just cut off the amount needed and knead it until it is uniform and you have what looks like a wad of chewed bubble gum.
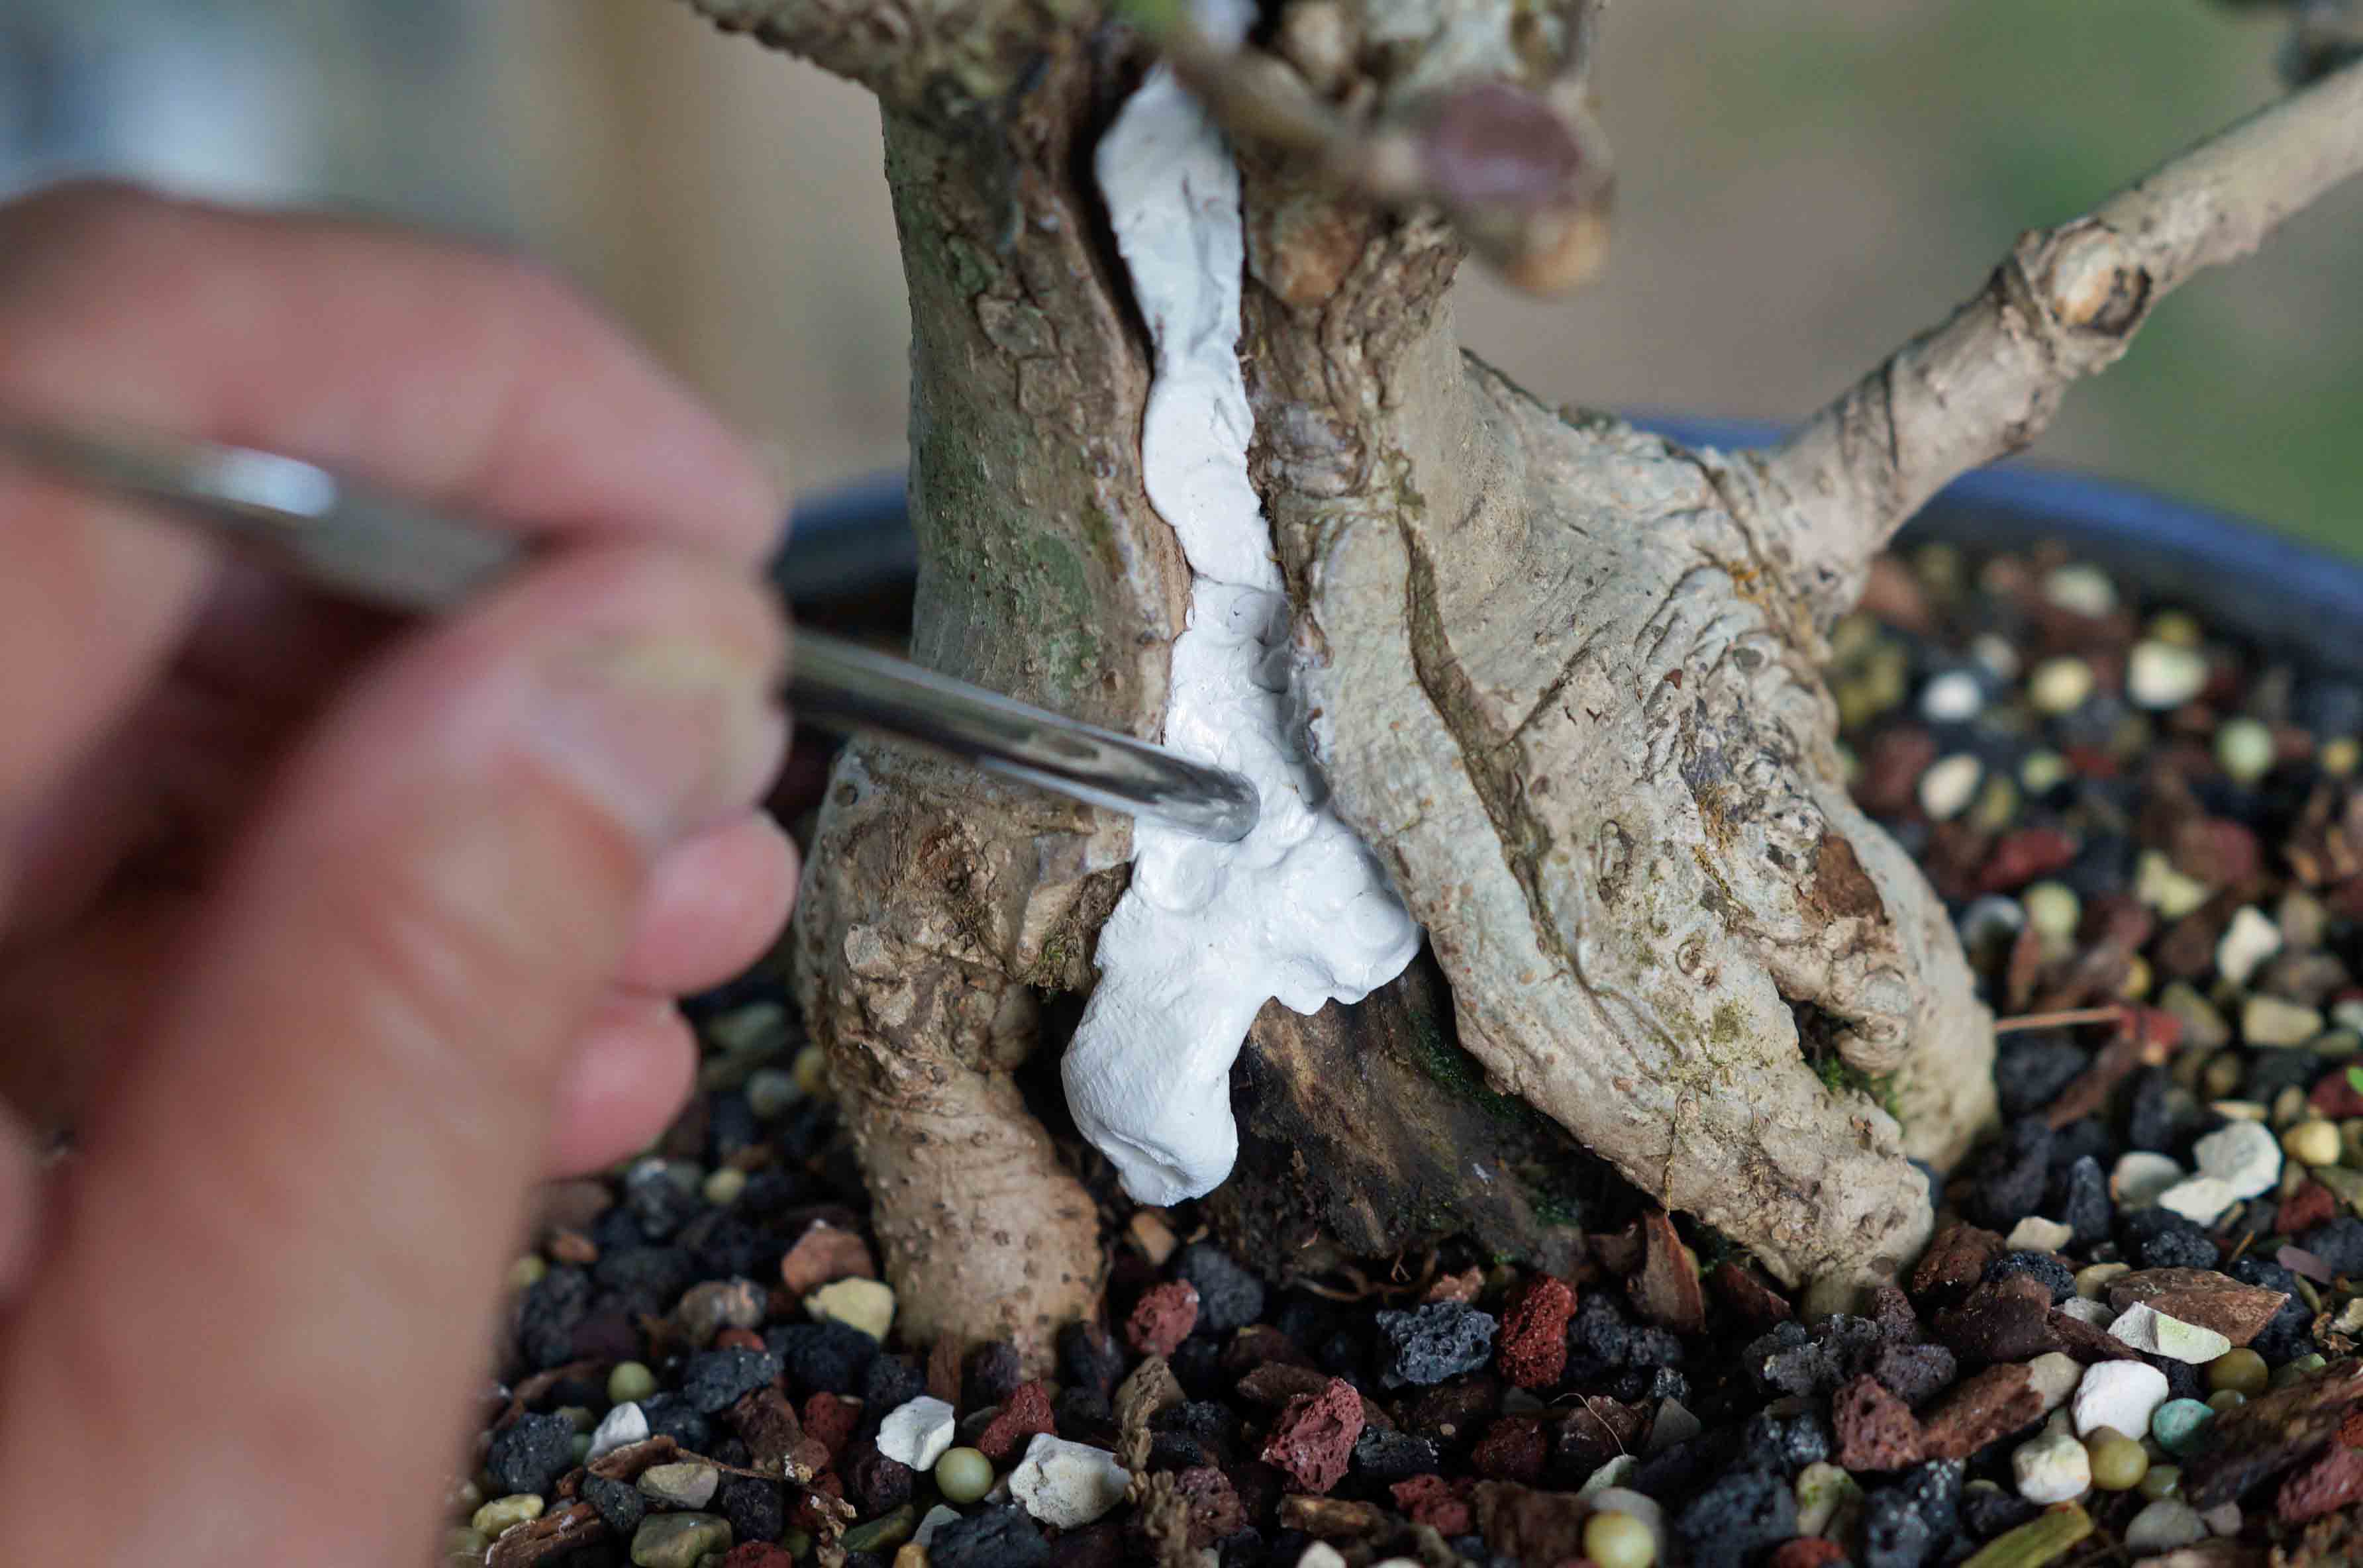
Then just stick it on the tree and work it into the void you are filling. I use small amounts as the working time on this particular epoxy is about 25 minutes, then it starts getting stiff. You can still work it, it is just tougher, over night it will become rock hard. I use a small sculpting tool to press it into the void, dipping it in water keeps it from sticking while working it. Once the epoxy is pressed in place, I kept mixing up small bits until the trunk was built up to just below the callous at the edge of the deadwood. I moistened my finger and used it to smooth out the putty.
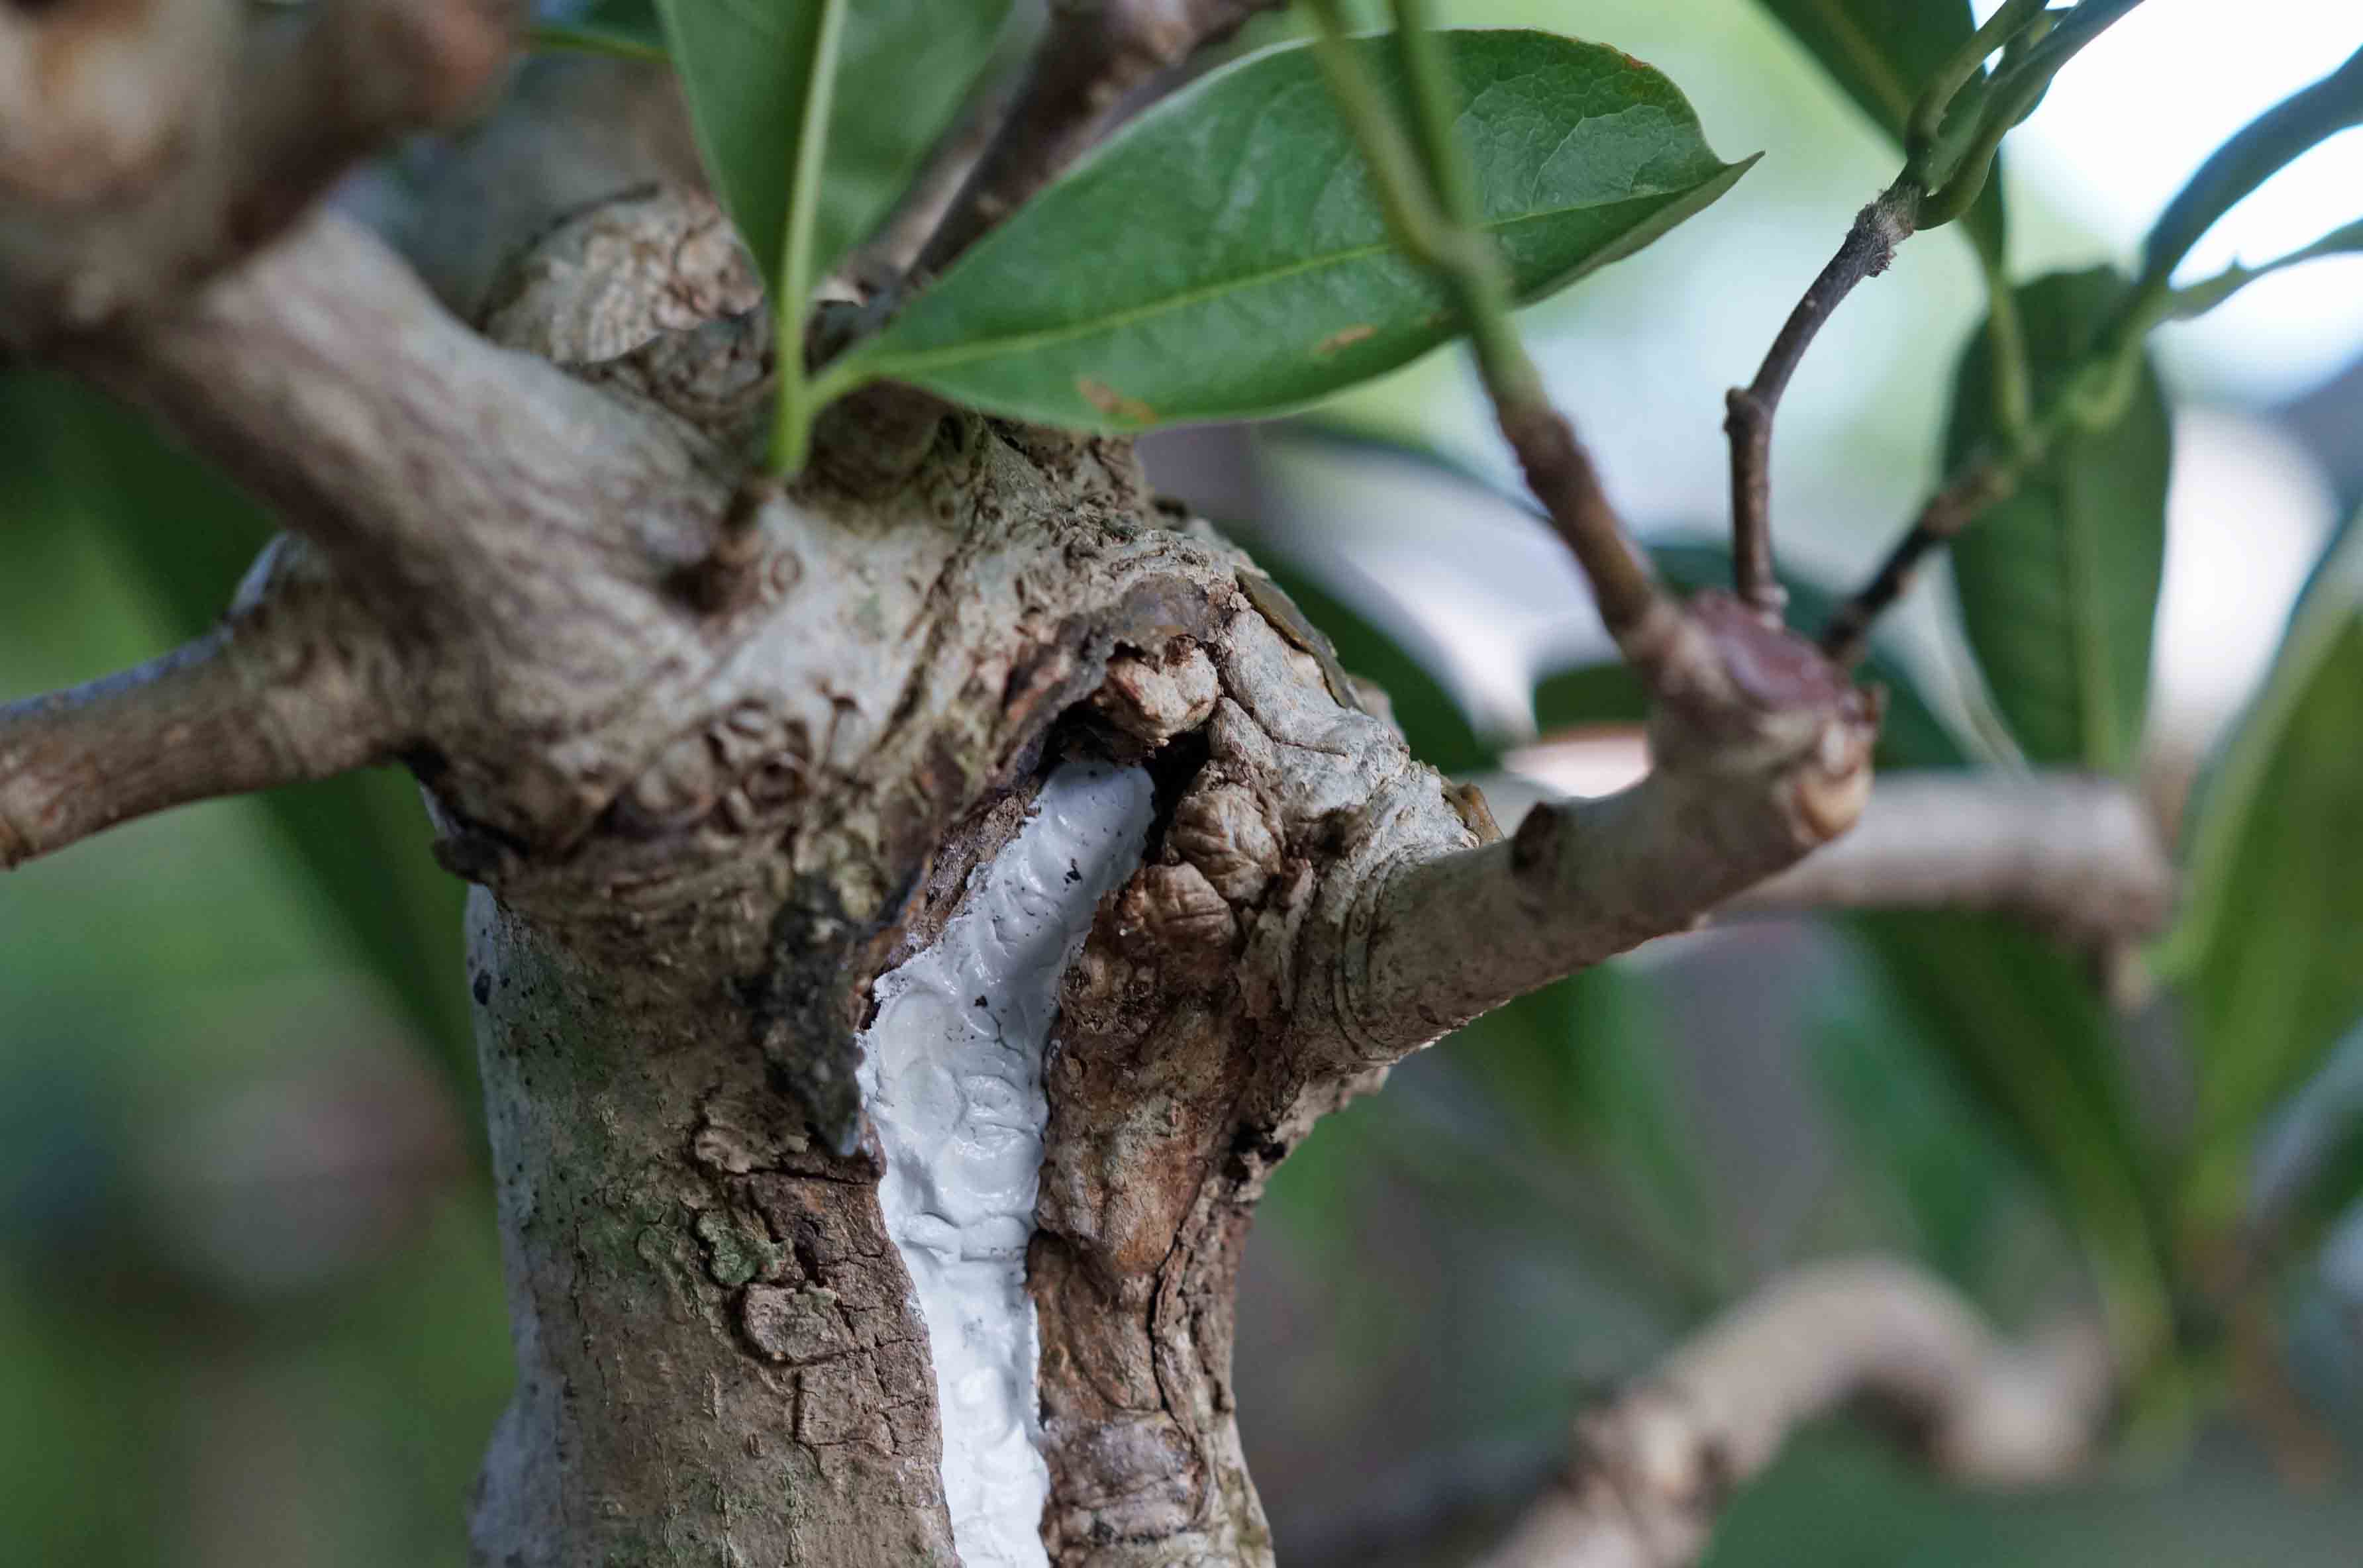
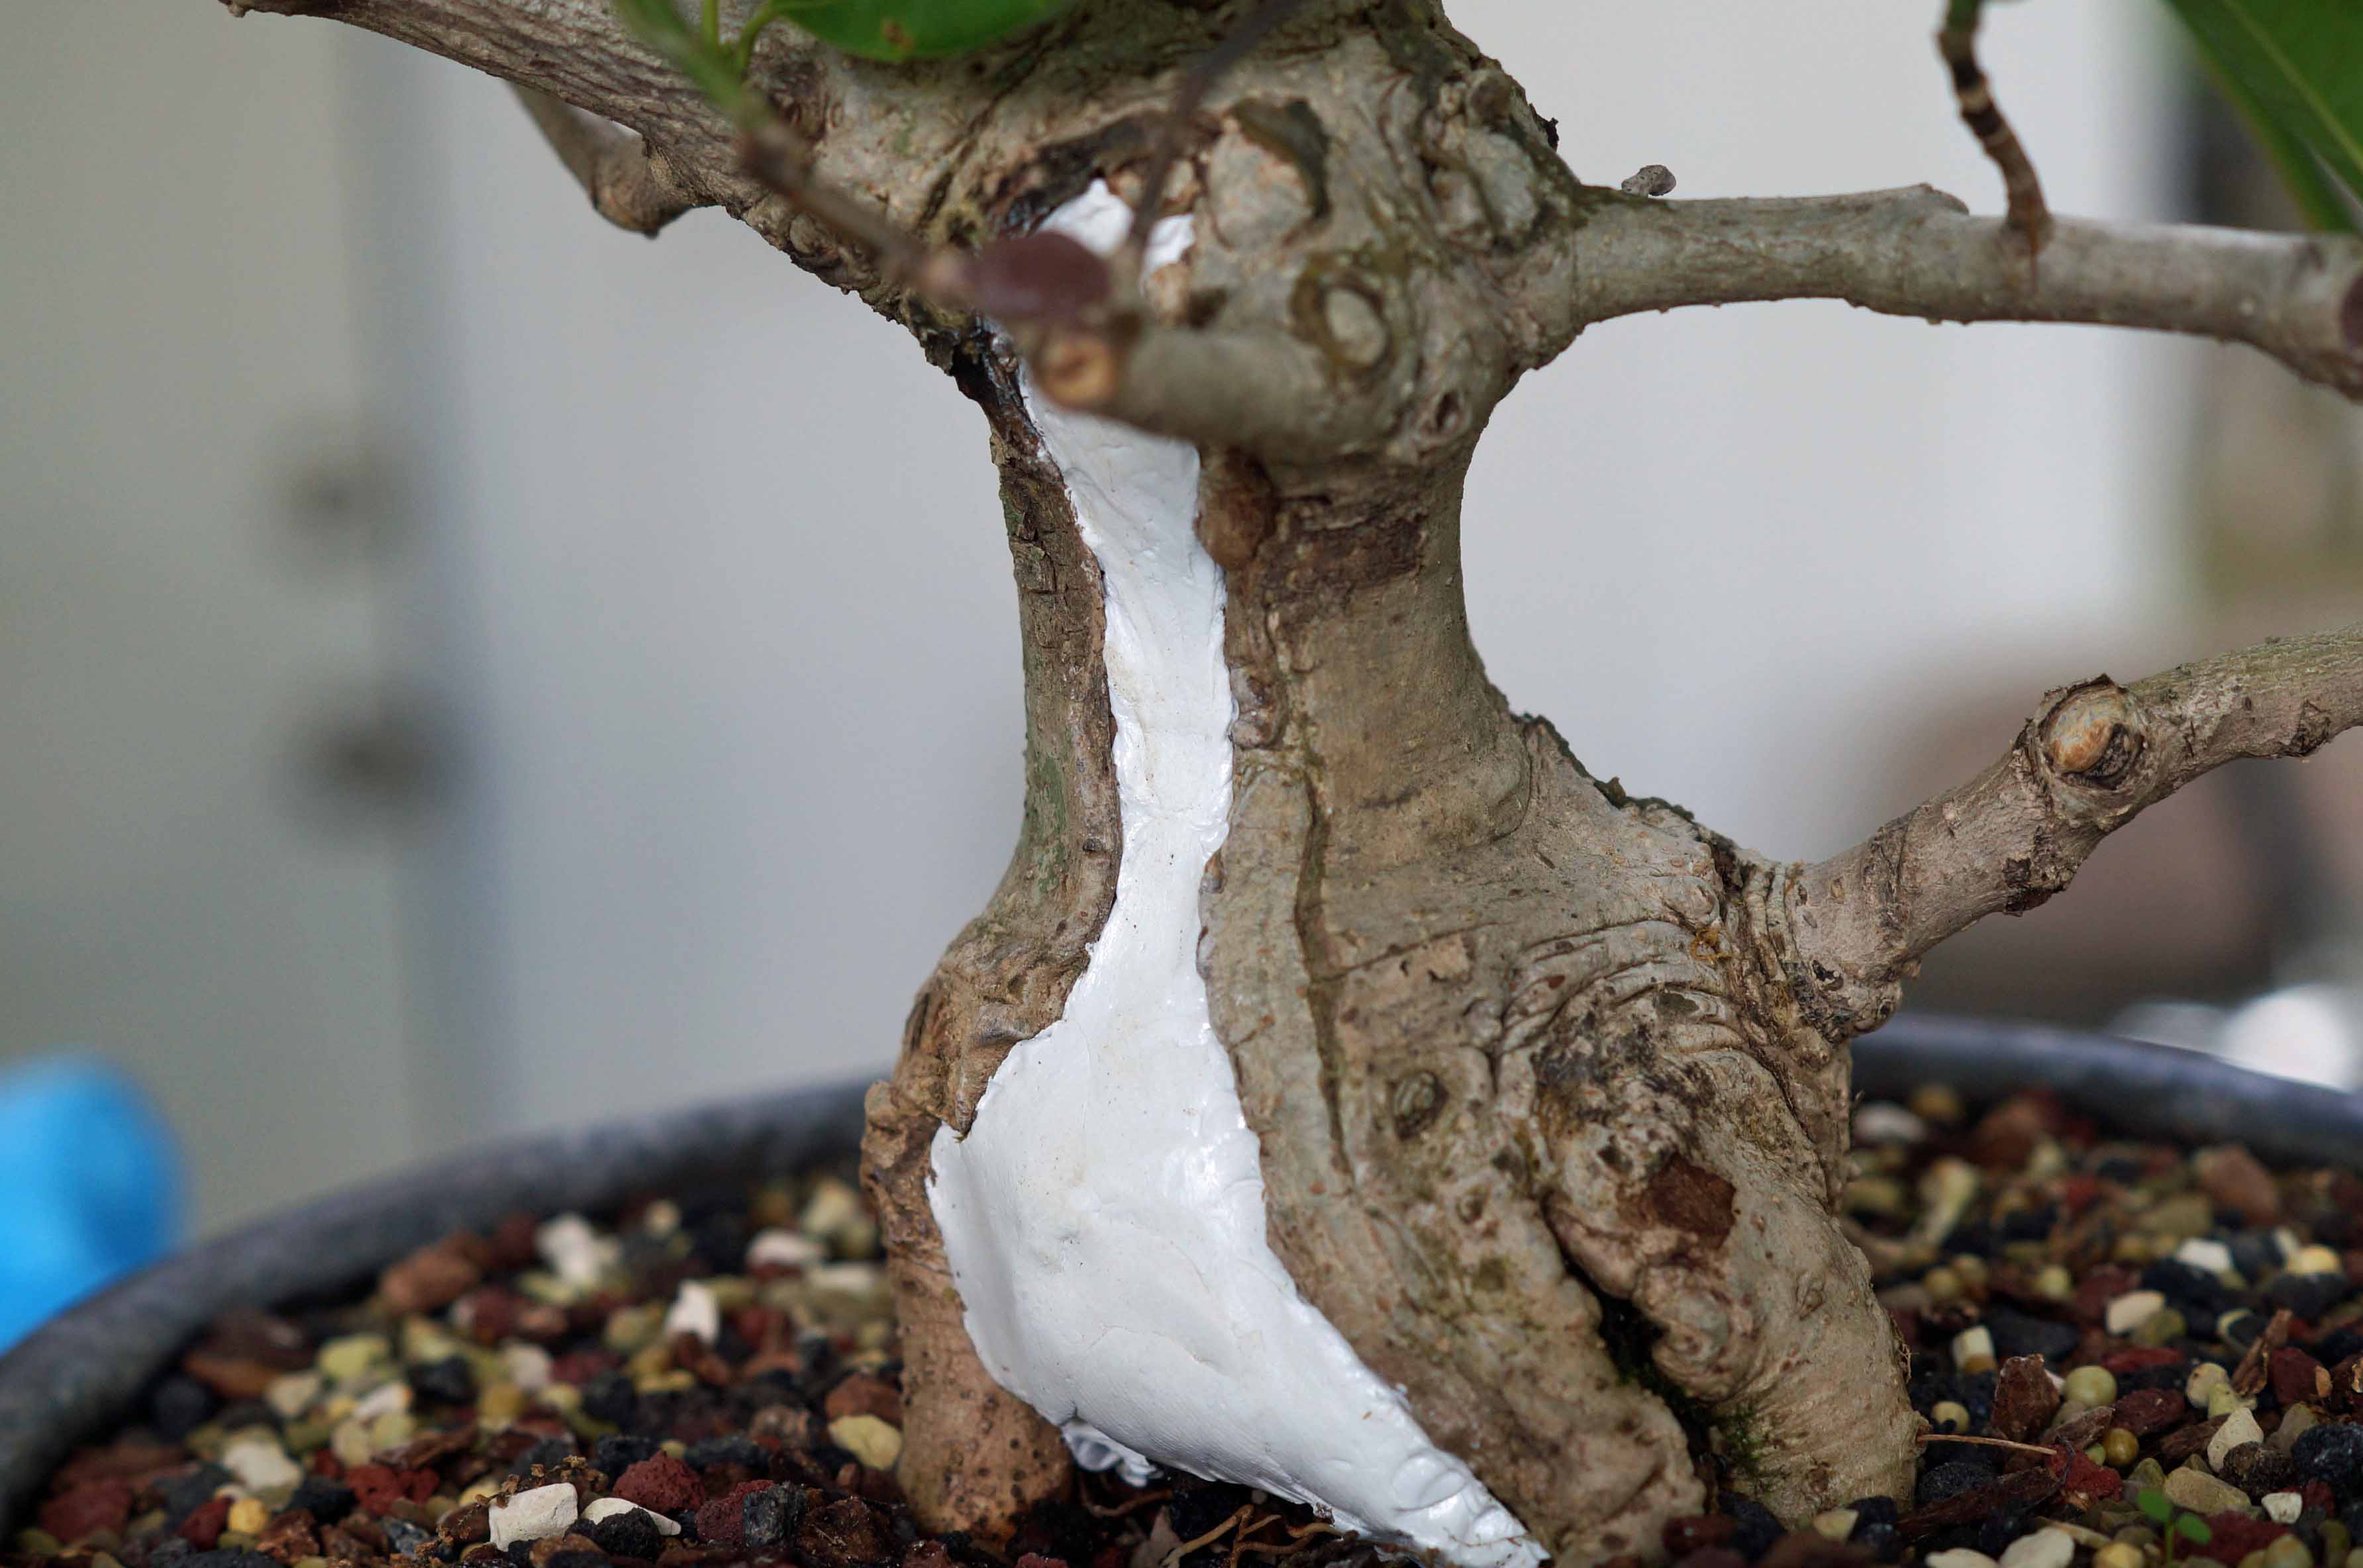
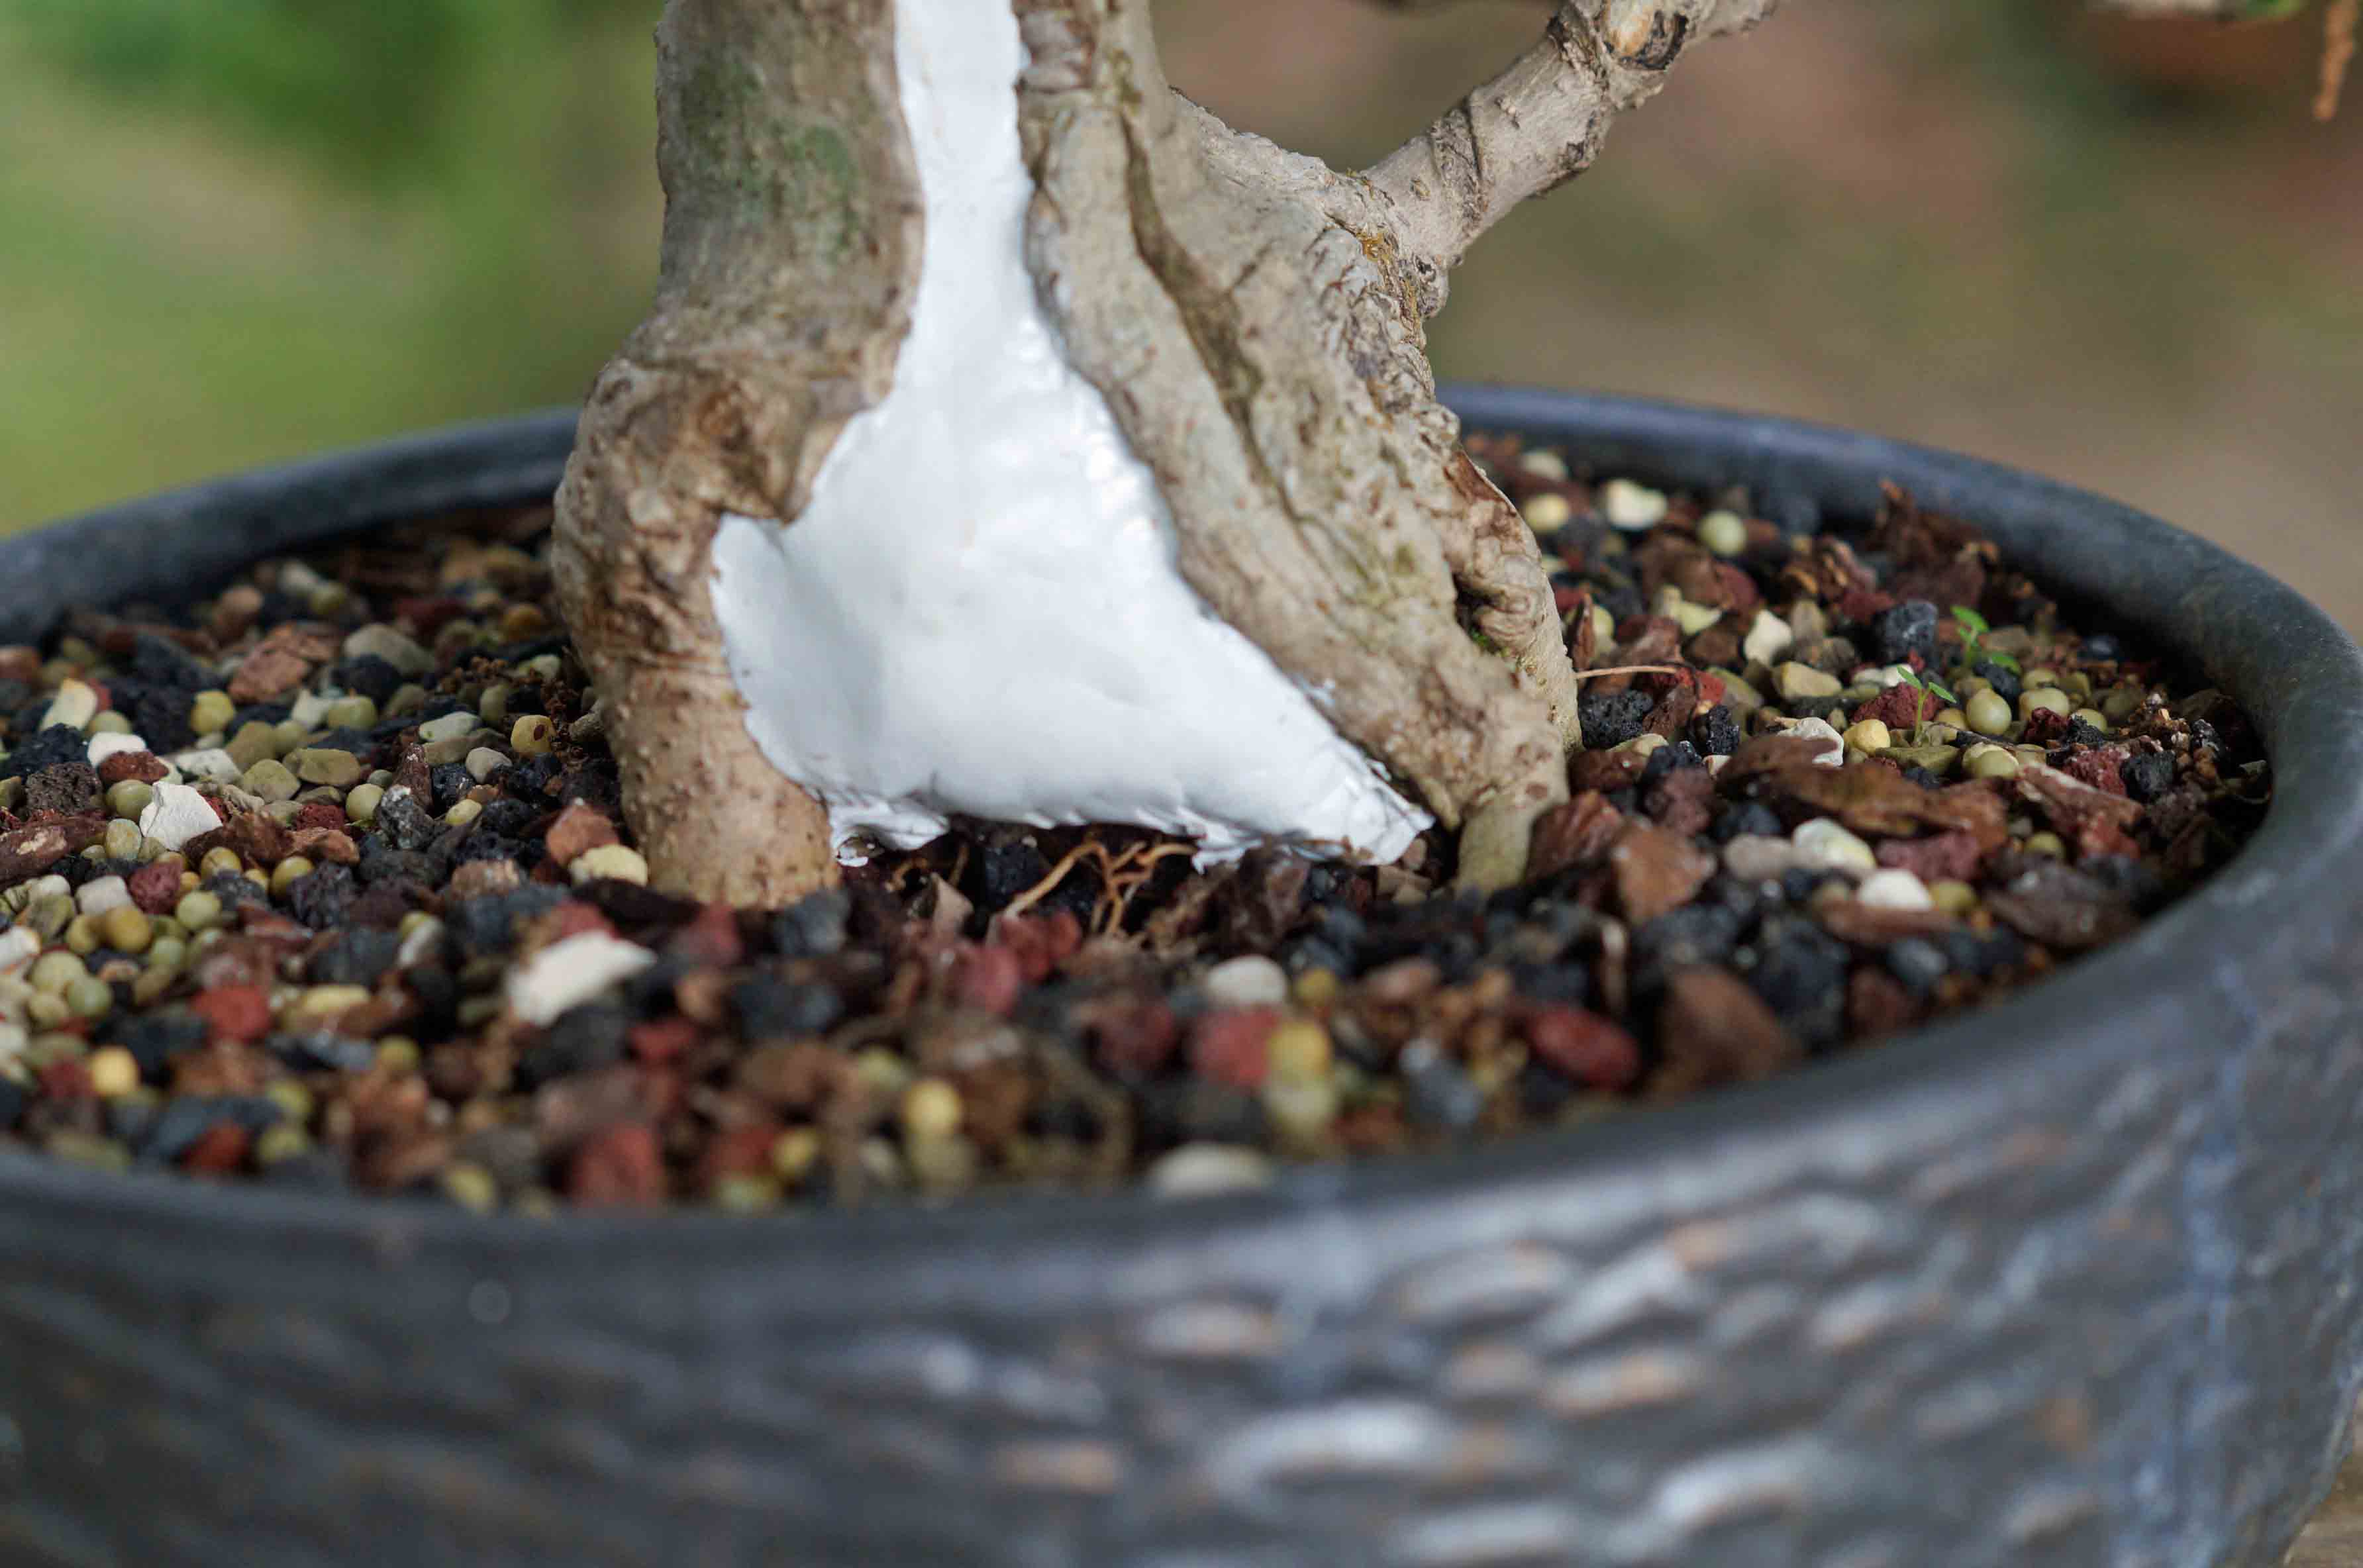
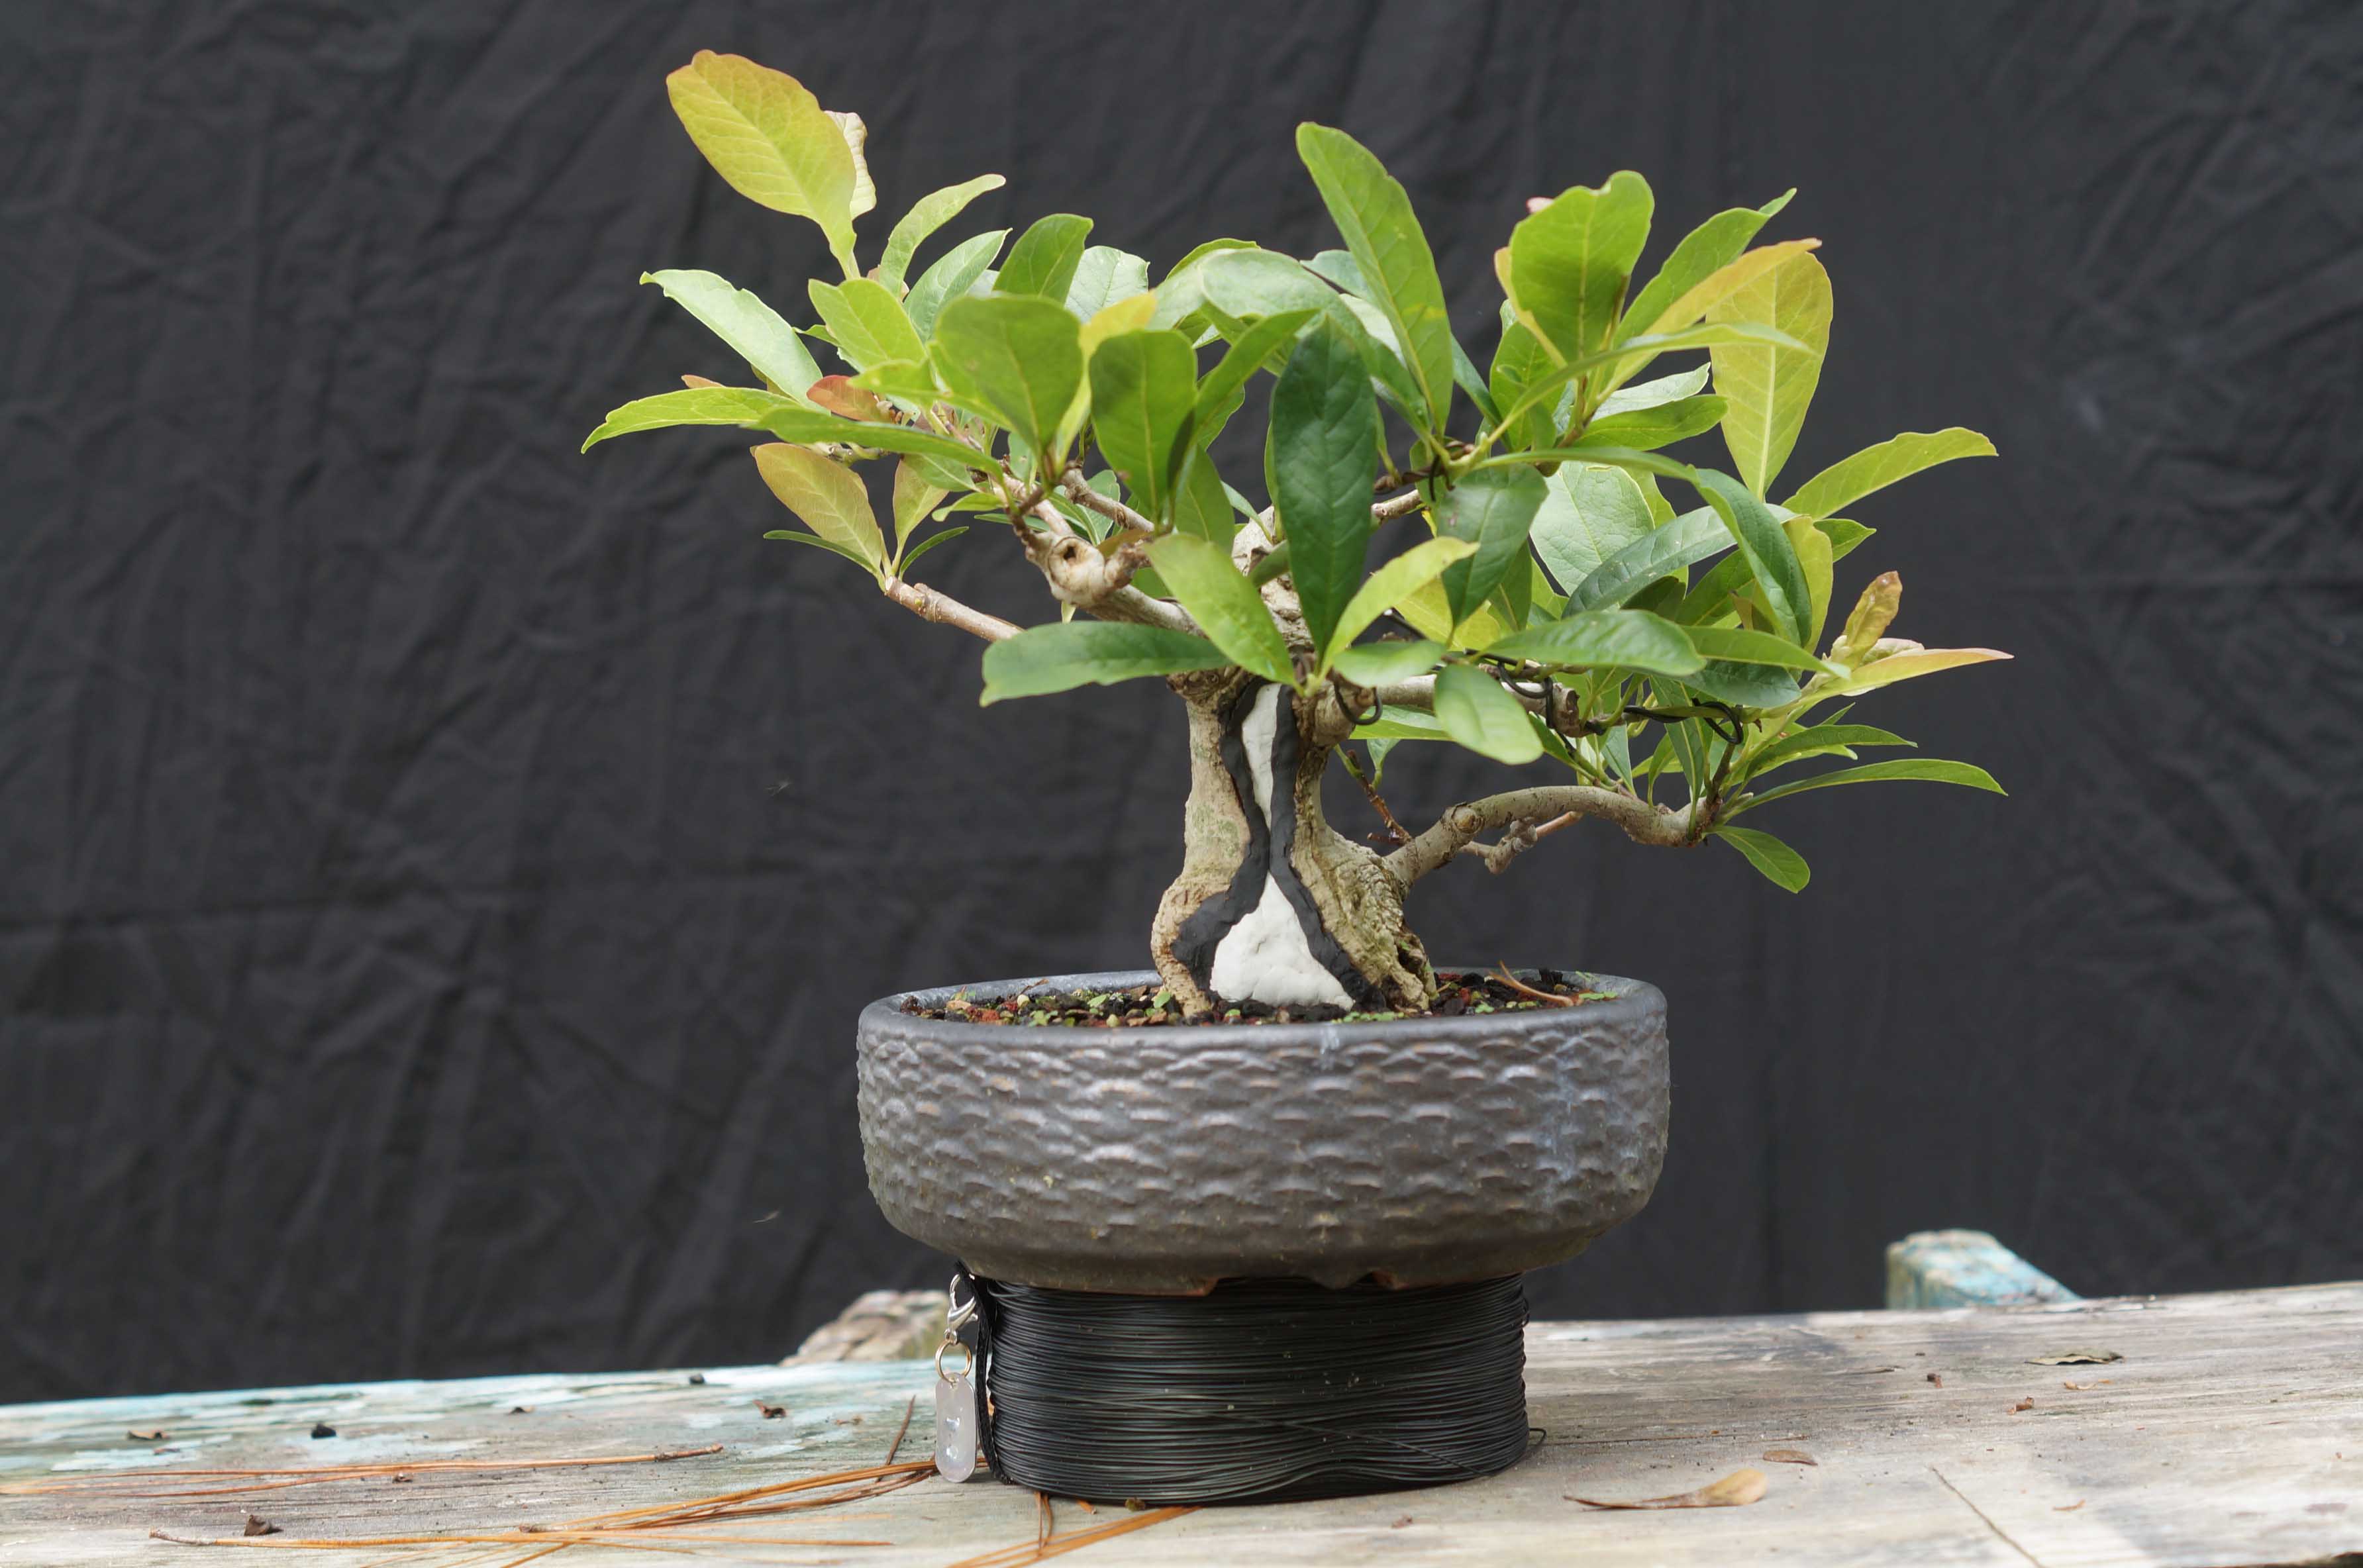
The finisned product; once the epoxy fully cured, I cut the edges on the callous surrounding it and hopefully the tree will continue to heal.
The following day, the epoxy has cured and I cut the callous and applied some putty to keep it from drying out. I will update this at the end of summer and we'll see how it turned out.
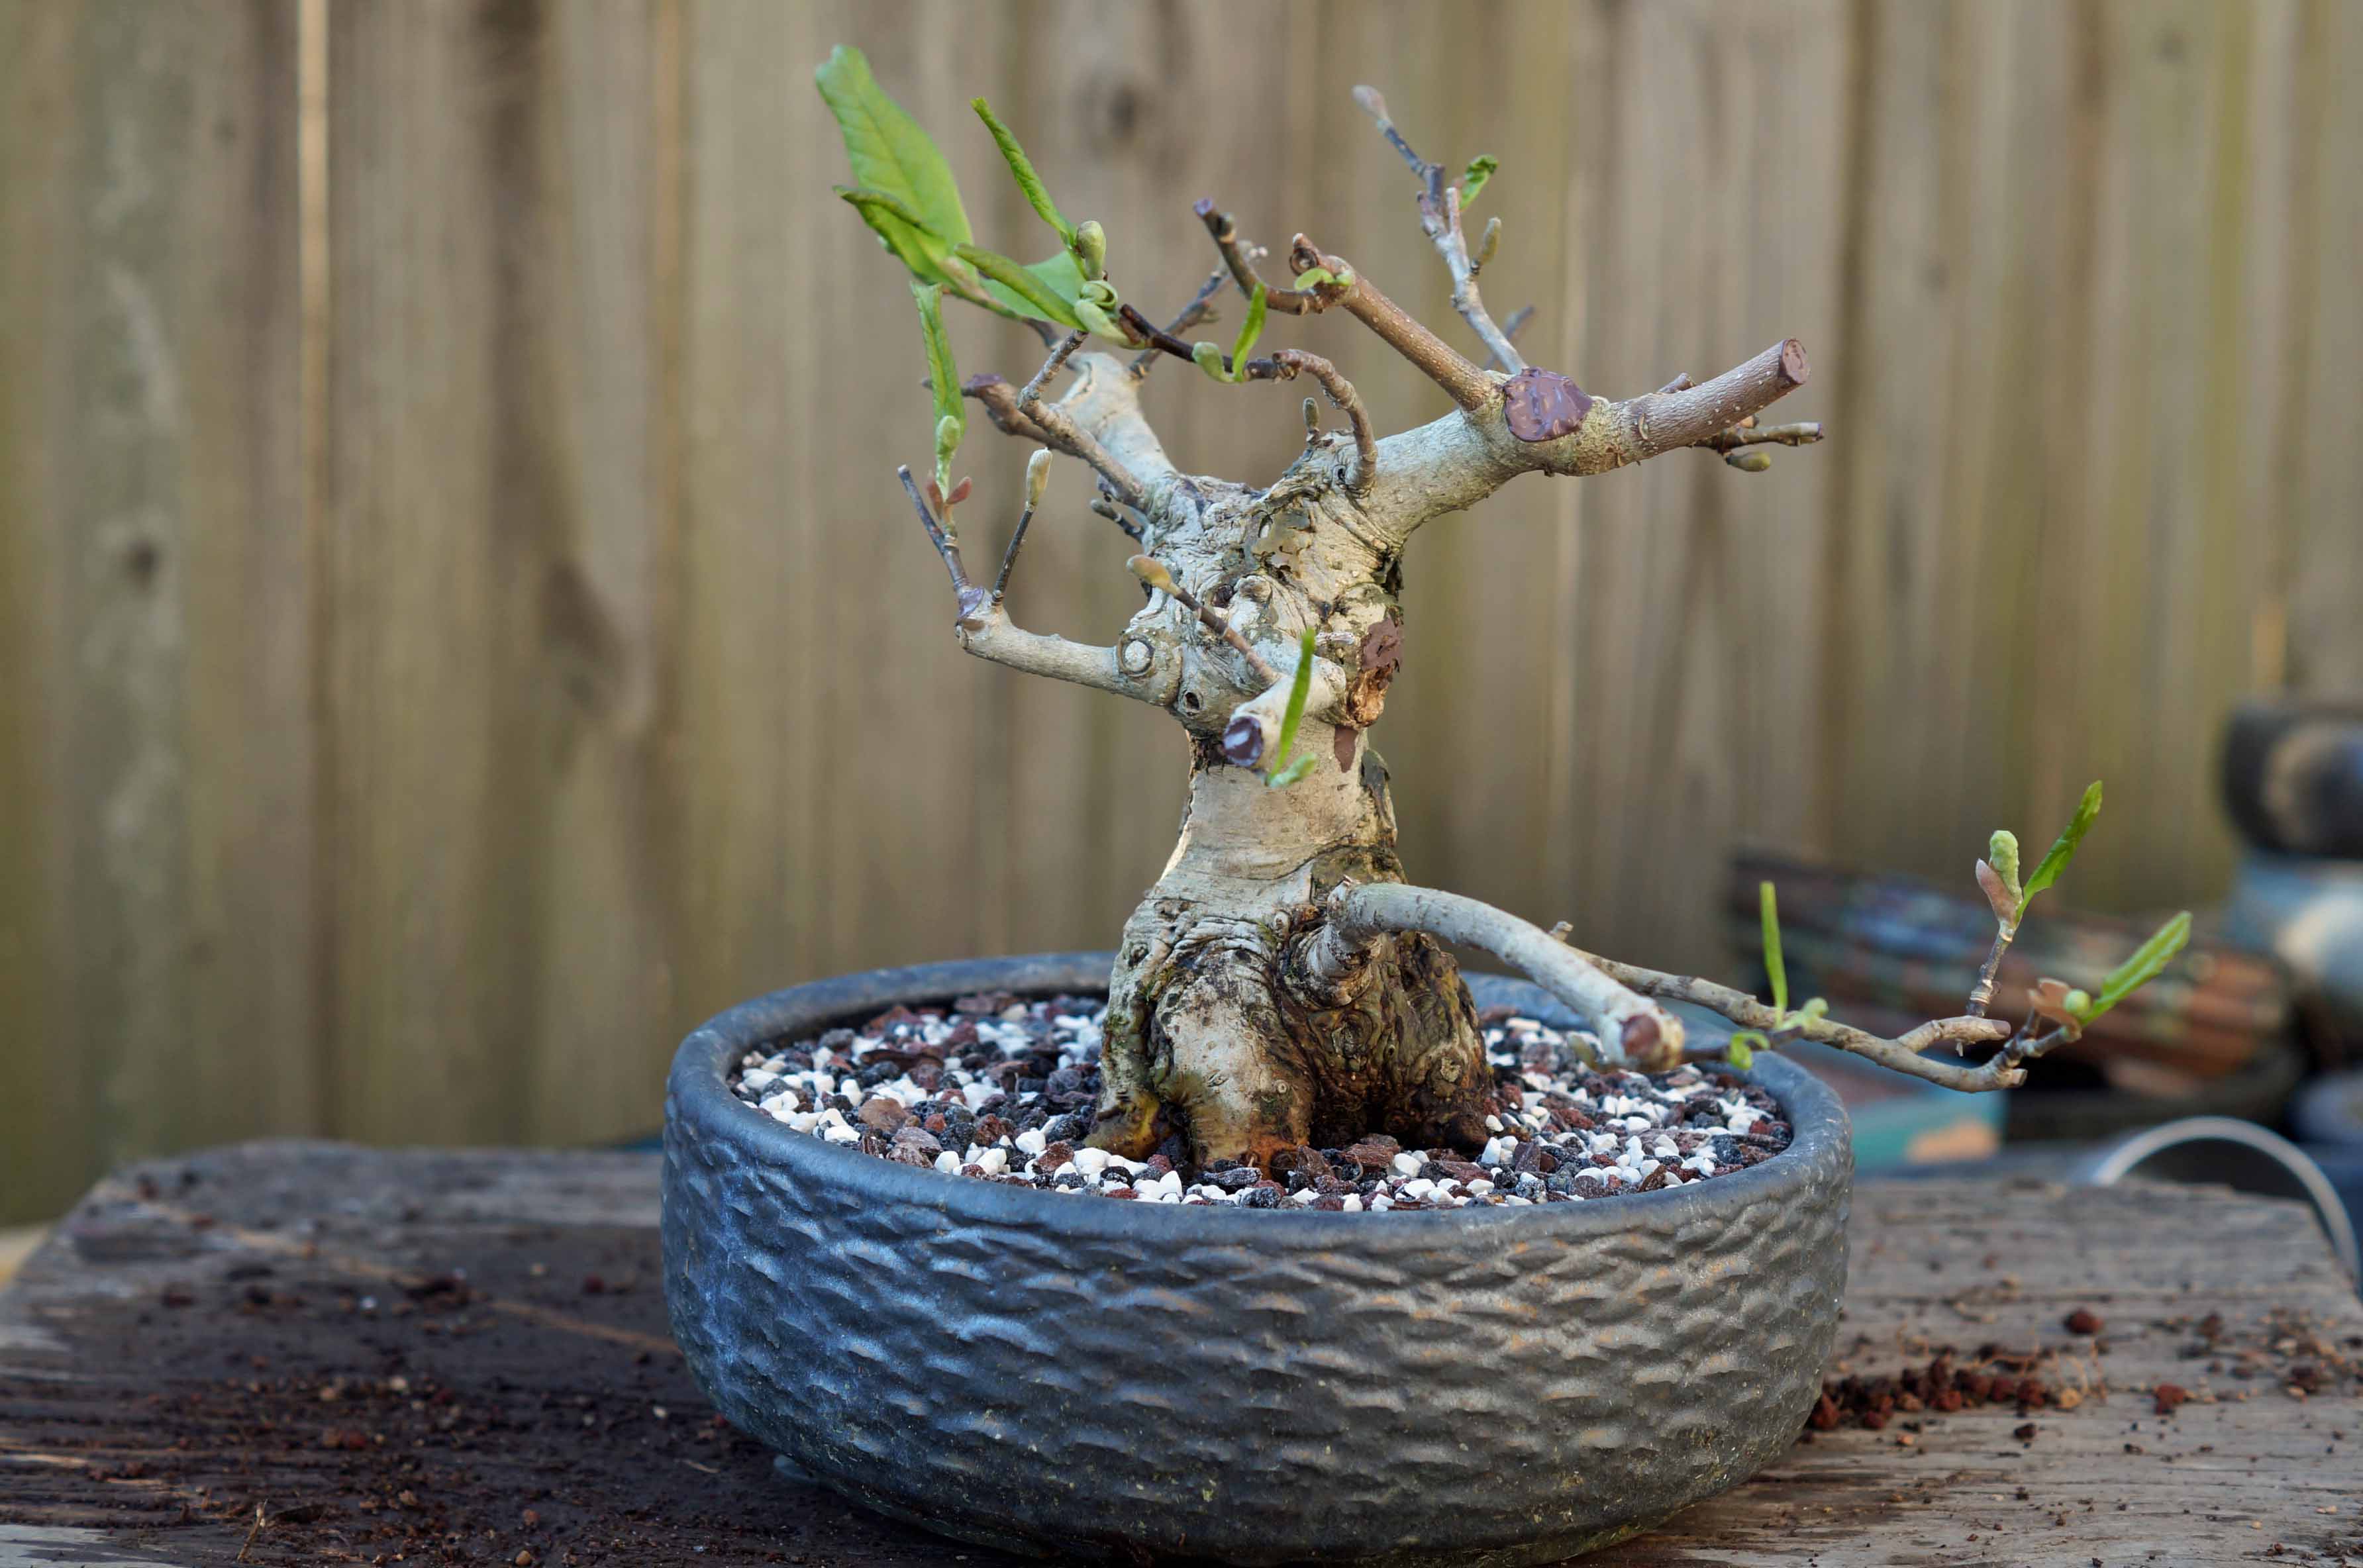
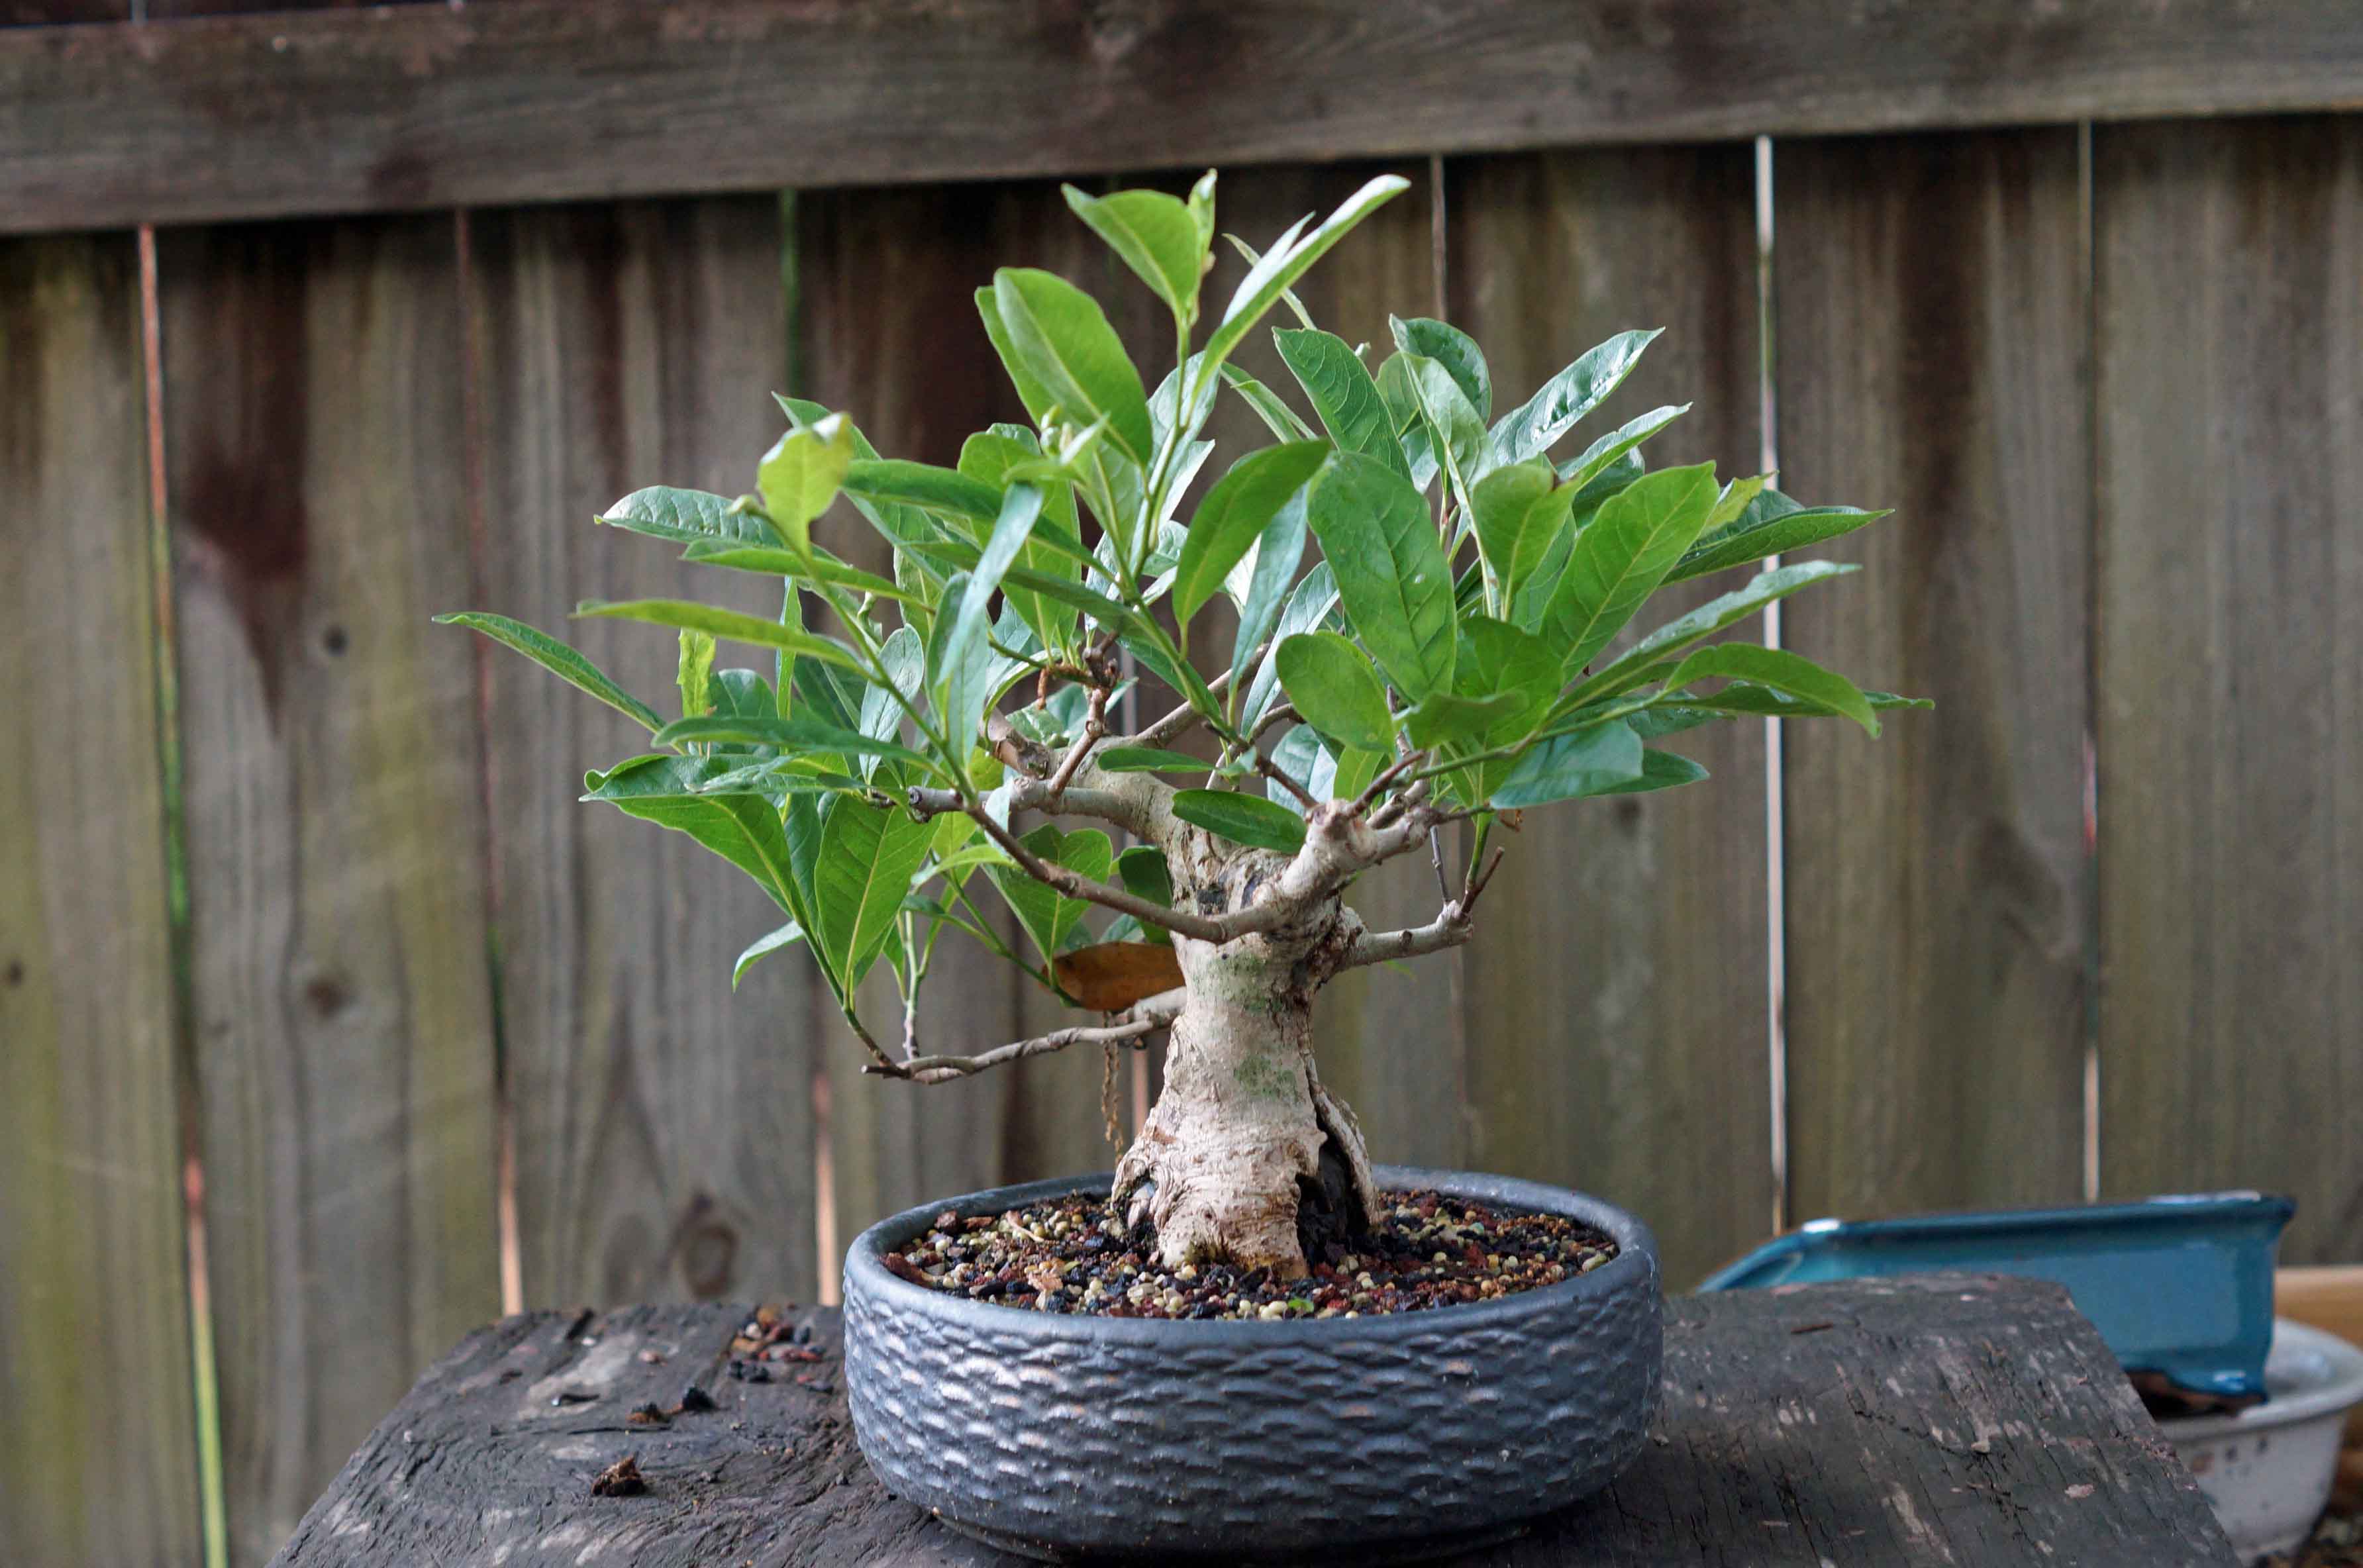
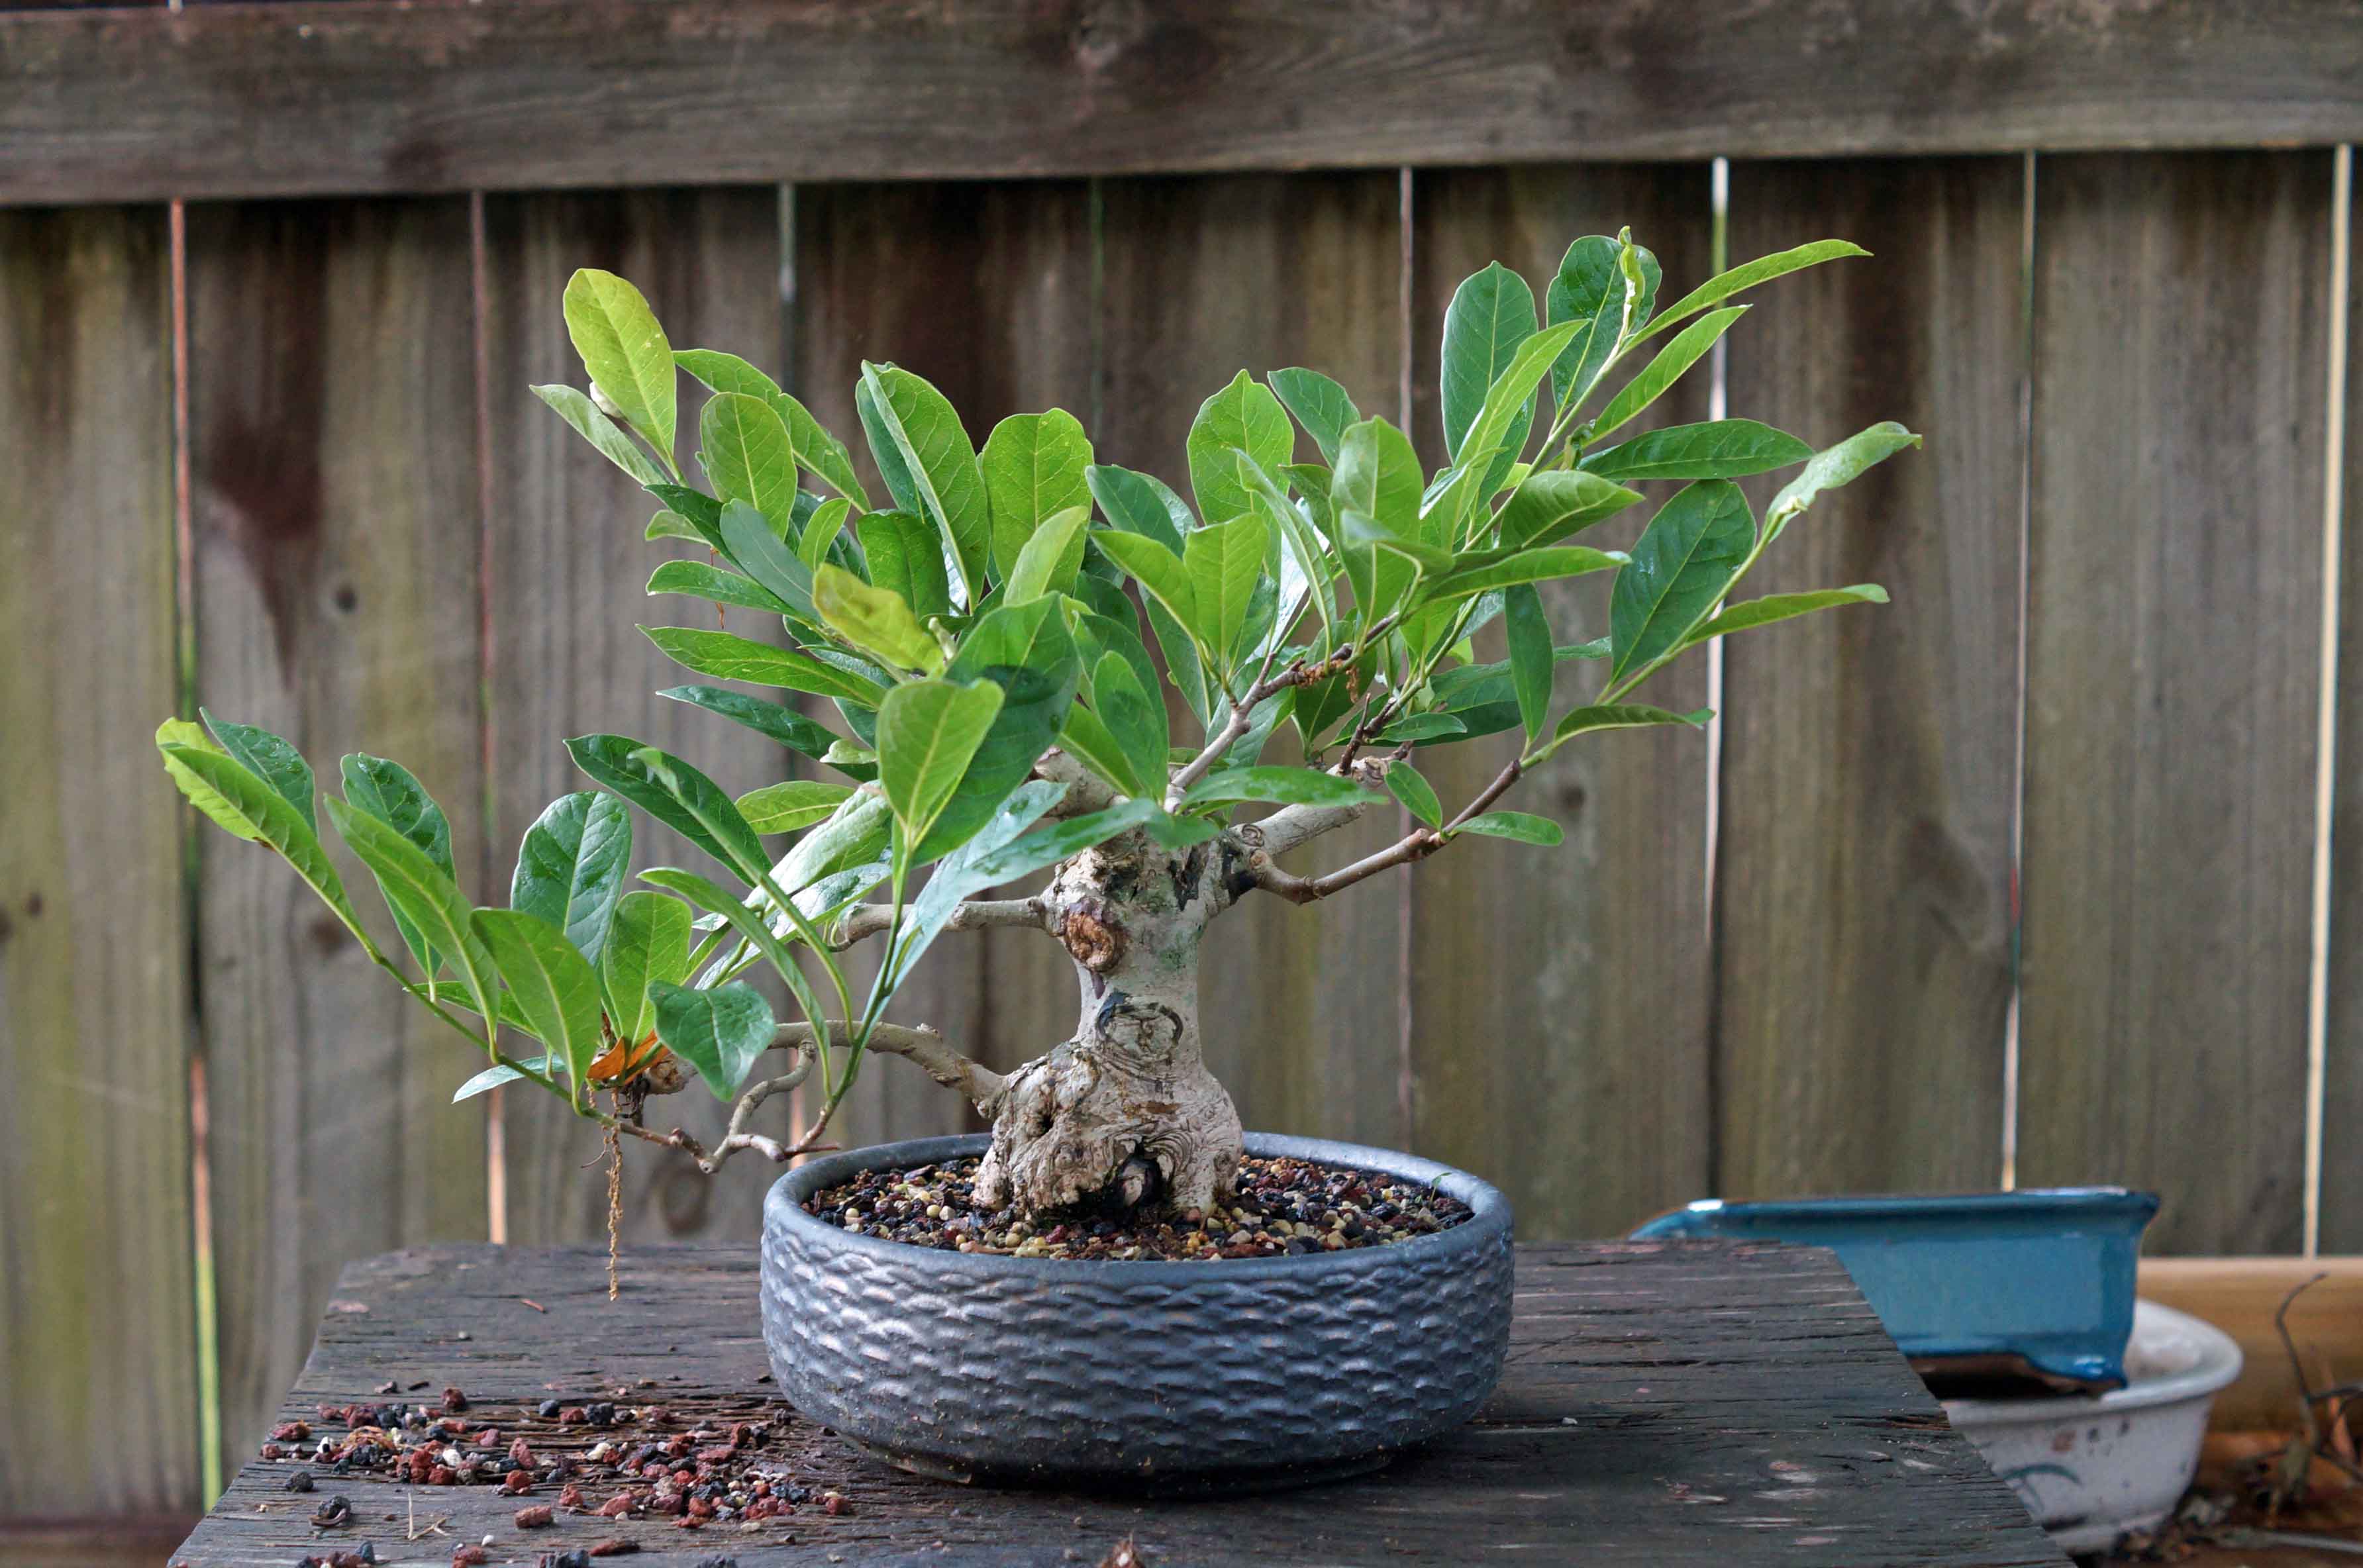
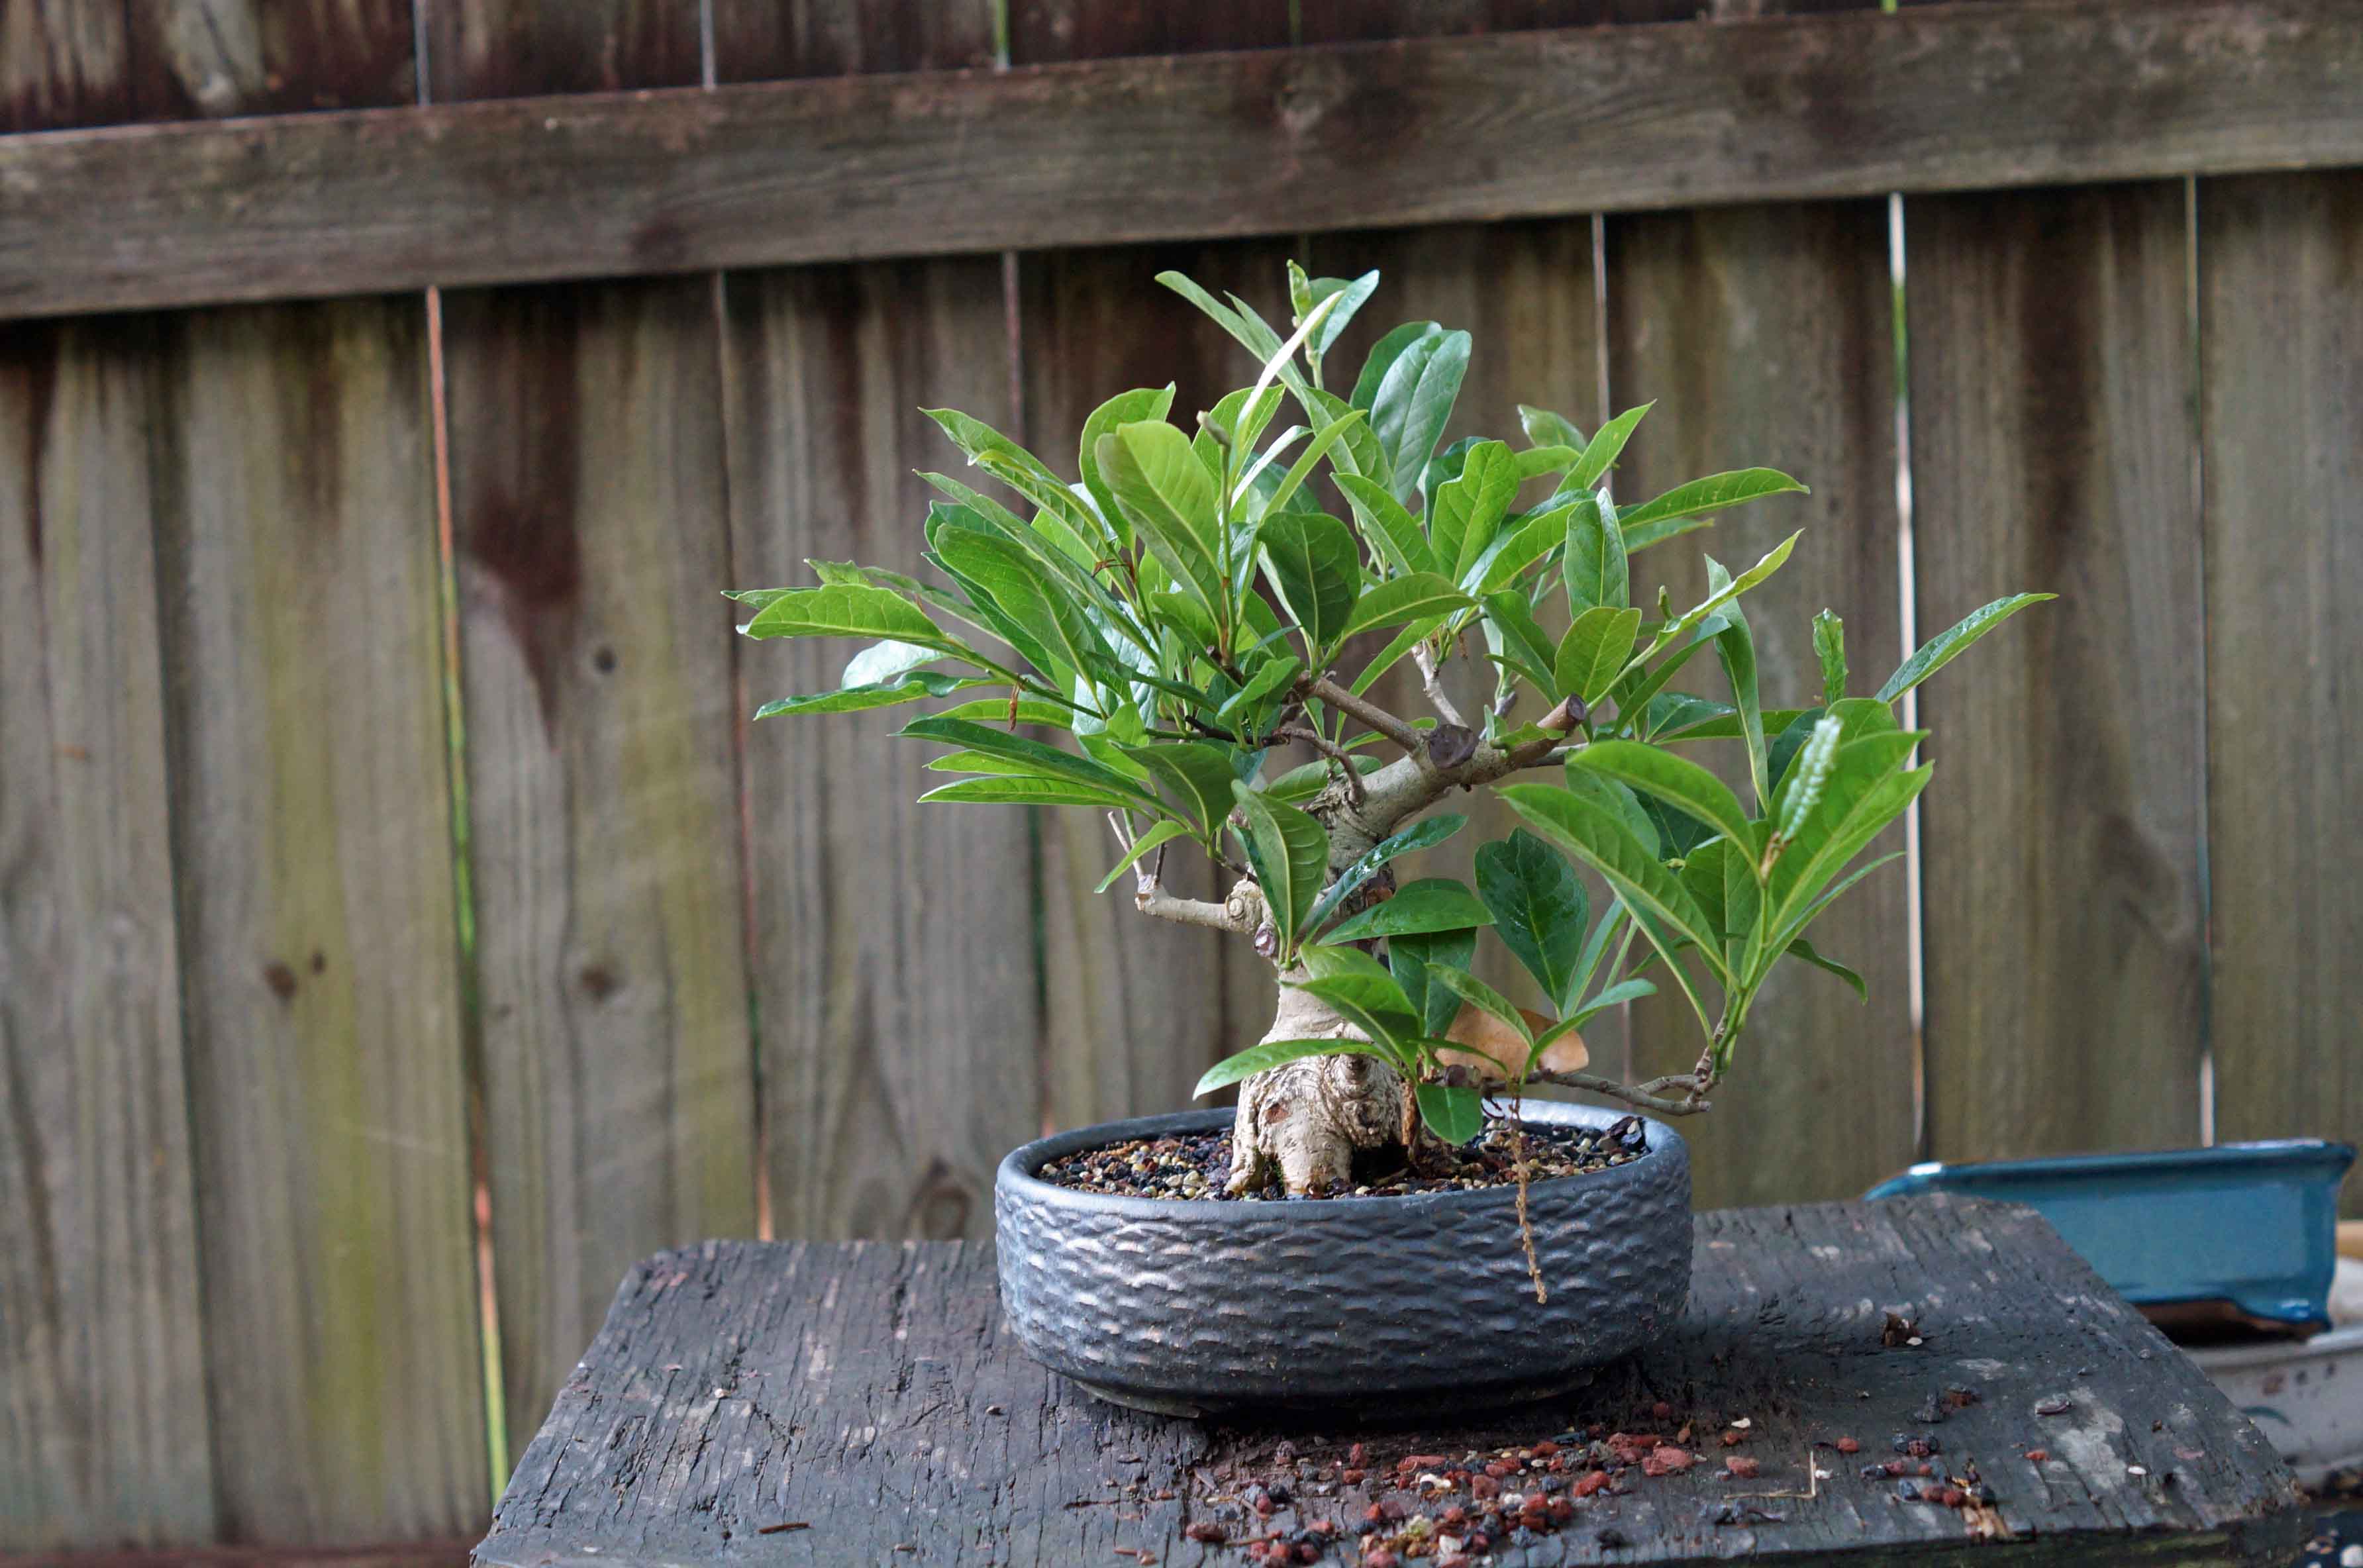
July 2018, I am finnaly getting some shorter internodes and it is starting to fill in nicely. I am keeping my fingers crossed for flowers in Spring.
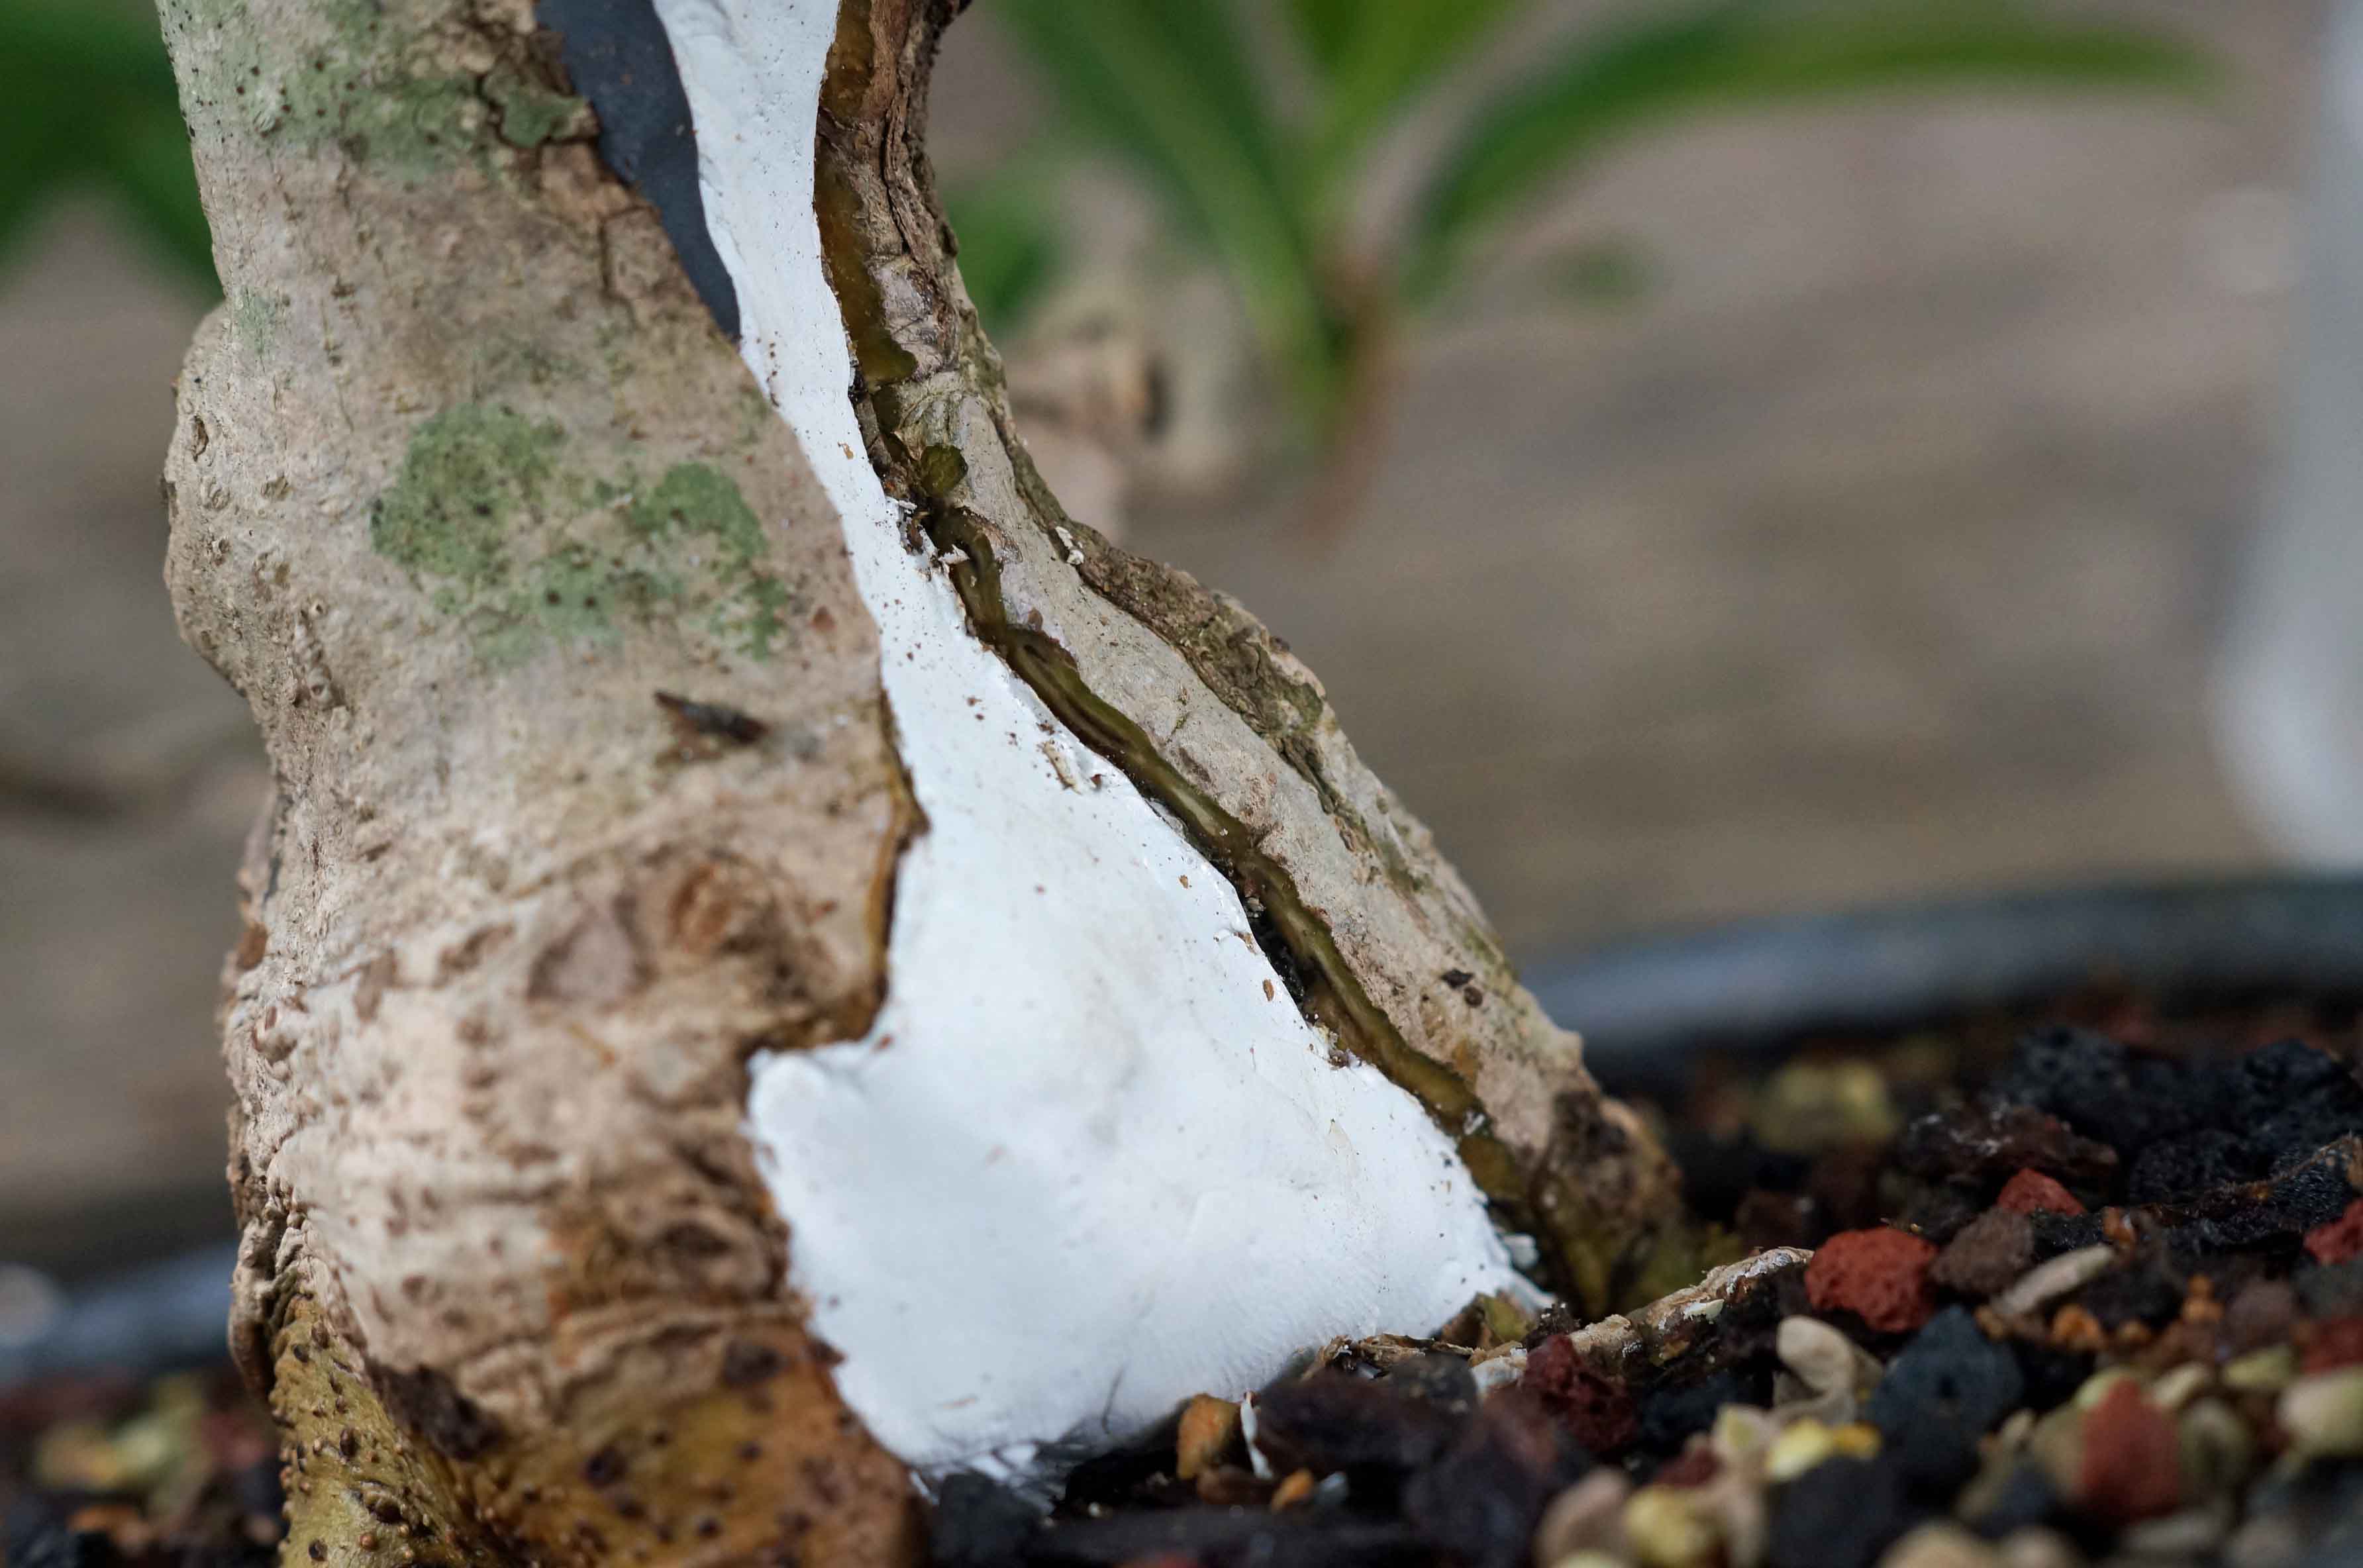
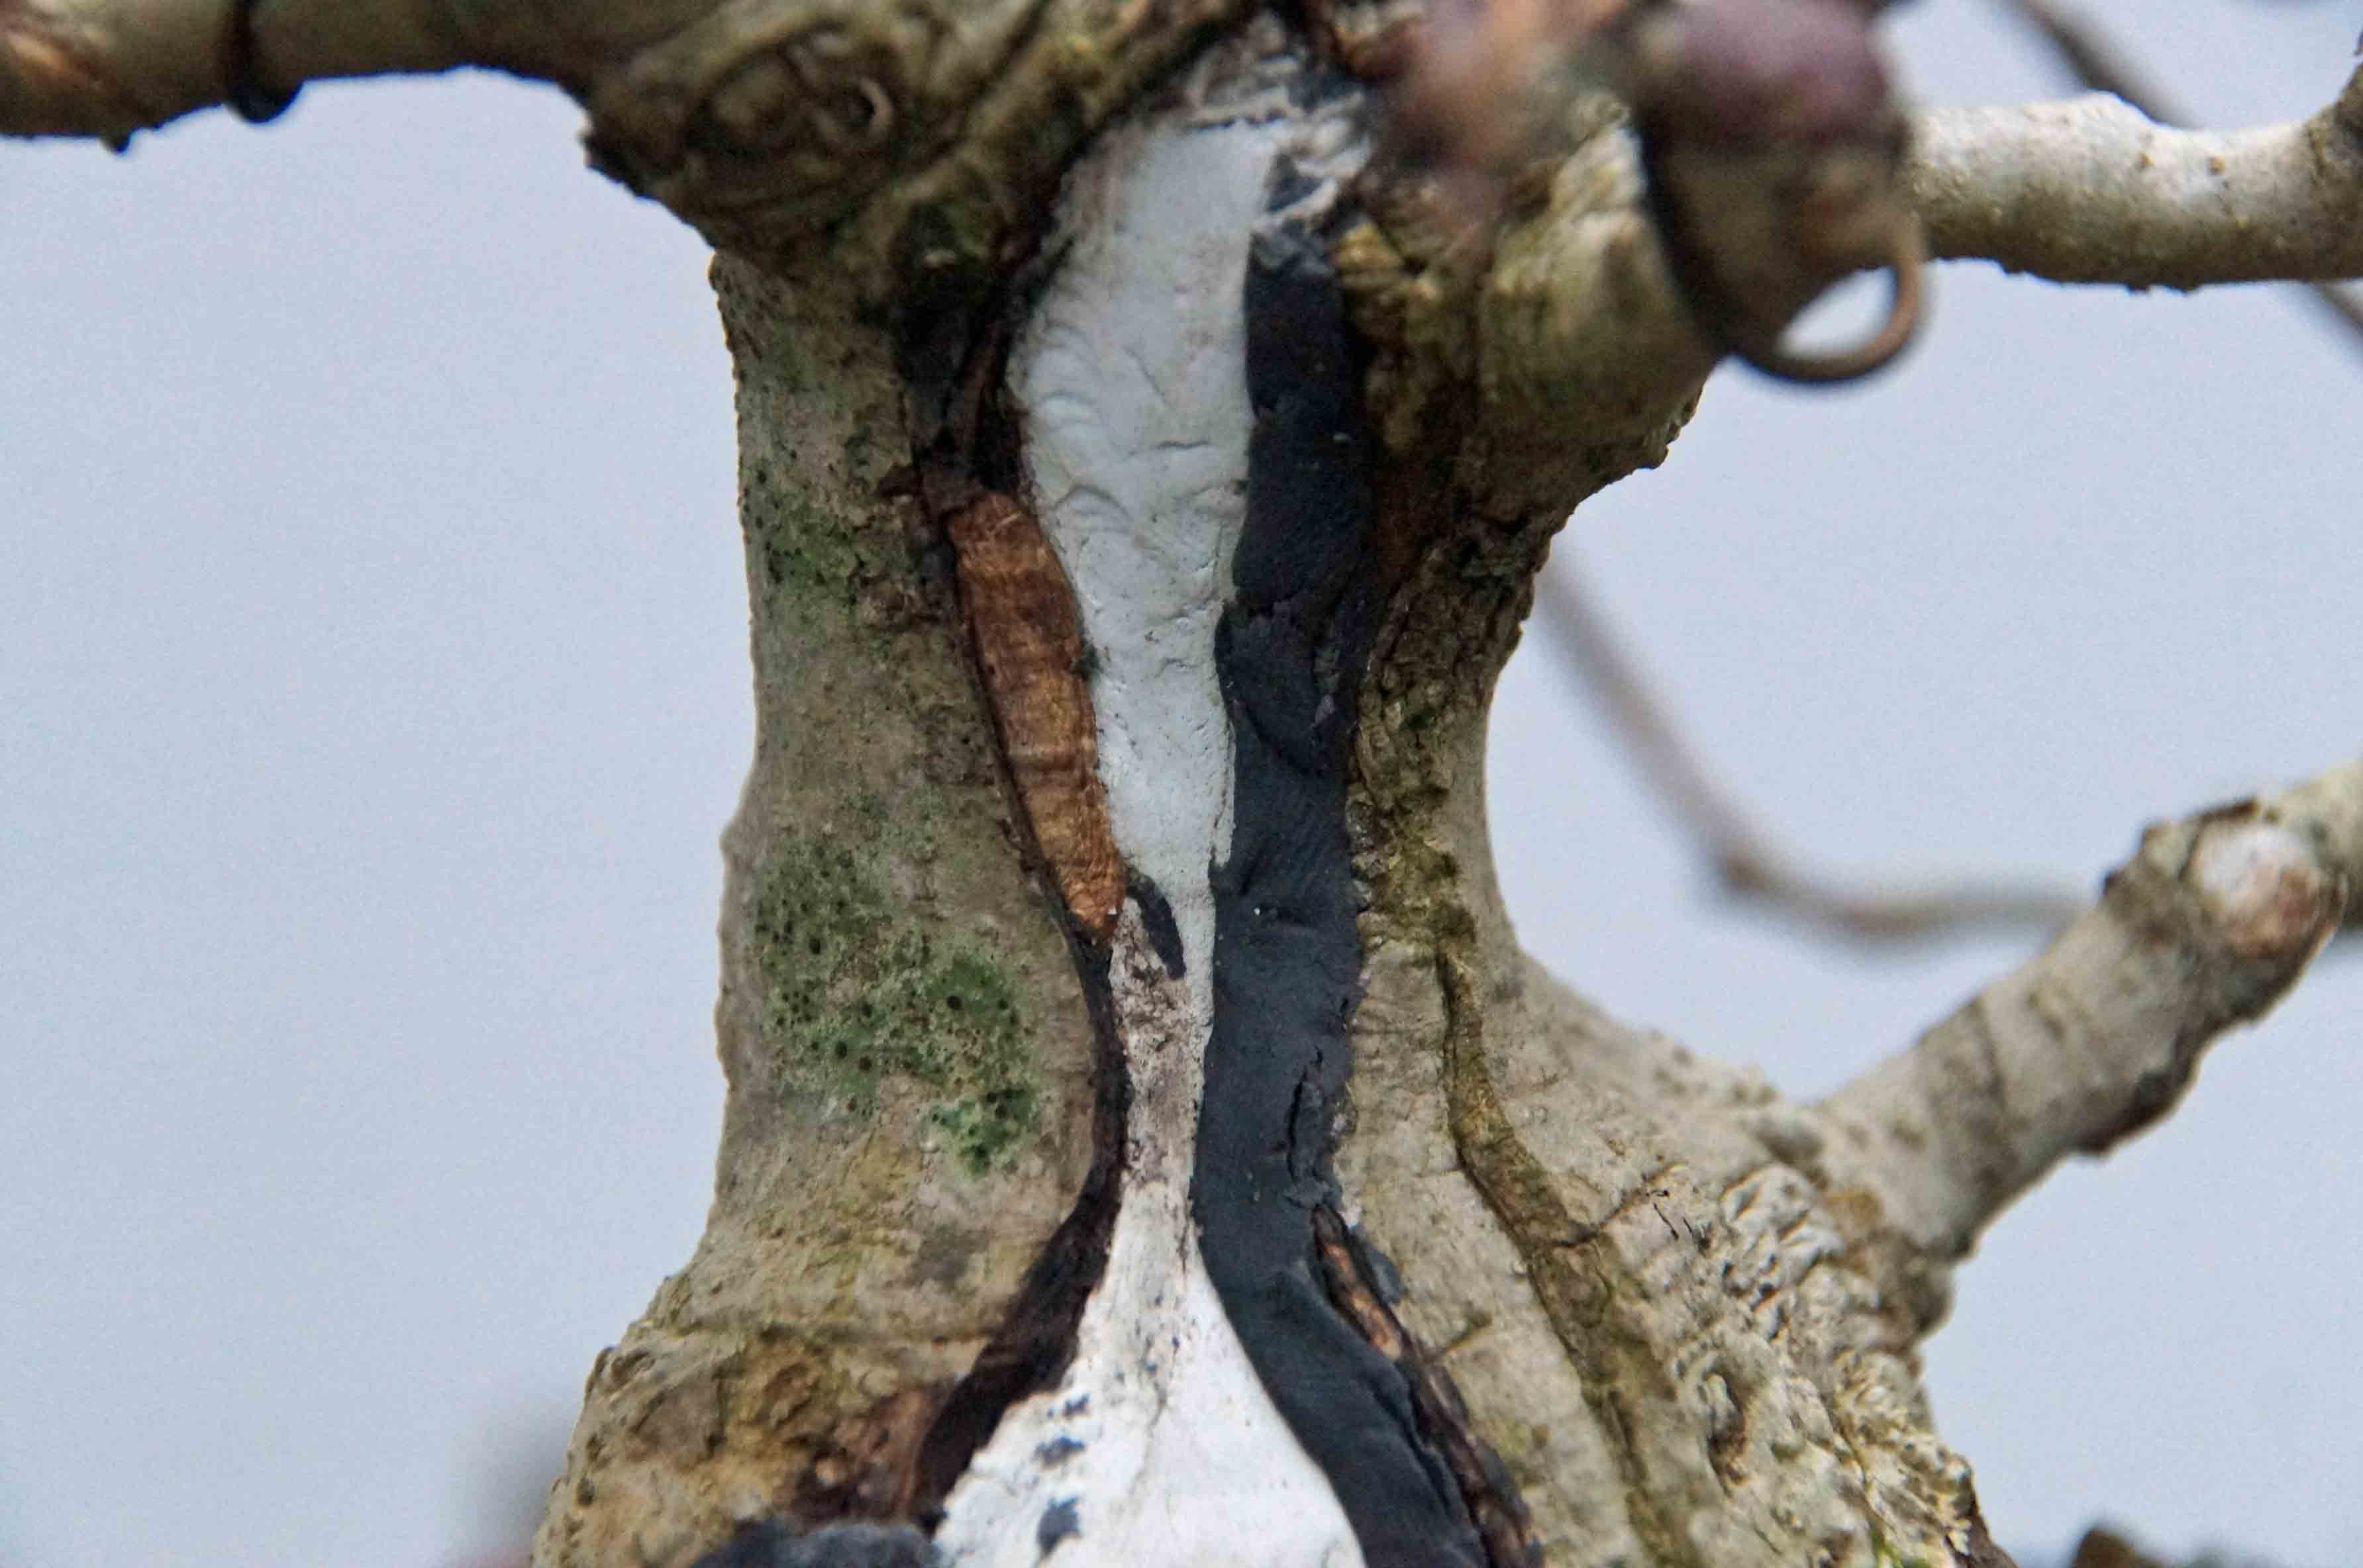
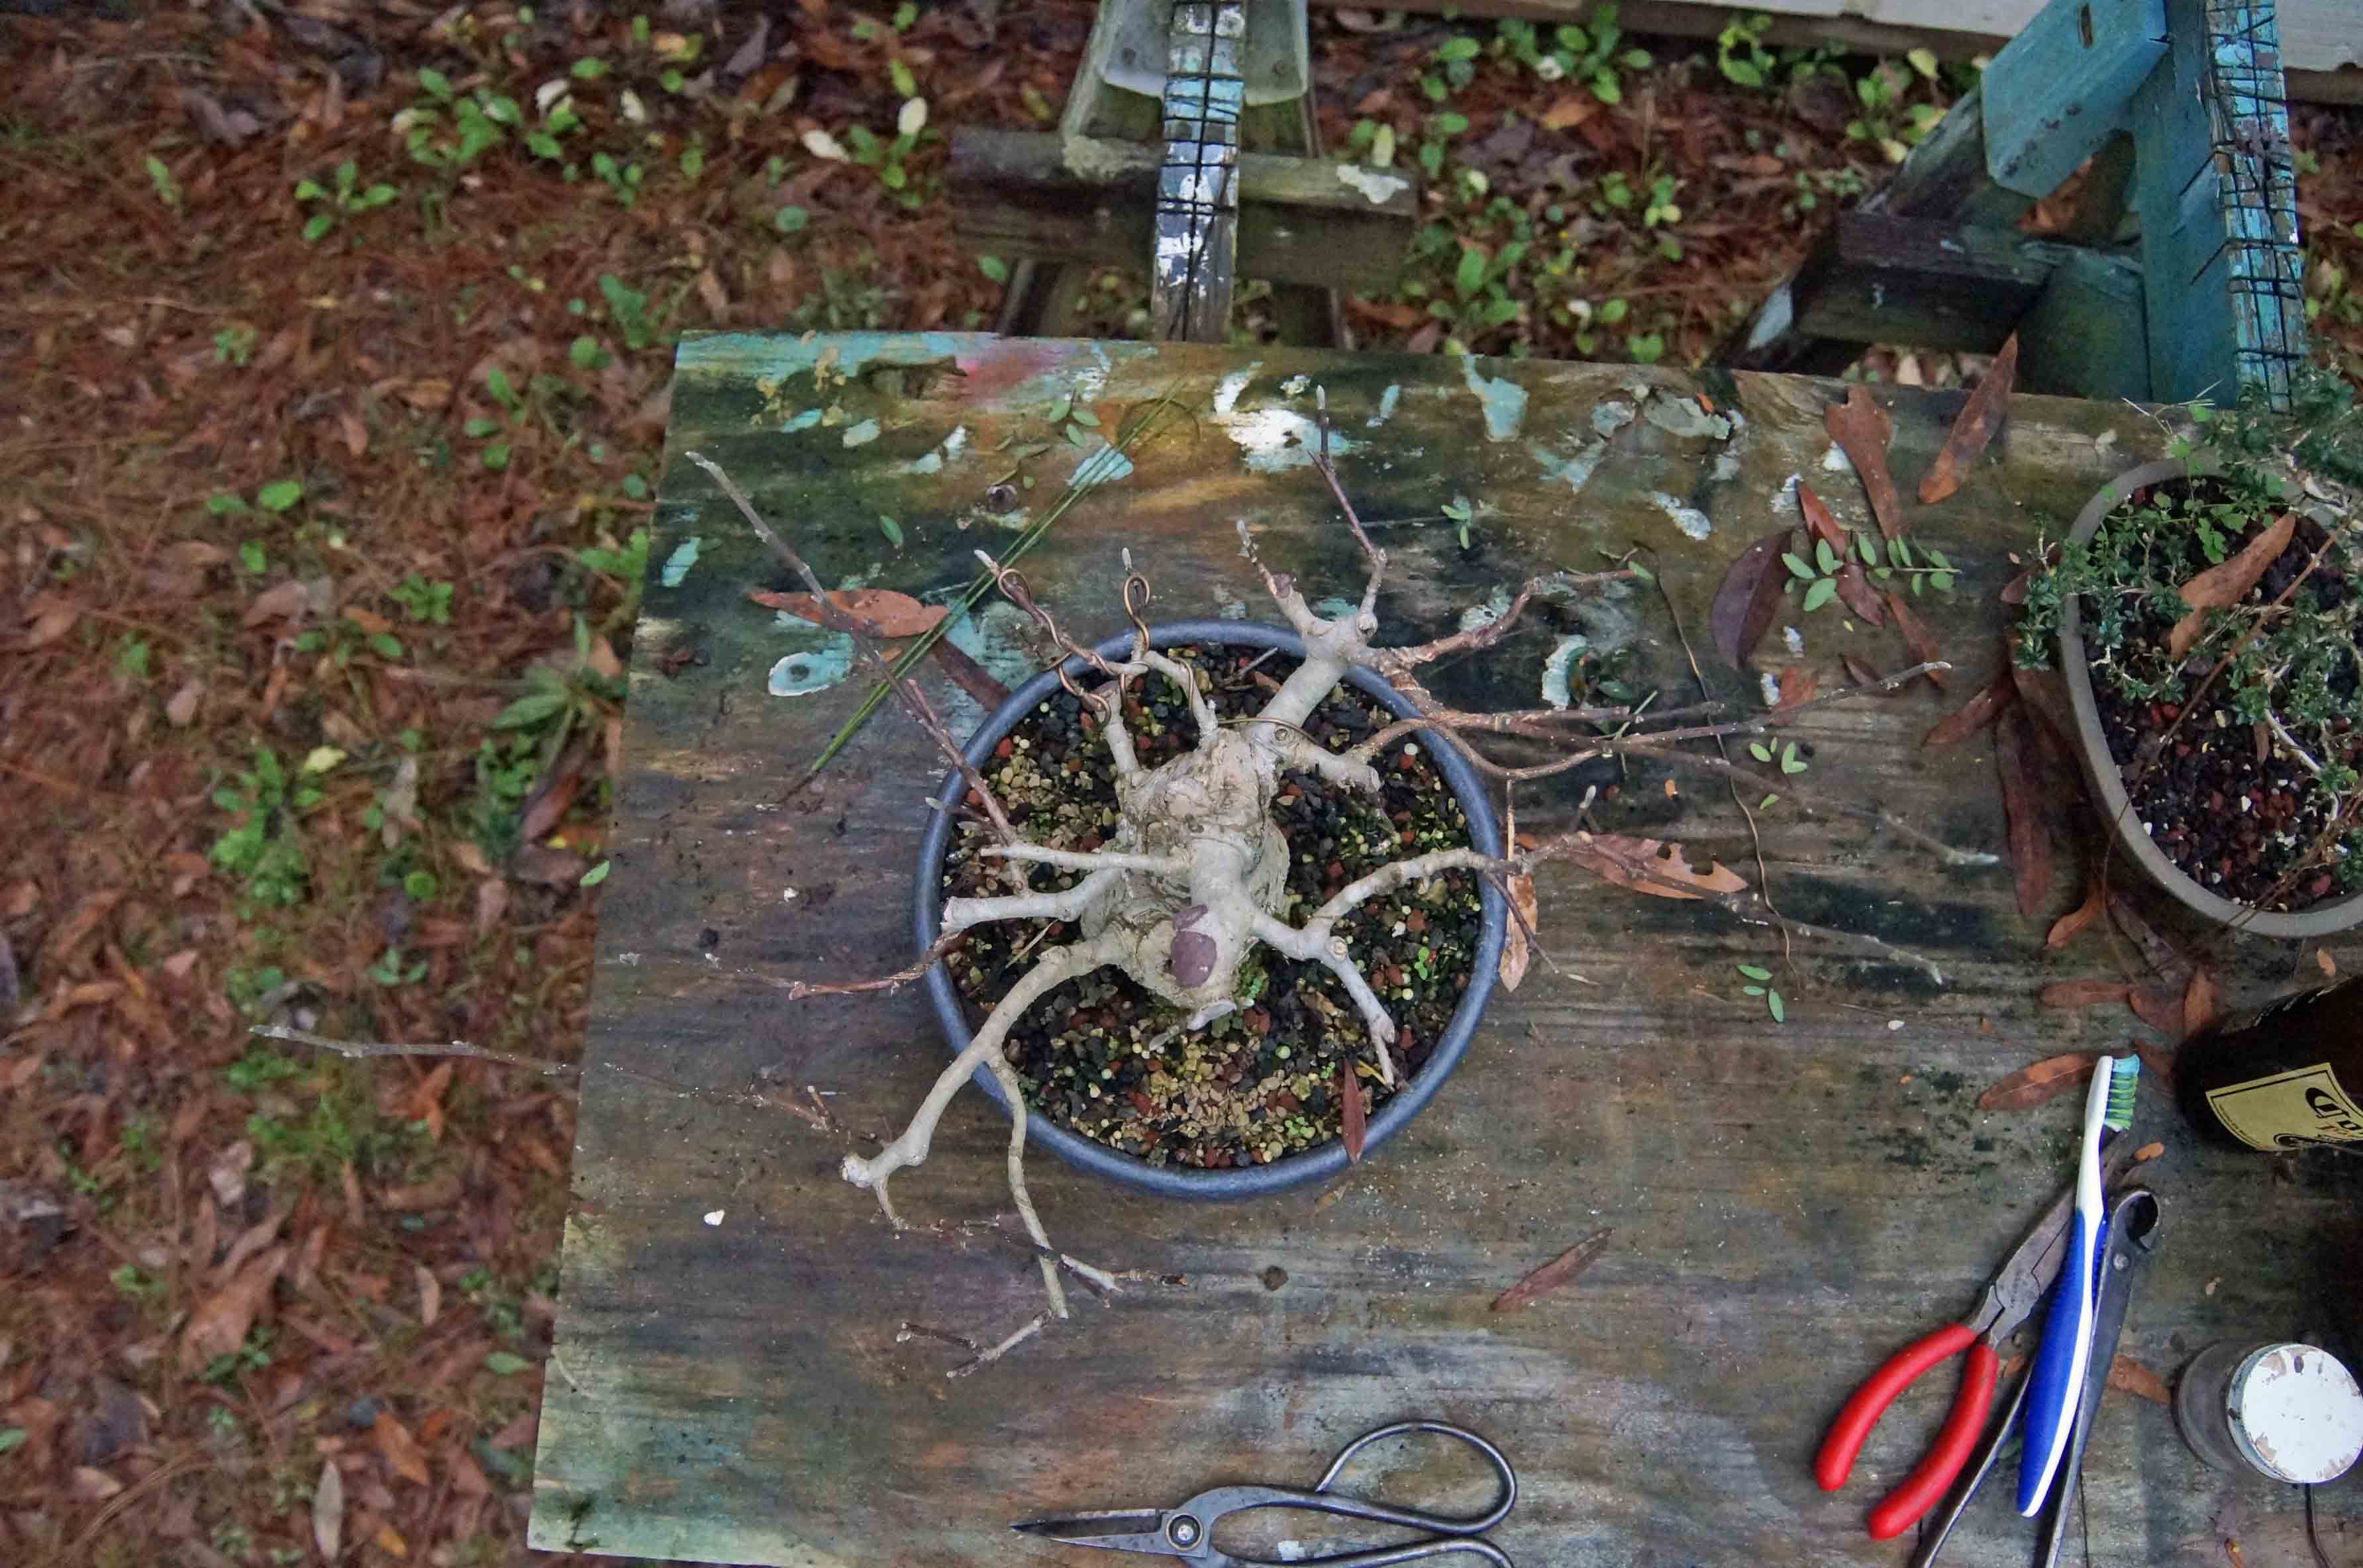
Here are a couple of shots of her naked; finally the leaves fell off. The winter of 2018/2019 was quite warm and as I type this, January 10, 2019, we have not had a night that has gotten to,or below, freezing. If you look at the pictures you can see that the cambrium has already started to roll over the epoxy that I used to repair the trunk. Some of the branches are quite long and will be trimmed back in the spring, in case I have some flowers, I don't want to cut them off.
More to Come...

