


The following work was done in February of this year (2017). I wanted to use this repot as an example of the root and tree growth that can be achieved by submerging your bald cypress trees in a tub of water Spring through Fall. If you would like to read more about submersion, read this article.
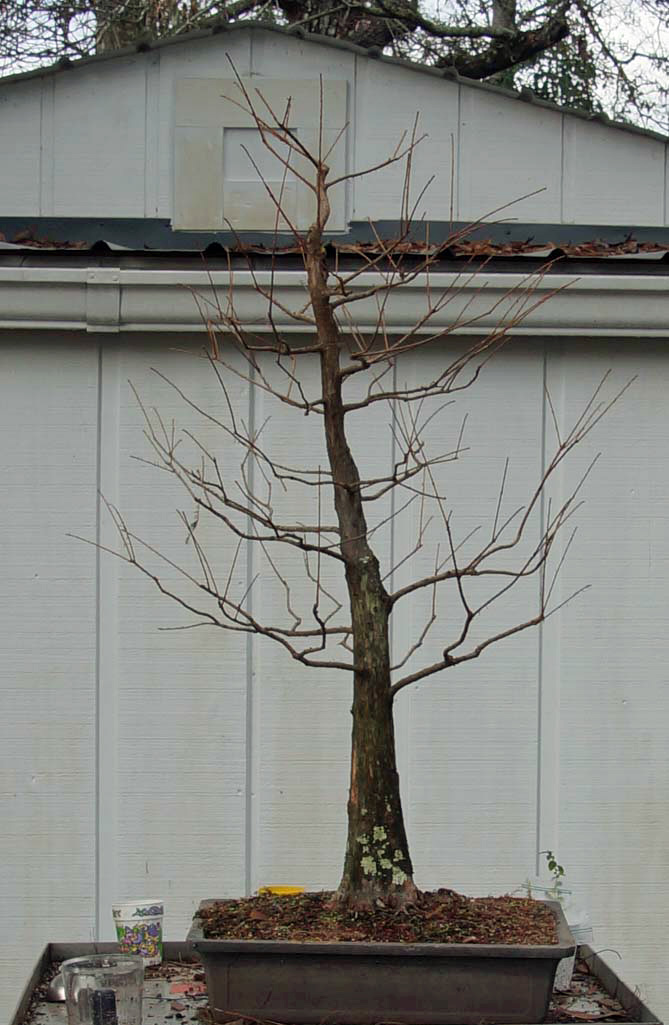
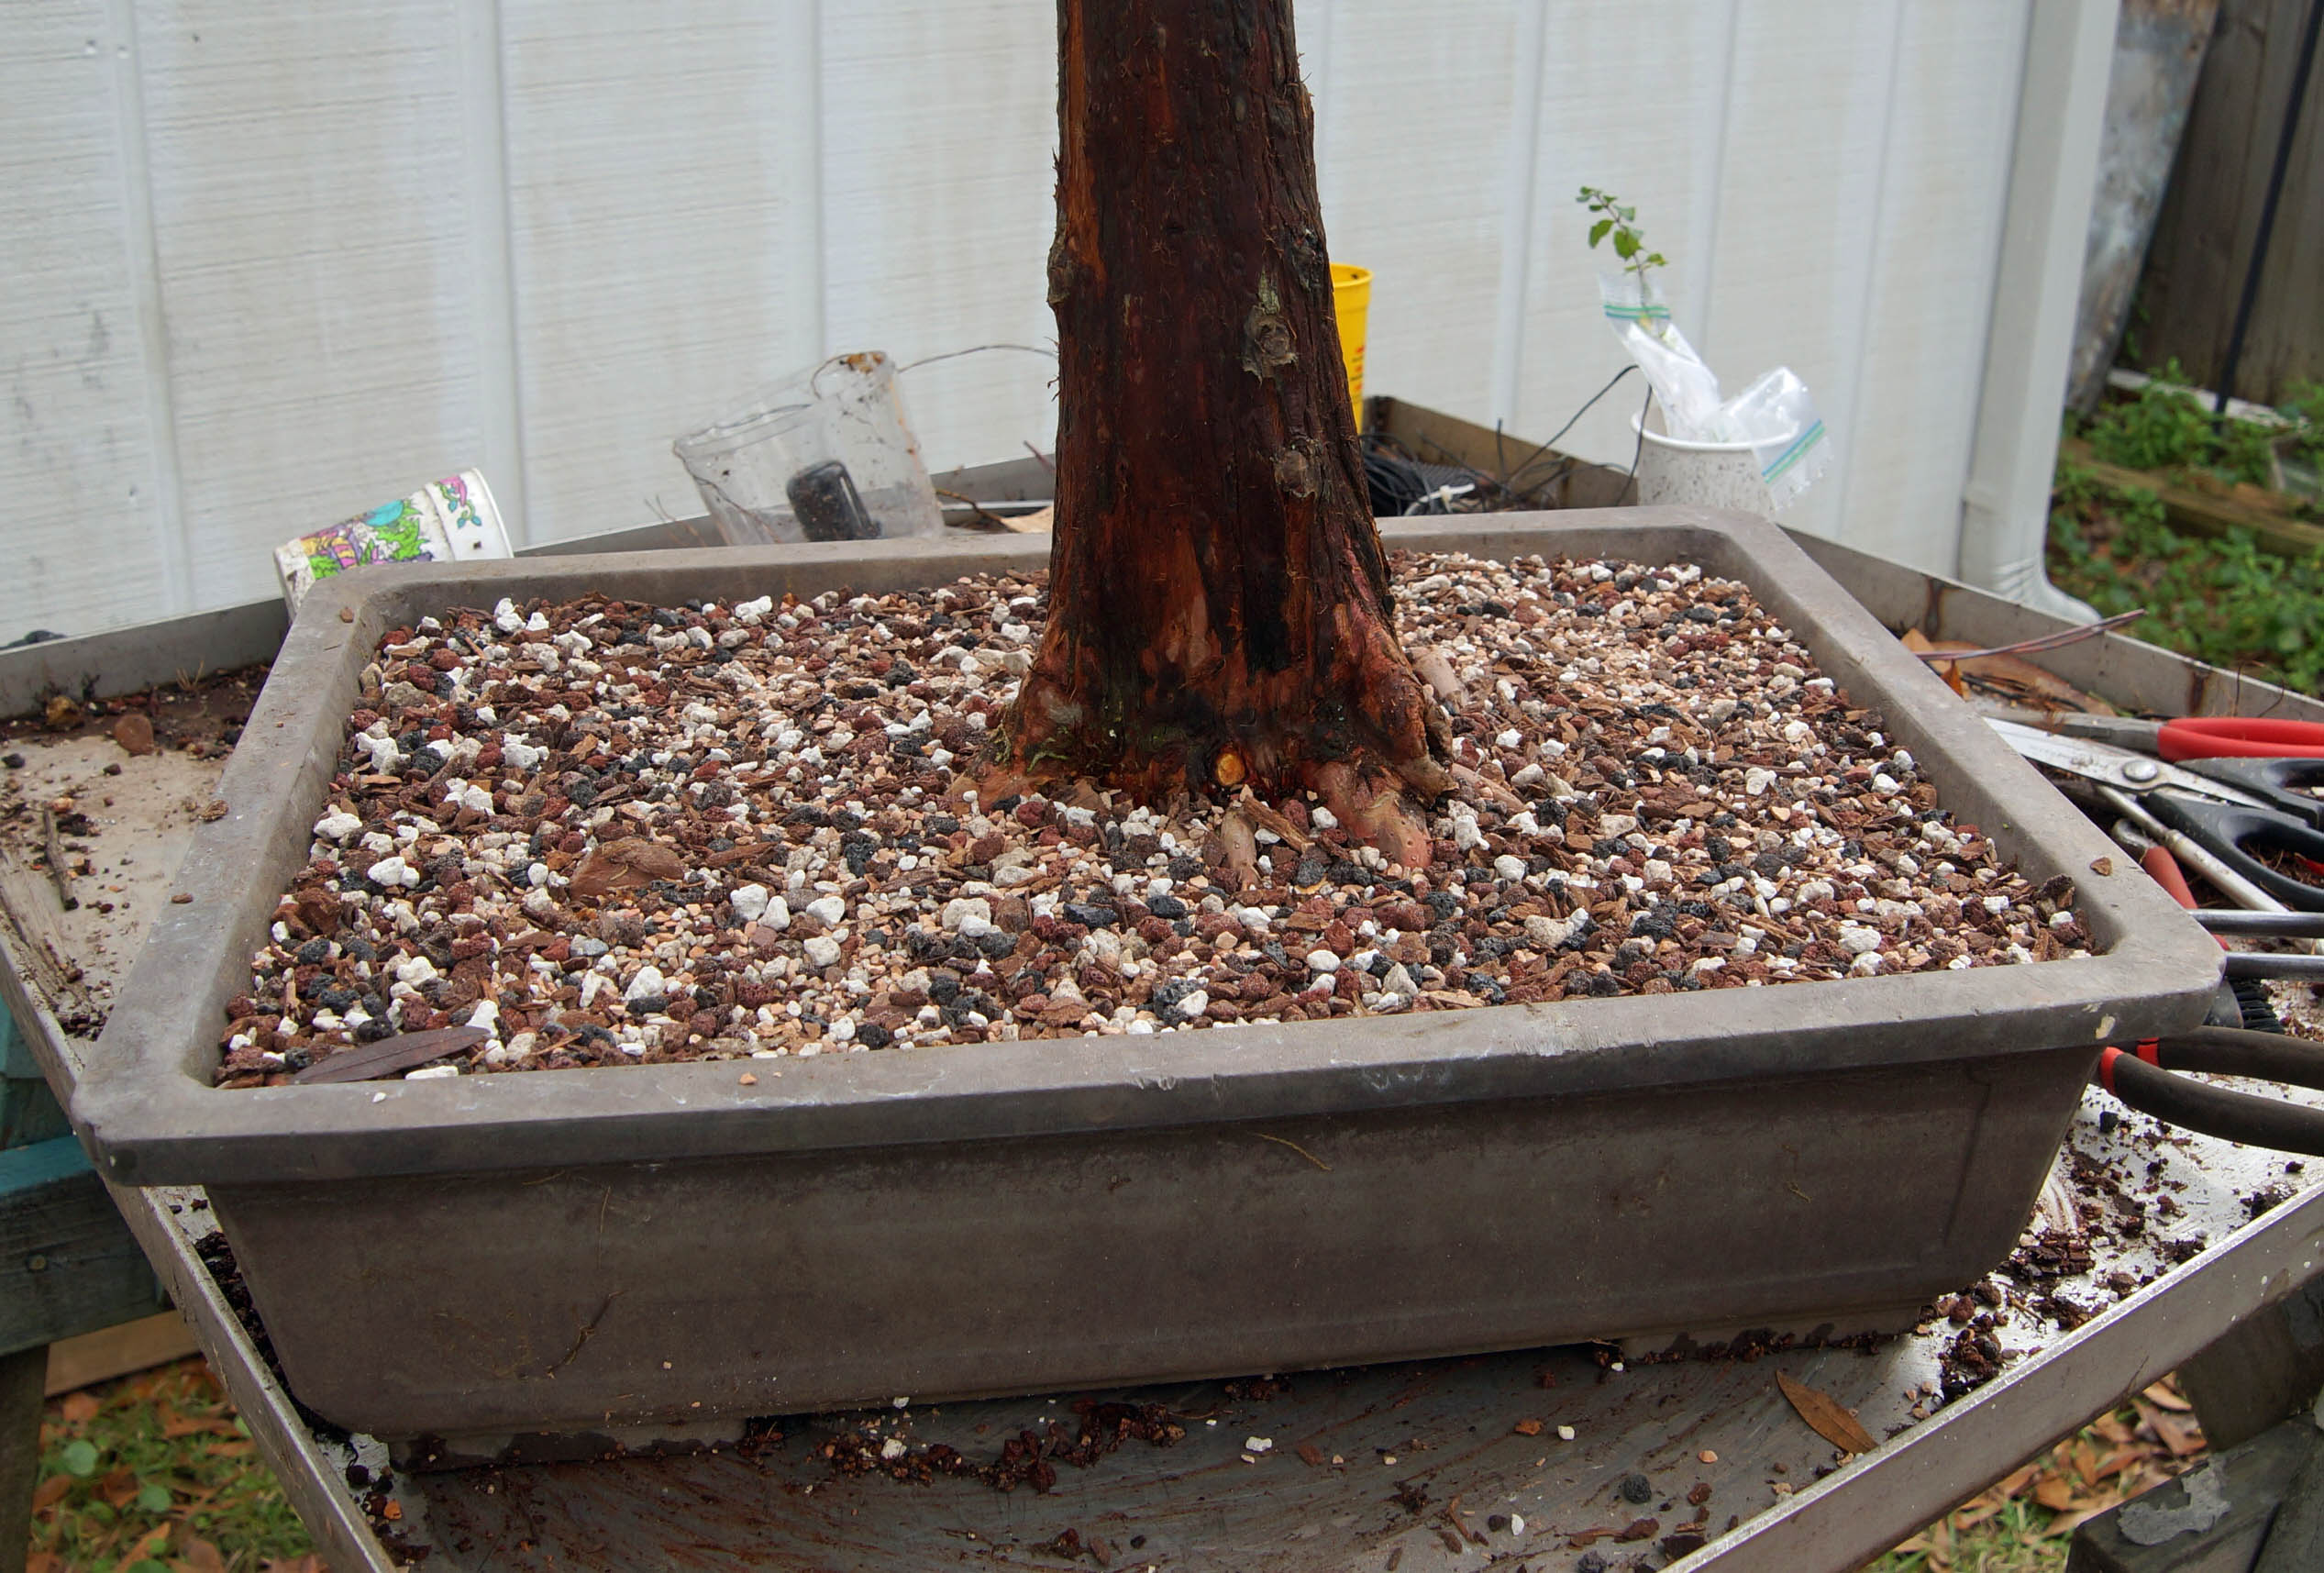
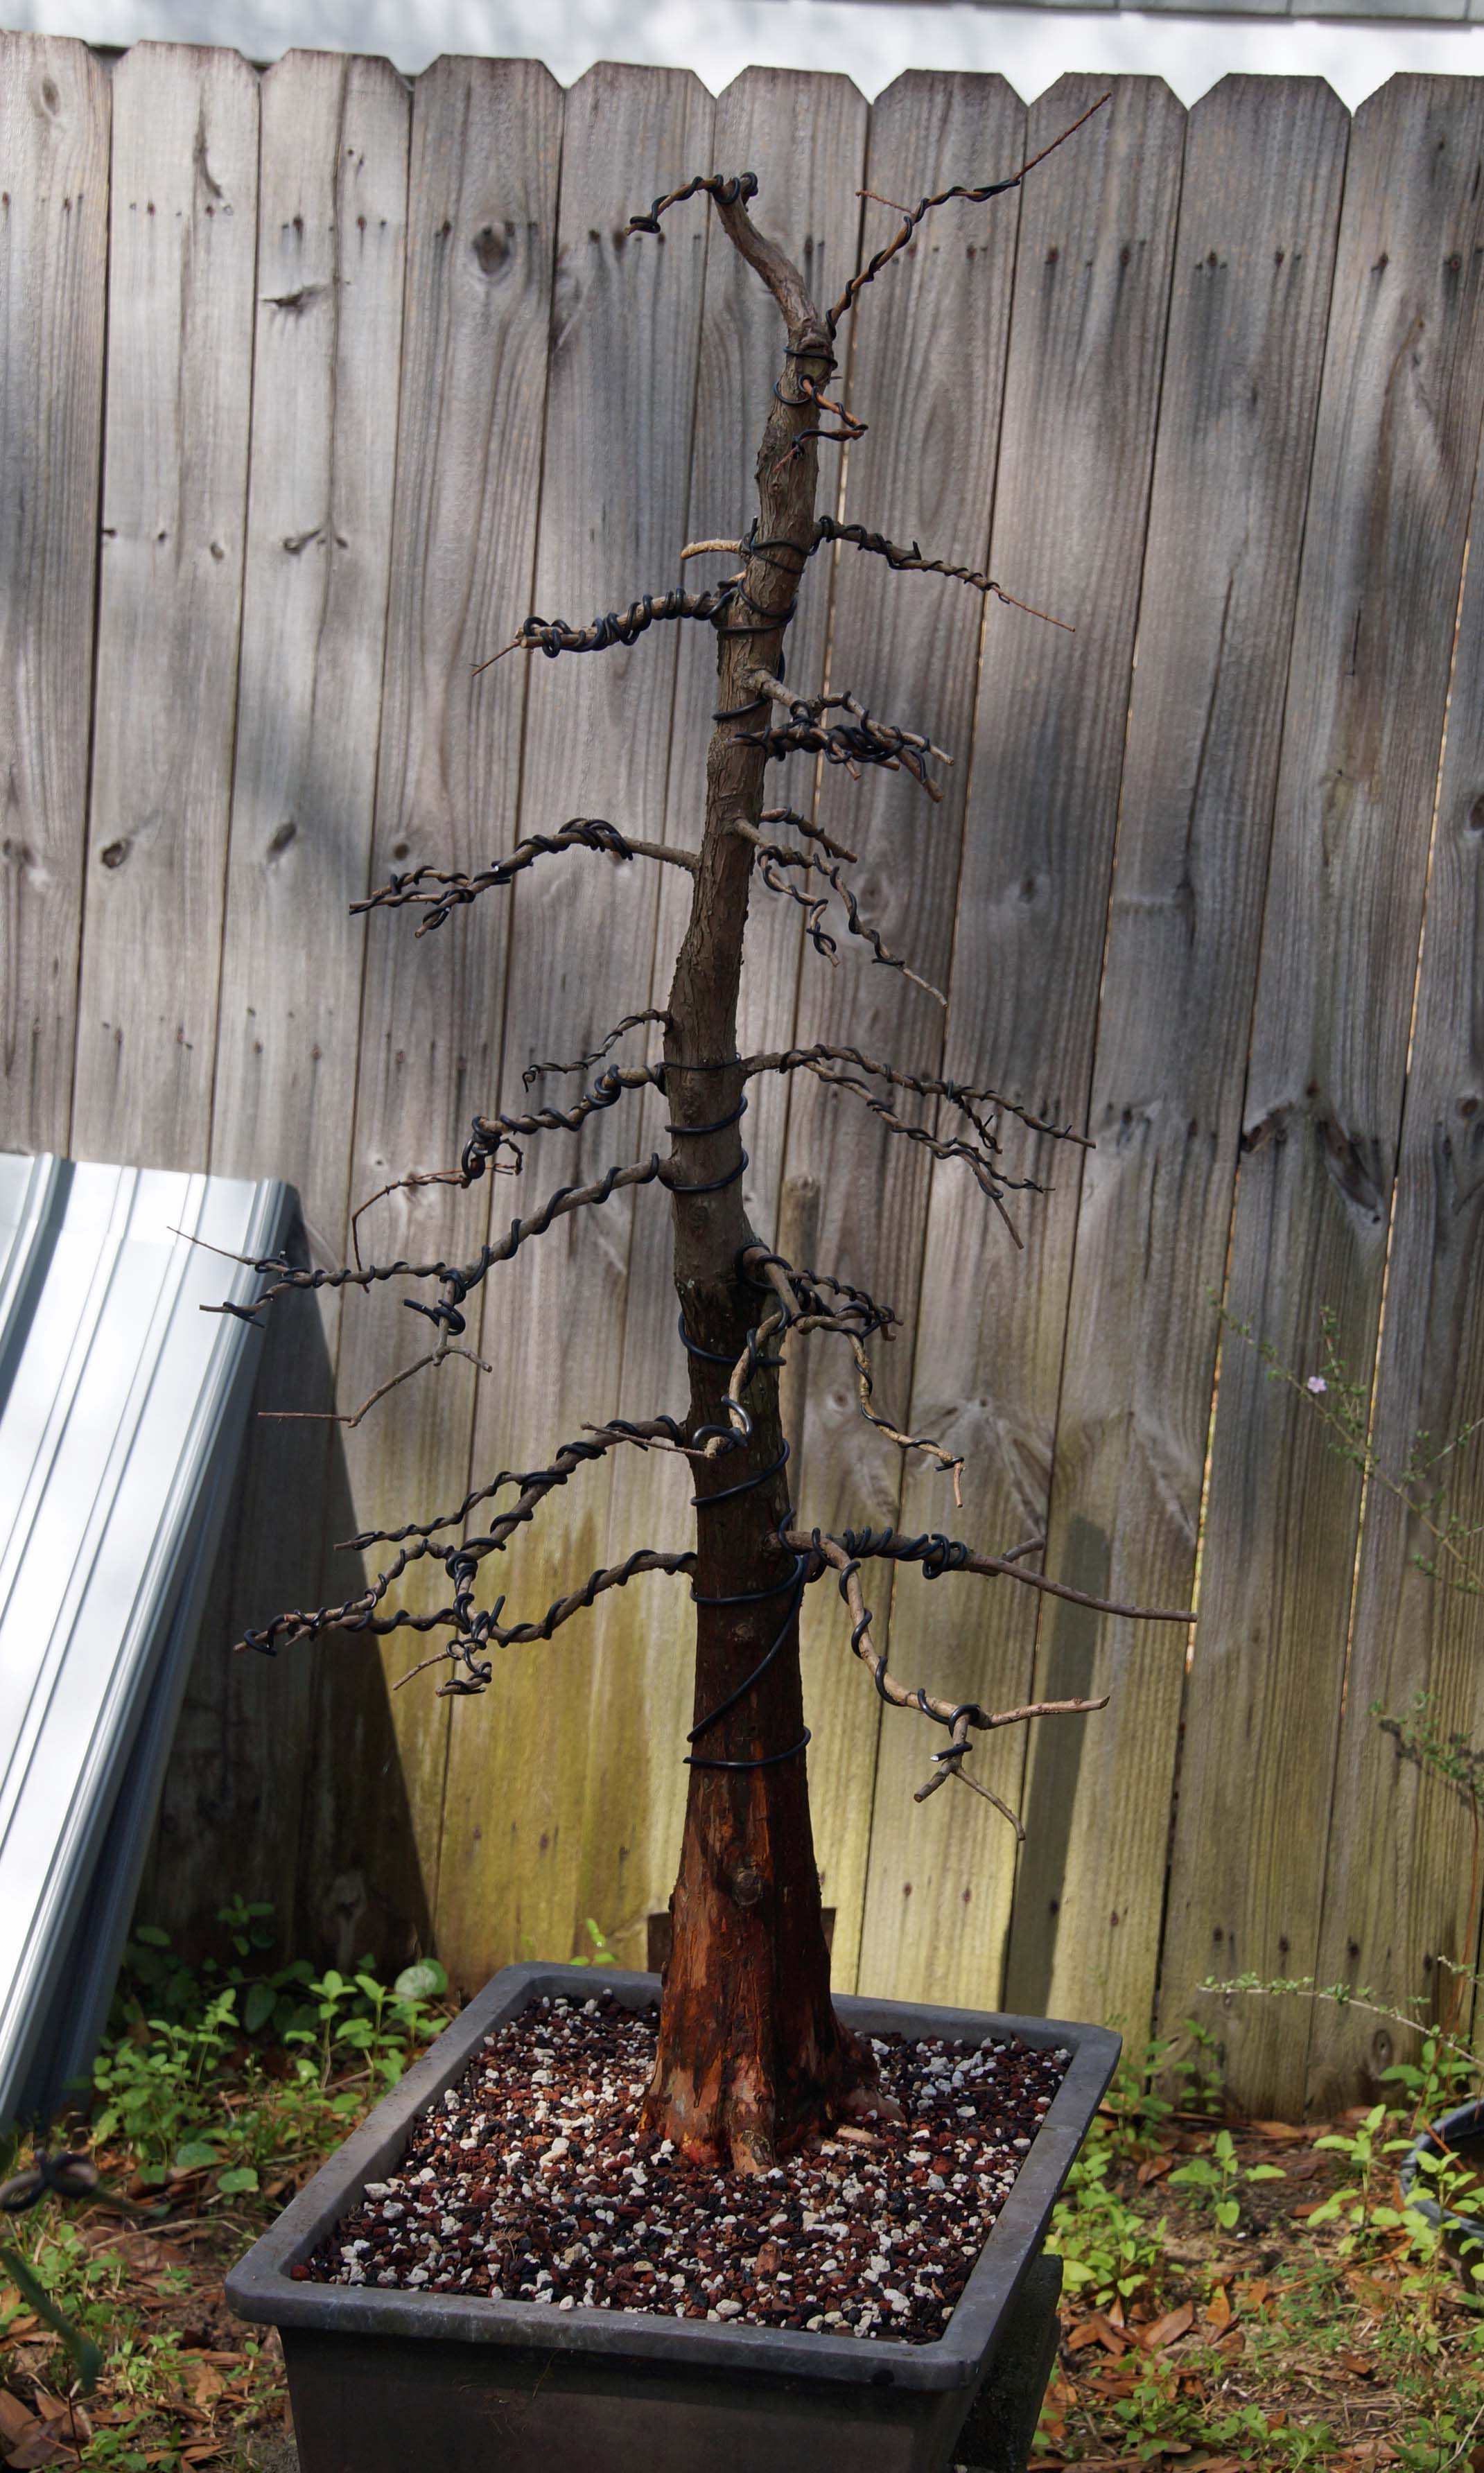
In the Heart of Dixie, most of our repotting is done in late February/ early March. Our winters are, for the most part, mild and usually in mid to late March things start waking up. Today’s candidate for repot is a bald cypress, the largest that I have; if you would like to see more of the tree you can check it out in this progression article. This is what it looked like before I started the repot.
In the Heart of Dixie, most of our repotting is done in late February/ early March. Our winters are, for the most part, mild and usually in mid to late March things start waking up. Today’s candidate for repot is a bald cypress, the largest that I have; if you would like to see more of the tree you can check it out in this progression article. This is what it looked like before I started the repot.
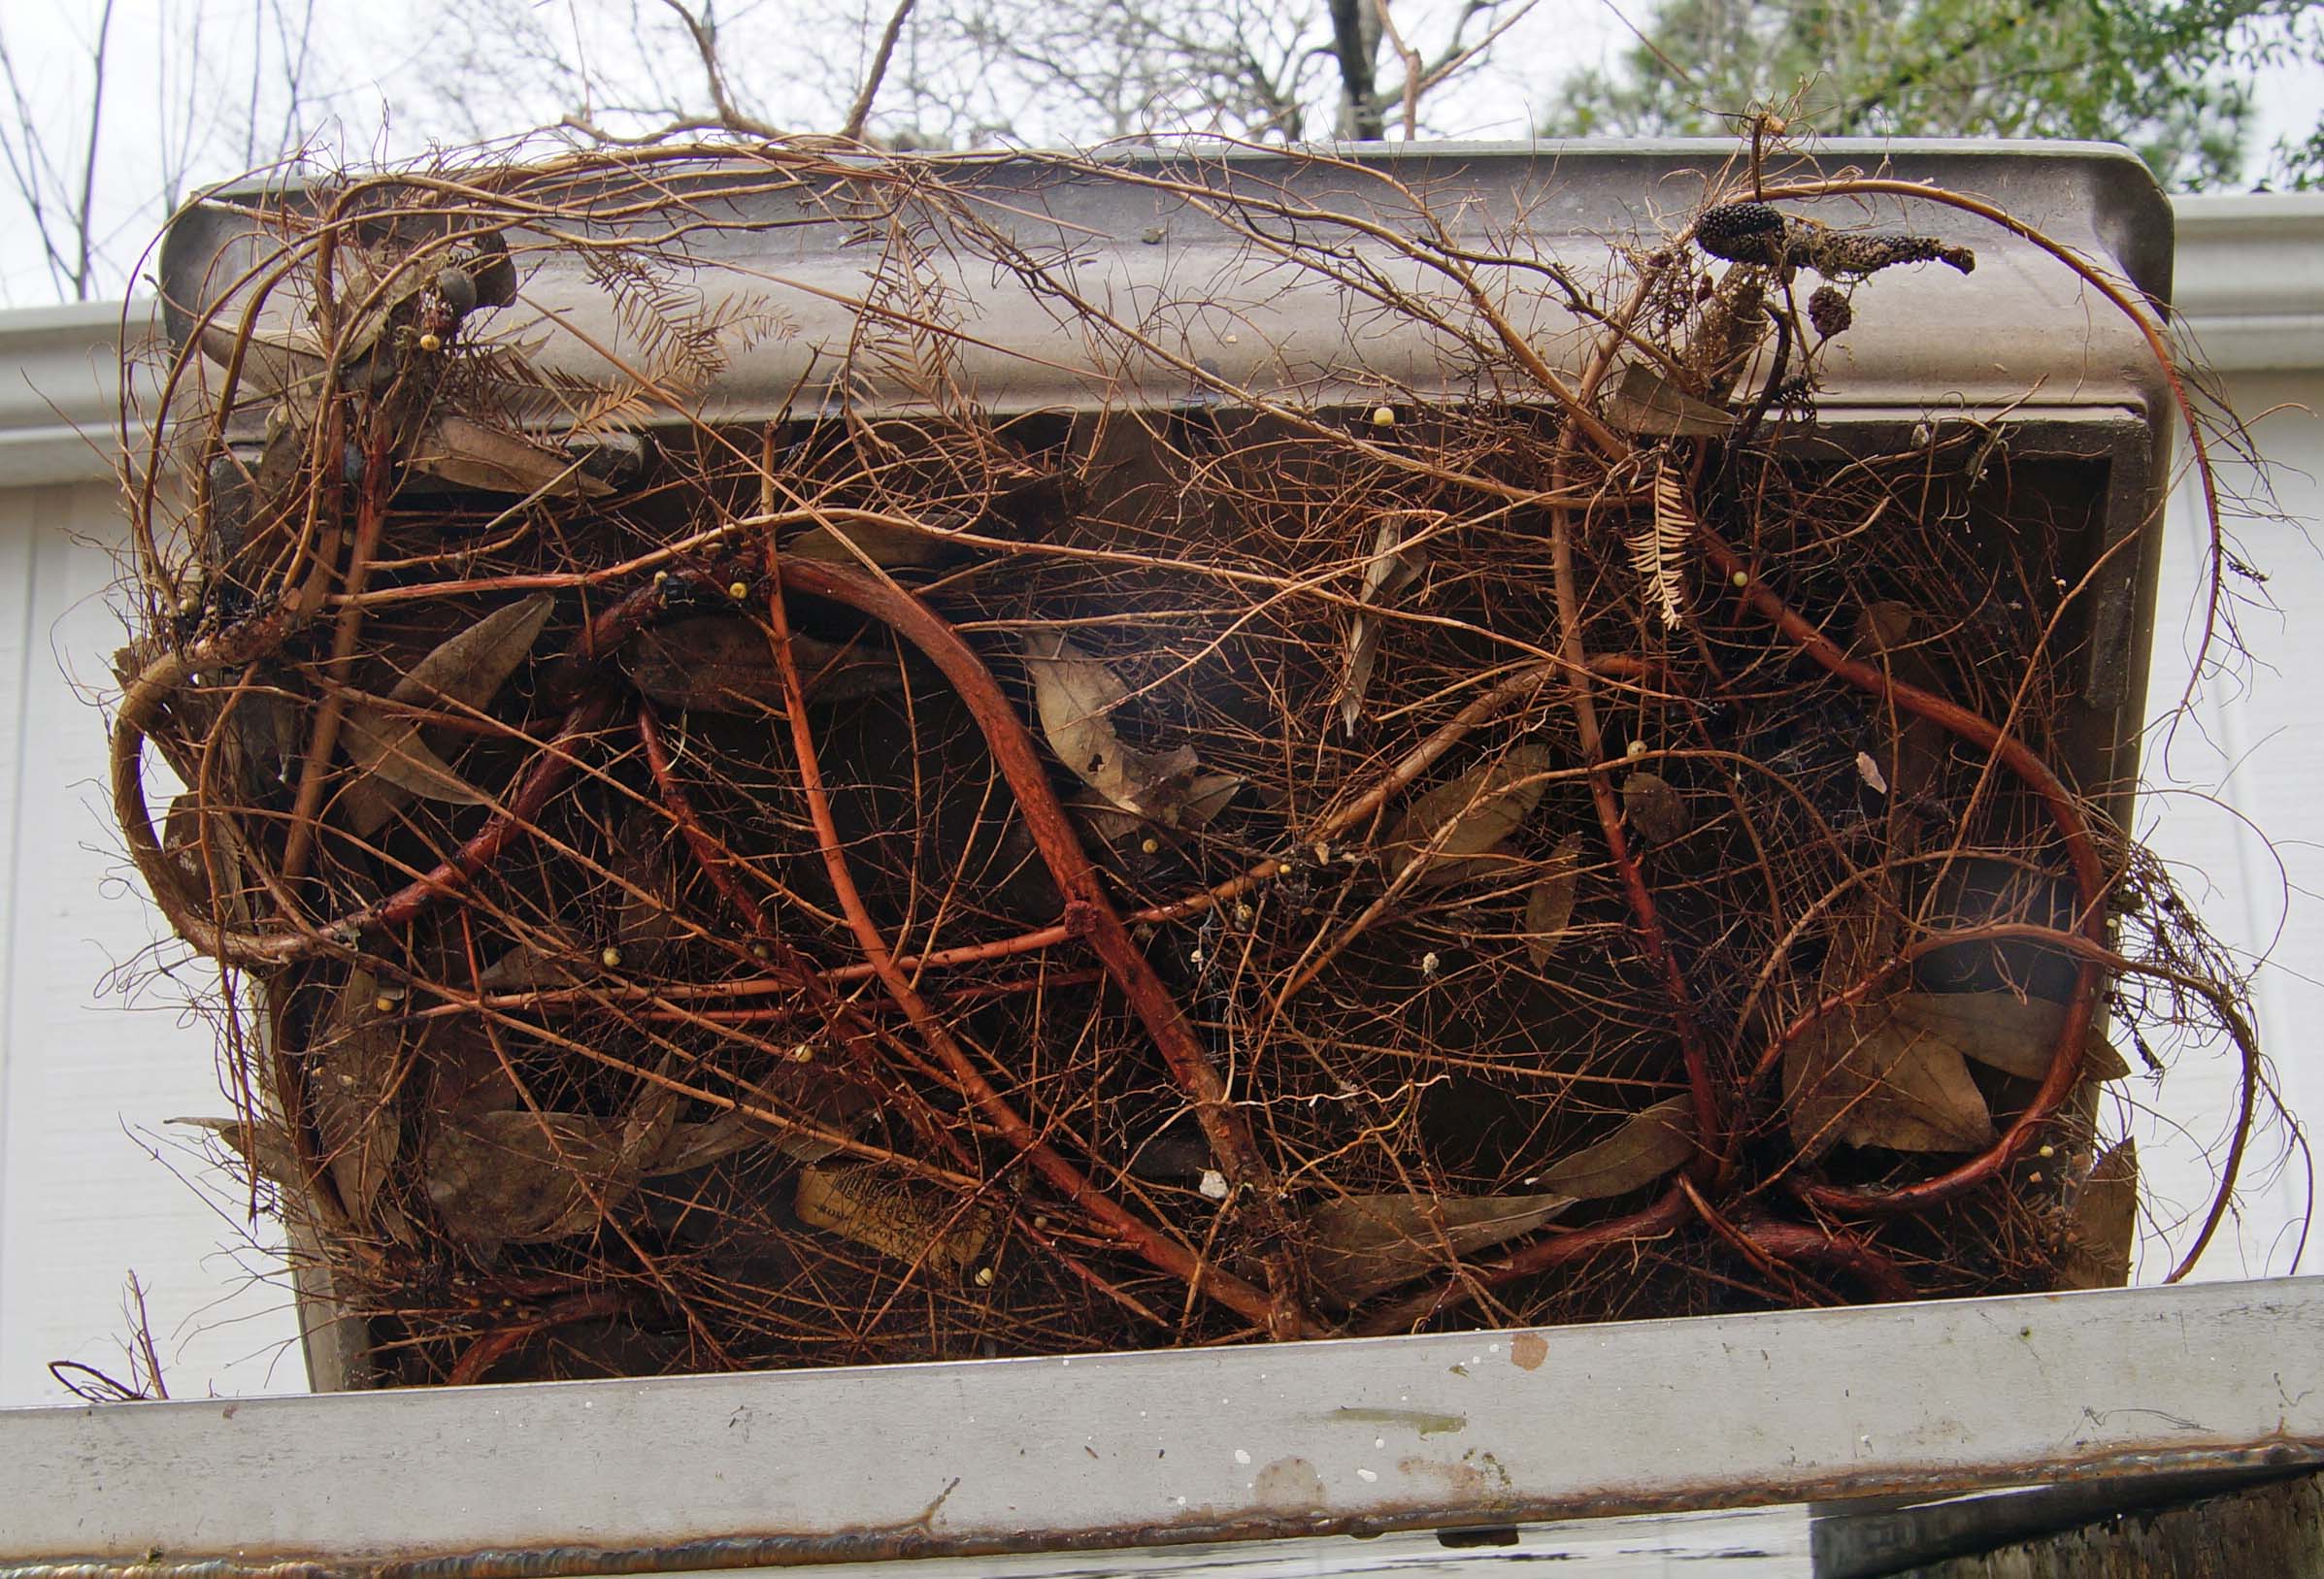
Looking under the pot to cut the wires that are holding the tree inside it, you can see the huge amount of root growth out of the drain holes. I keep this tree and all of my other Bald Cypress submerged in a tub of water during the warm months (March through October) and I always get this kind of root growth every year. I know that submersion is a controversial topic, but it works, you should give it a try.

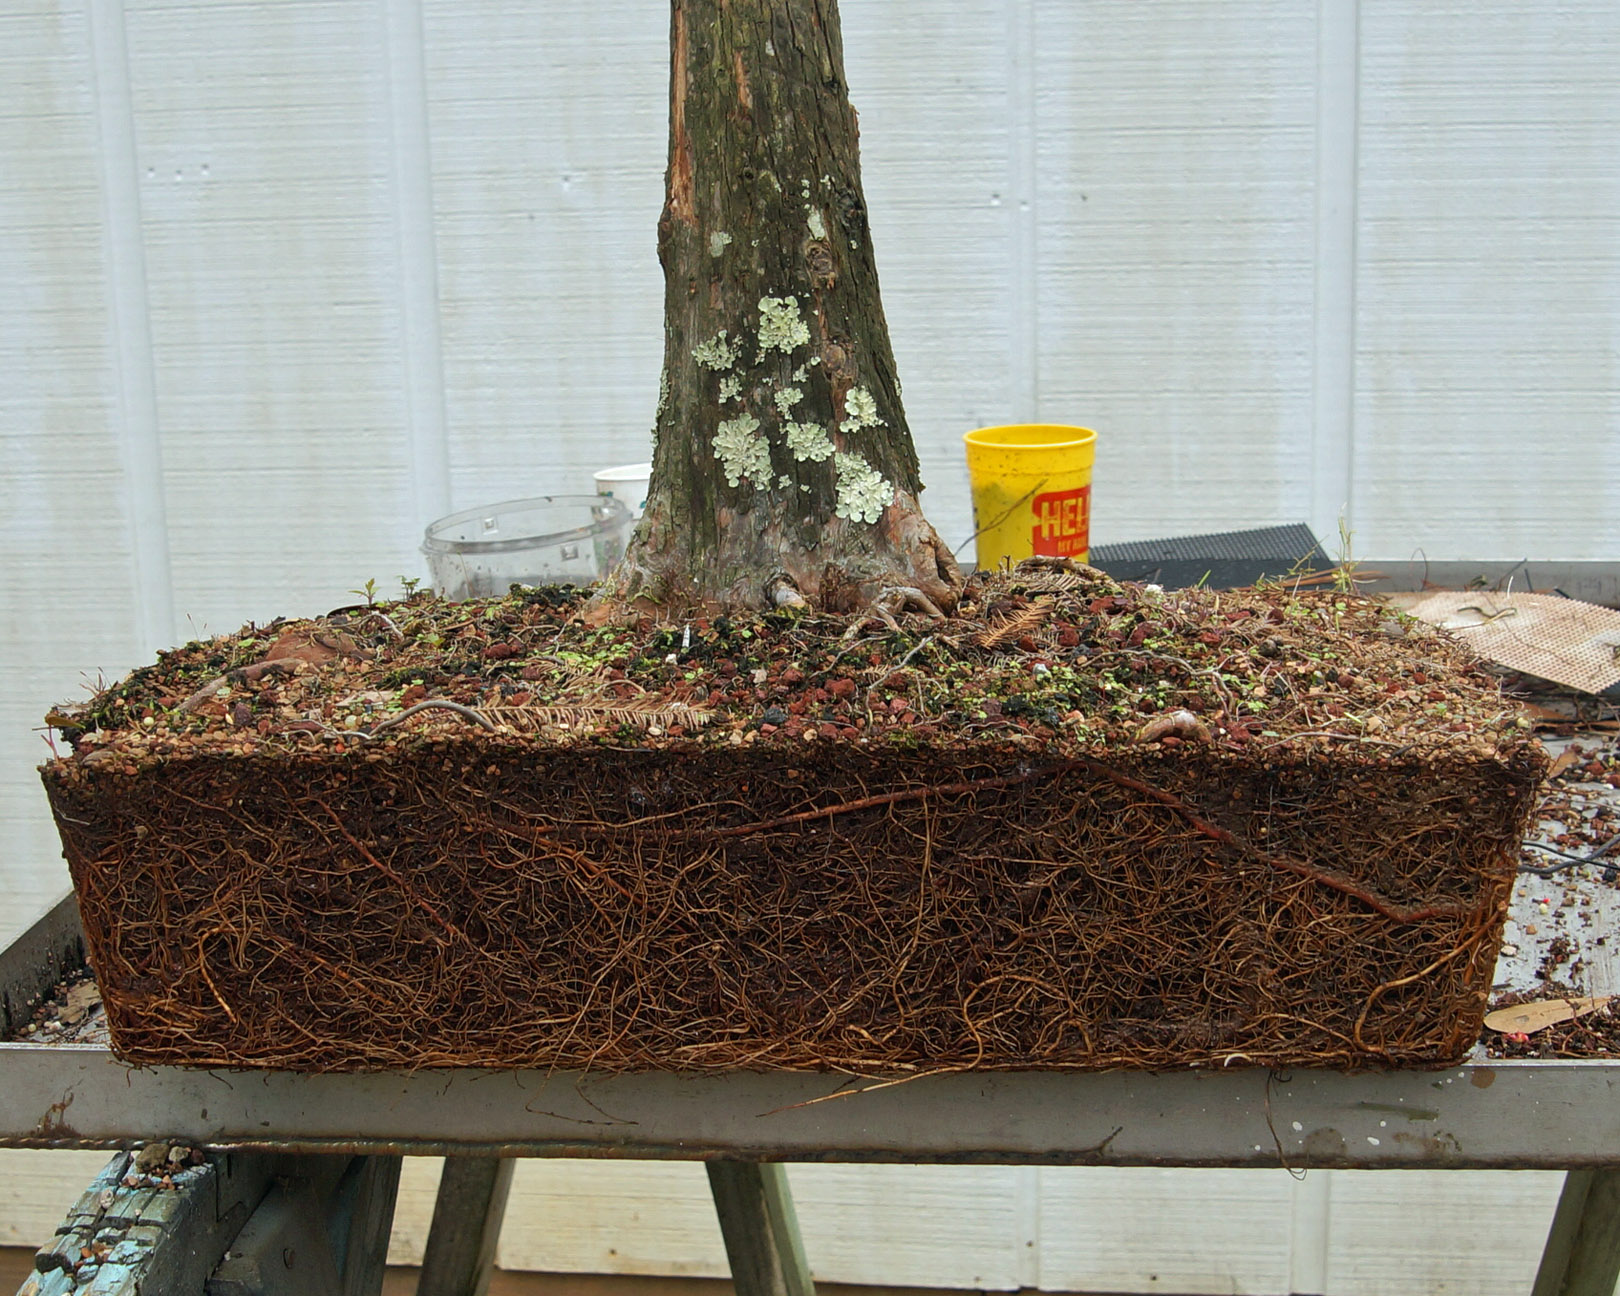
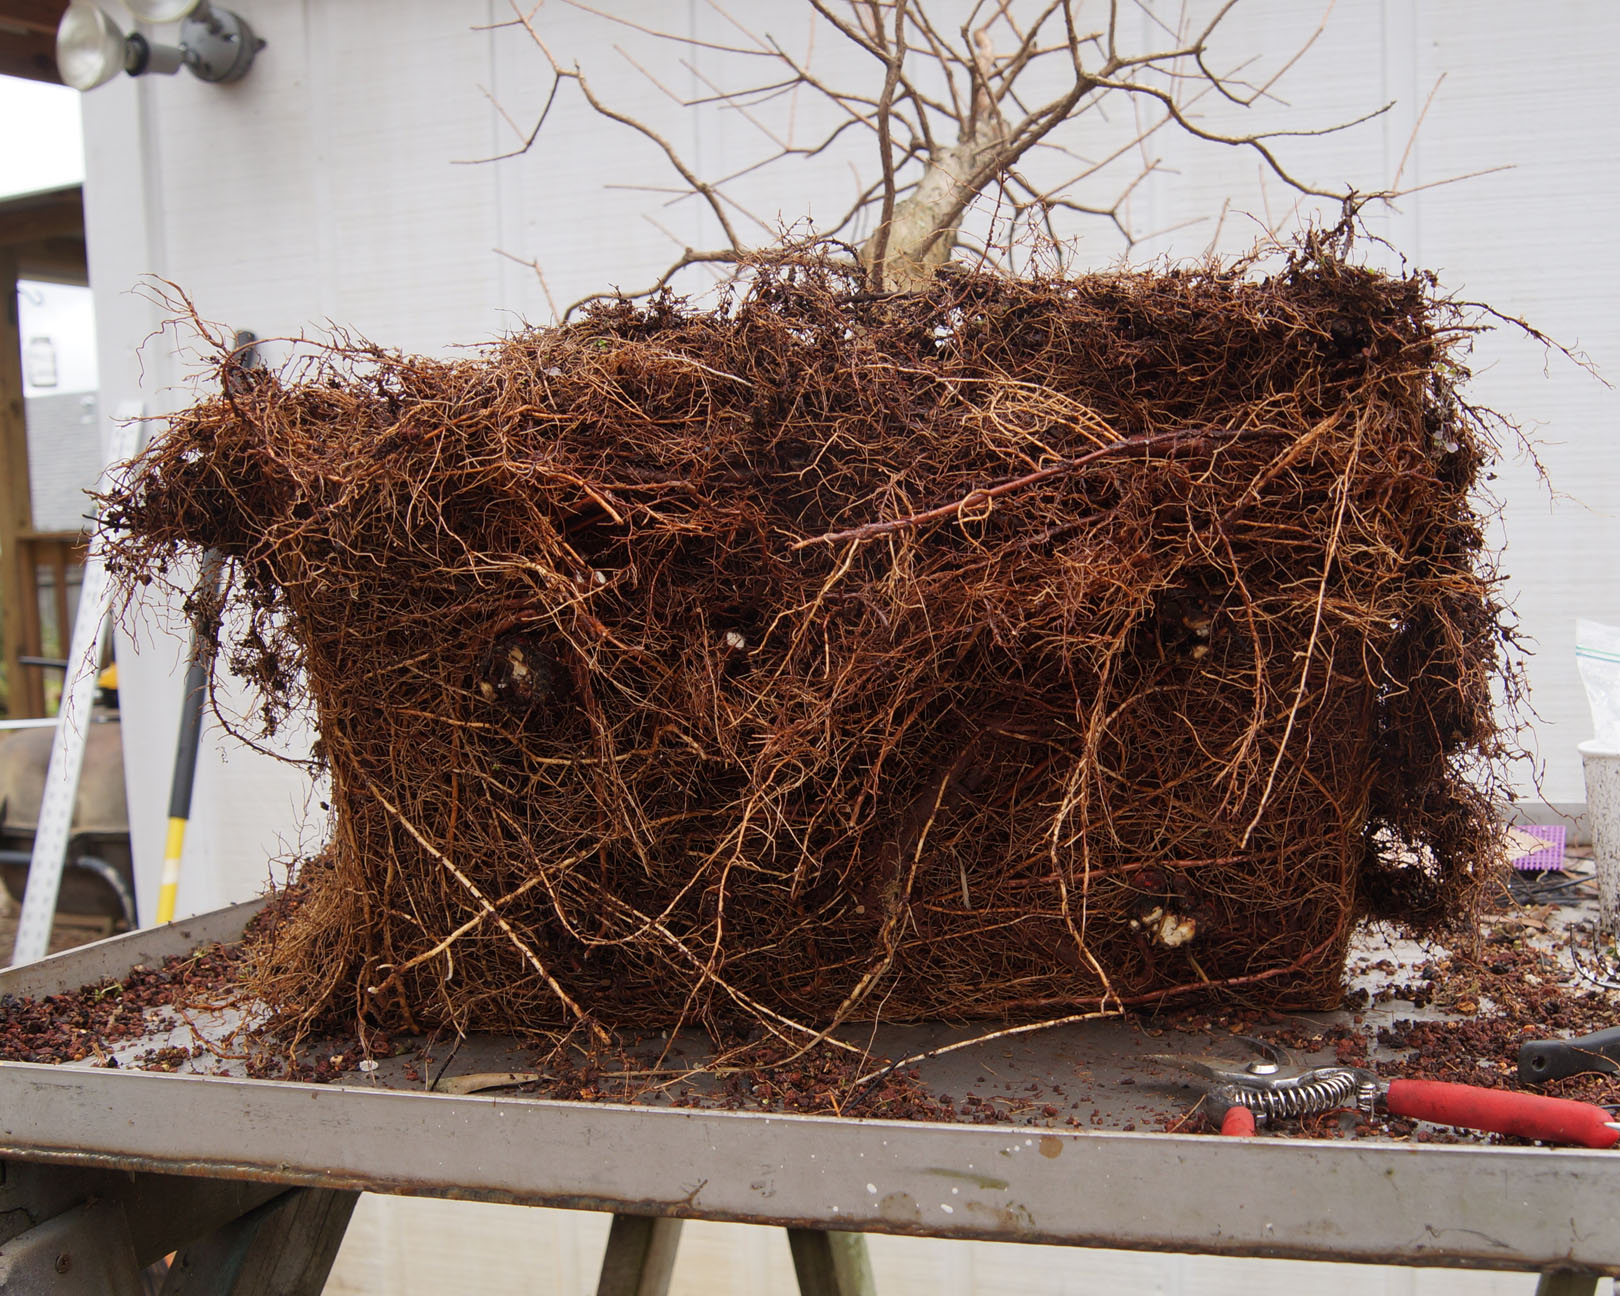
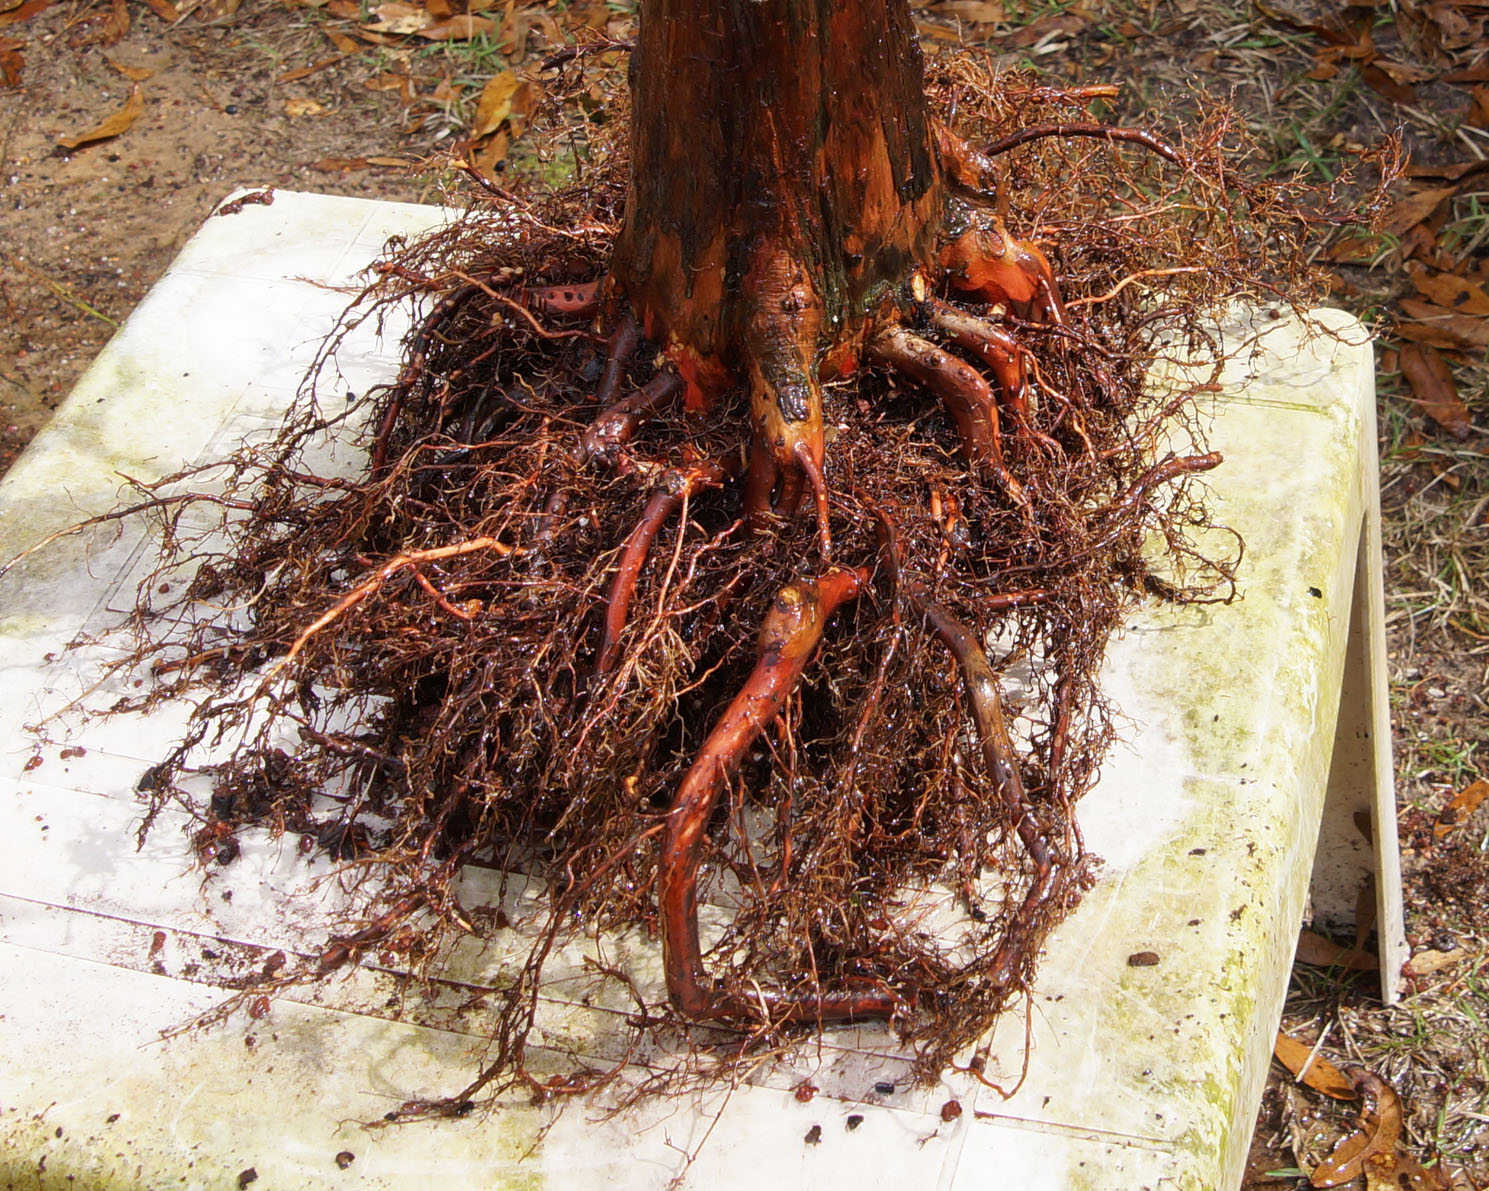
After removing the roots on the outside of the pot and snipping the retaining wires, I was able, without out too much groaning, to slip it out of the pot. Notice the root development, lots of nice fine feeder roots. As you can see, they have pretty much filled up the pot and are, in fact, the shape of the pot. This is gonna be a job and a half!

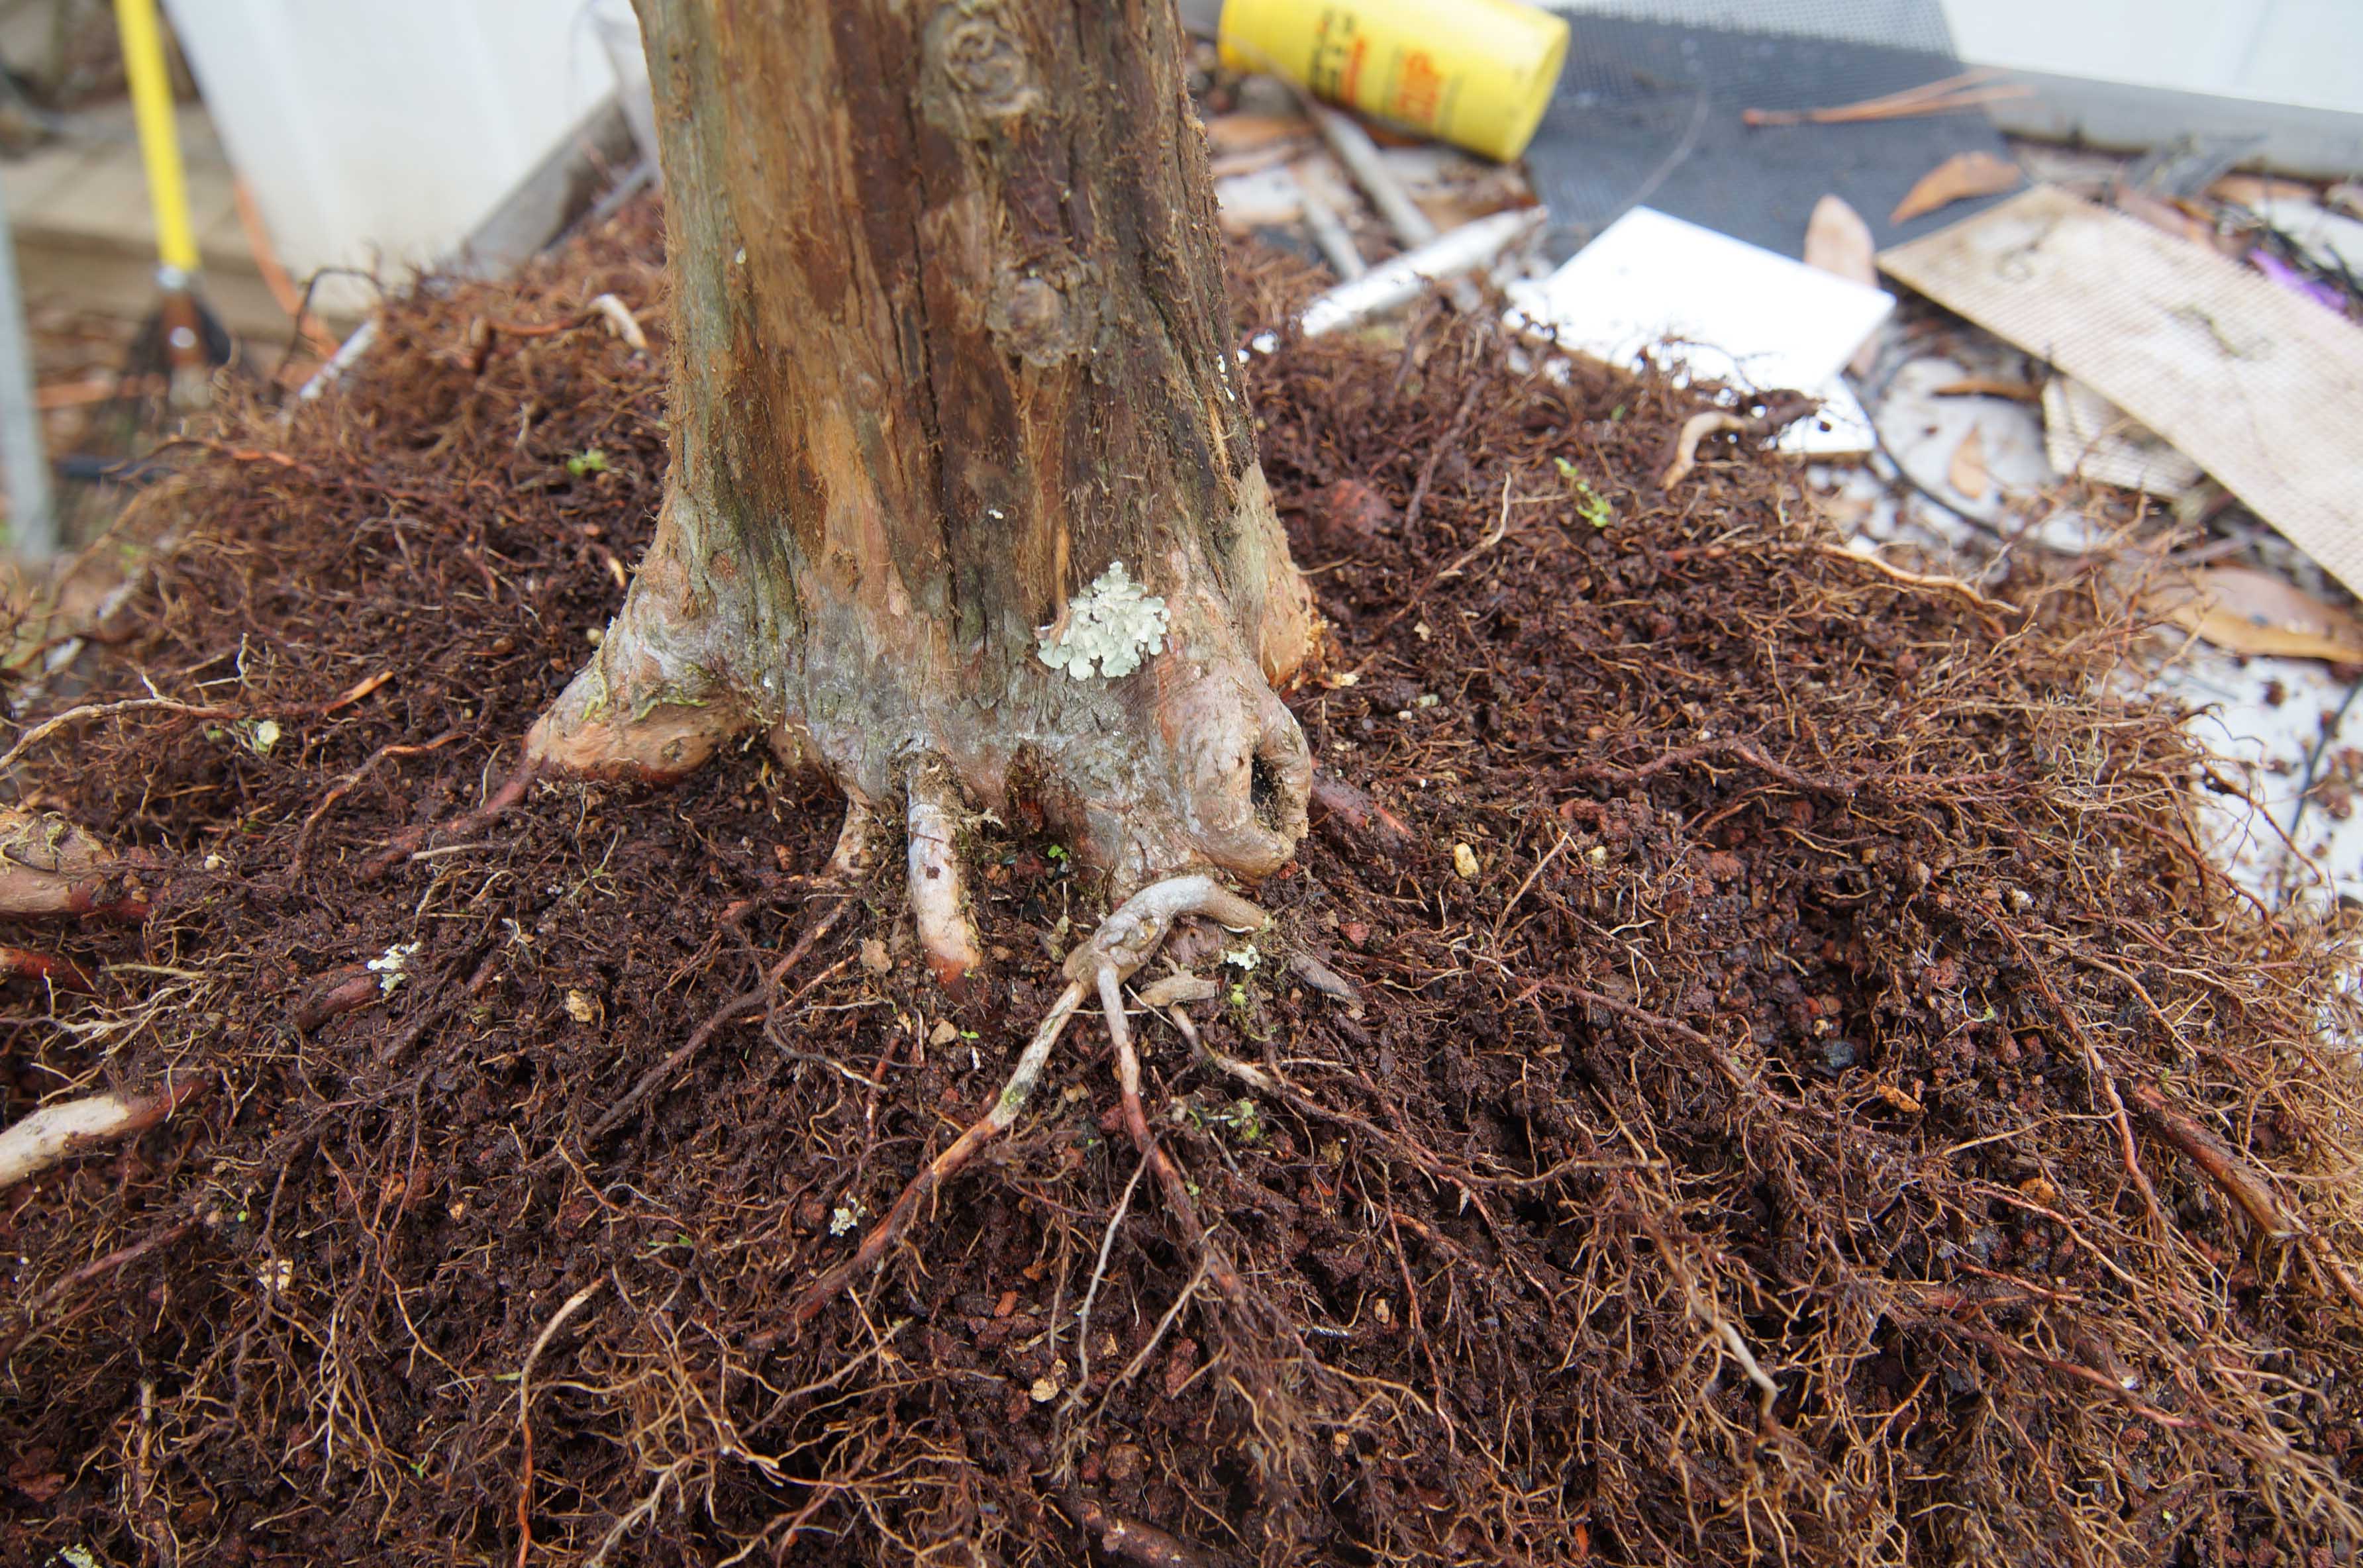
I slowly started combing the roots out and found a knee that is starting to form, that is super cool. Getting a bald cypress to make knees in a pot is kinda like winning the lottery when it comes to bonsai, it rarely happens. I have some ideas as to why and how to encourage this, but I will save that for another article.
Knee Formation
Now it is just a lot of combing with the root rake, chopsticks, and other implements to remove the soil and to get the roots straightened out. I usually start trimming at the edges to reduce the mass as I go along.
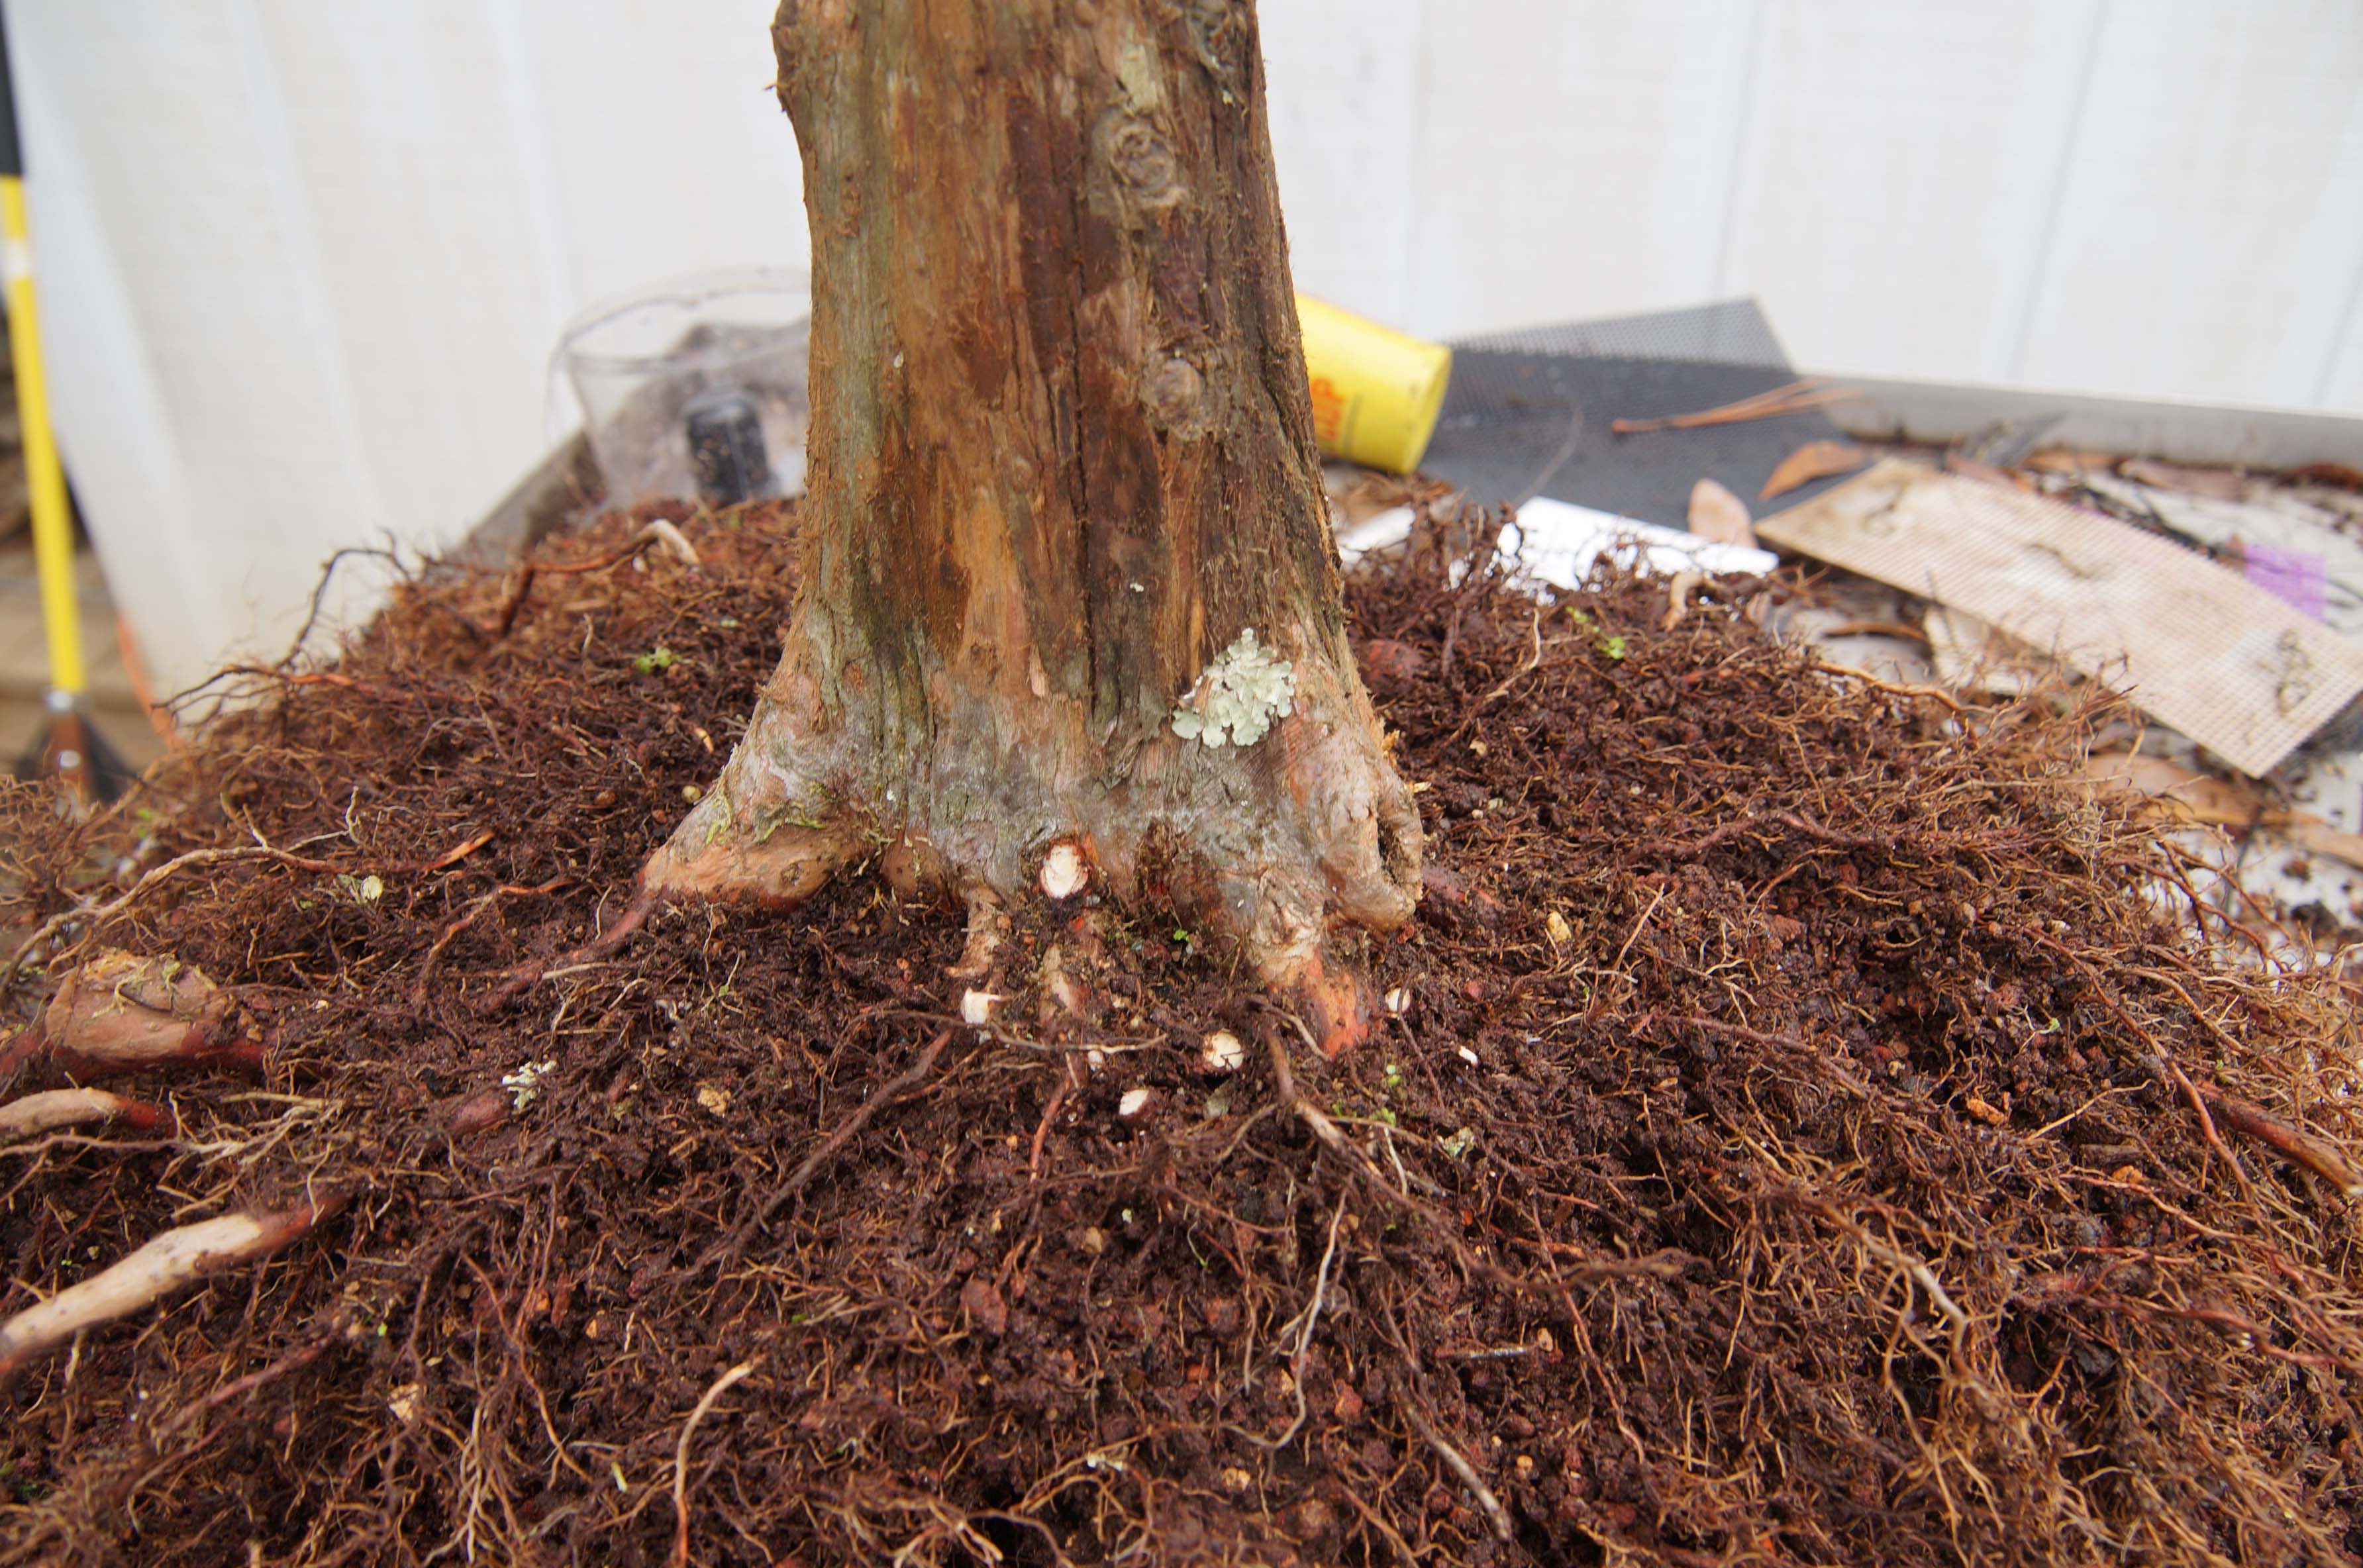
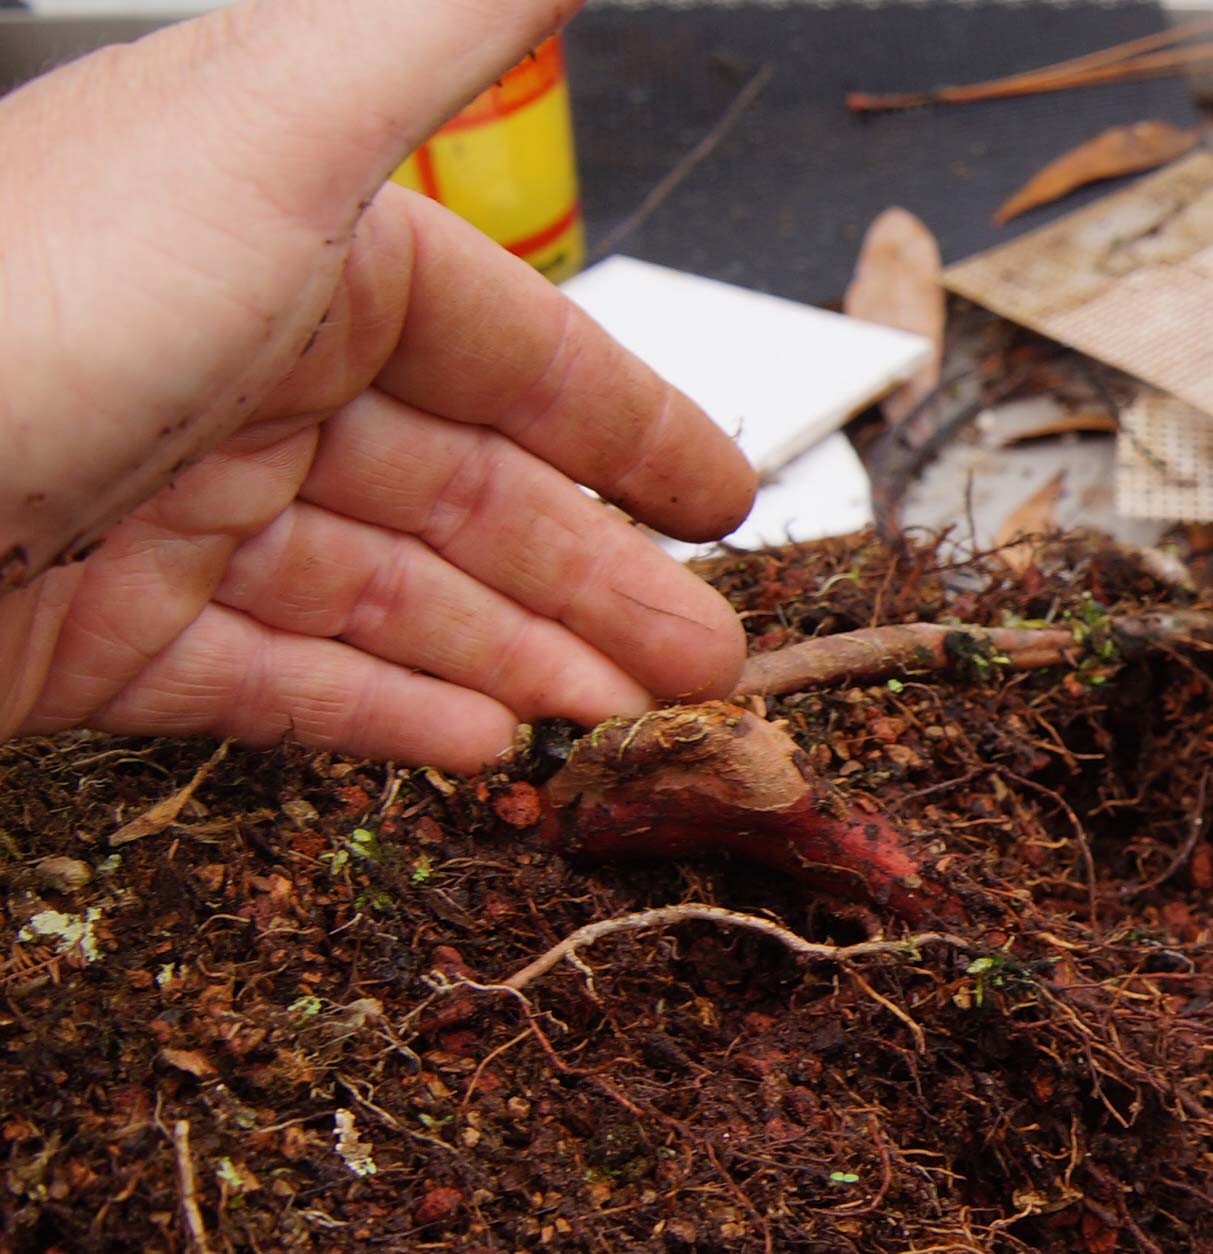
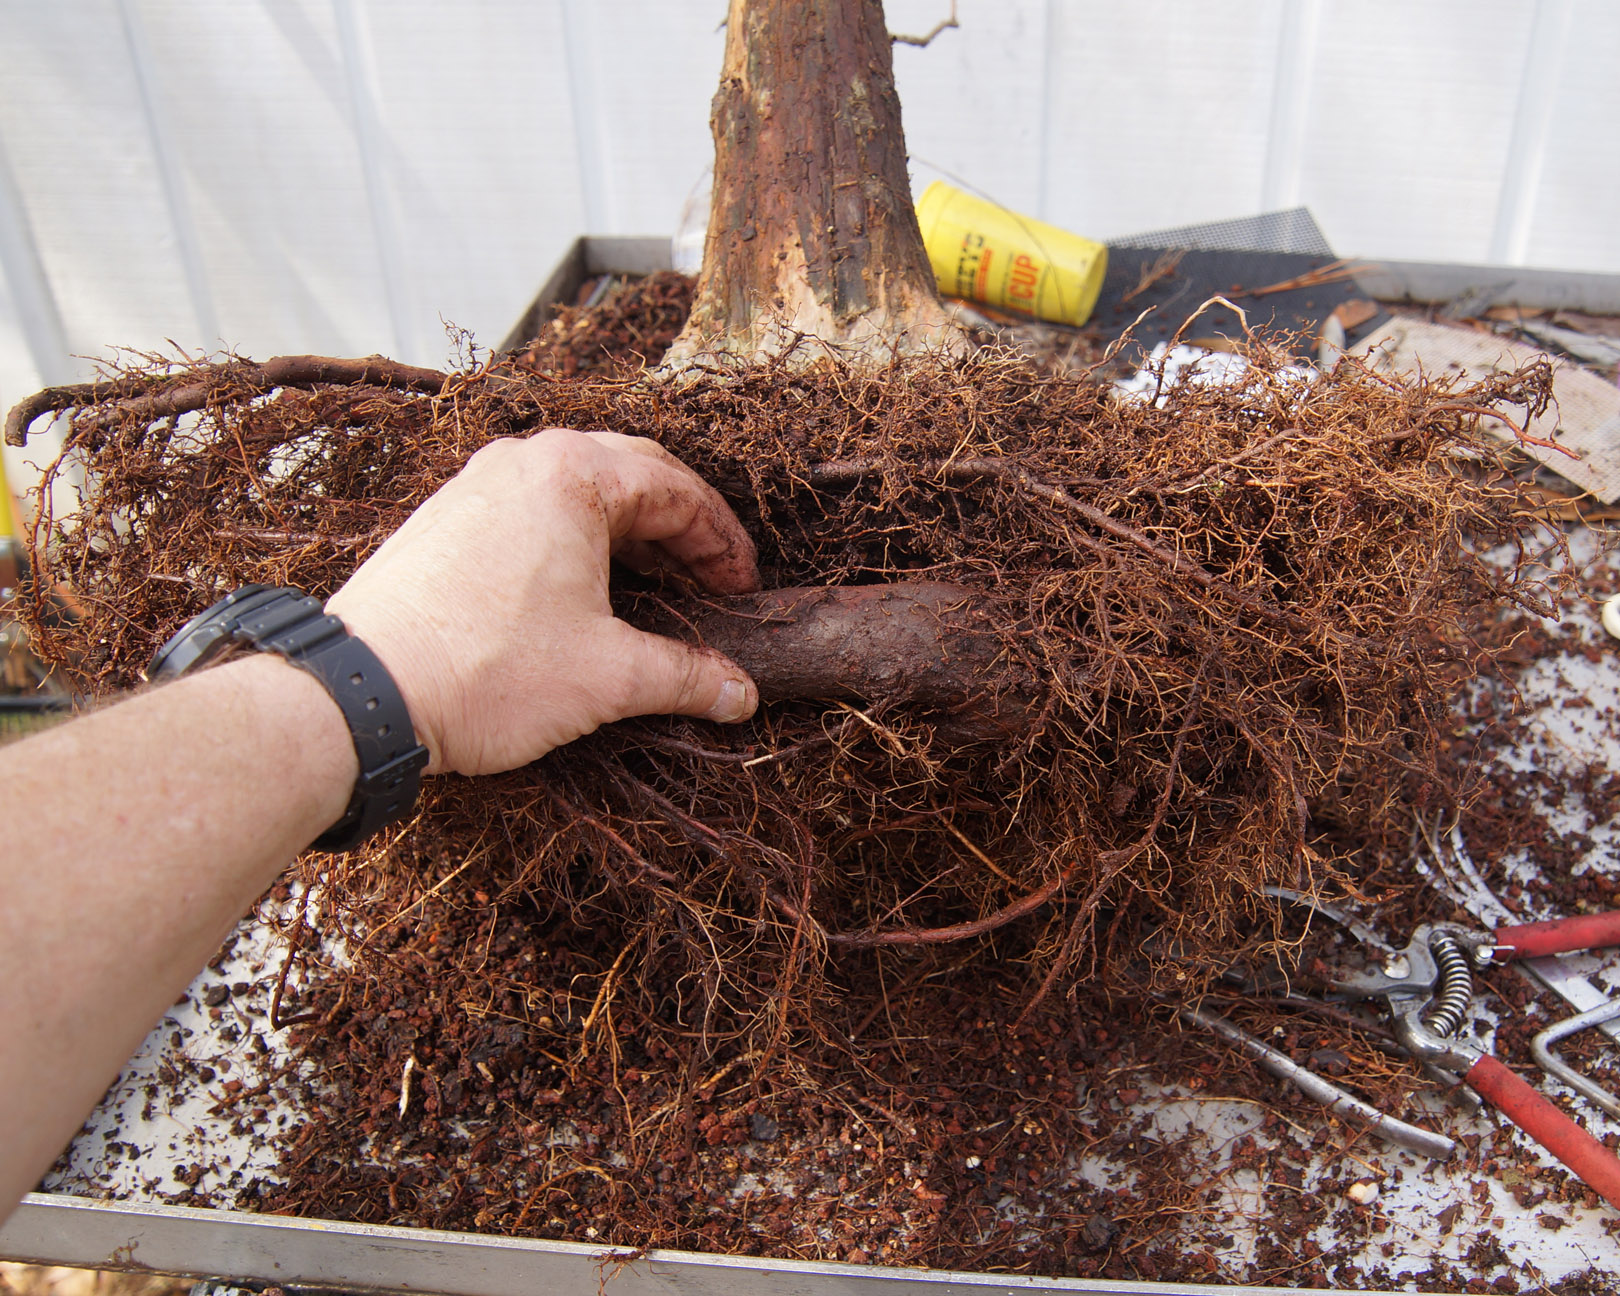
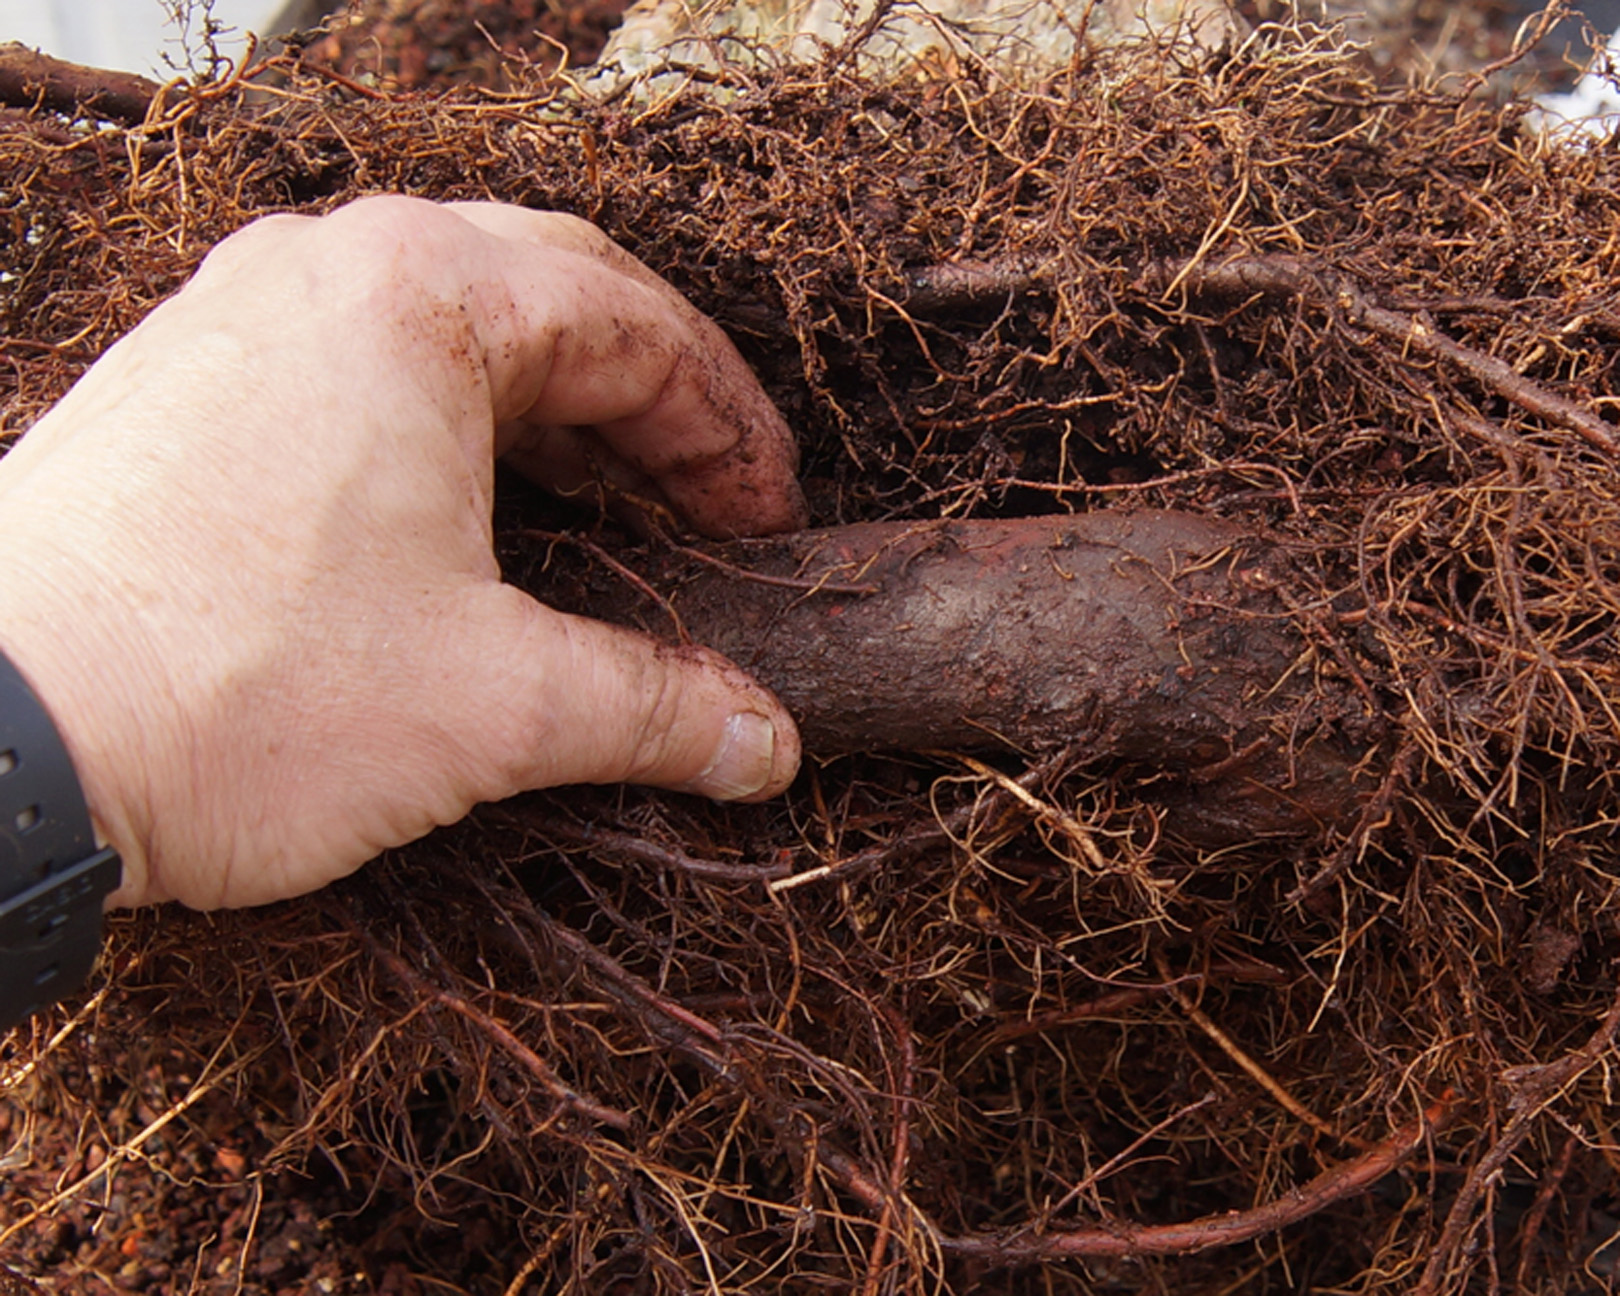
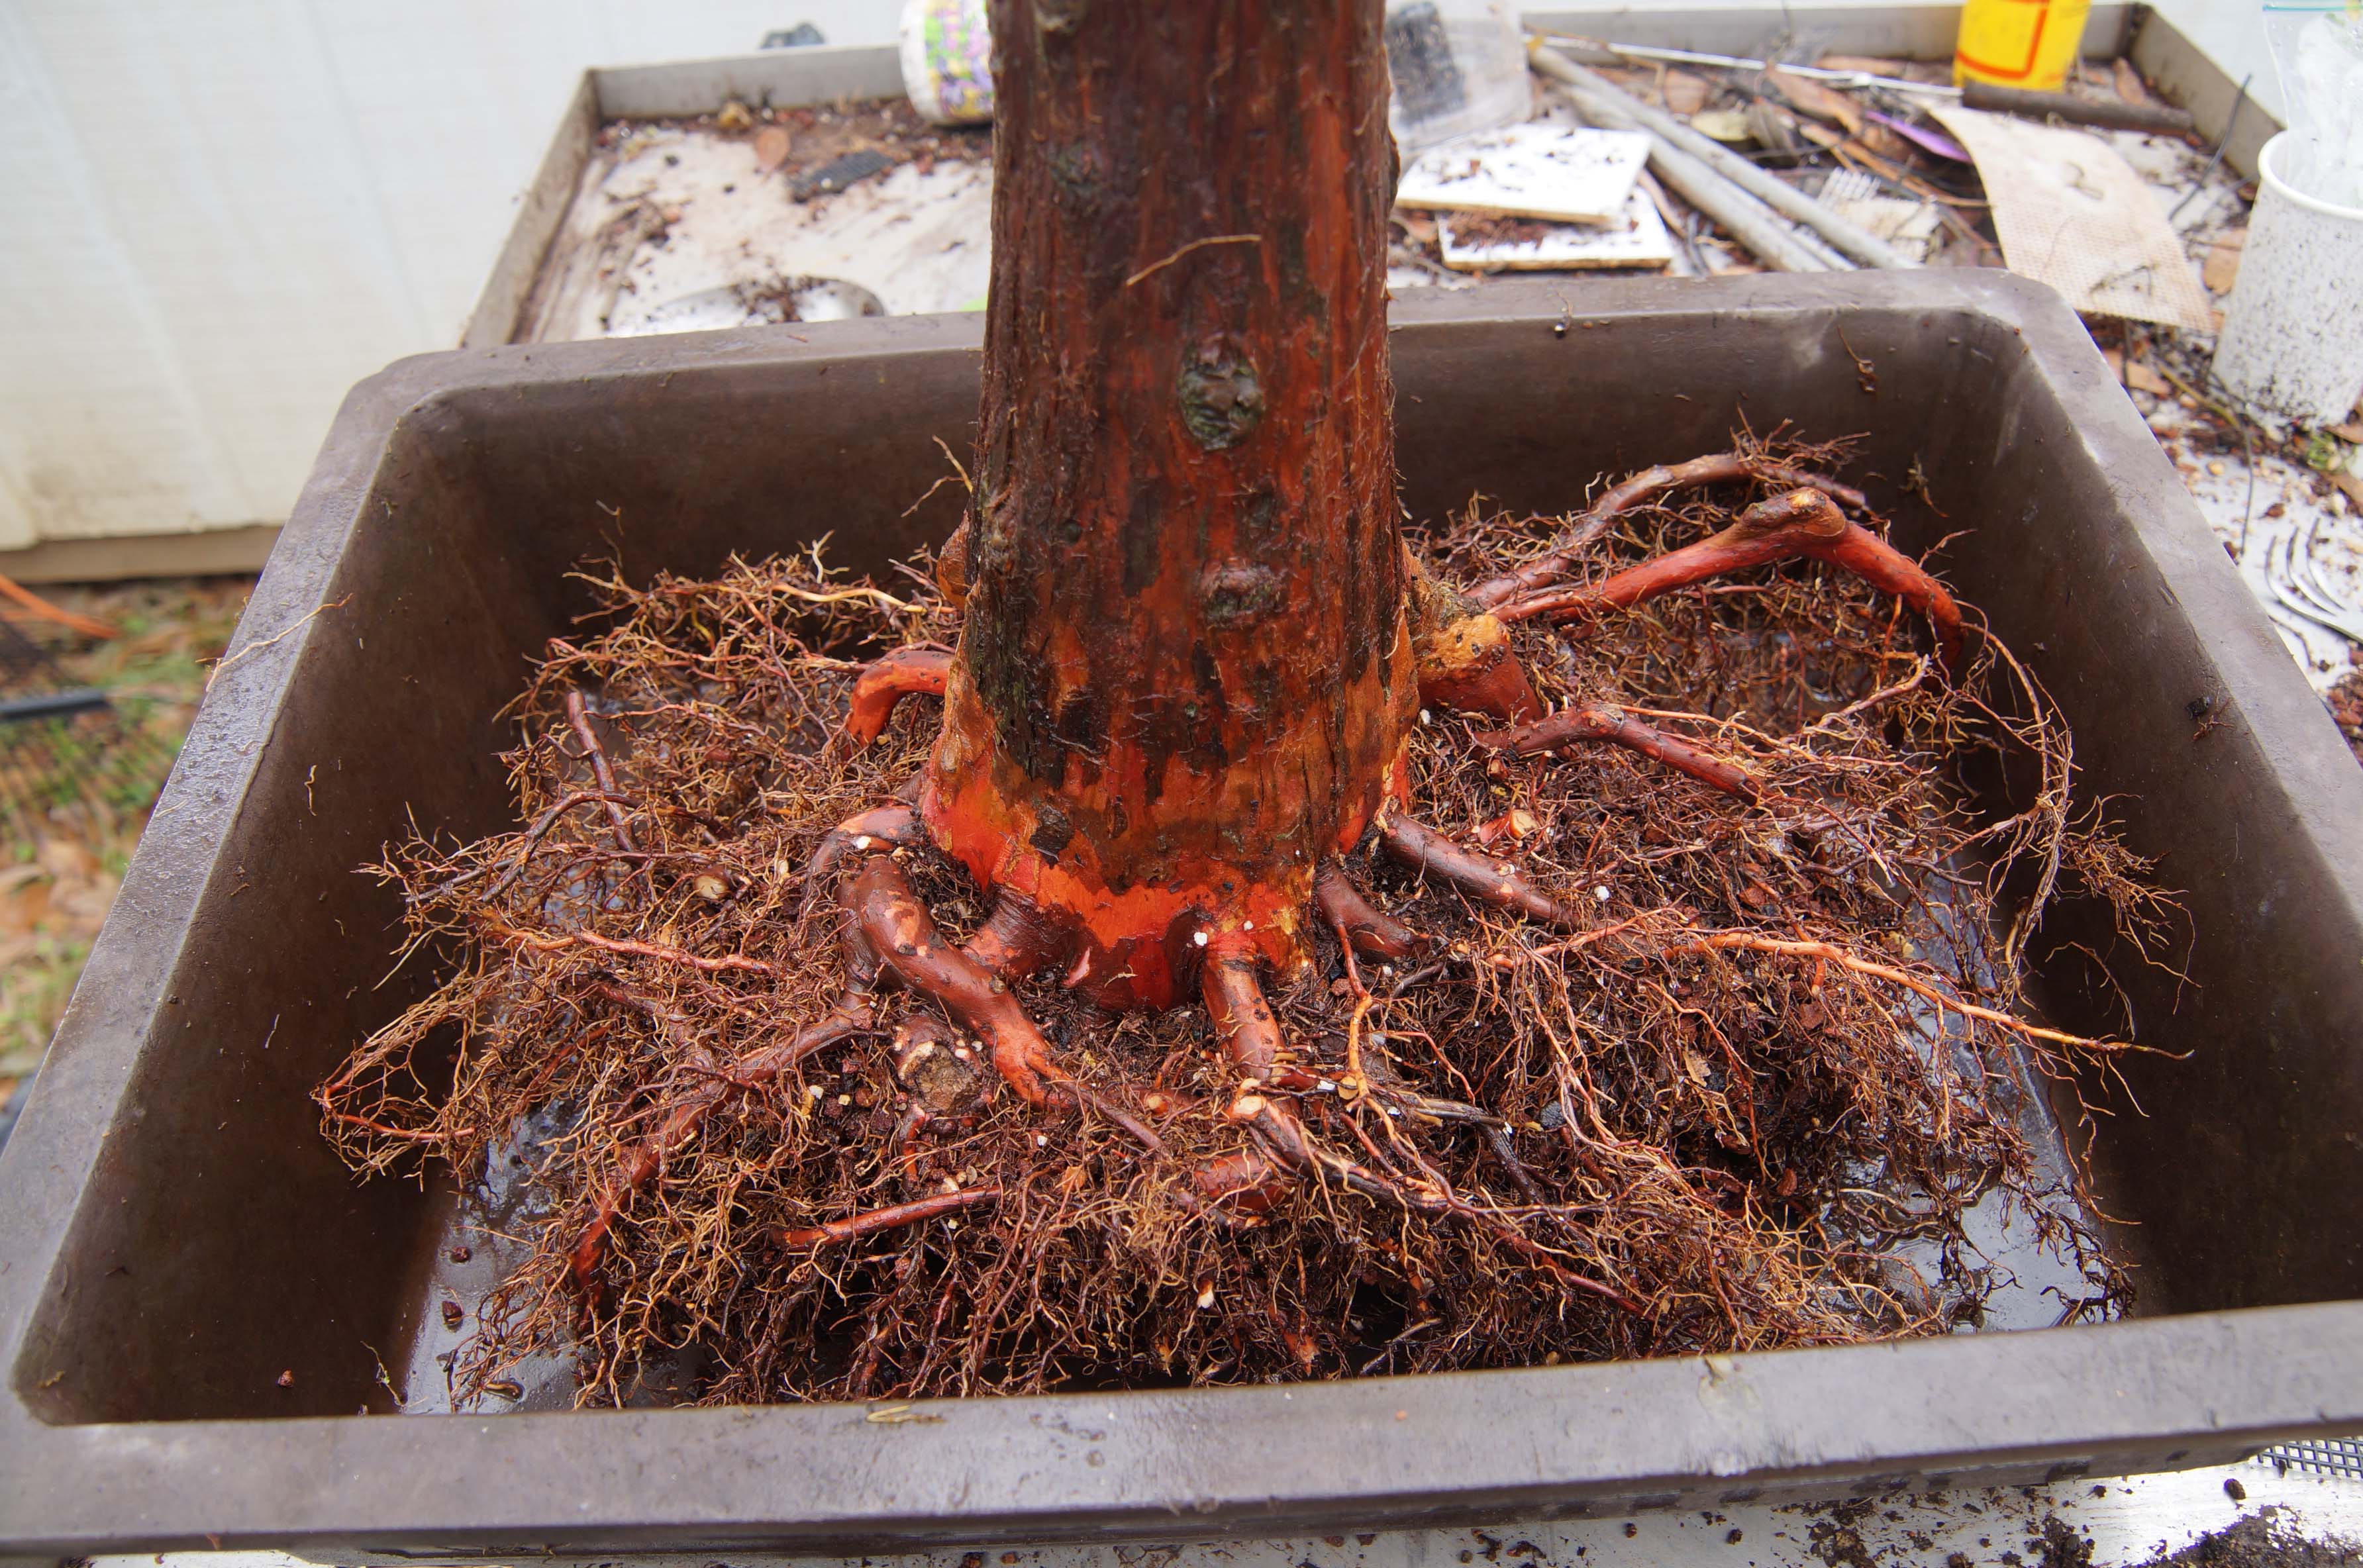
As you start getting the mass combed out, you will want to cut any of the larger roots off that are growing downward. I cut them off just after they start to turn down. You will want to keep as many of the ones on the surface as you can. They are the ones that make the base develop the fluted buttress that we all love and also they are the ones with the potential to develop knees. Any large roots that you find growing underneath, like this one that I found, will need to be eliminated. If not, it will continue to grow and take up too much room in the pot.
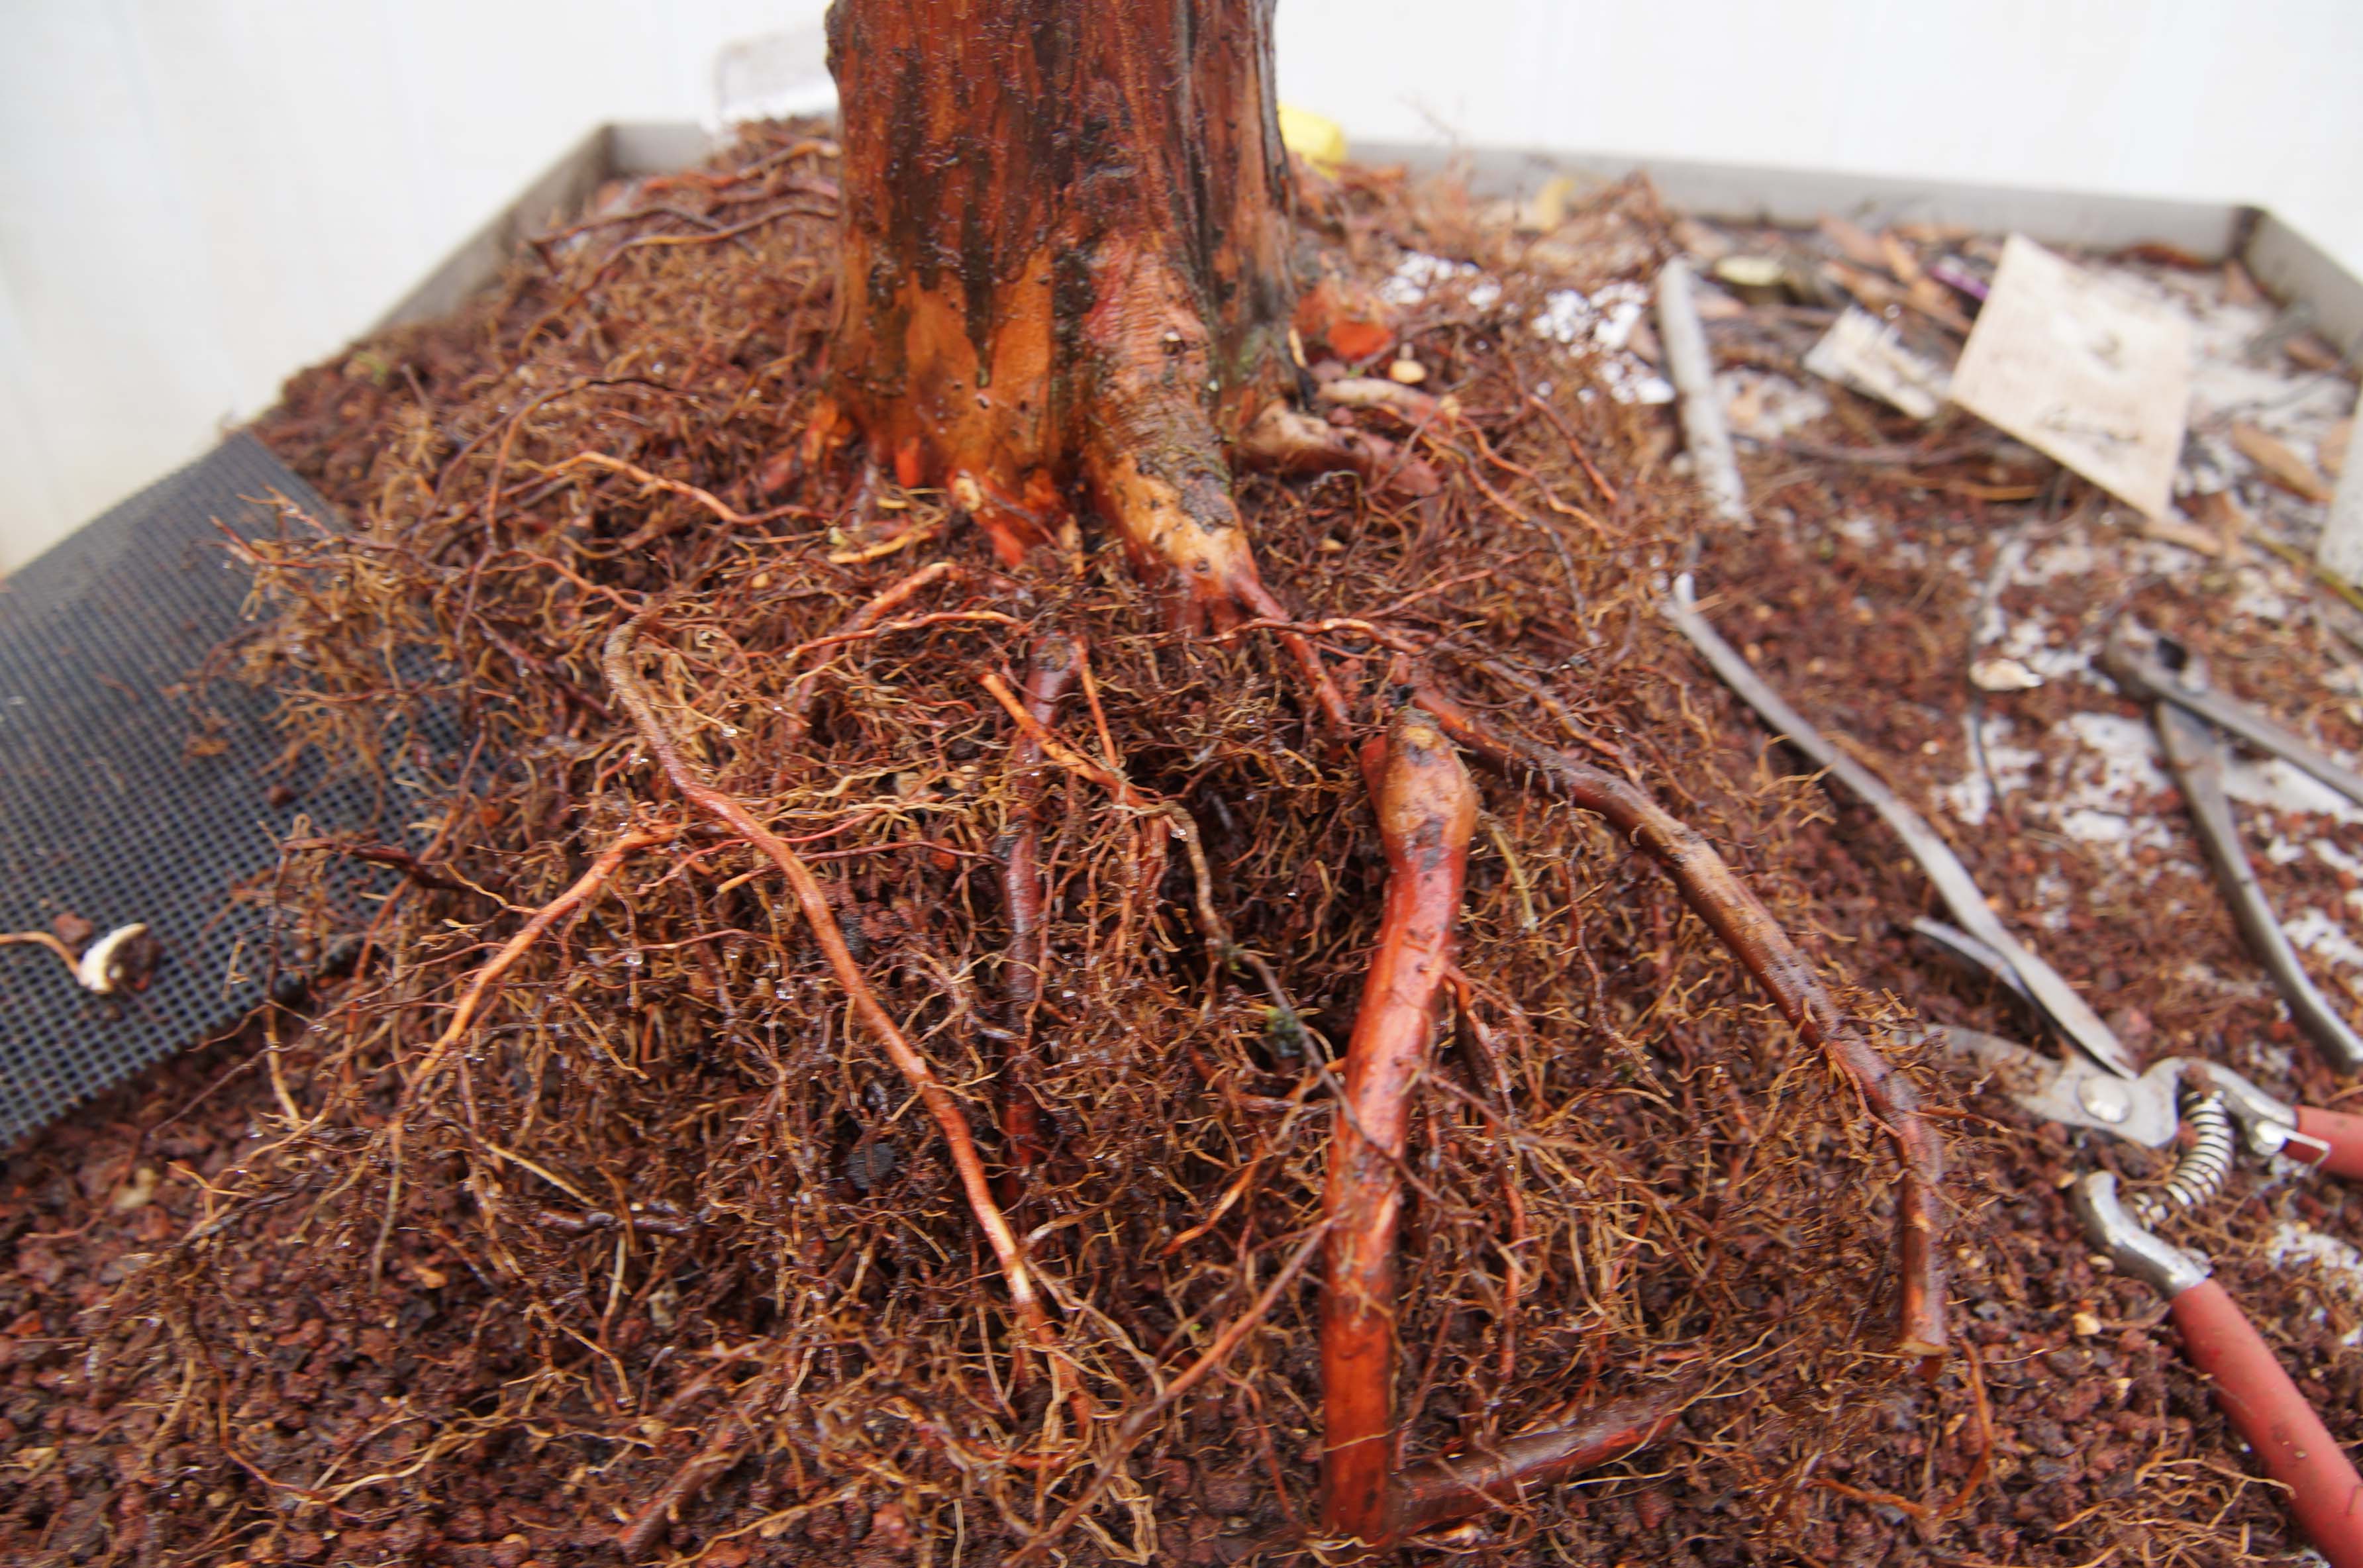
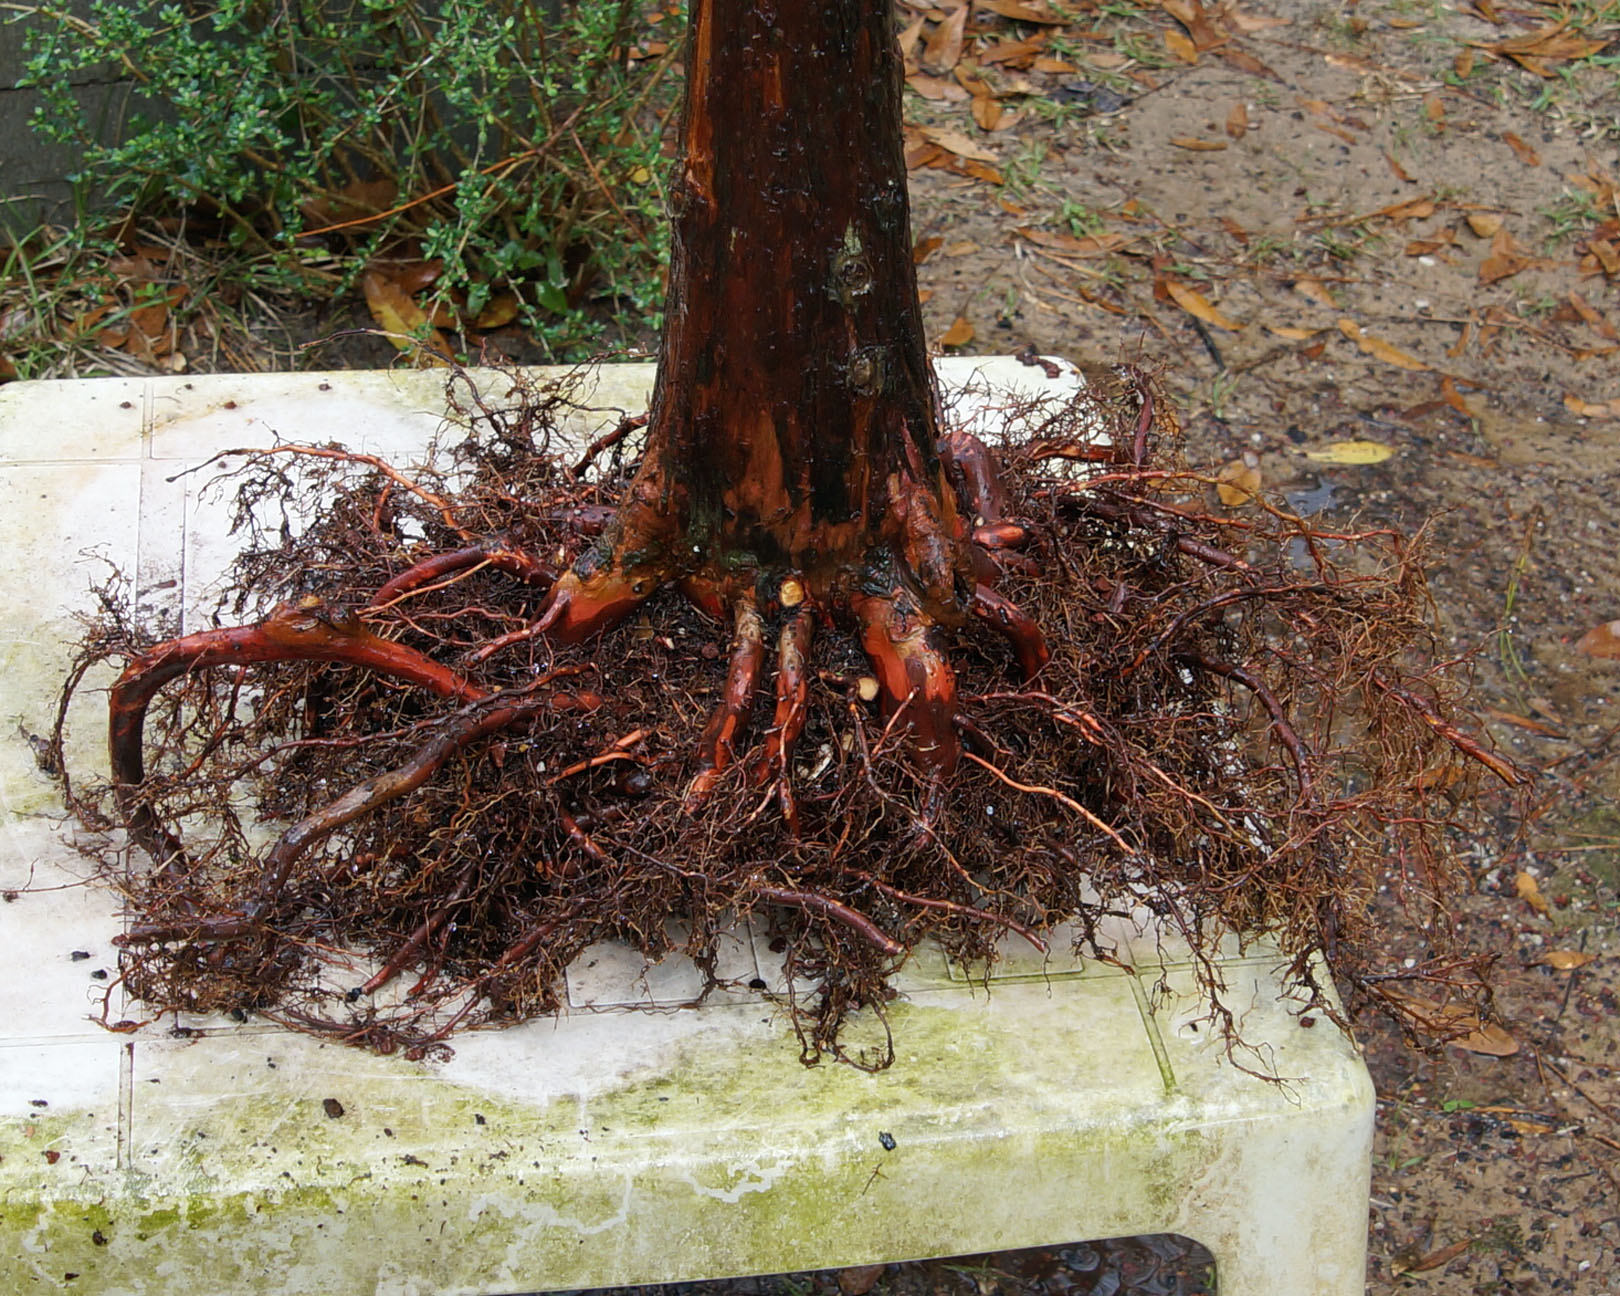
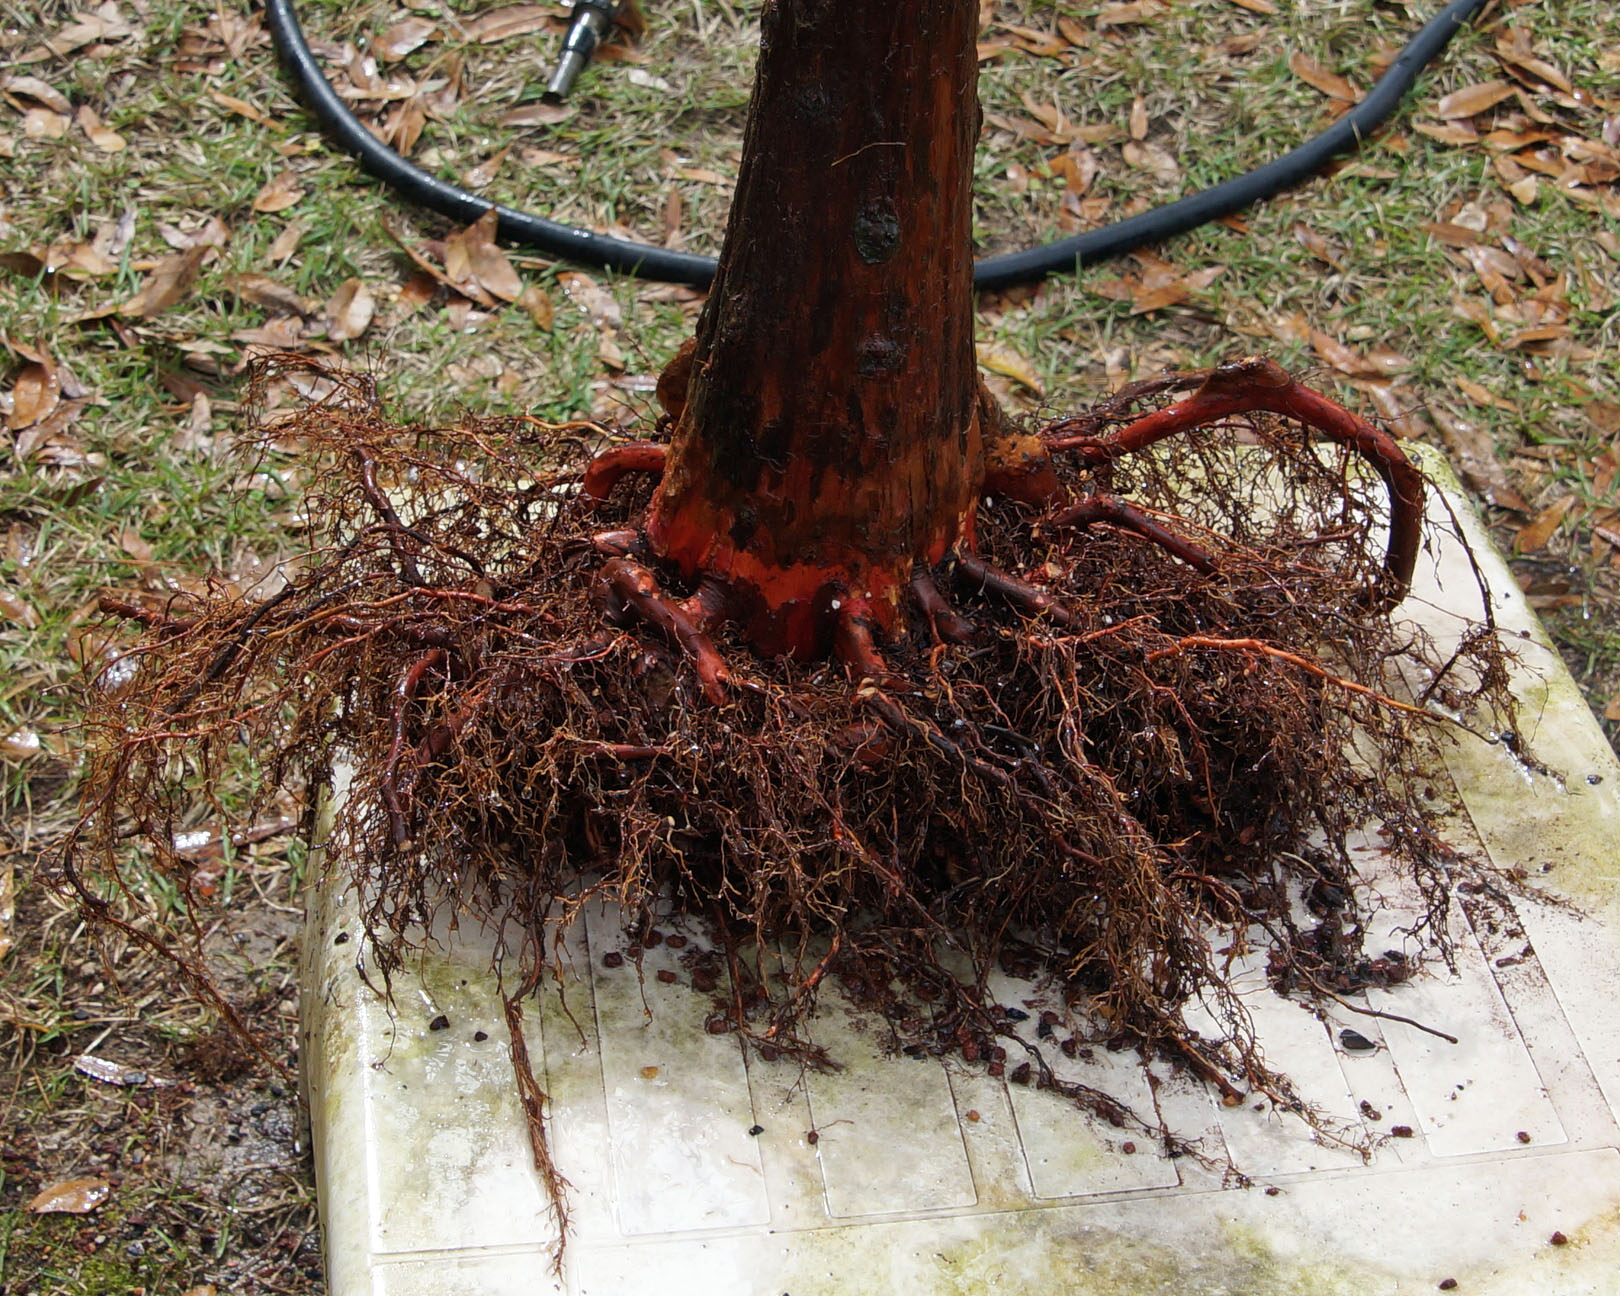
After several hours of combing, cutting, and sawing, I finally made it to the bottom of the trunk. You can see where I removed several large roots growing straight from the bottom. This will allow me to place it lower in the pot again and when I finally get to transition it to a nice bonsai pot, it will have the roots to do it.

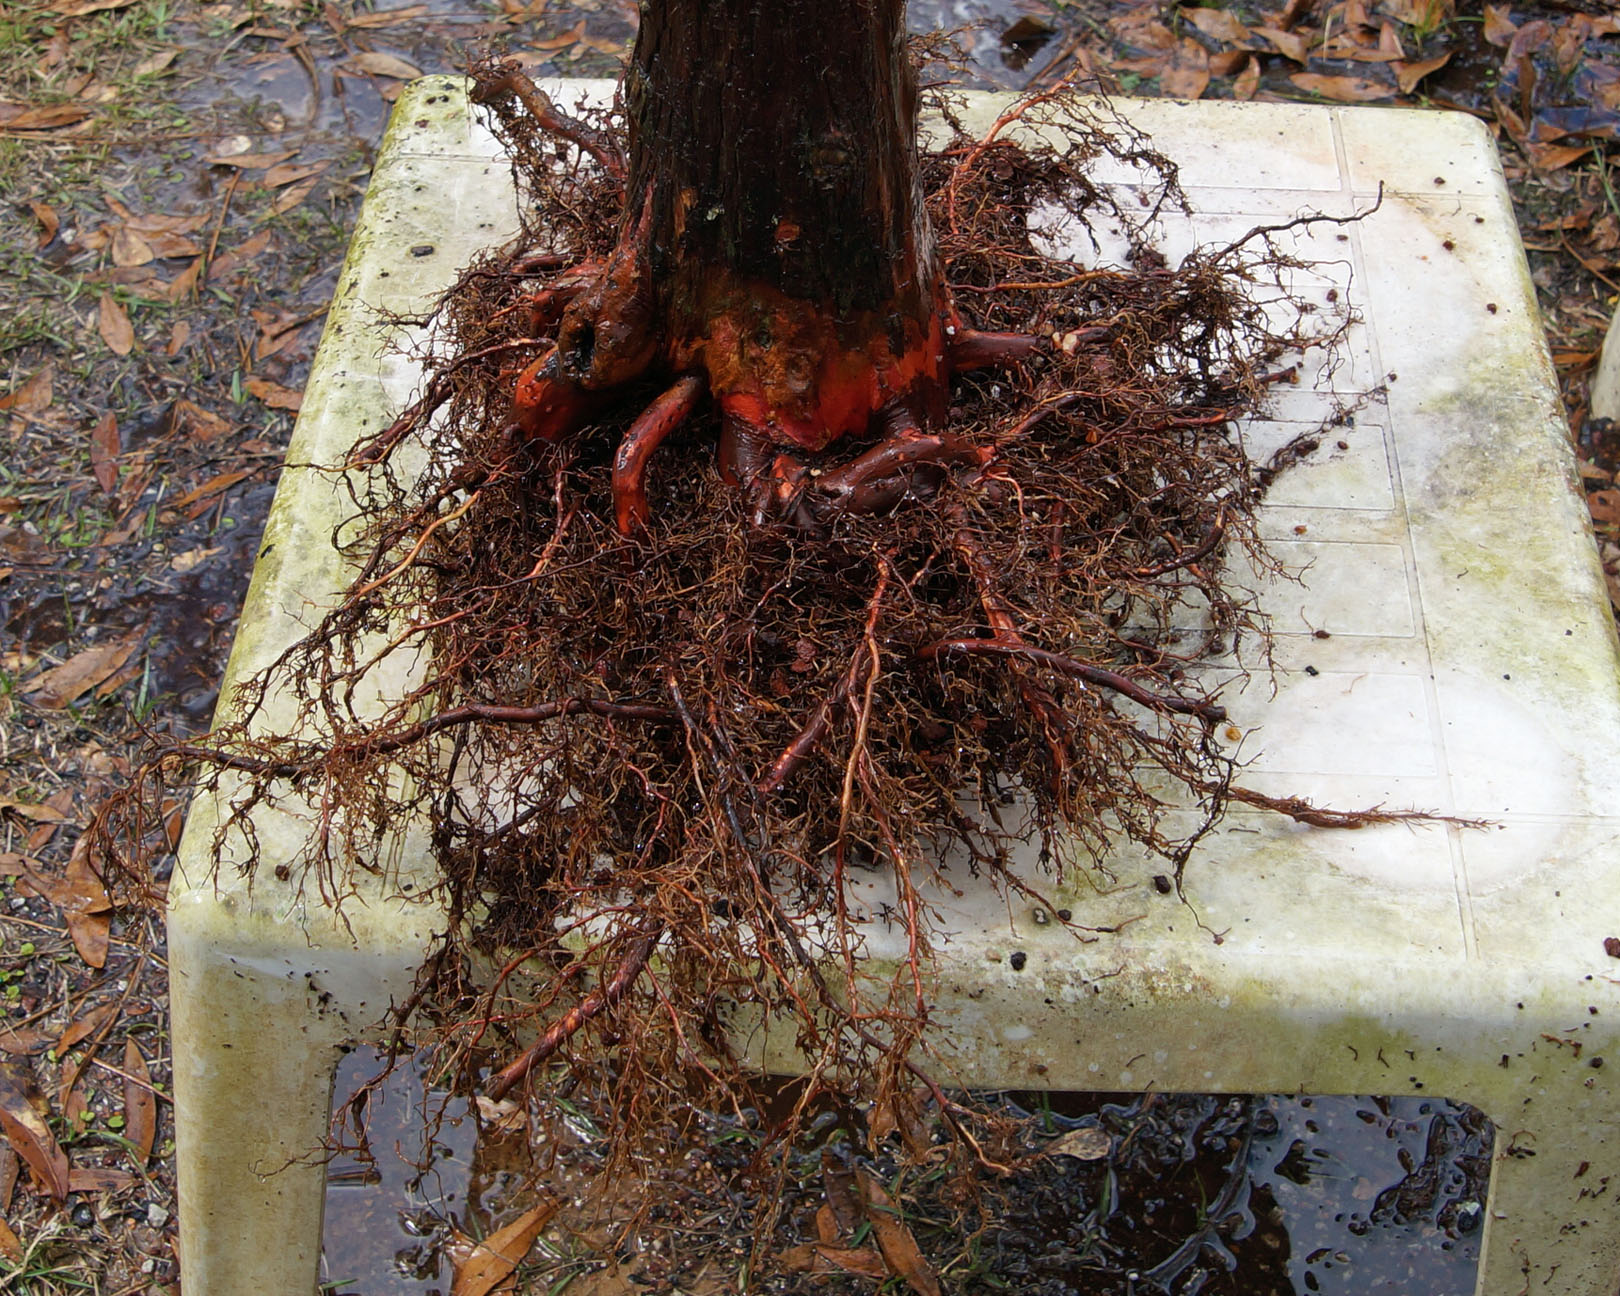
The roots were then gently washed with as hose. This is what is left of that big pot-shaped mass of roots. I know it looks like I removed too much, but have no fear, it will almost completely fill the pot with roots again and be growing out the bottom by September. By the end of 2018, it will be pushing itself out of the pot, again.
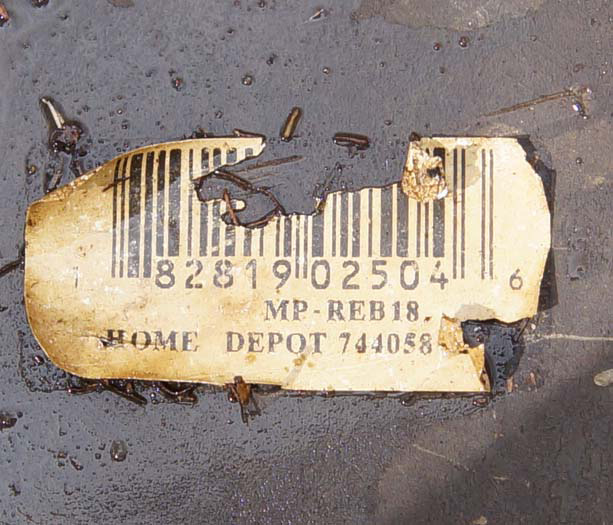
Now all that is left is to get her back into the pot, and wire her in. Speaking of the pot, it is nothing fancy, just a giant mica pot from Korea. When I flipped it over to install the screens over the drainage holes, I found a Home Depot label and sku. Wouldn’t it be nice if, now, you could just run down to the local home depot and get a giant mica pot when you needed one? Or any sized mica pot? Or bonsai stuff?
After putting in a drainage layer of pumice and tying the tree in with wire, I added the soil and carefully used chop sticks and my fingers to work the soil in to eliminate air pockets.

A little trim and some wire and she is ready for spring. When it warms up a bit more I will be putting the tree in a tub of water.
I ended up with an entire five-gallon bucket of roots that were removed during this repot.

That's about it, if you have any questions, comments, or anything else, drop a line here.