
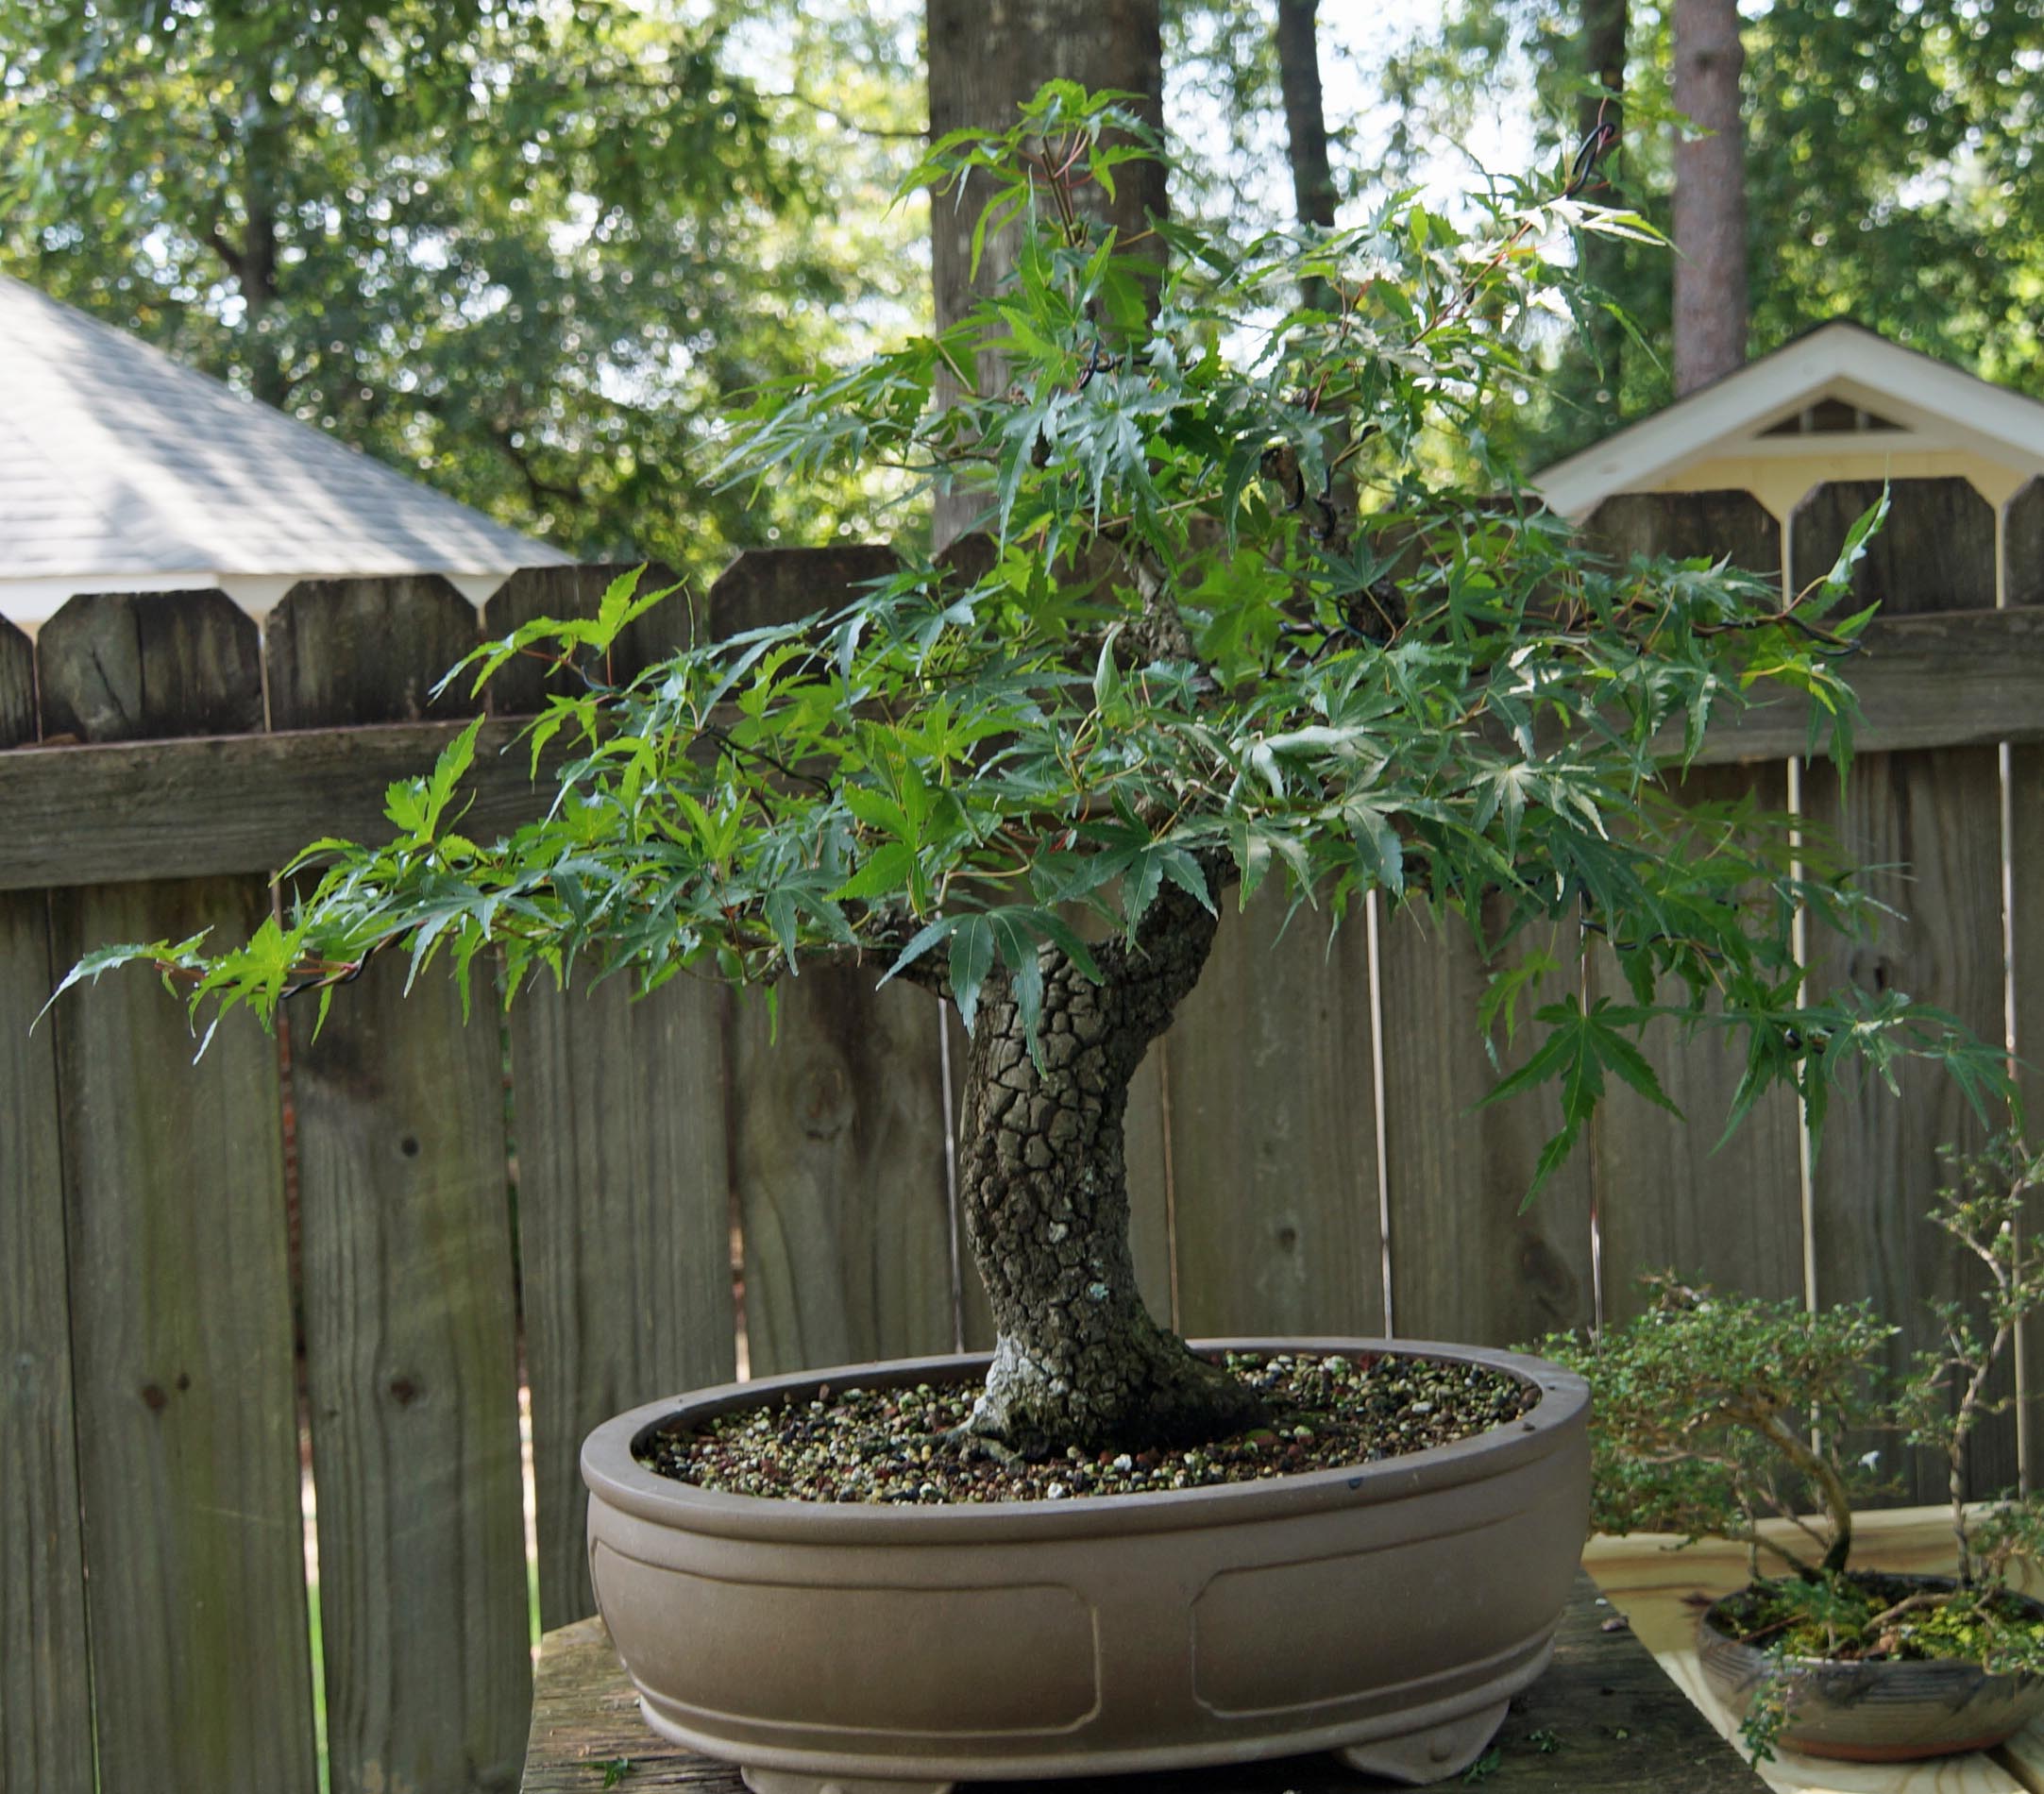
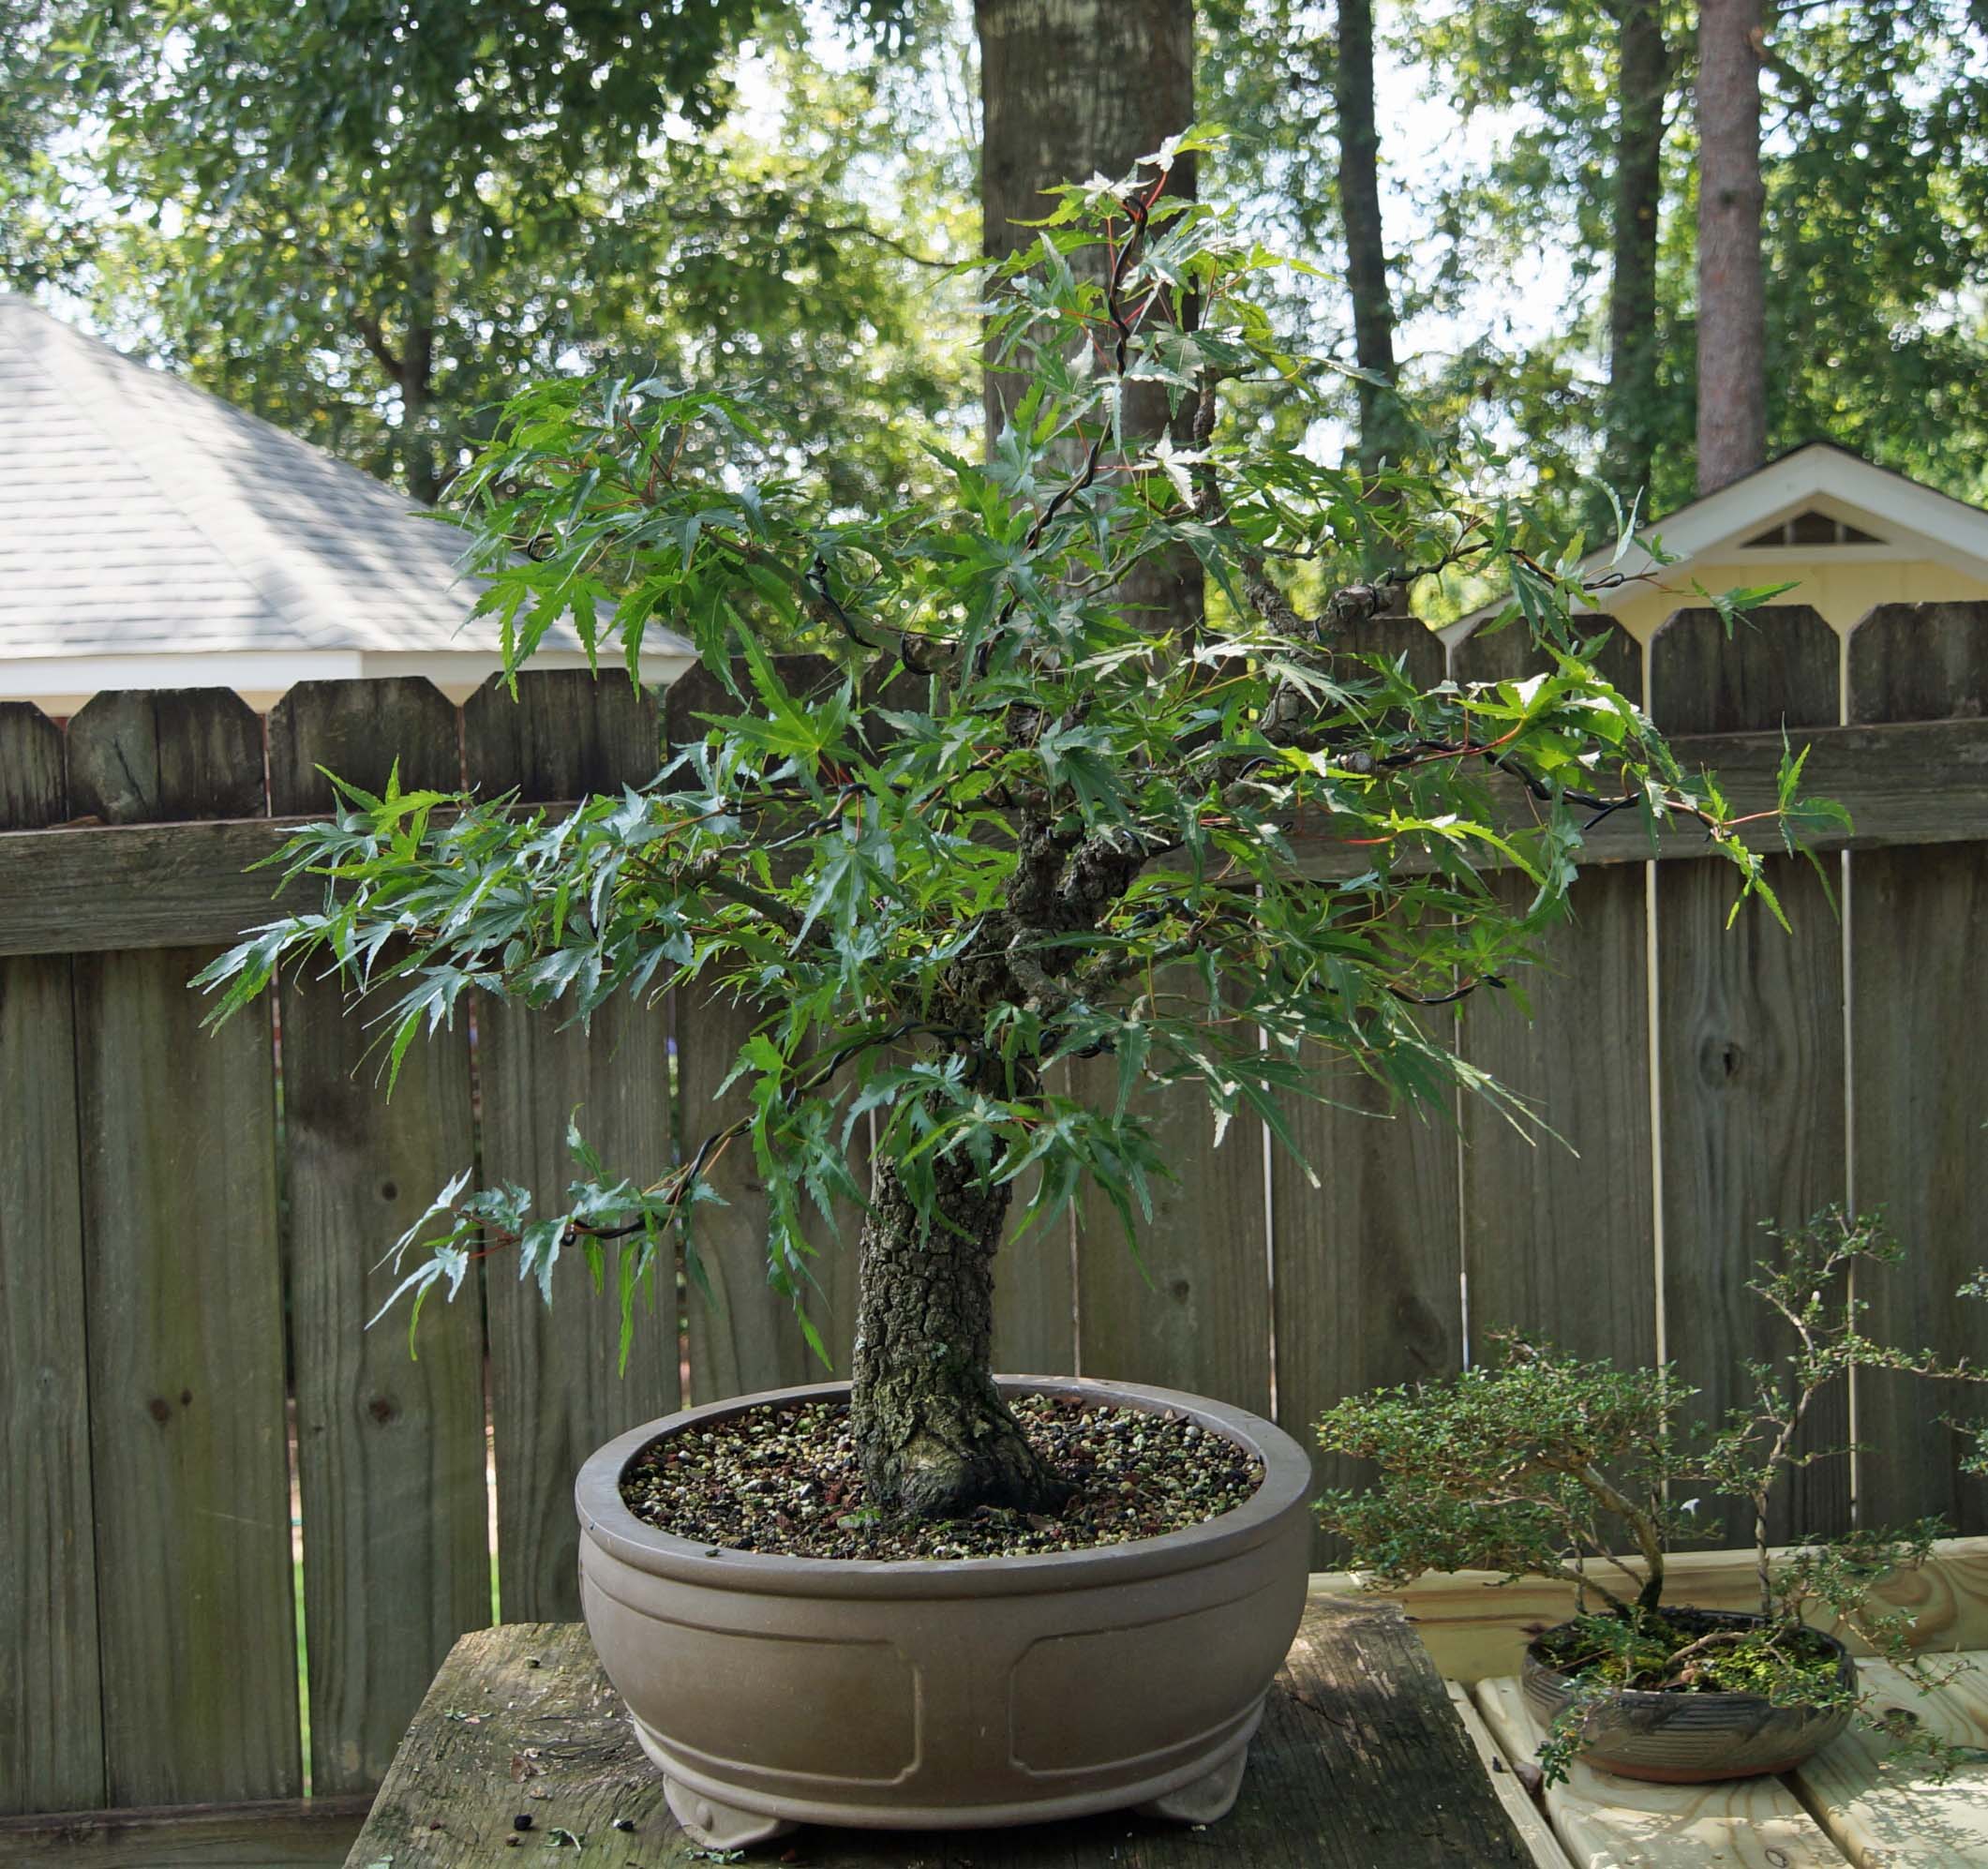
JAPANESE MAPLE
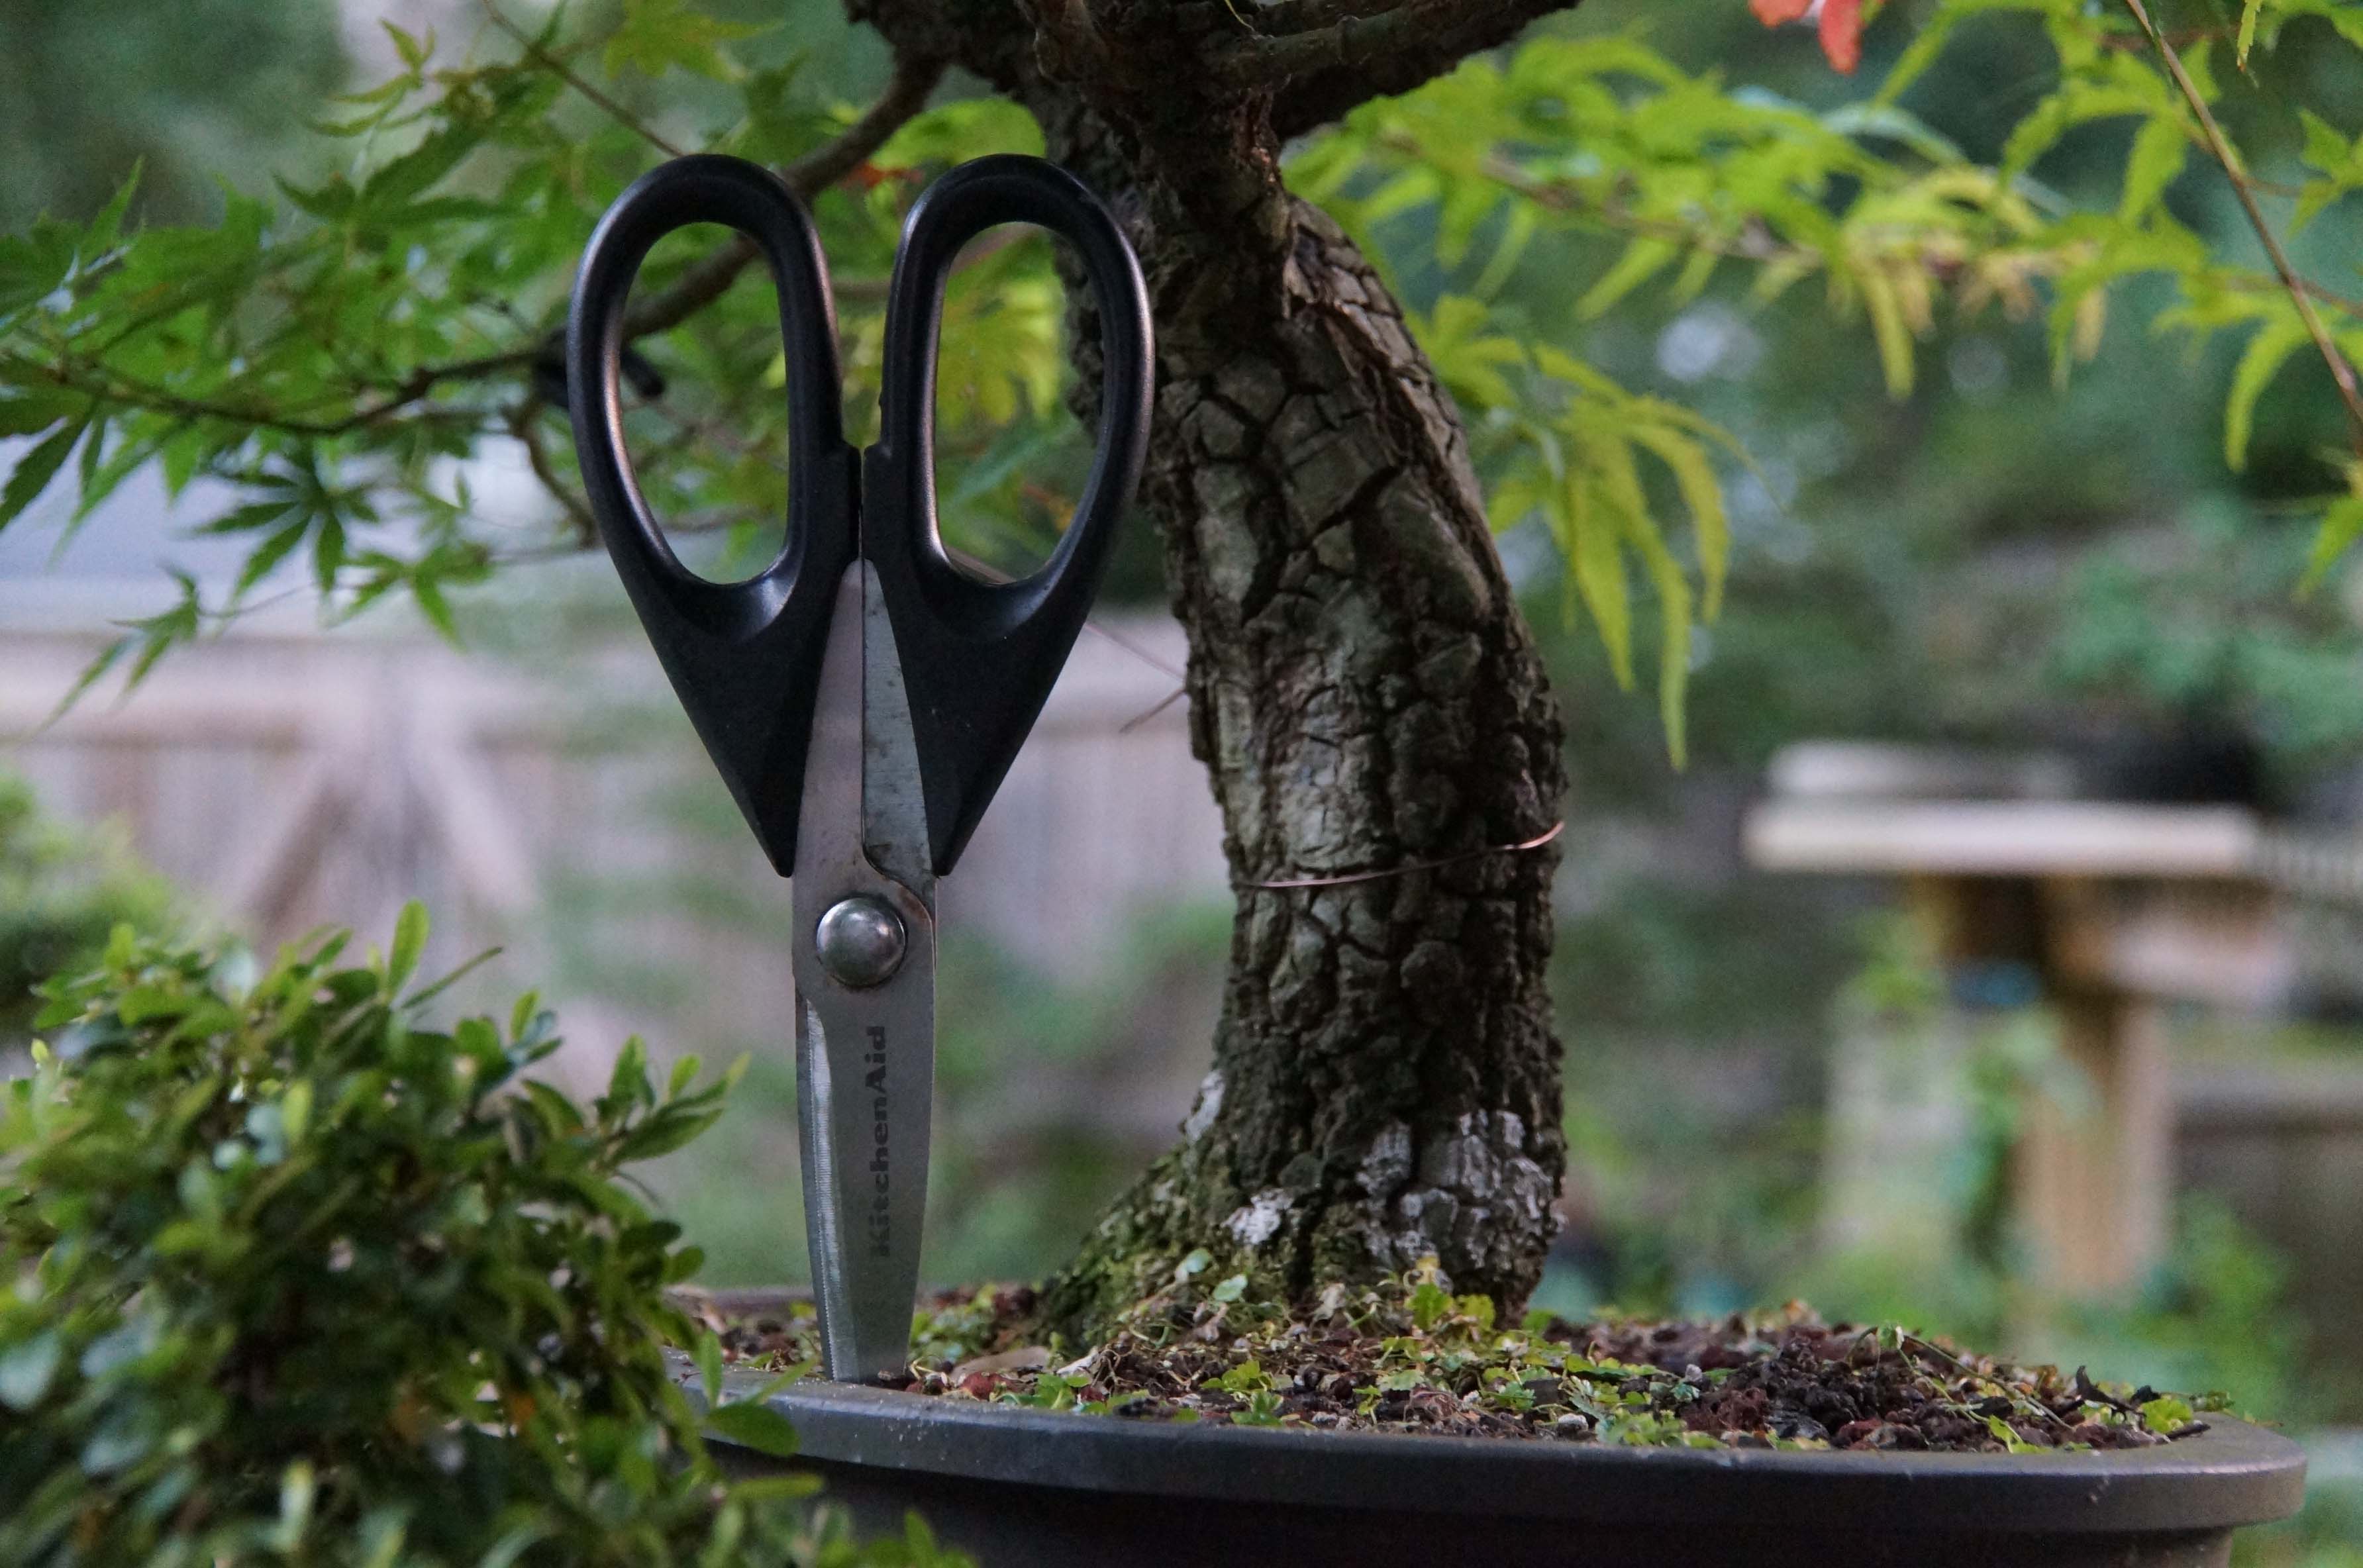
"Arakawa"

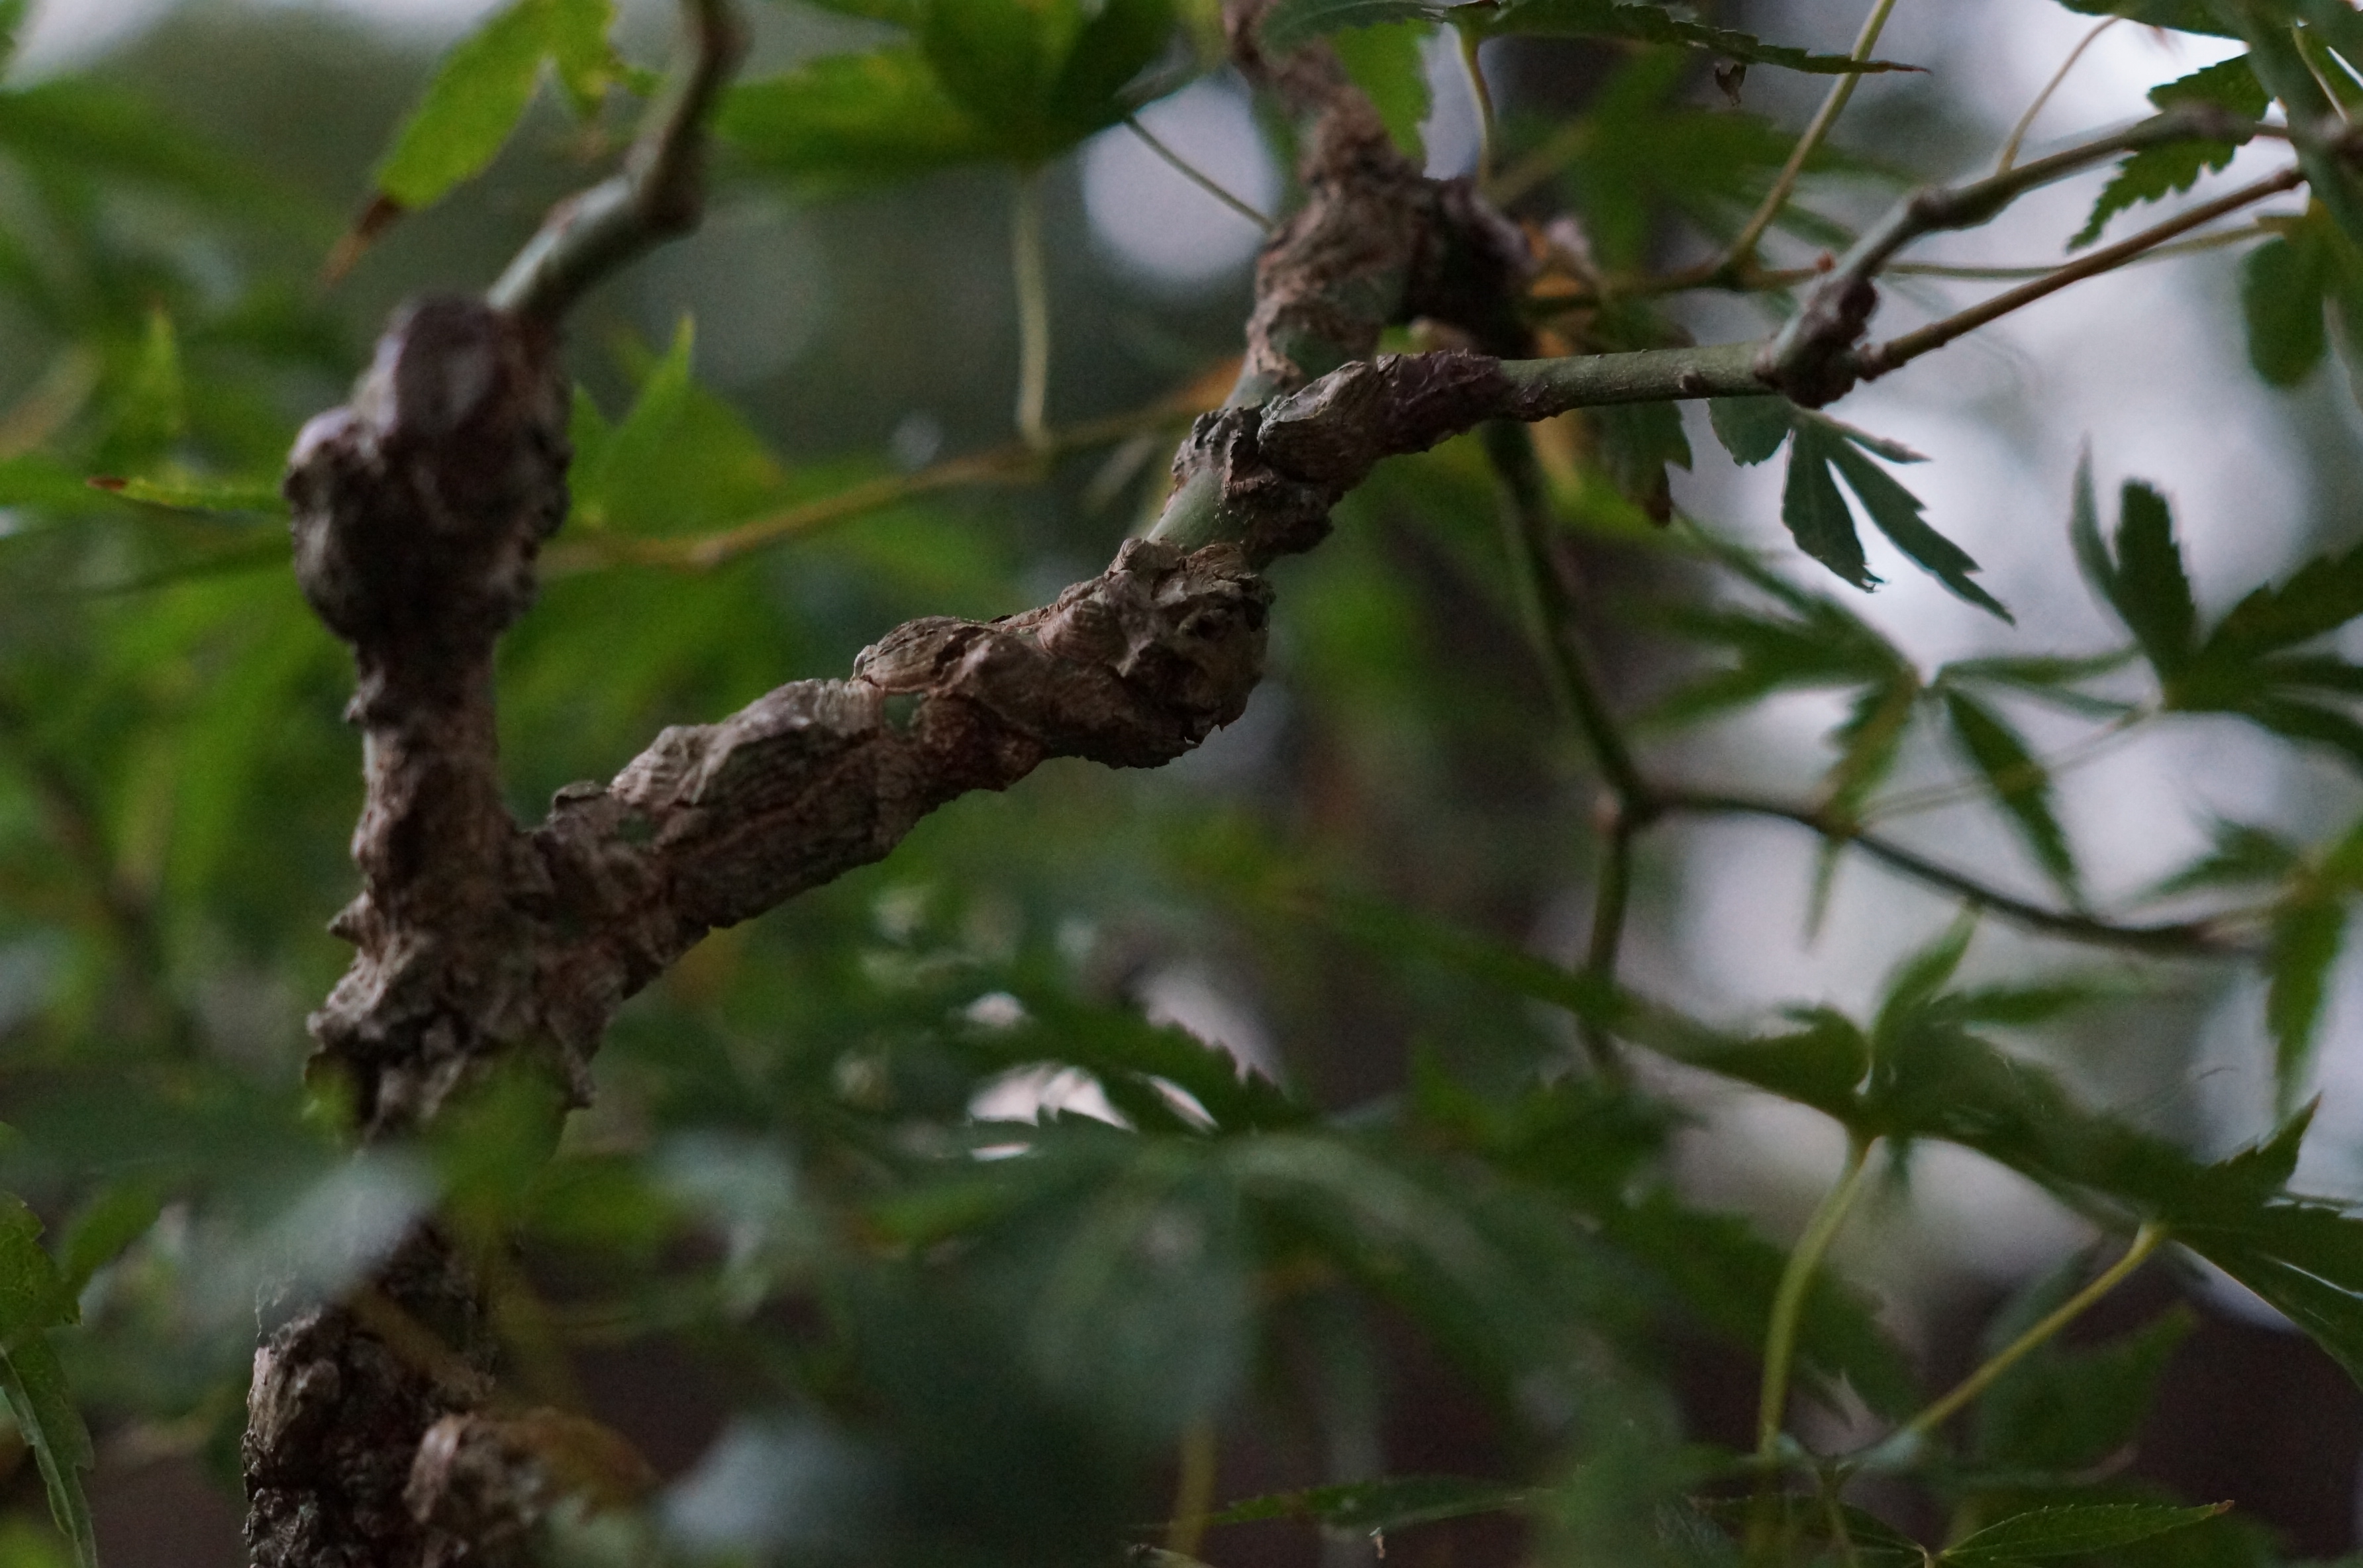
This is the cork-bark version of the japanese maple, as the bark matures, it developes a nice fissured, corky appearance. I have had this tree for quite some time and I must admit that I have only gotten serious about developing it the last couple of years. Mostly because I did not know the right way to go about it or have the time to really put into it. I found alot of help on the Bonsainut forum , two members, markyscott and smoke (forum handles), are really good with maples. Also, Joe Day, a member of our club, Azalea City Bonsai Society, is very good with them also. After reading up and getting good advice, I have slowly been moving this girl forward.
I almost lost this tree several years ago to a fungus attack, most of one side of the tree died. I took it to my dad, who has two green thumbs, and he was able to nurse it back to health. It would not be here today if not for him. Japanese maples are very susceptible to many types of fungal and viral attacks and the climate here, in the Heart of Dixie, is perfect for those diseases to thrive and survive. Anthracose is the main villian, if you want to see how bad it is read this article , I have lost several nice trees to it. I now have it mostly under control with monthly sprayings of fugicide.
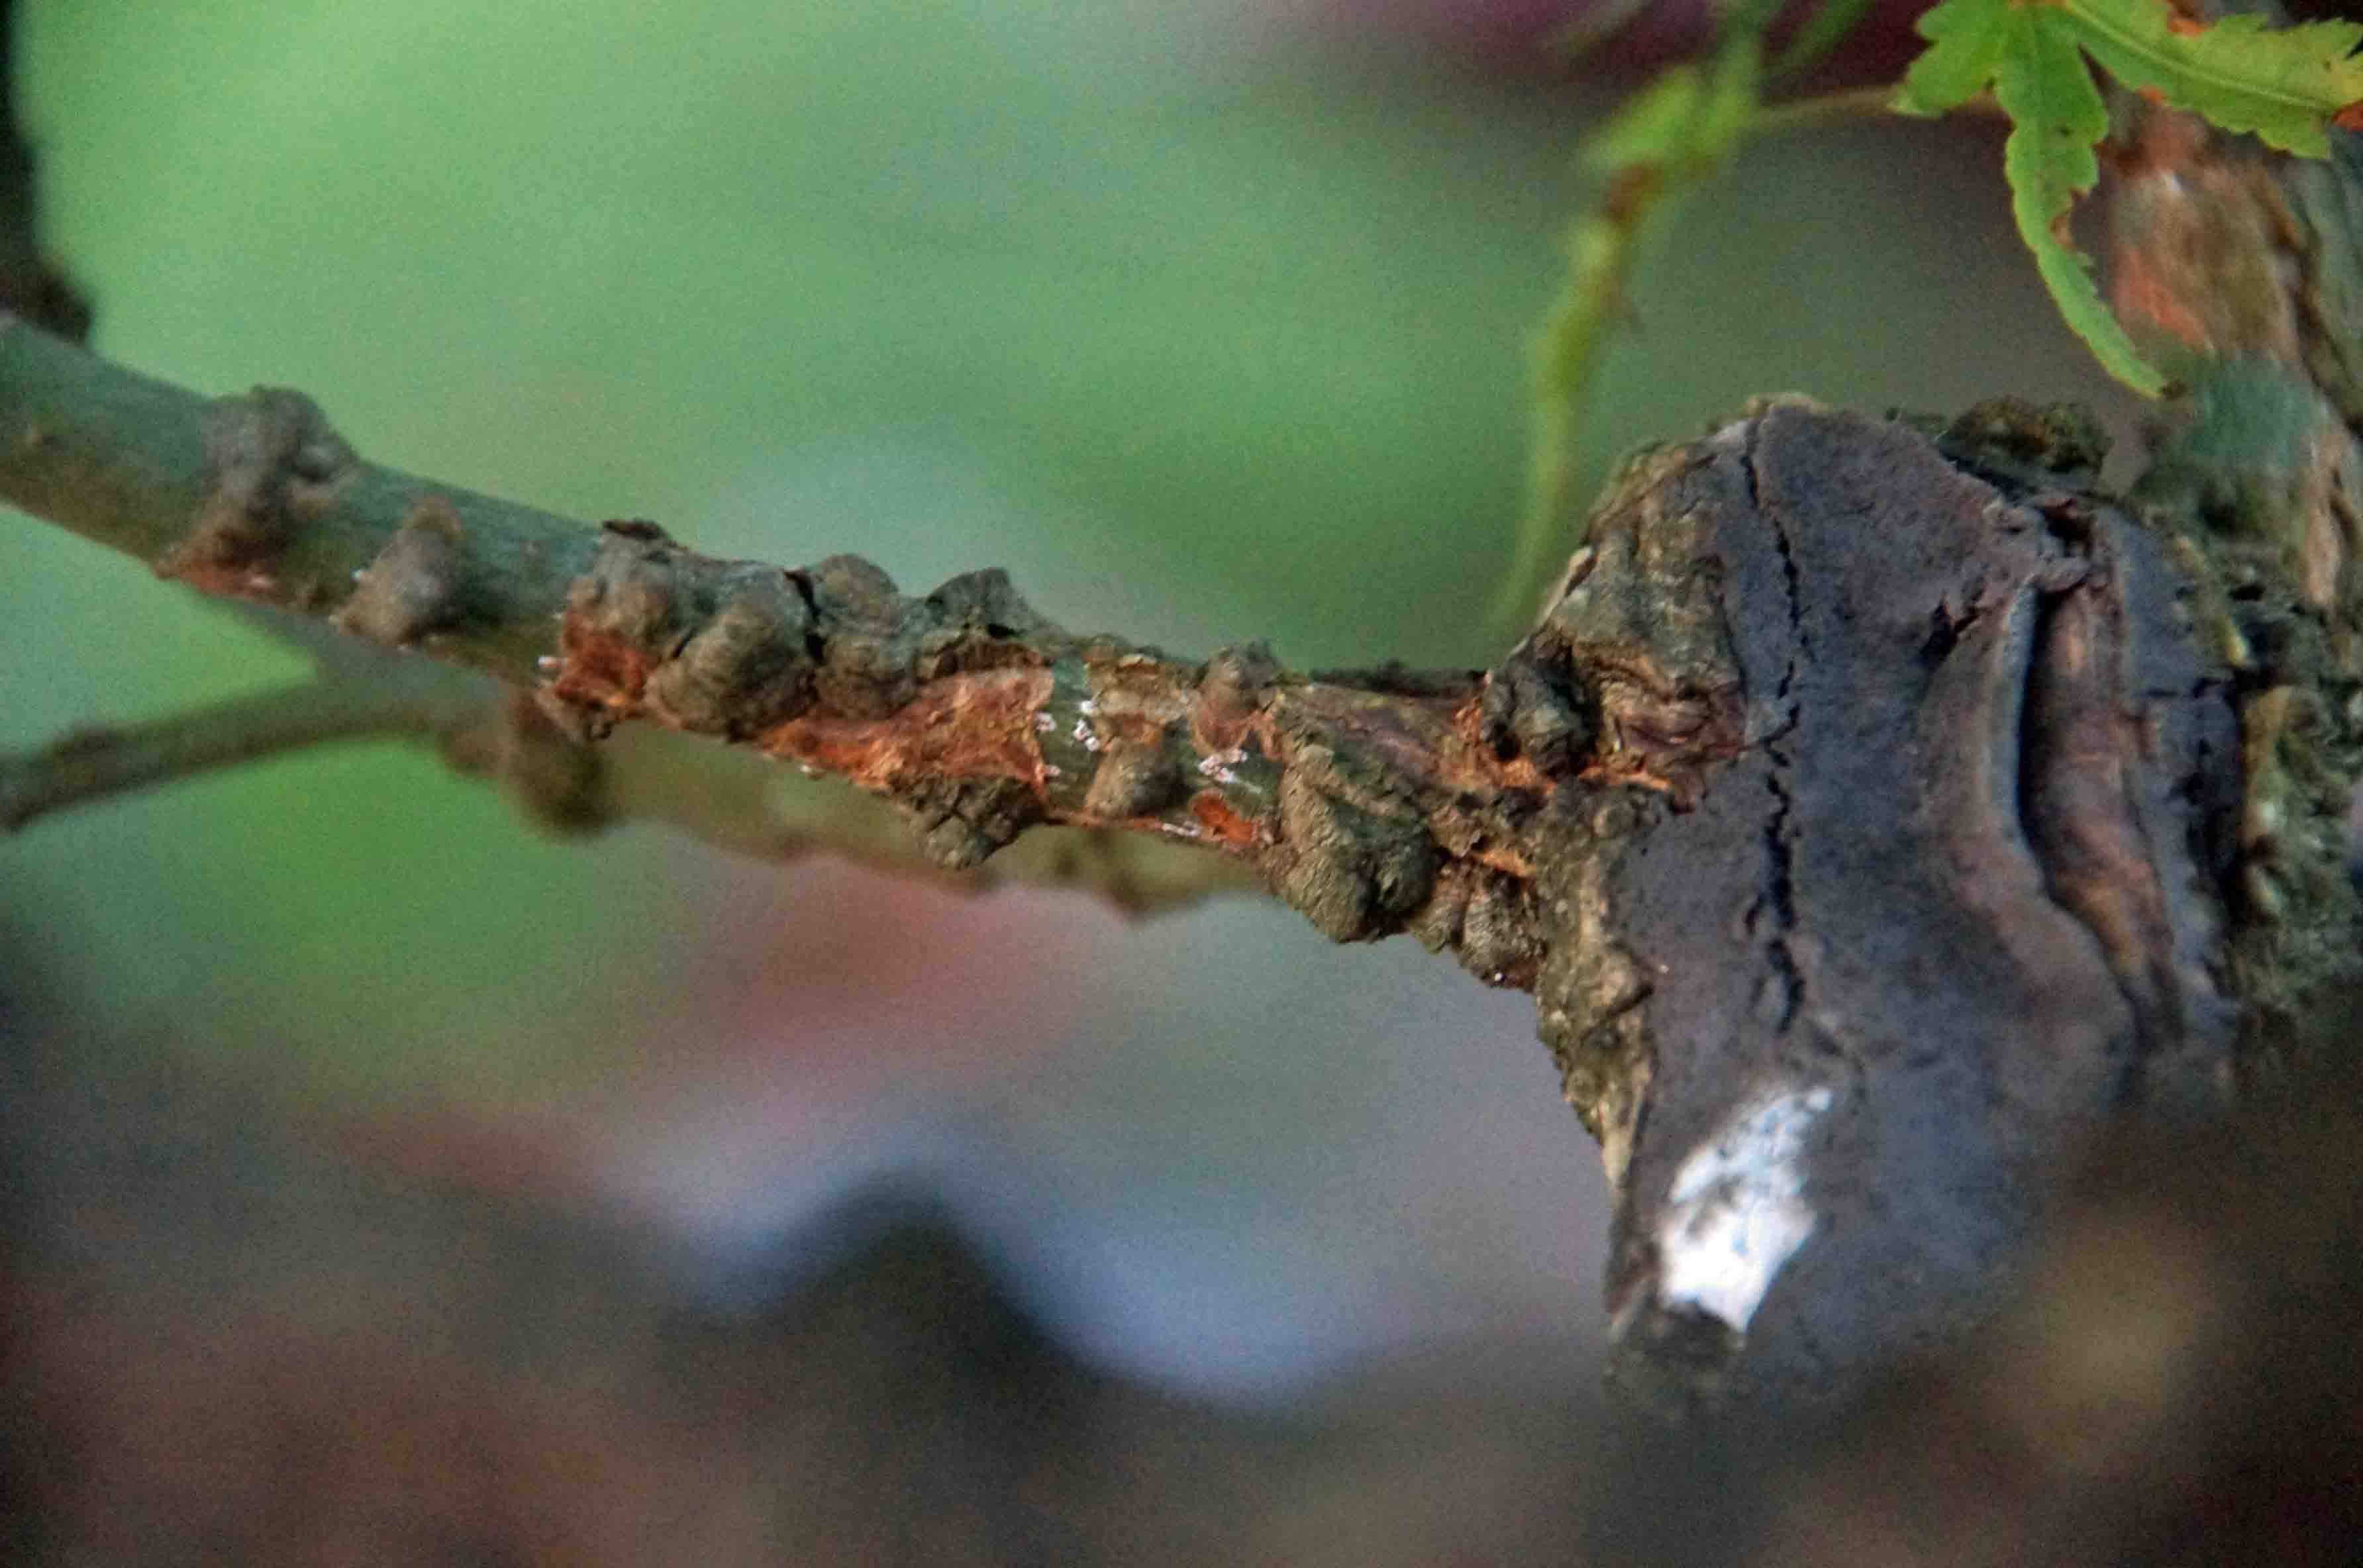
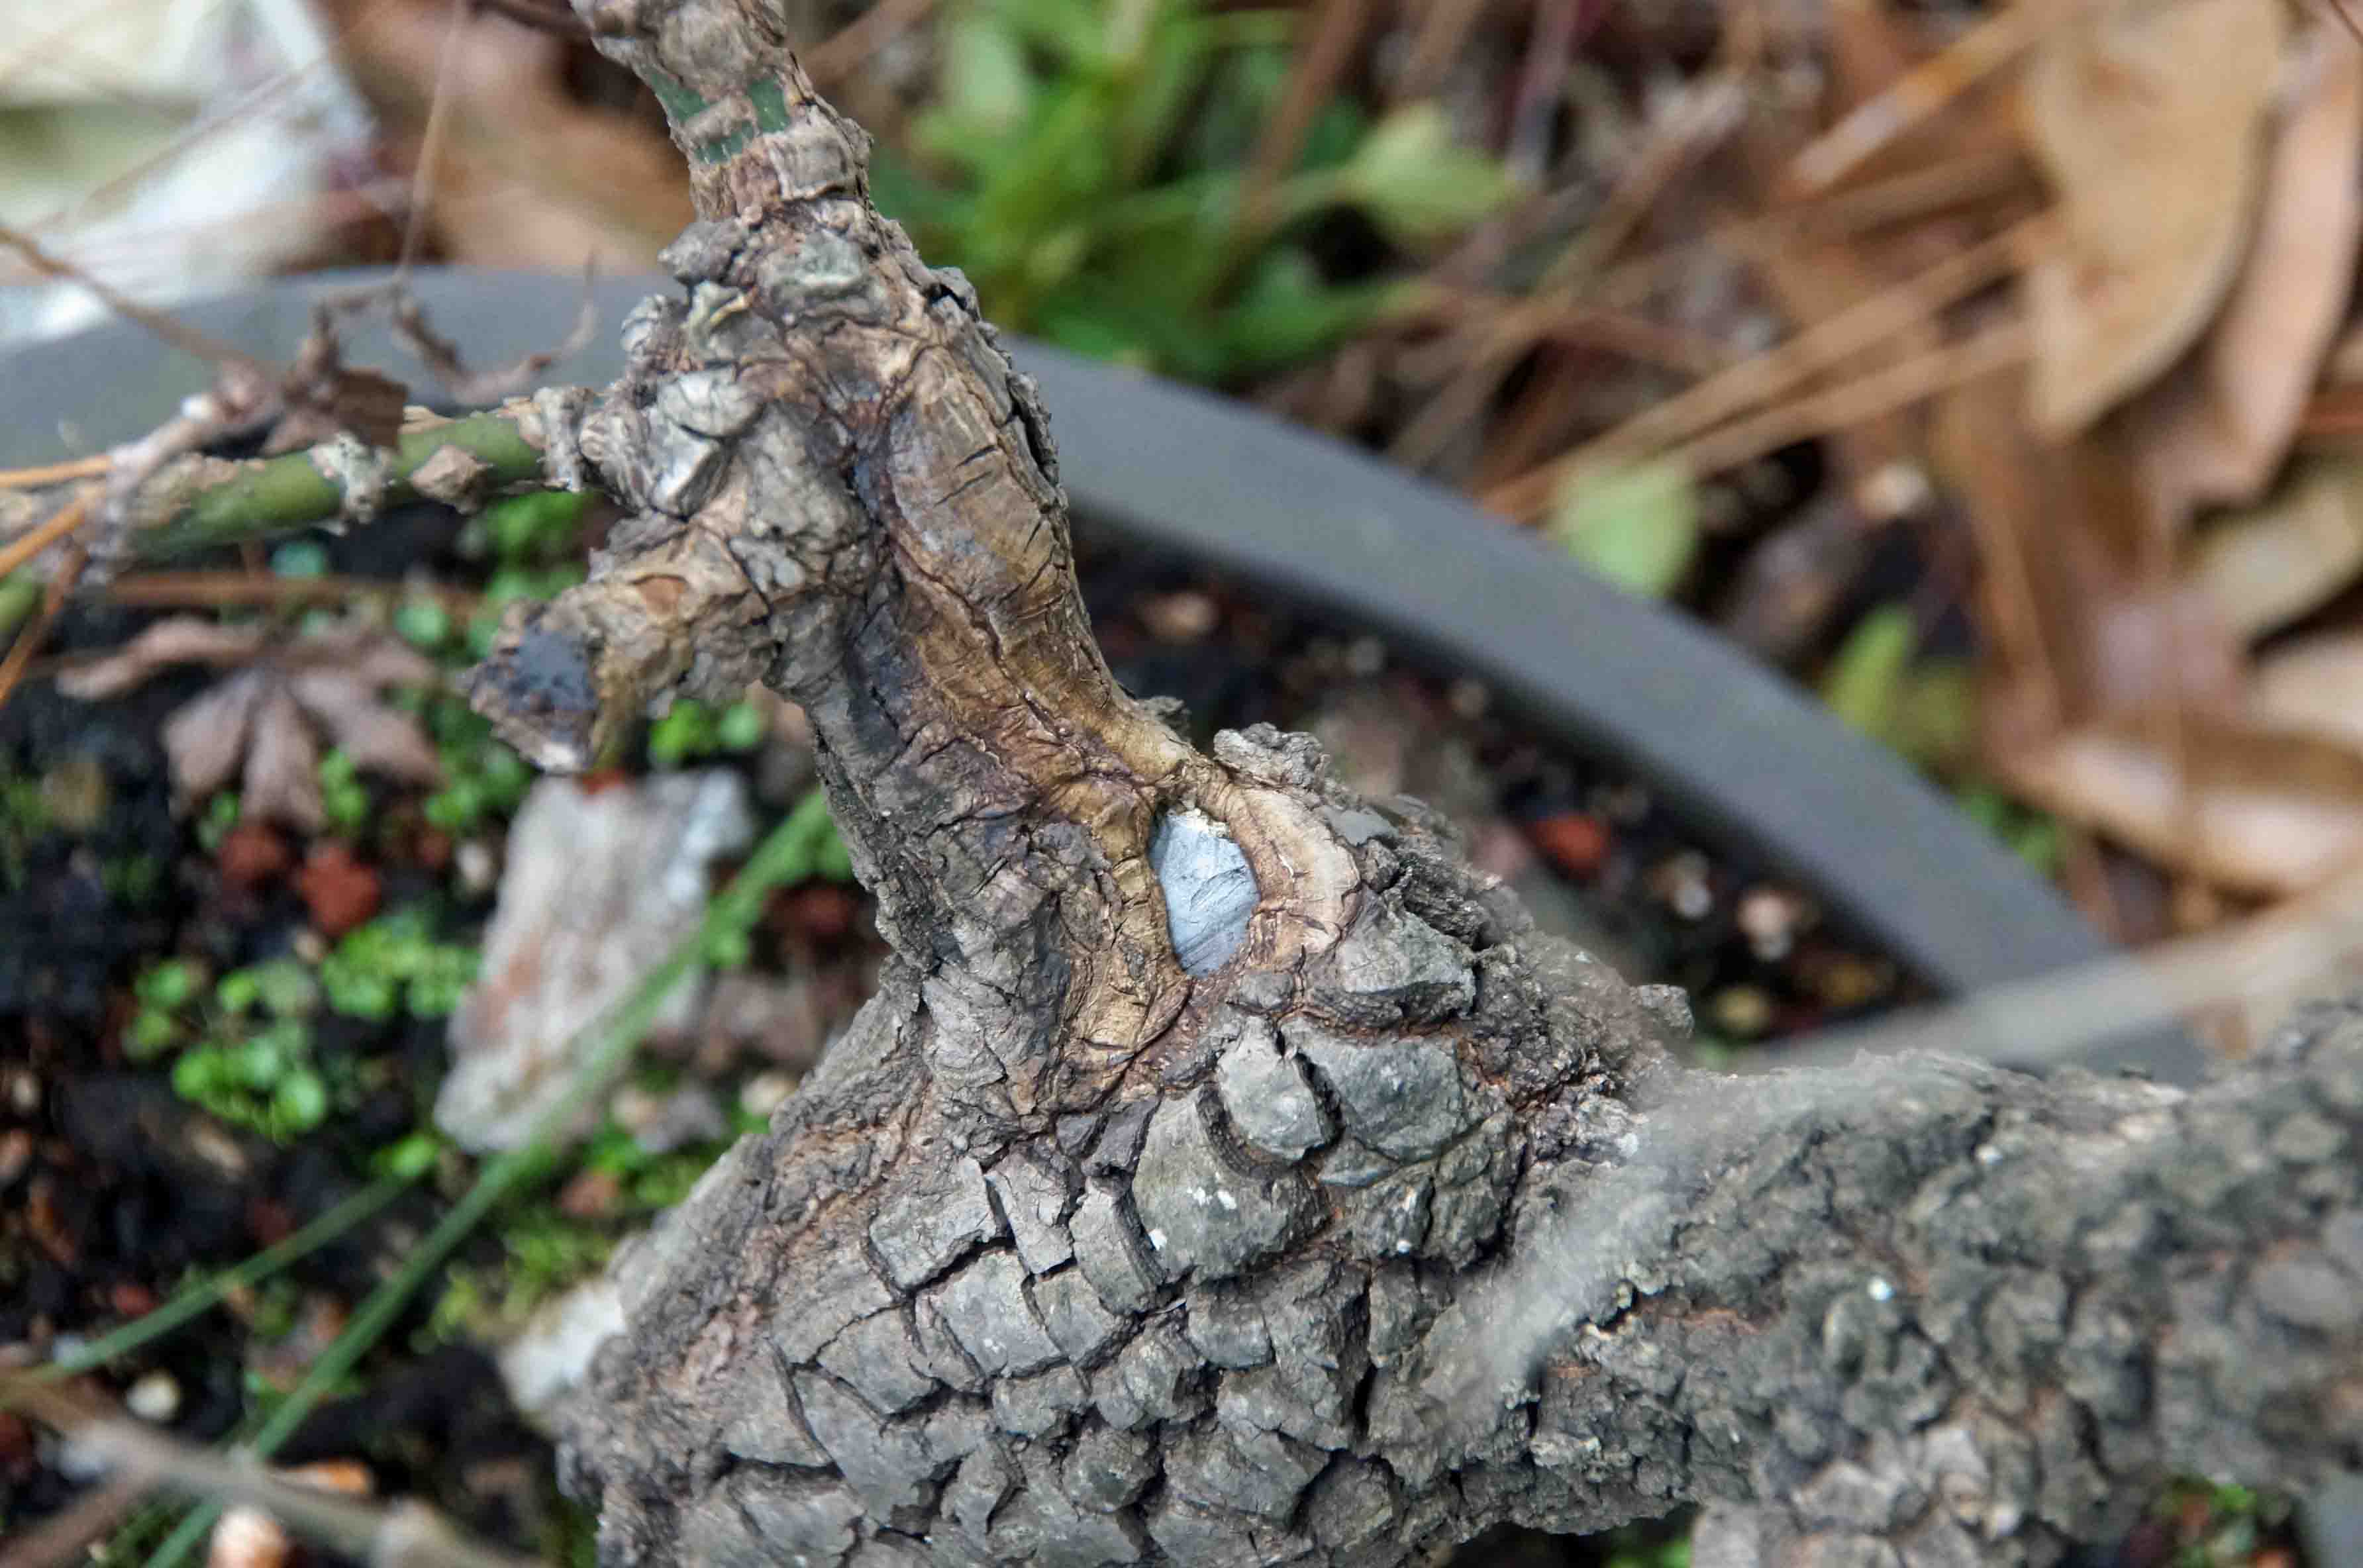
As a result of the attack the tree develped hollow down one side of the trunk and a bad wound on top of the first branch. I filled the hollow with Durham's Water Putty after plugging the bottom hole with epoxy putty. After the water putty cured, I sealed the top with epoxy putty. Sadly, I did not take any pictues of the process. Today, you can hardly tell it ever happened. If you want to learn more about repairing trees with epoxy, read this article.
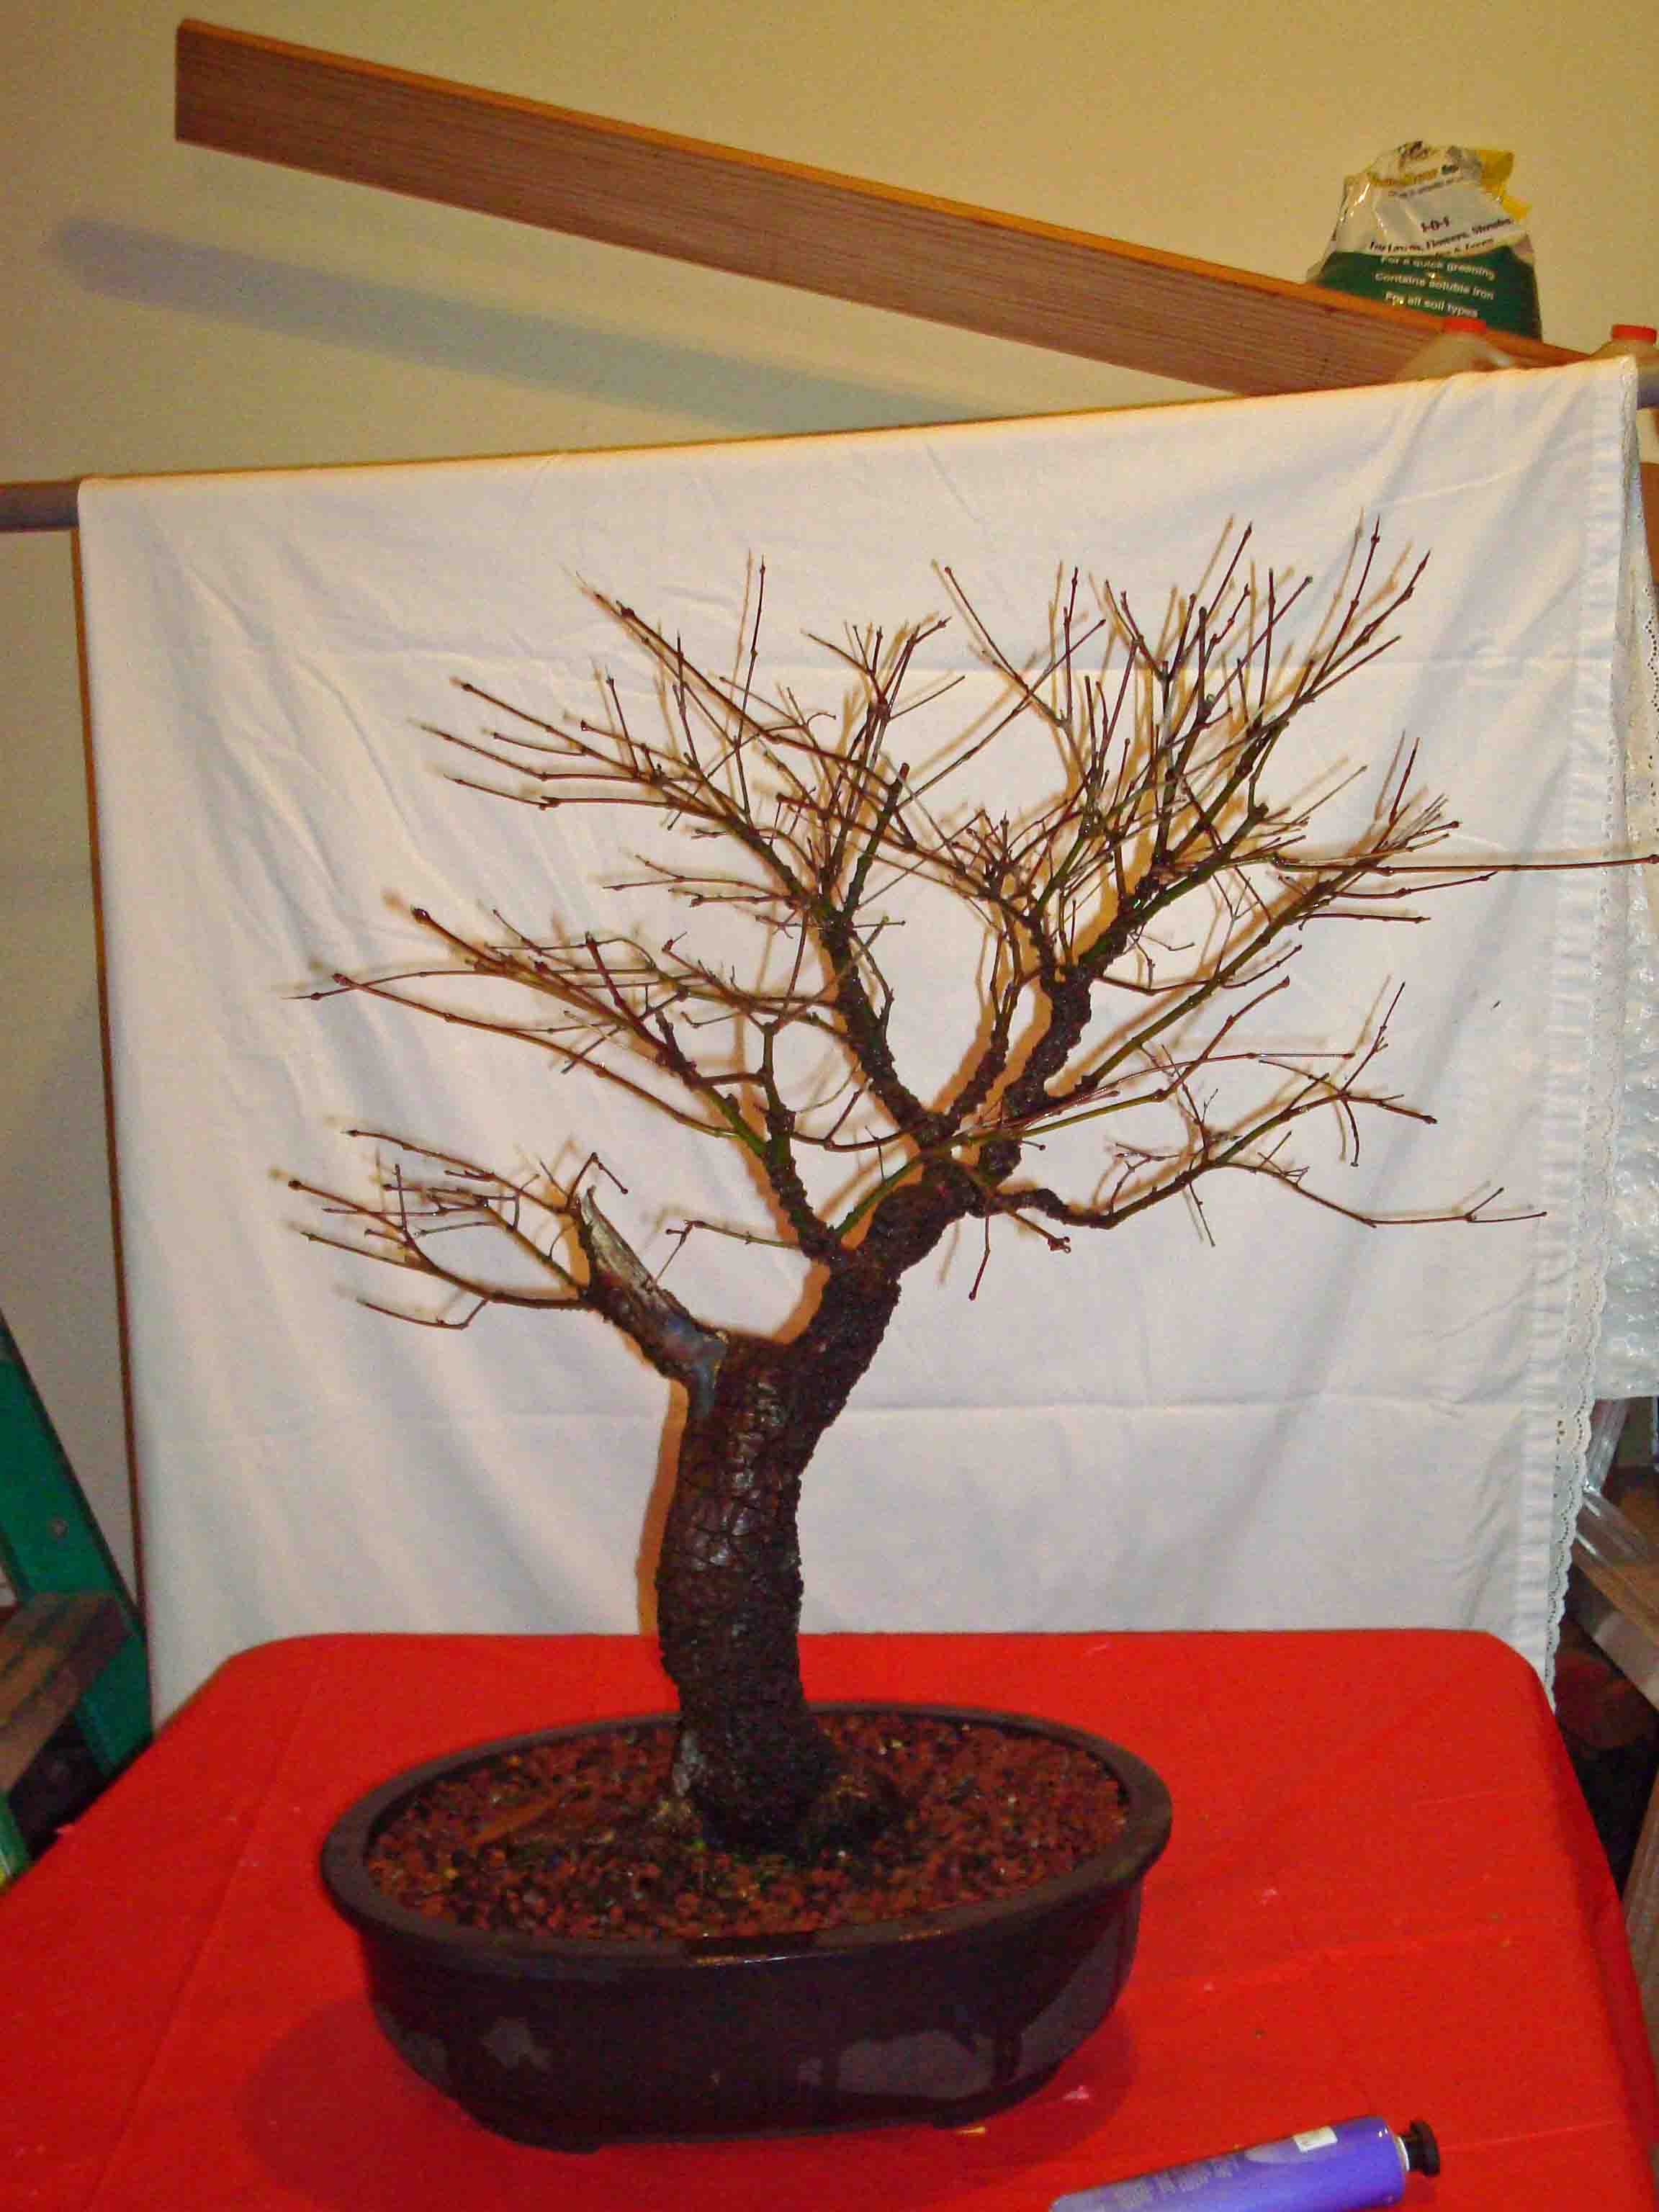
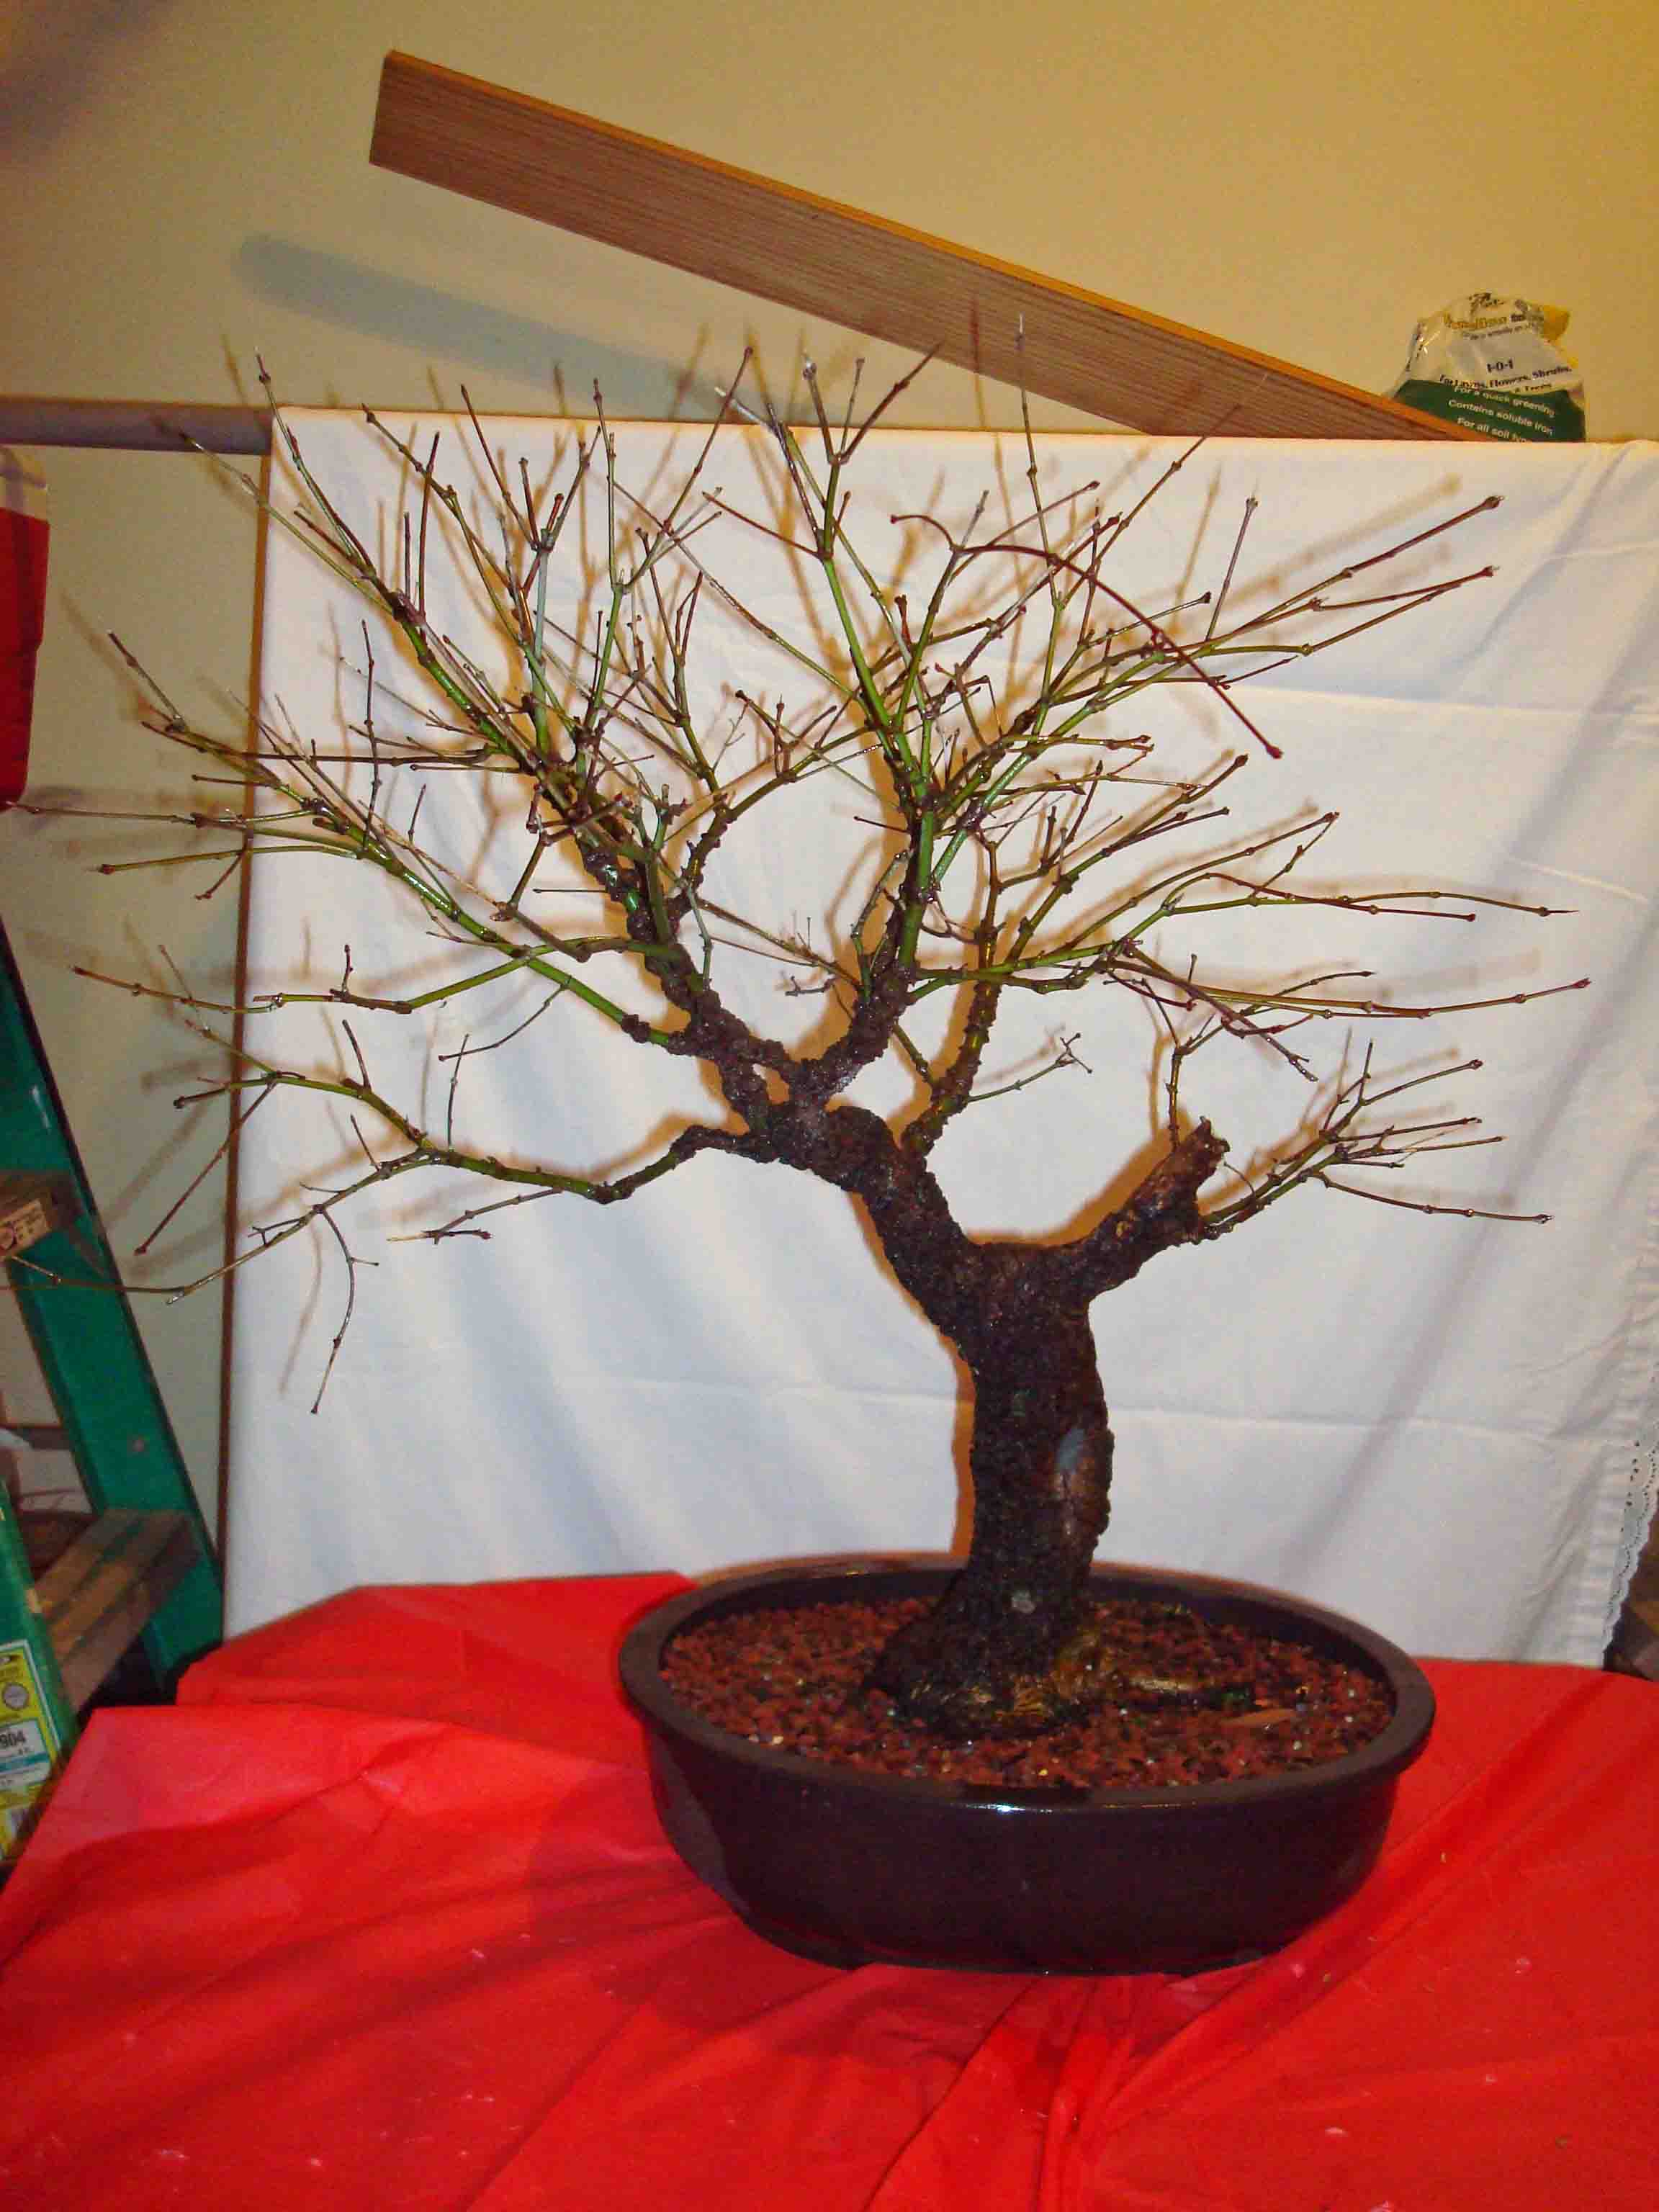
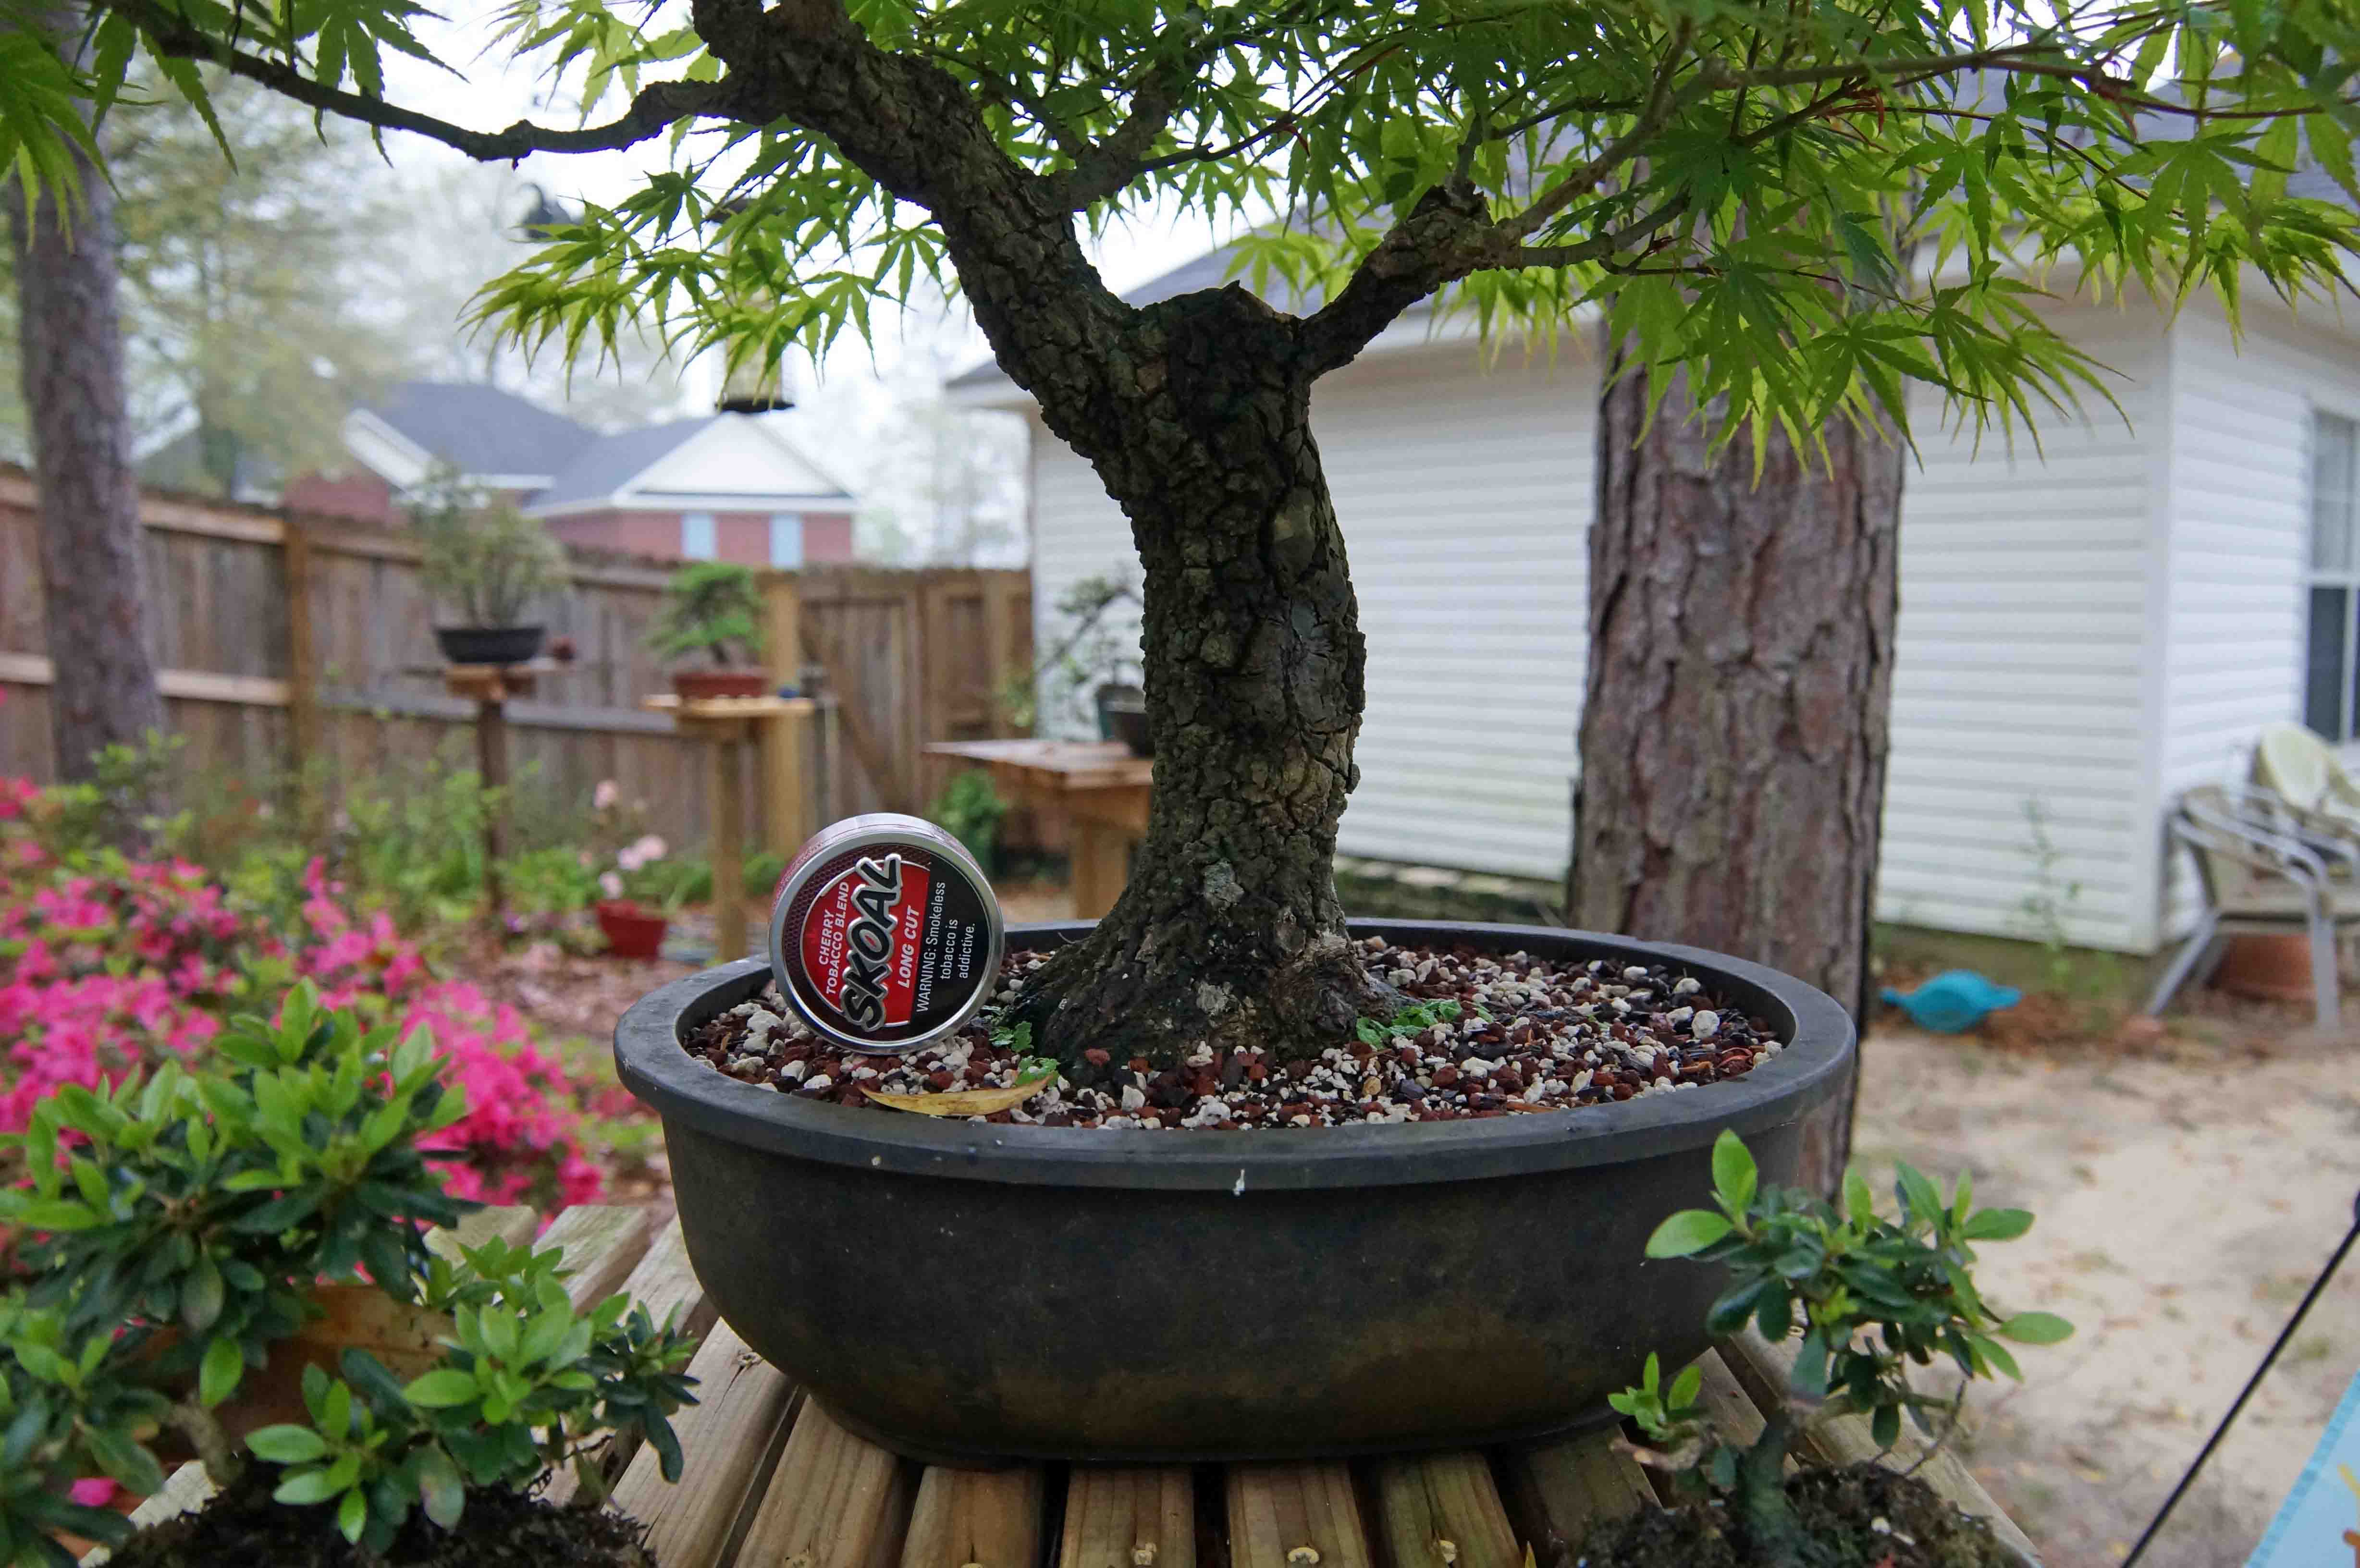
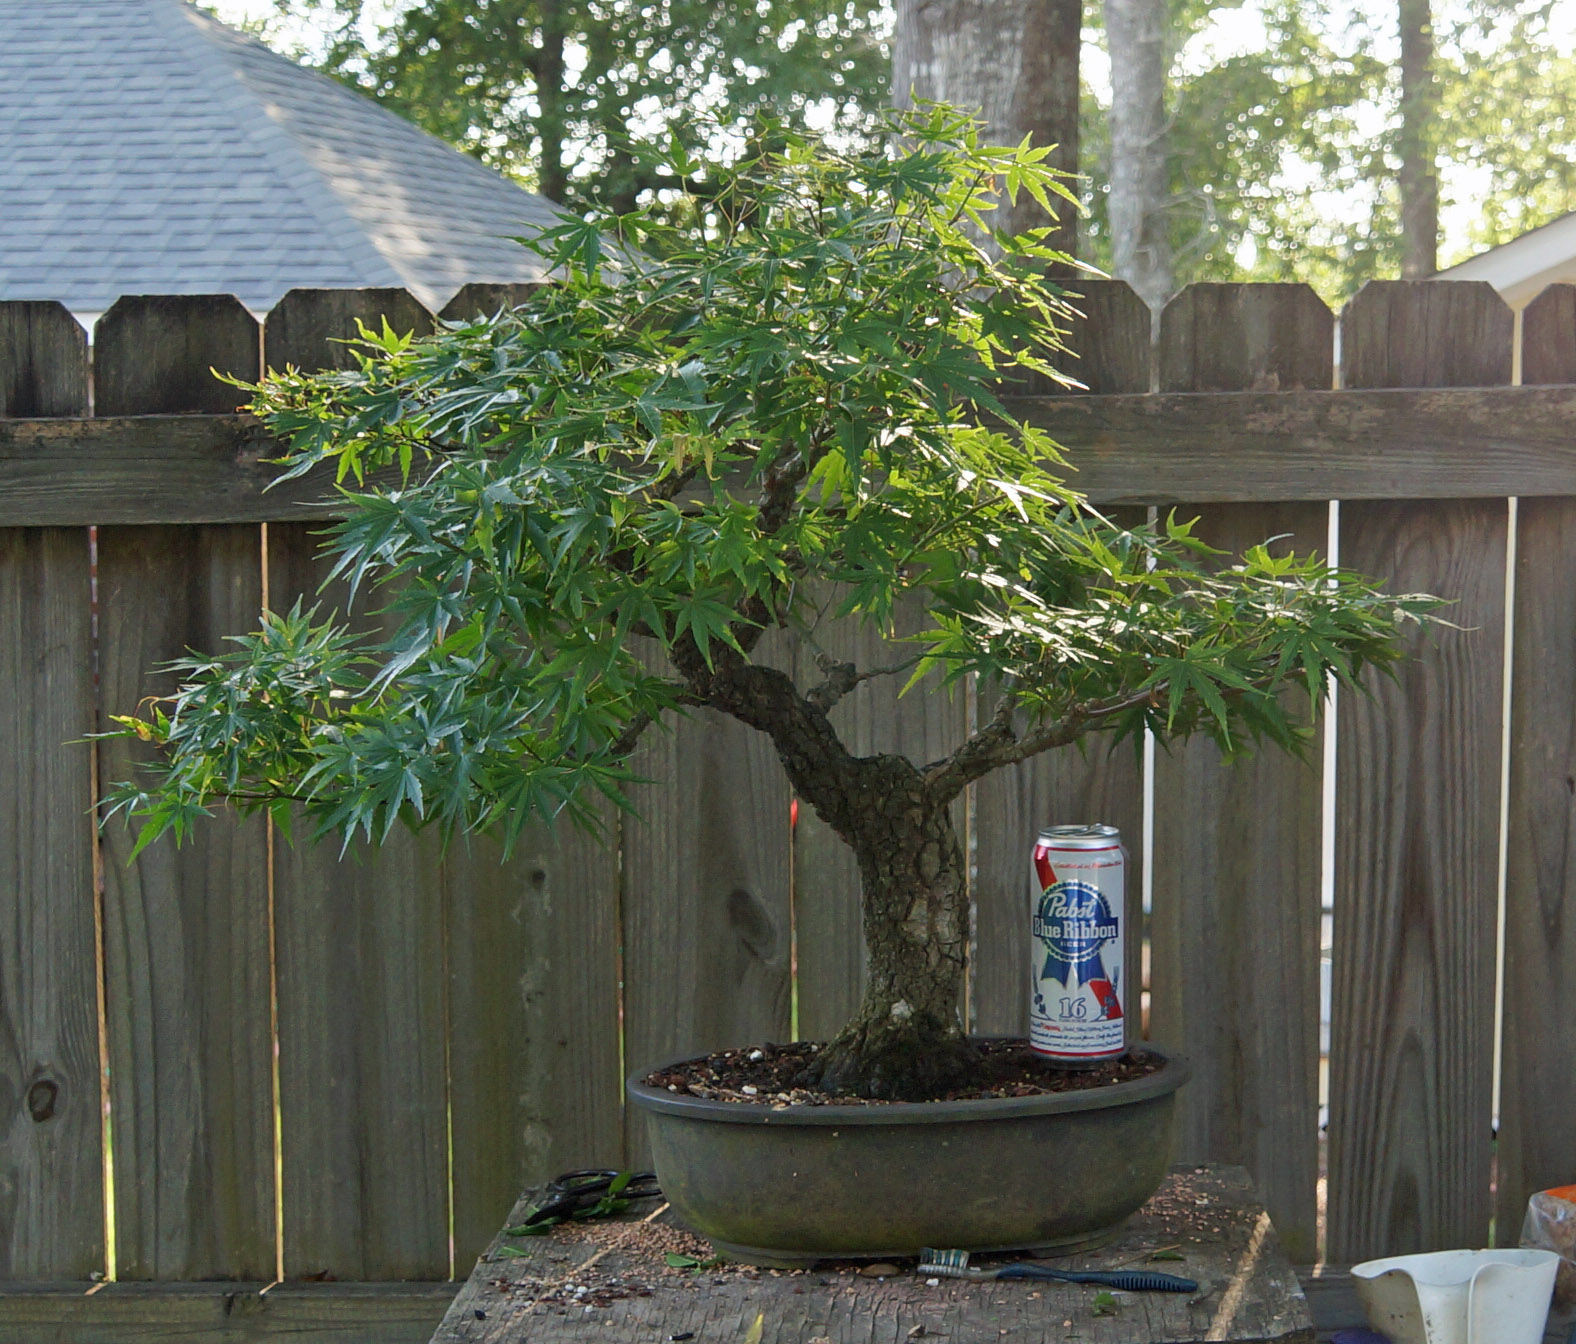
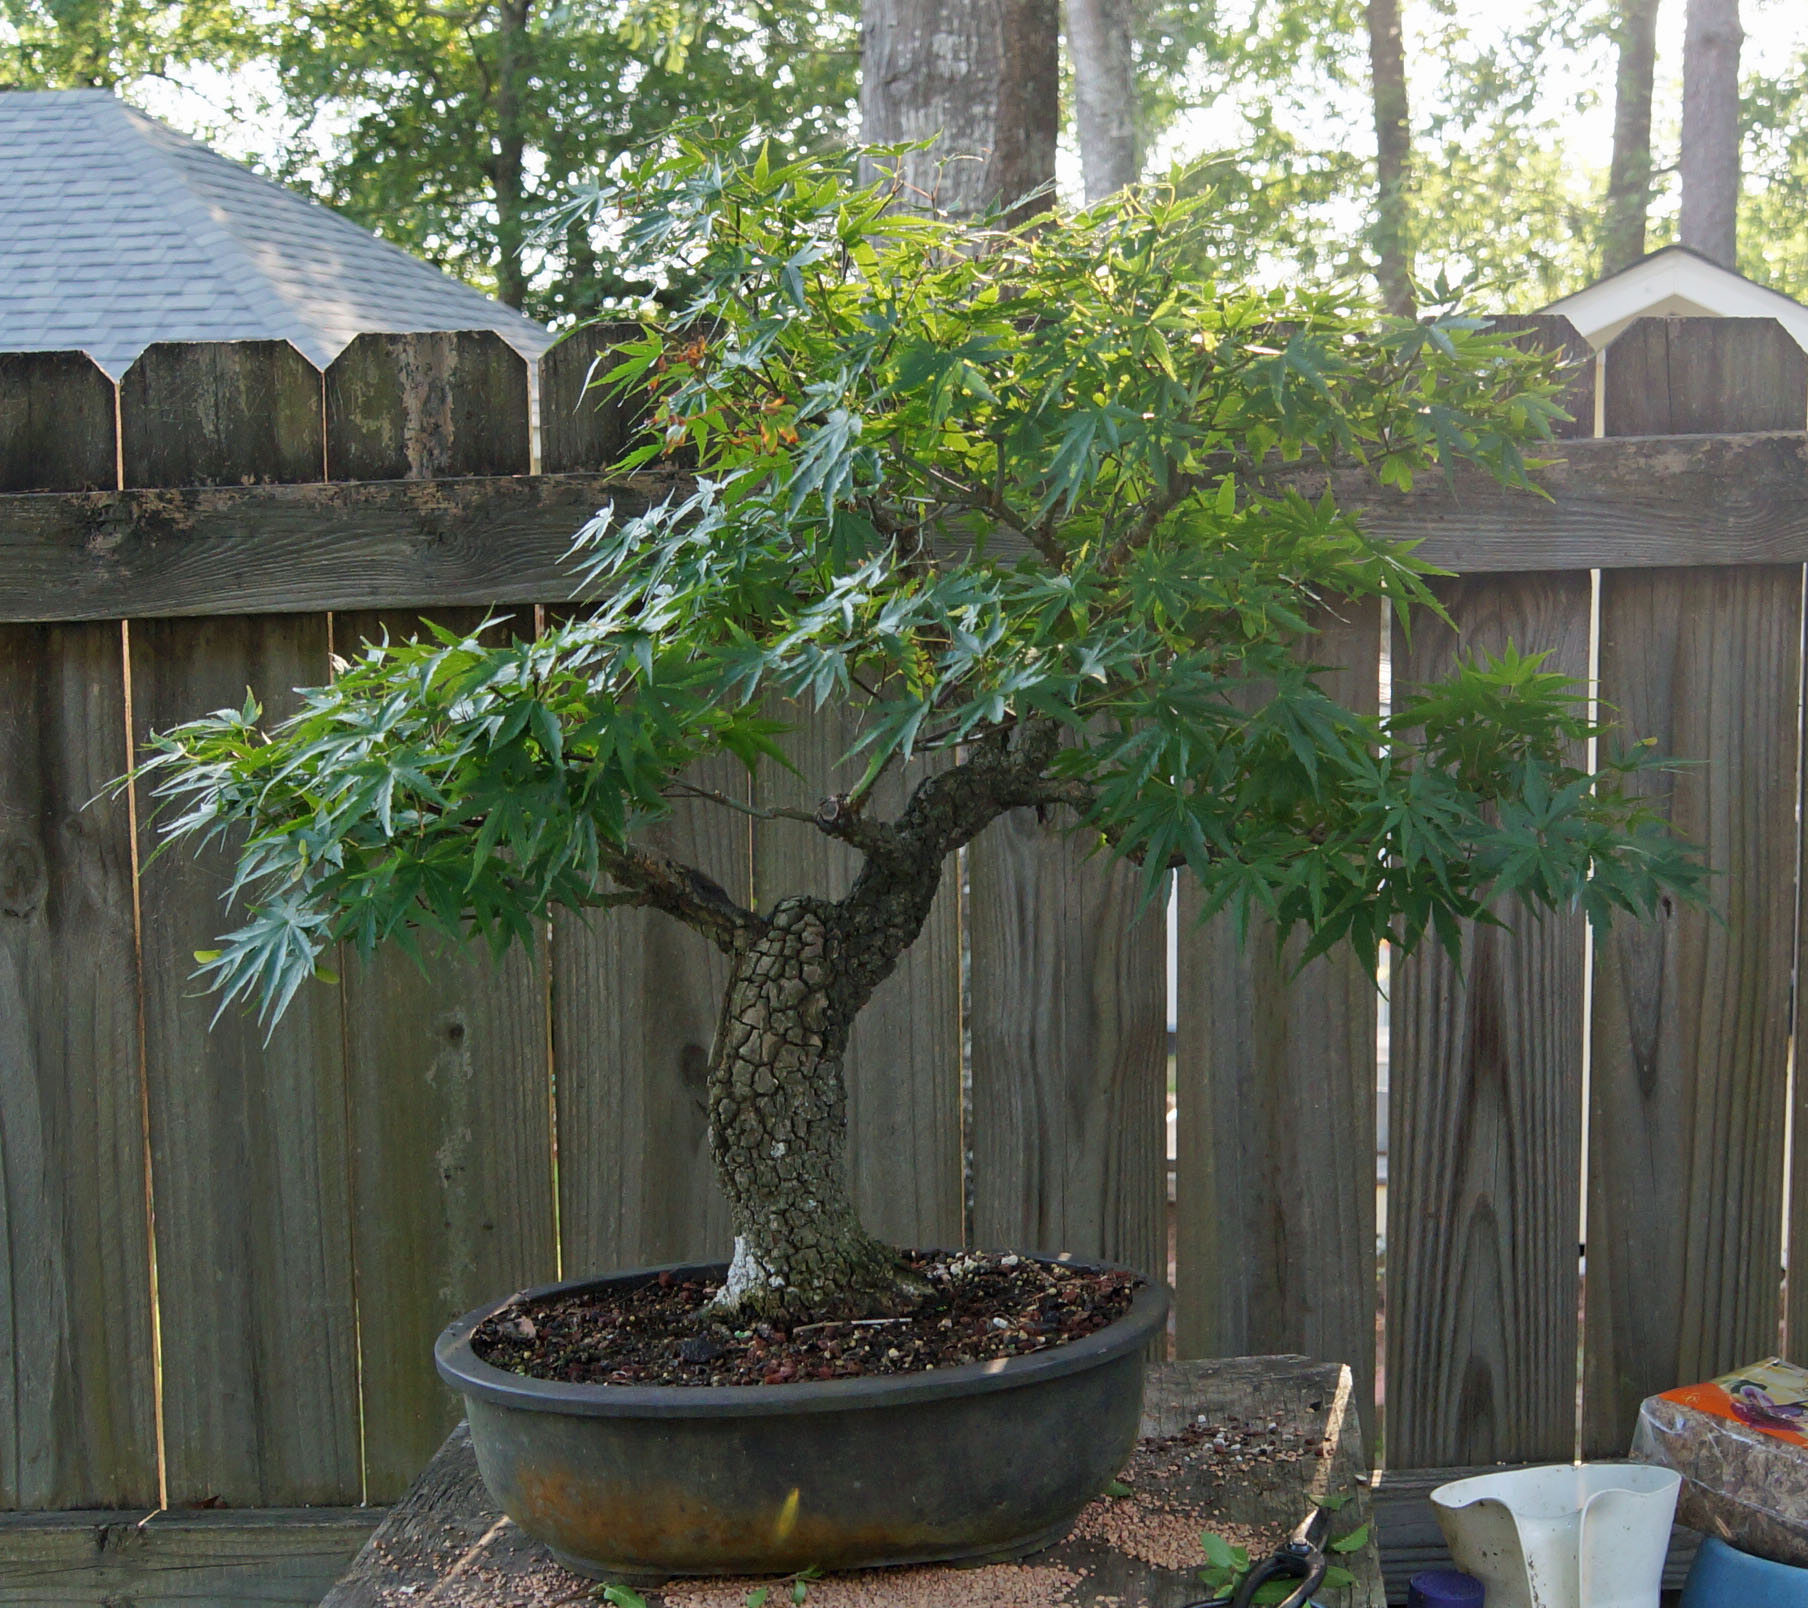
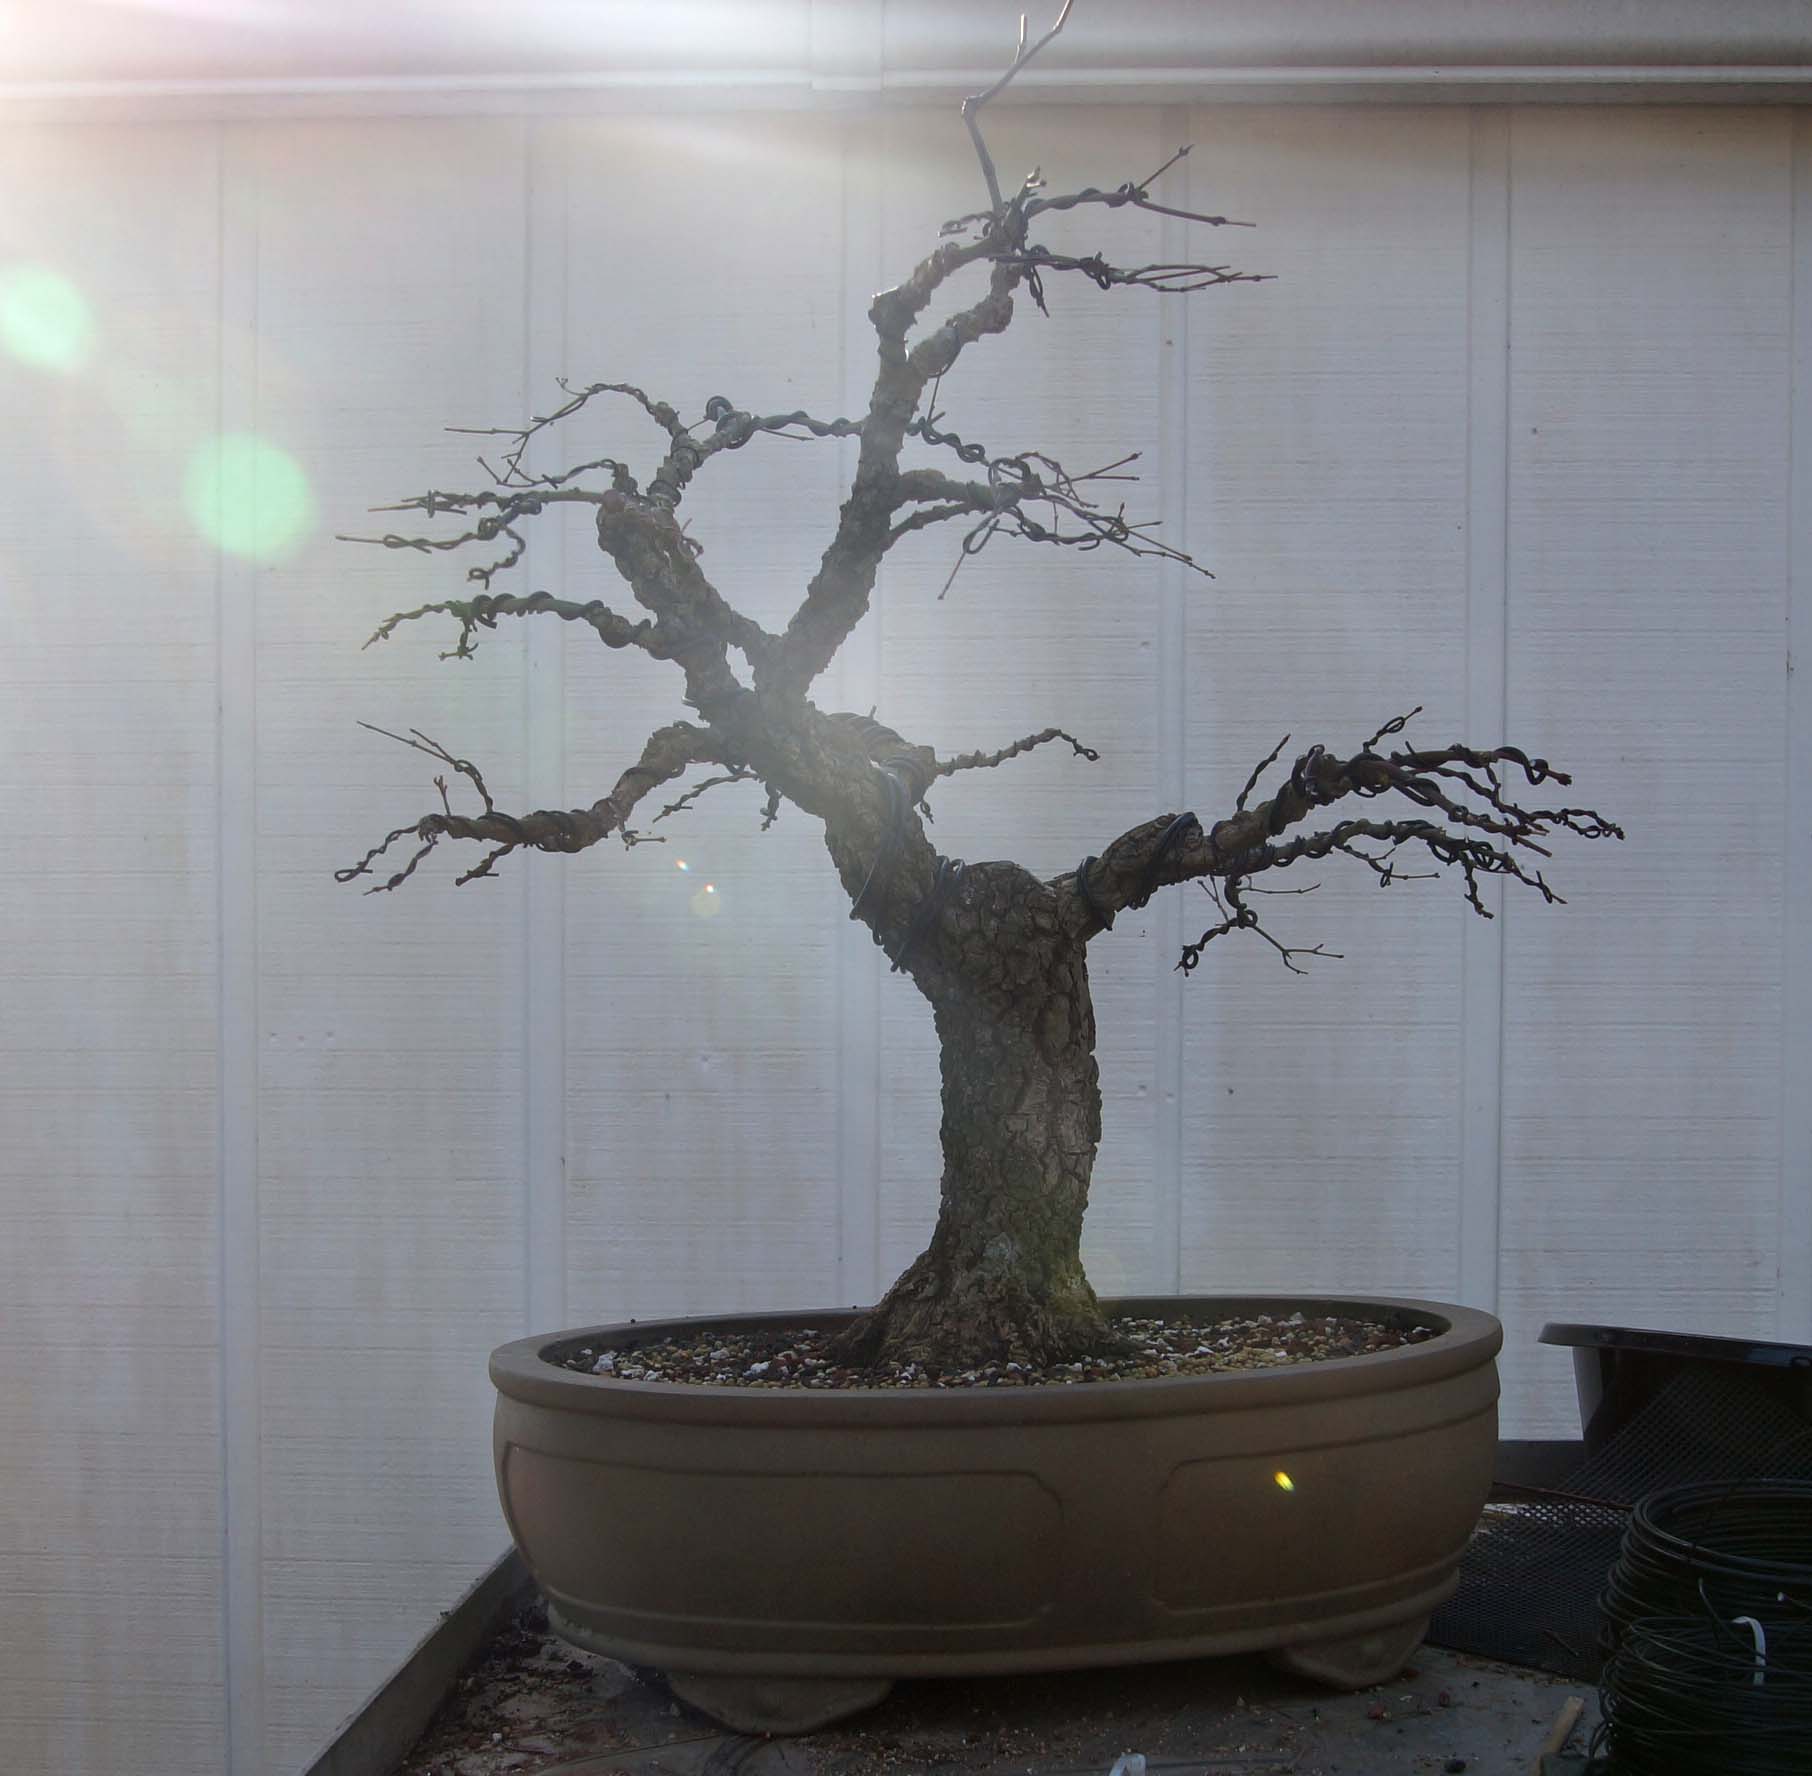
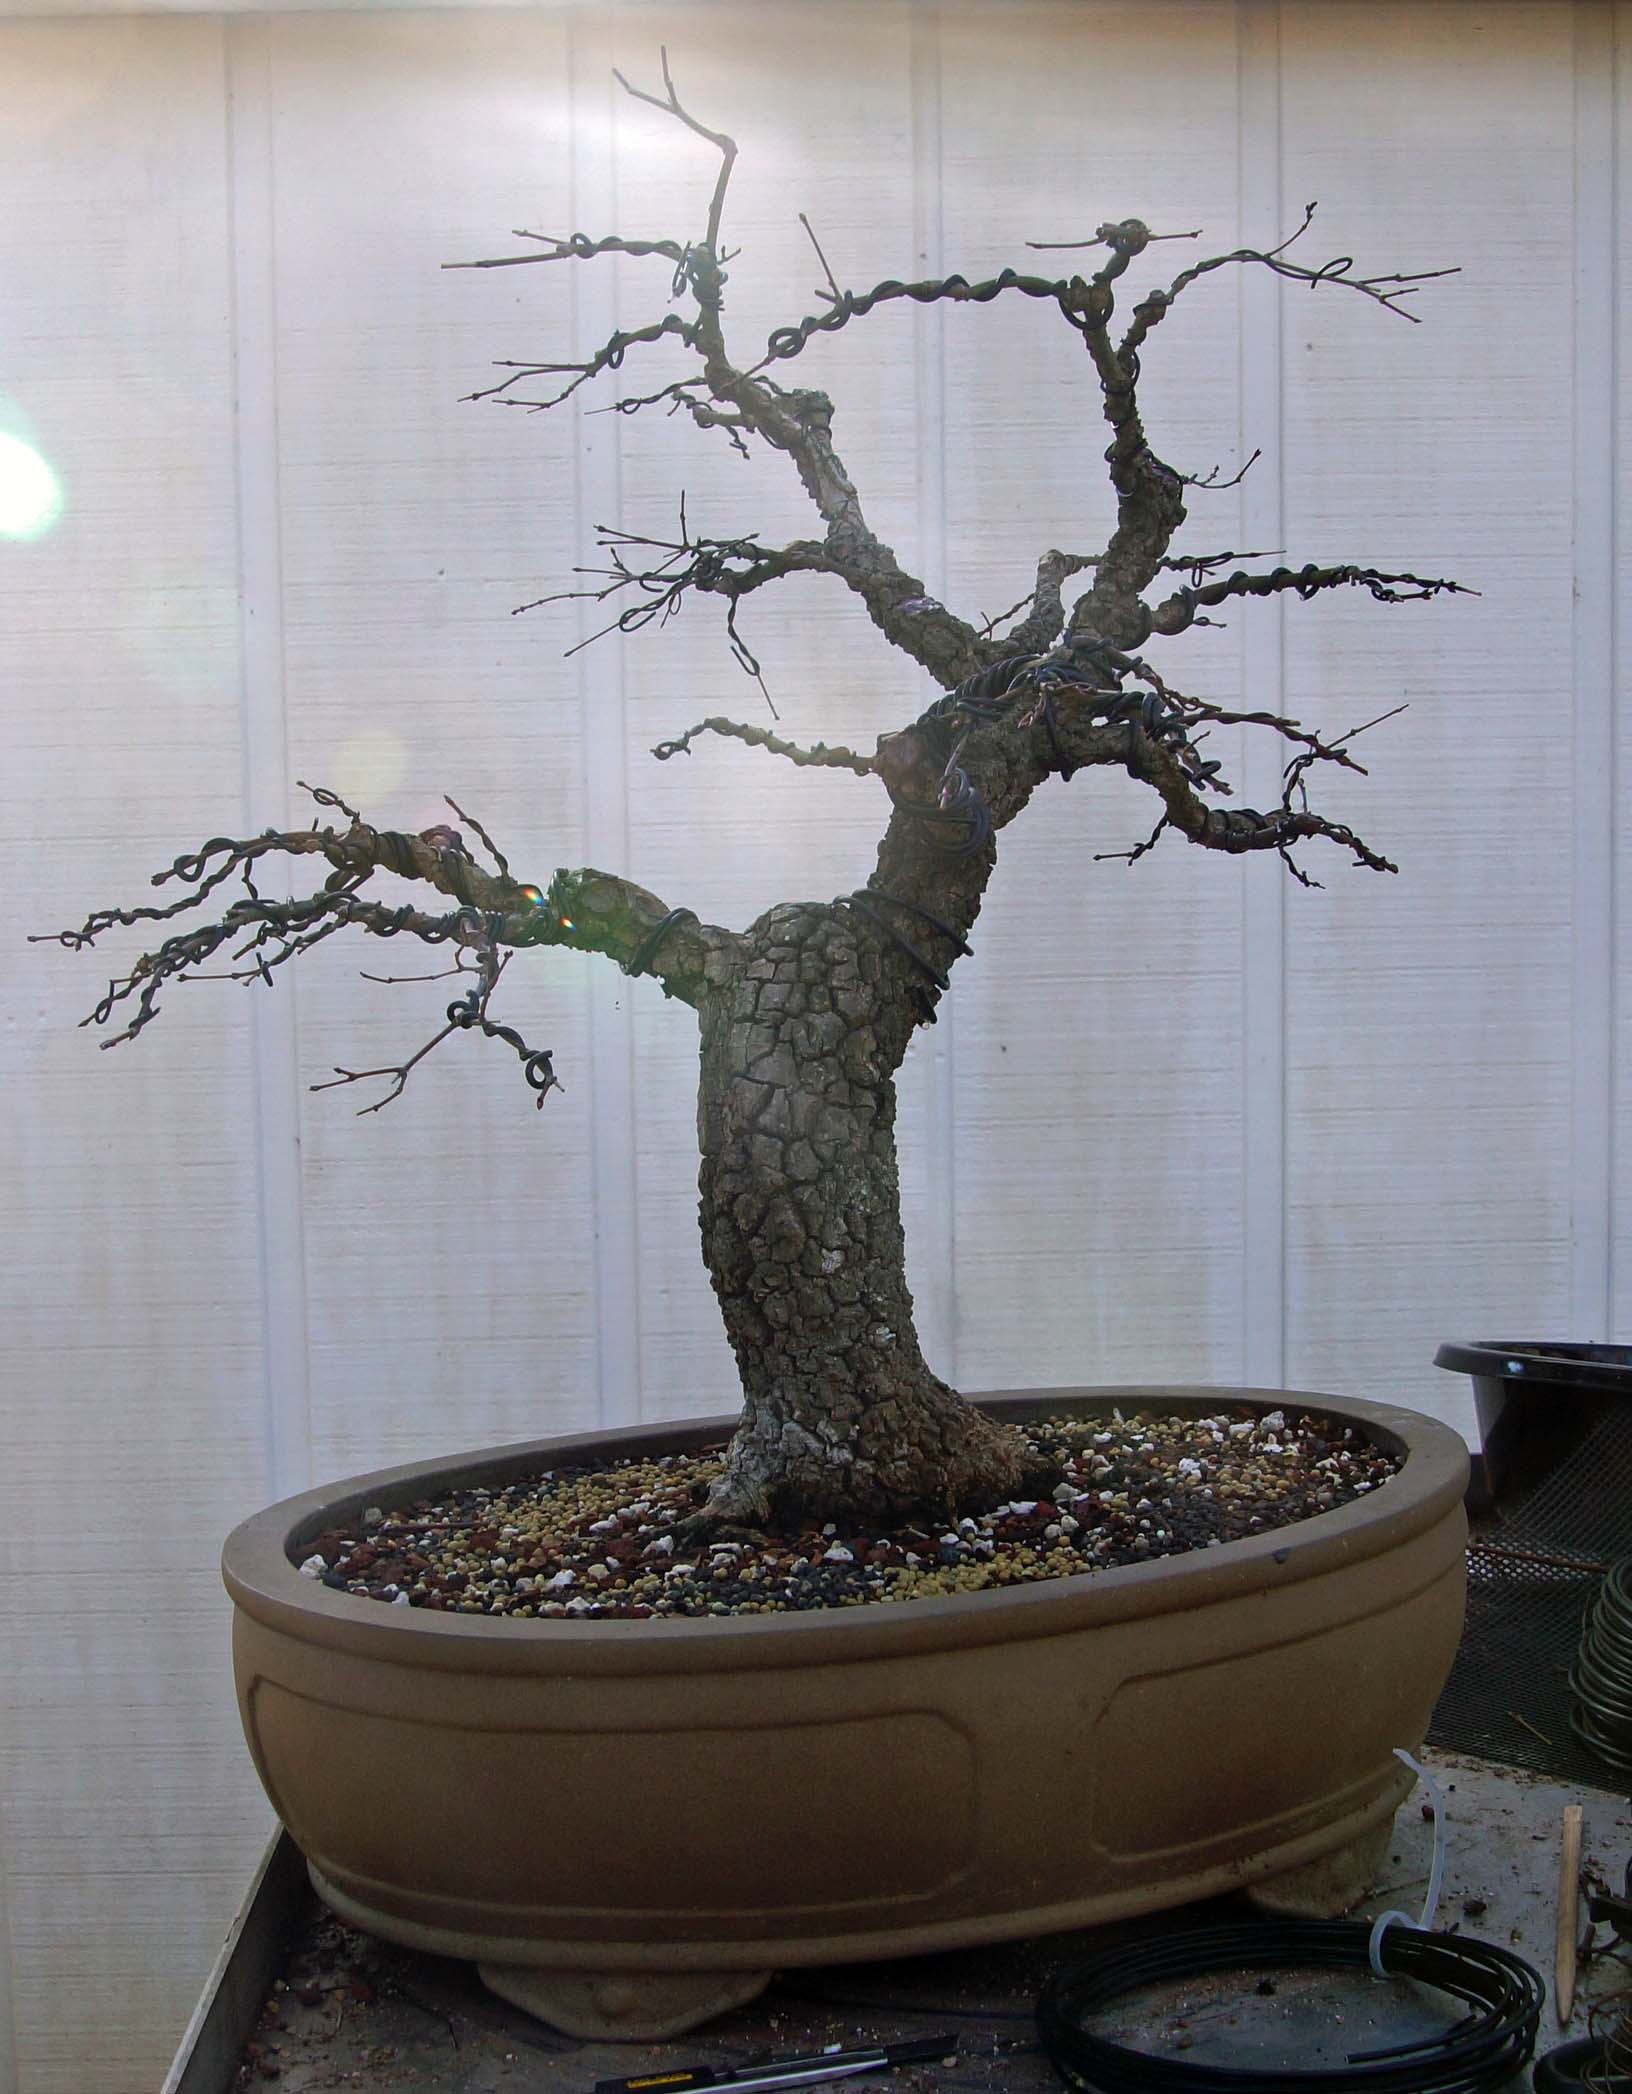
I wish that I had some of the earlier pictures of the tree to show but they are on a computer that I no longer have access to. So the earliest that I have are from January 2012. If look closely, you can see some of the trunk repair.
I almost lost this tree several years ago to a fungus attack, most of one side of the tree died. I took it to my dad, who has two green thumbs, and he was able to nurse it back to health. It would not be here today if not for him. Japanese maples are very susceptible to many types of fungal and viral attacks and the climate here, in the Heart of Dixie, is perfect for those diseases to thrive and survive. Anthracose is the main villian, if you want to see how bad it is read this article , I have lost several nice trees to it. I now have it mostly under control with monthly sprayings of fugicide.
As a result of the attack the tree develped hollow down one side of the trunk and a bad wound on top of the first branch. I filled the hollow with Durham's Water Putty after plugging the bottom hole with epoxy putty. After the water putty cured, I sealed the top with epoxy putty. Sadly, I did not take any pictues of the process. Today, you can hardly tell it ever happened. If you want to learn more about repairing trees with epoxy, read this article.
I wish that I had some of the earlier pictures of the tree to show but they are on a computer that I no longer have access to. So the earliest that I have are from January 2012. If look closely, you can see some of the trunk repair.
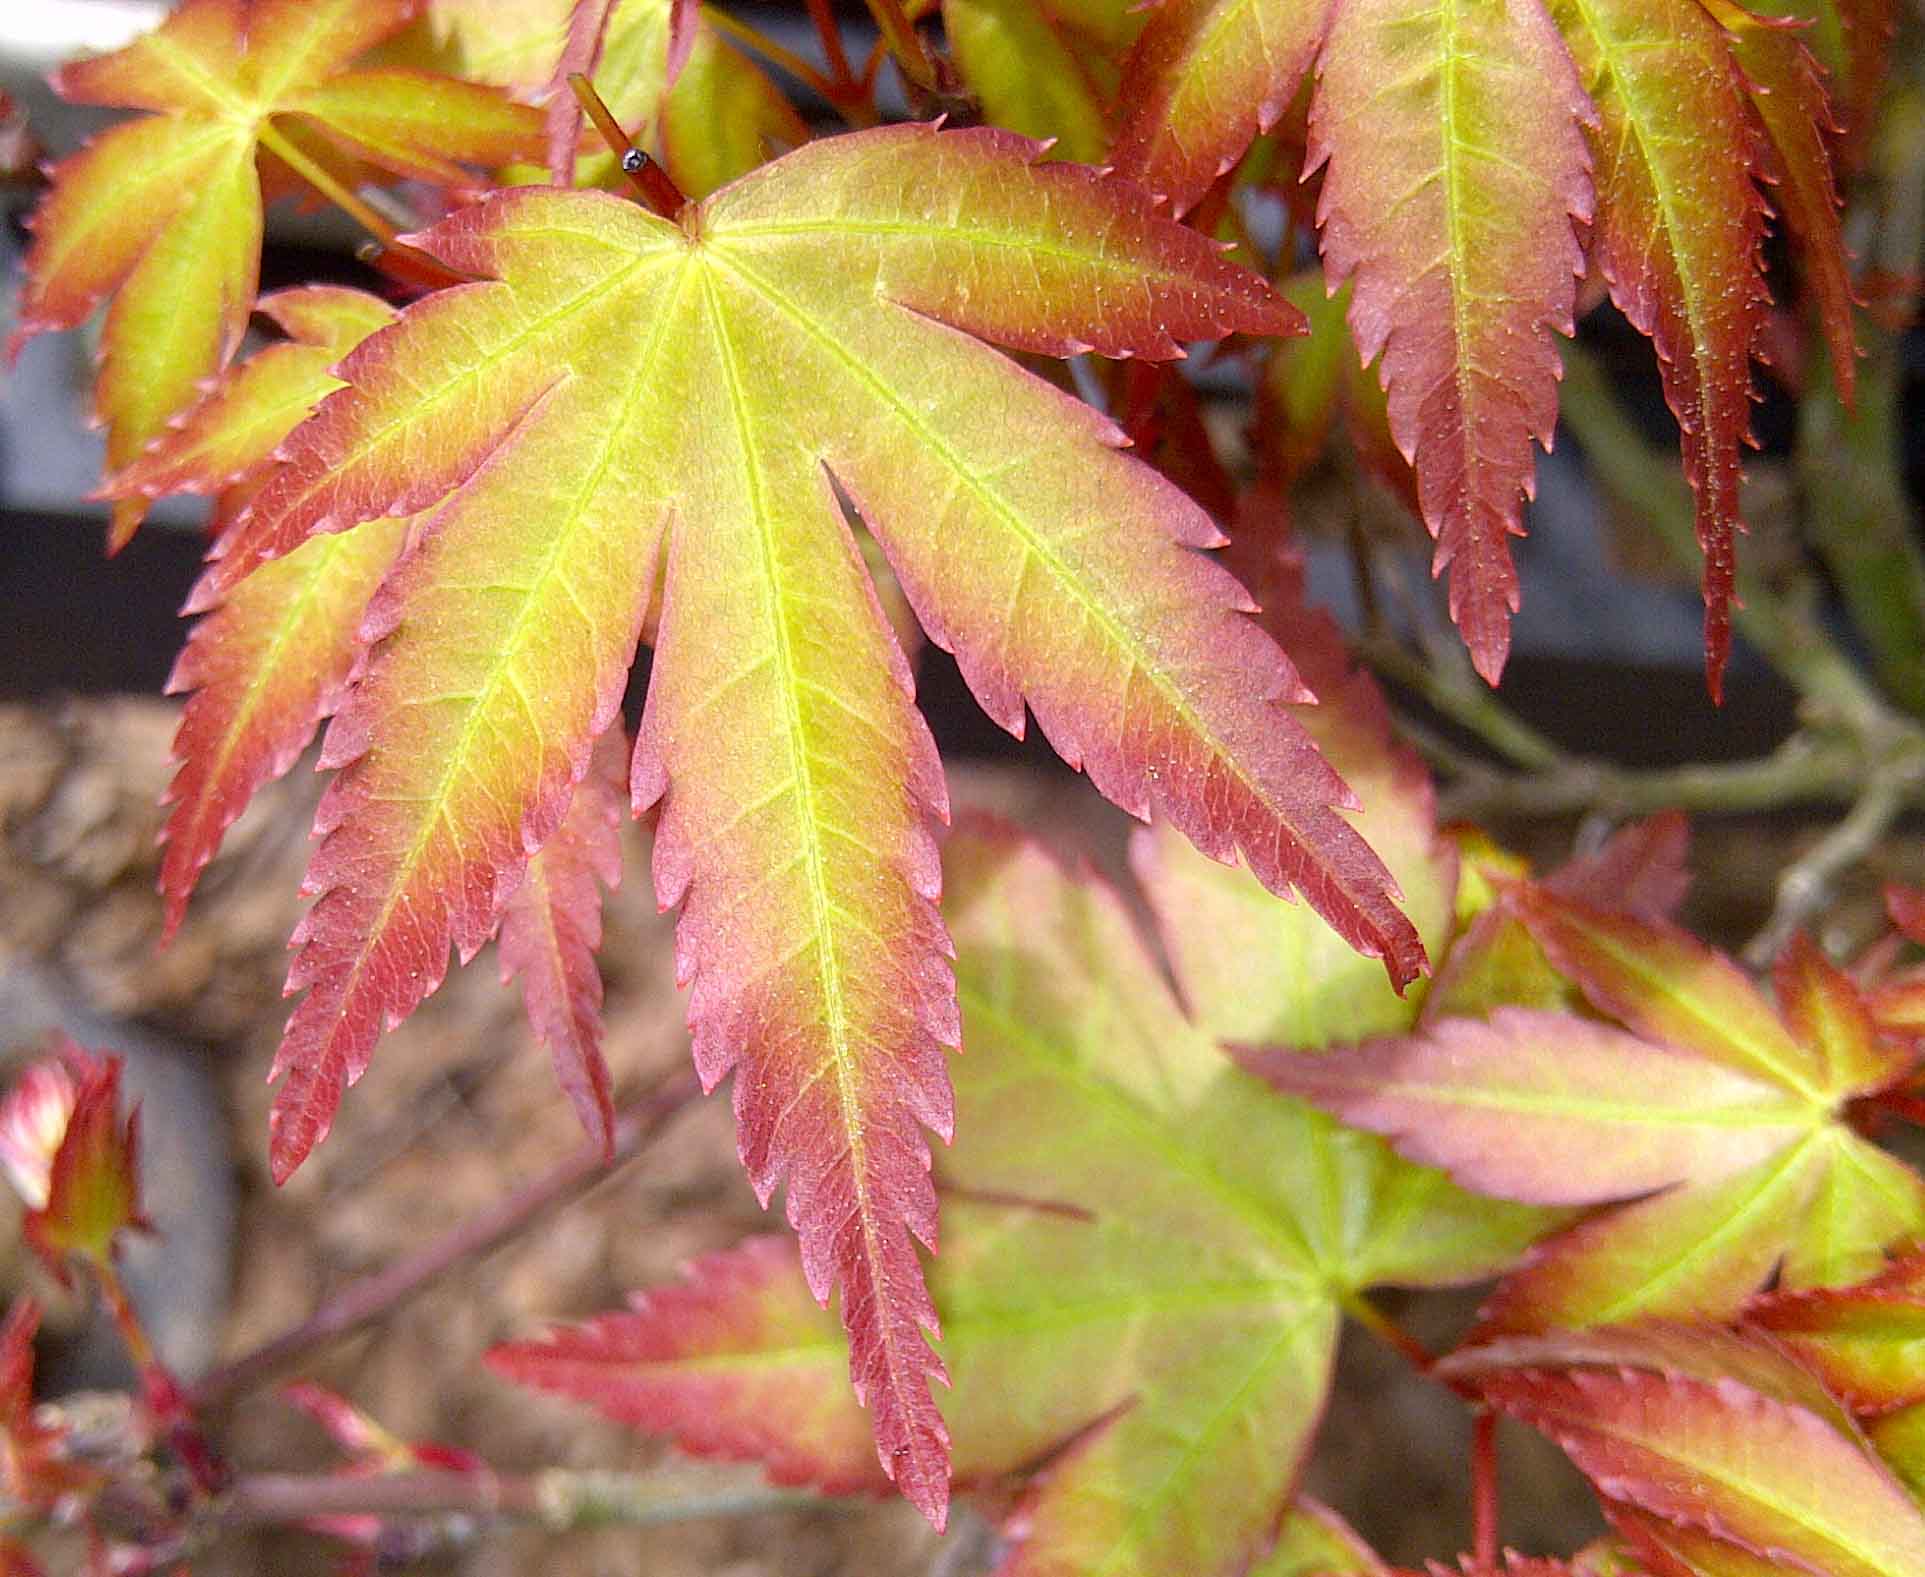
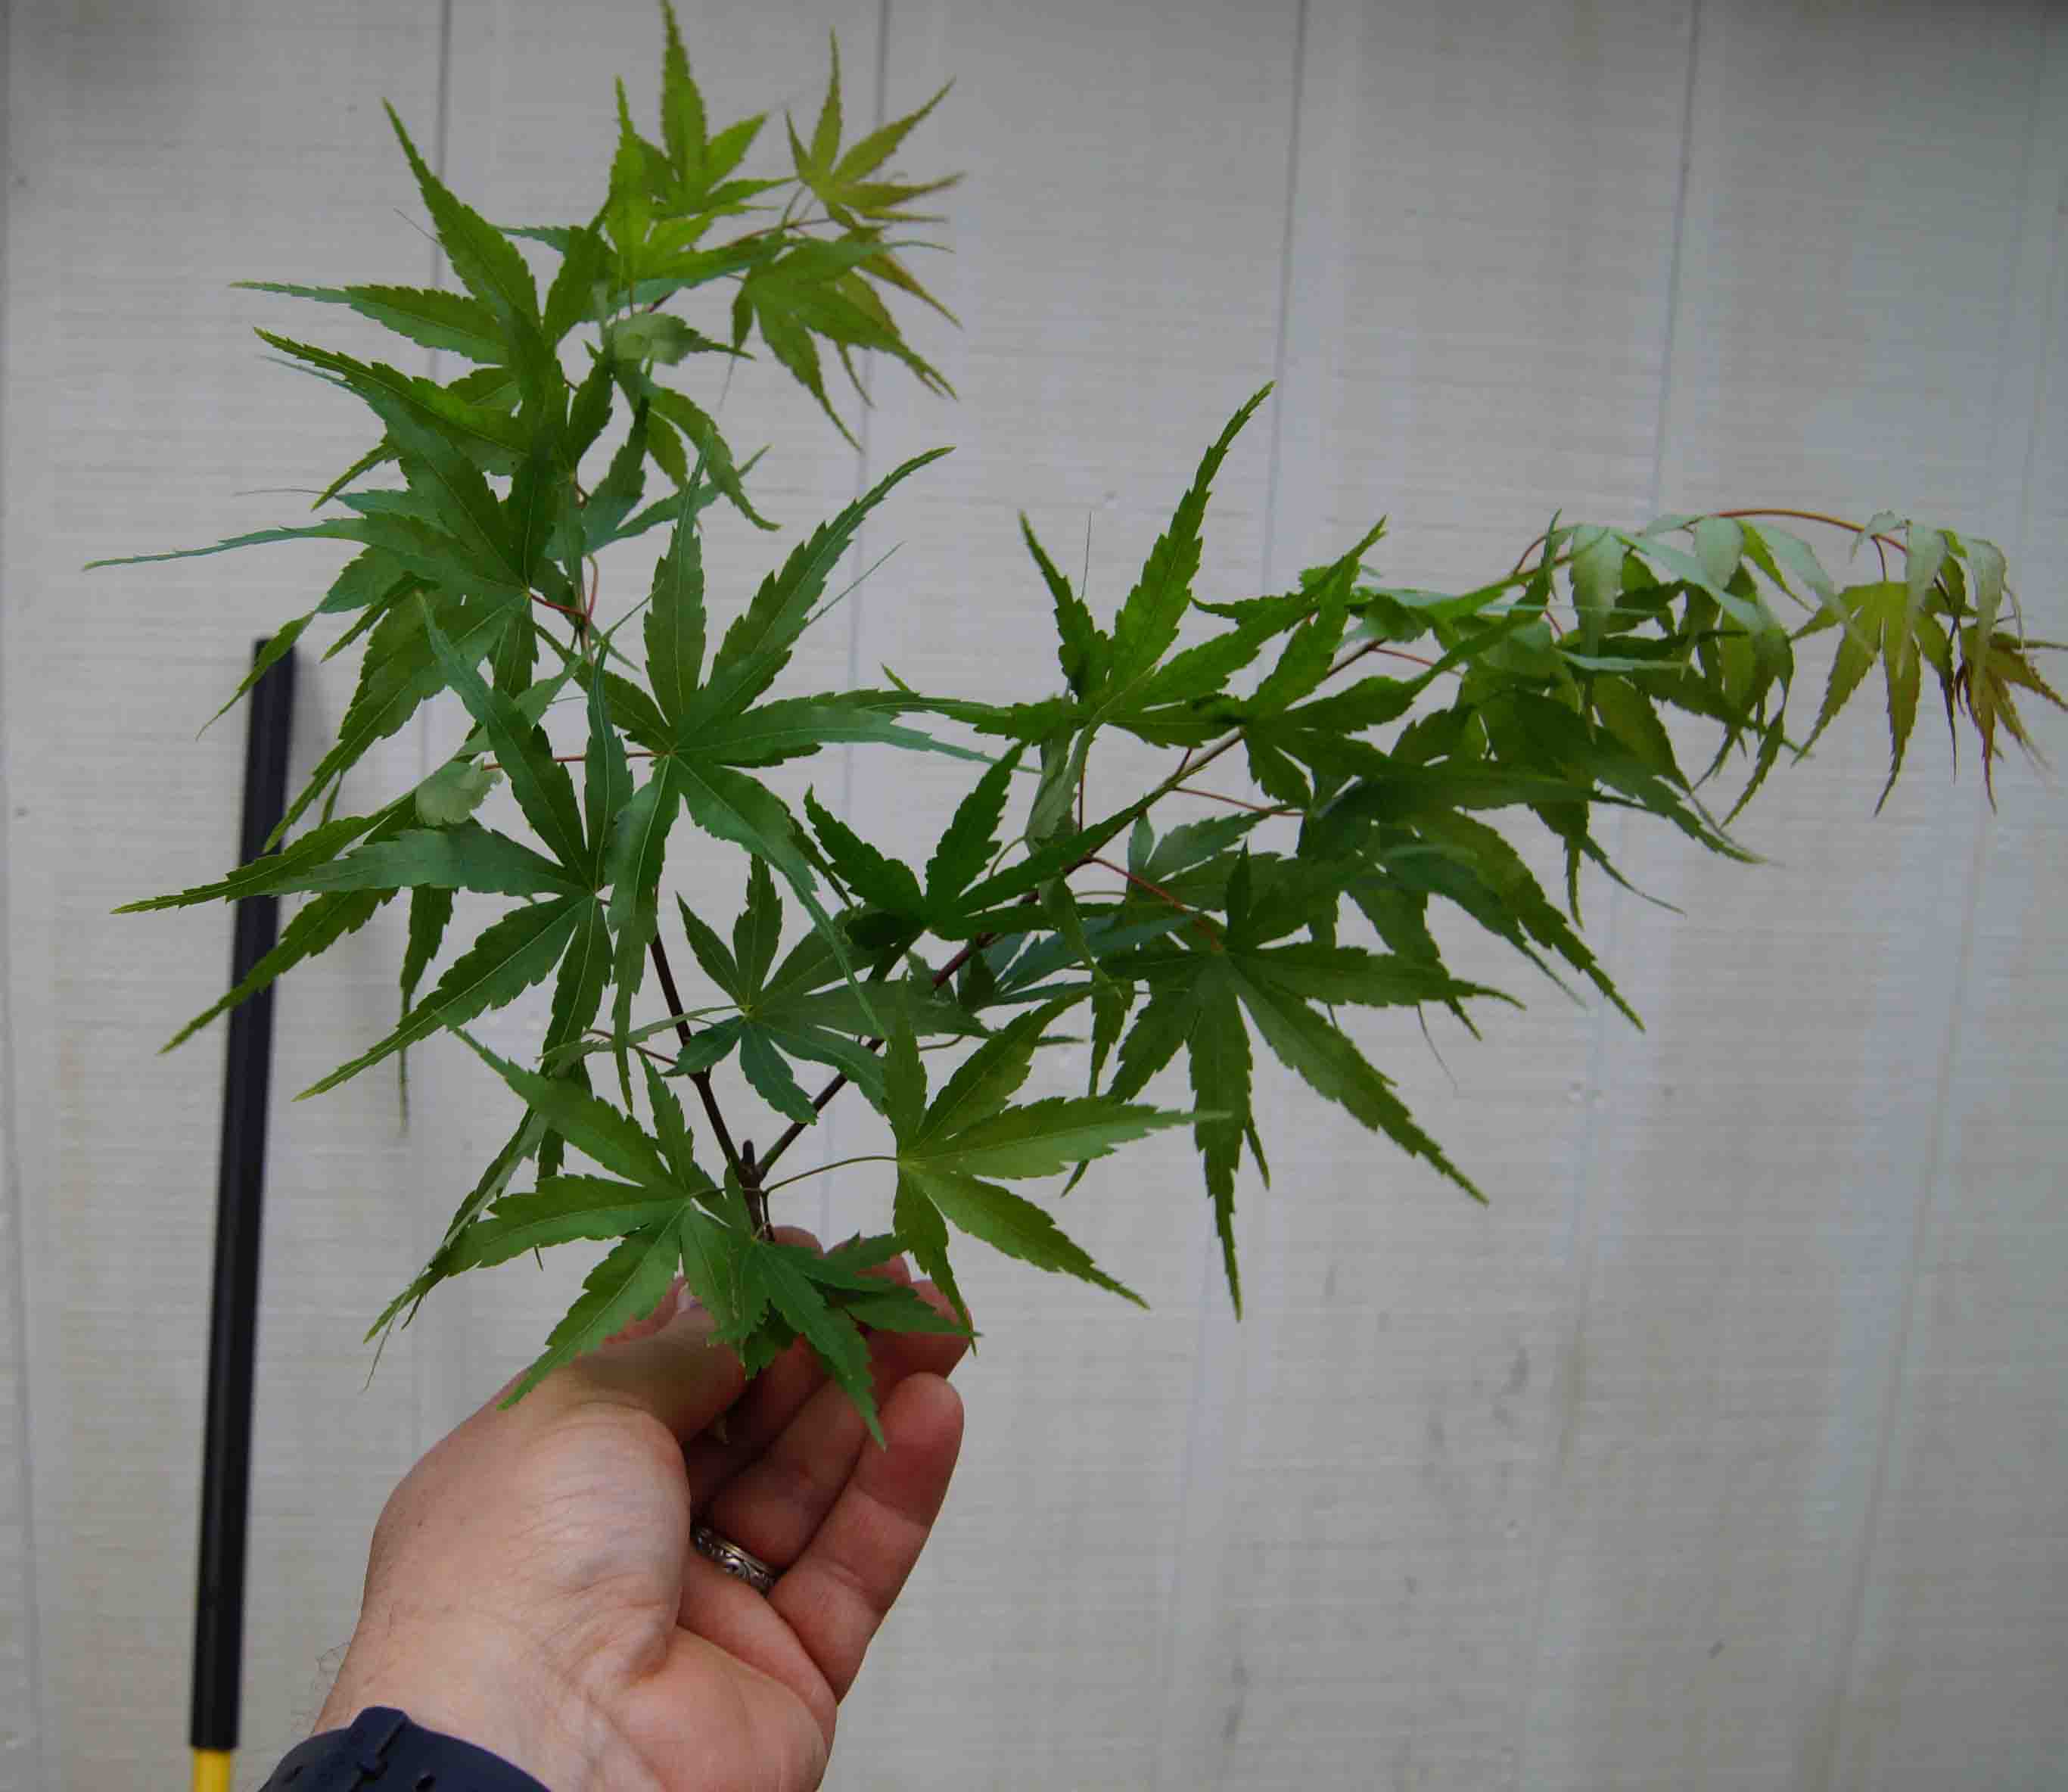
I wasn't very good at documenting my trees' progress in the earlier years and it really shows on this one. The only picture that I have for 2013 is just a shot of new leaves. They are pretty though.
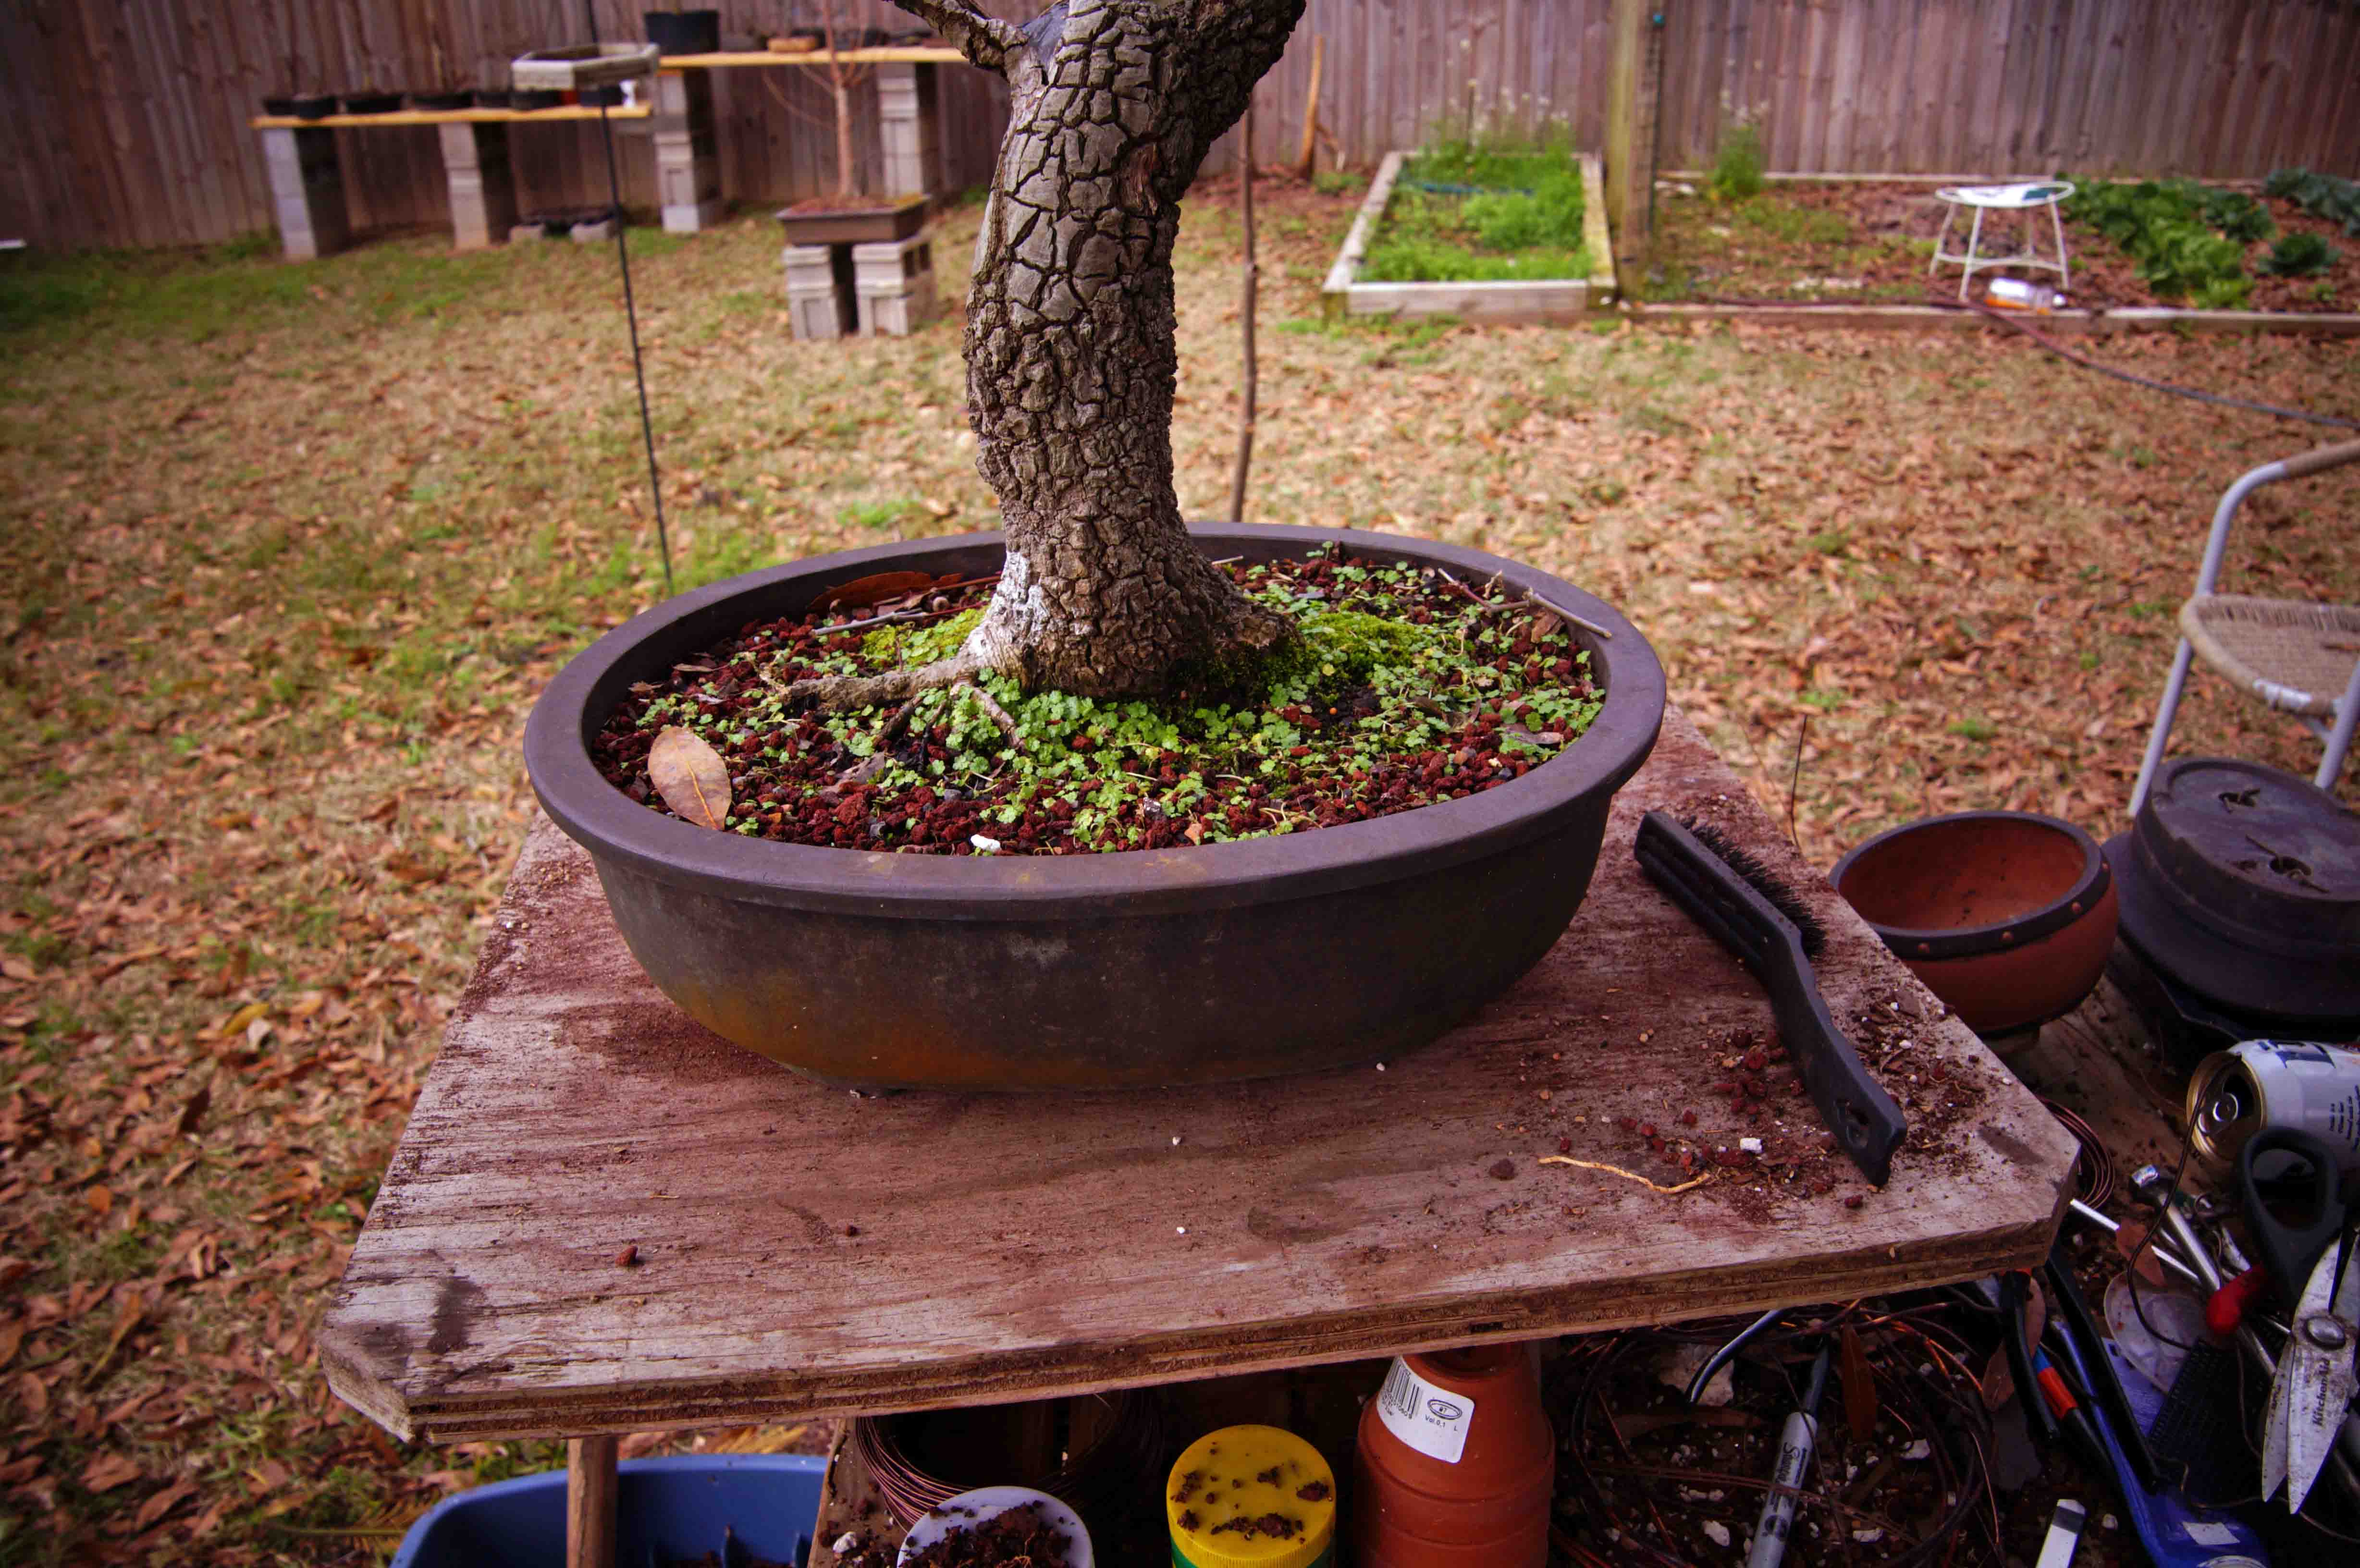
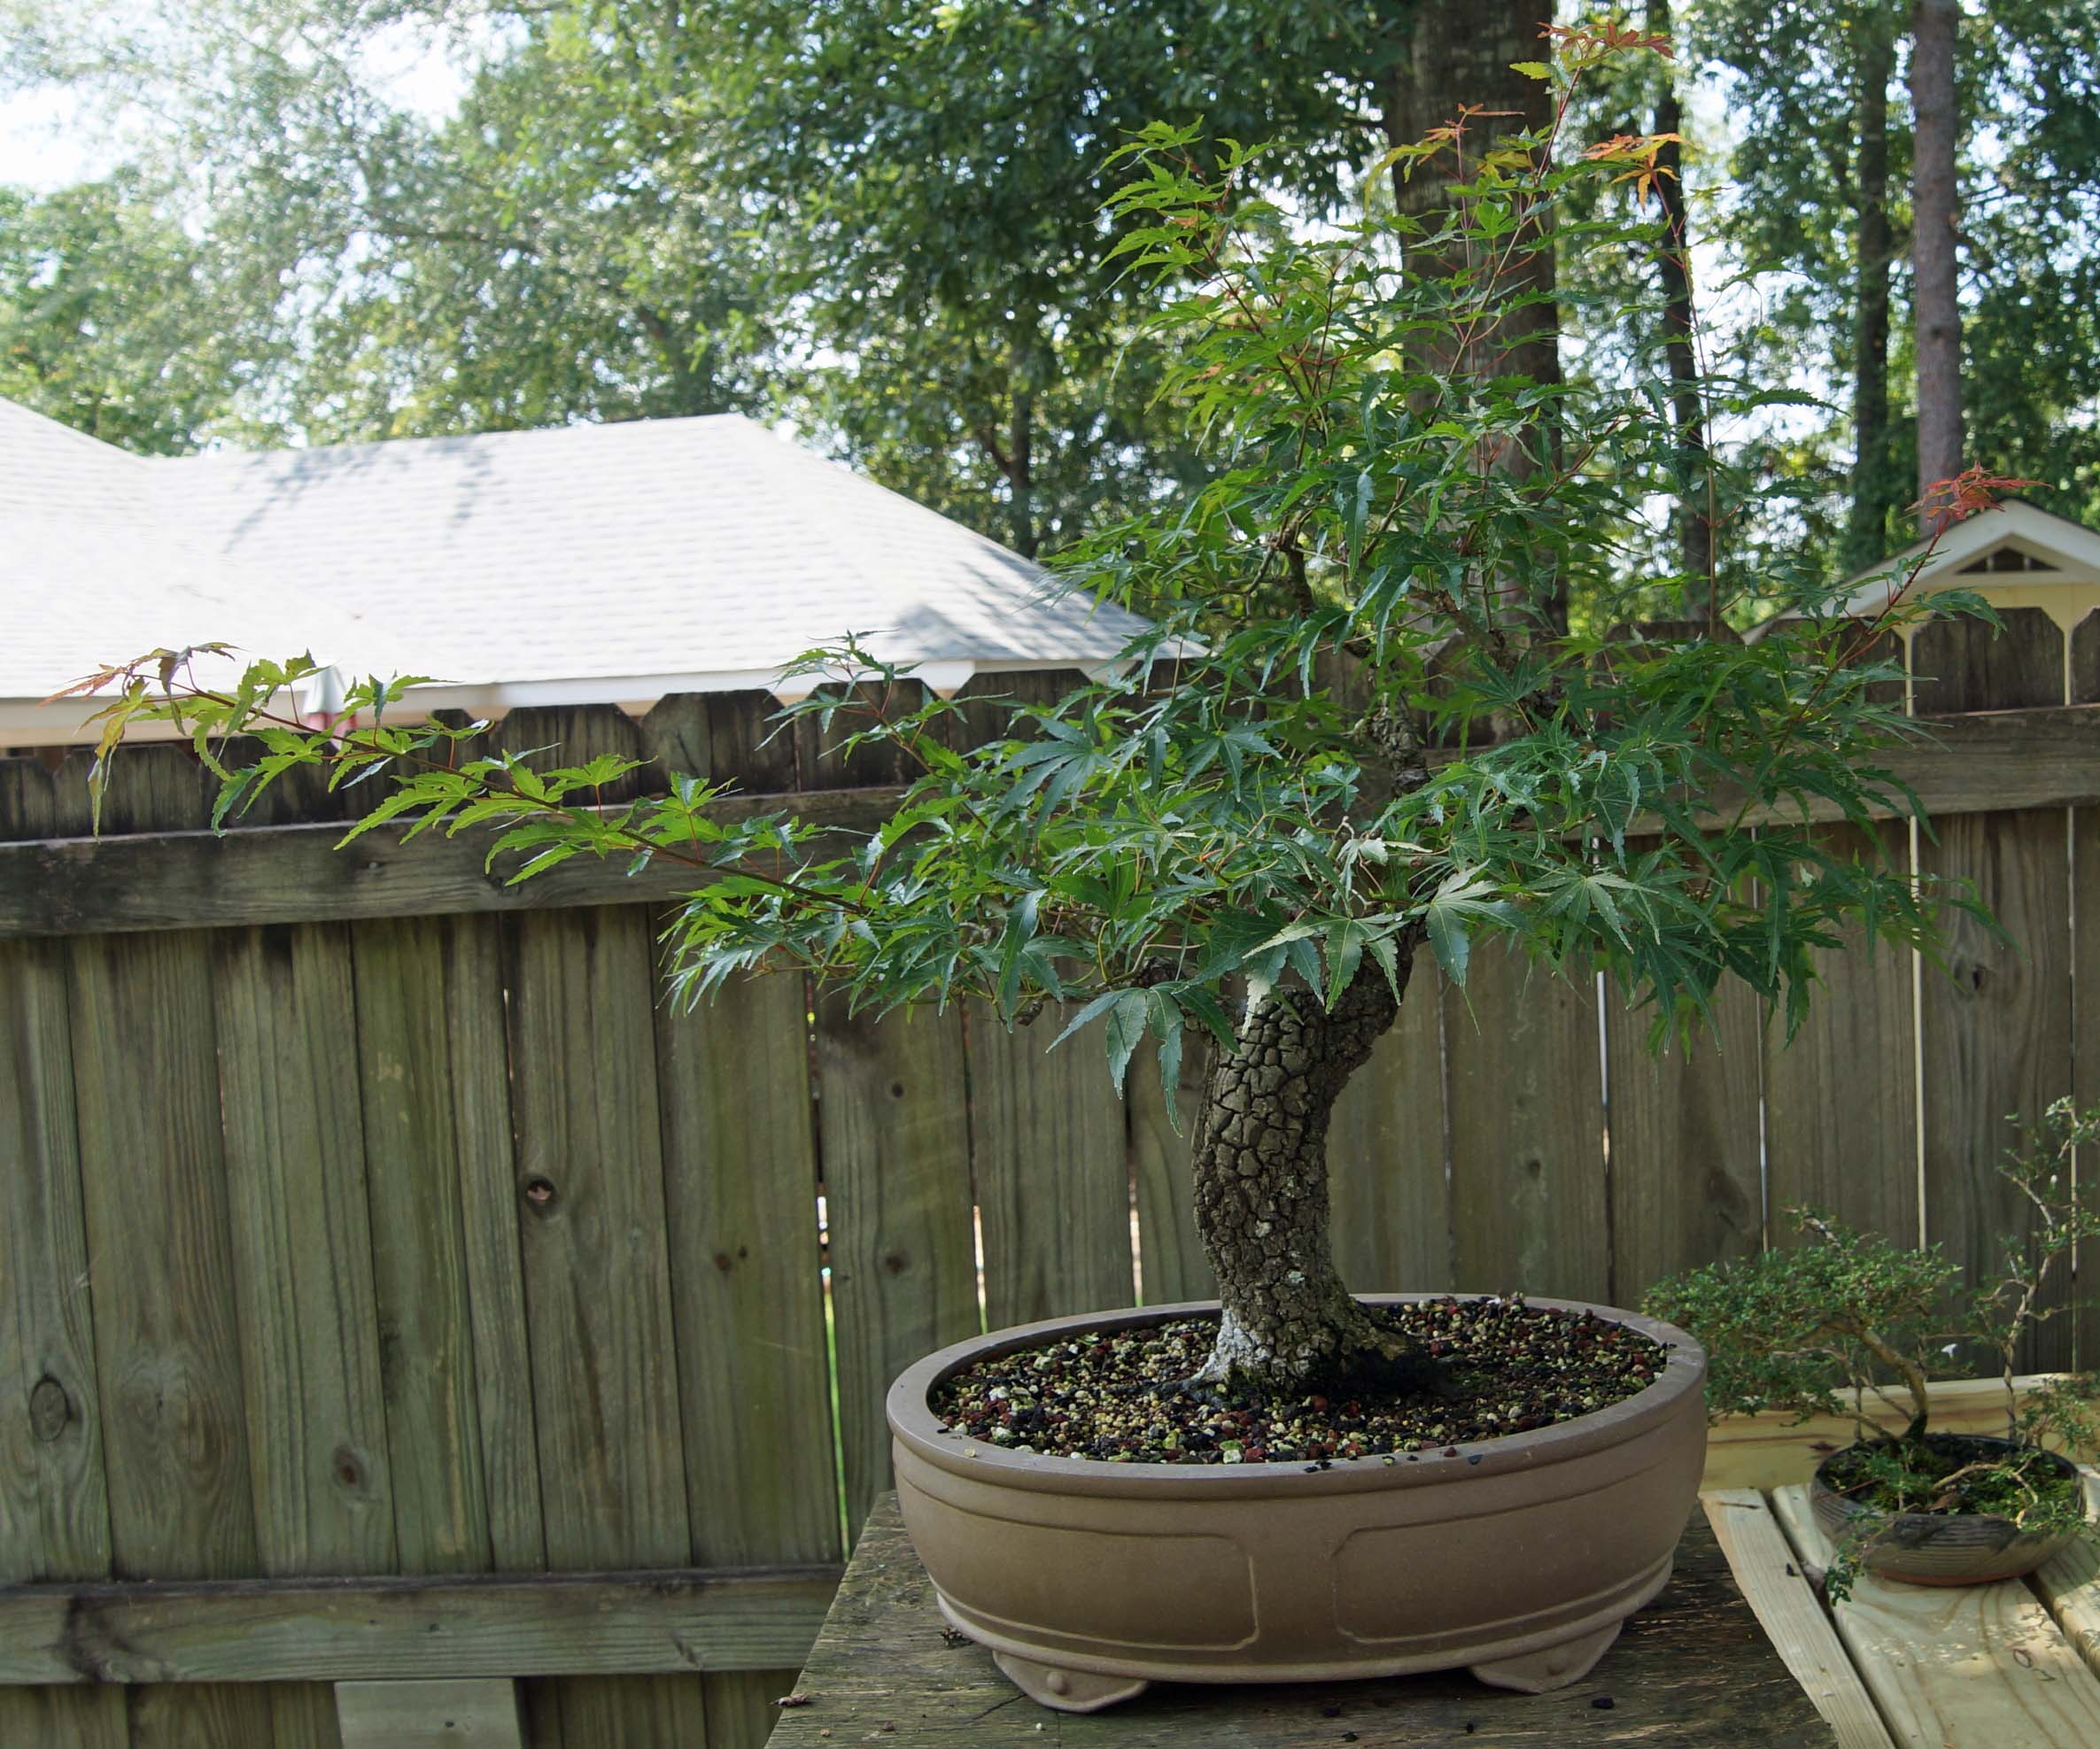
In March of 2014, it got a repot and if you look closely at the photos, you can see some of the repair work I did on the trunk. Please excuse the poor quality of the photos.

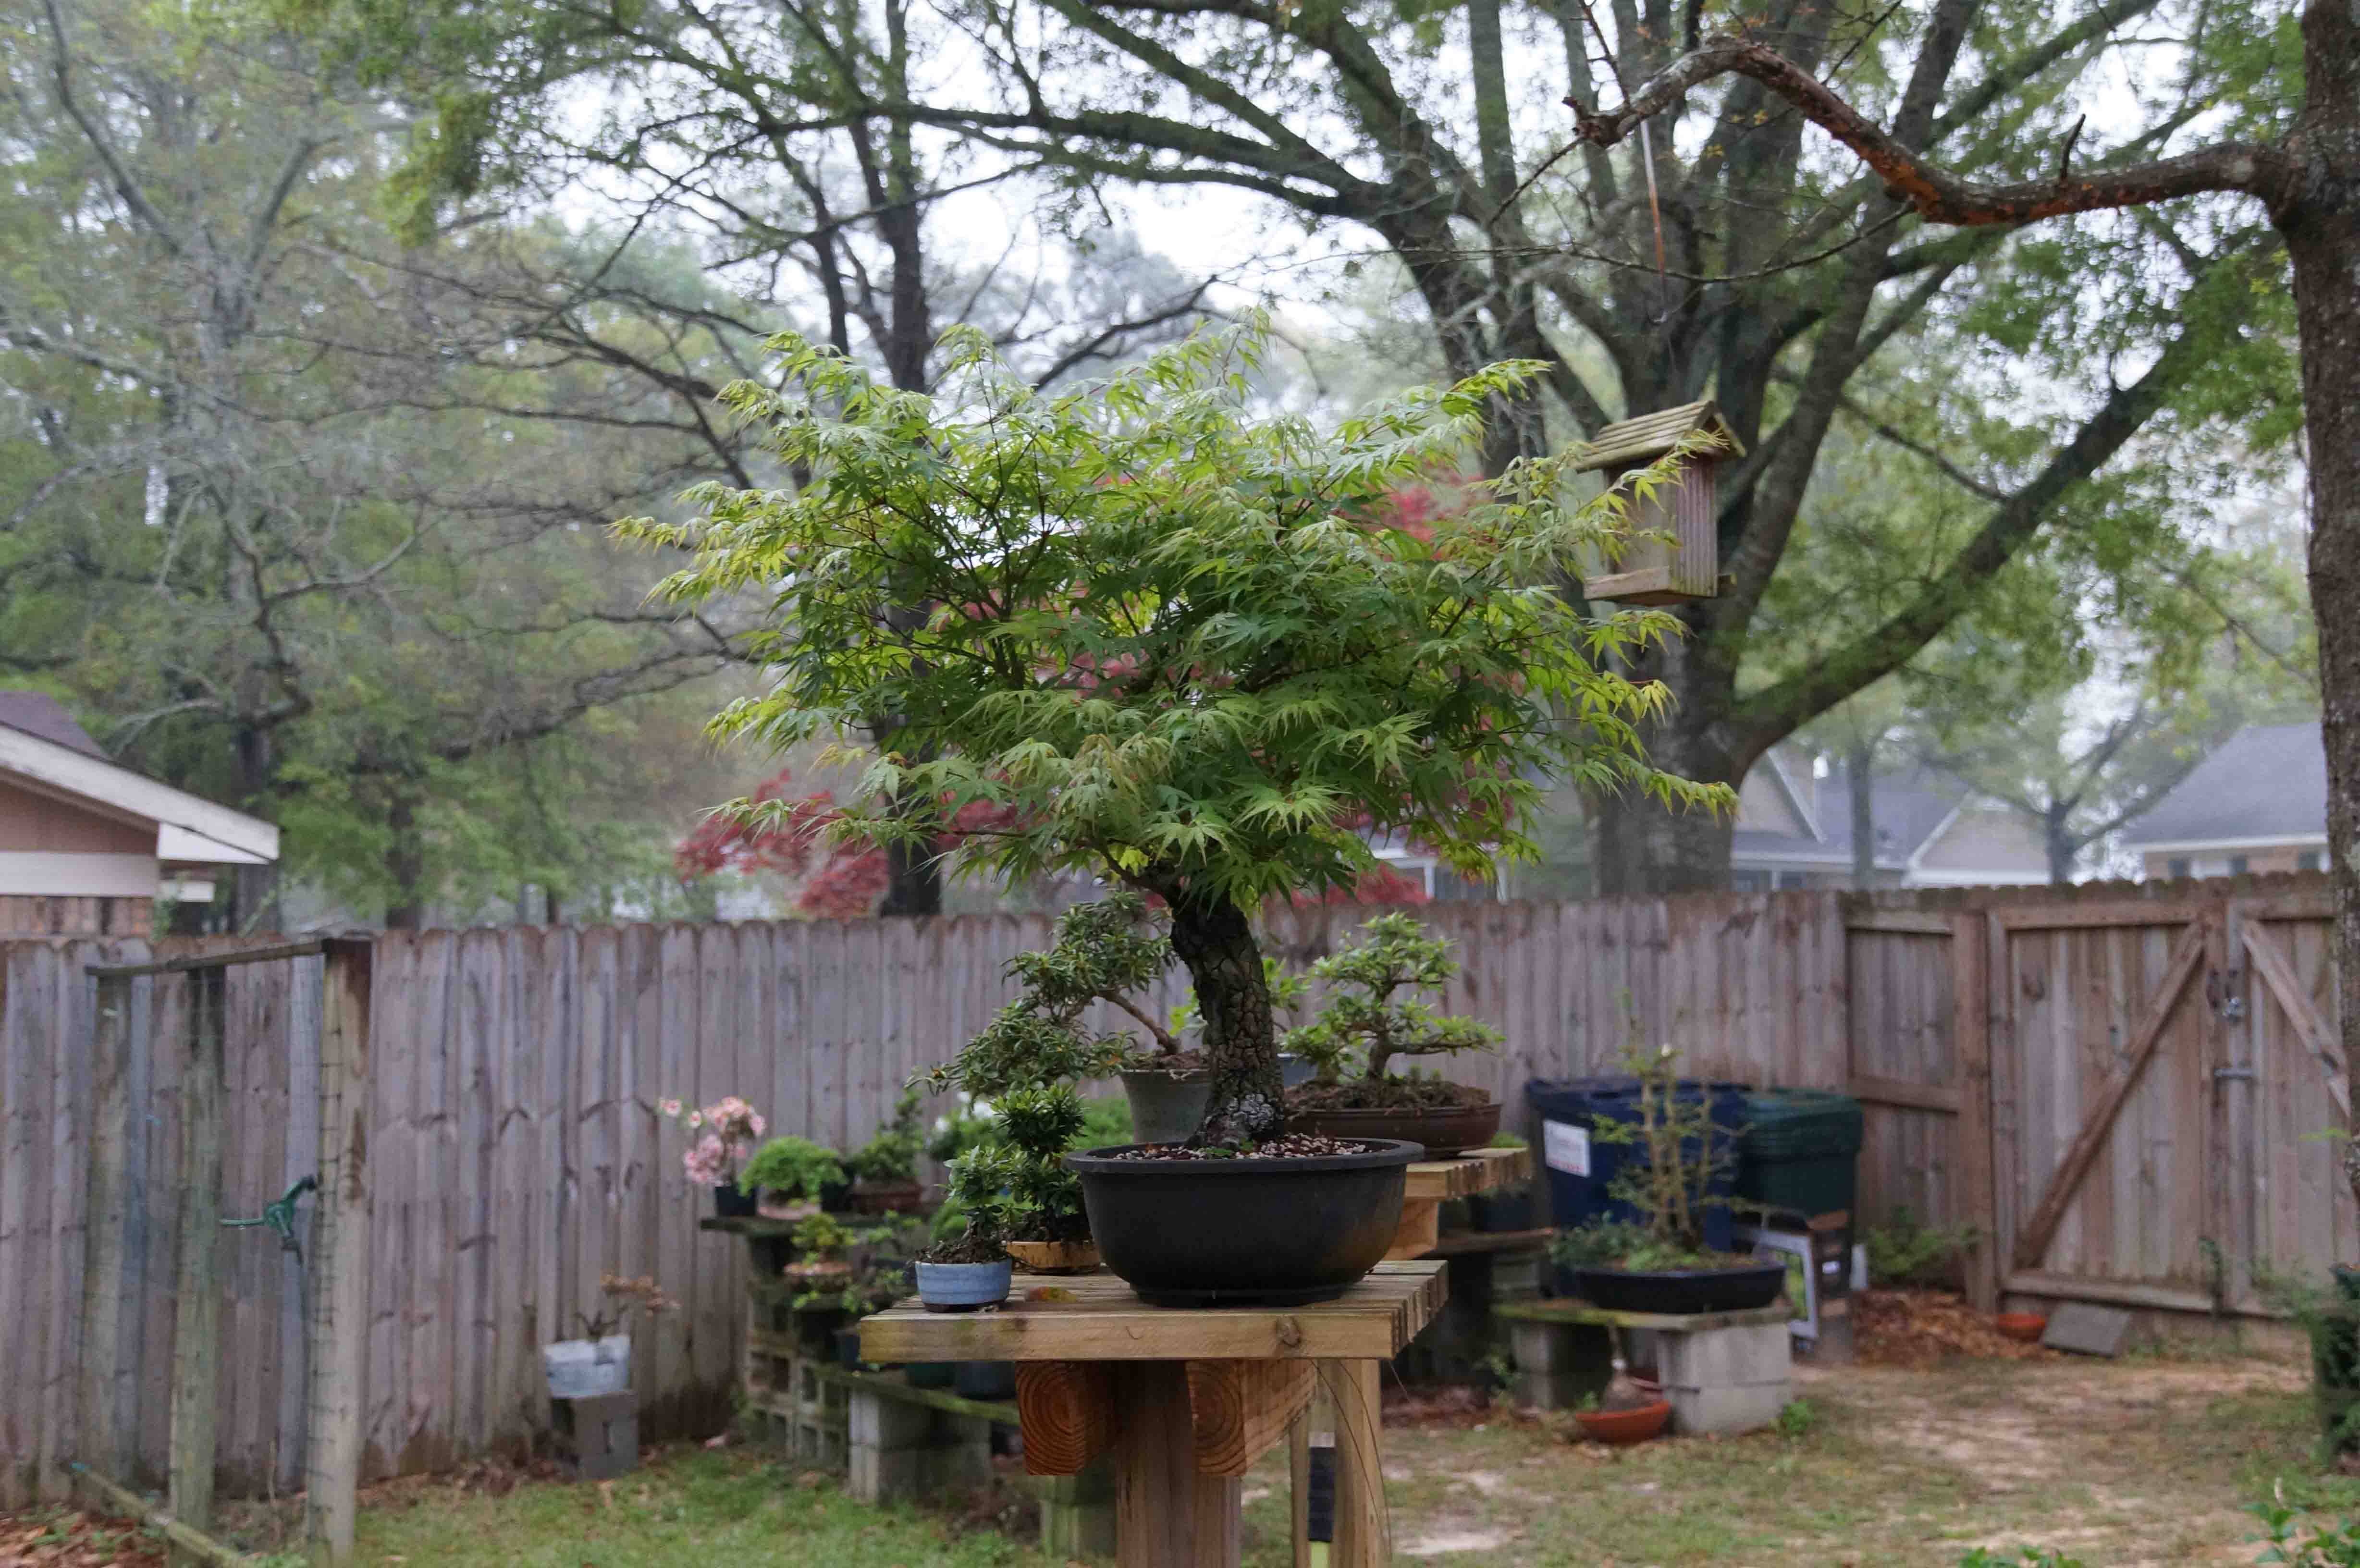
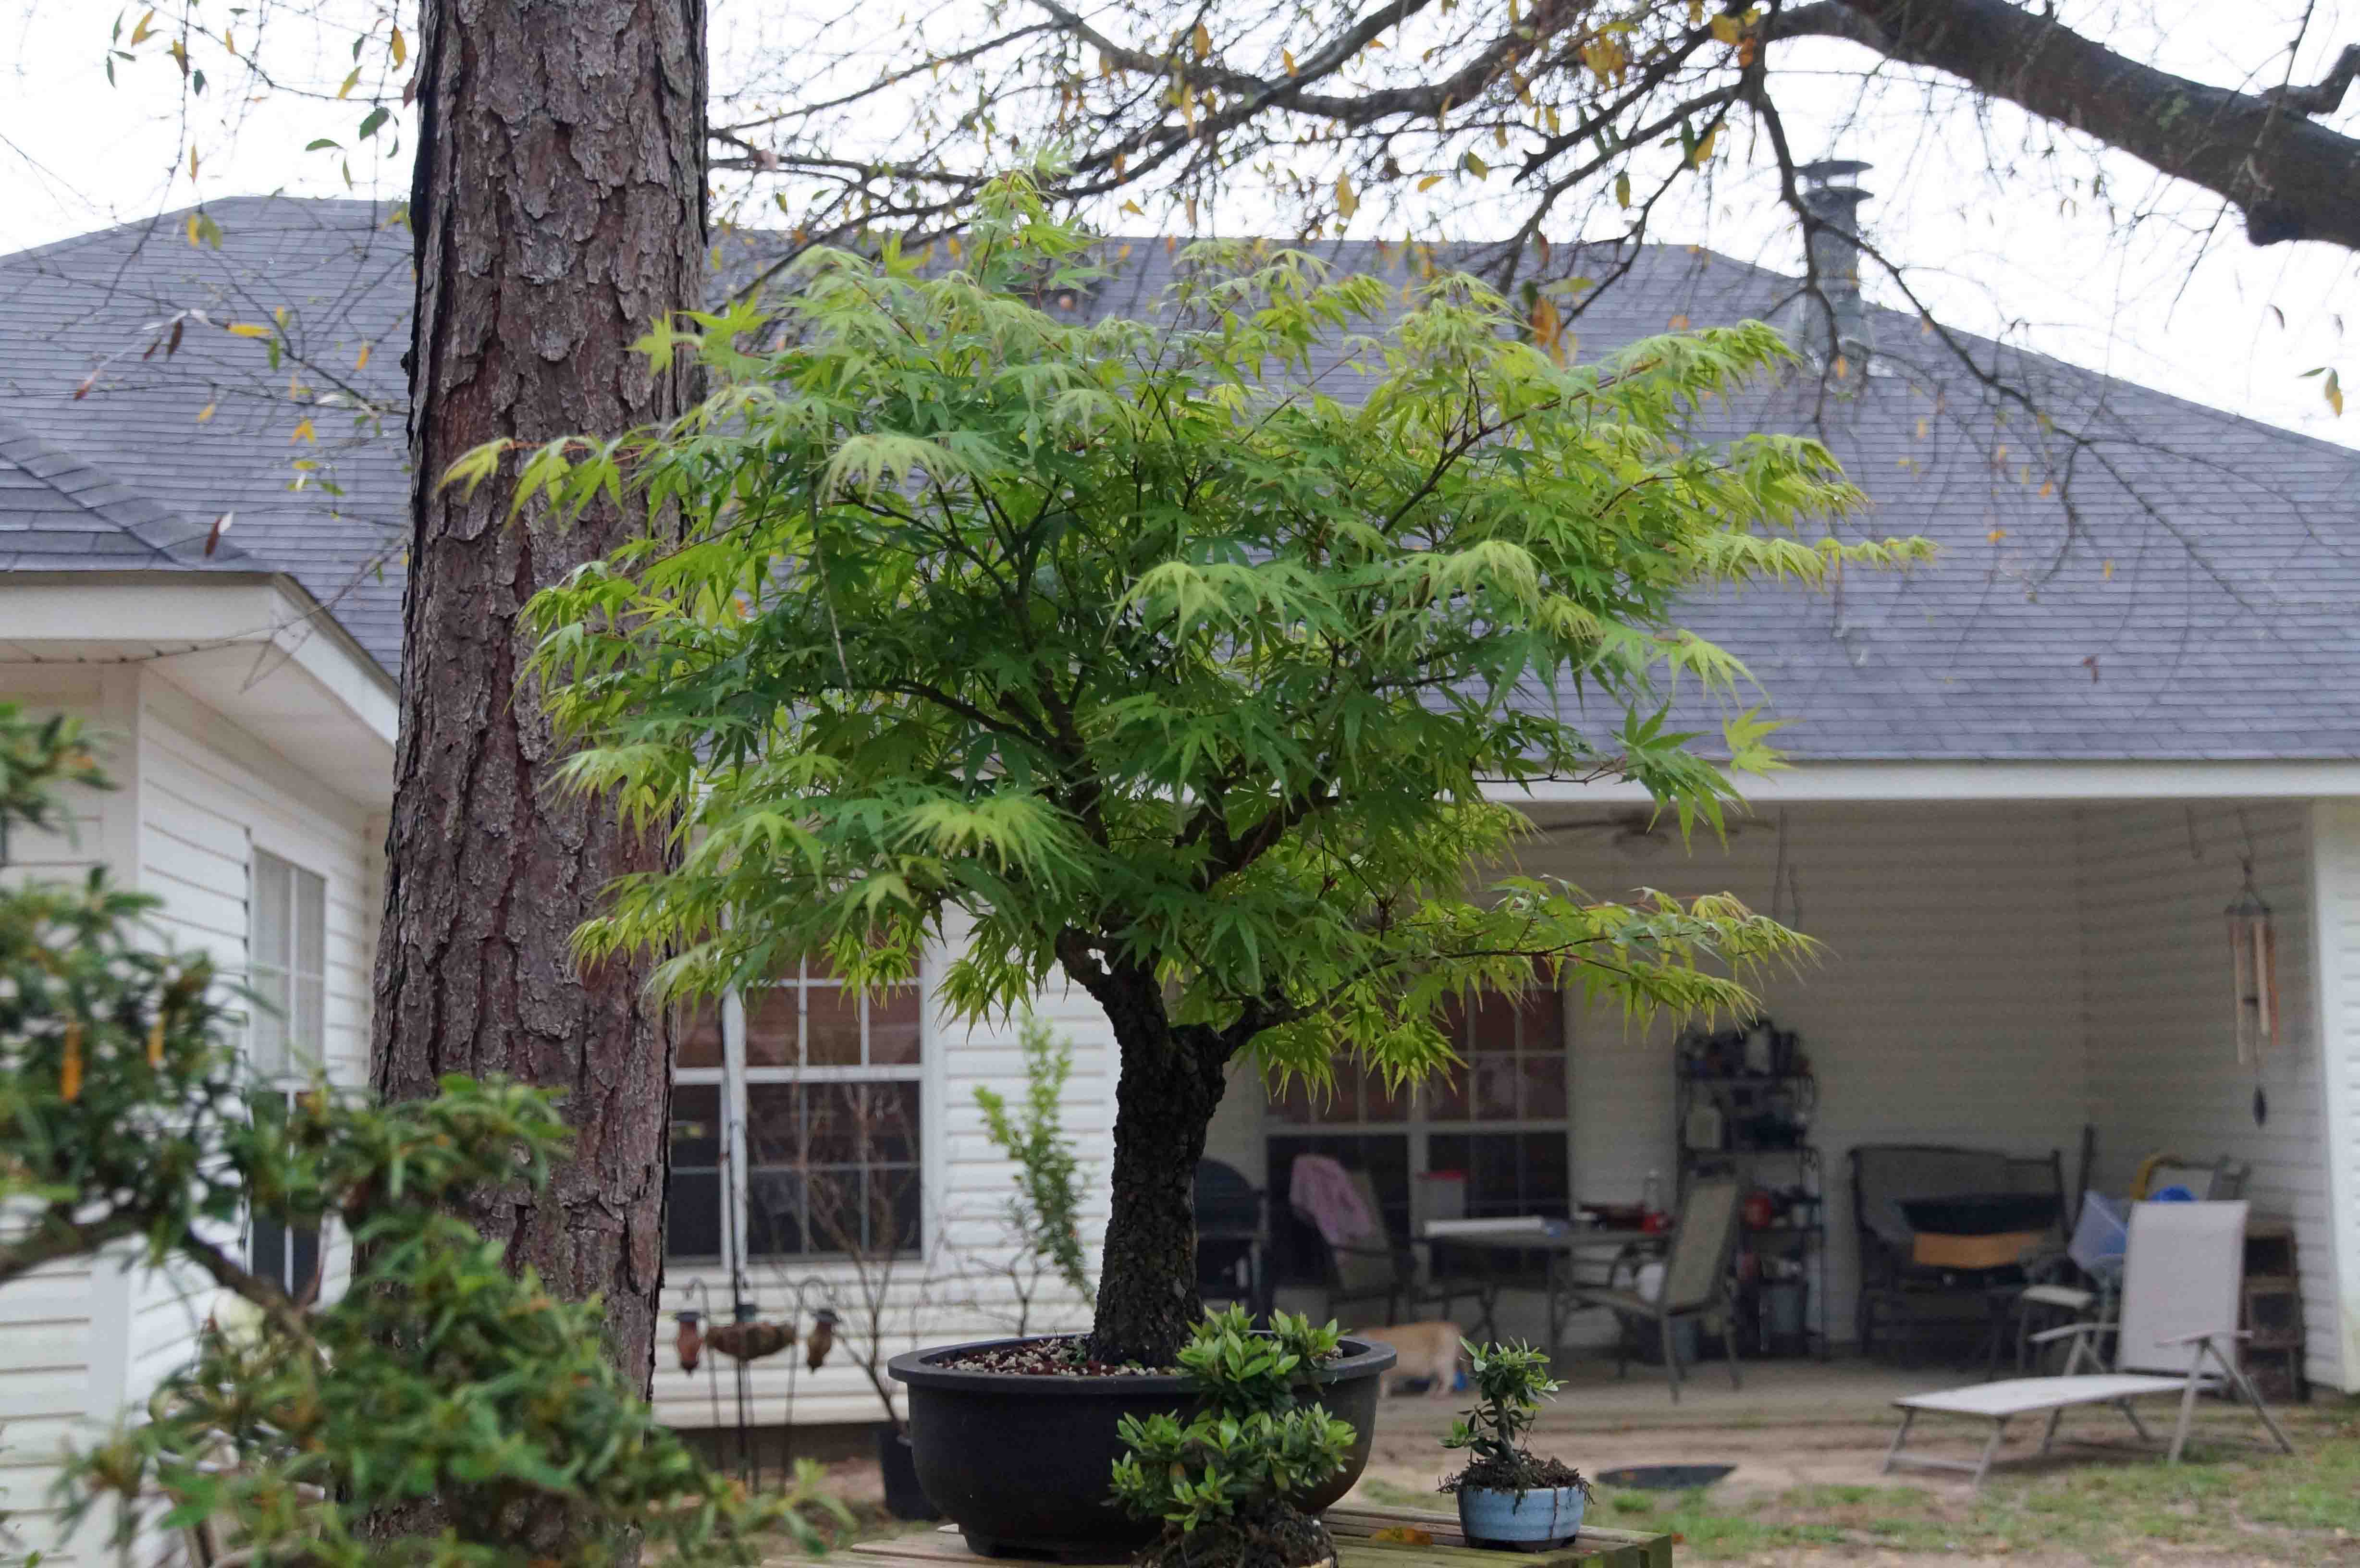
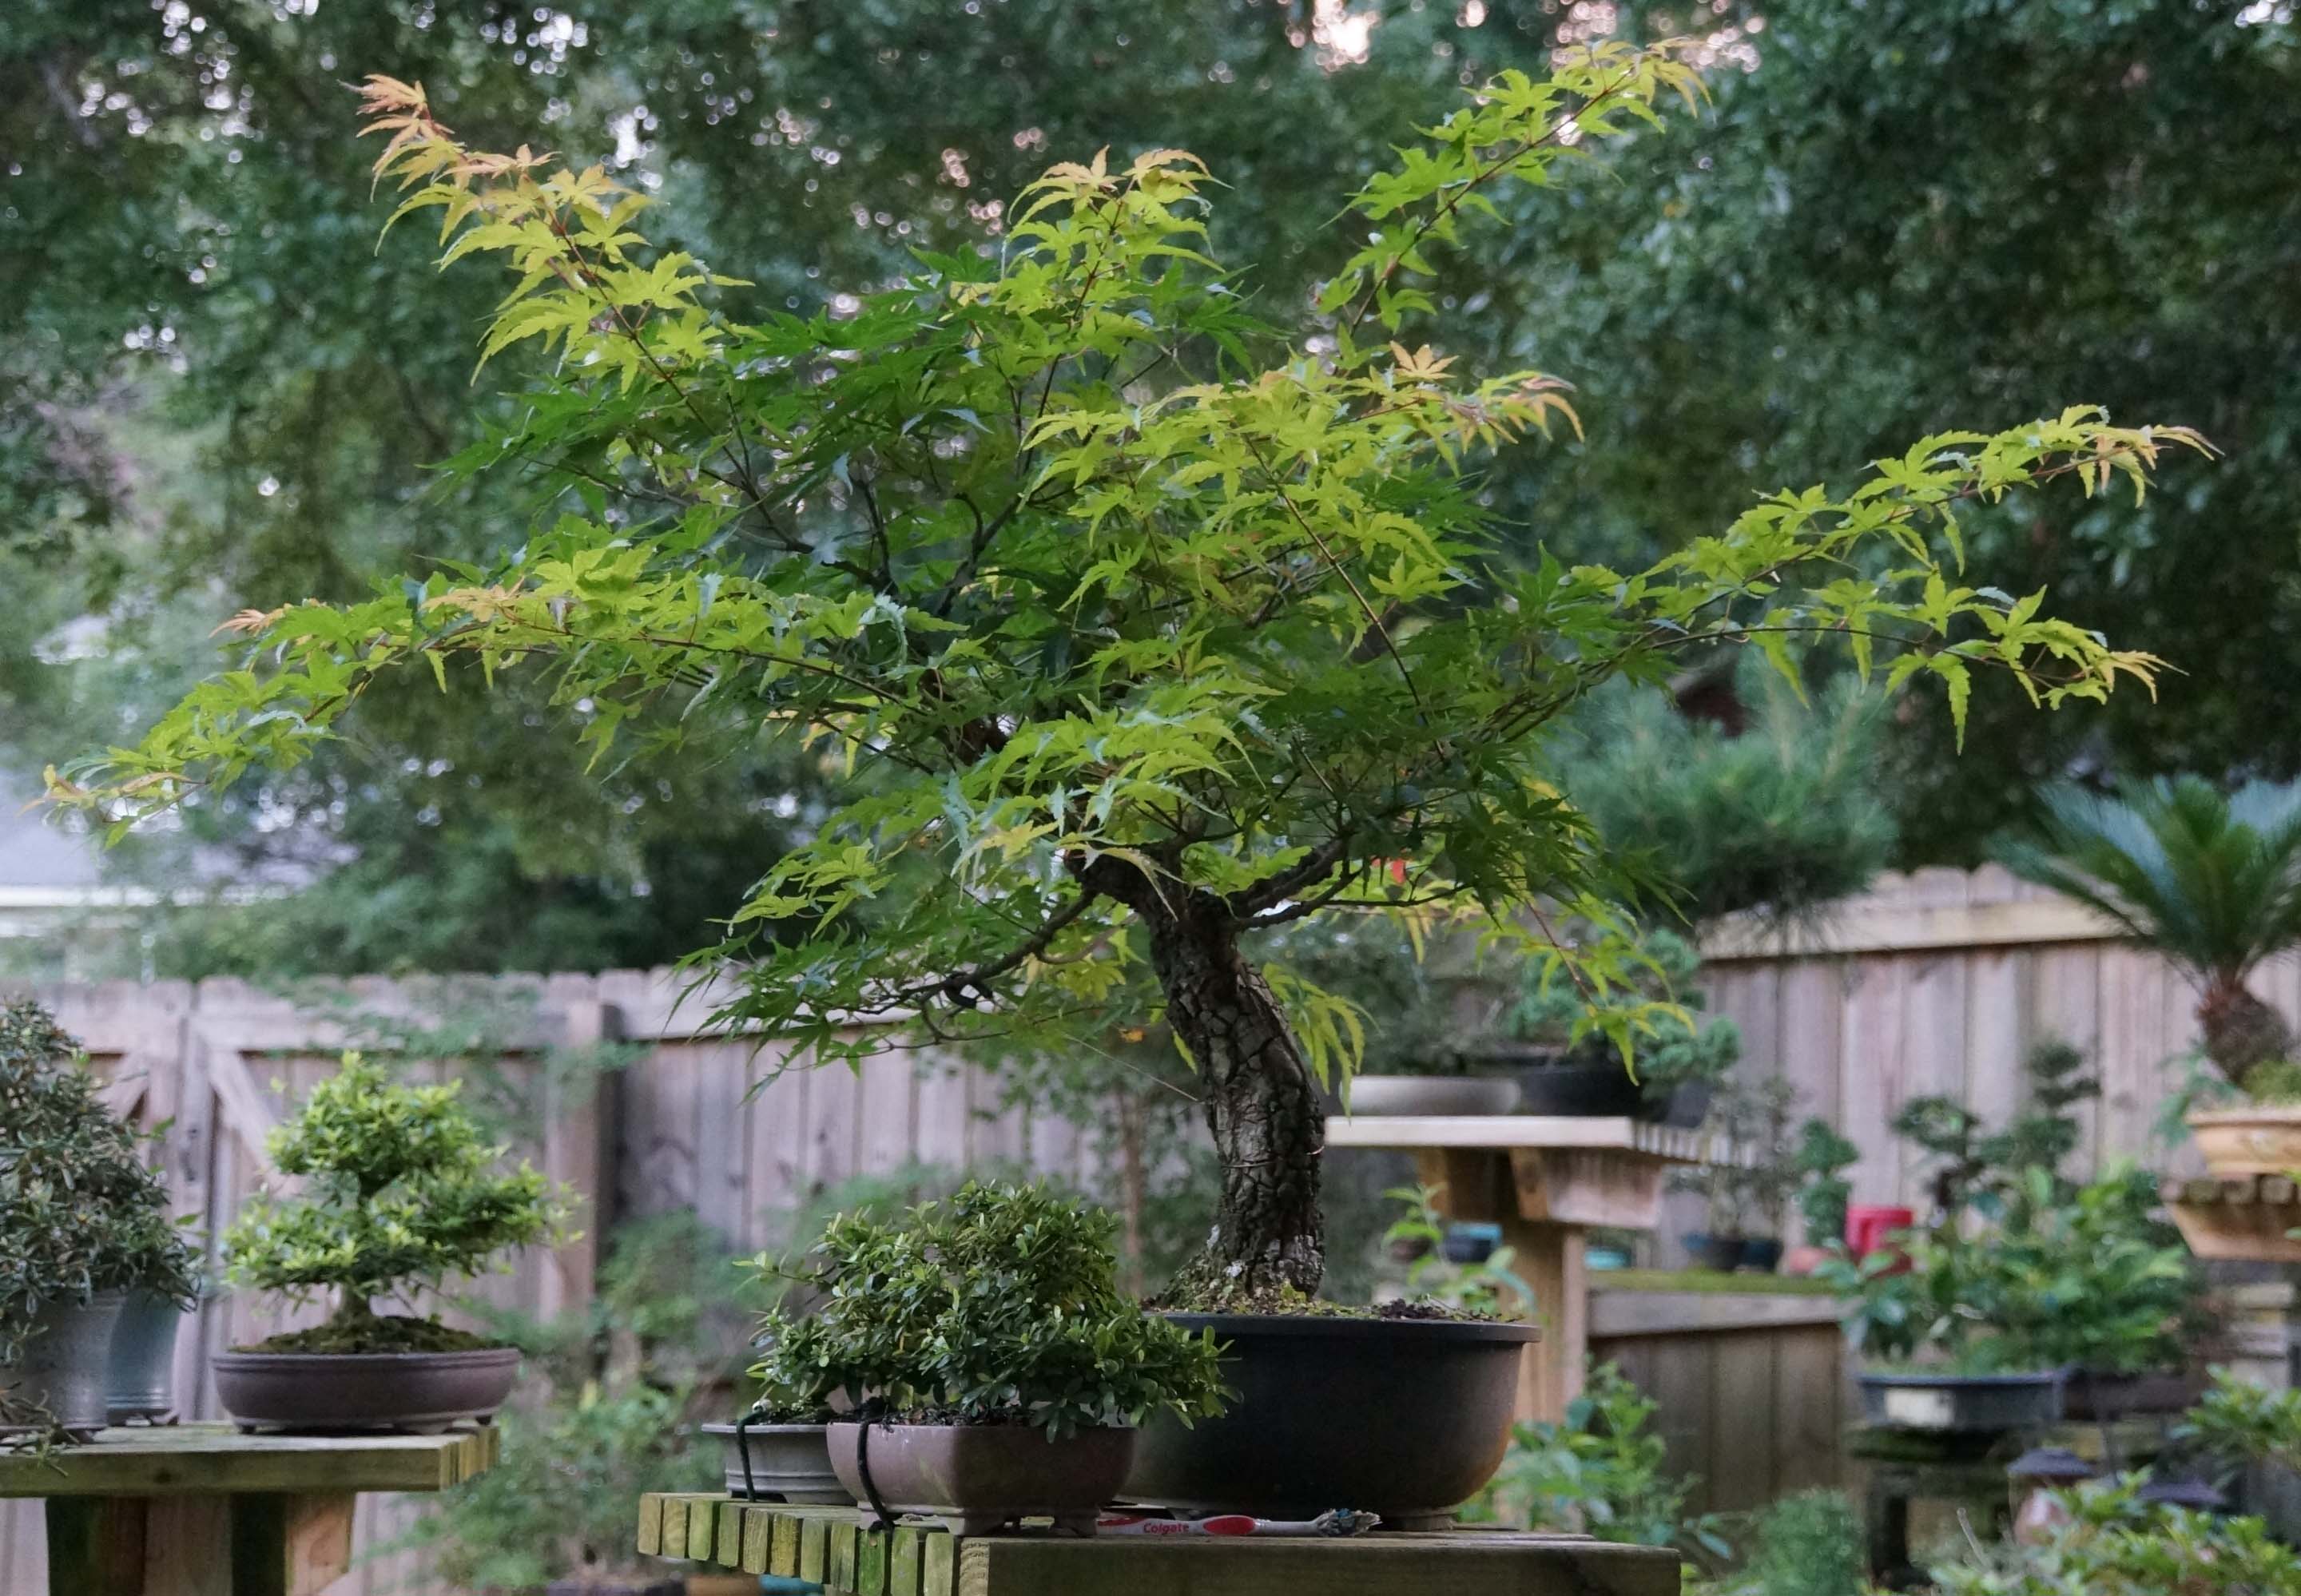
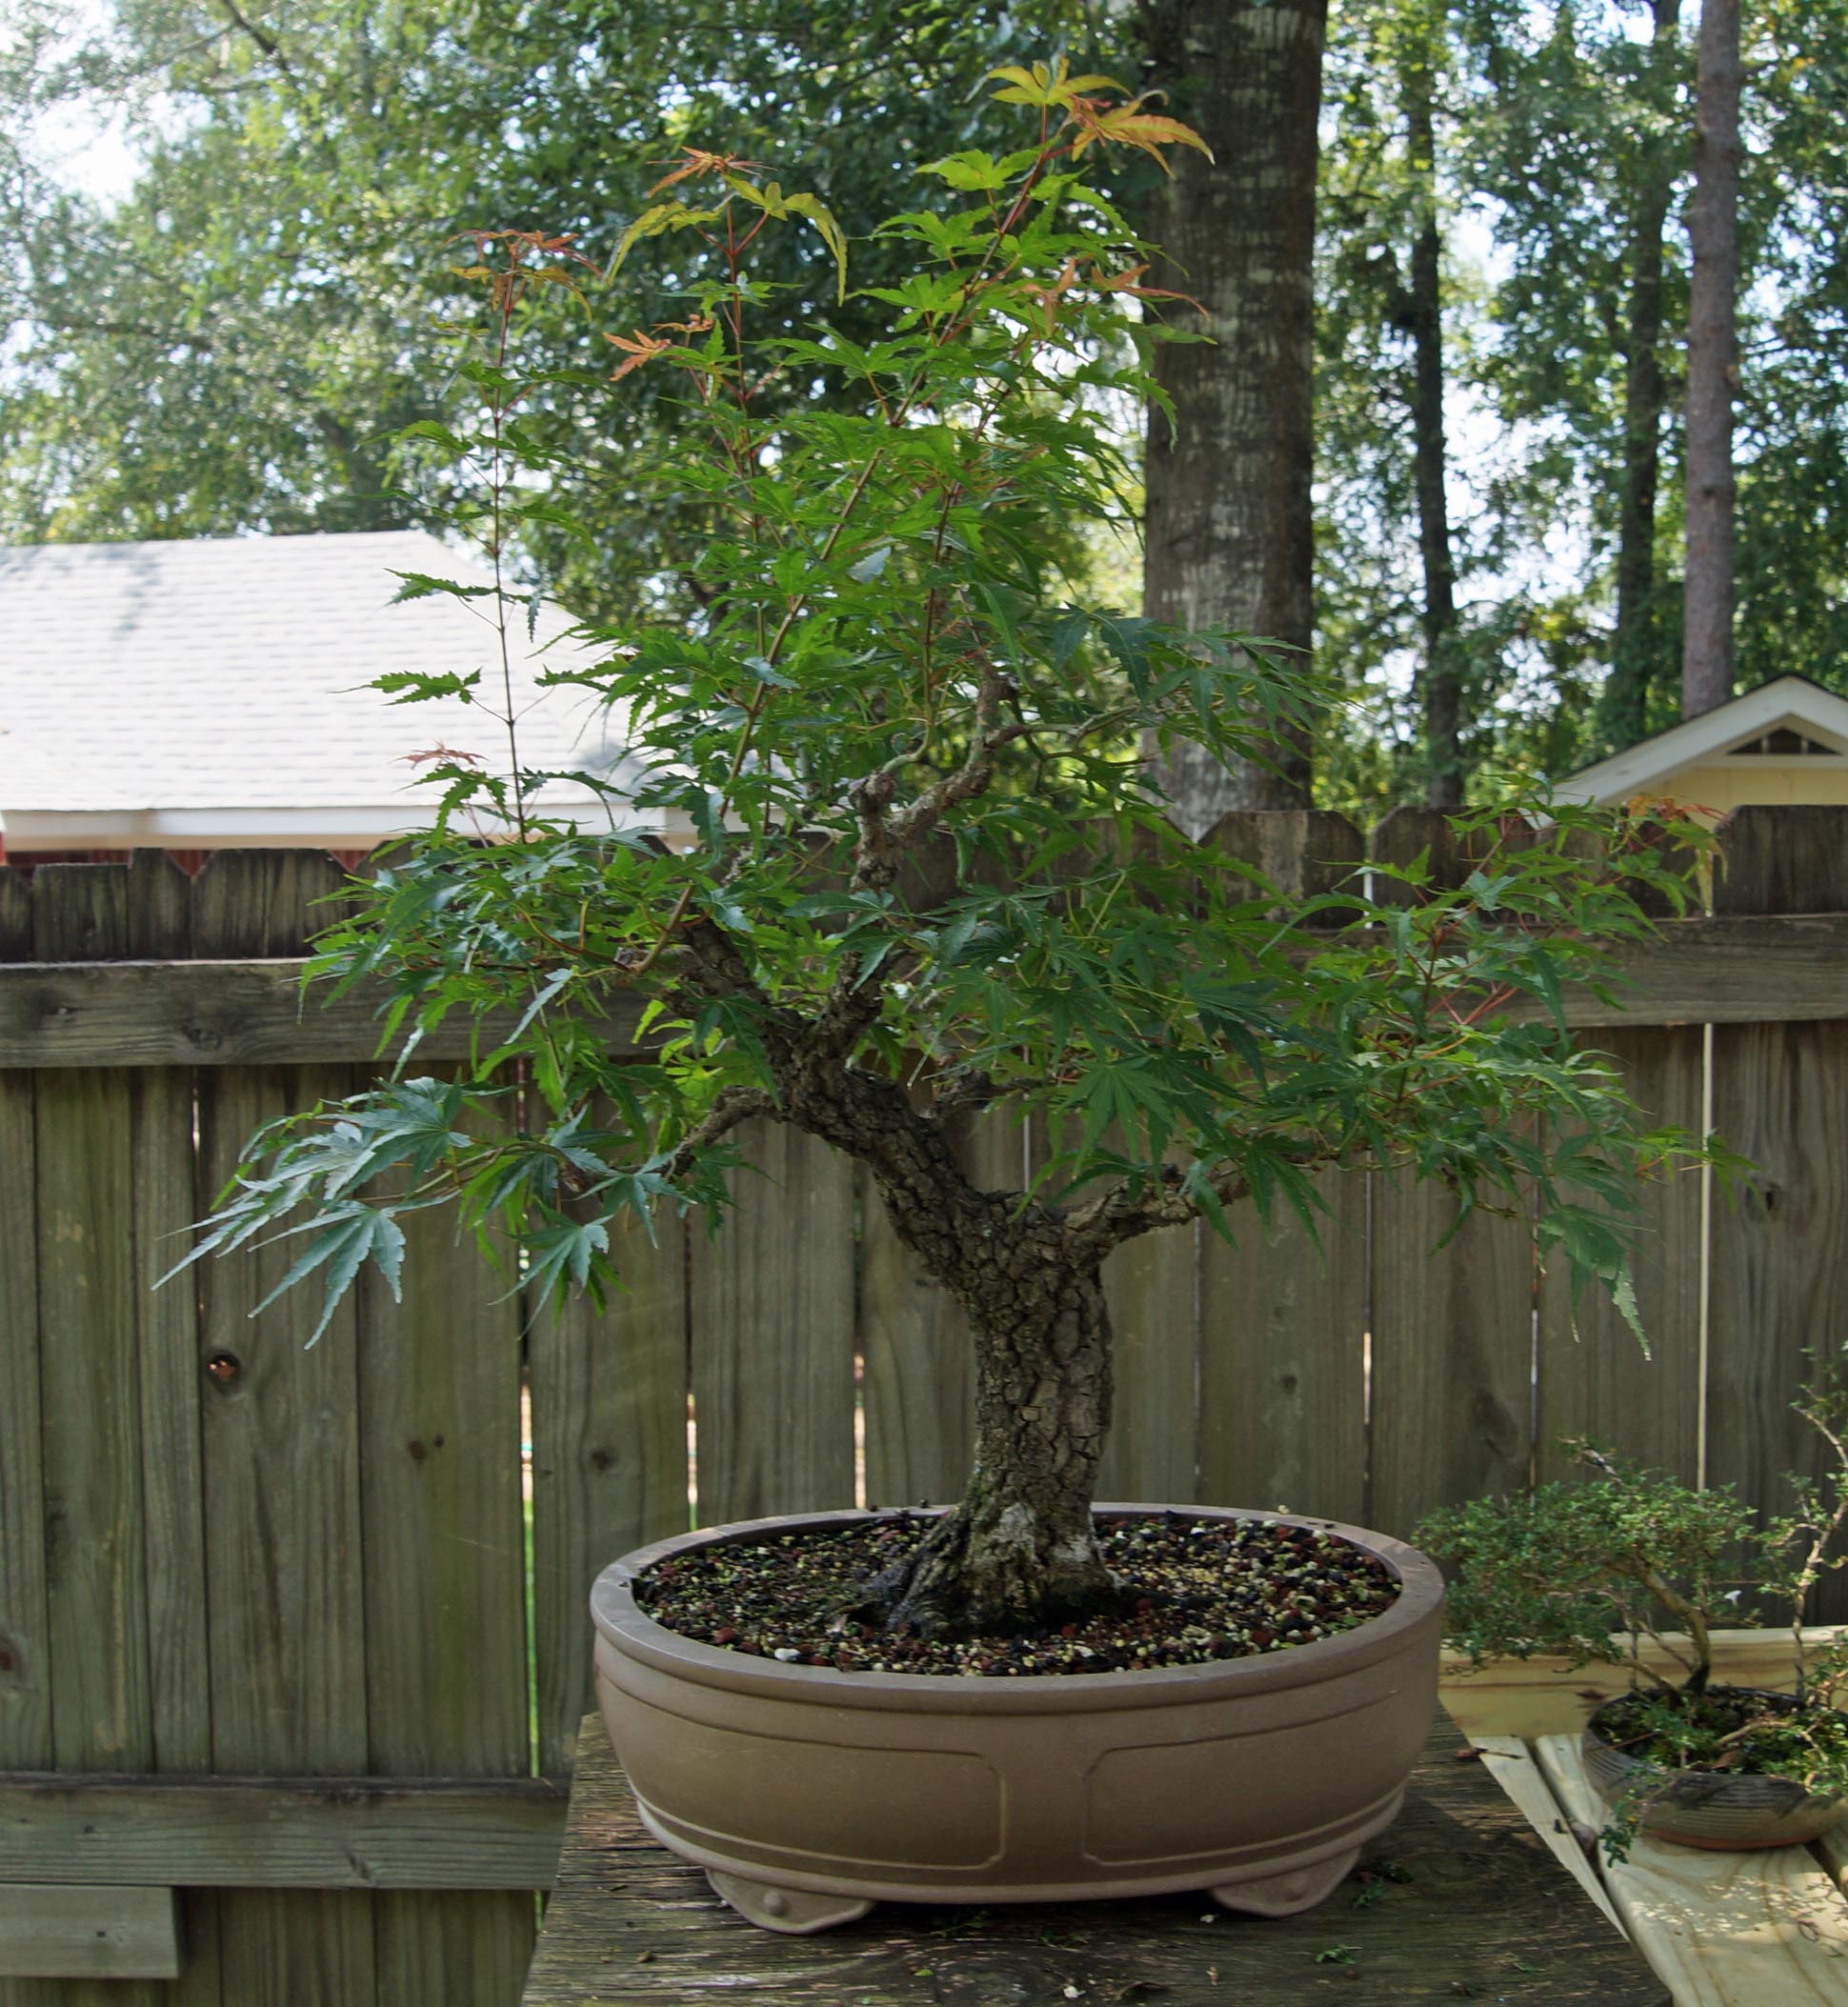
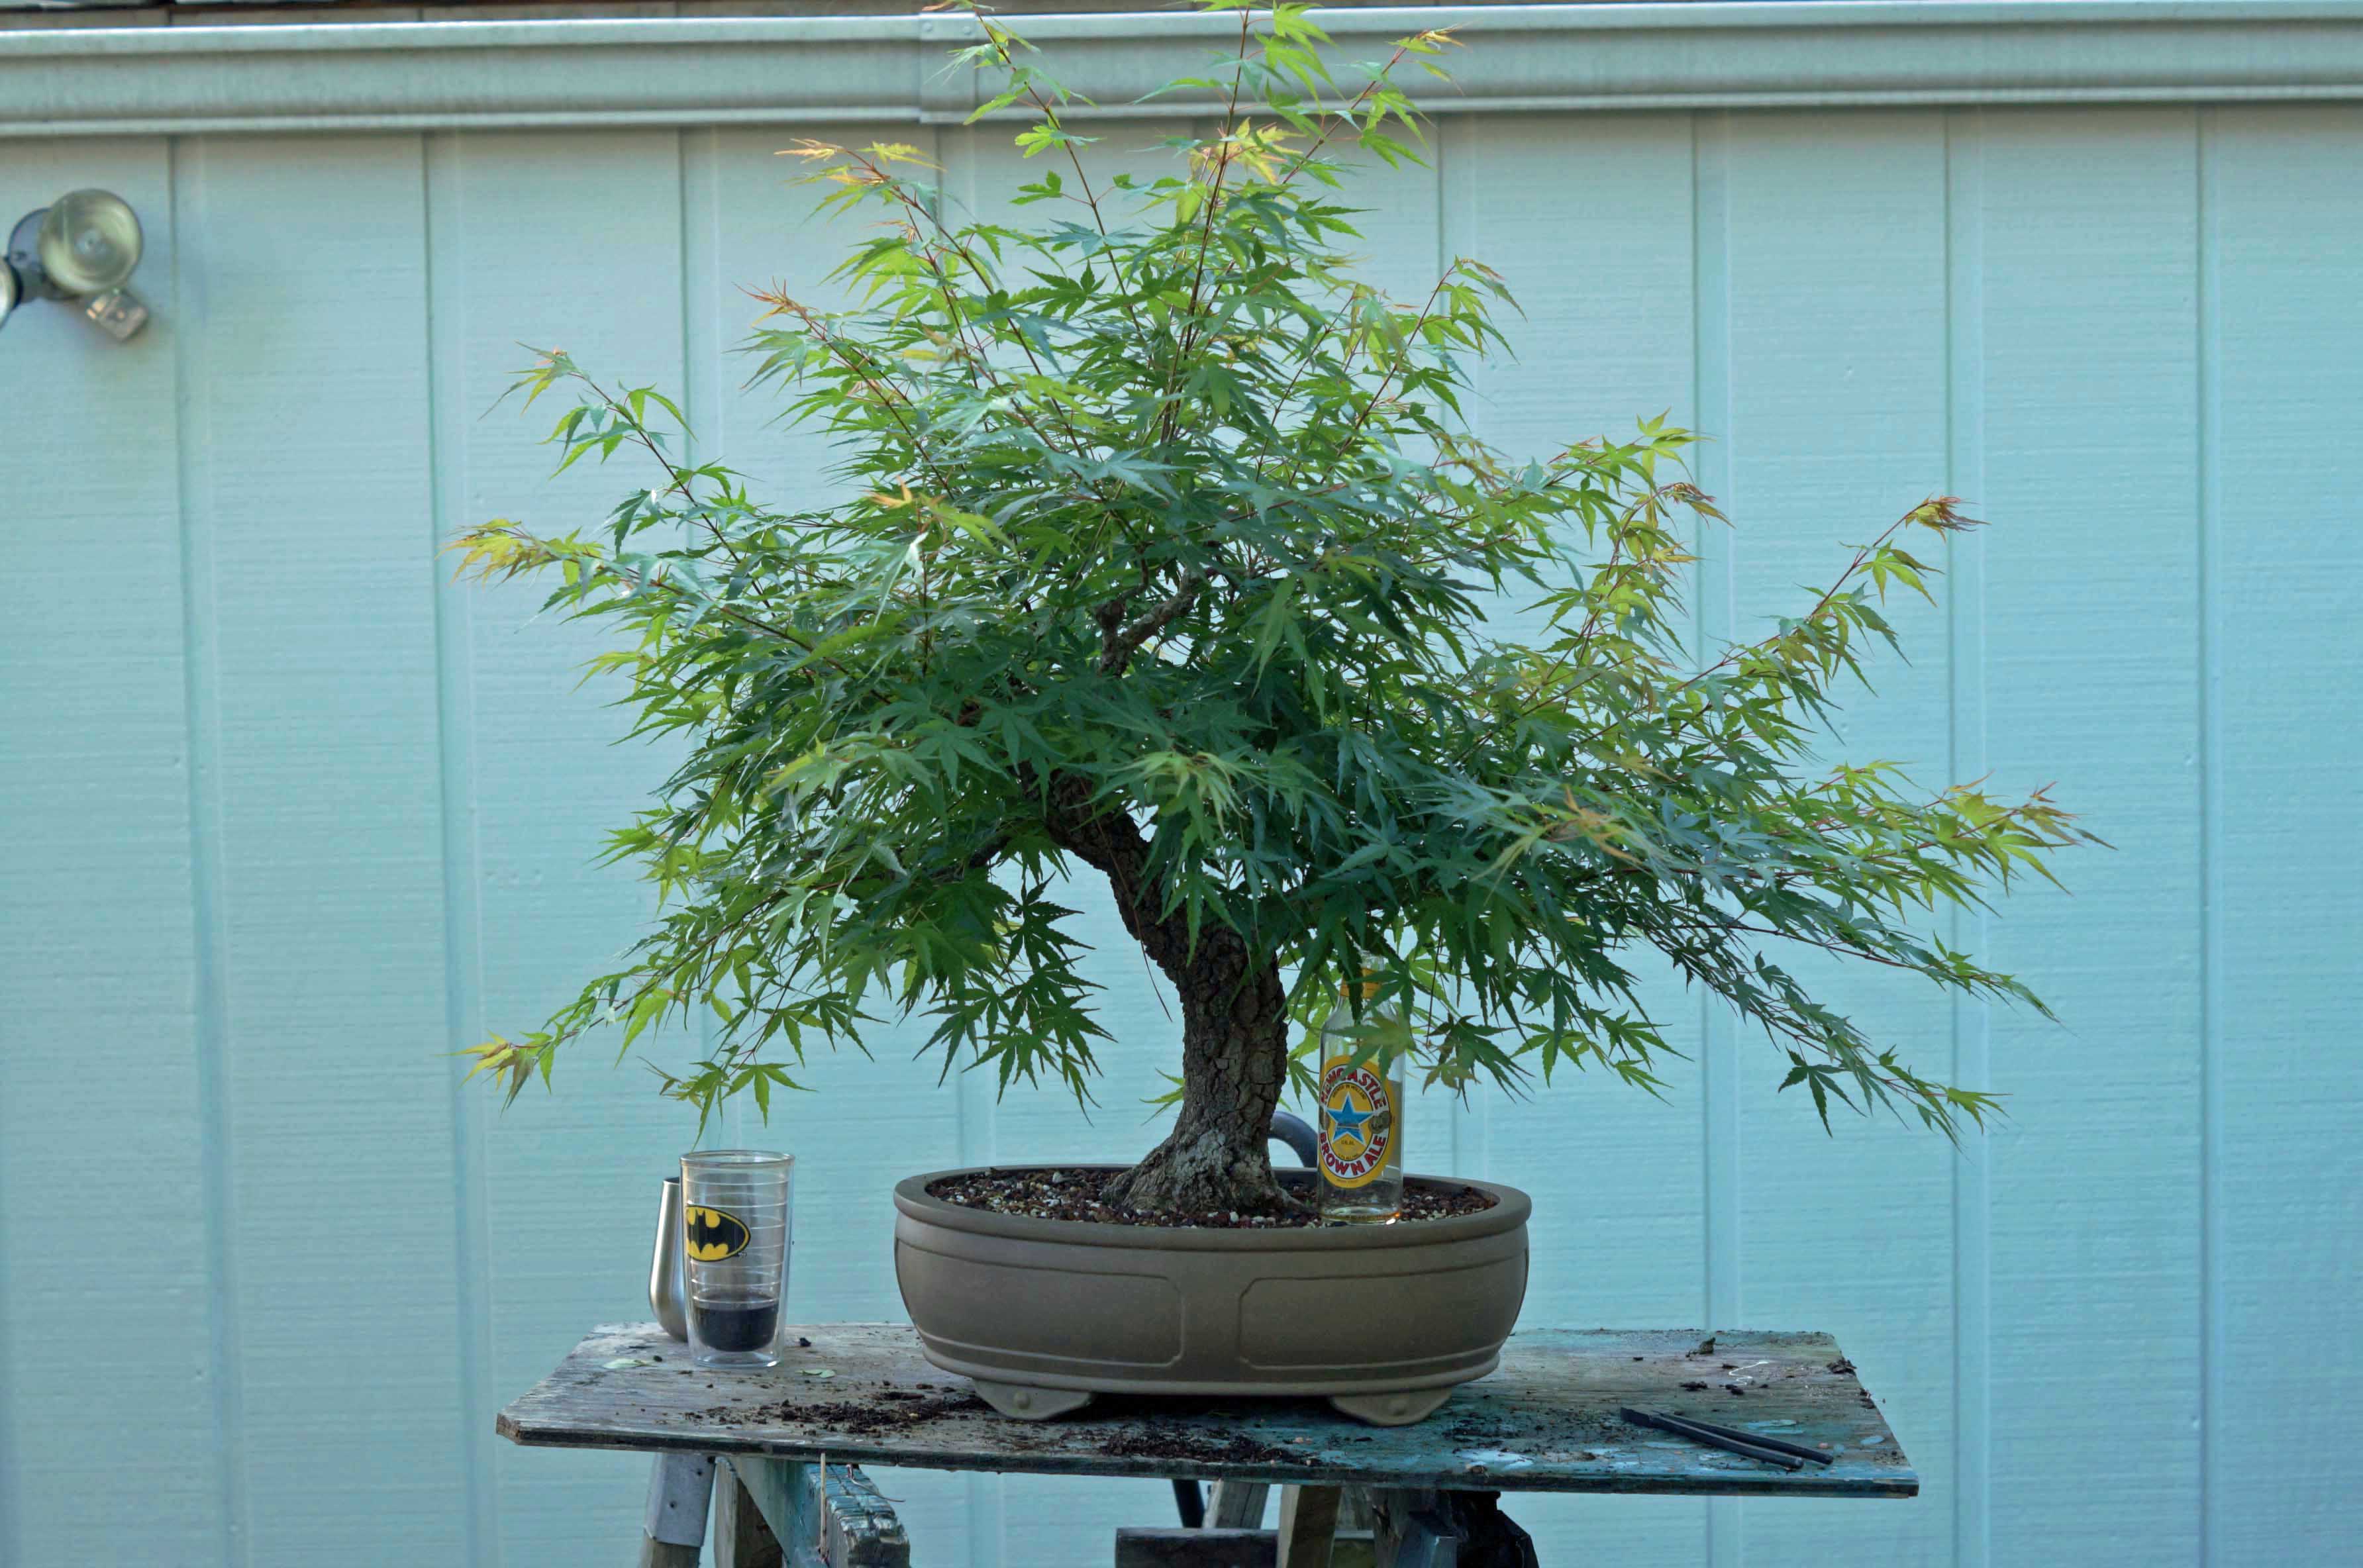
April 2014, nice Spring growth. I wish I would taken the time to wire it, I would have been ahead of the game.


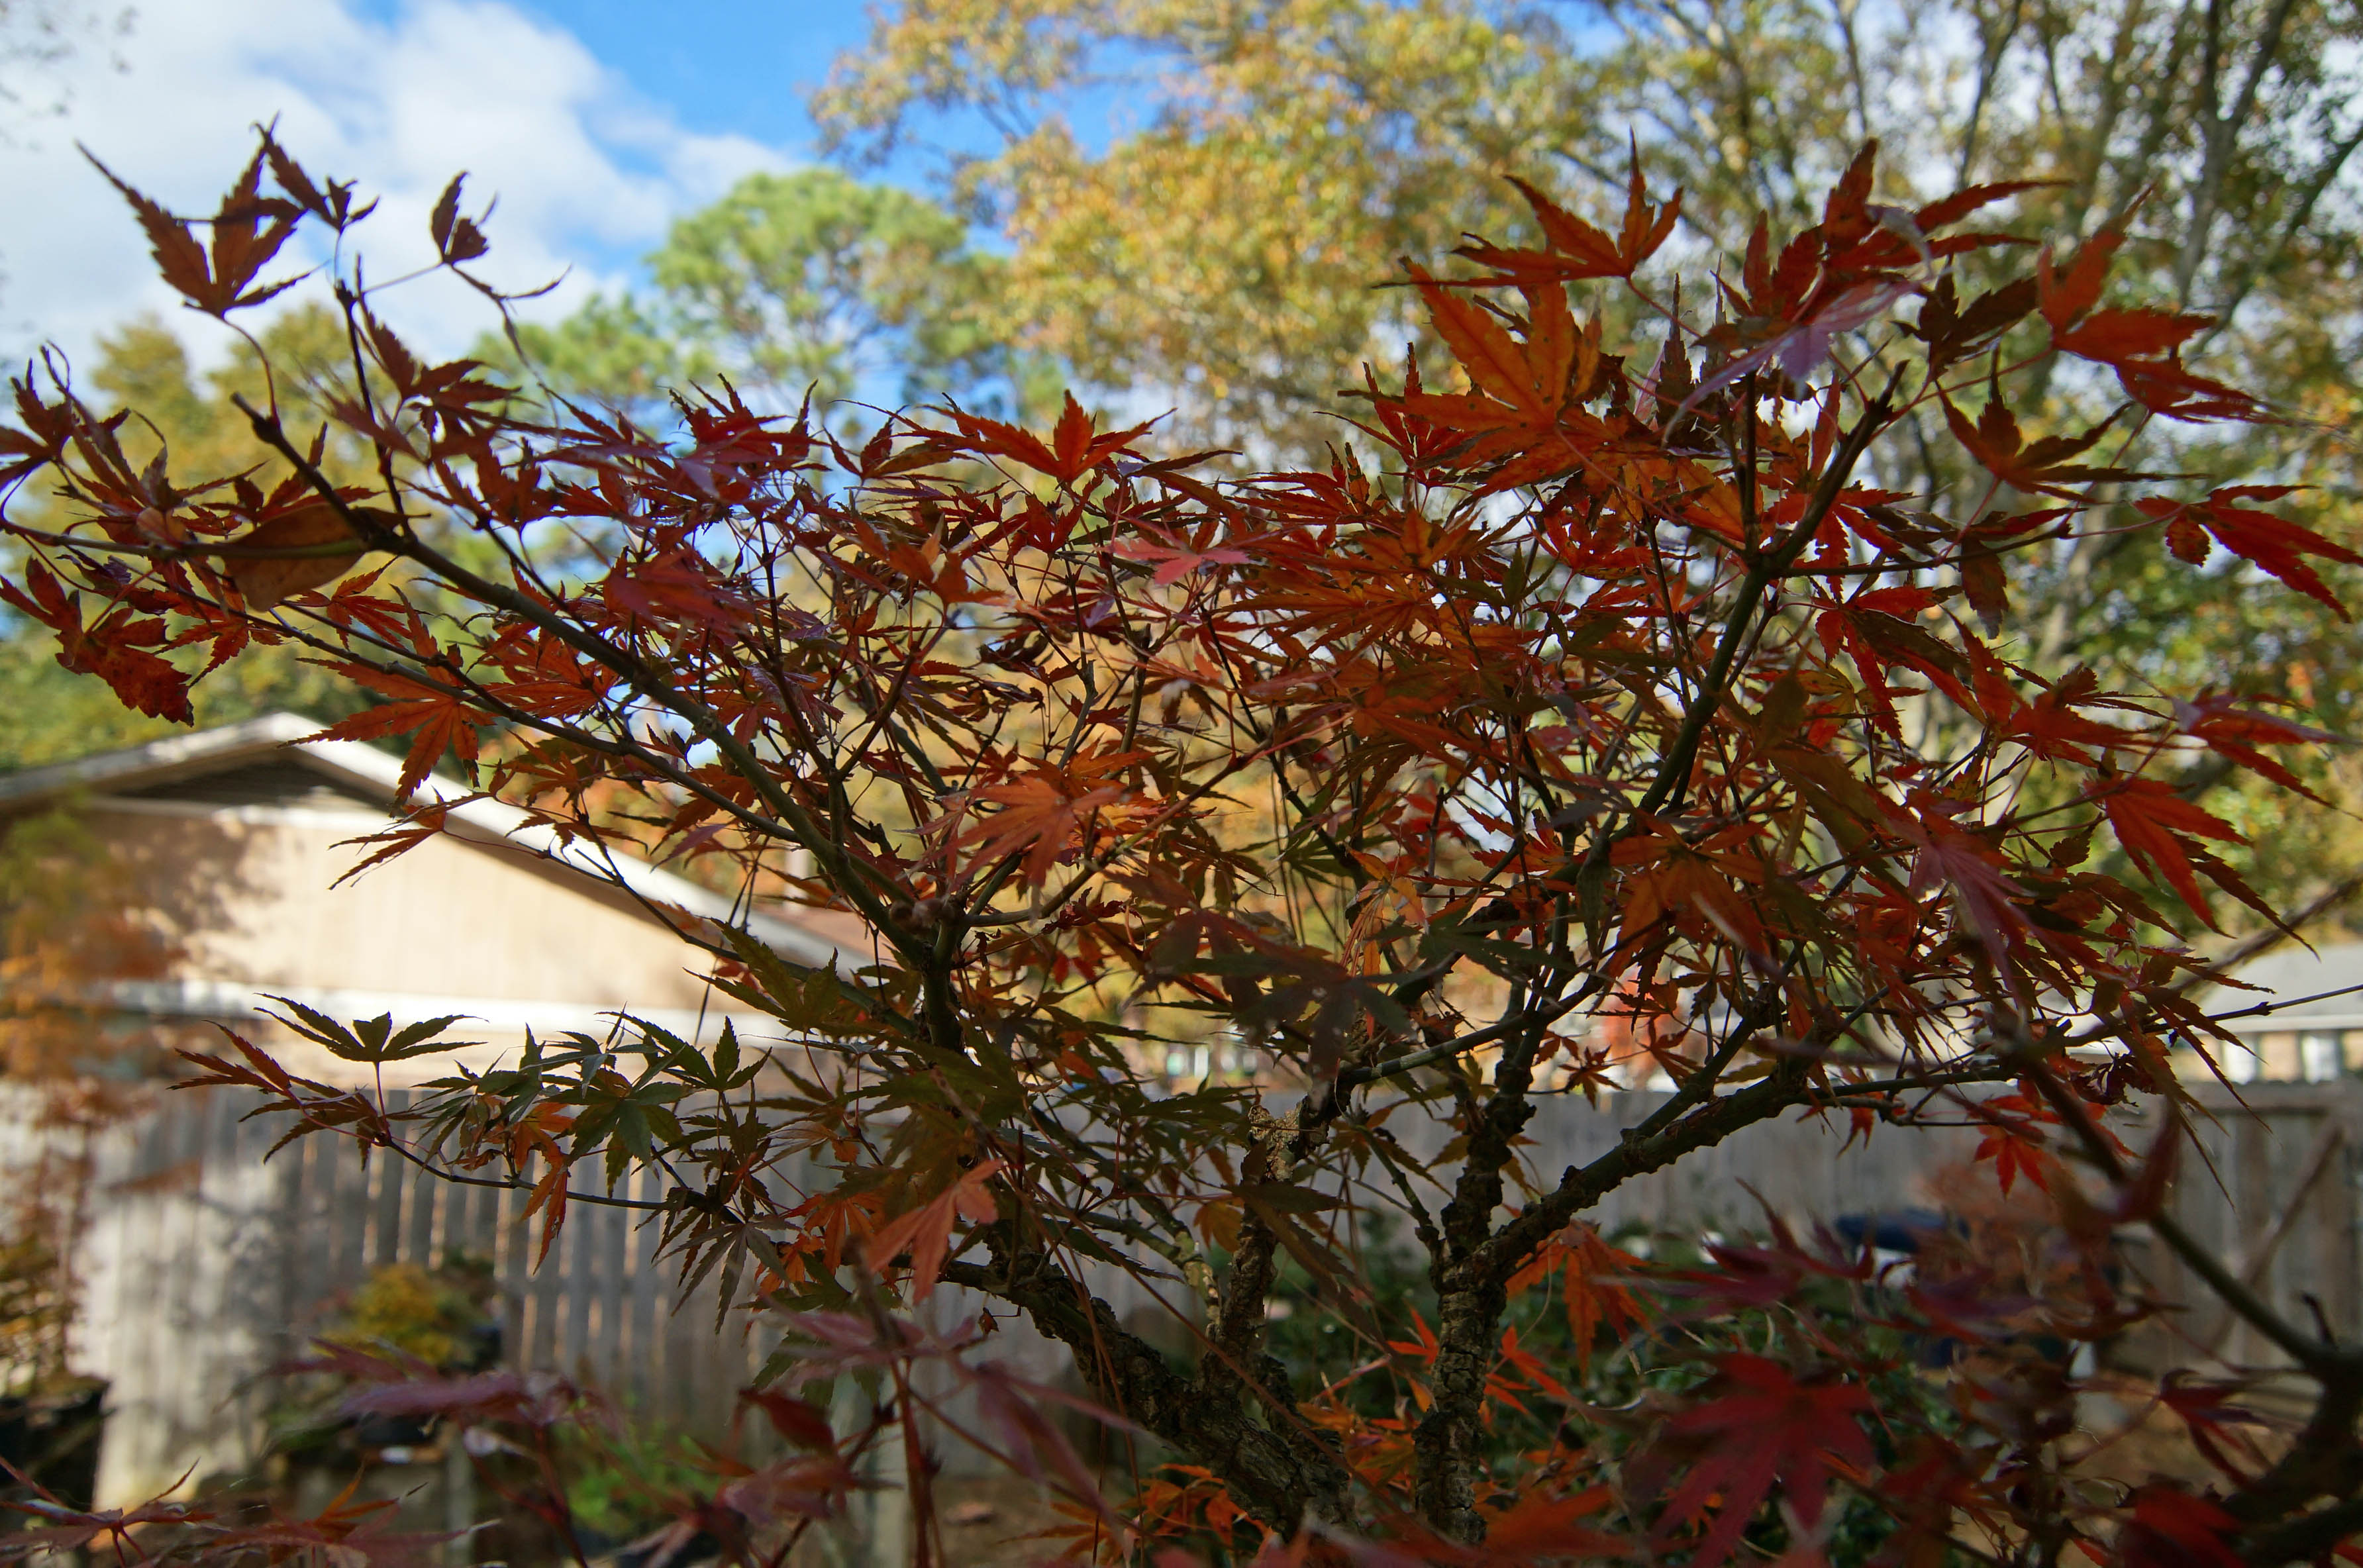
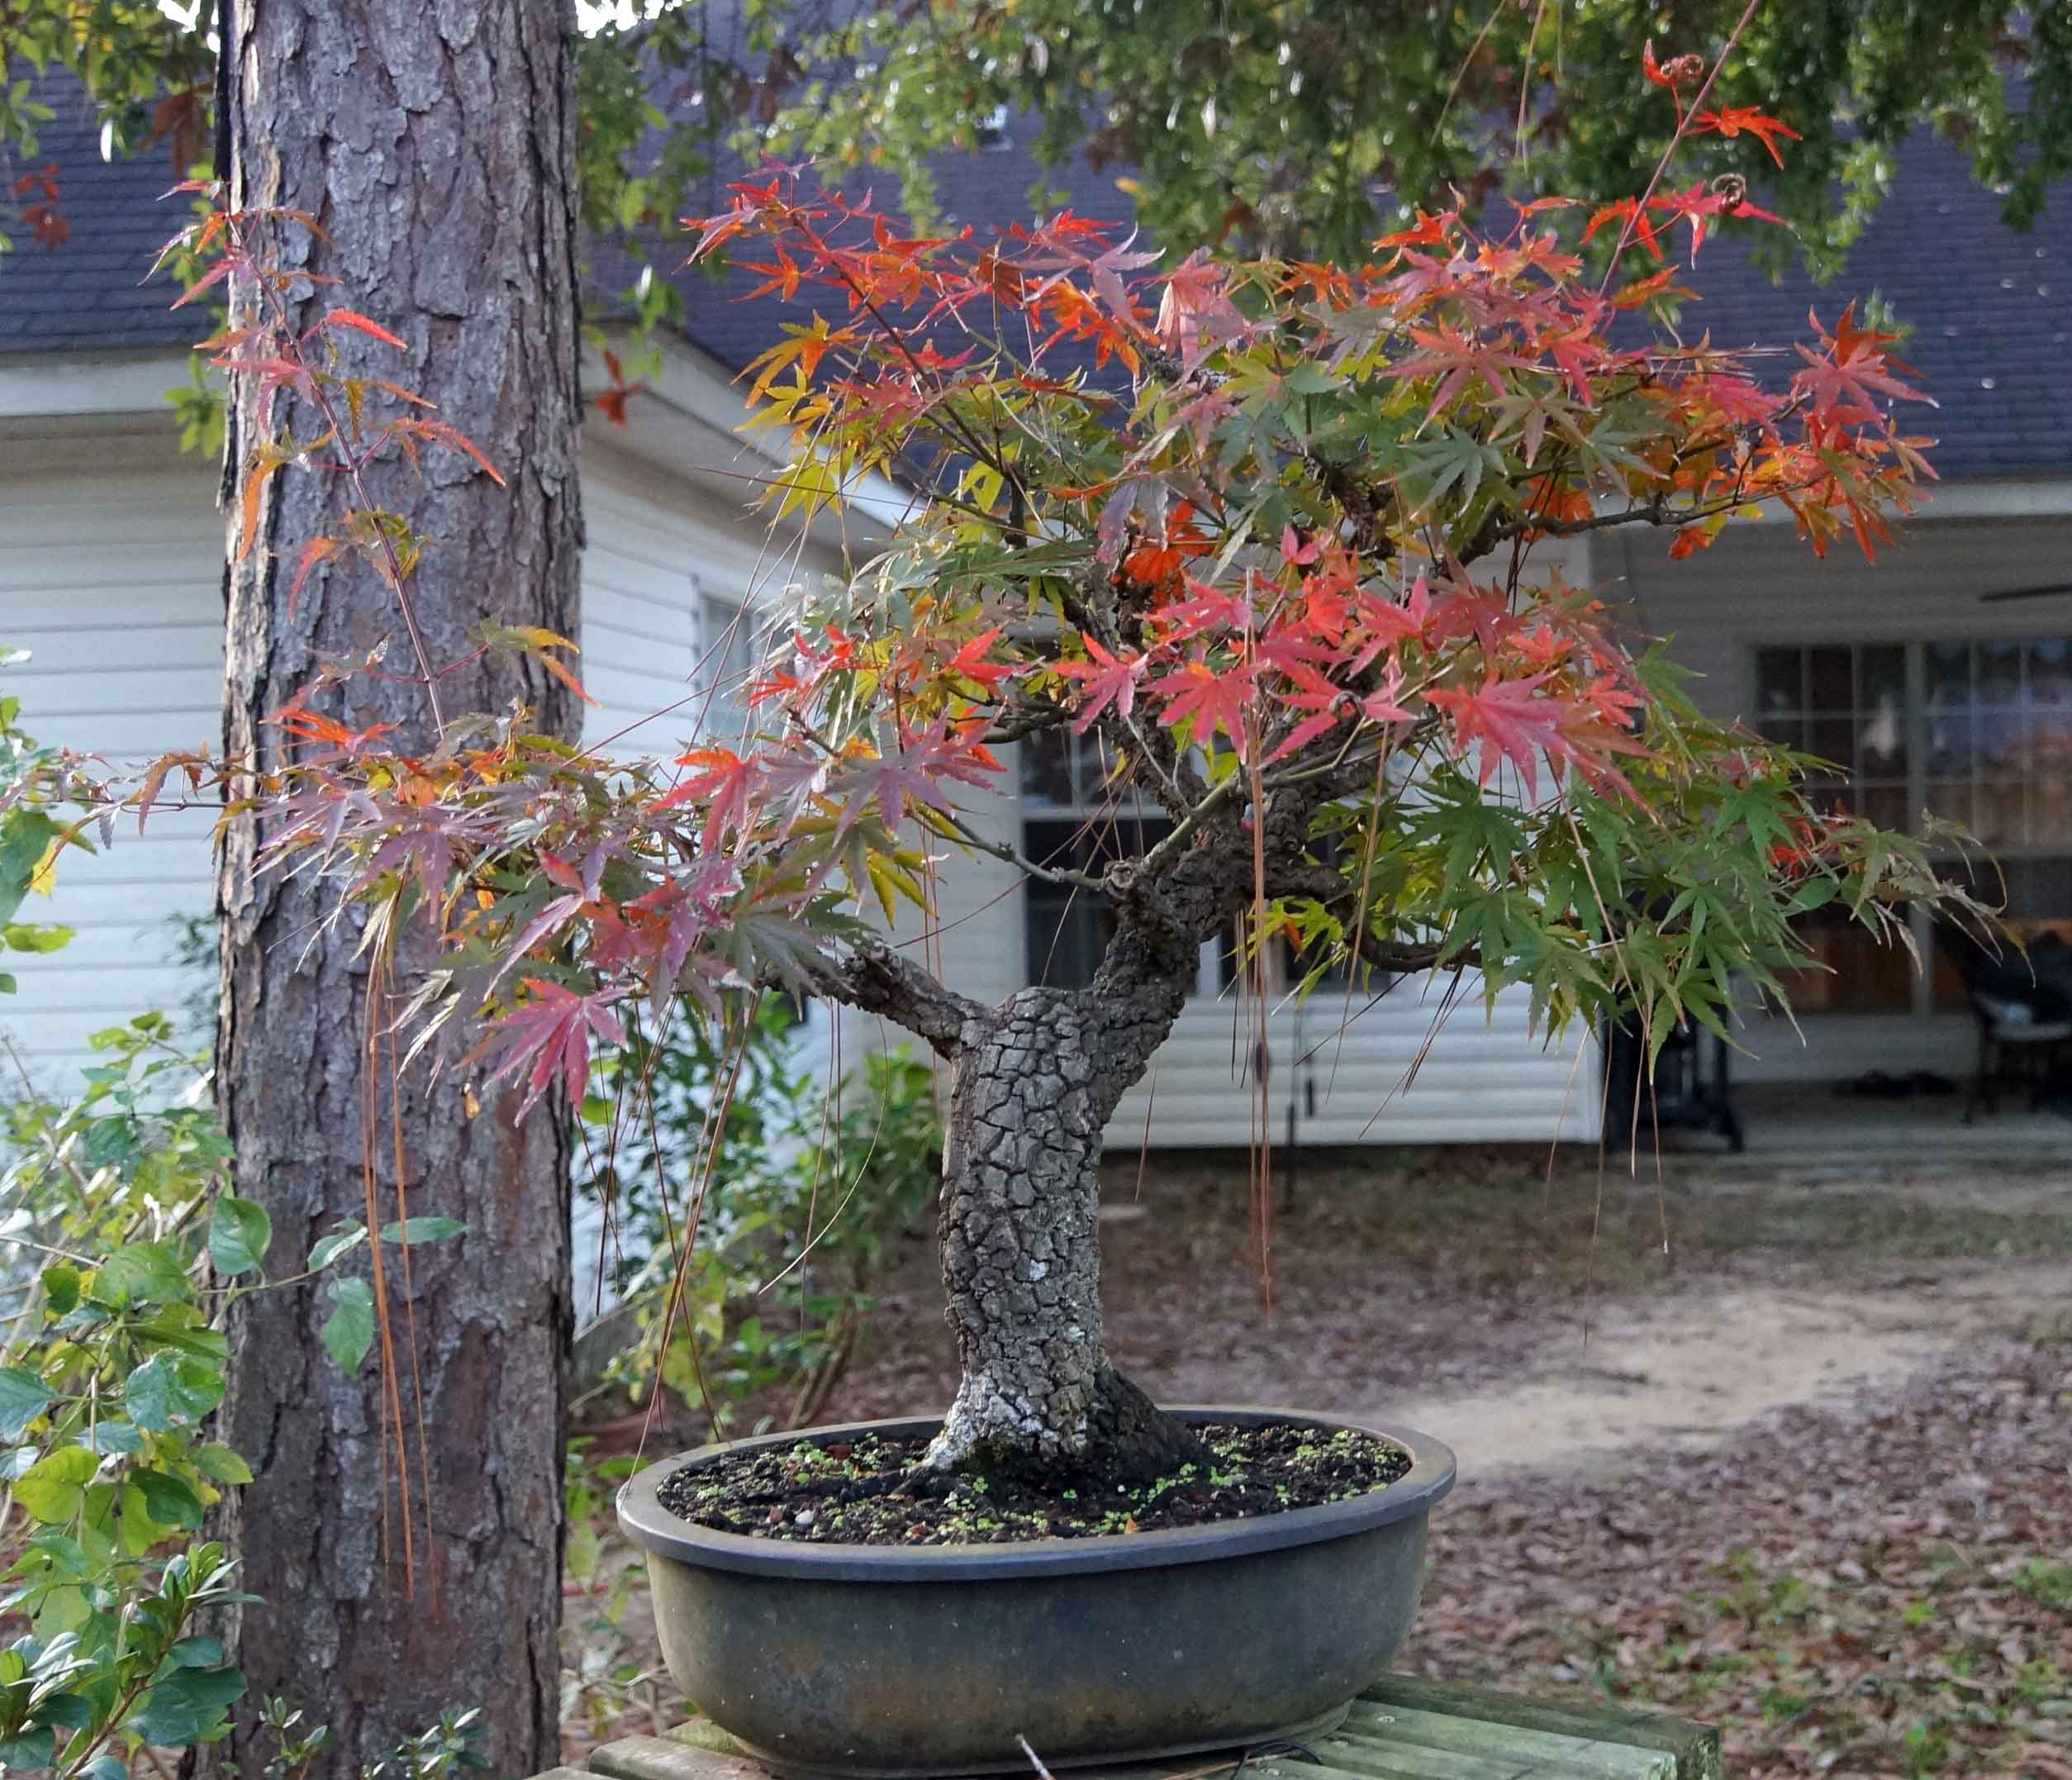
November 2014 brought some nice fall colors with it, deep red. I don't usually see much of this because of the climate here, they usually just turn brown and crispy, then fall off.
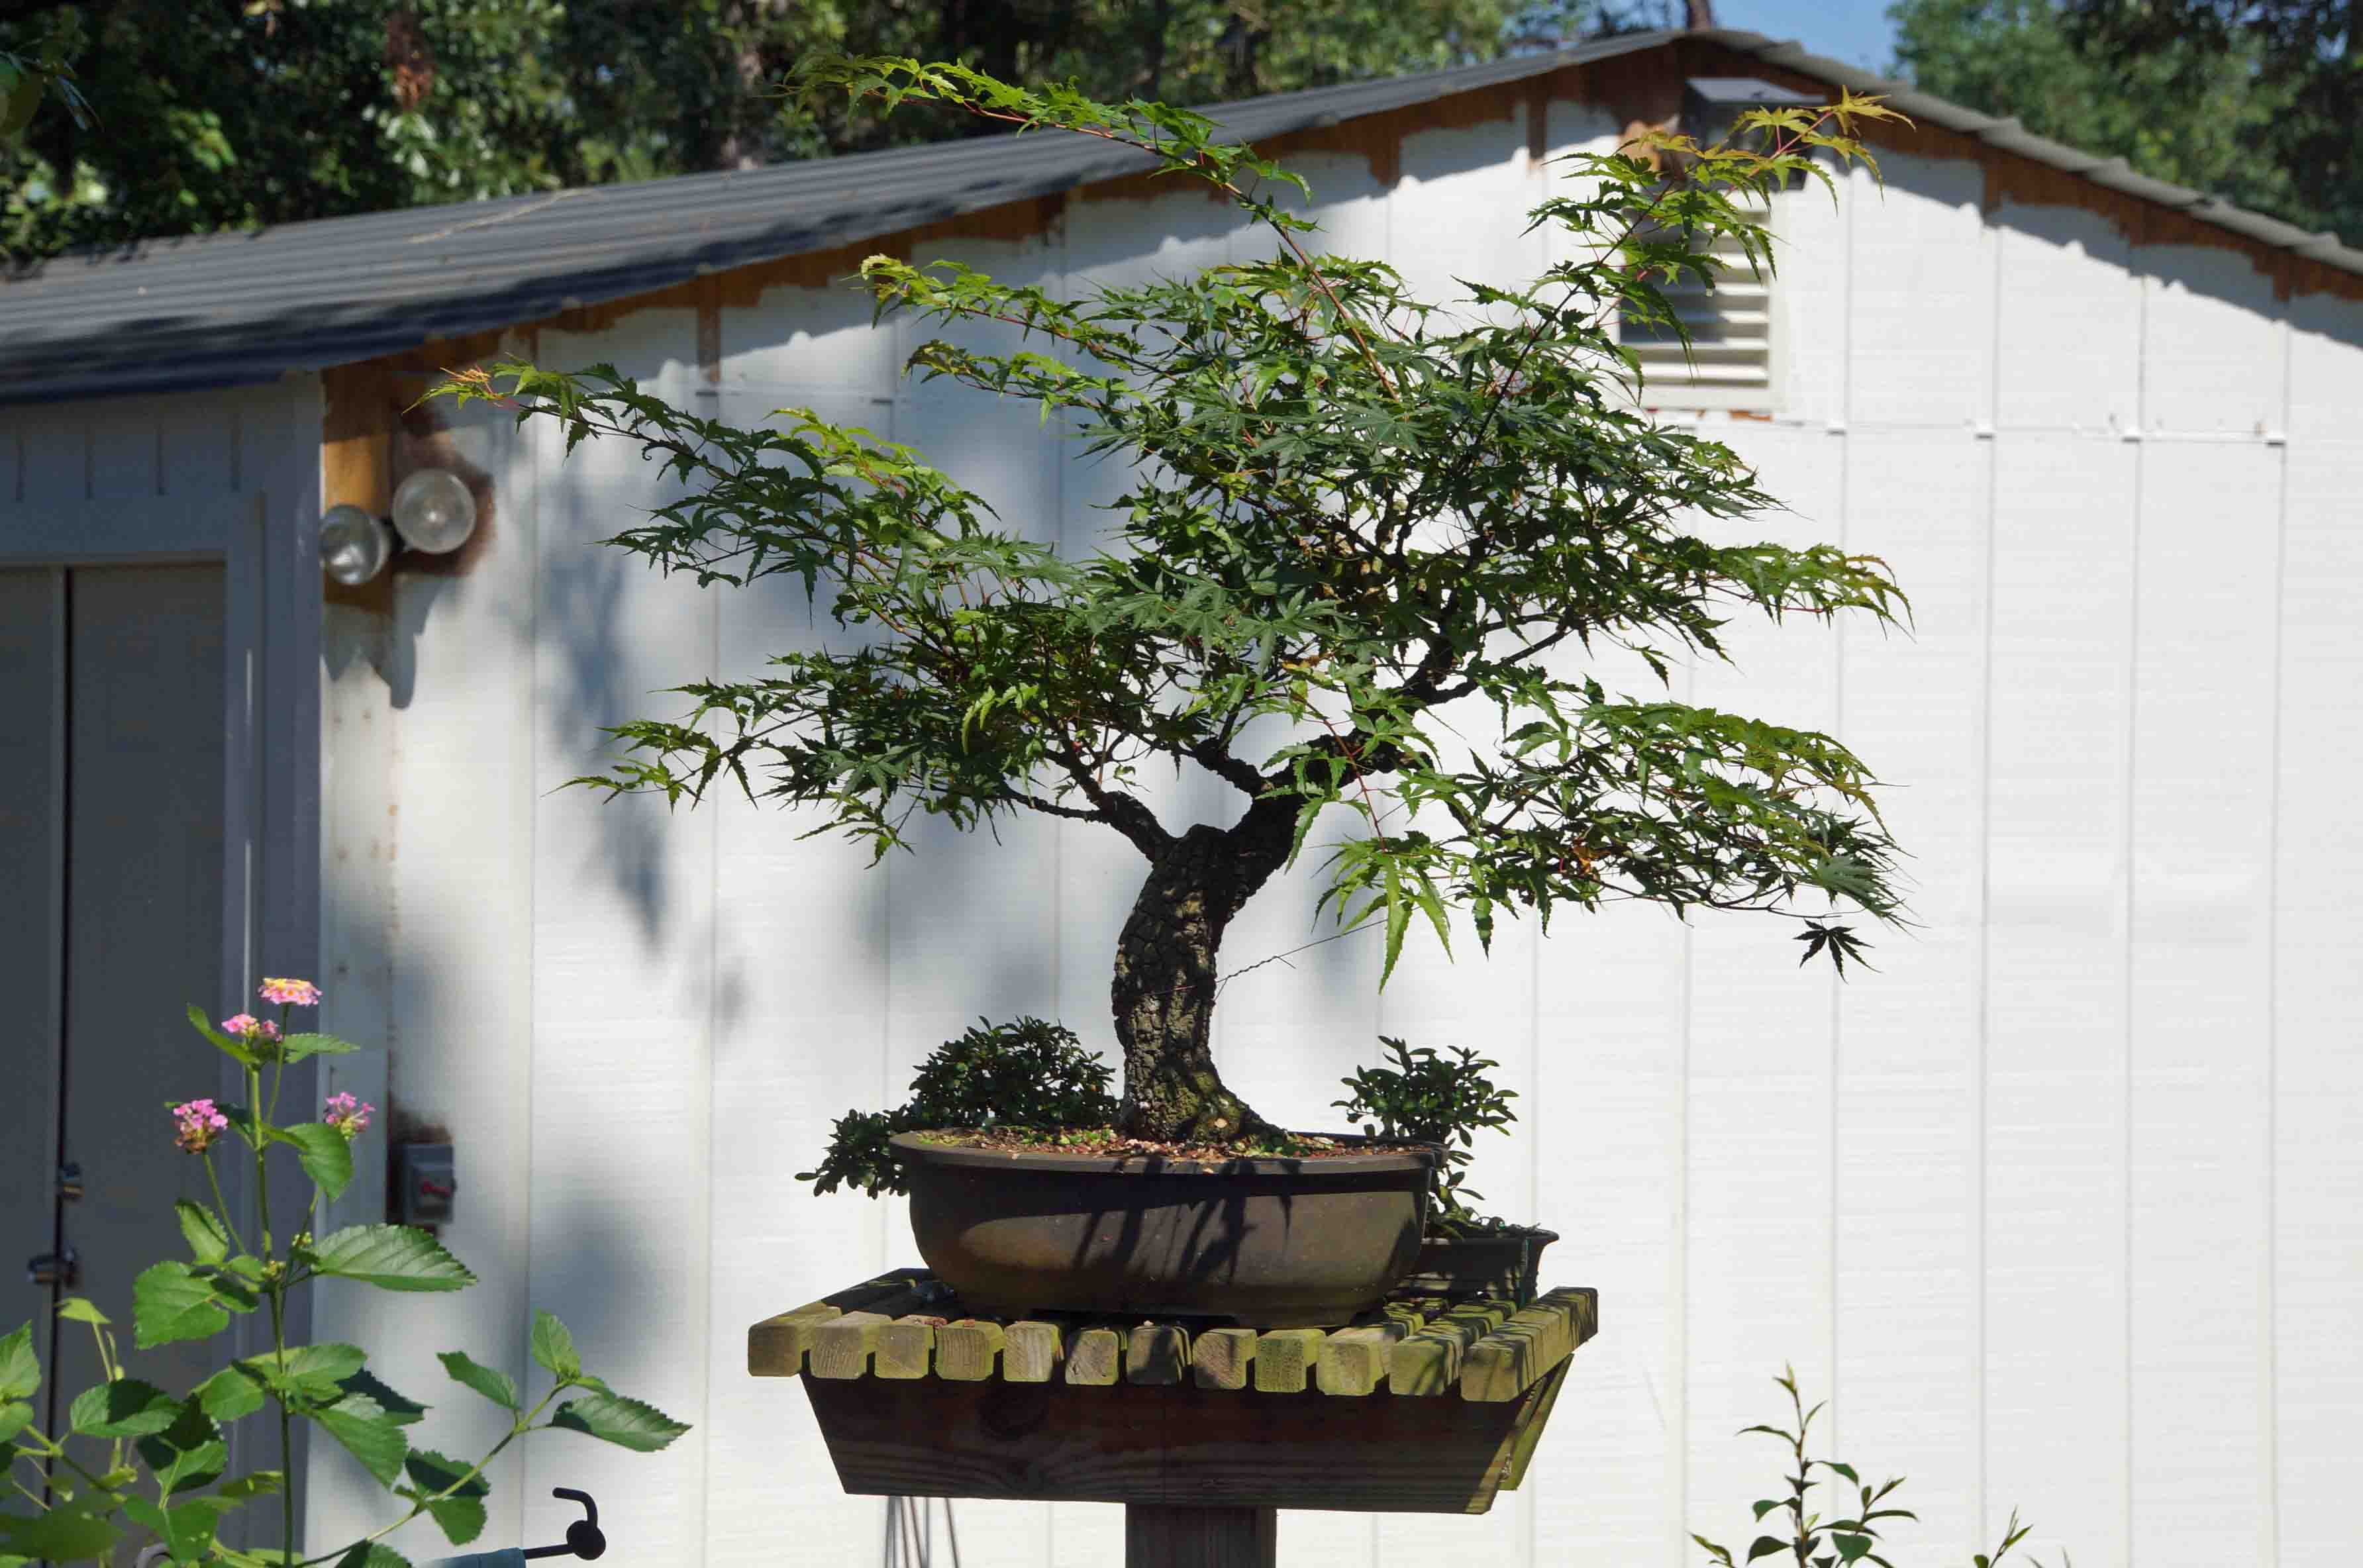
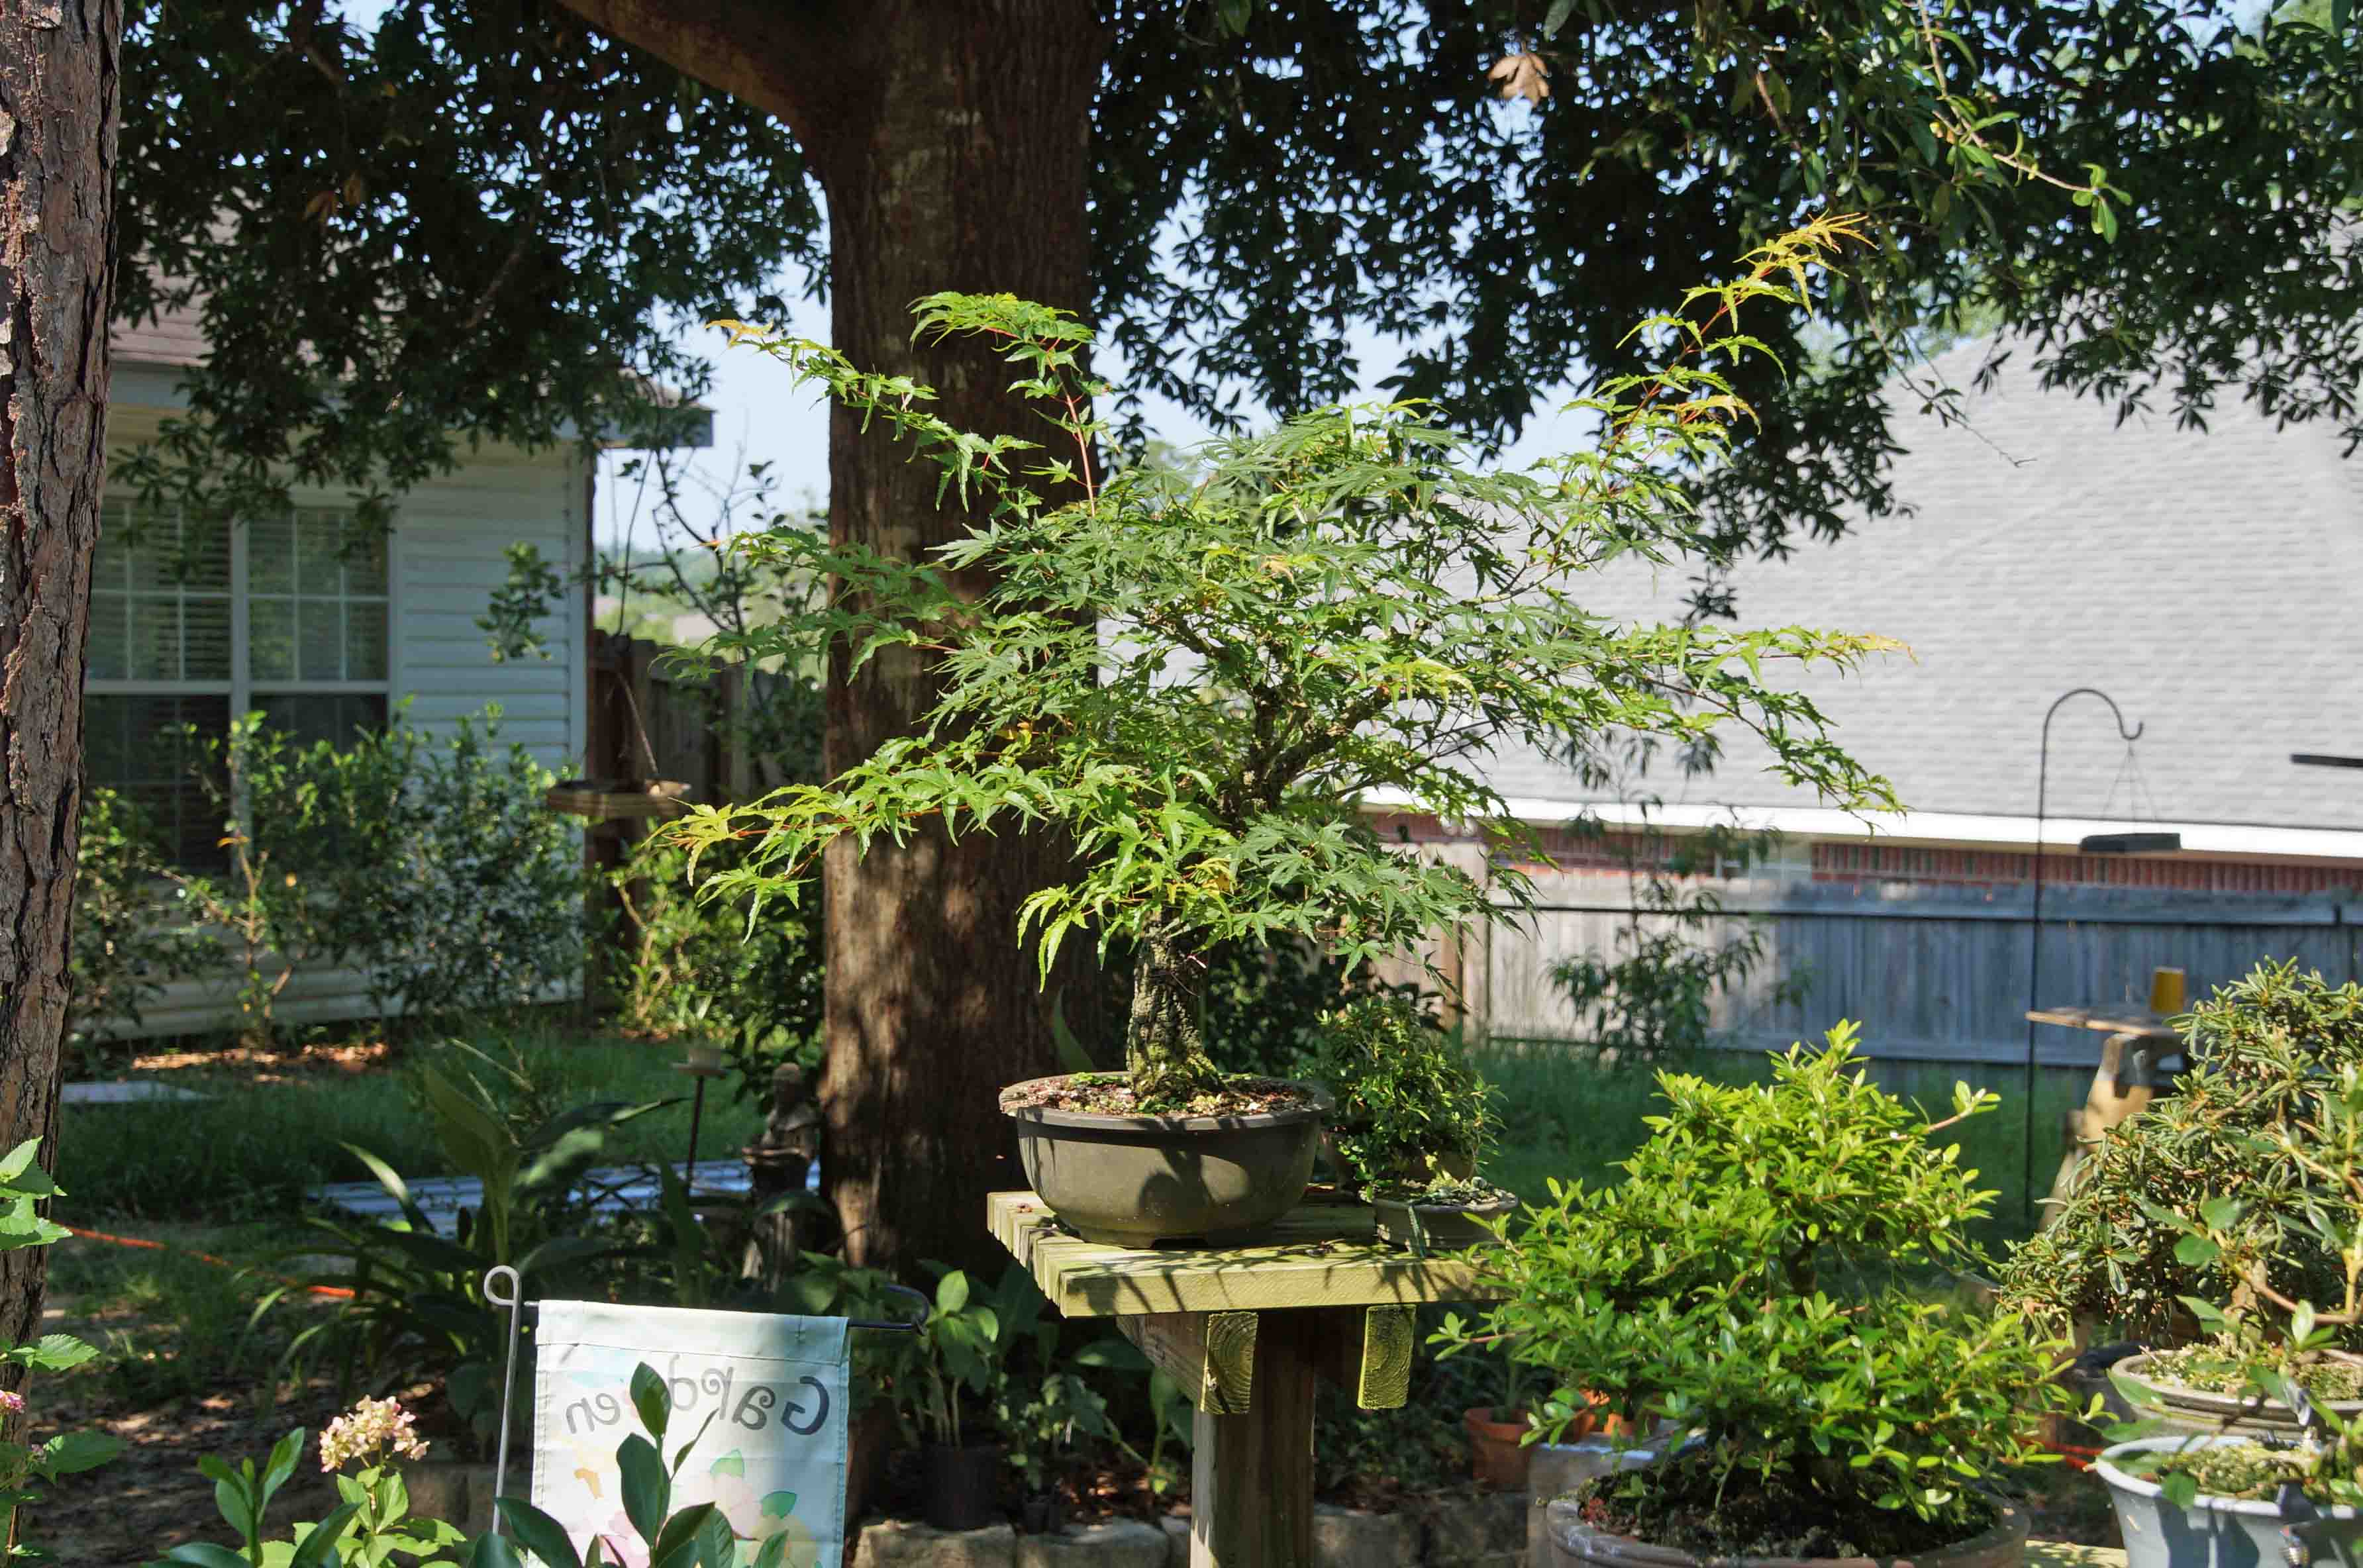
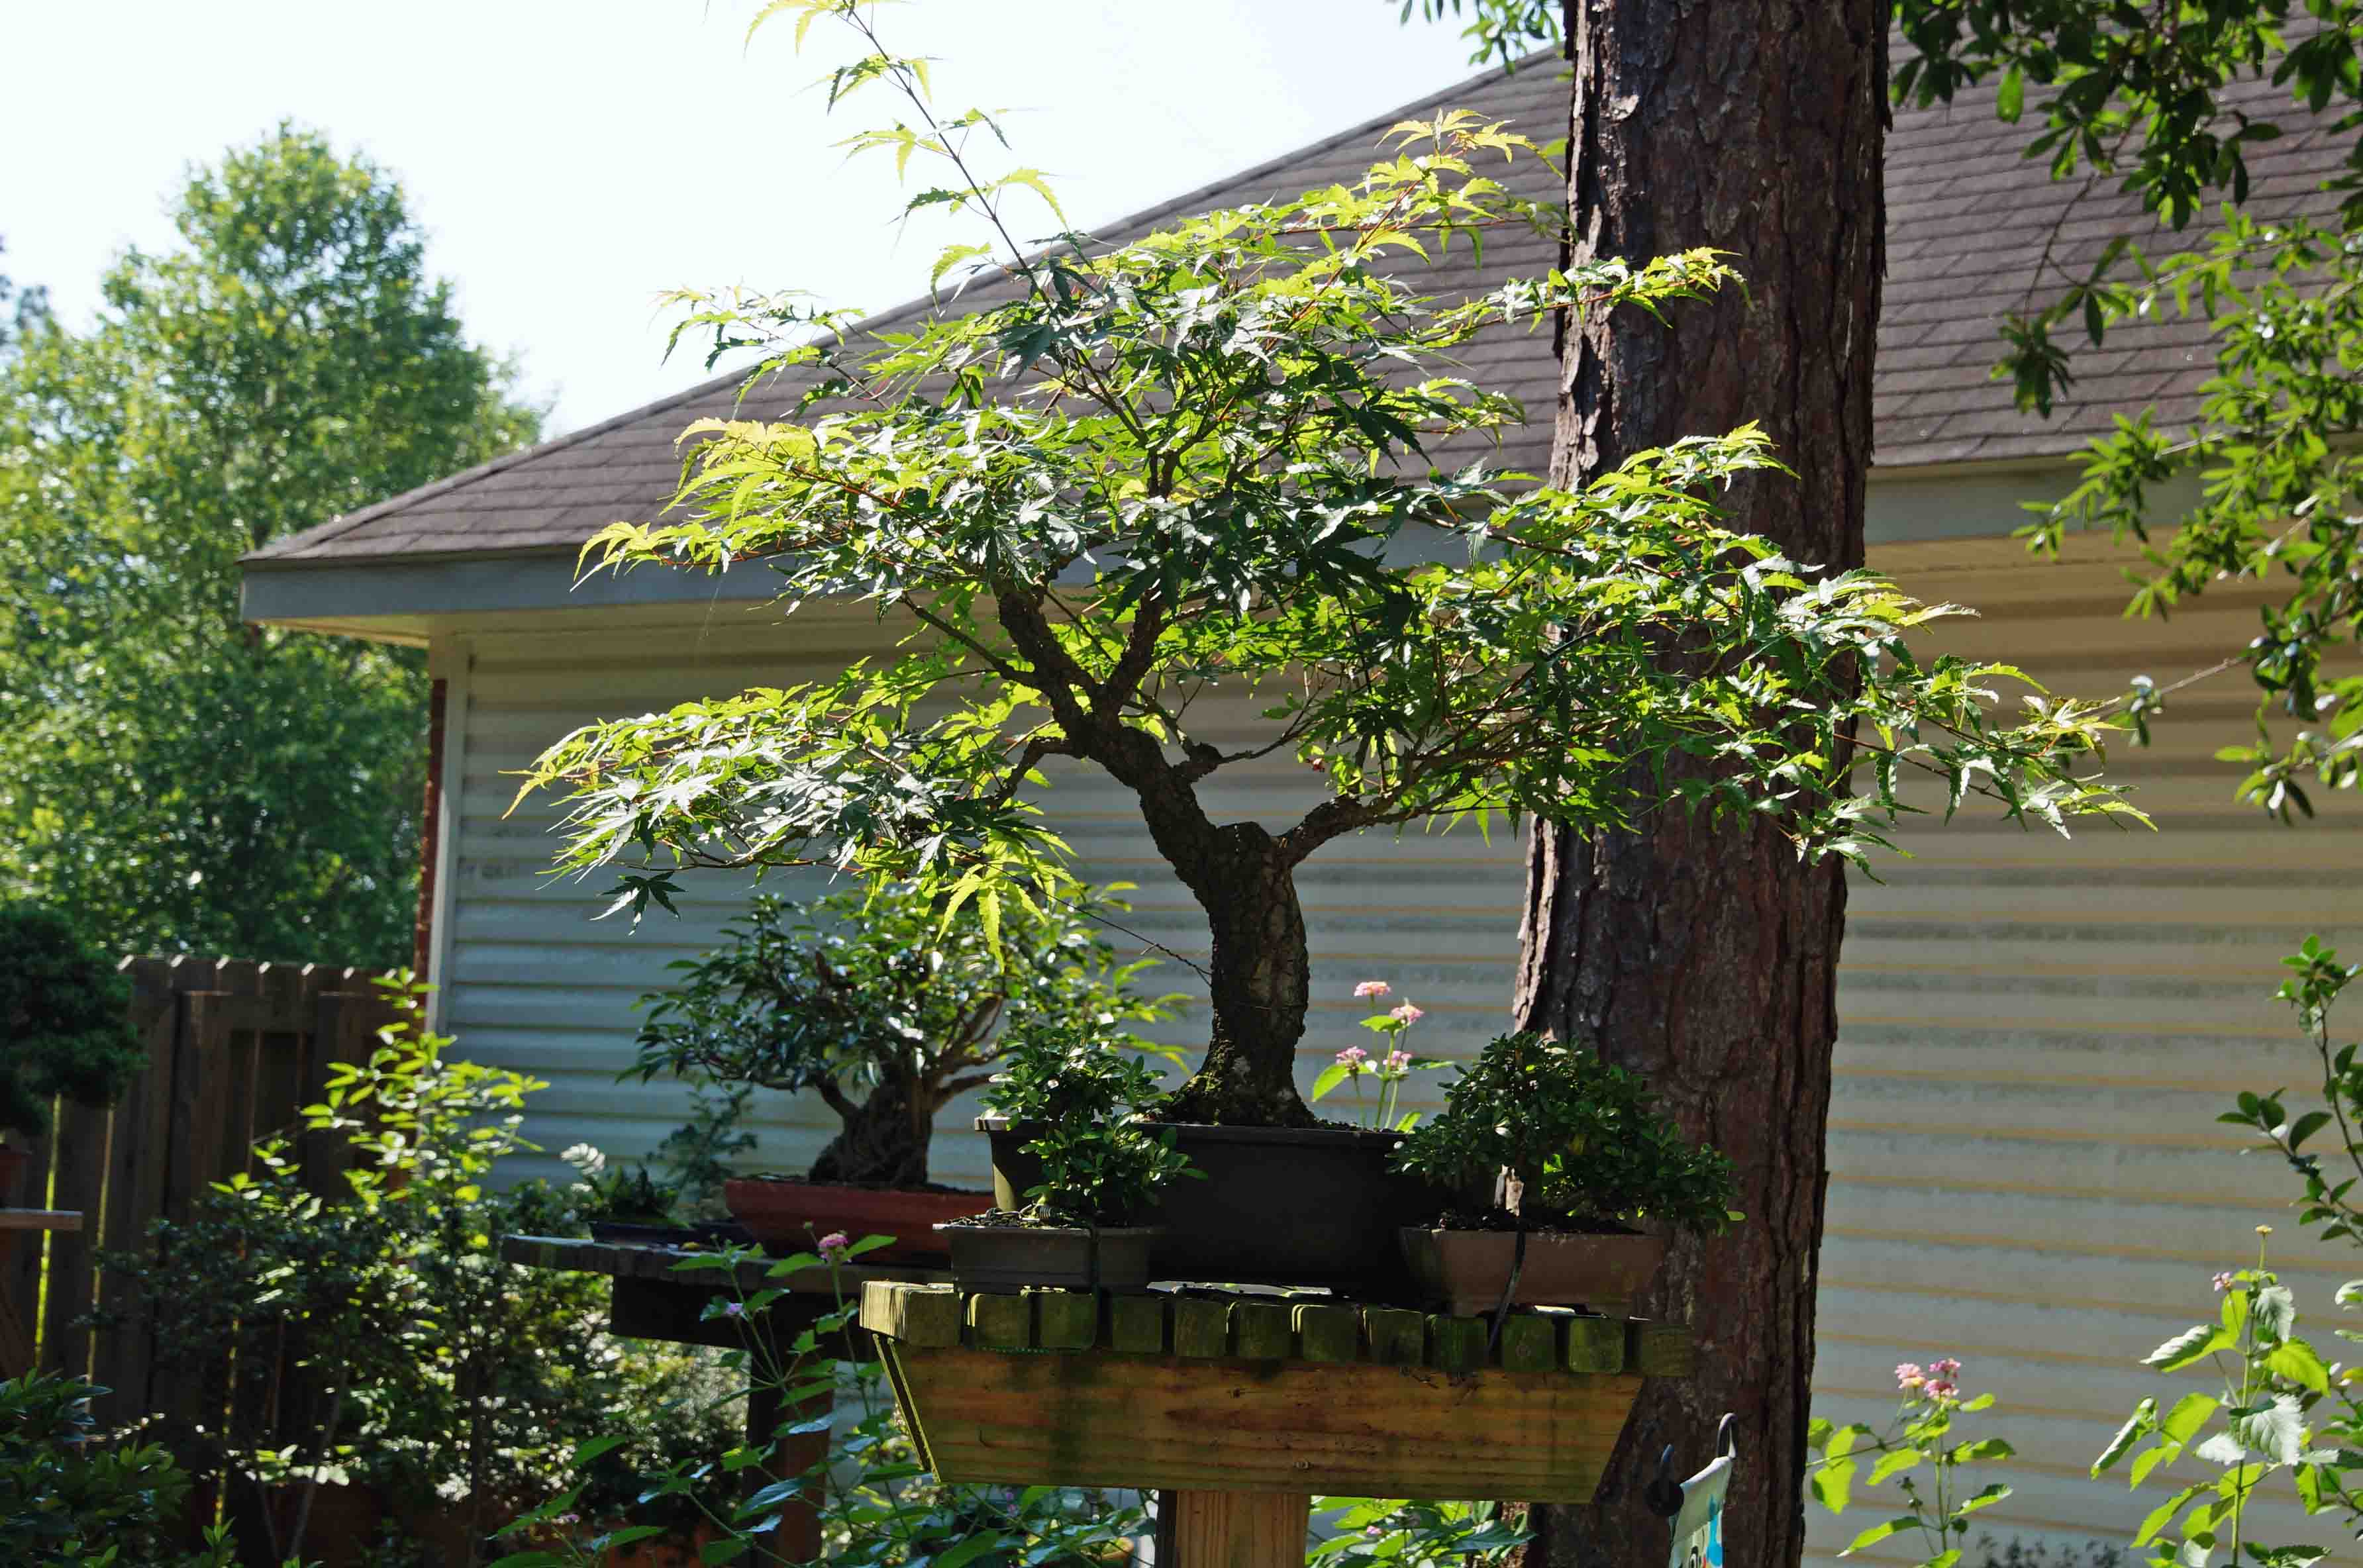
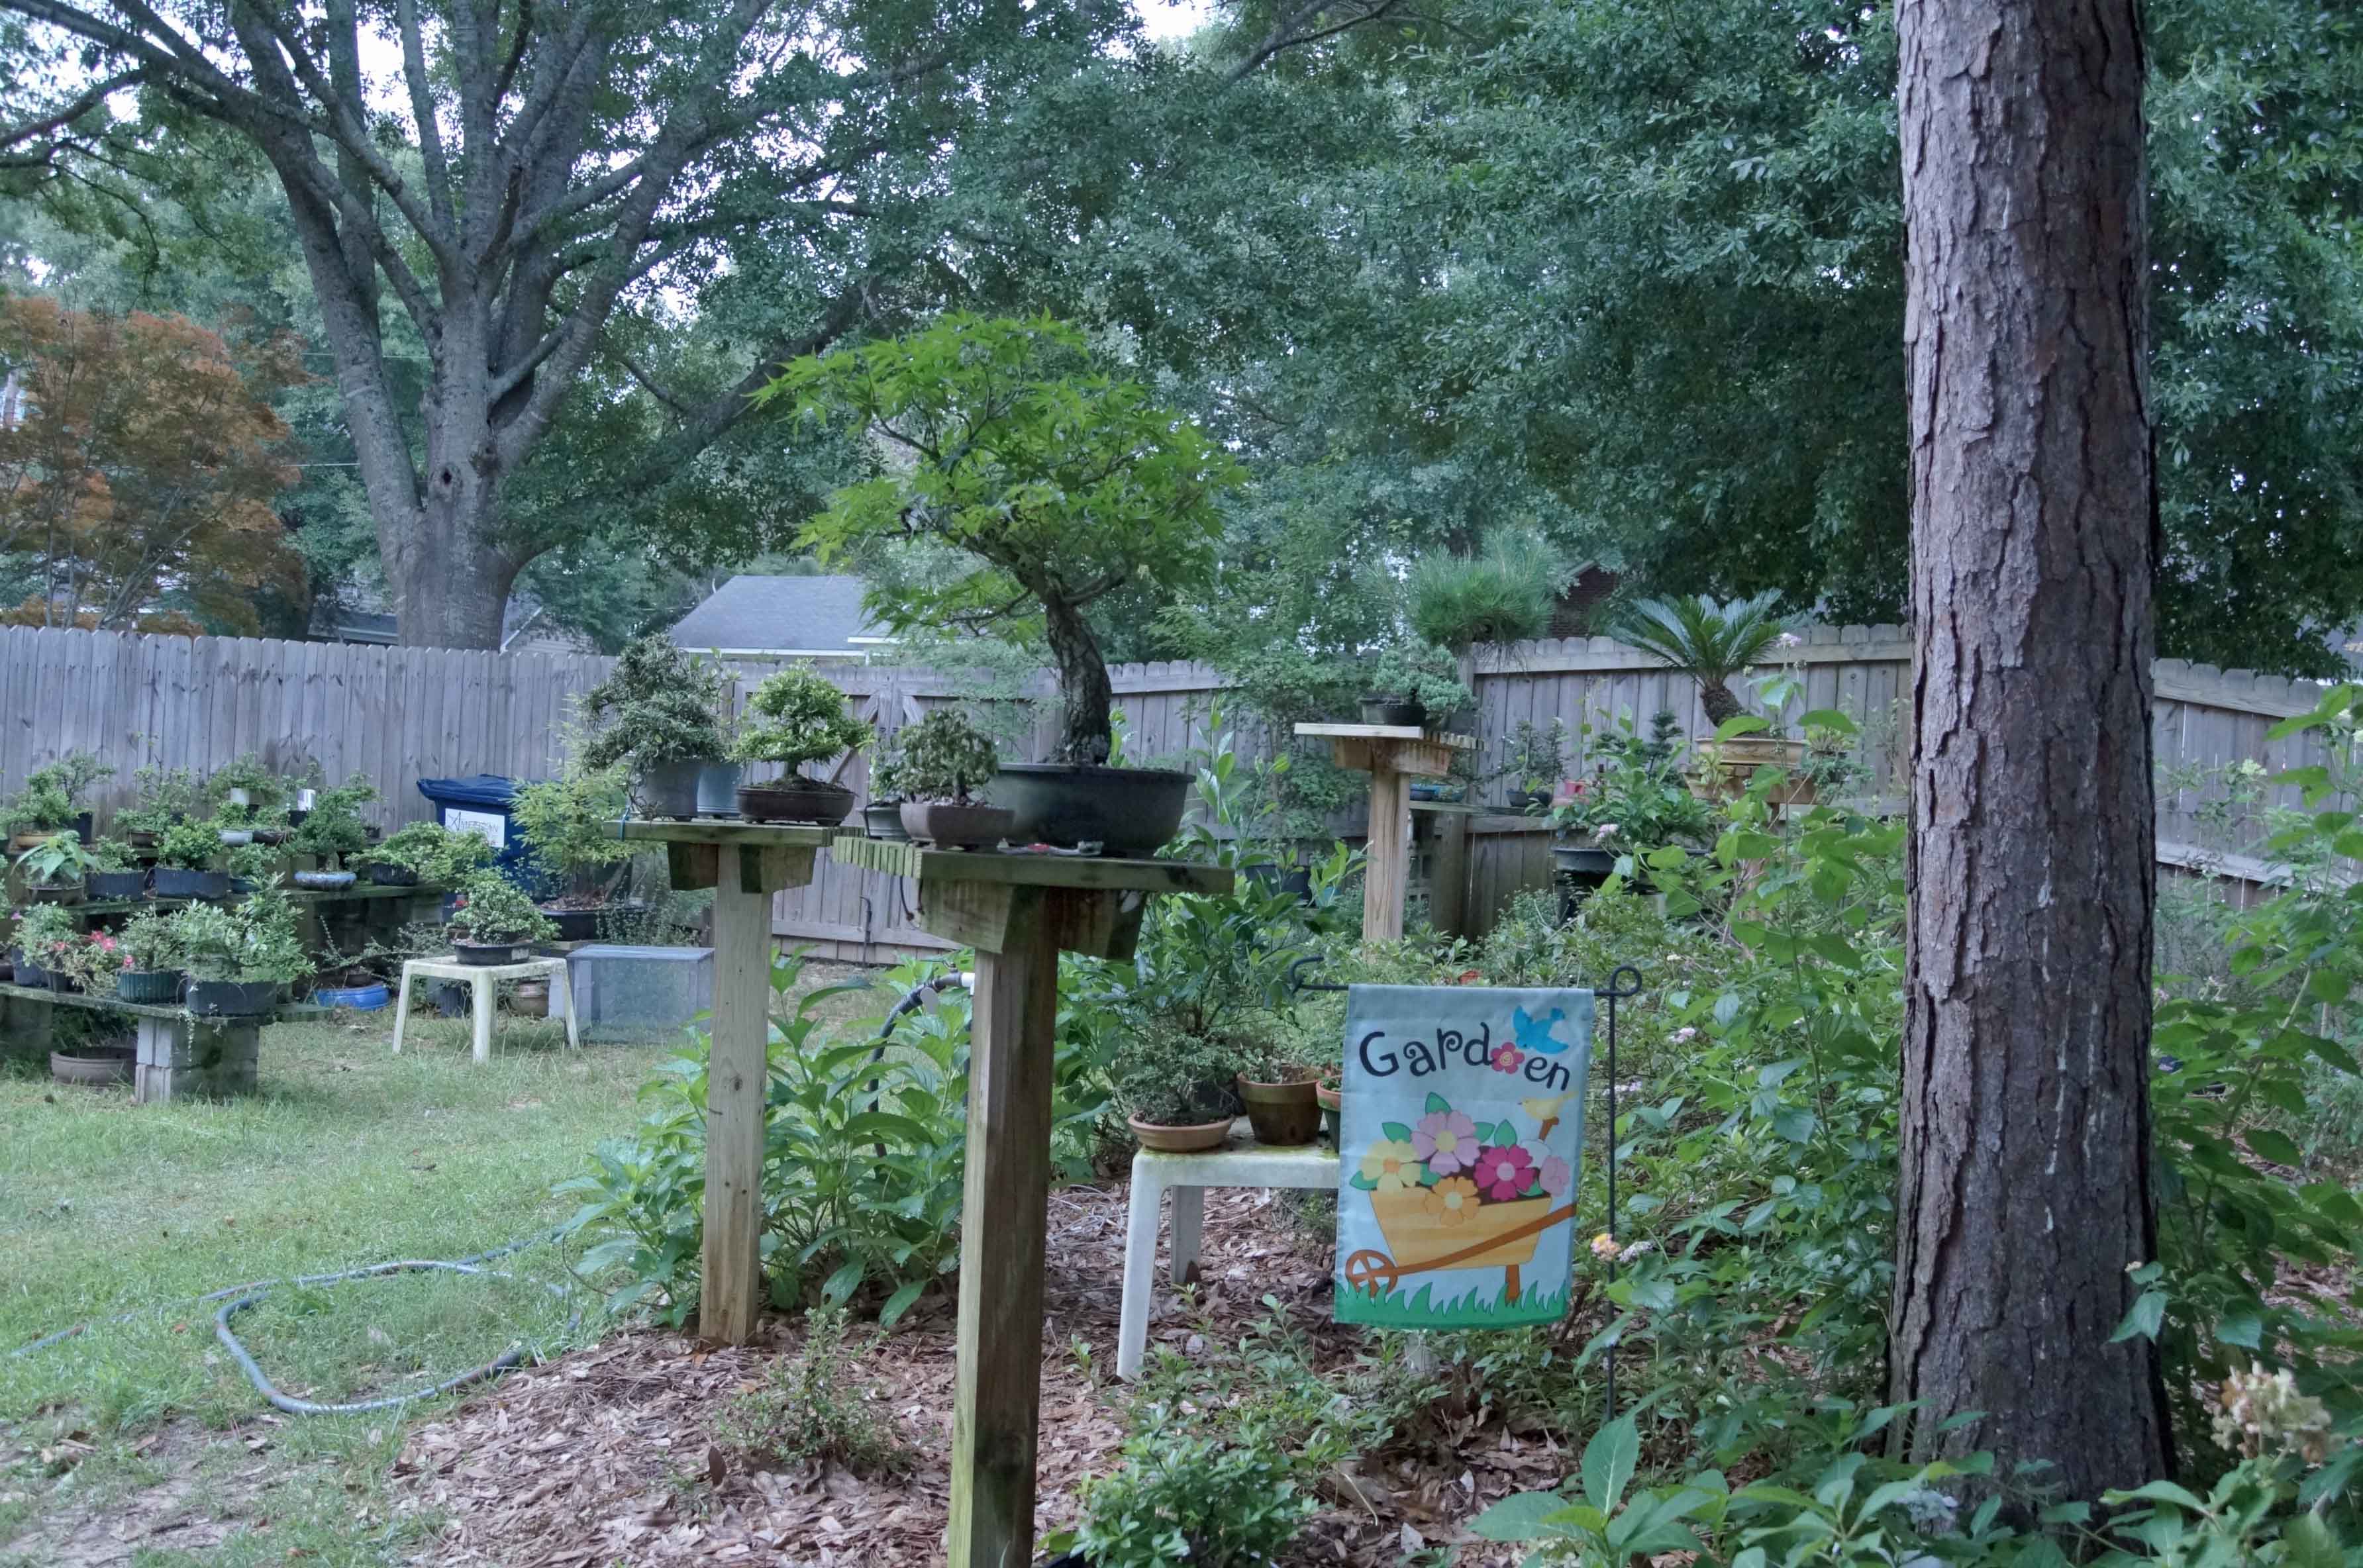
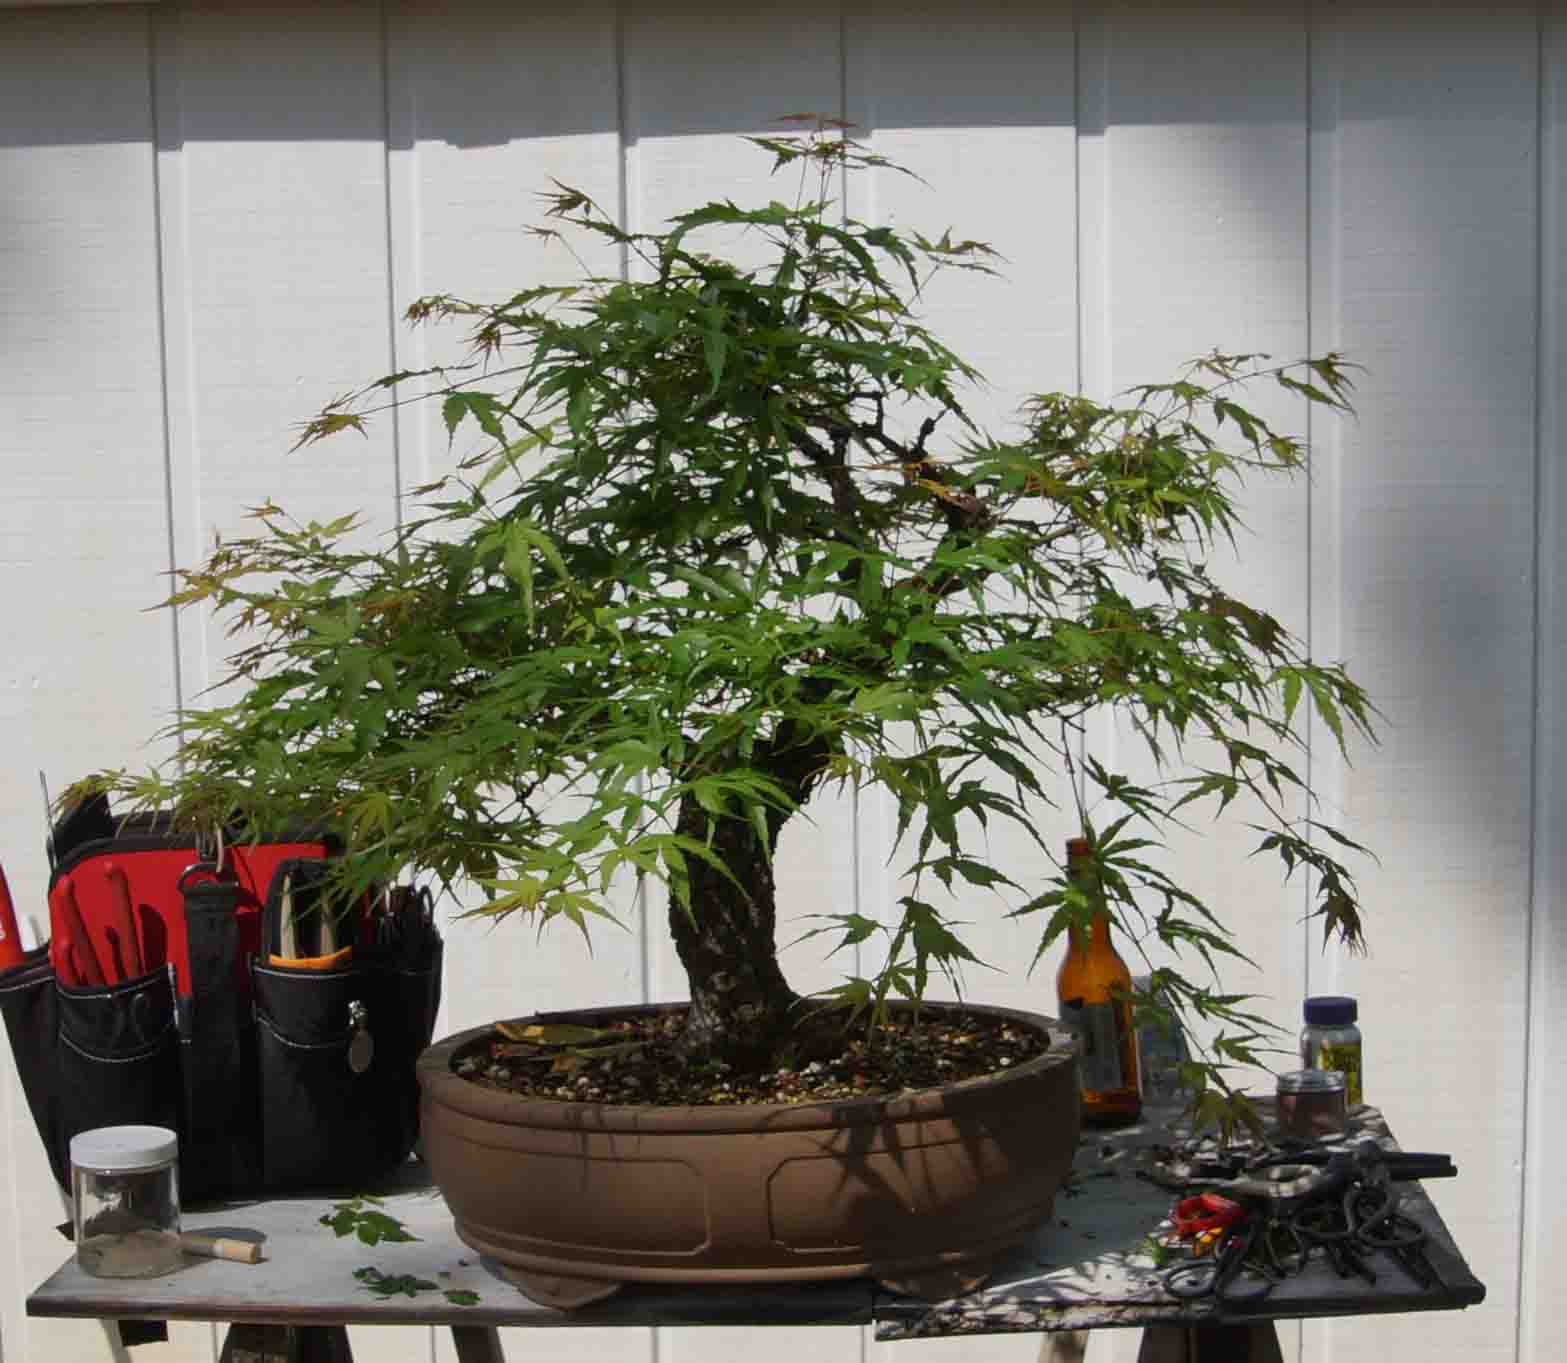
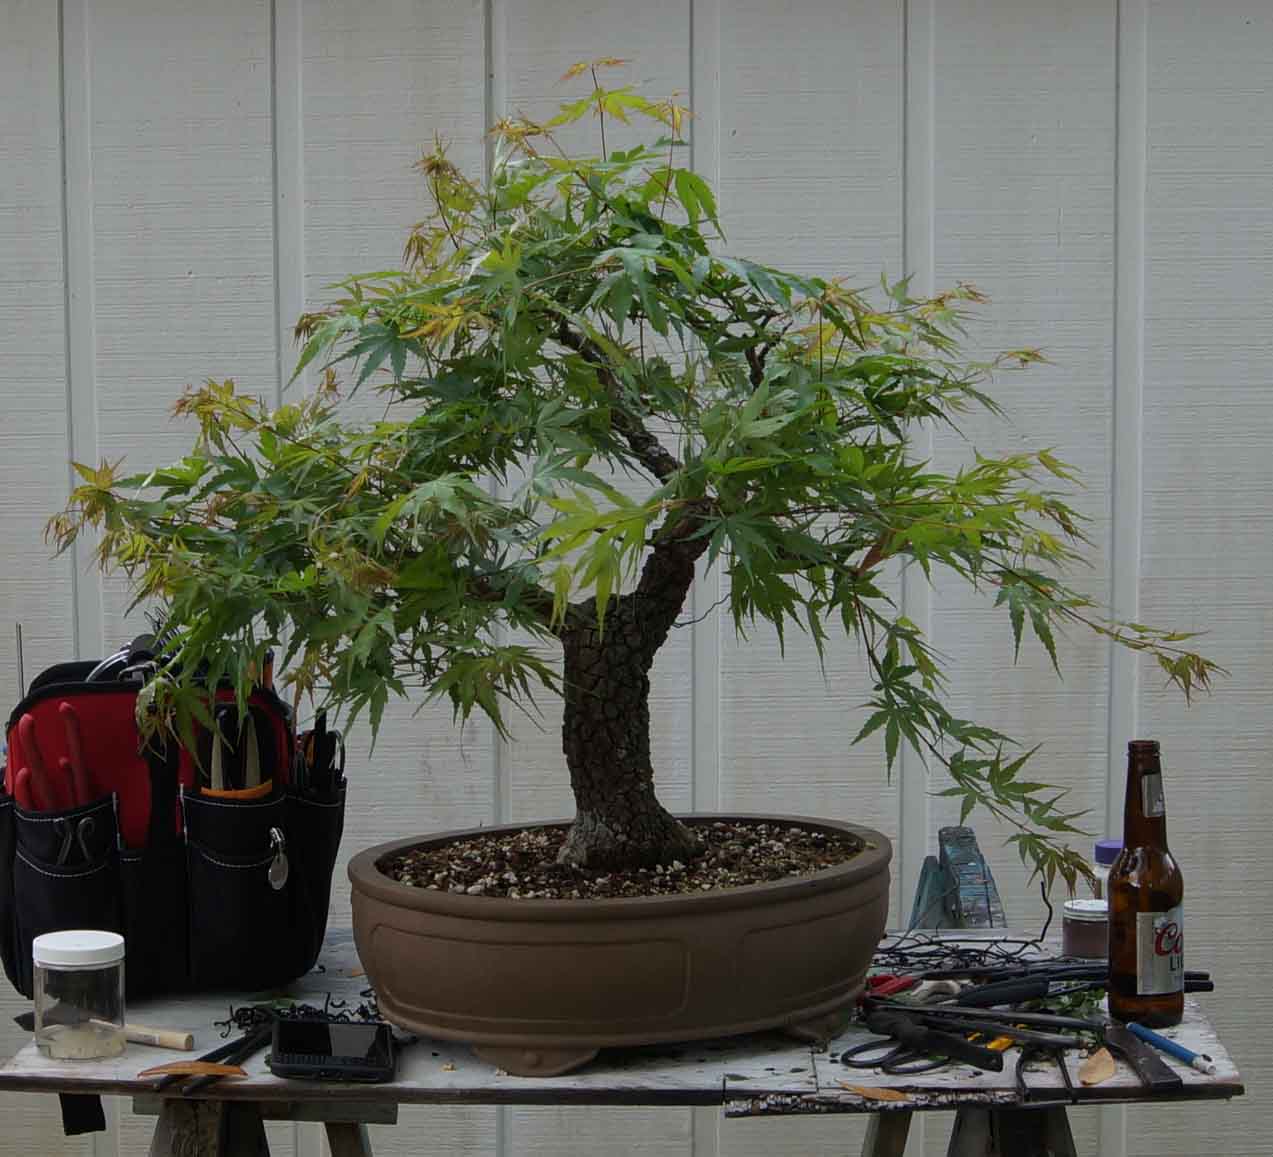
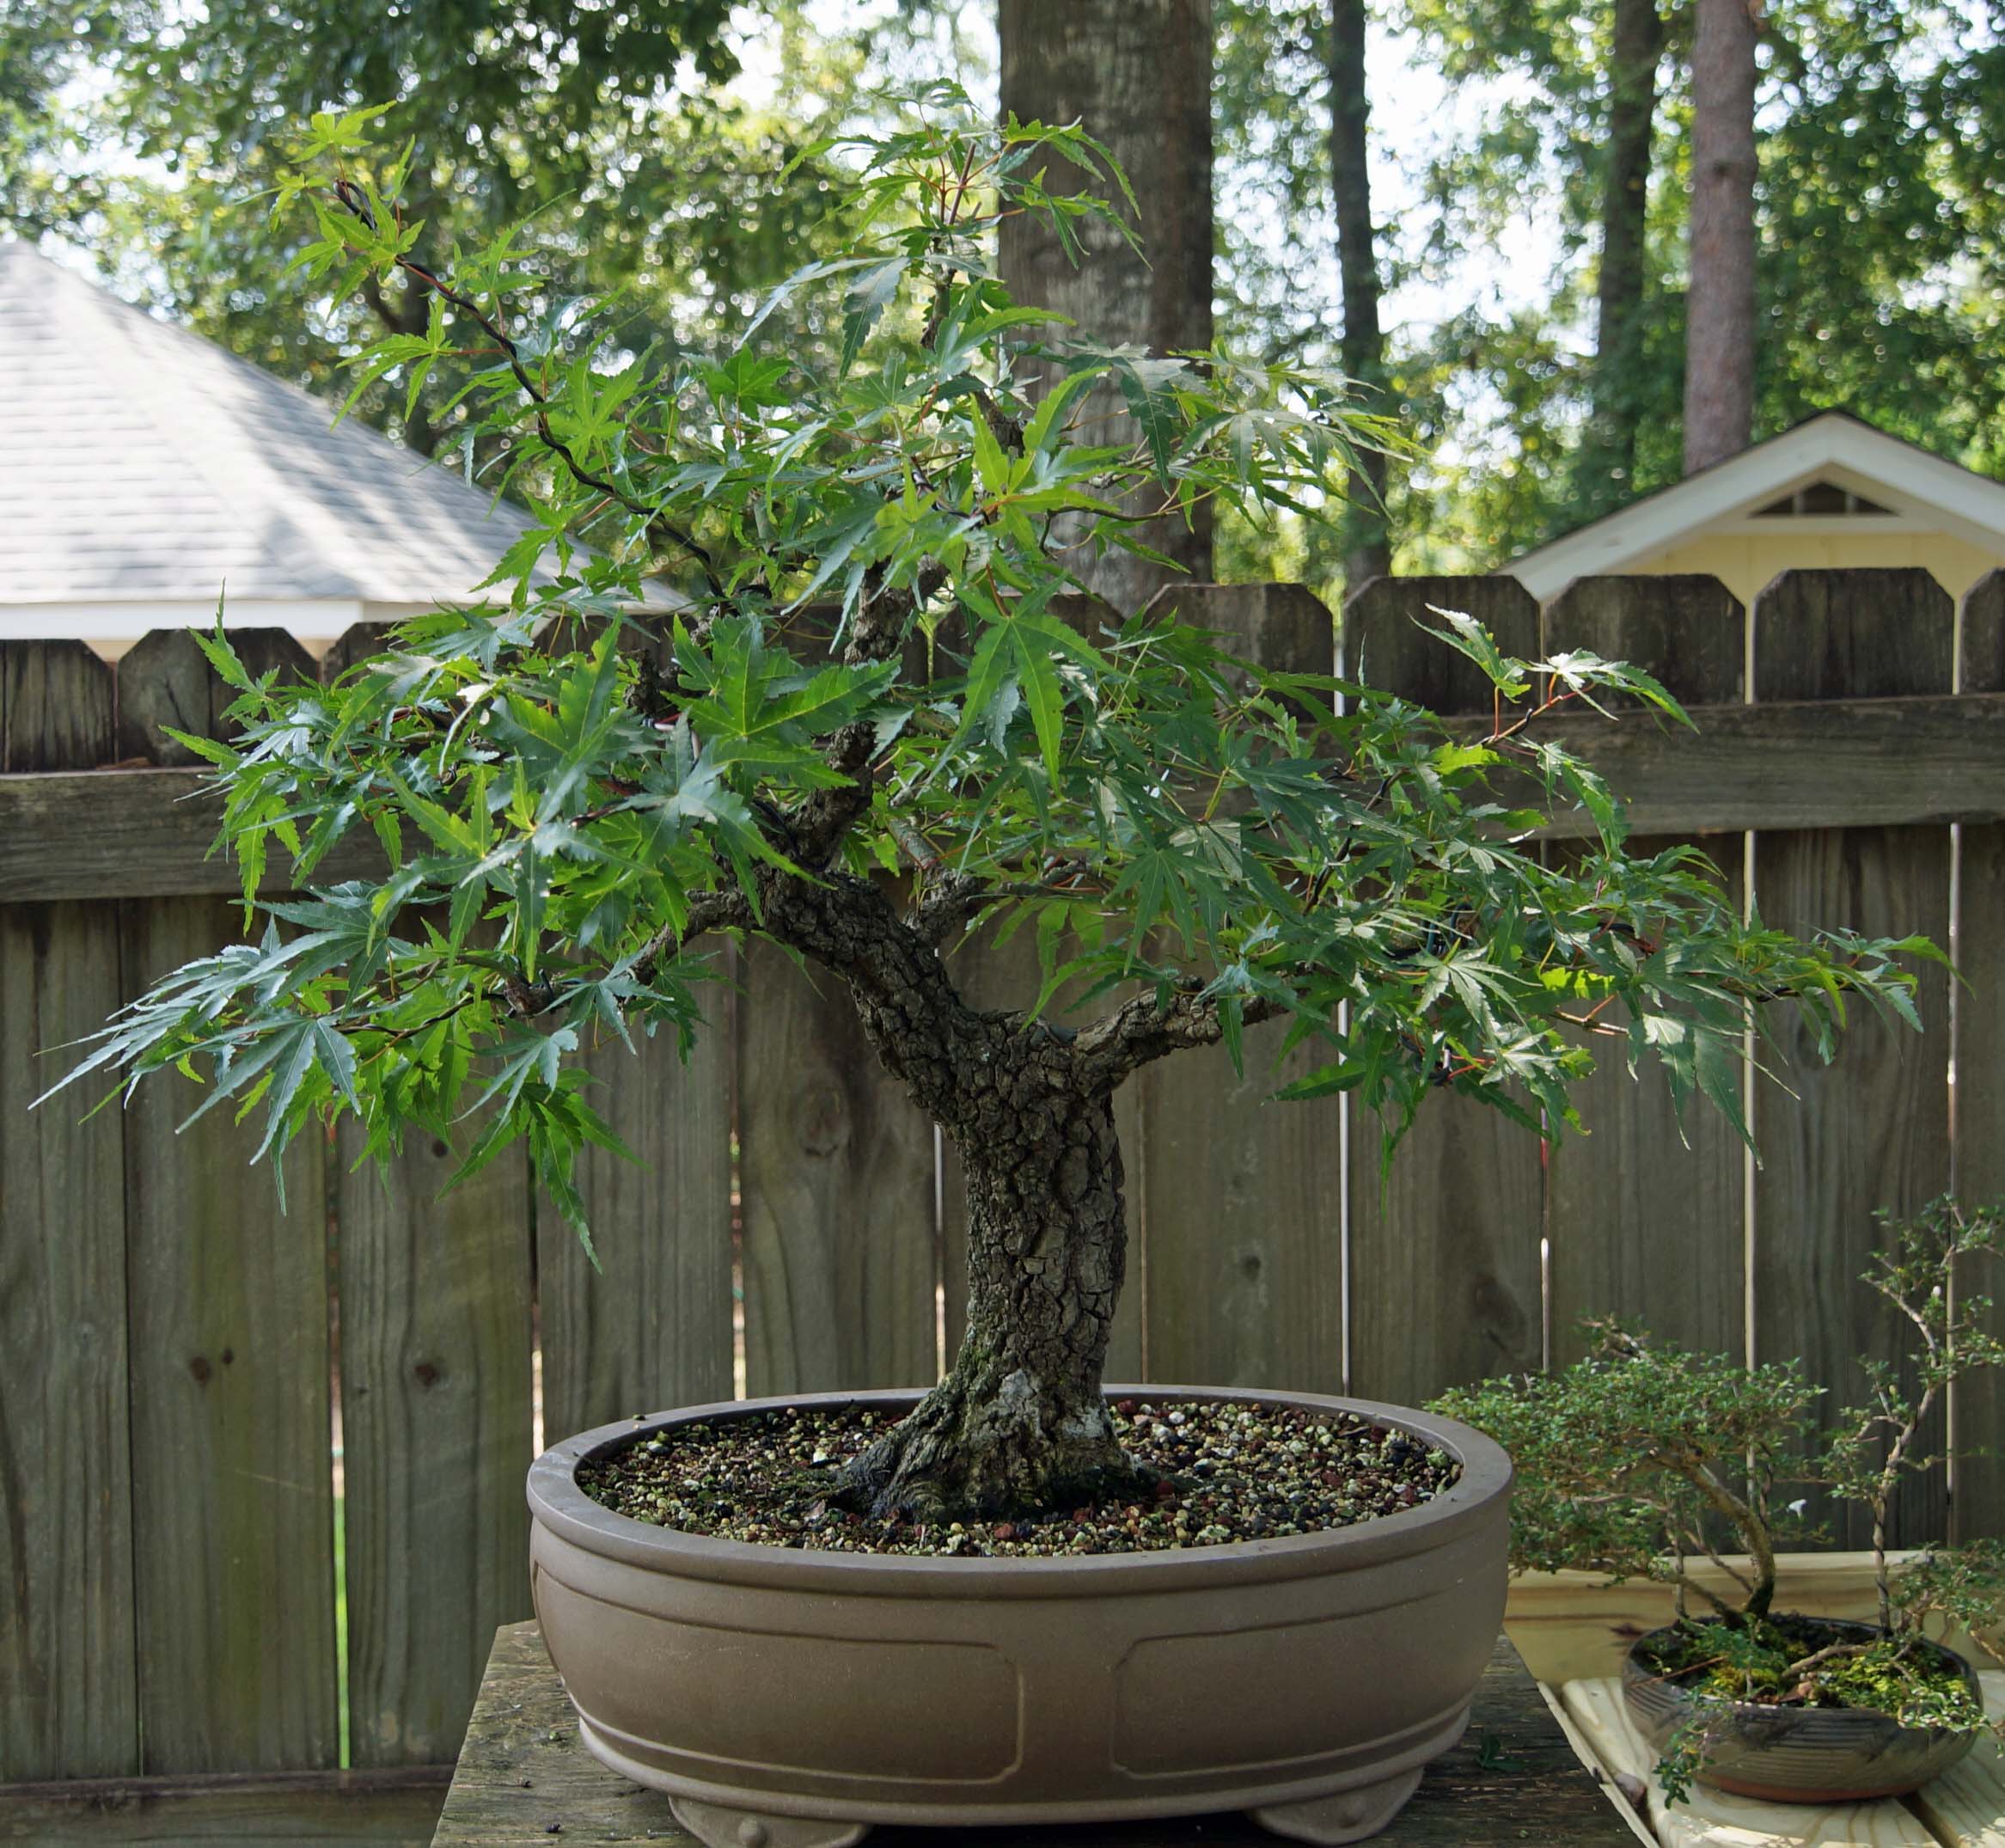
2015 I just let it grow. I really need to put it in a bigger pot so that the roots have more room. More root growth = more branch growth. These pictures are from June of 2015:


We start out 2016 with a light trim in May. I am starting to make a little headway towards some bonsai-like shape to her.


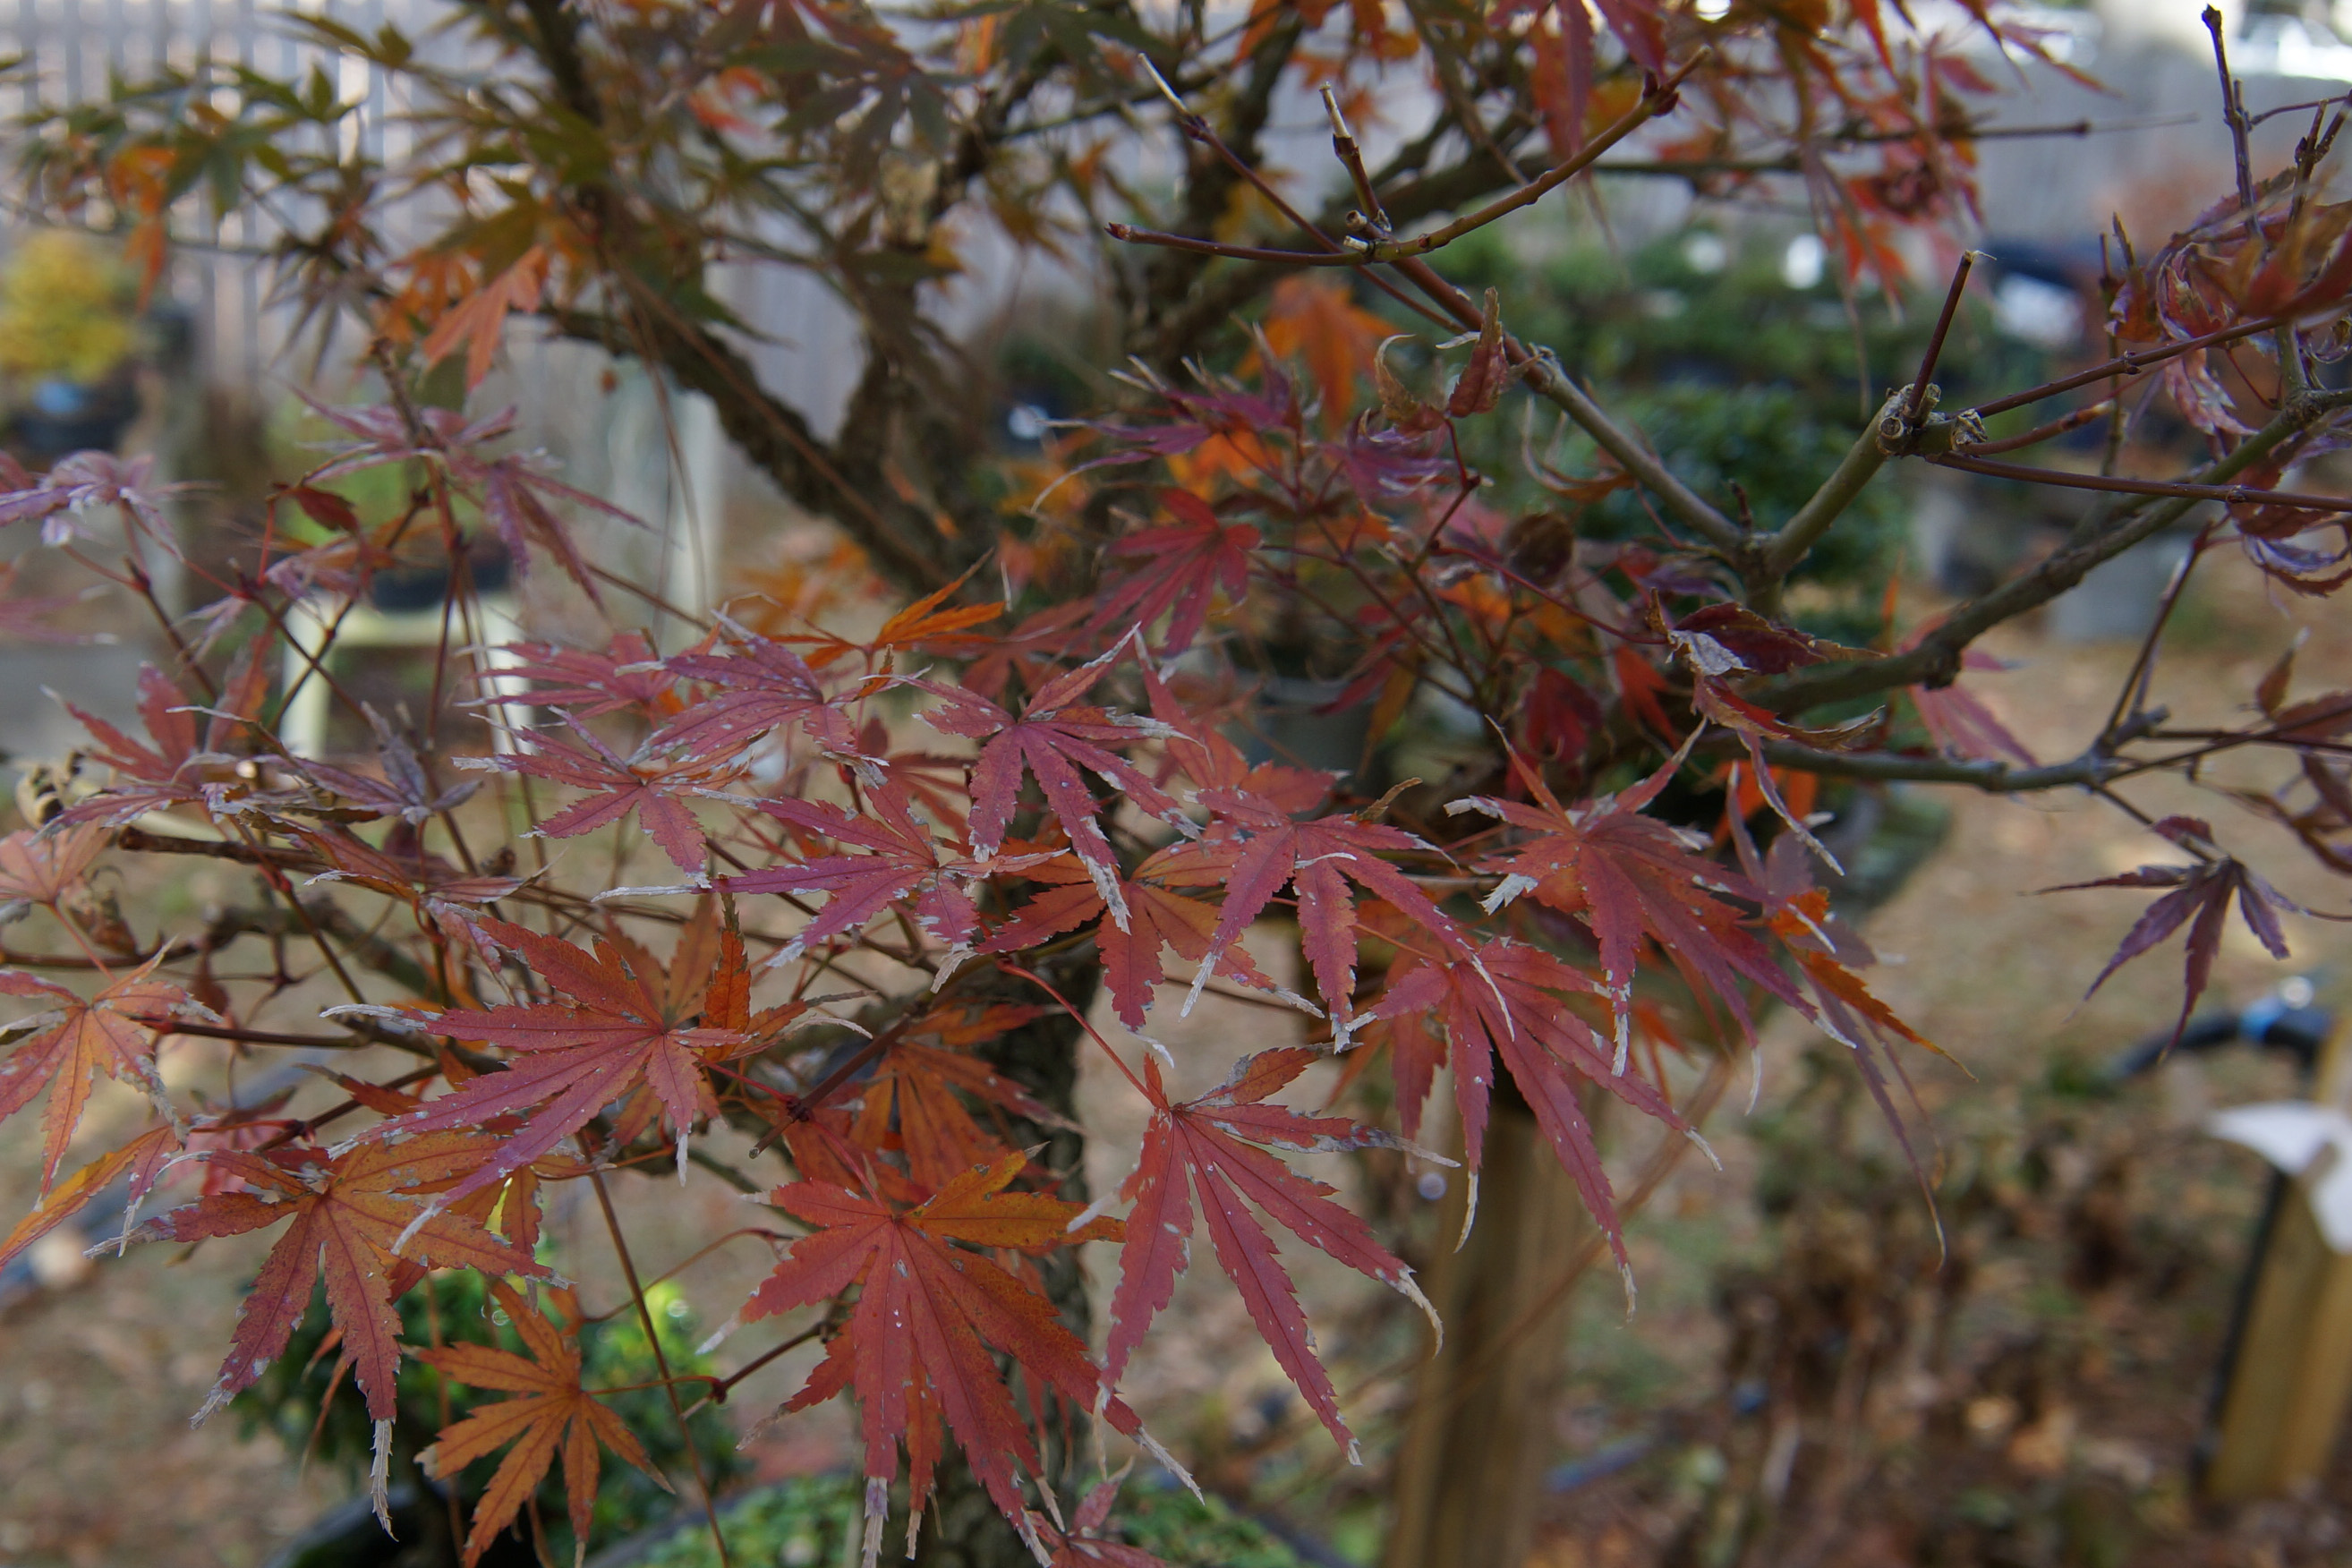
Some decent Fall/Winter color (for me) in December 2016. In the Heart of Dixie, we really don't have much of winter and sometimes the previous year's leaves are still on the tree in the following spring.
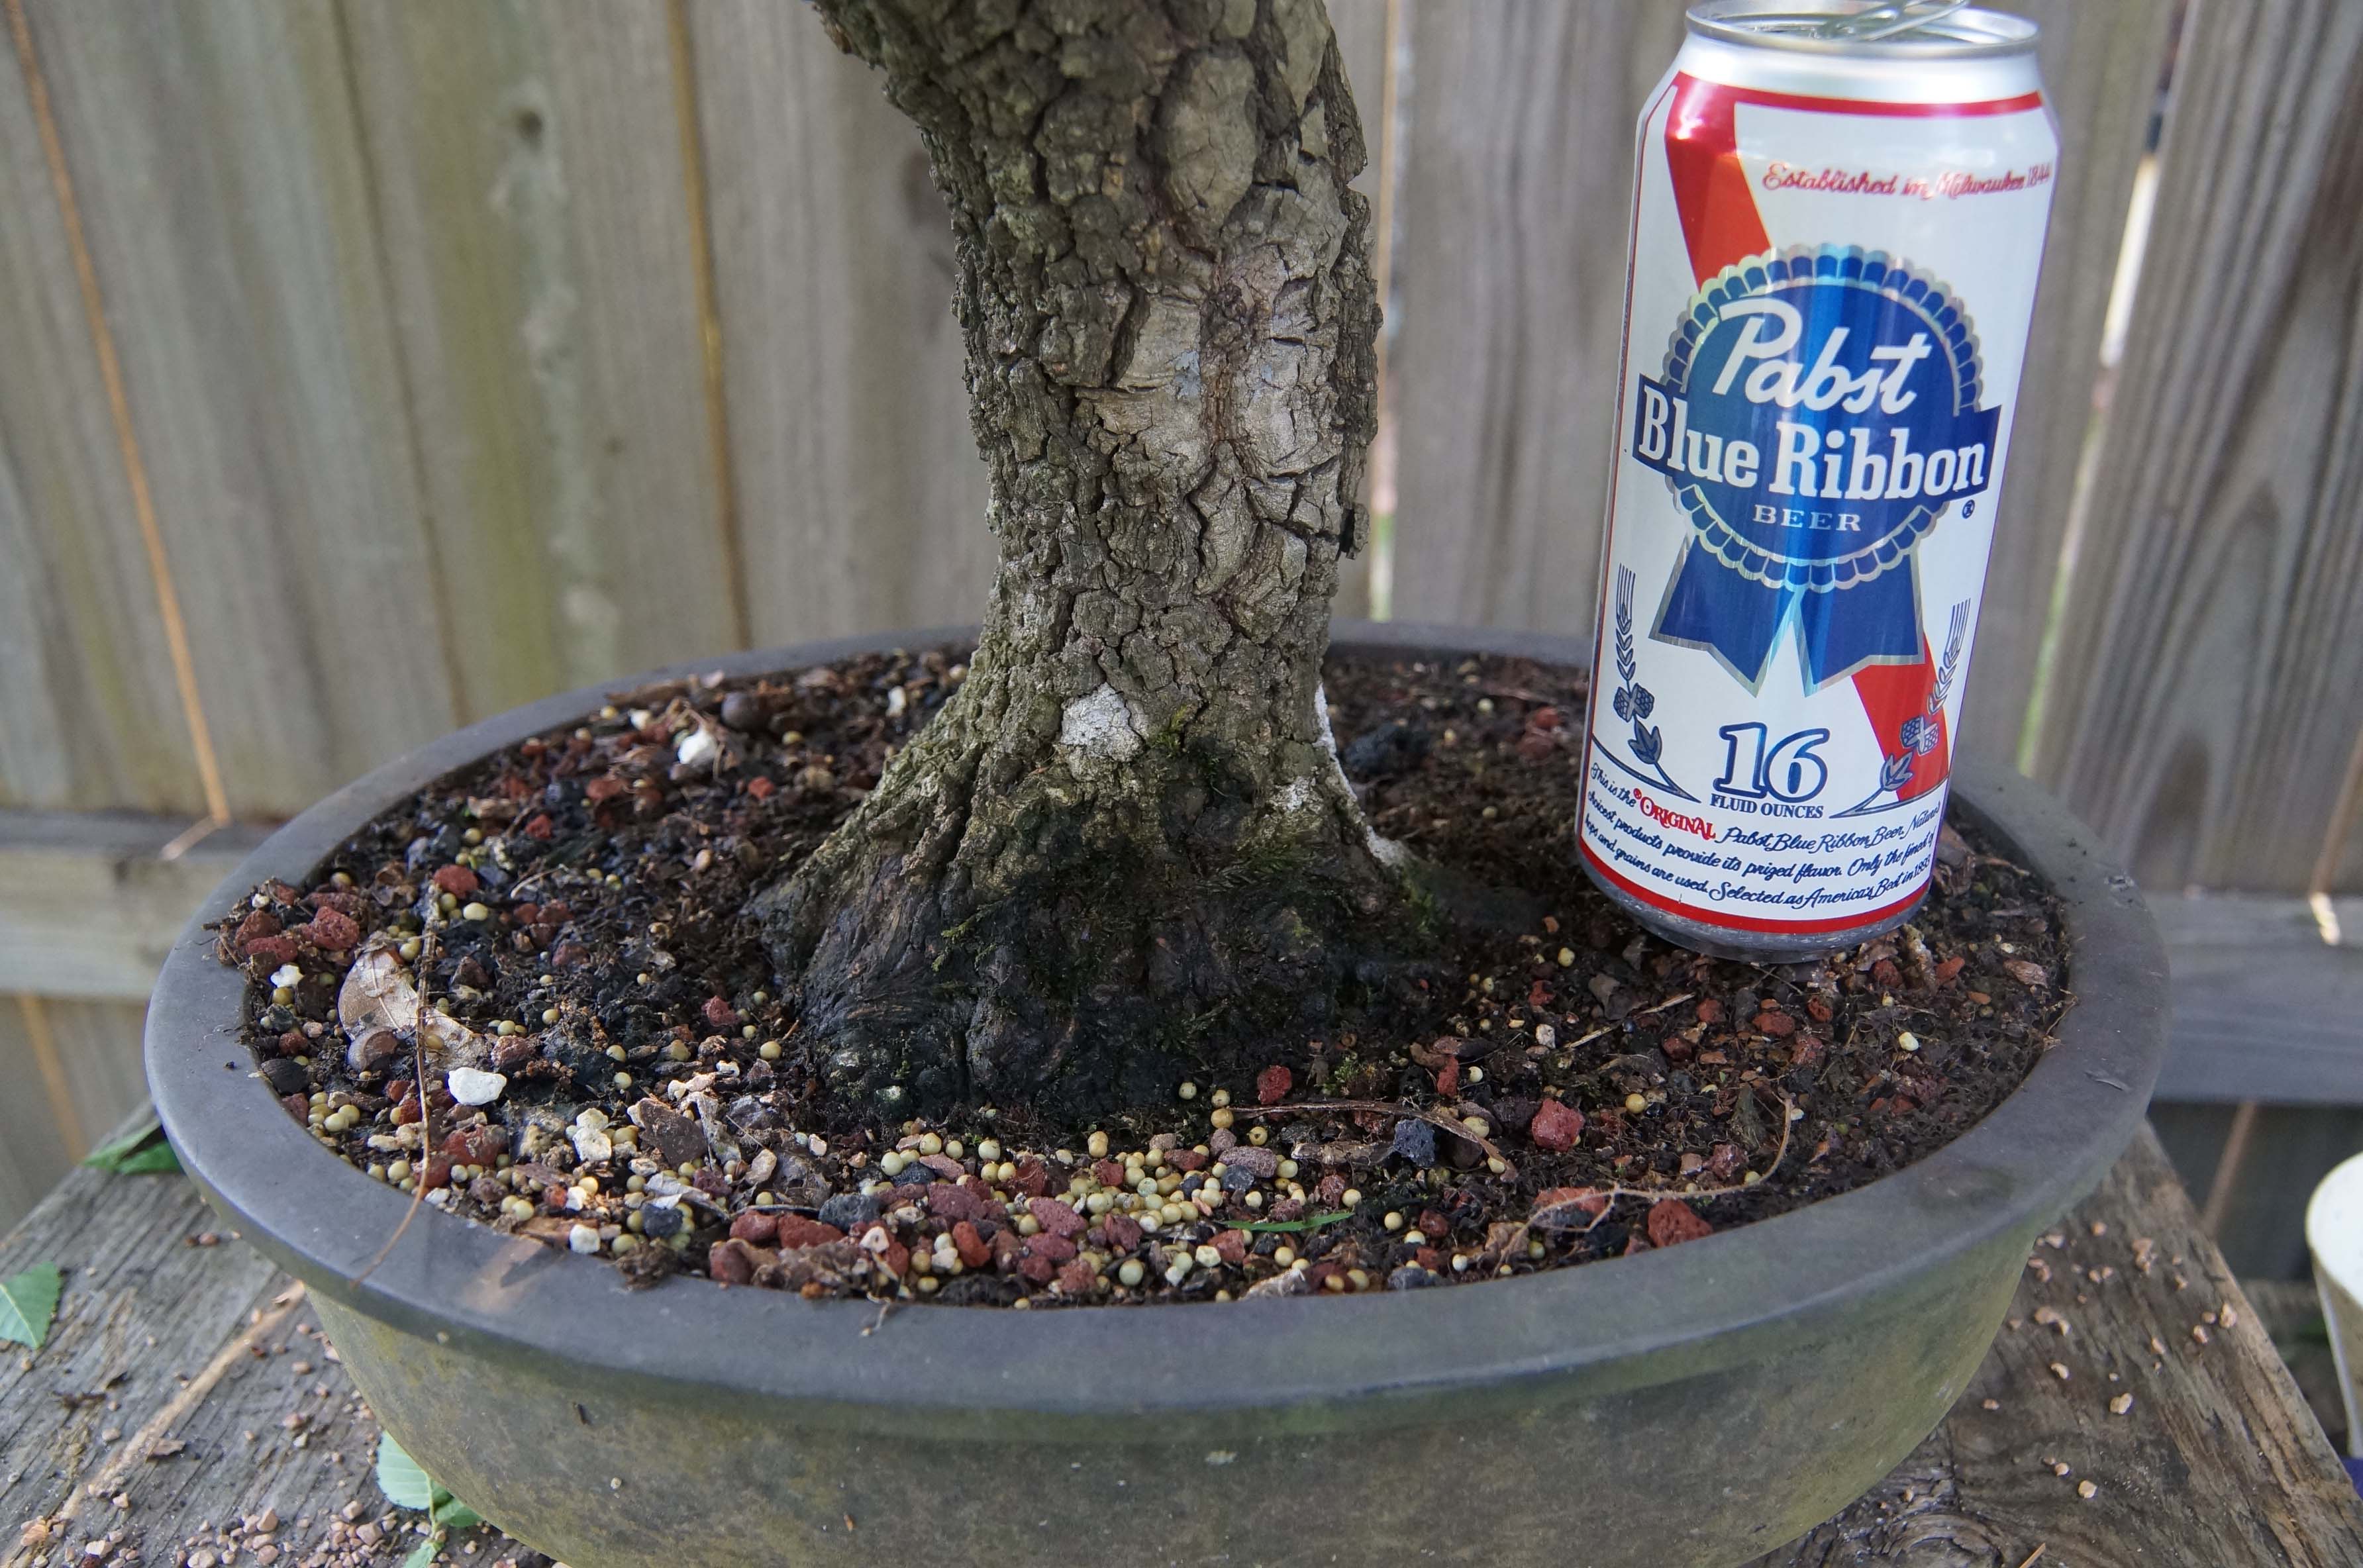
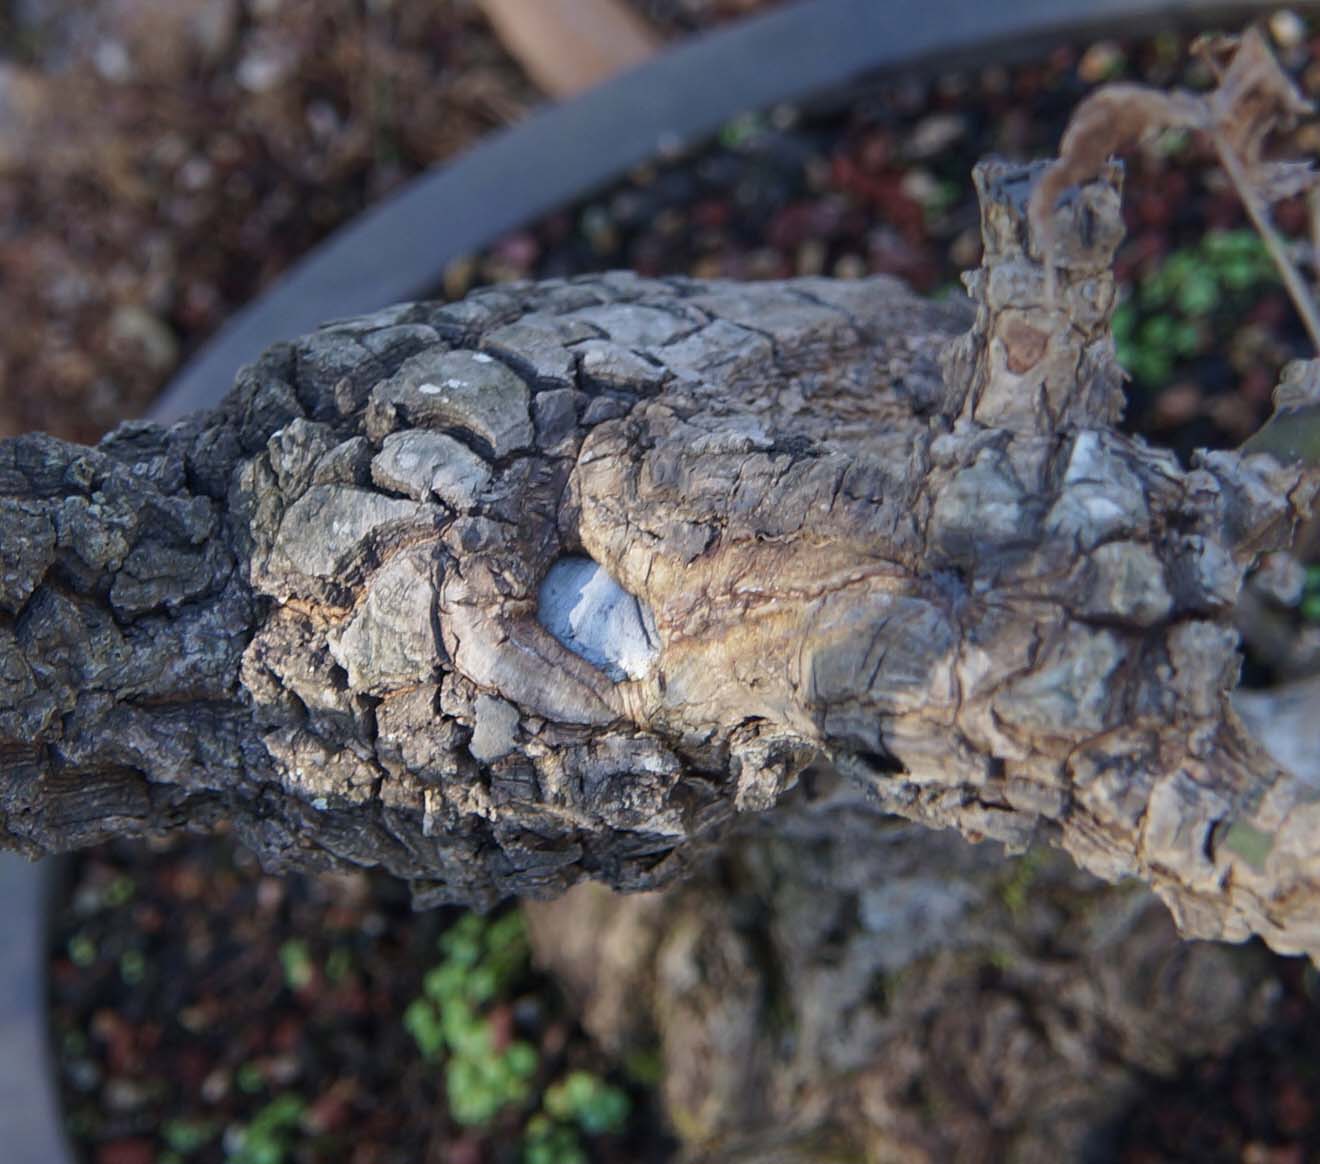
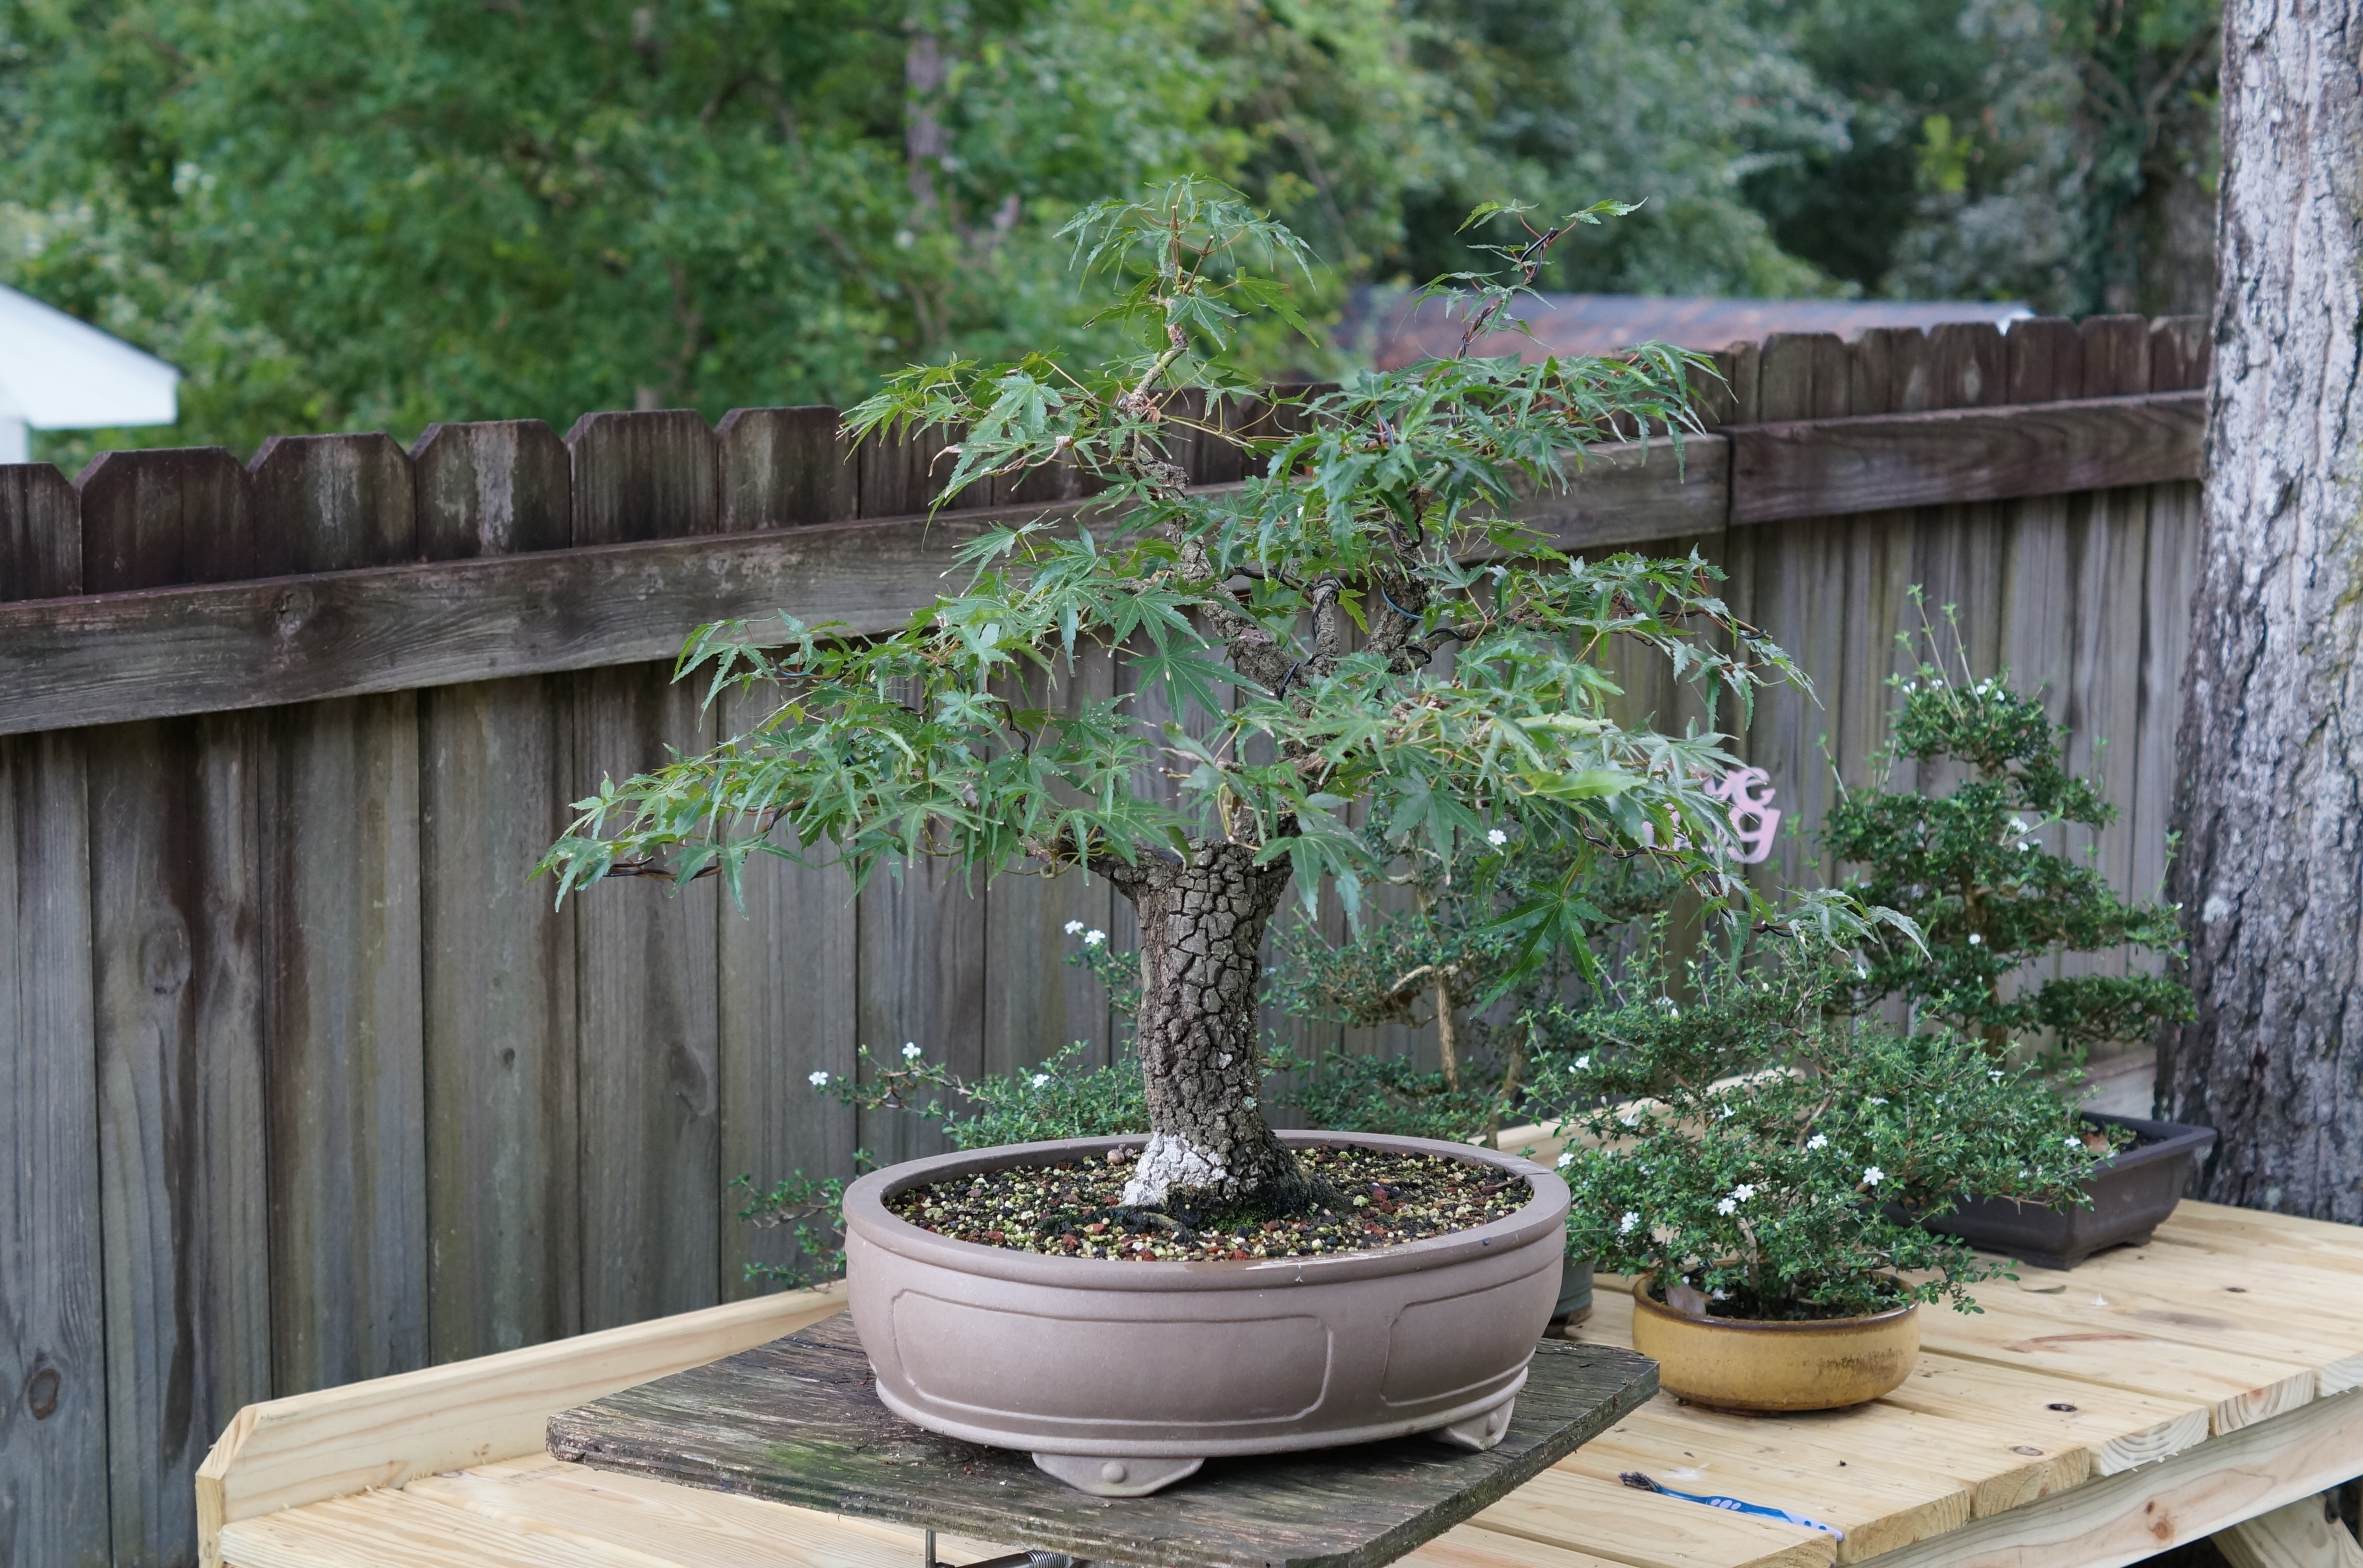
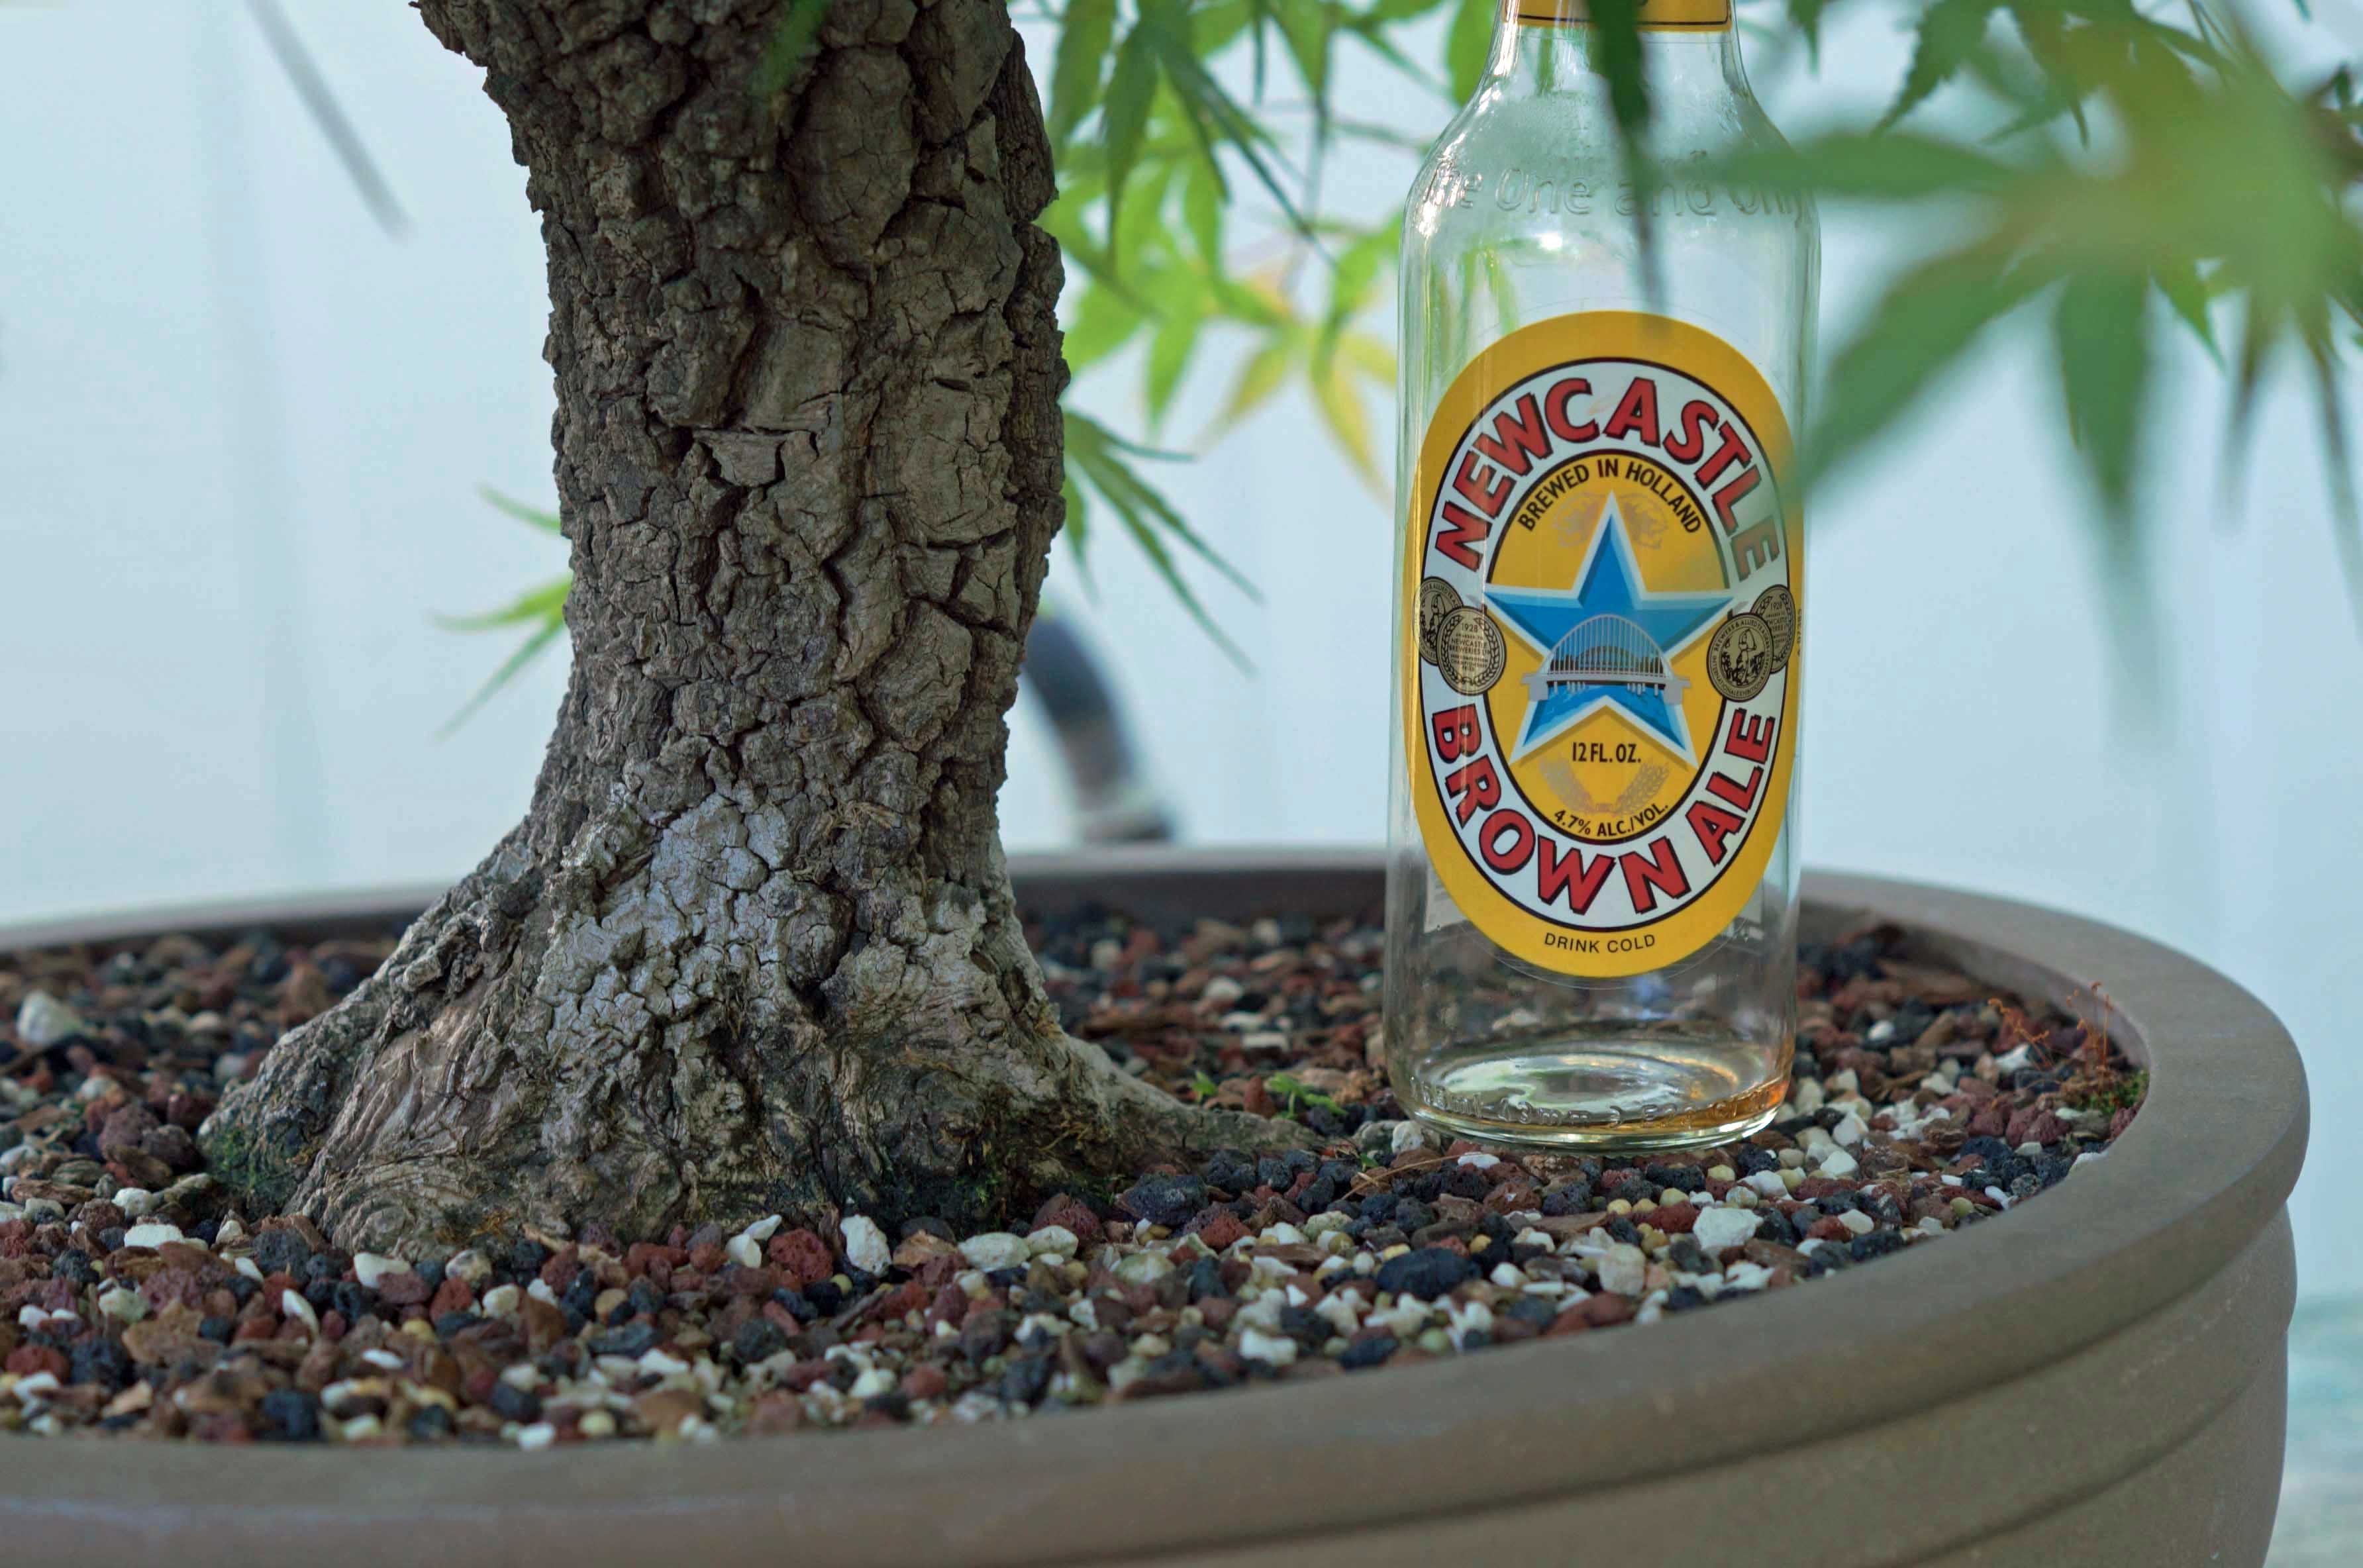
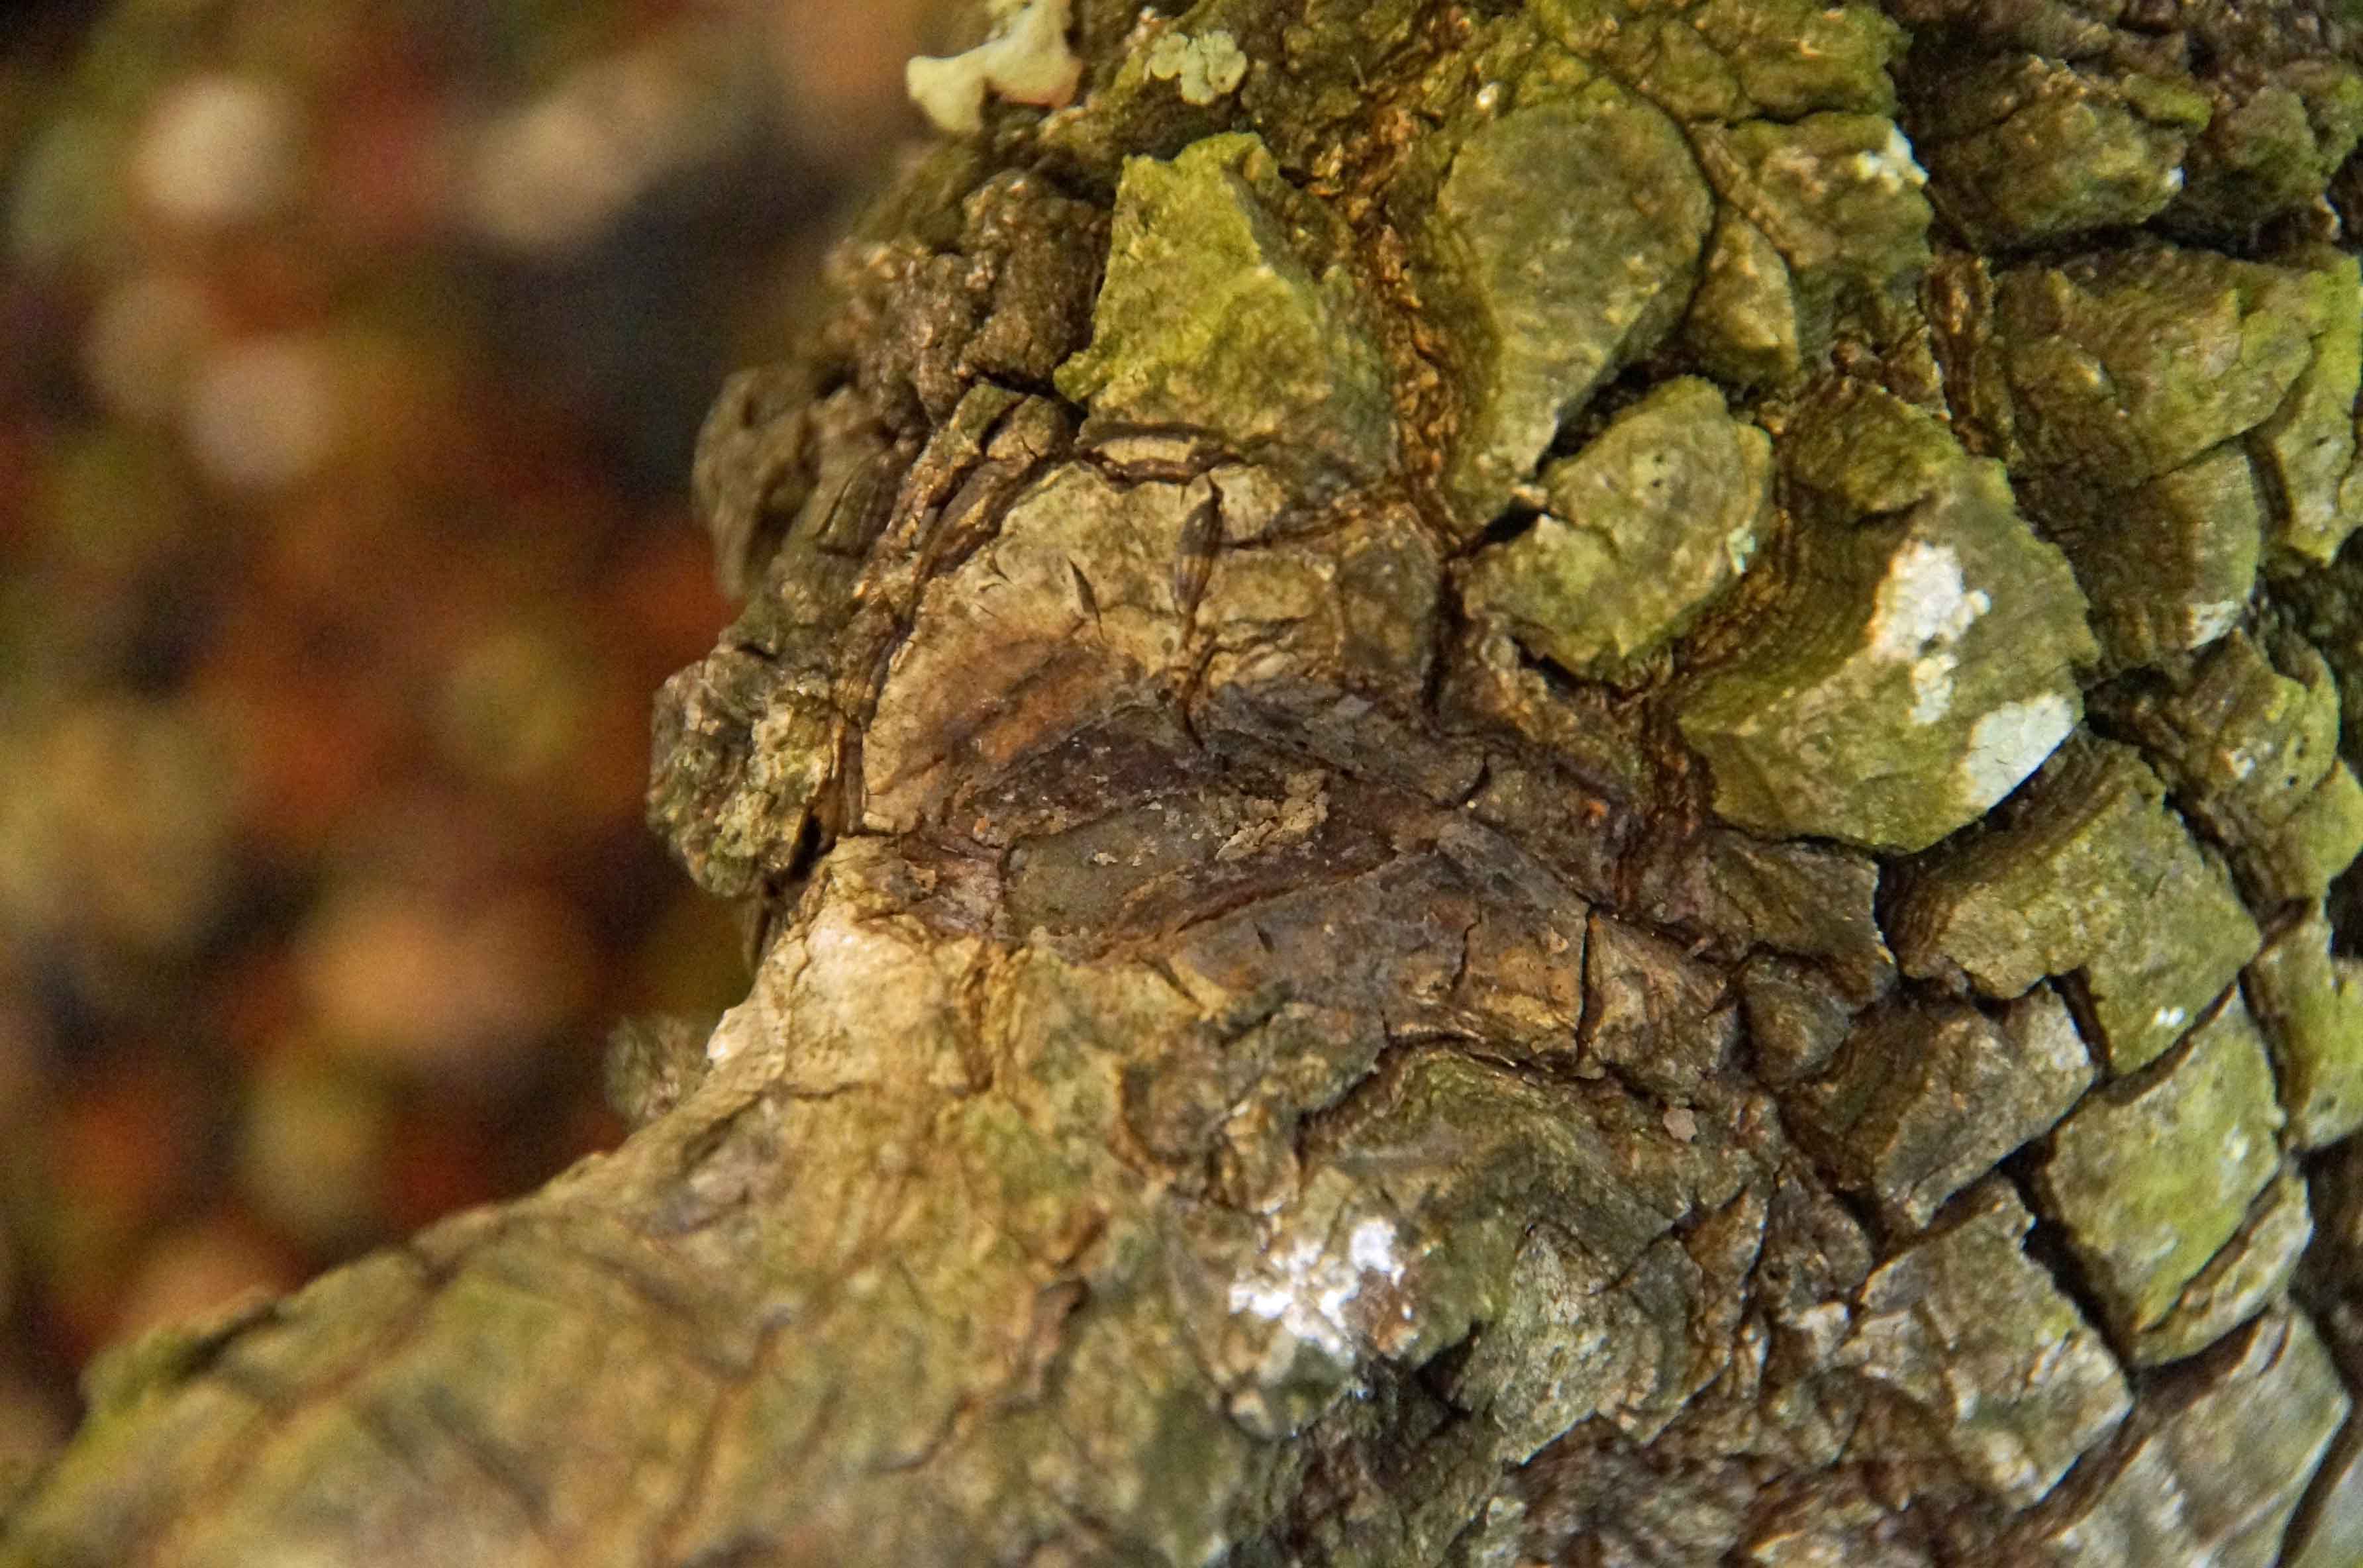
Earlier in this progression I mentioned that the tree had been attacked by a fungus that had caused a lot of damage to one side of the trunk. I also mentioned that I had used epoxy putty to repair some of the damage. If you look closely at this photo, taken January 2017, you can see that the tree healed well over the epoxy and that it only has about a quarter inch to go before the wound is completely closed.
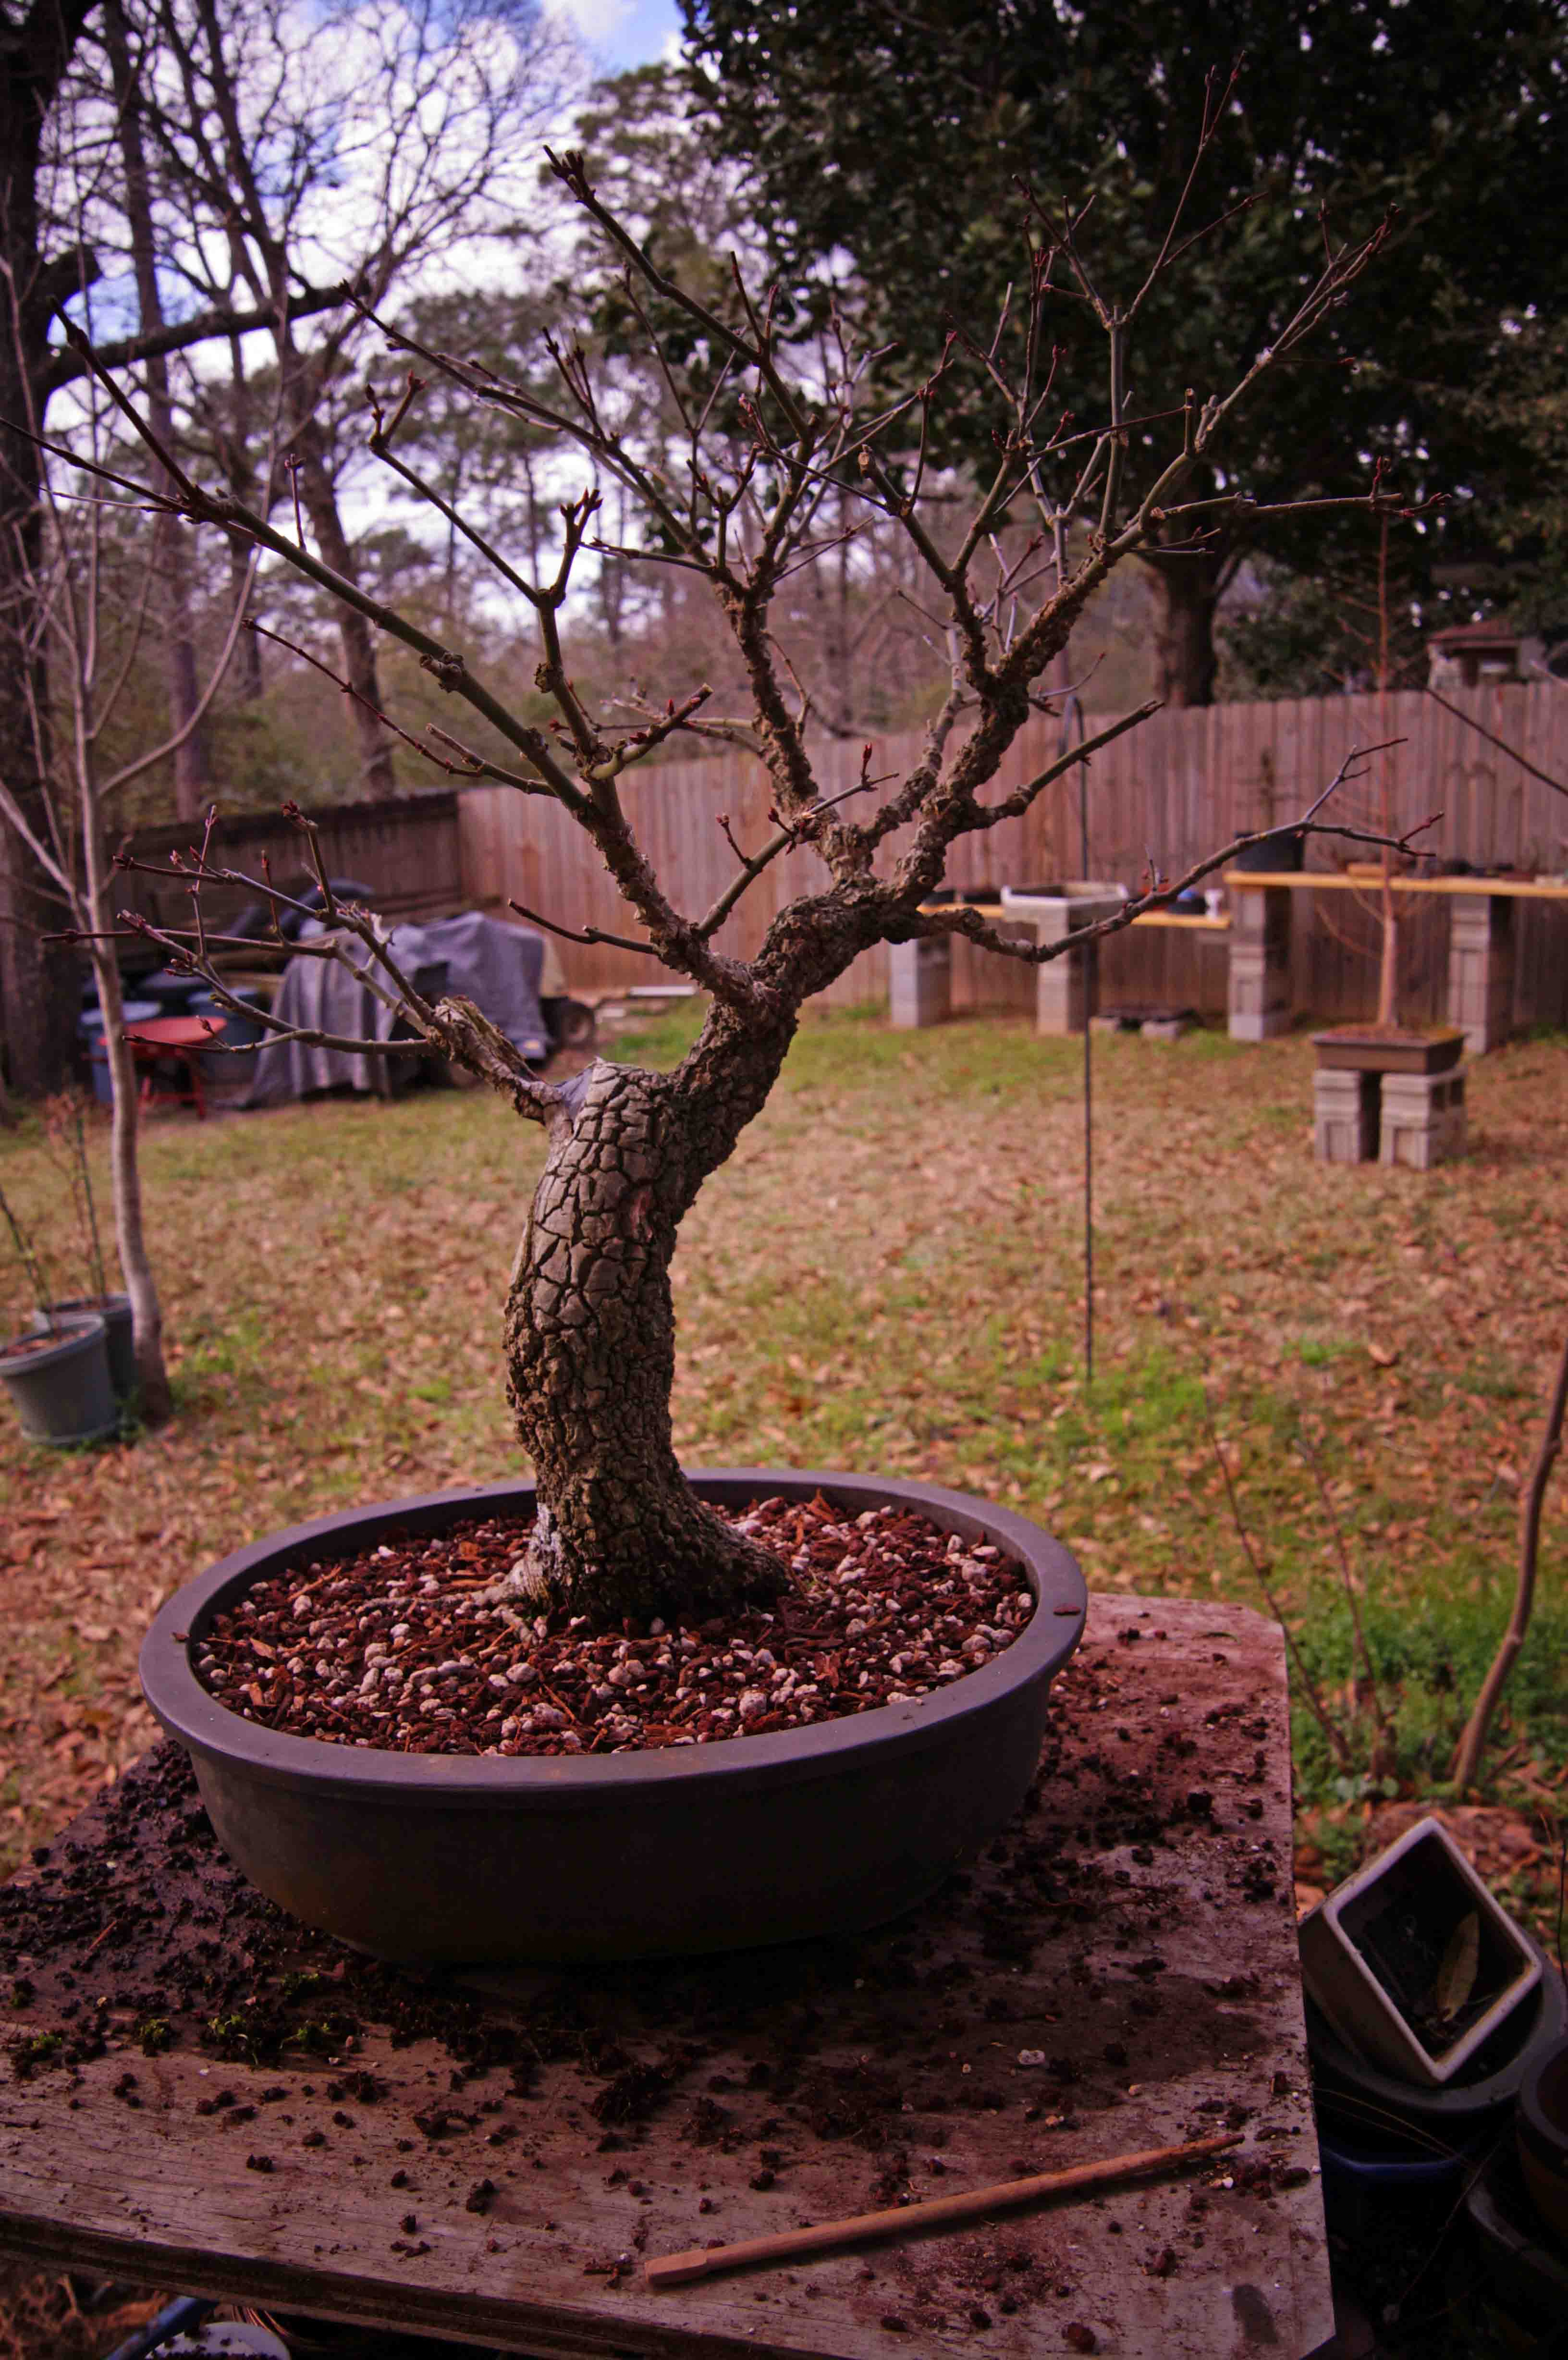
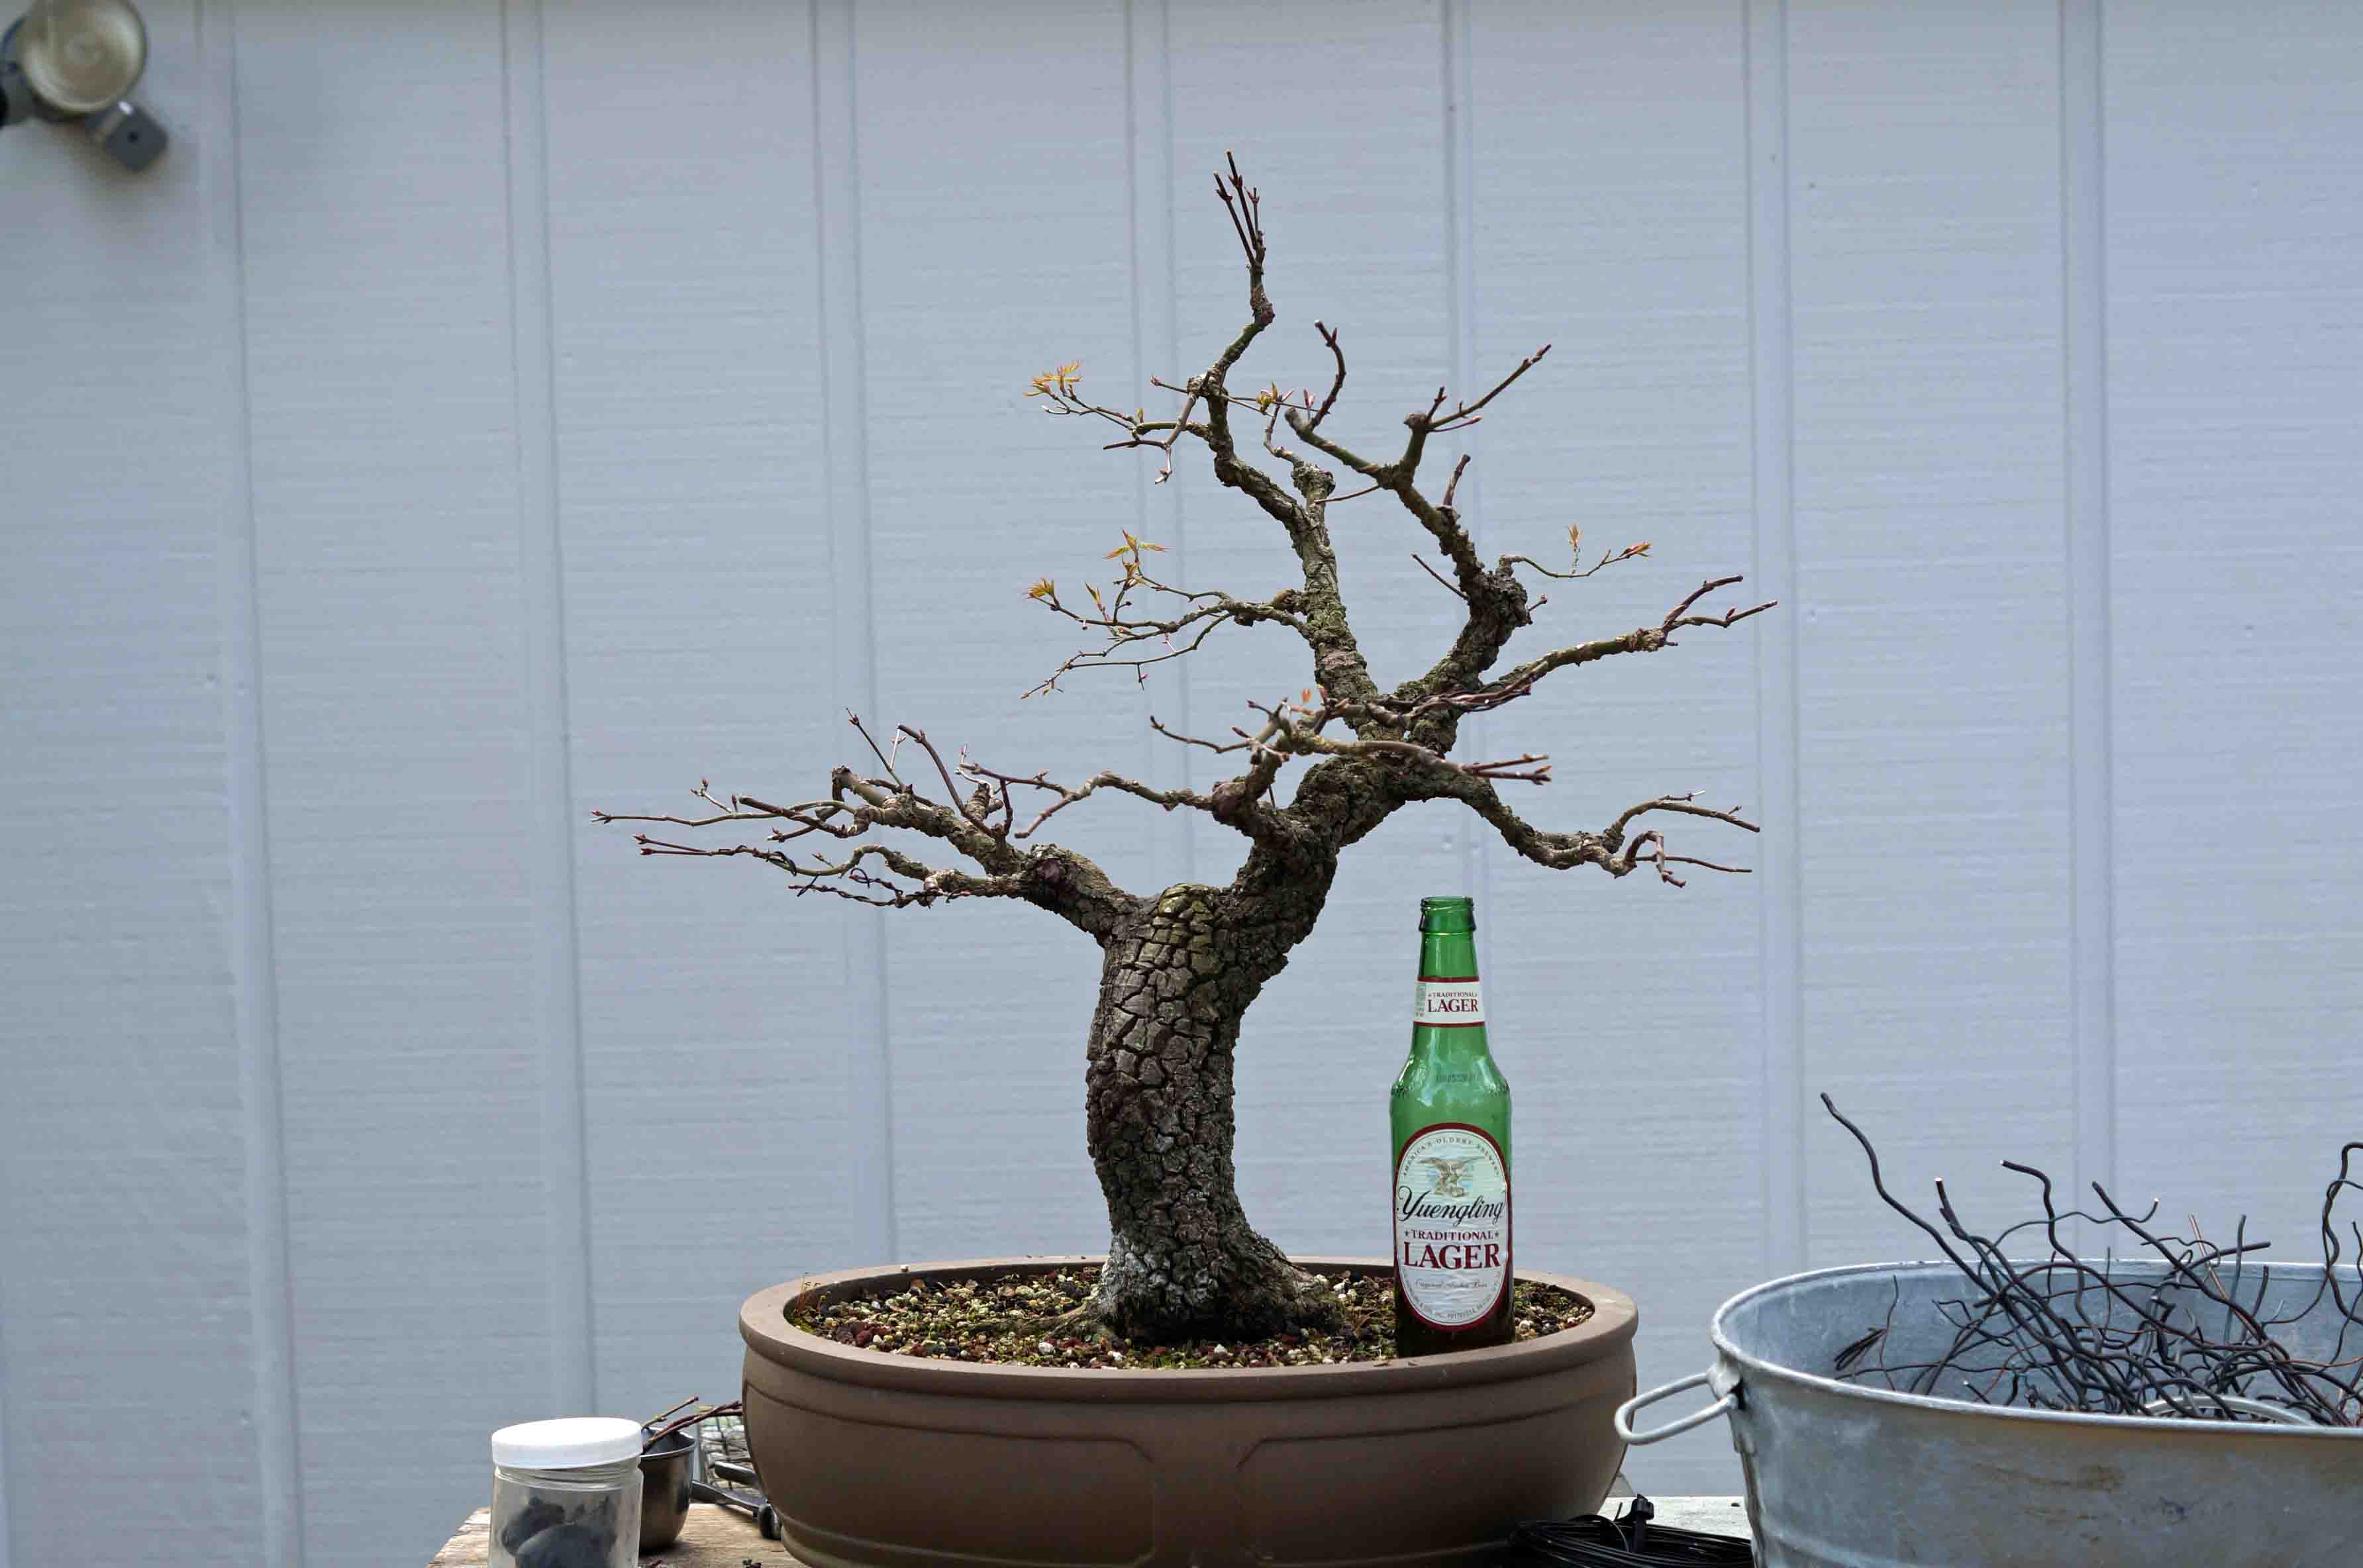
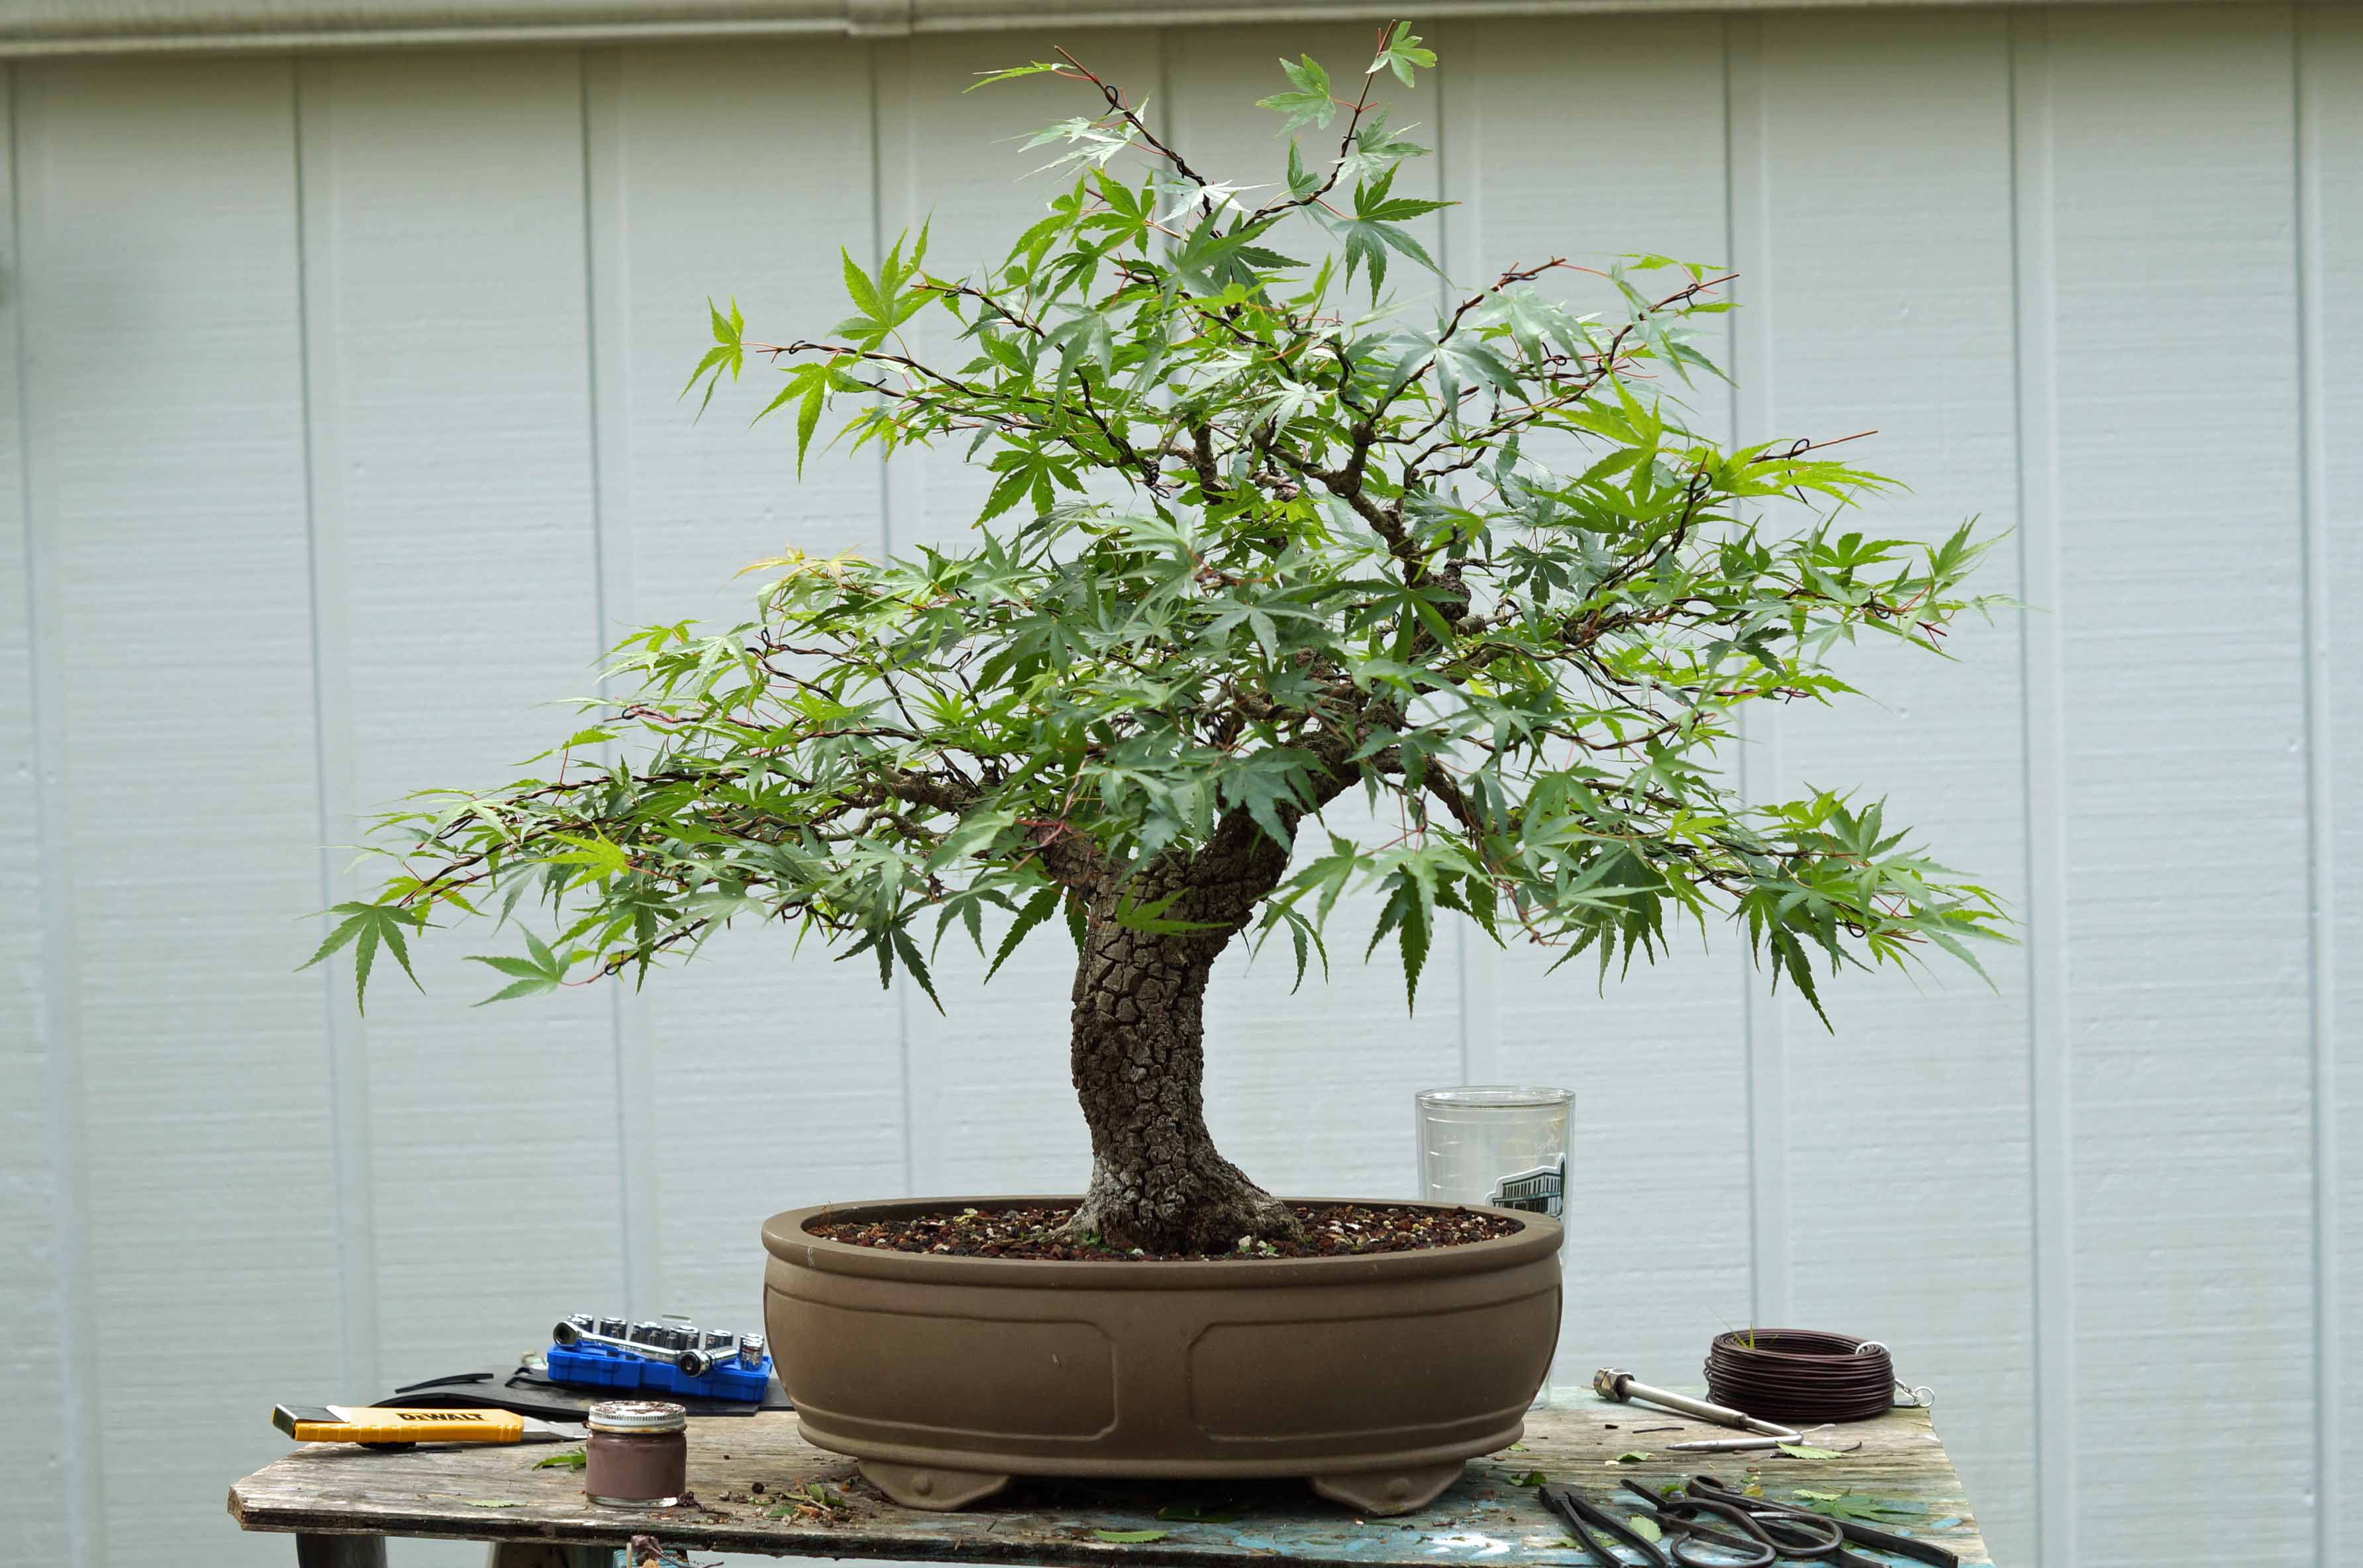
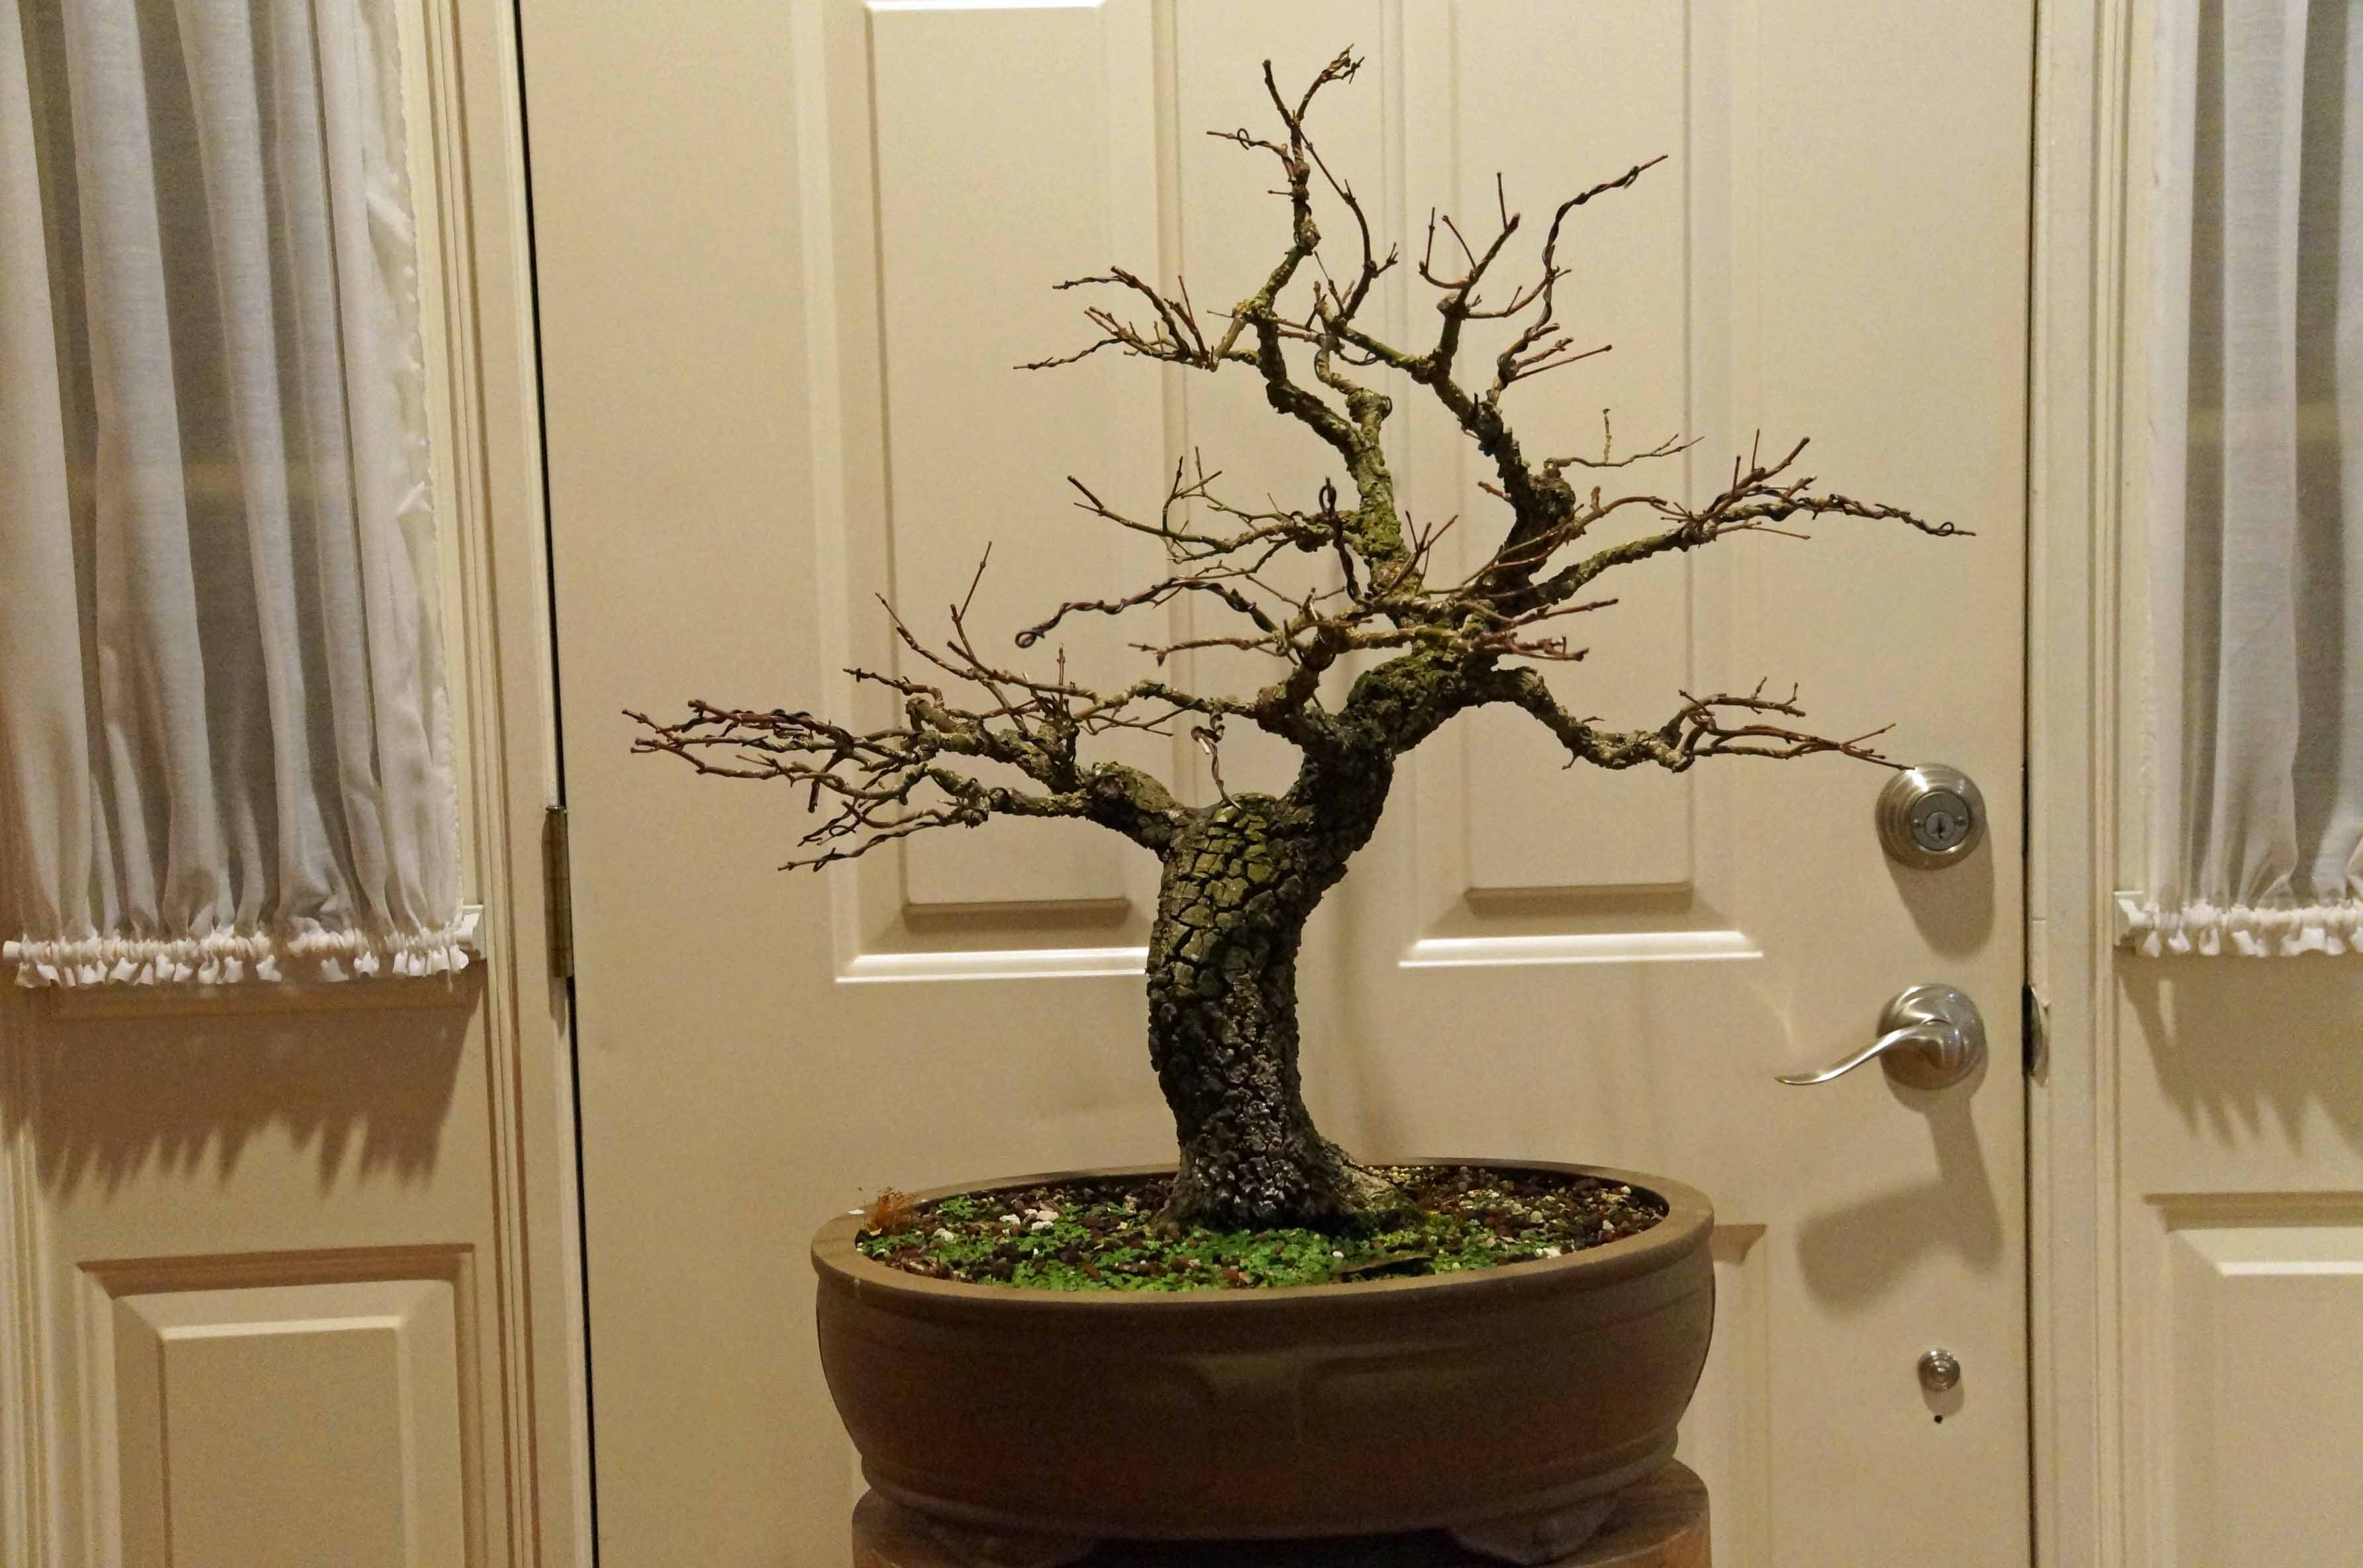
In February of 2017 the tree got a make-over. I finally got serious about developing some ramification and structure. It does not have a nice winter silhouette yet, but here are some shots of her naked:
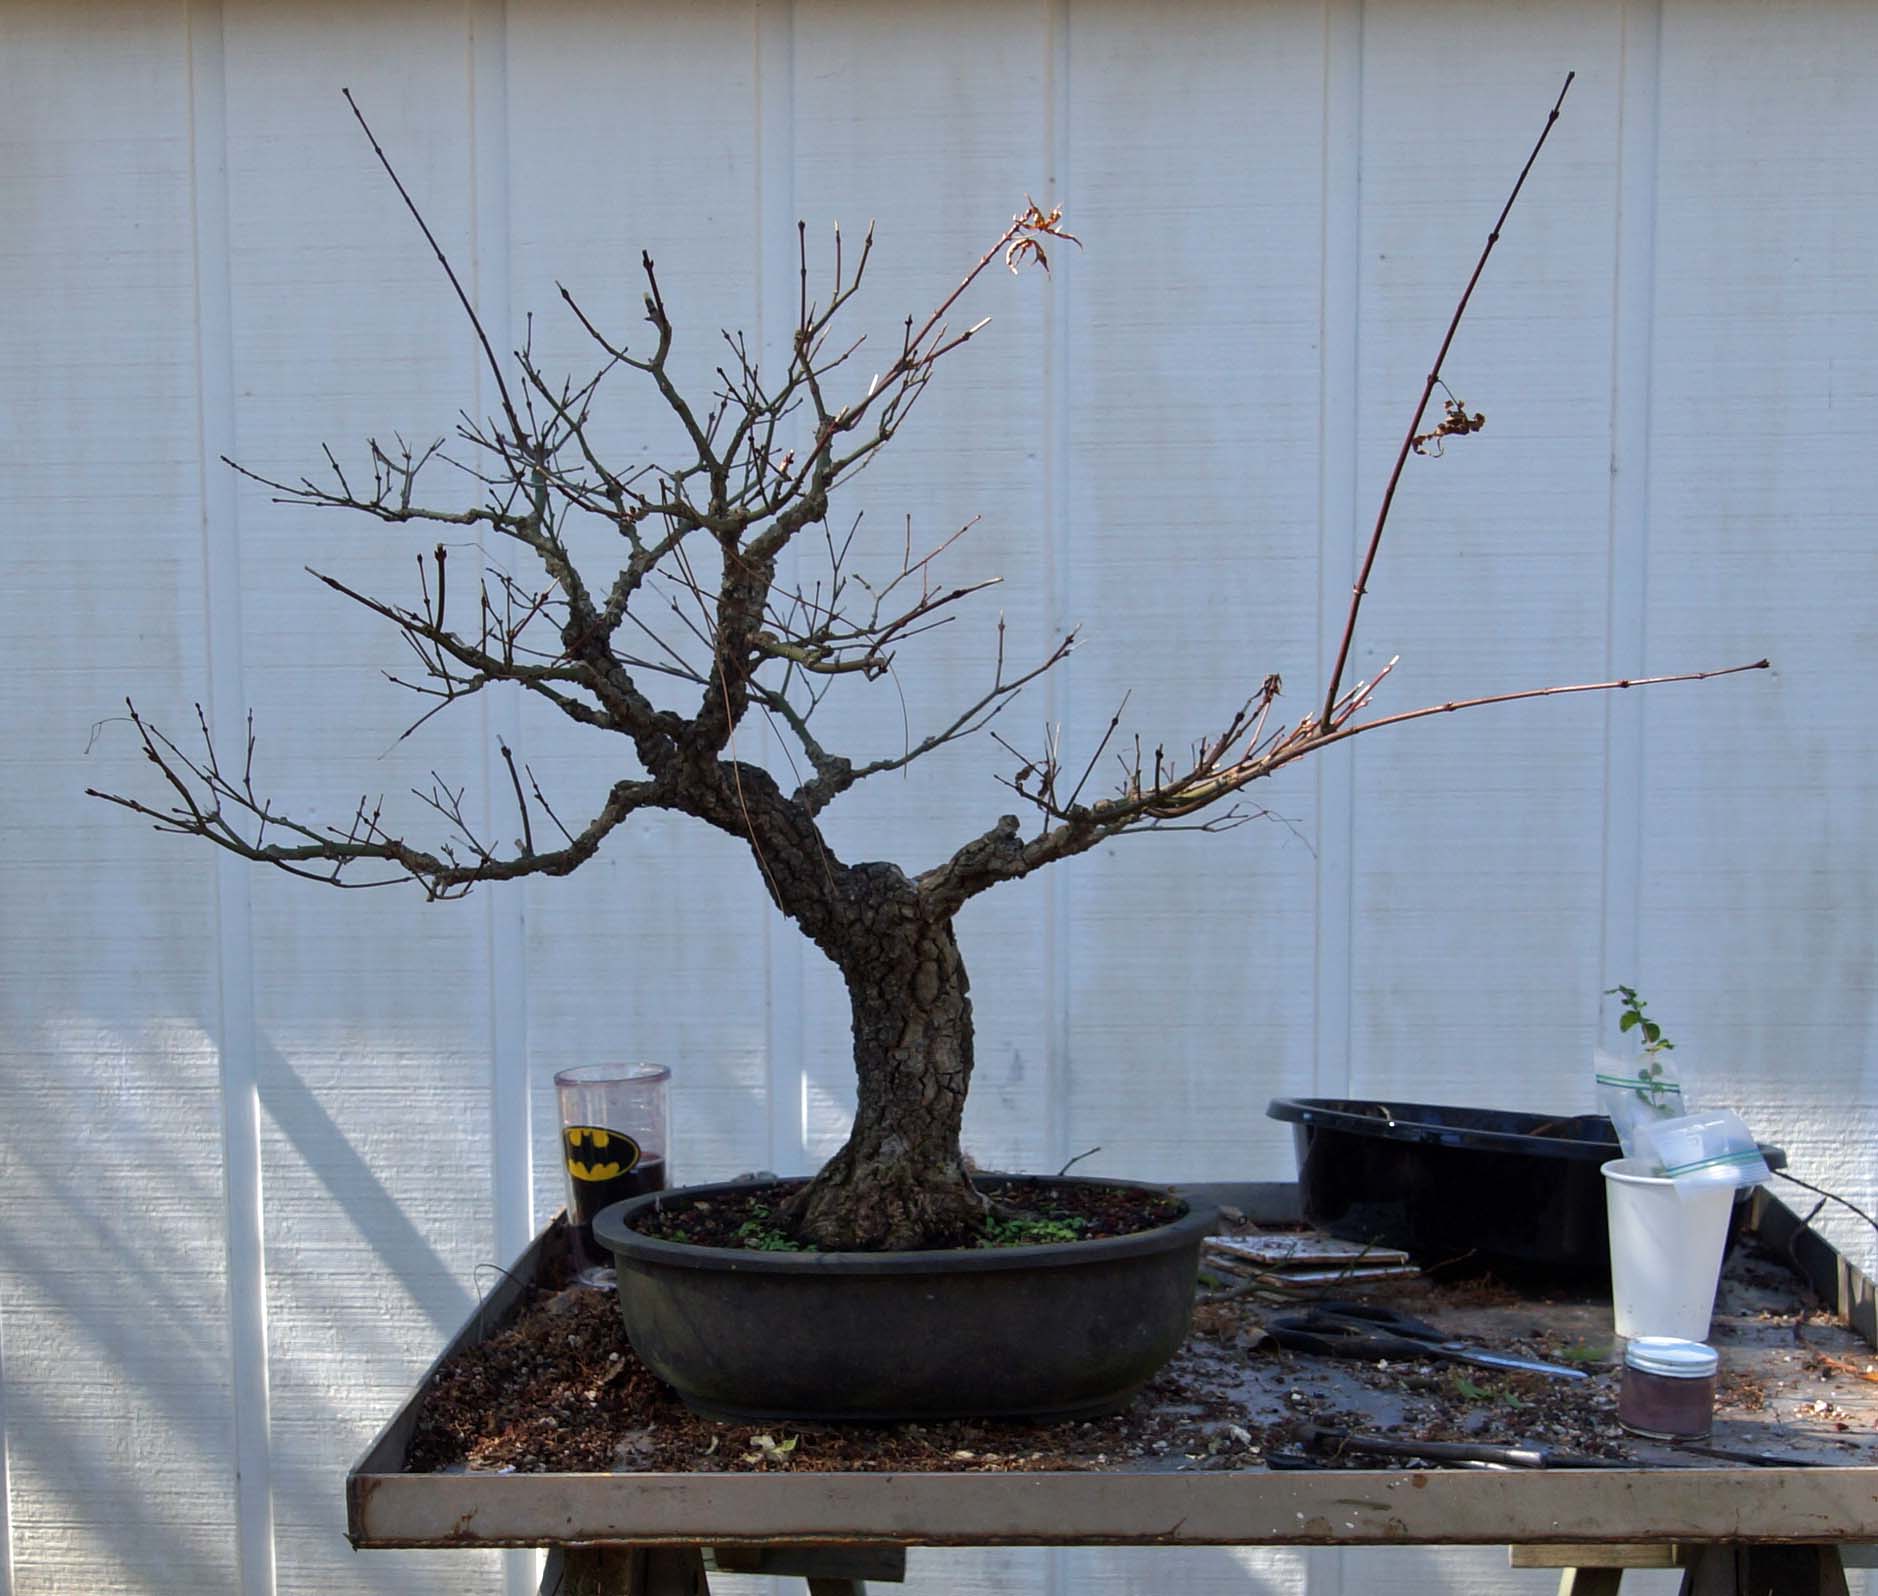

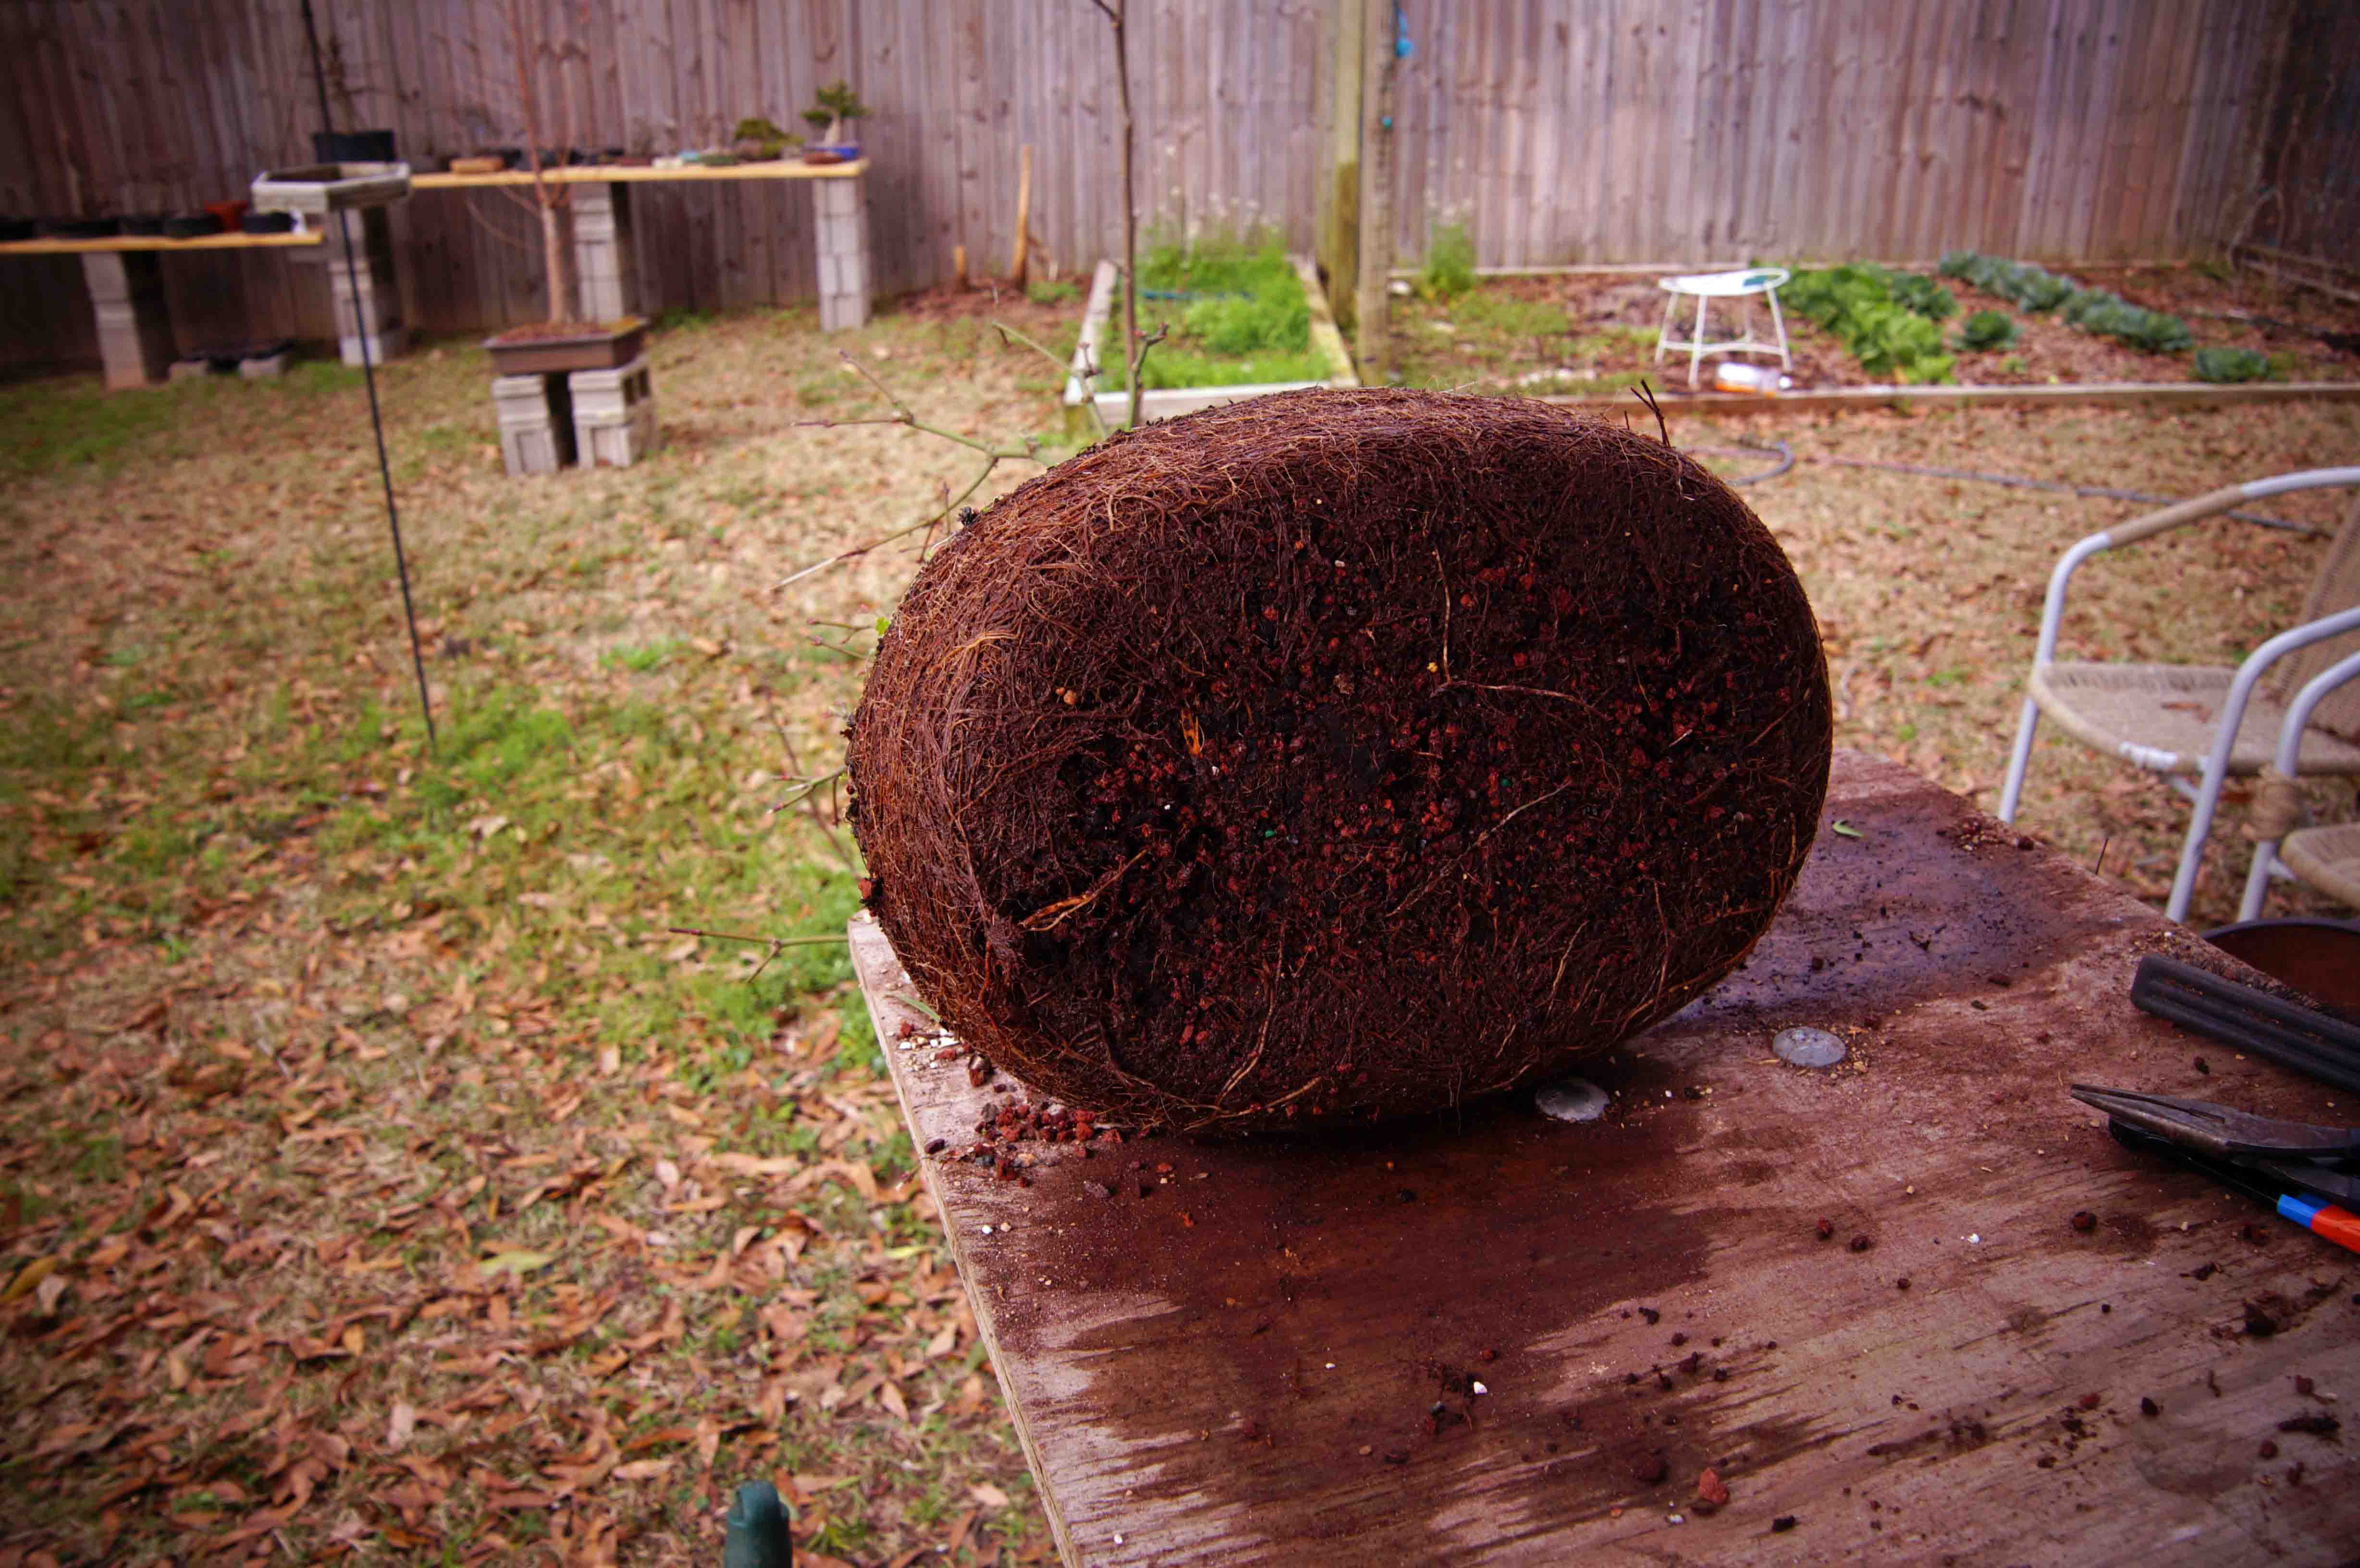
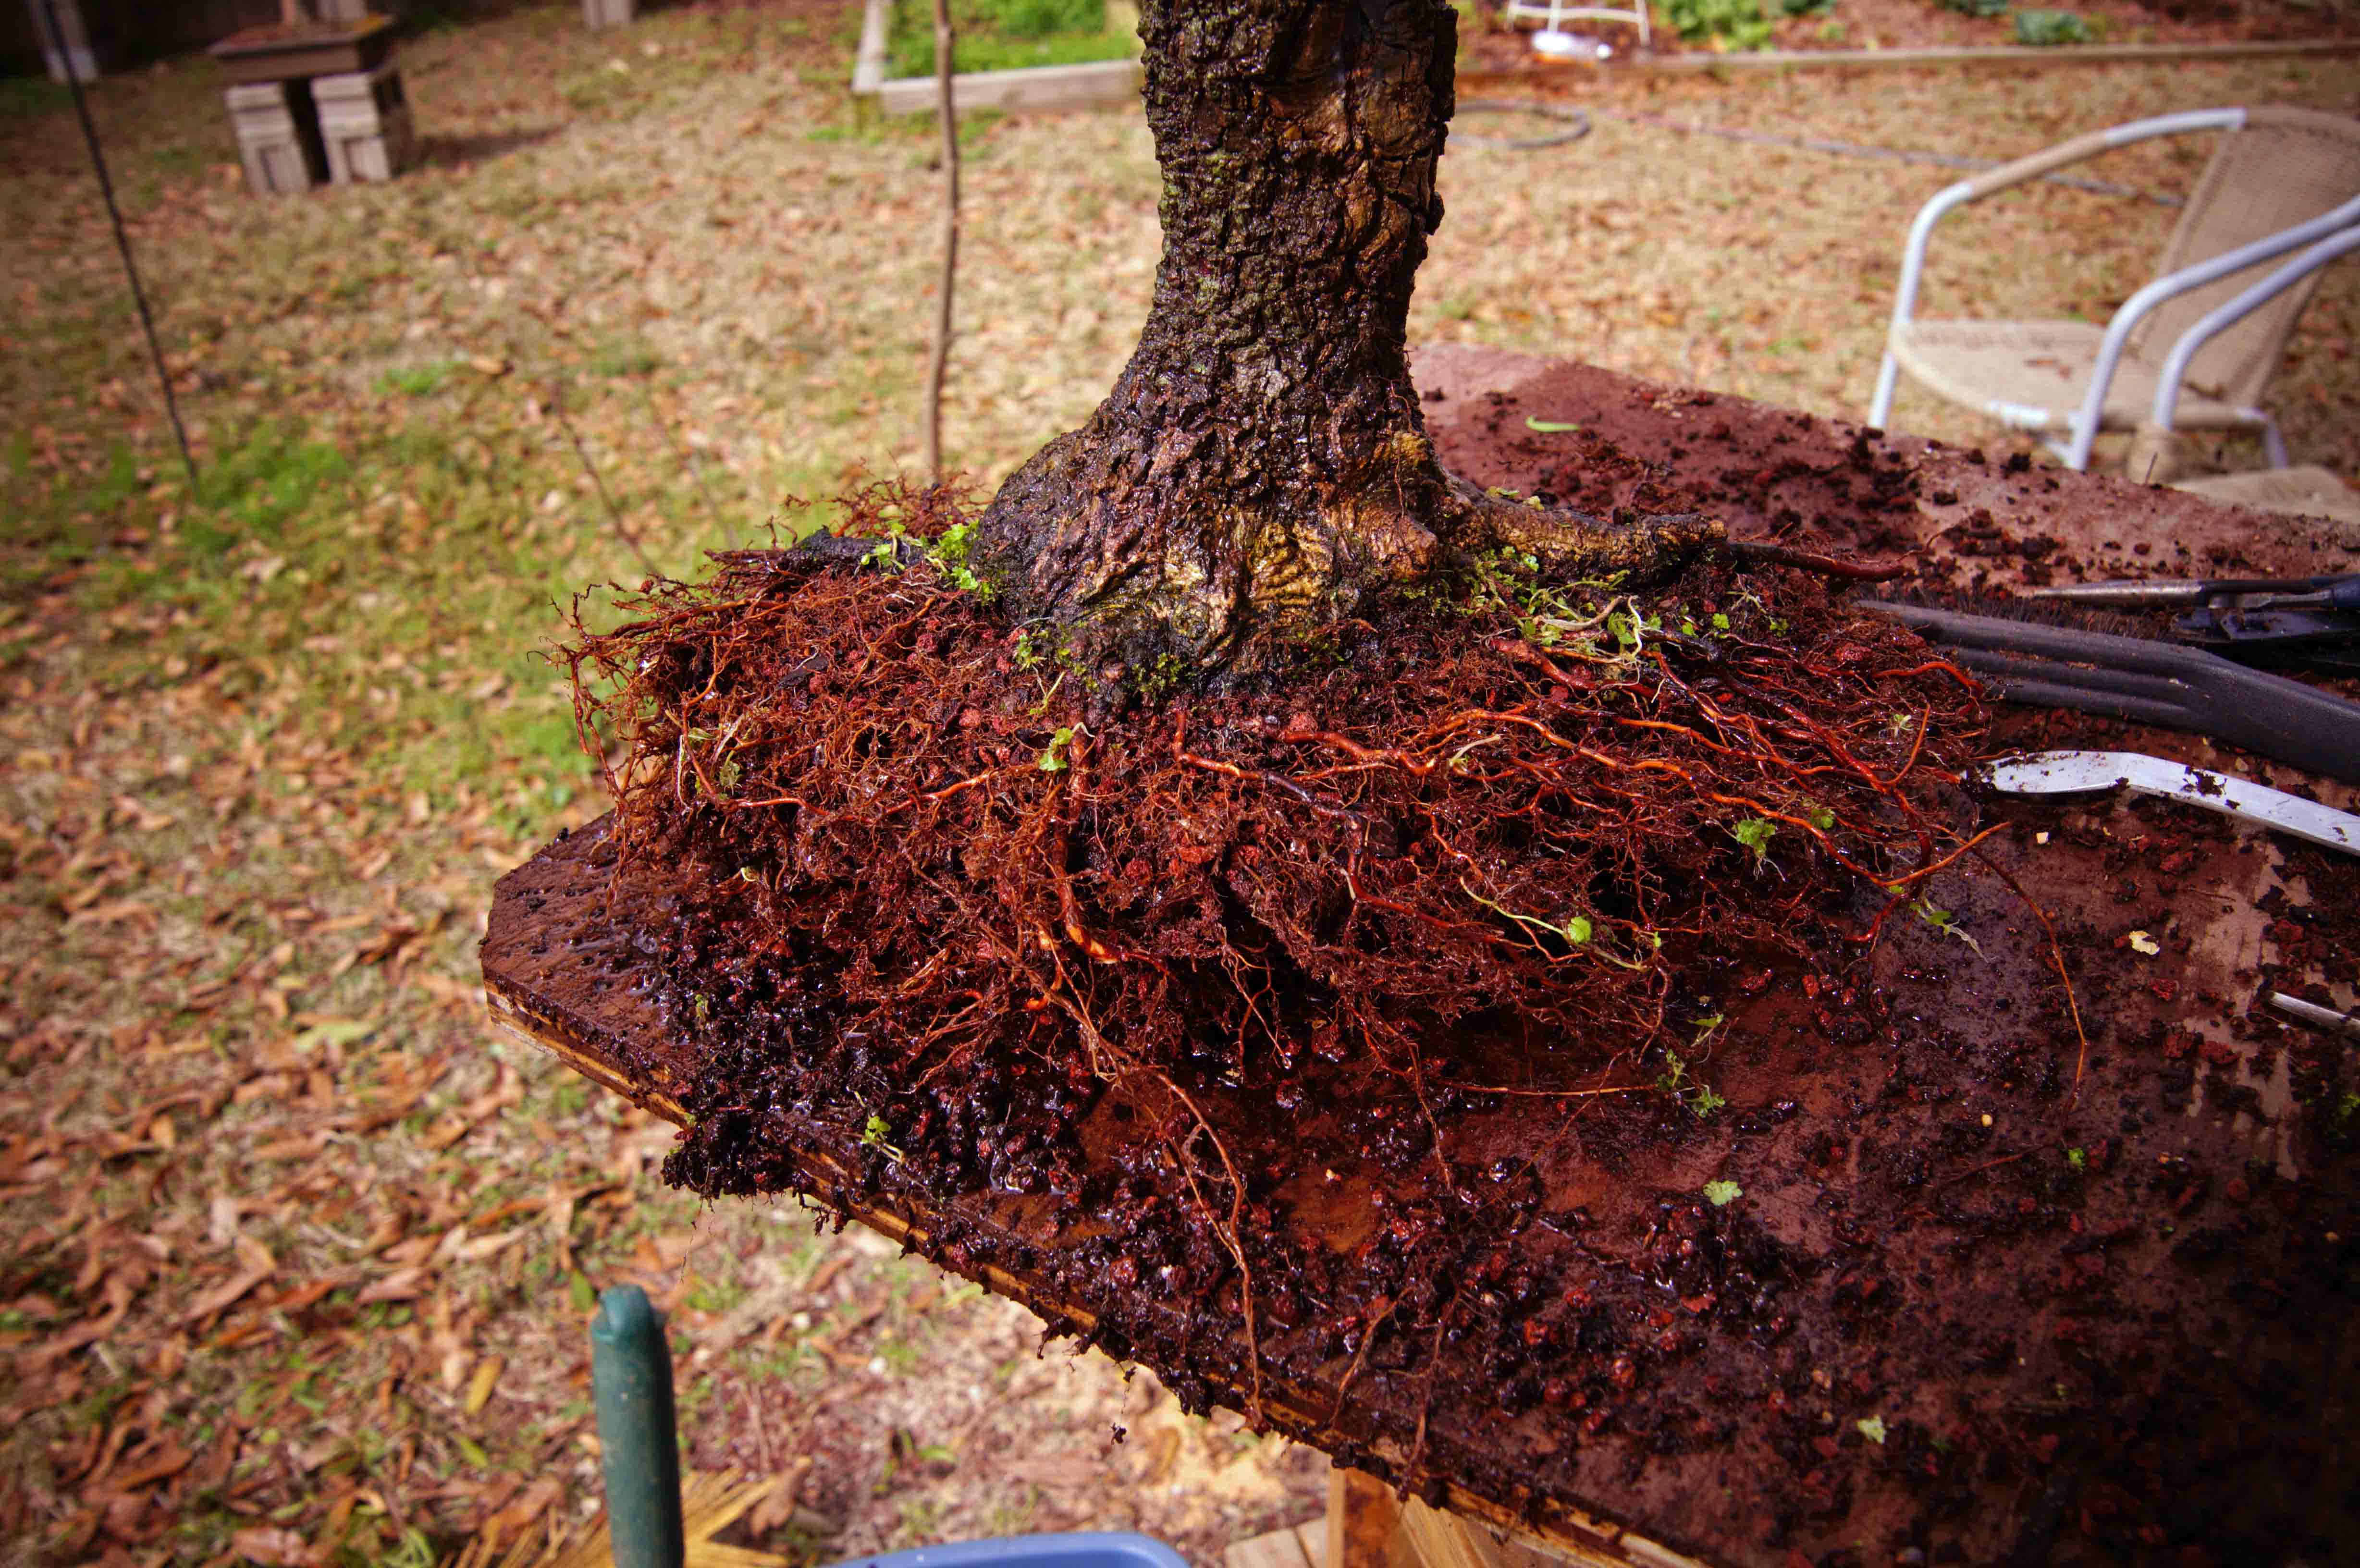
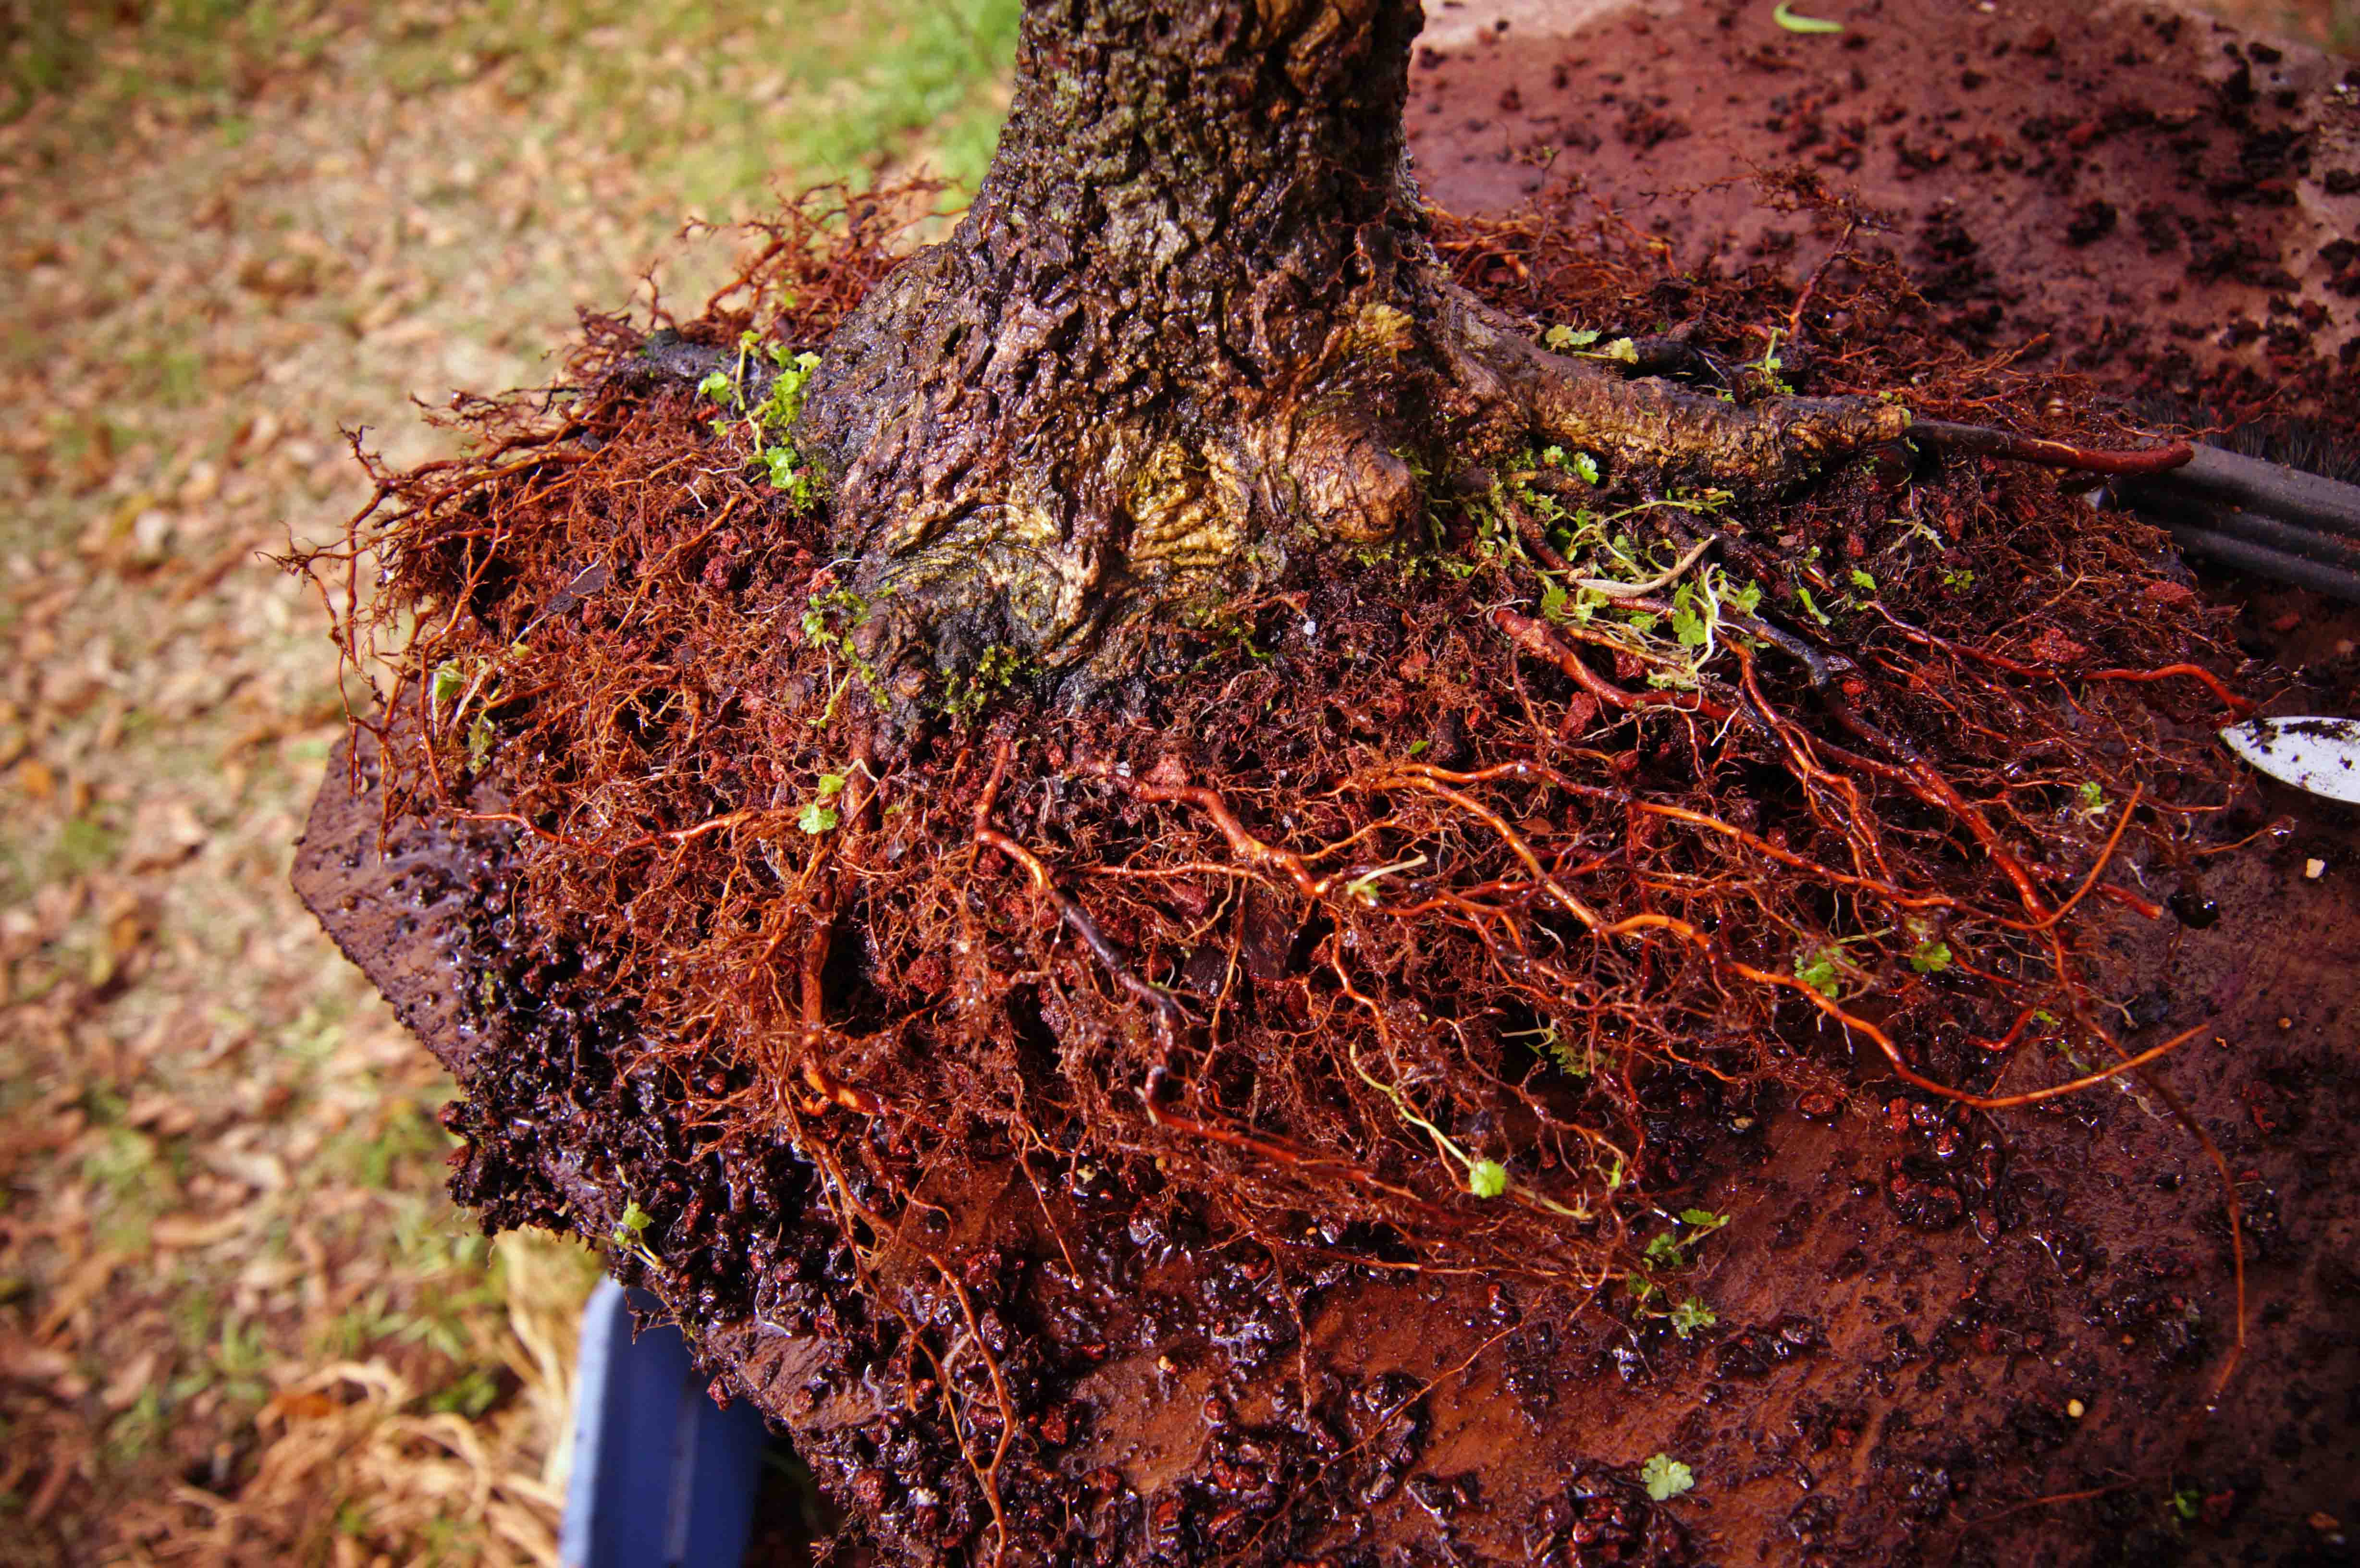
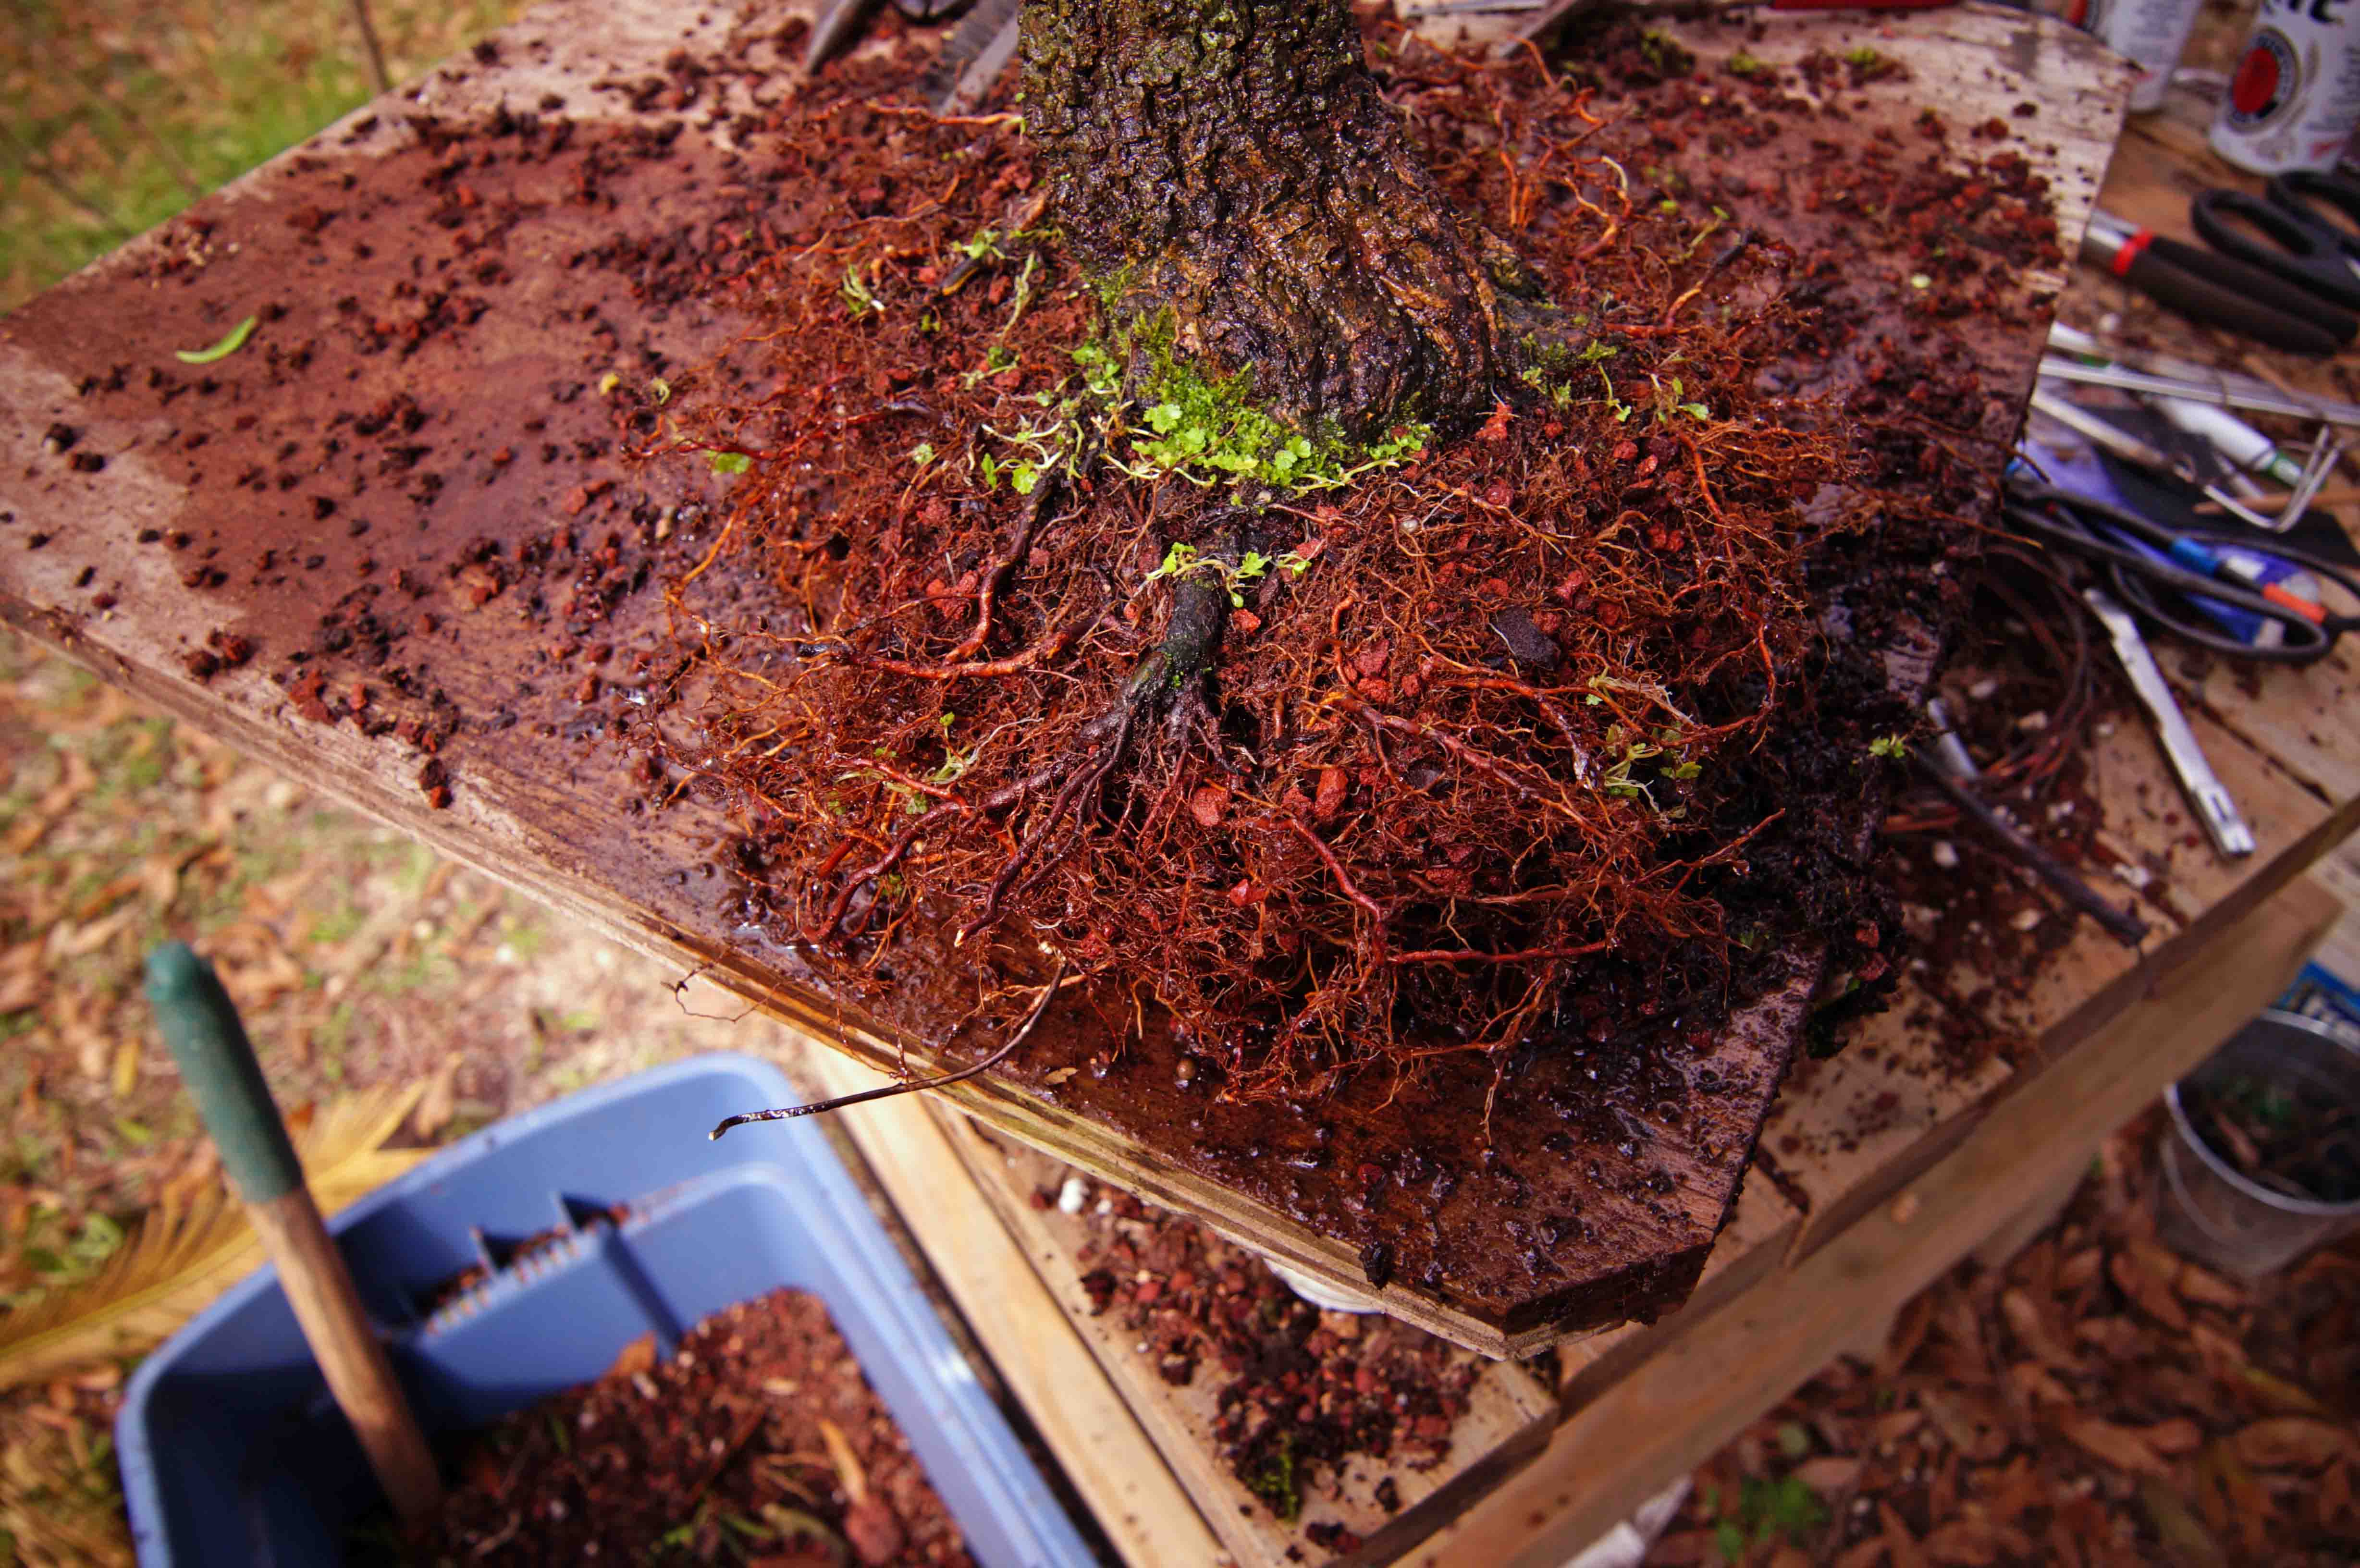
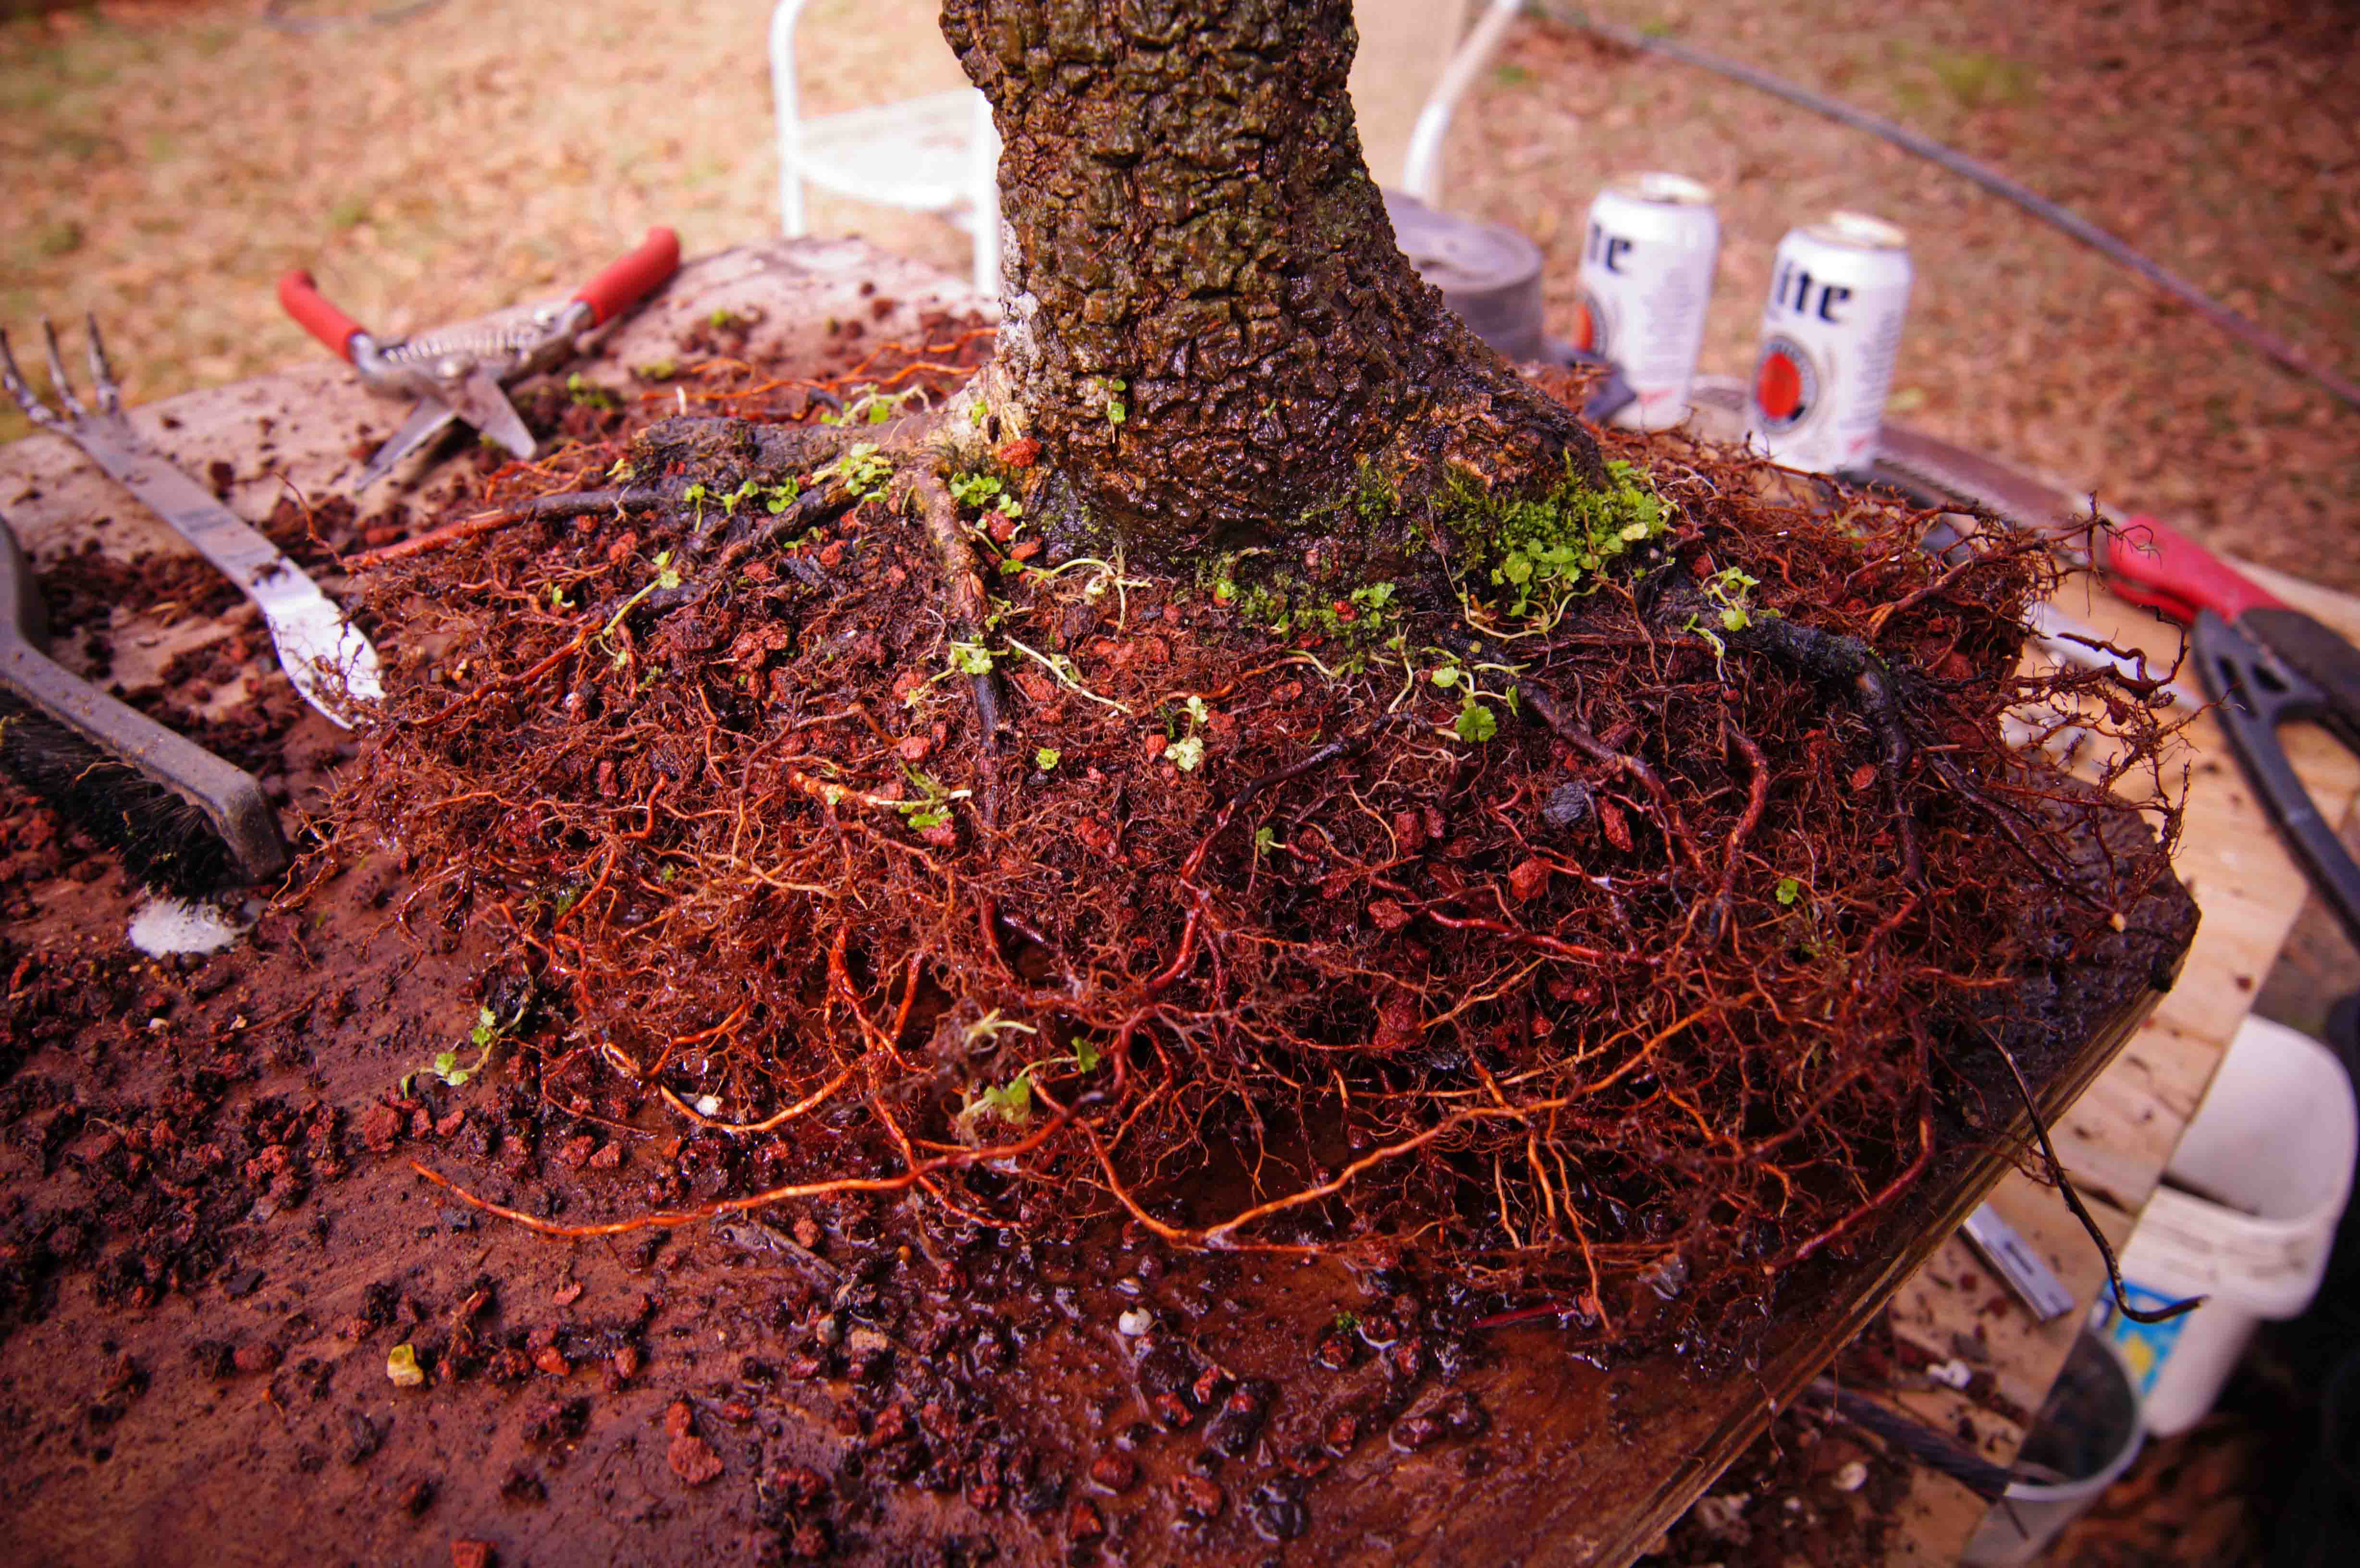
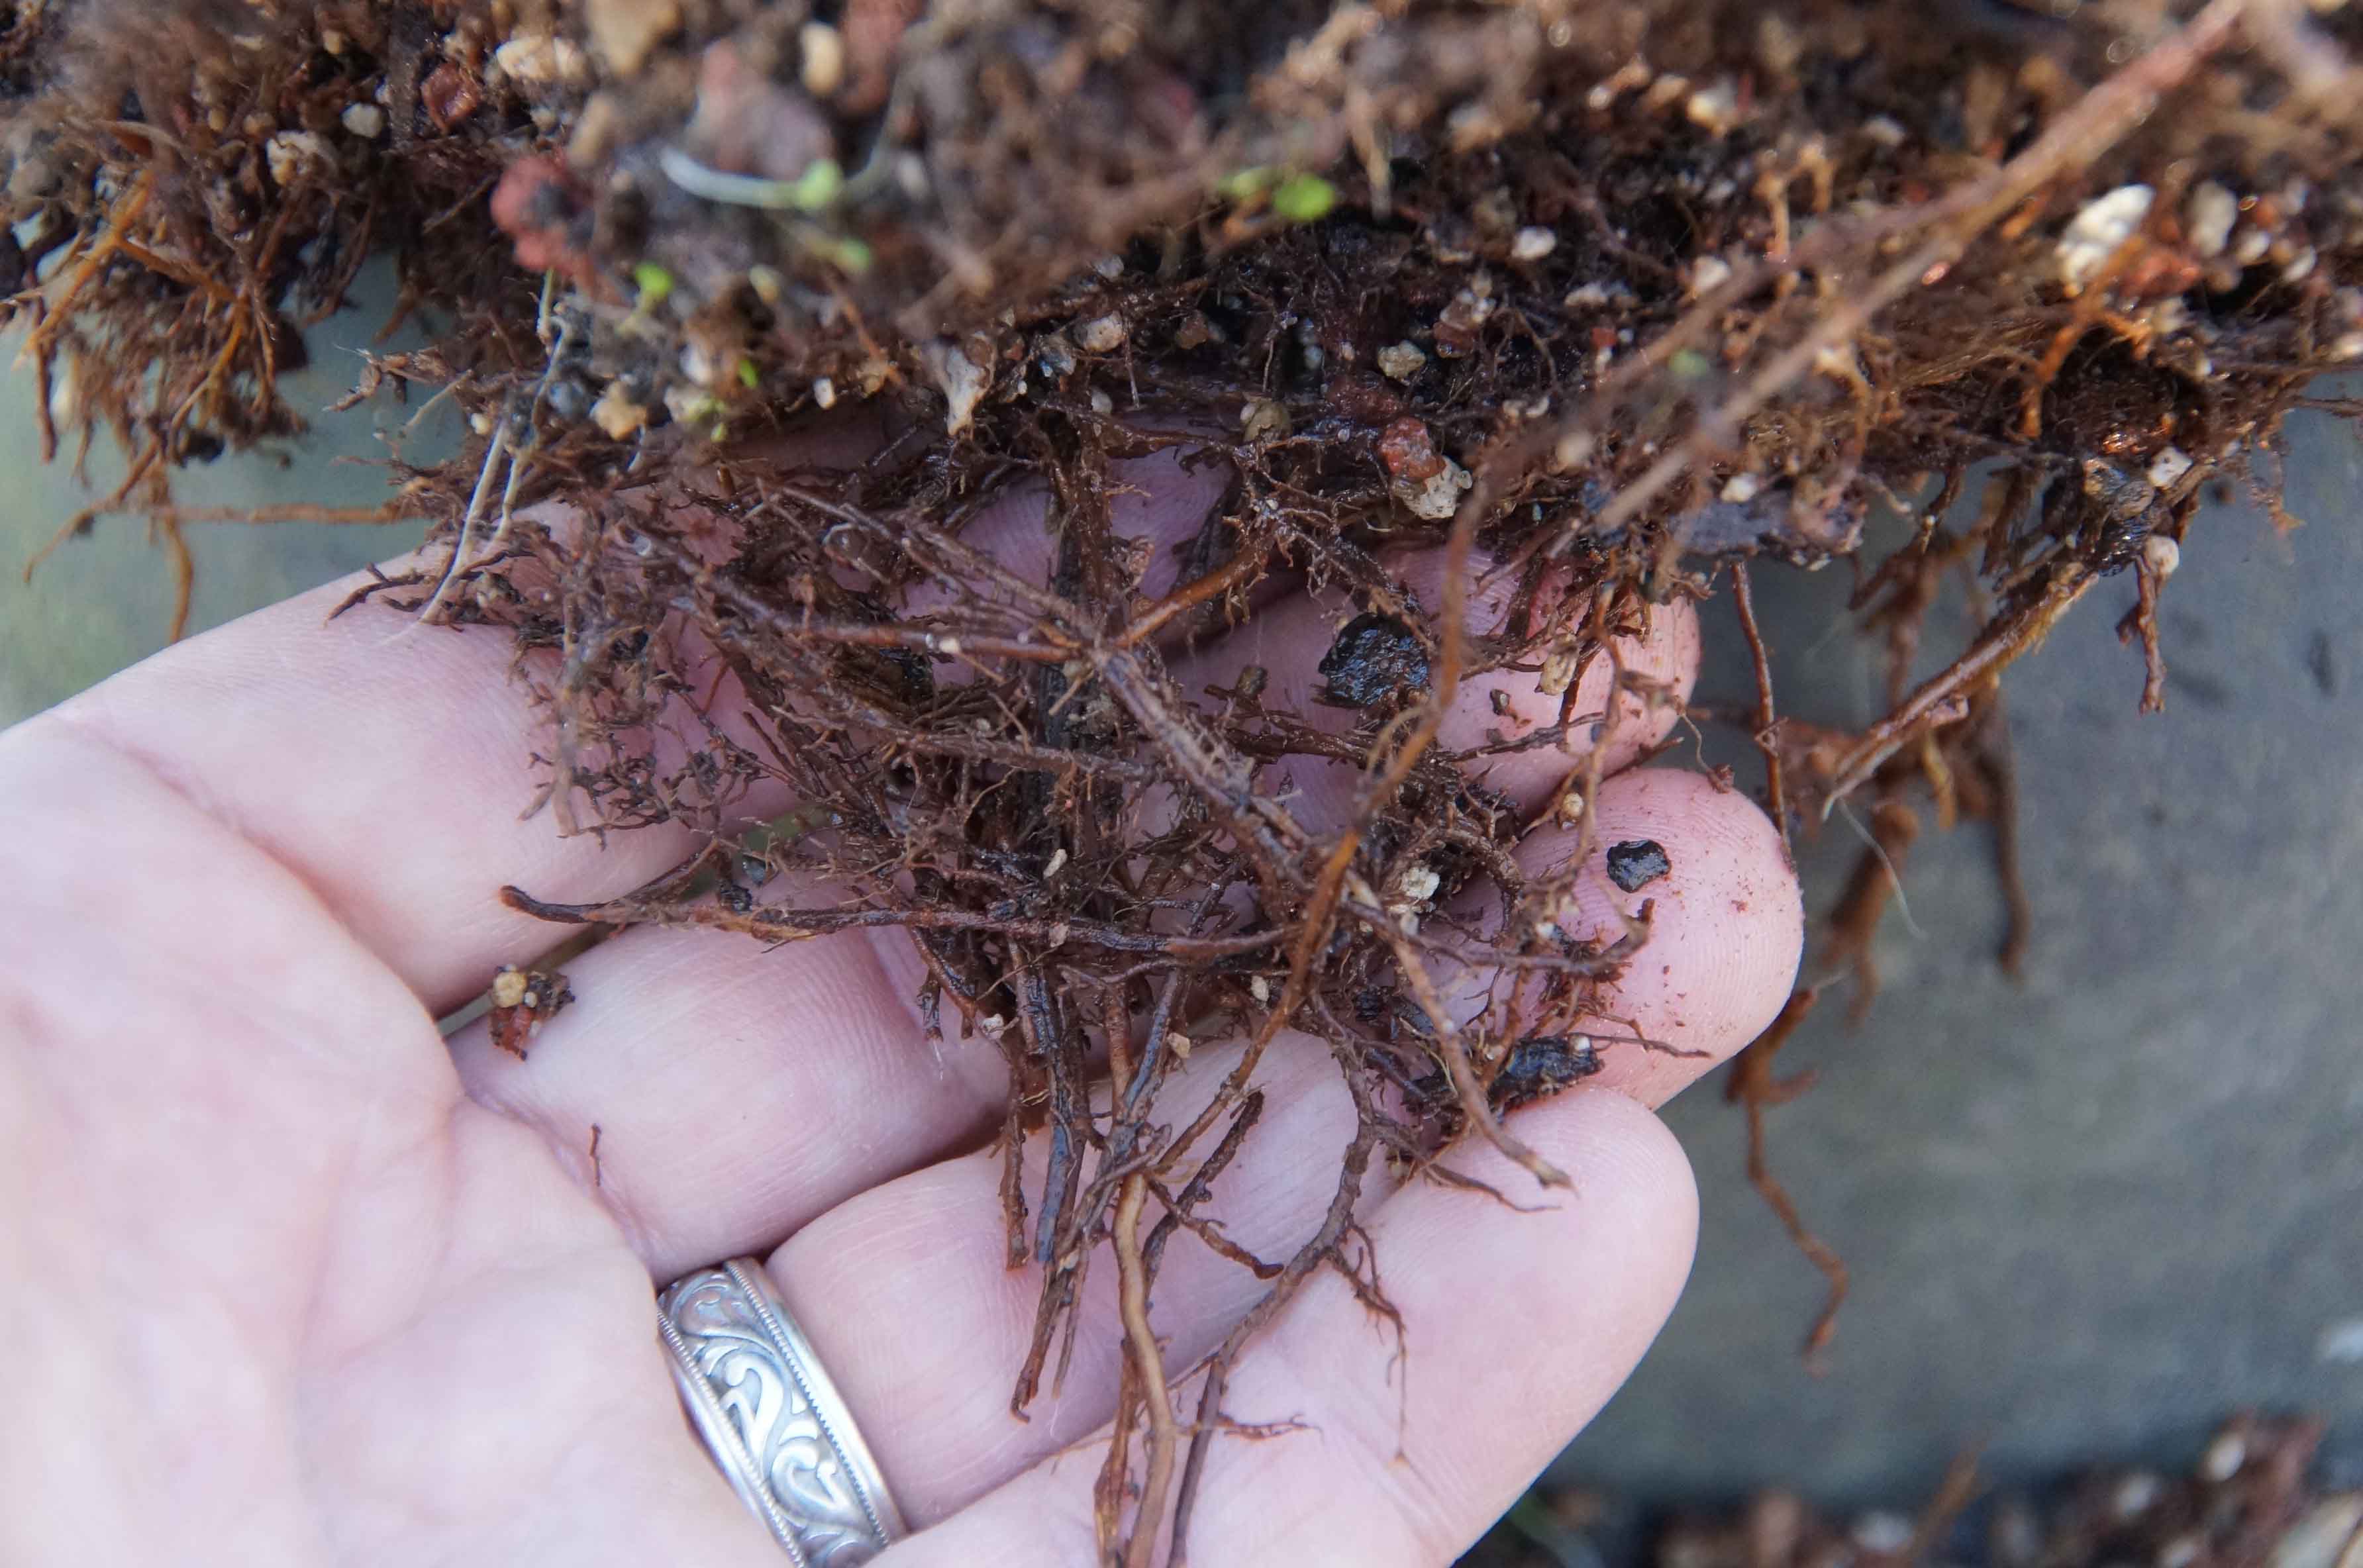
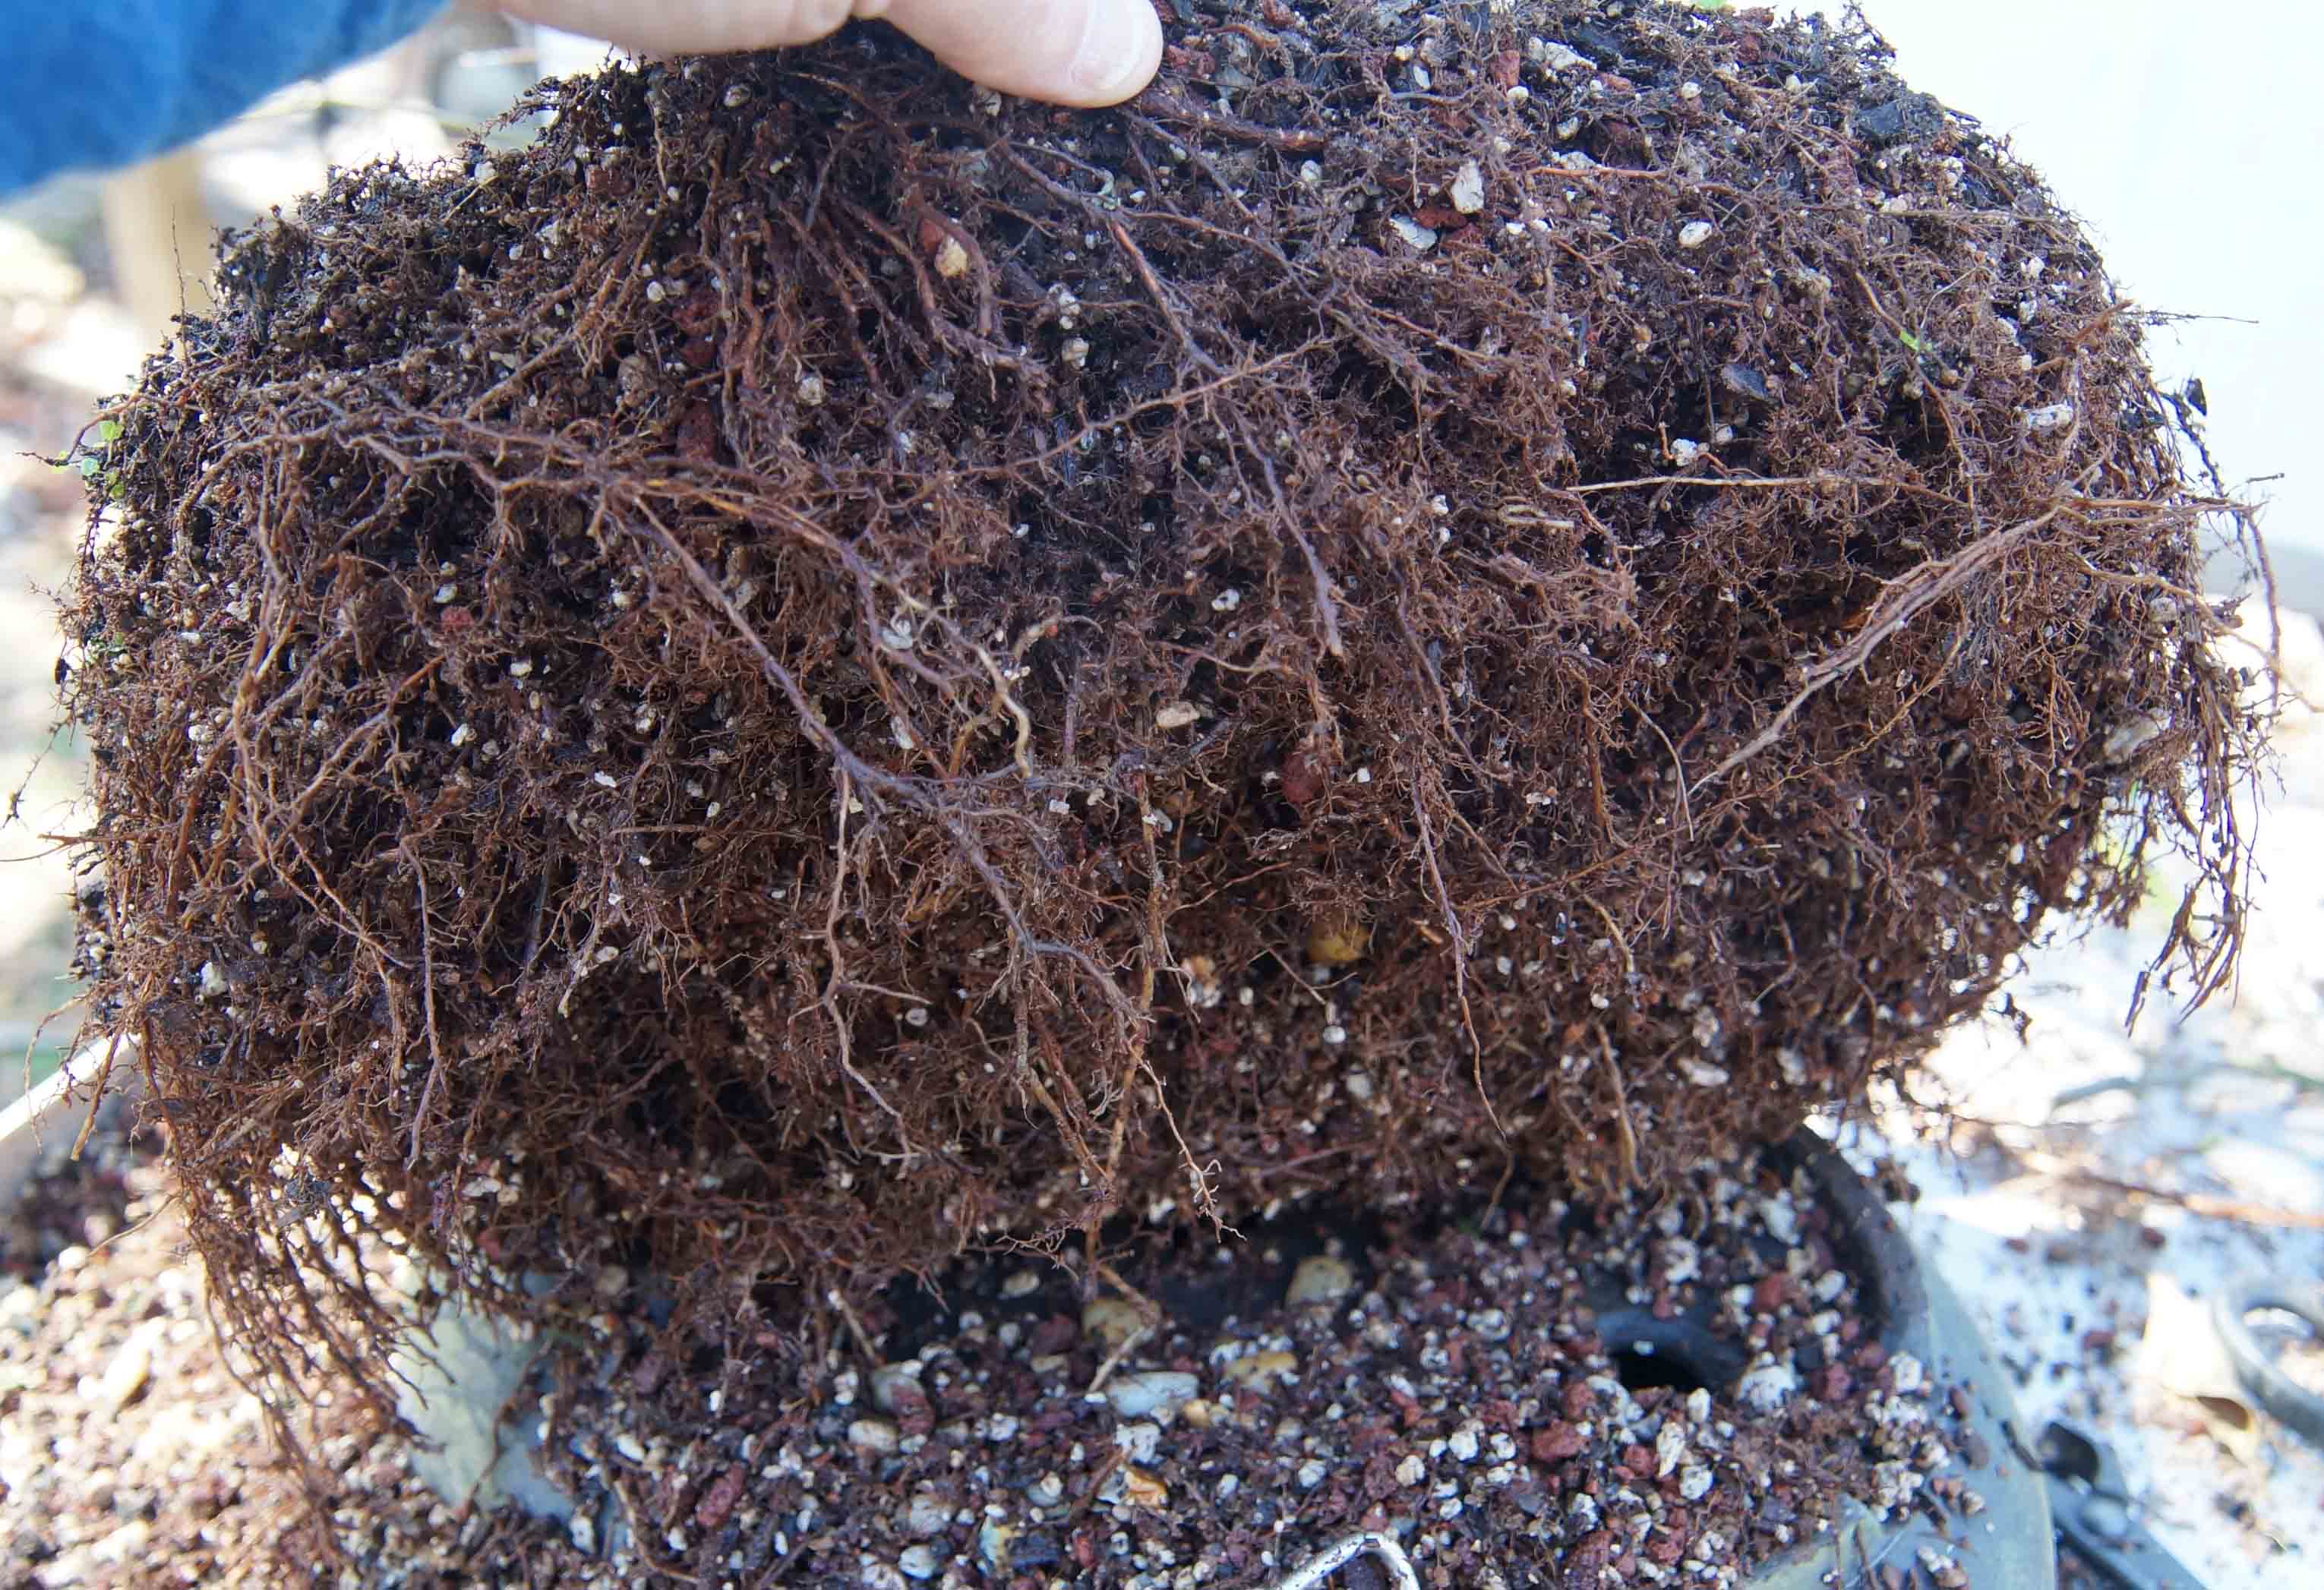
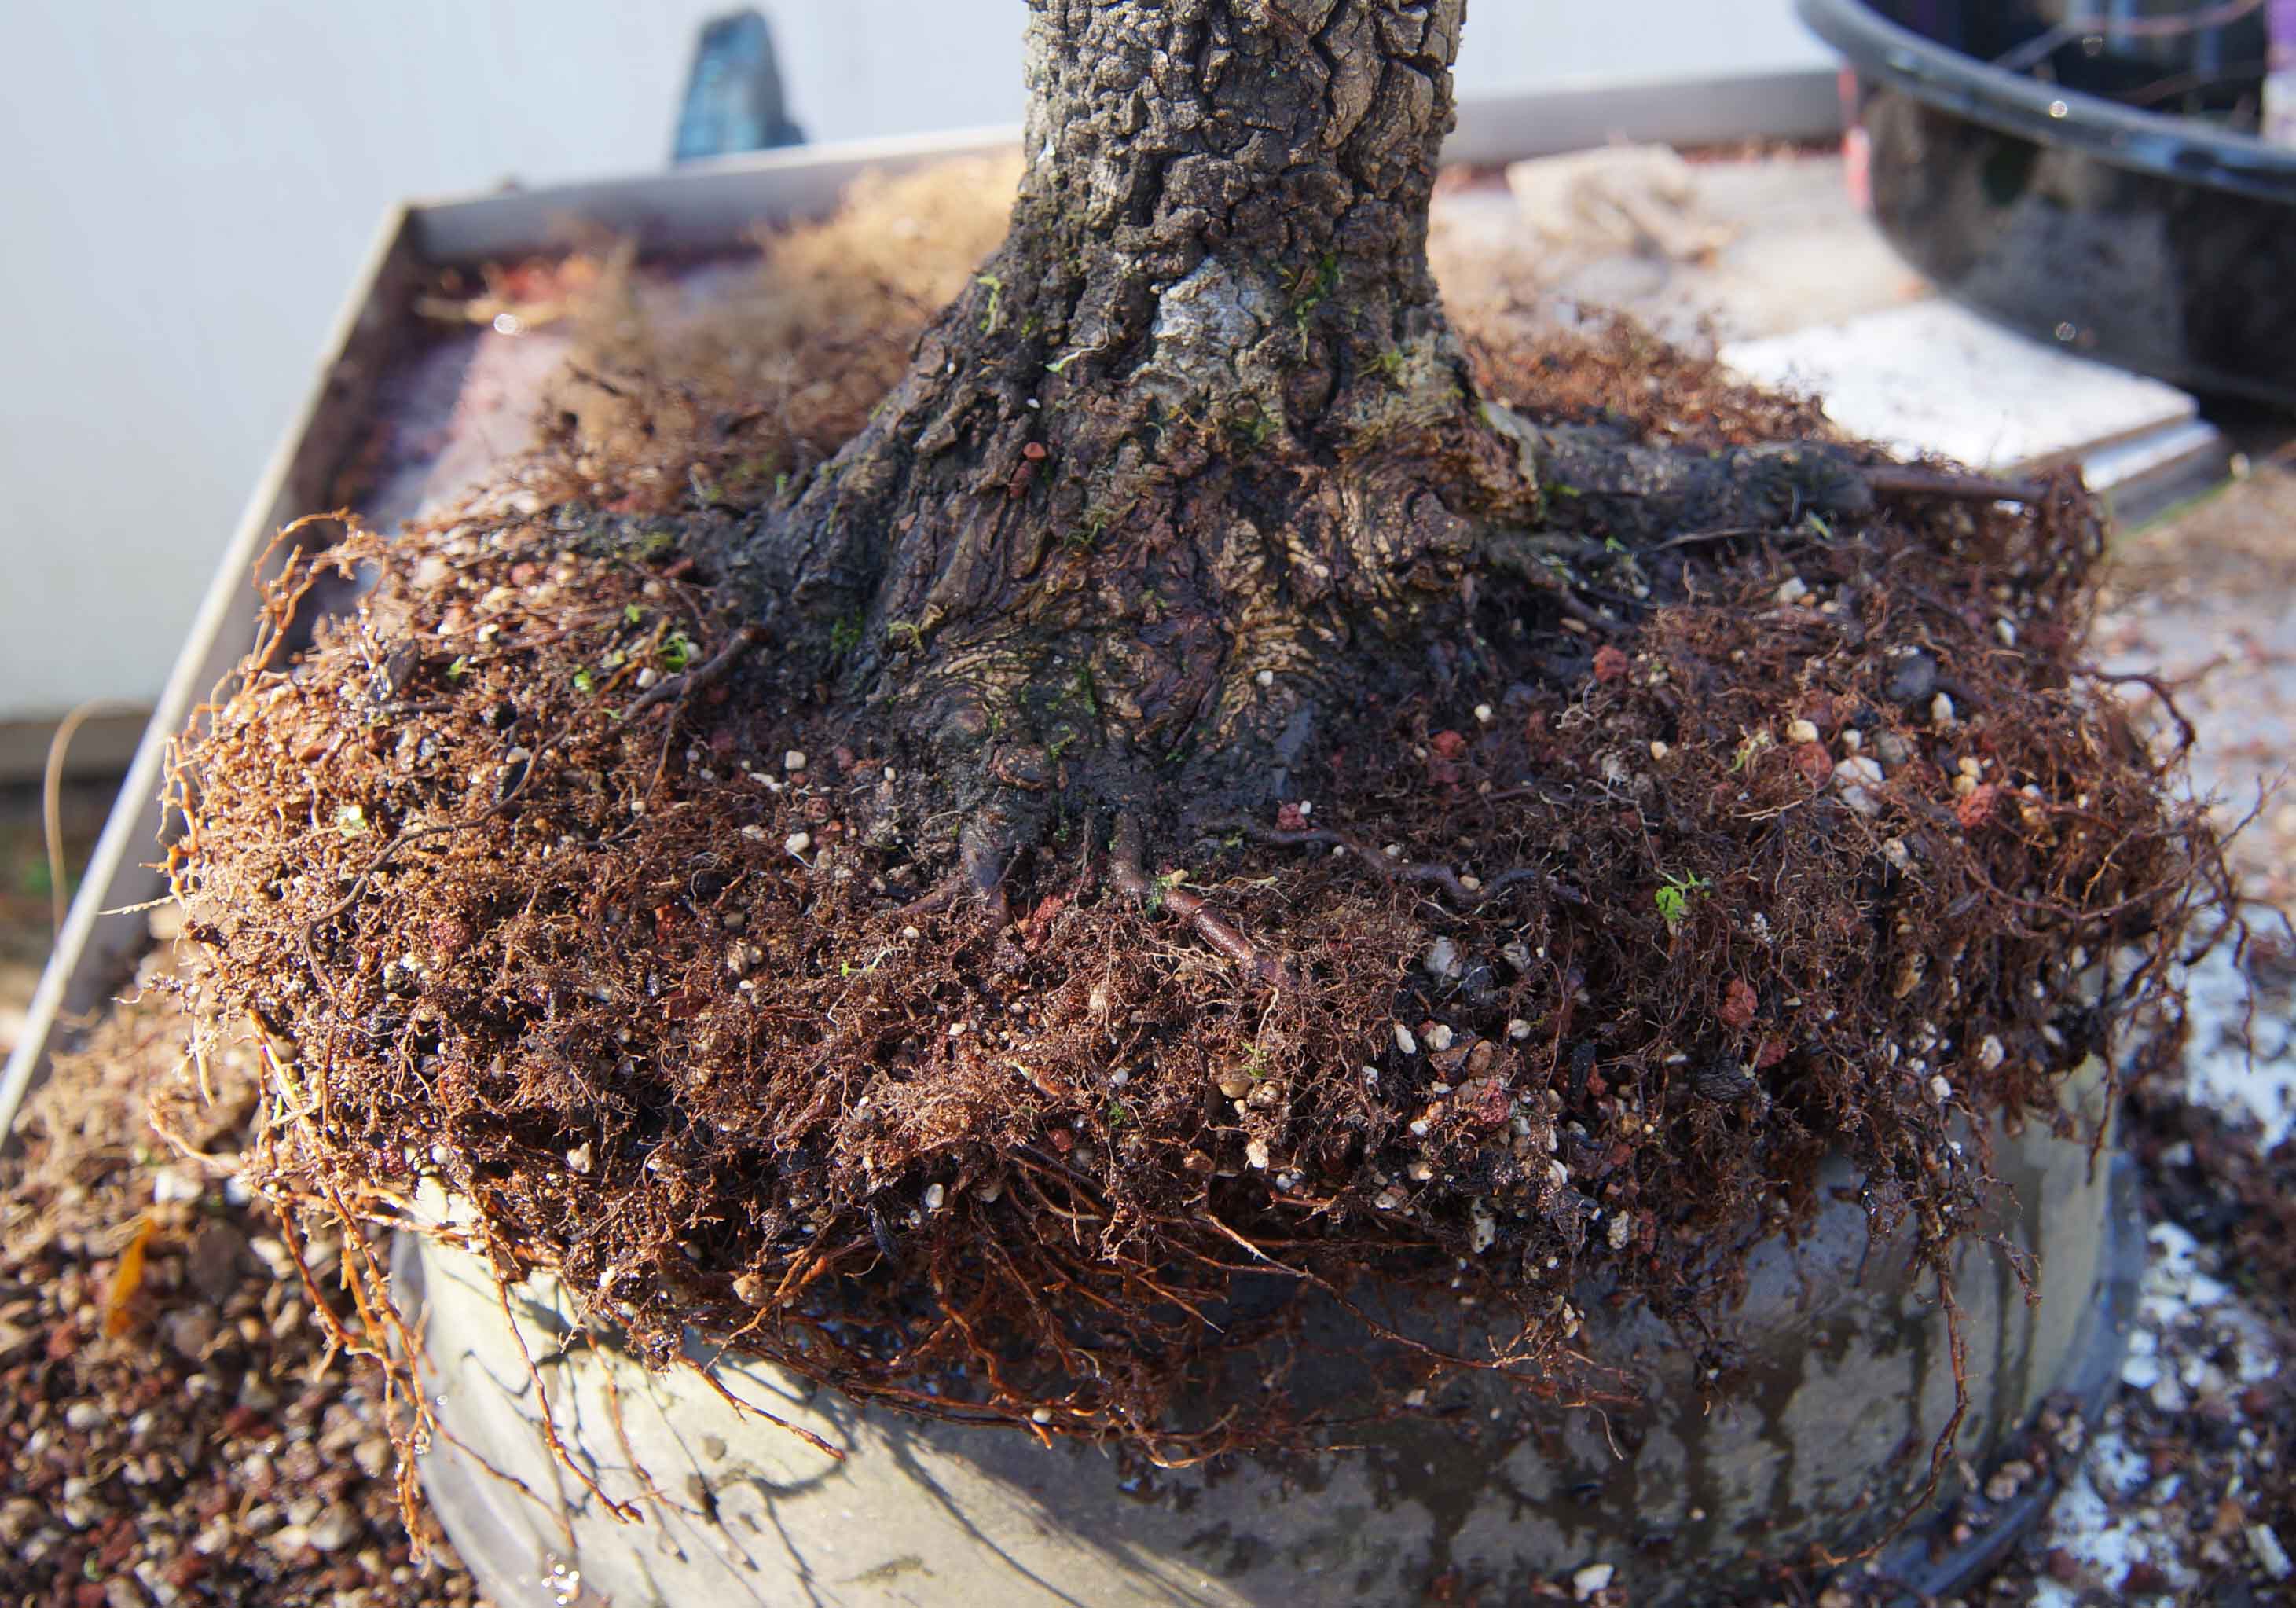
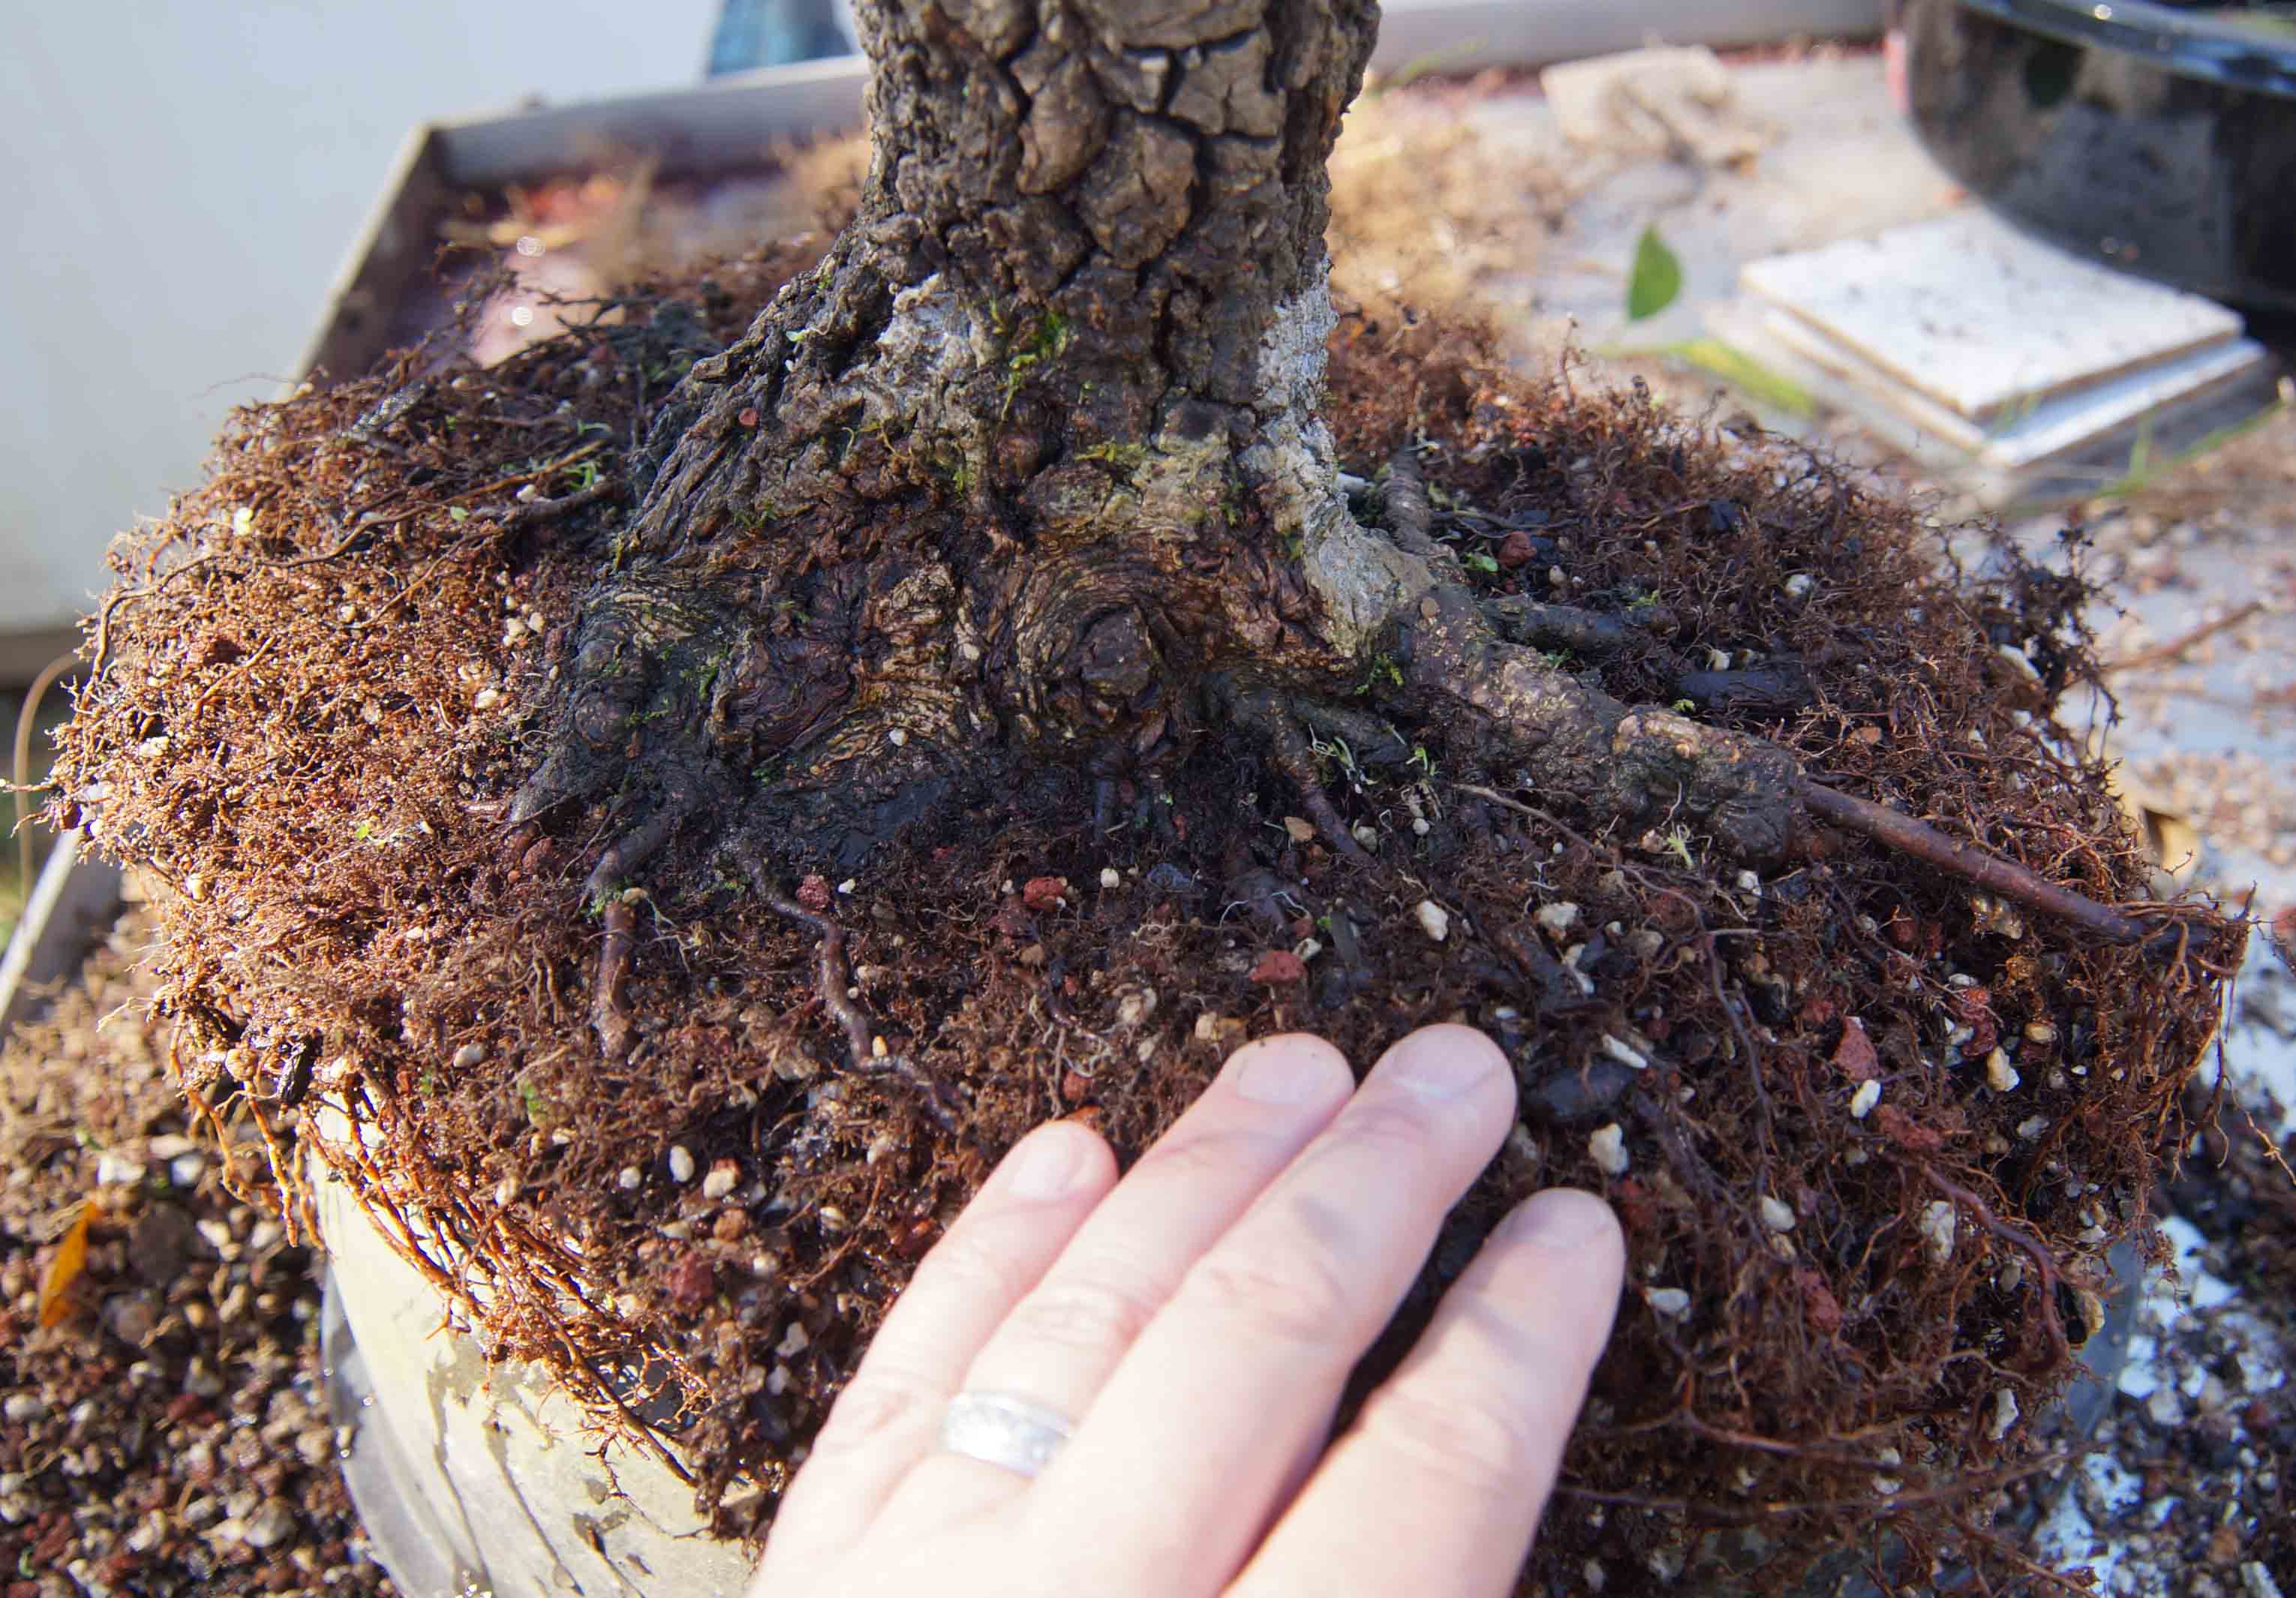
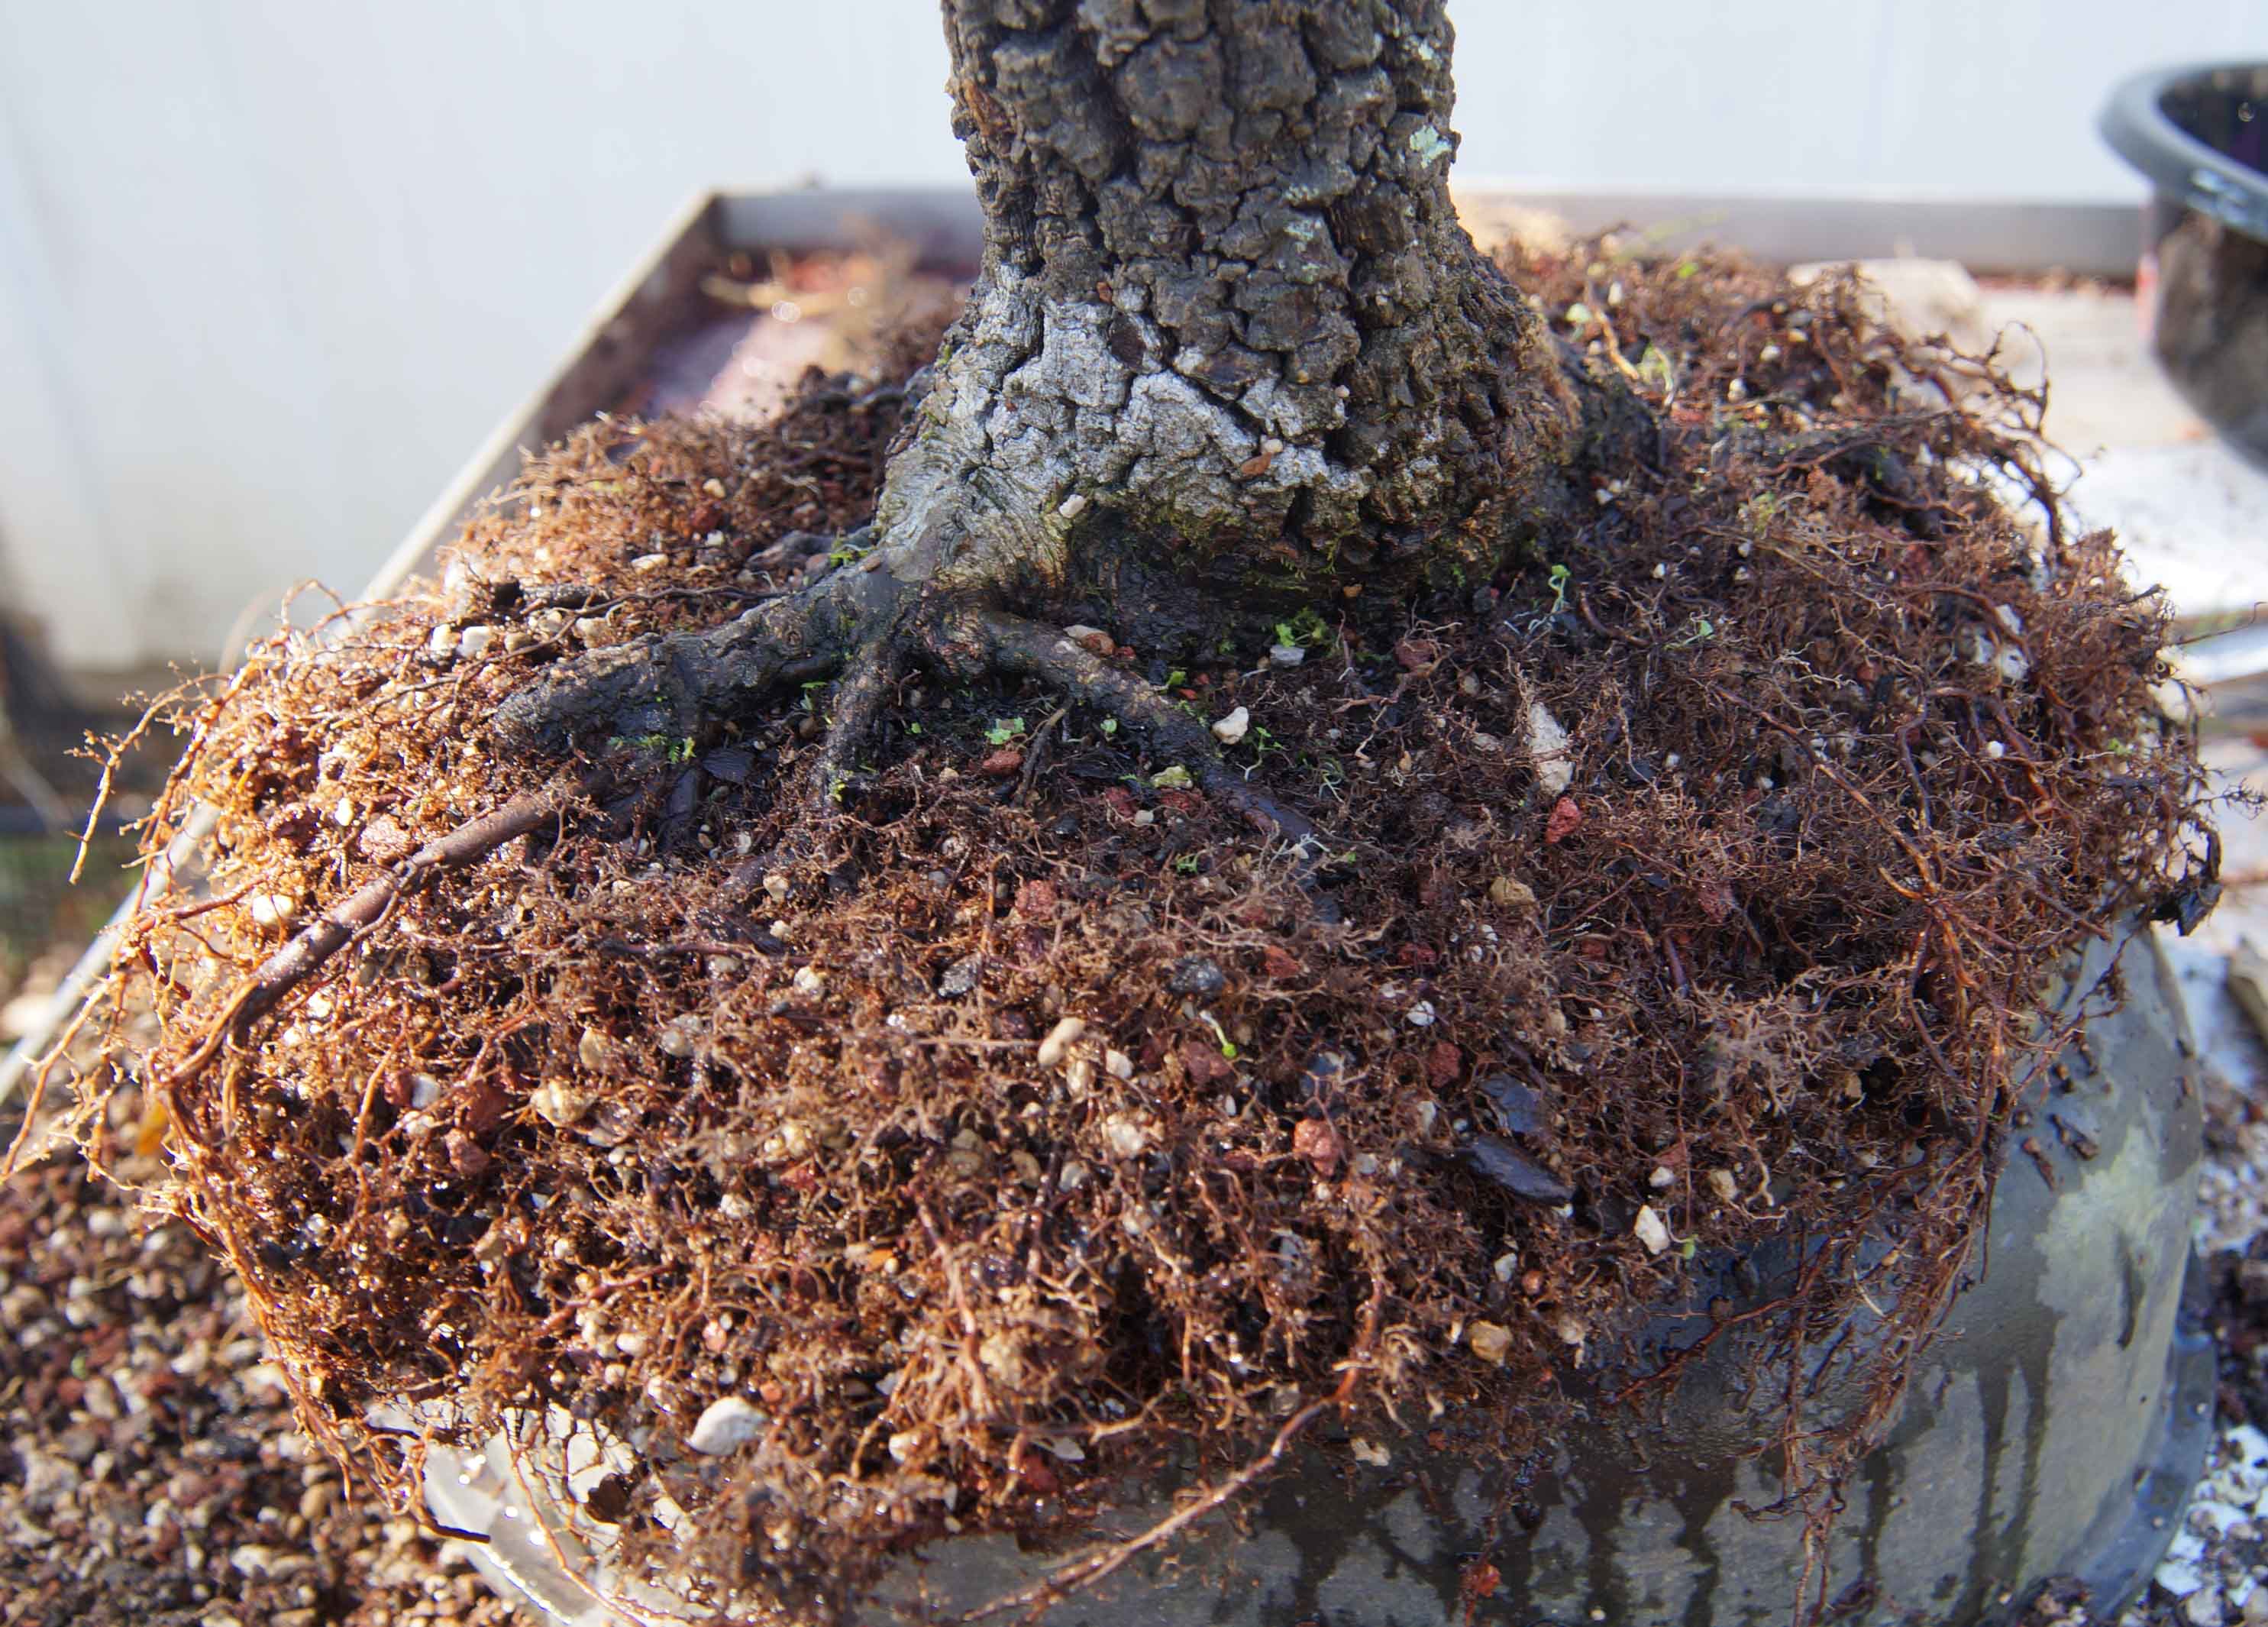
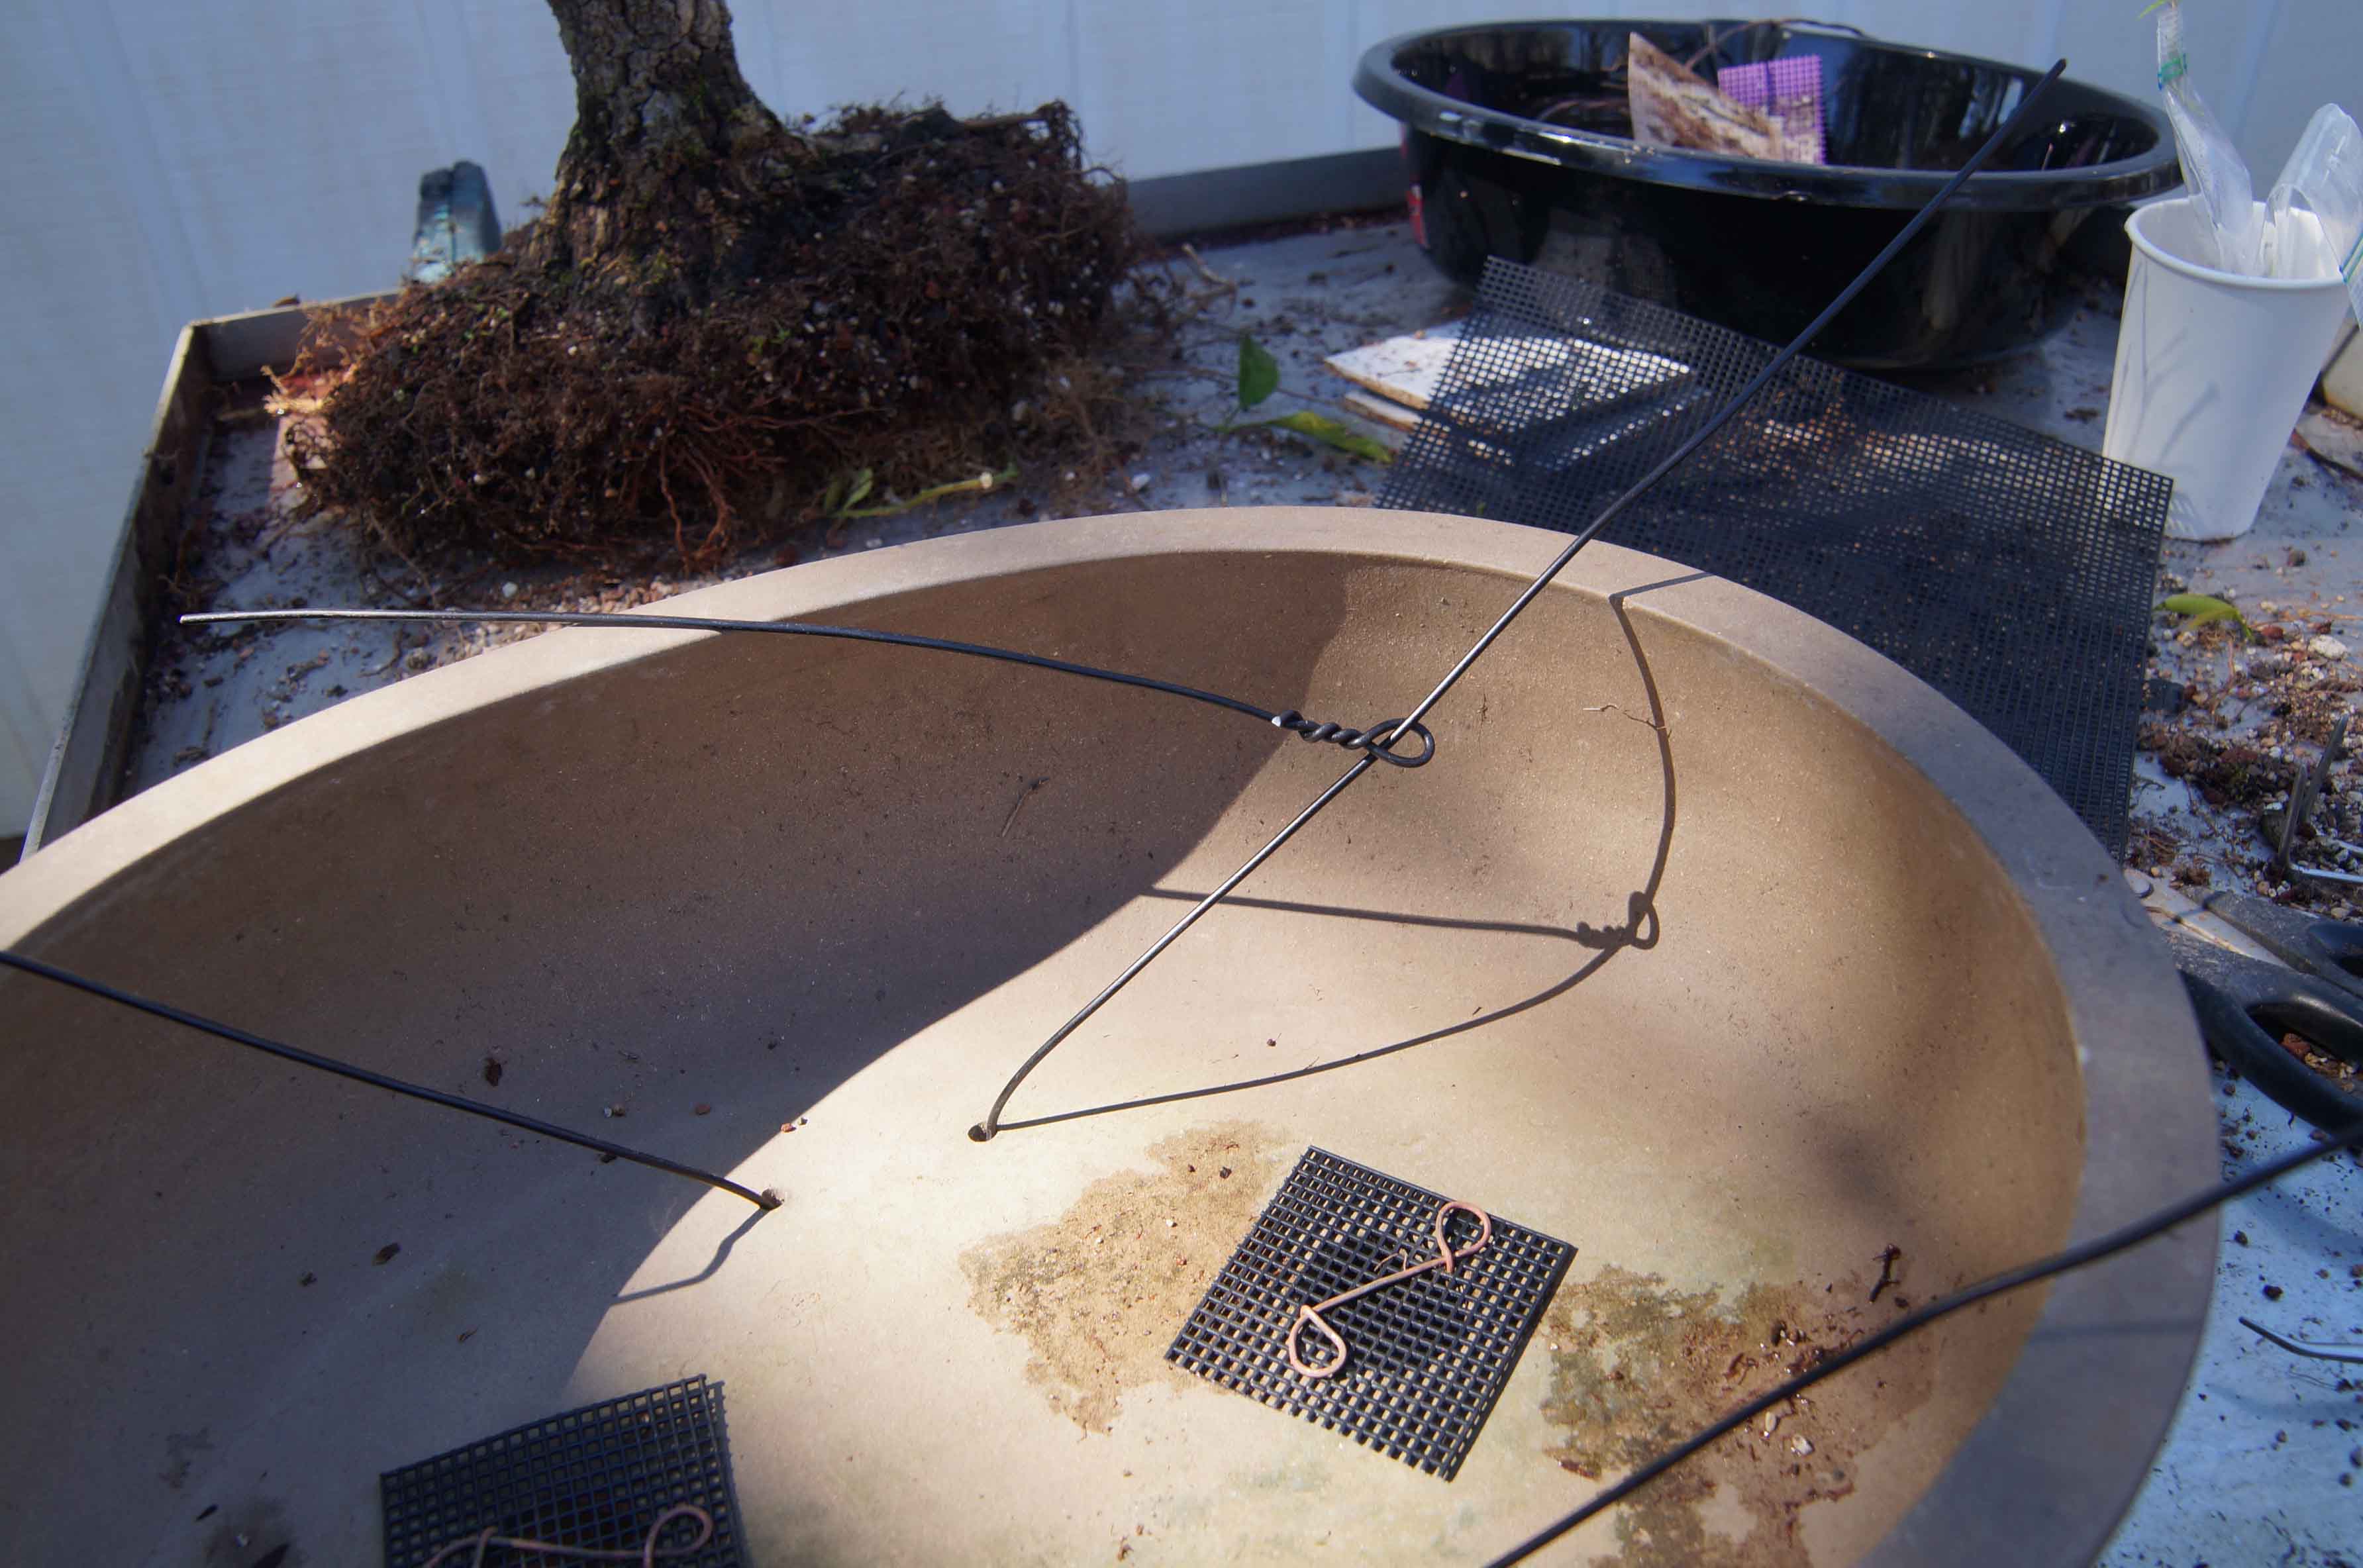
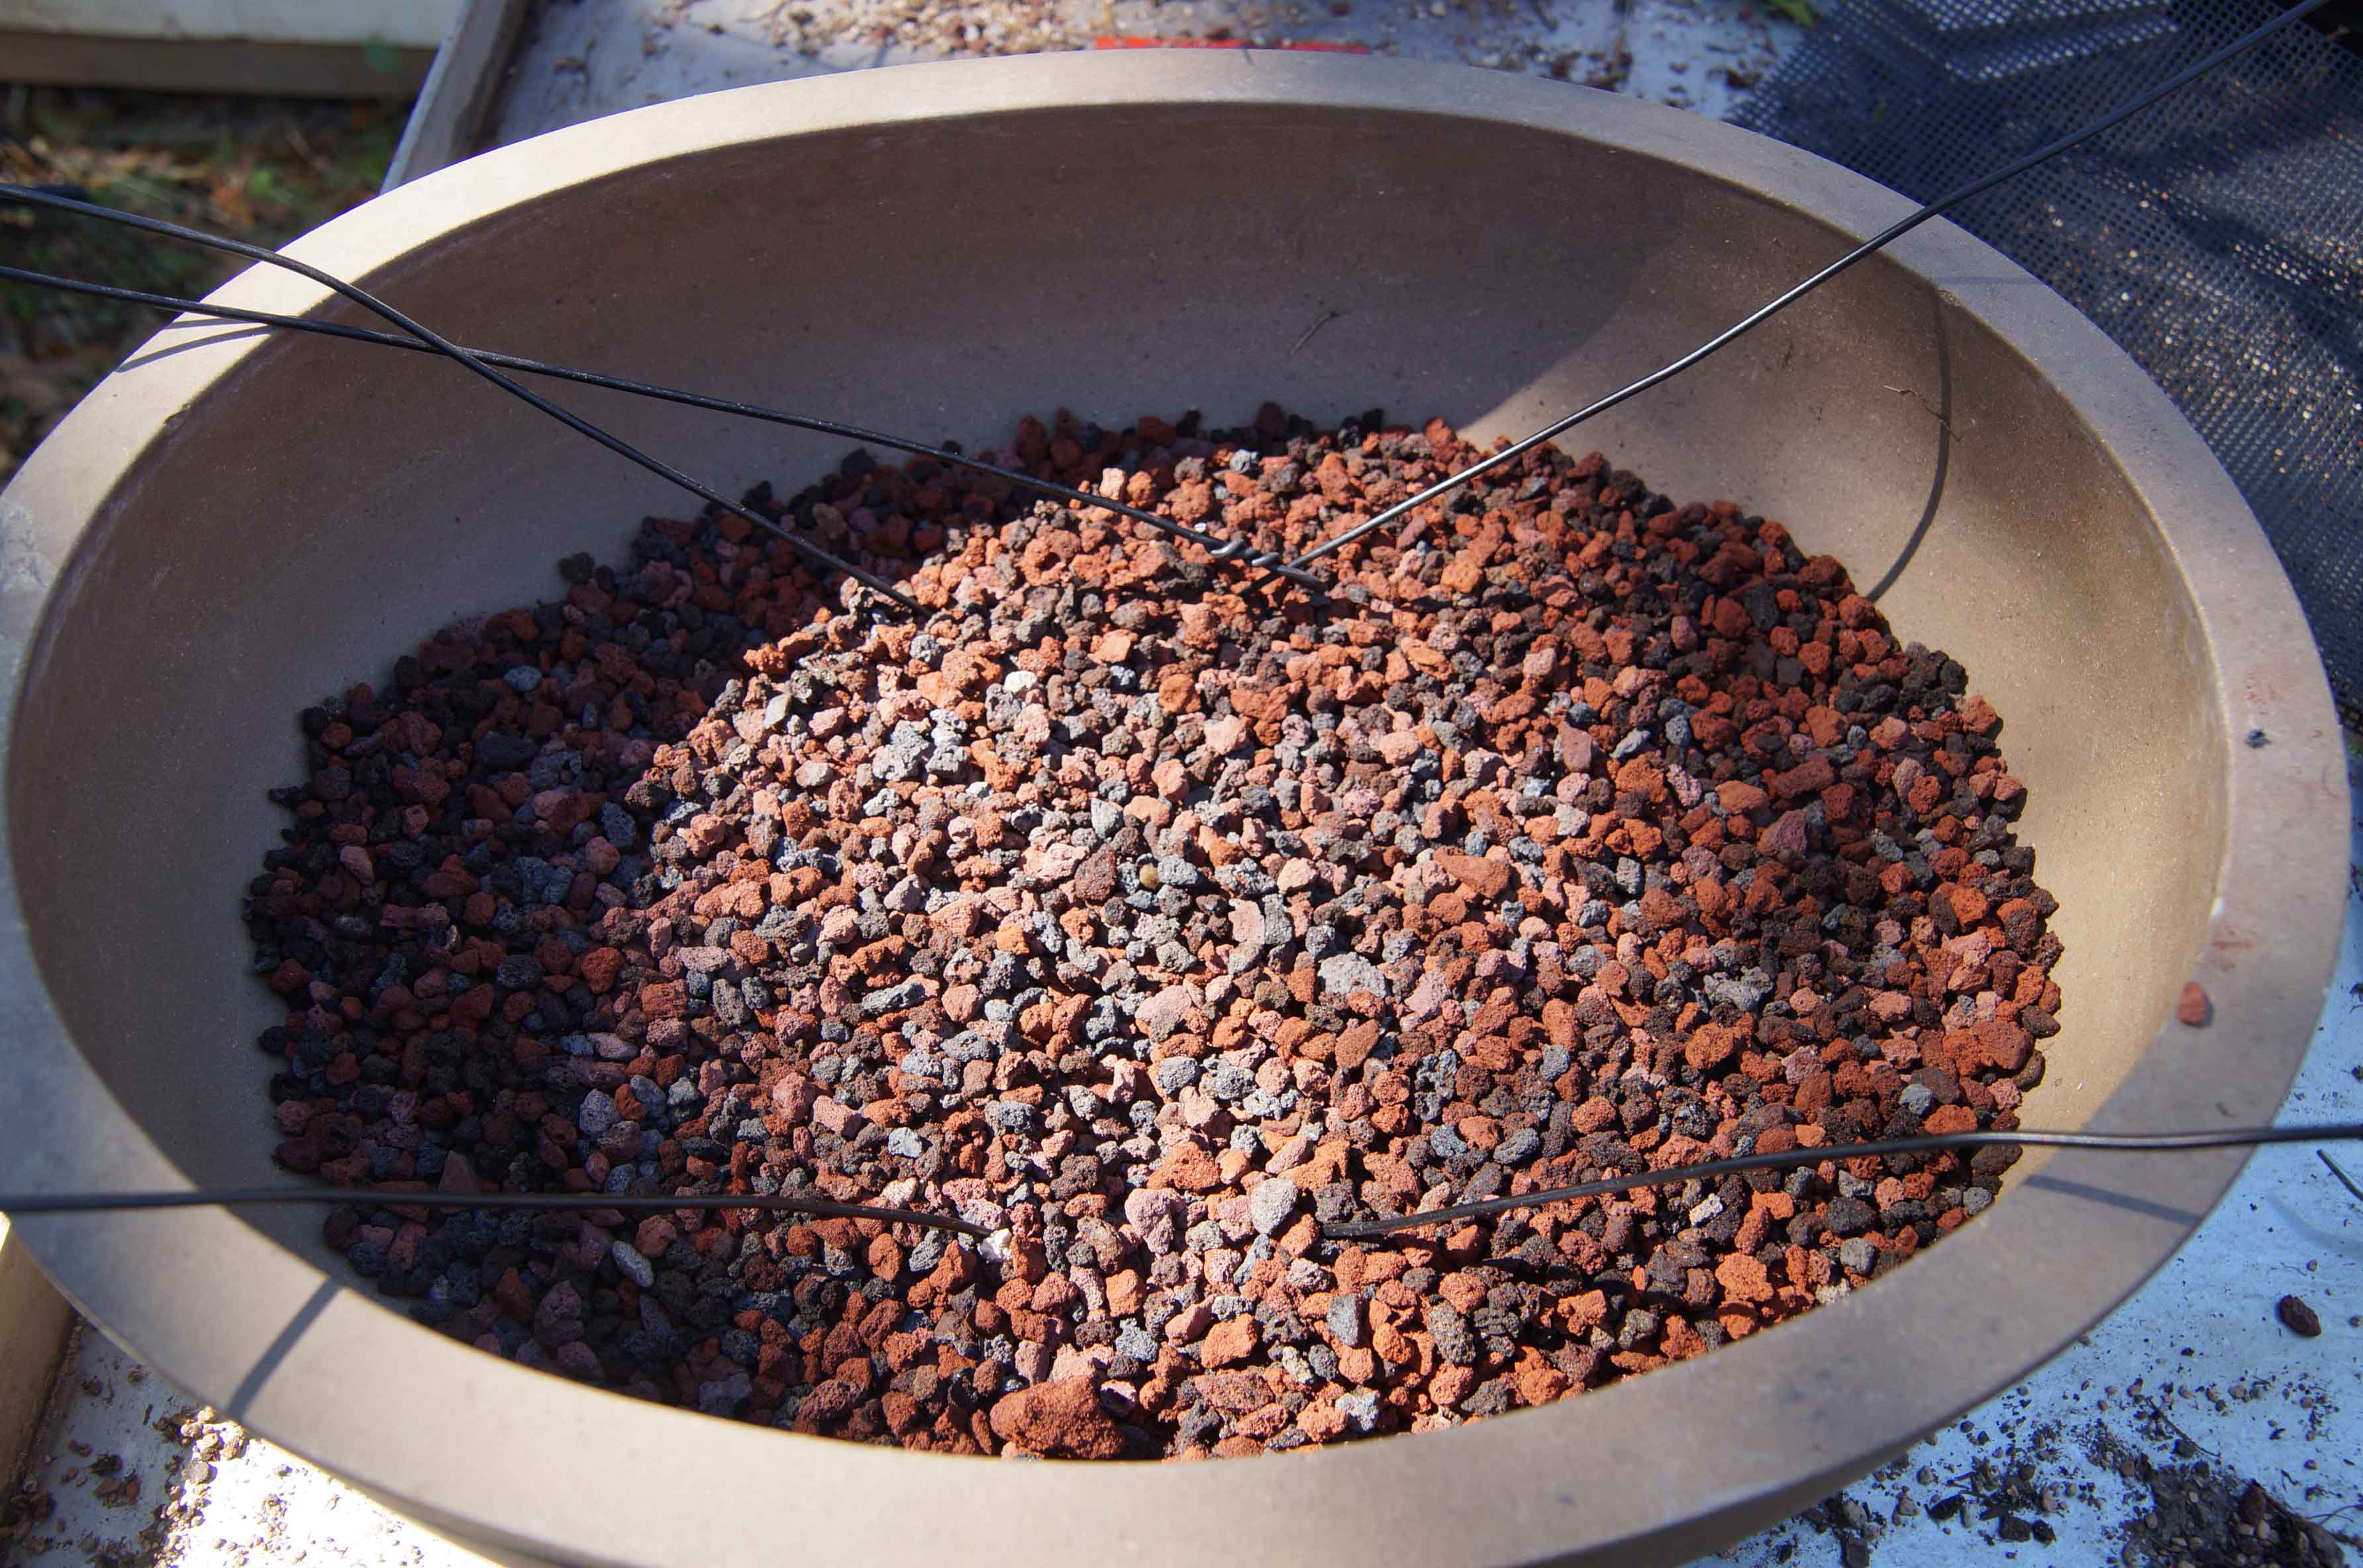
I also found a little bigger pot for it, not the perfect pot, it still needs to be a little shallower and wider, but it is bigger than the one that it was in. I will be repotting it again in 2019 and if I don't find a better suited pot, I will build a grow box for it. Here is how the repot went:


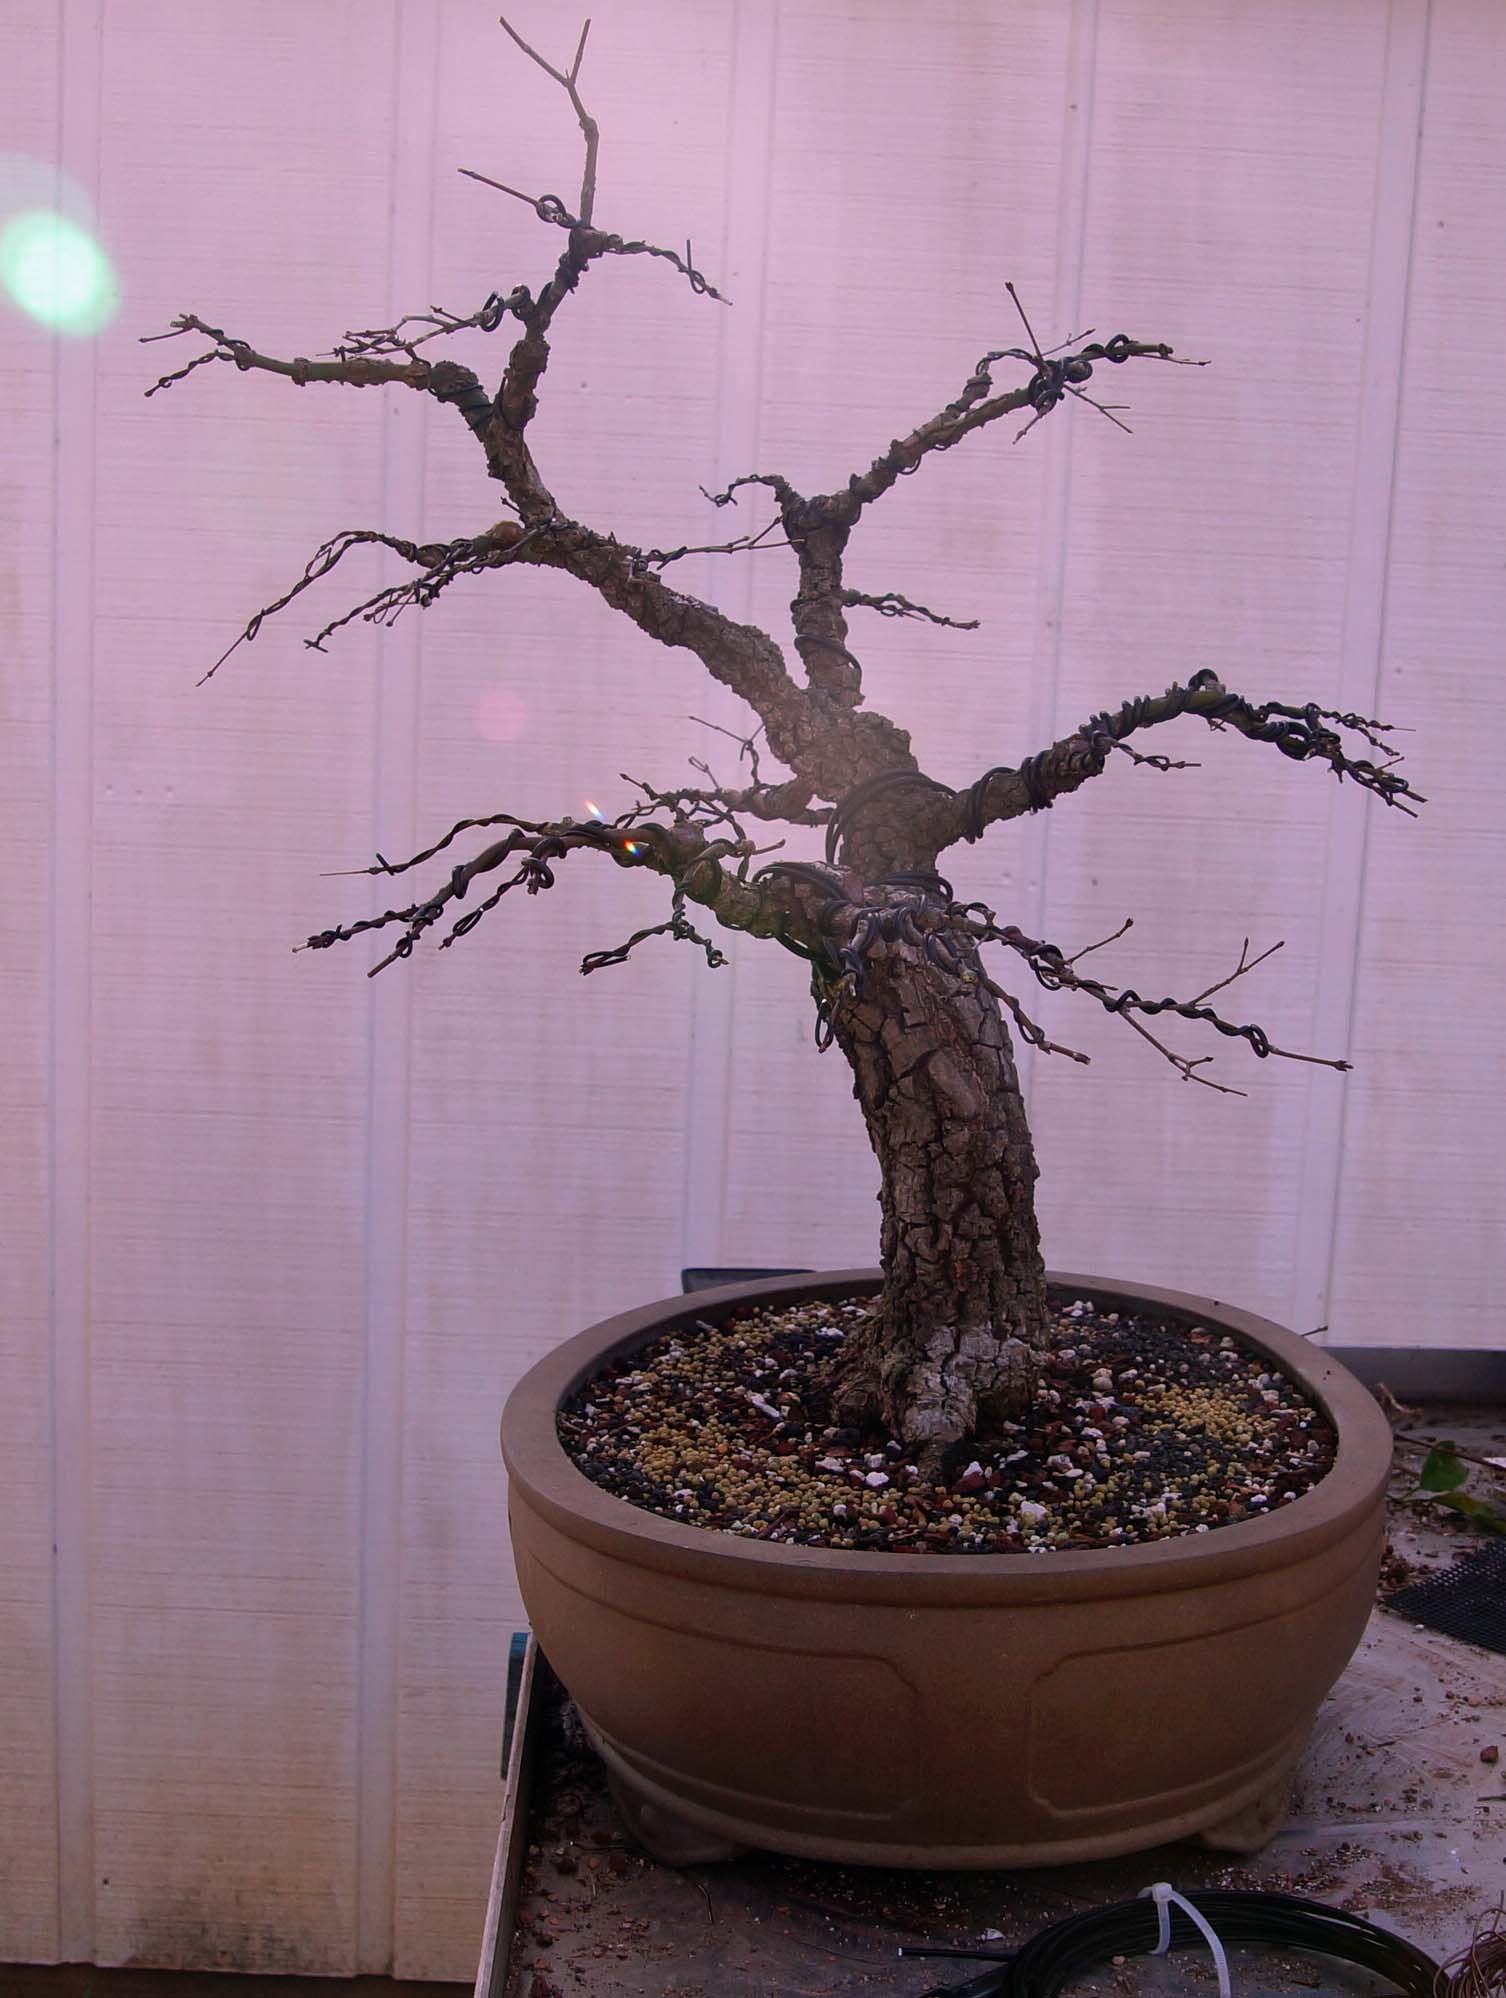
Unfortunately, I got caught up in the moment and neglected to take a picture of the tree all snug in the new pot. After the repot, the branches were pruned and wire was added to ready it for Spring. Sorry for the bad photography, the sun was not cooperating, but here she is; repotted, pruned, and wired:

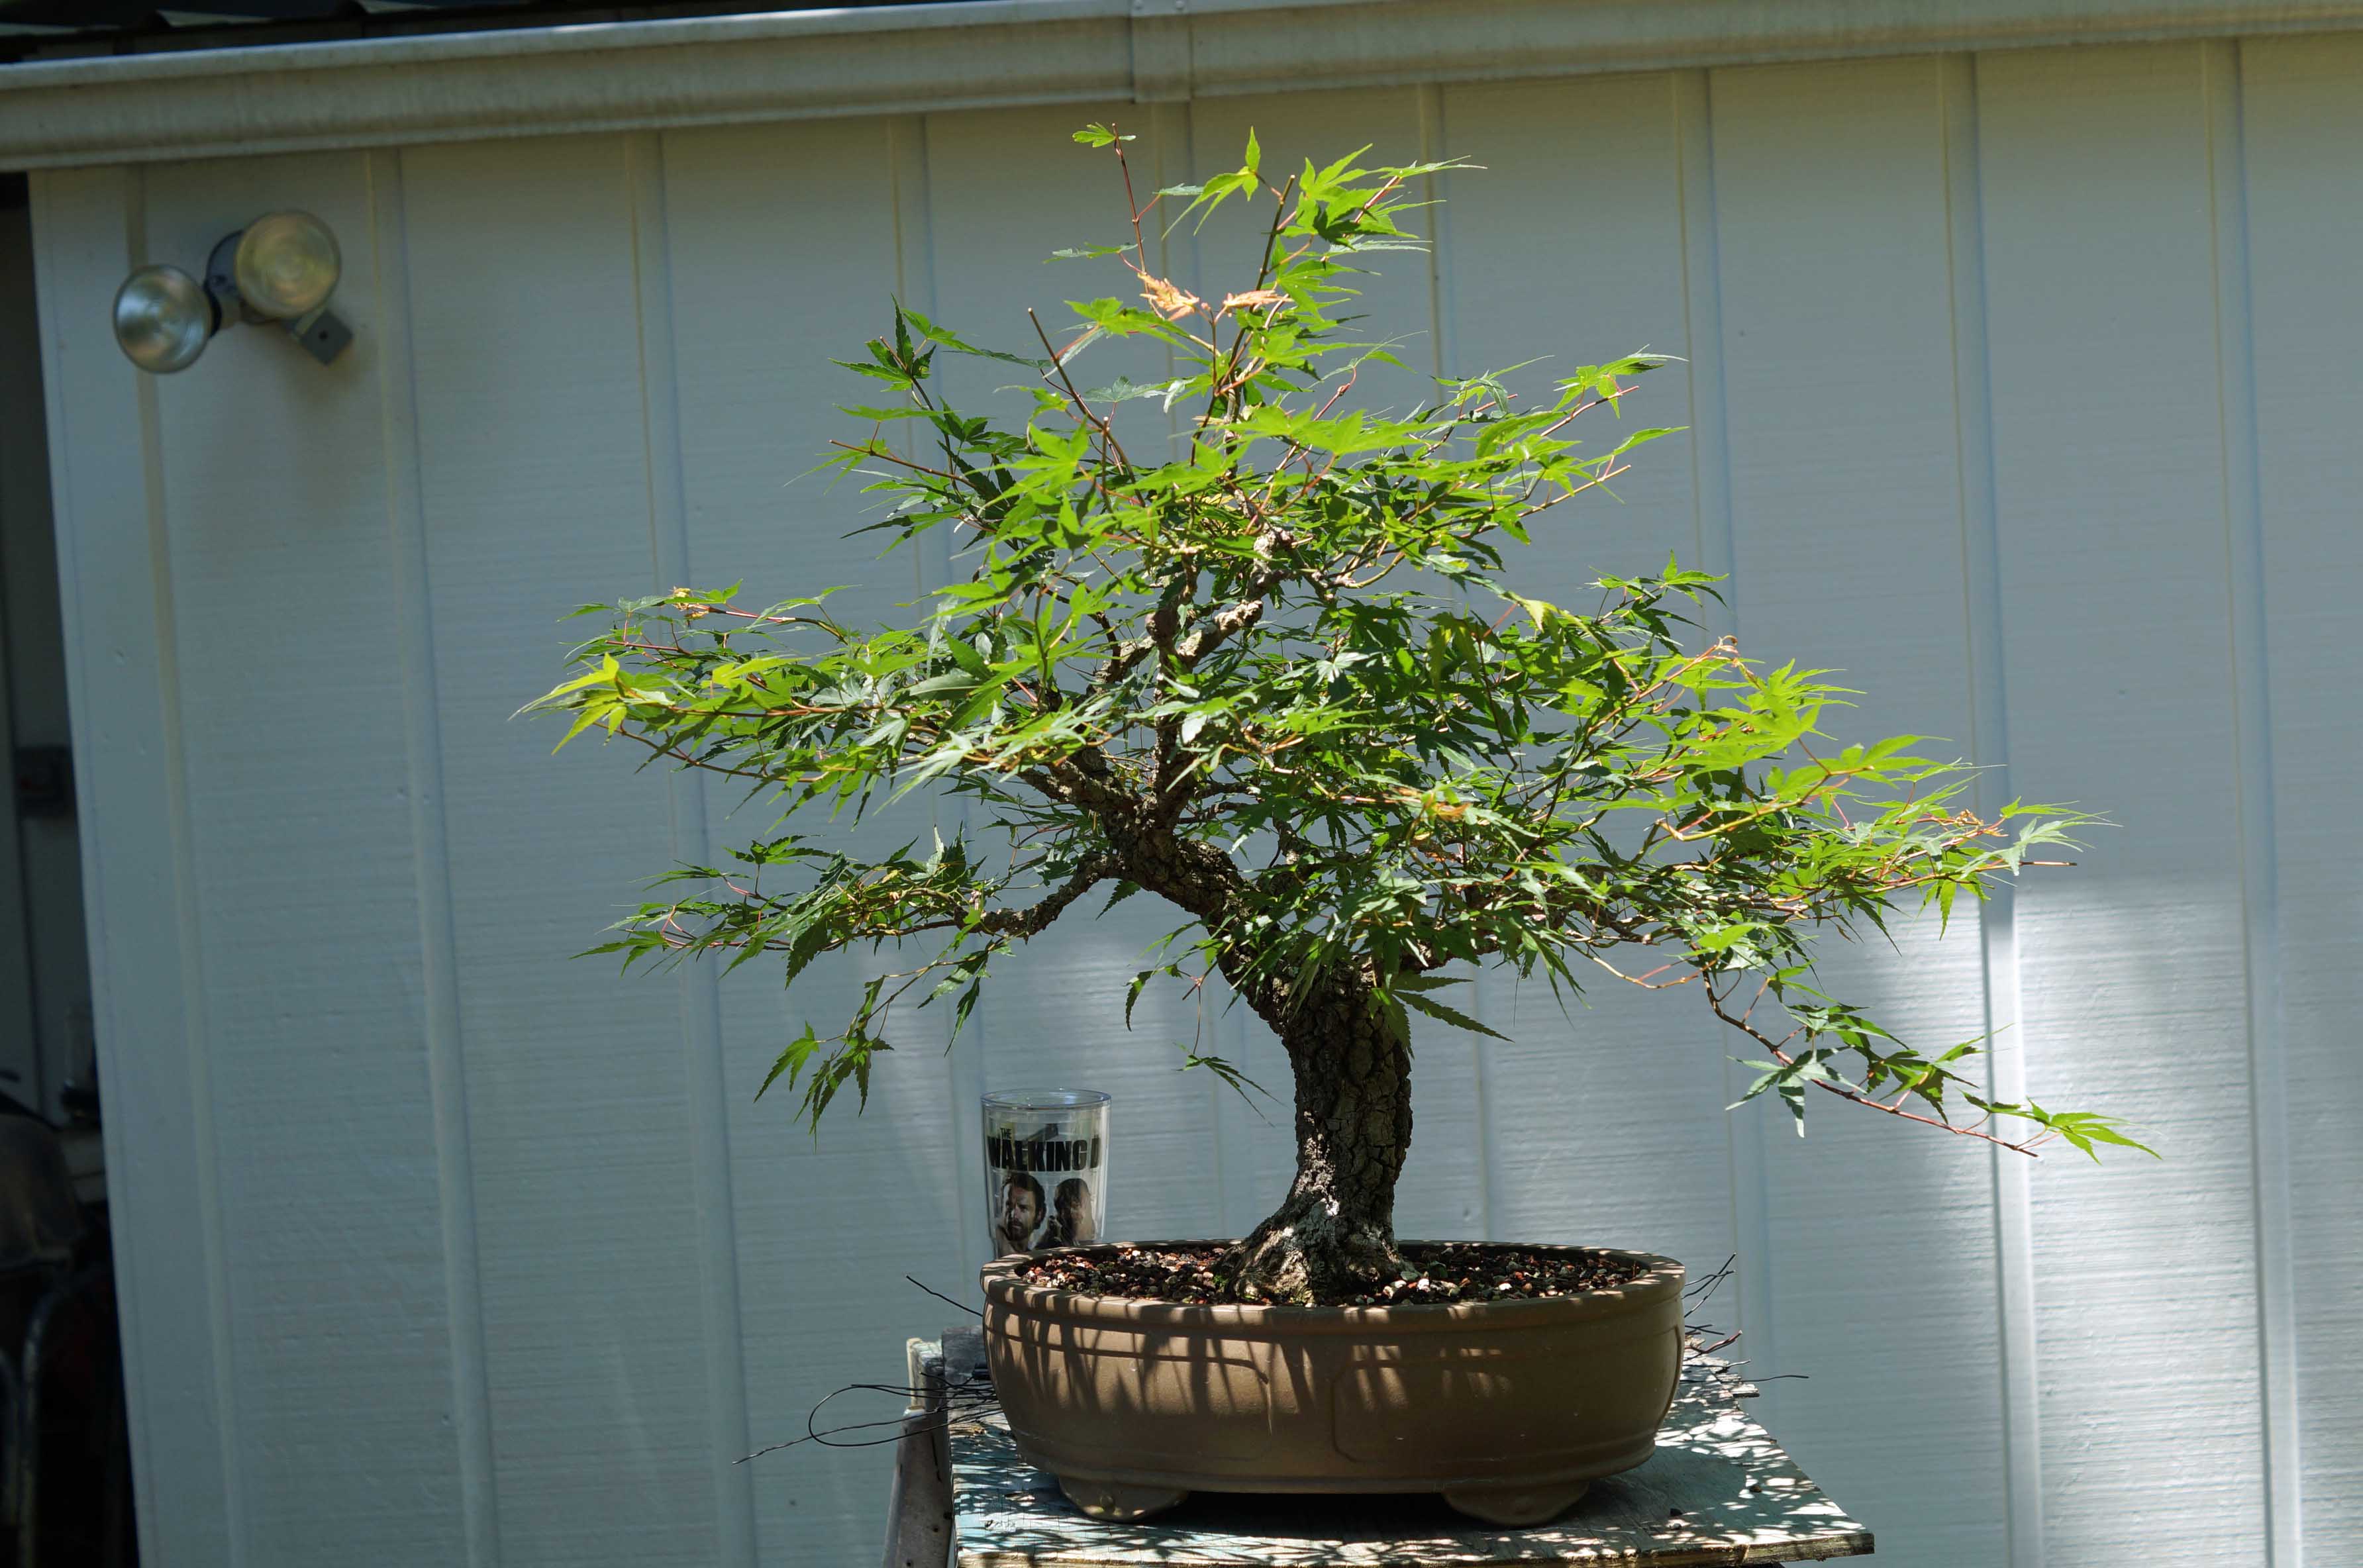
Apparently, she liked the extra room afforded by the new pot. By March of 2017, I was rewarded with a lot of new growth and the wire that was applied during last month's repotting was already biting so it had to come off. She also got a little trim.
Removing wire on trees in leaf is very difficult, the leaves get tangled with the wire and the new growth is delicate and easily damaged. I was very careful and still managed to break this off:
Another unwire,trim, and rewire in May 2017. I cut everything back to one or two nodes in hopes the increase the ramification.


July 2017, it got unwired, trimmed, and wired again. Building good ramification on deciduous trees takes a long time to do it right. It is always wire, grow, unwire, trim, then rewire... In my area of the country, I can do this several times a season.


We'll finish 2017 with a couple of shots from August.
2018 - Here she in February, without leaves, there are a couple braking on one of the limbs.
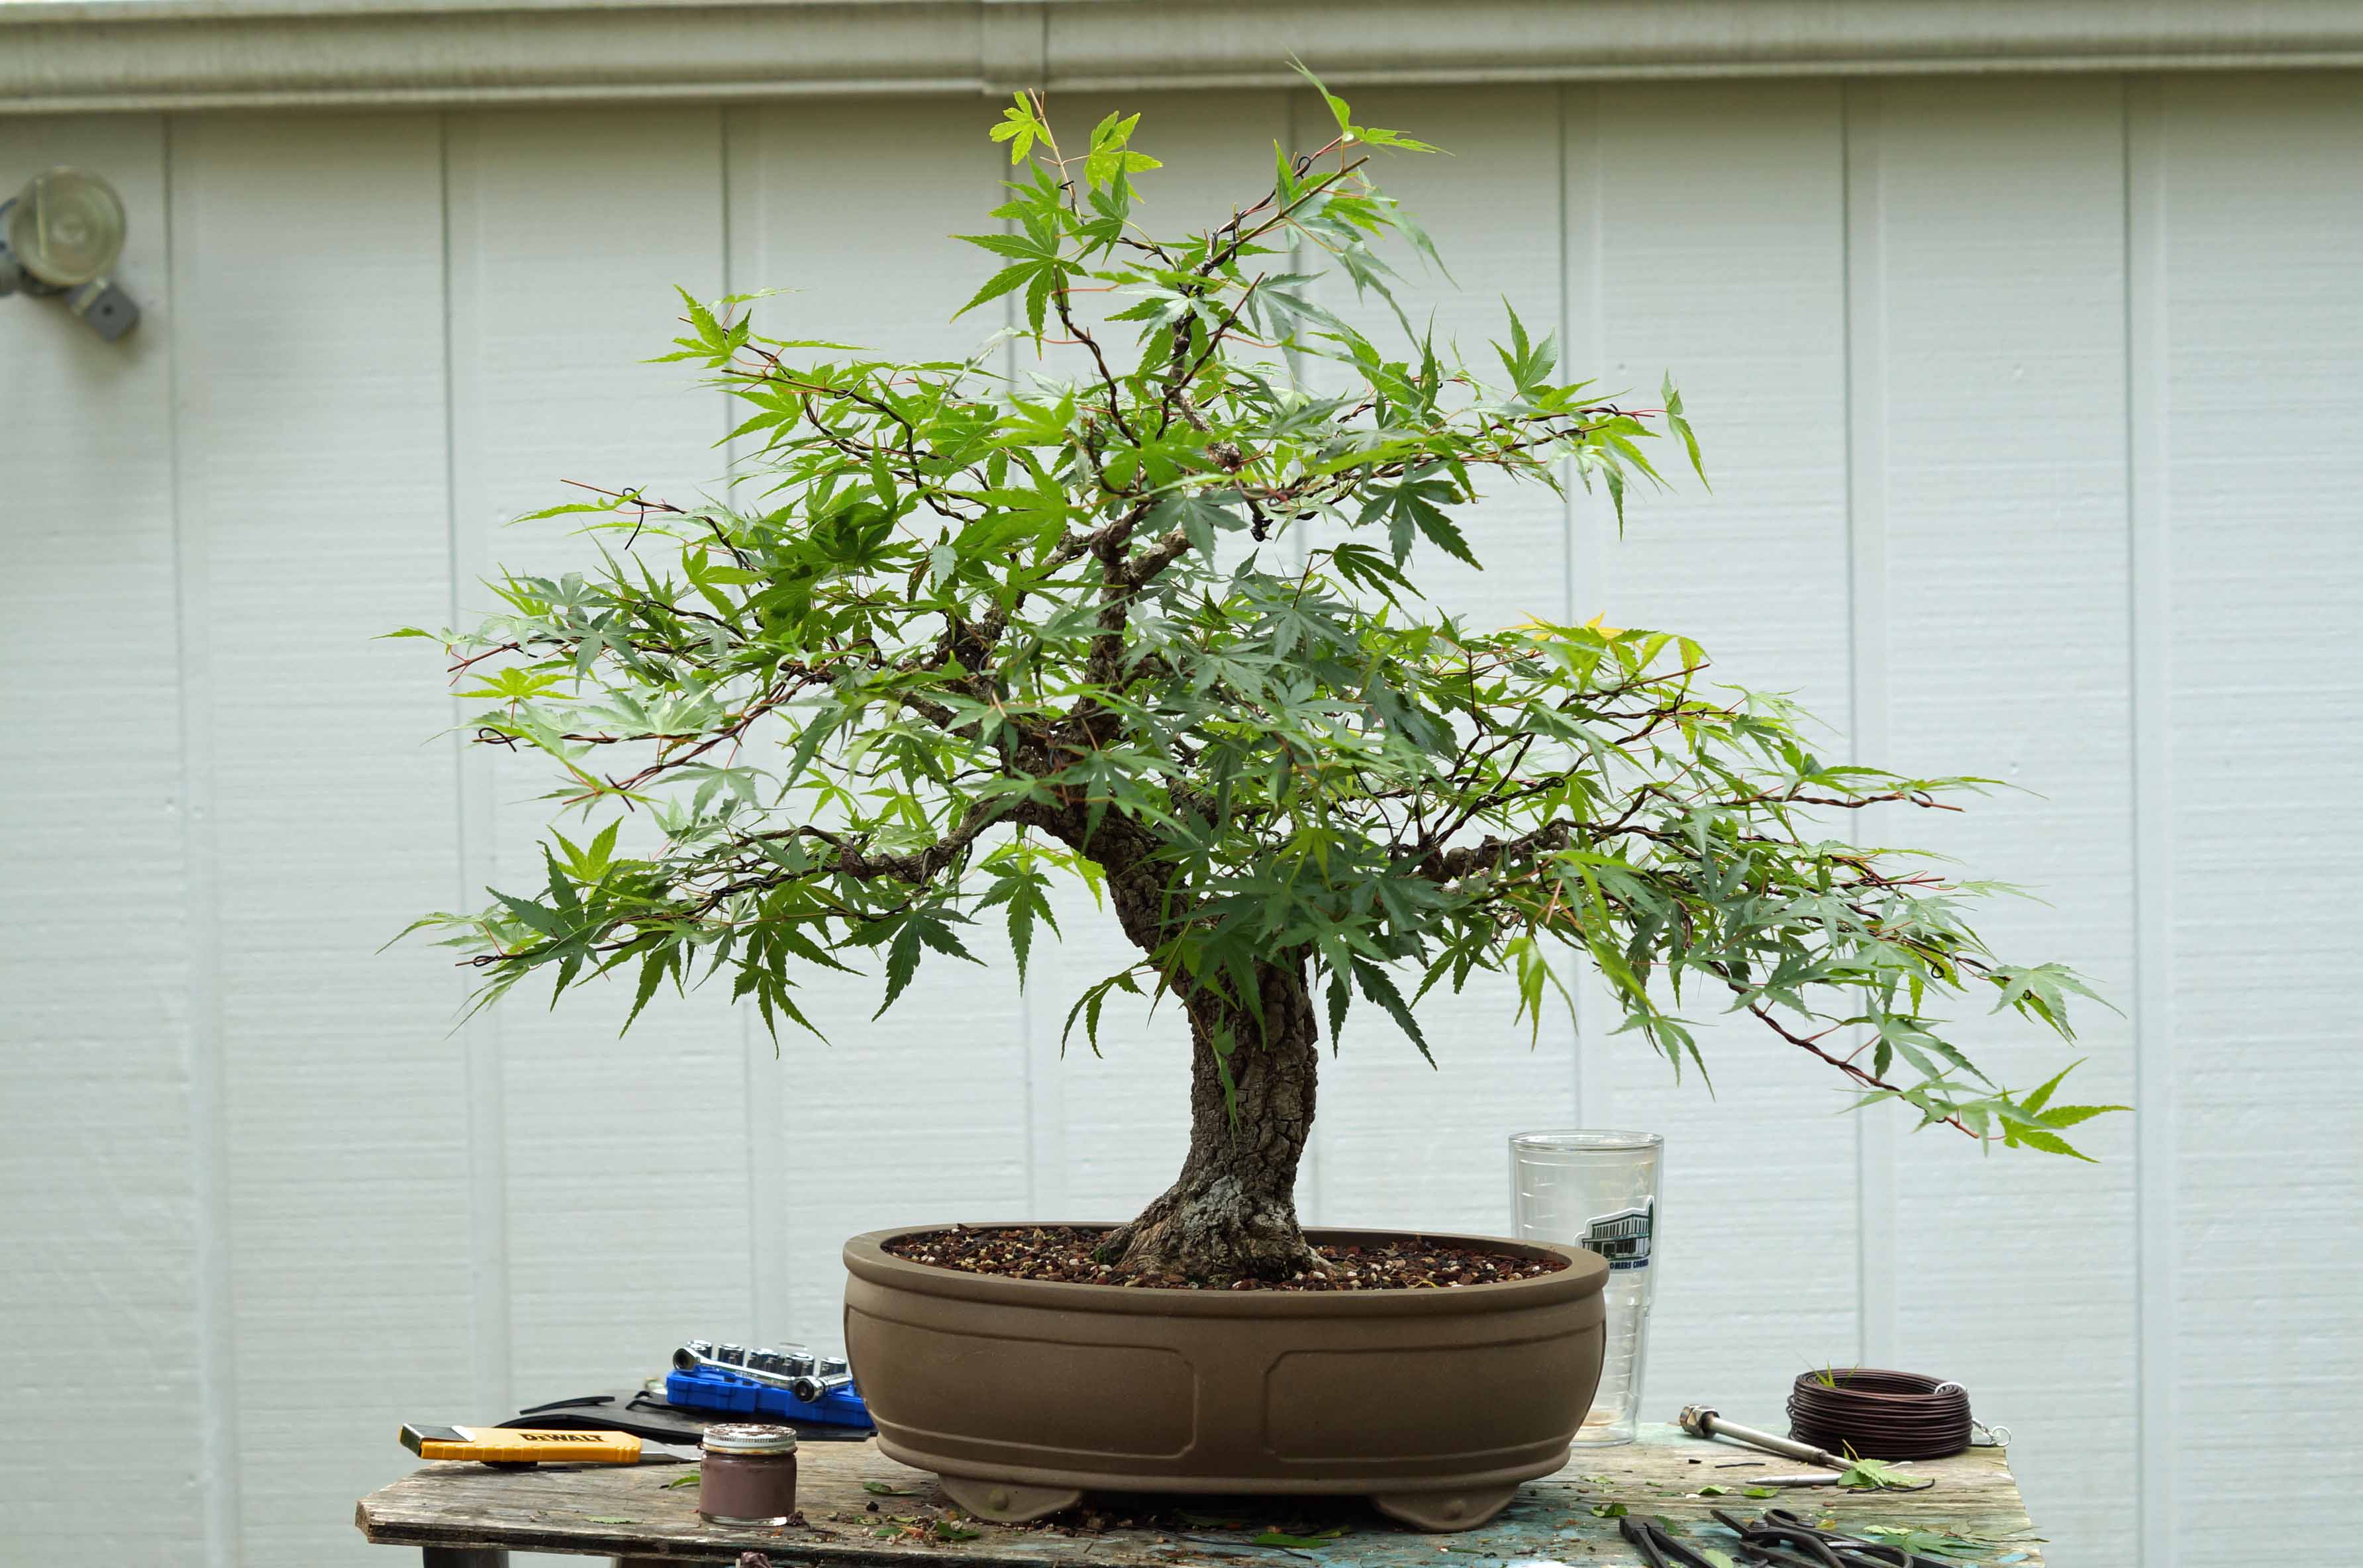
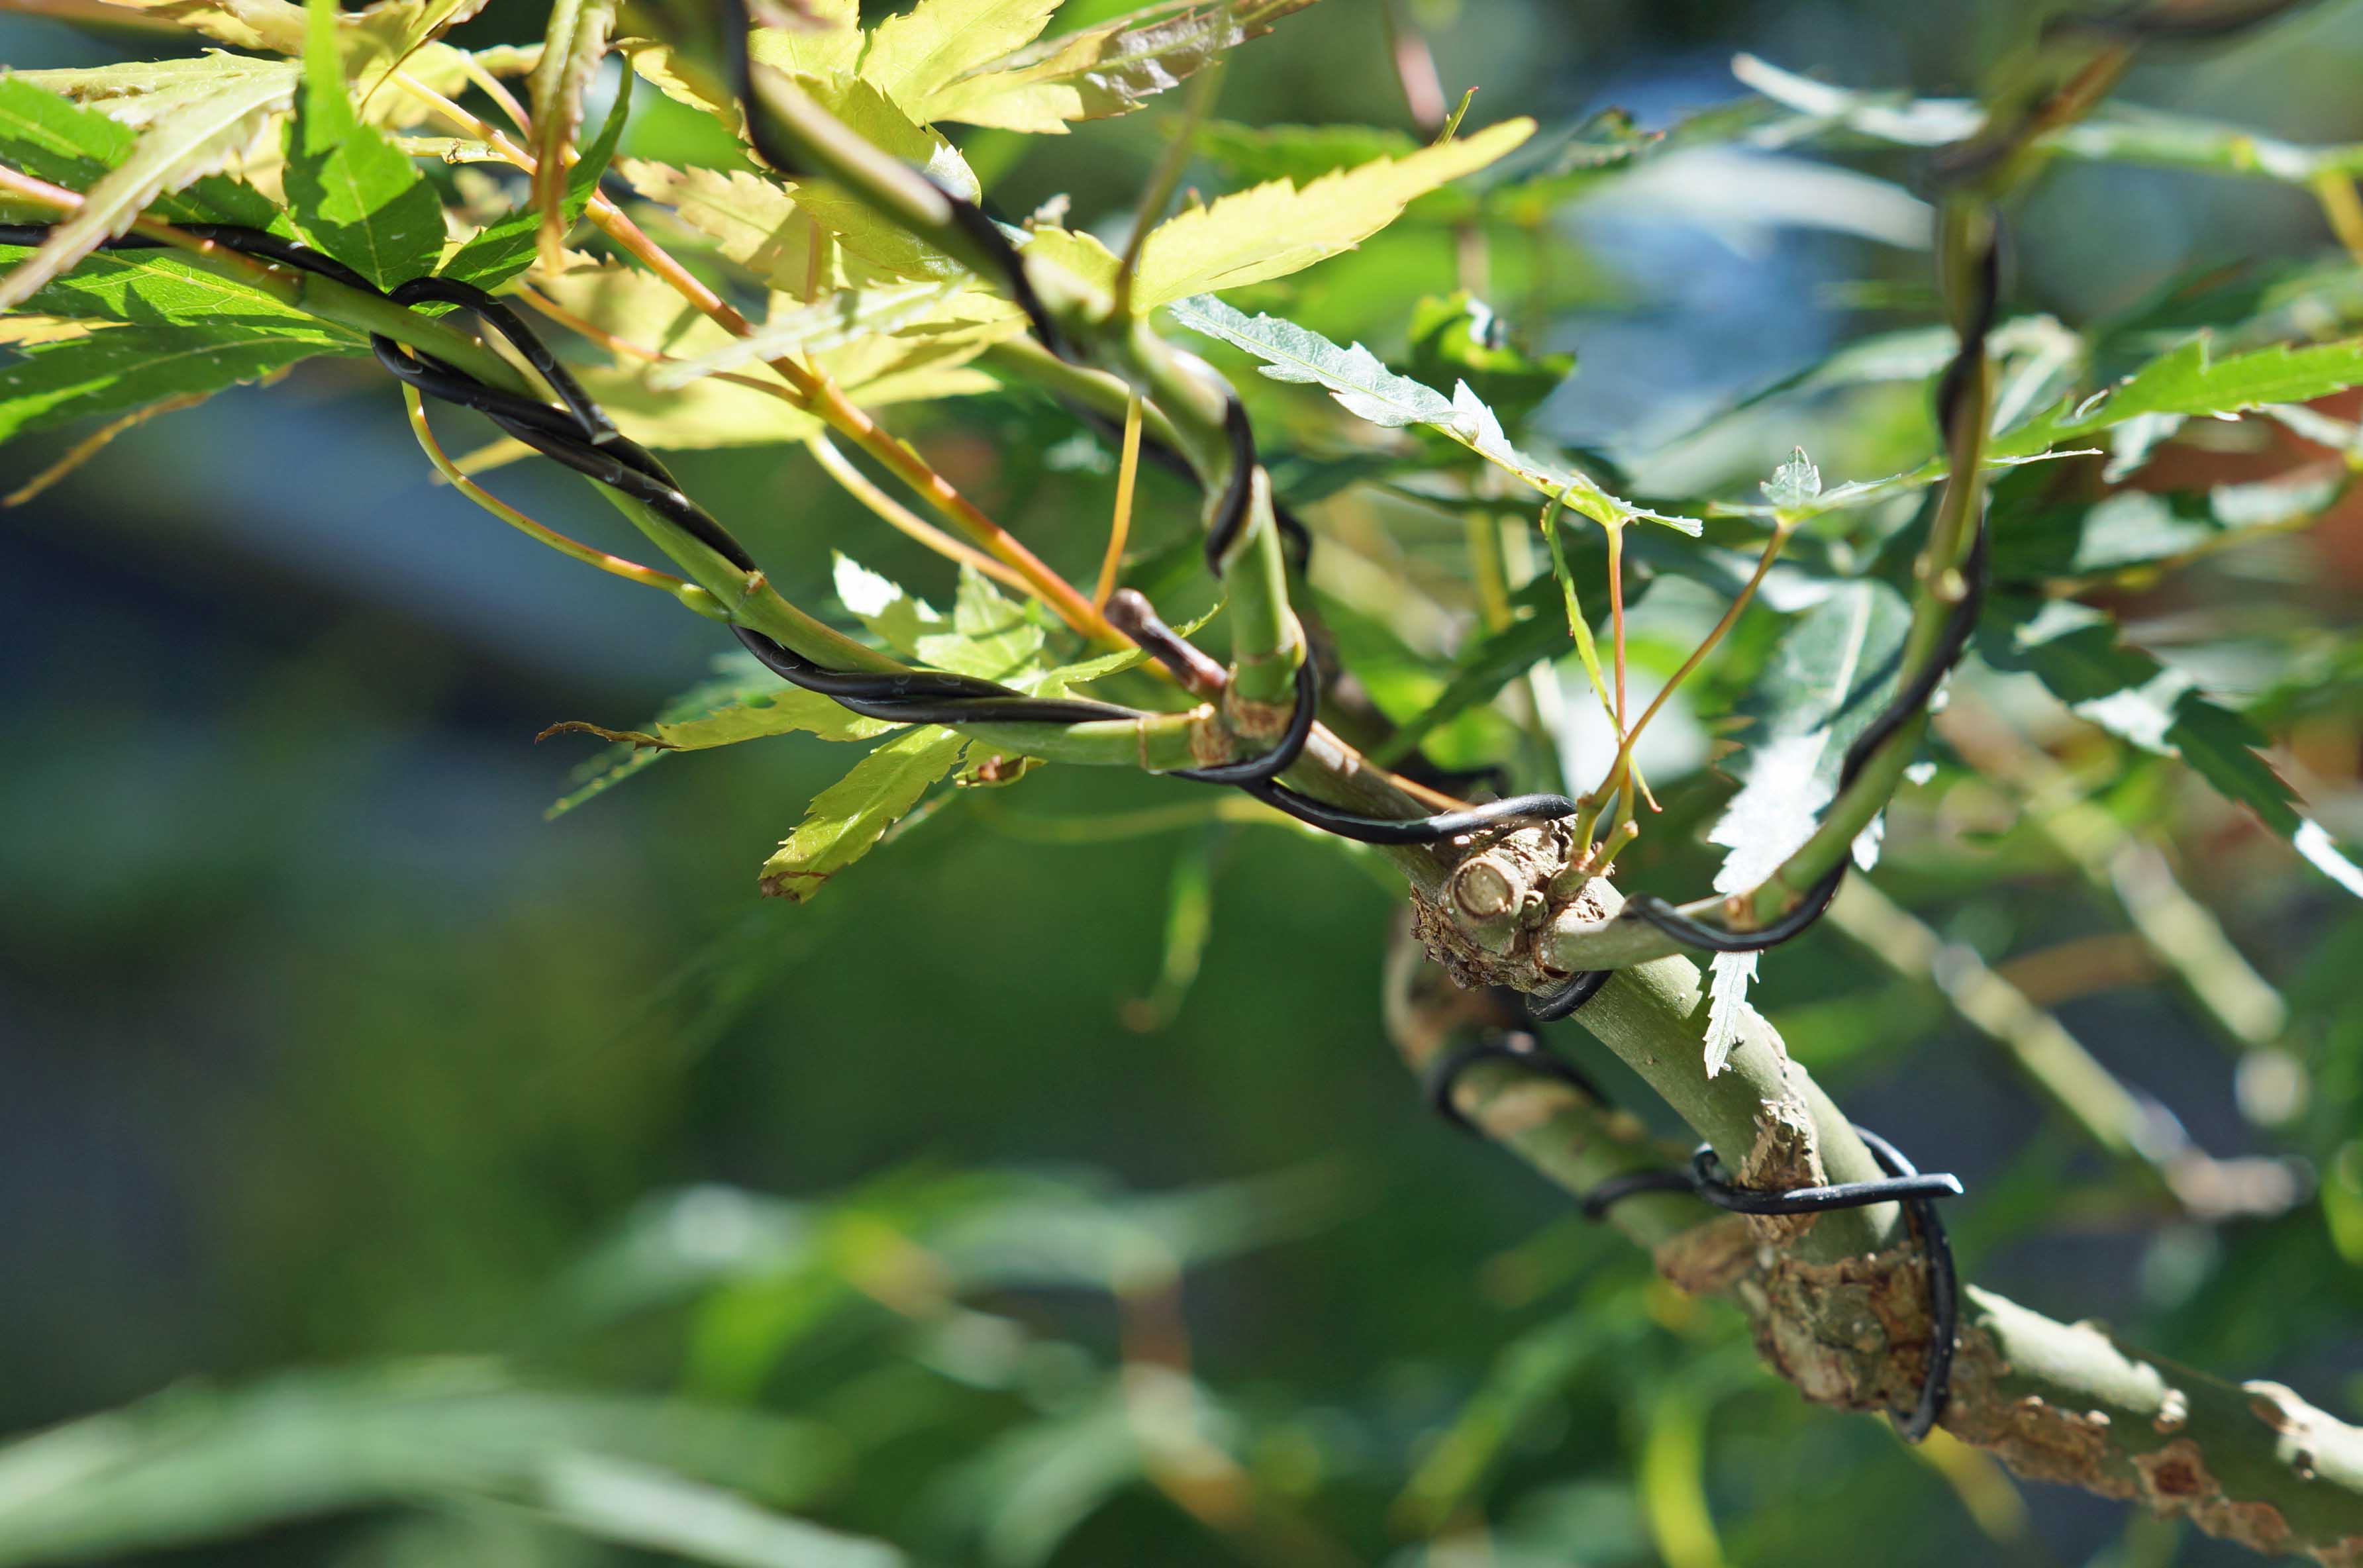
It had put on quite a bit of growth by April and it was time to thin it out and to wire some movement into the branches. I start by removing growth that is growing where I don't need it. Then to make it easier to wire, I usually cut every other least off, alternating the sides of the branch, along the entire length of the branch. This is what she looked like before I started.
After several hours of wiring and a bunch of wire, this is what I ended up with:

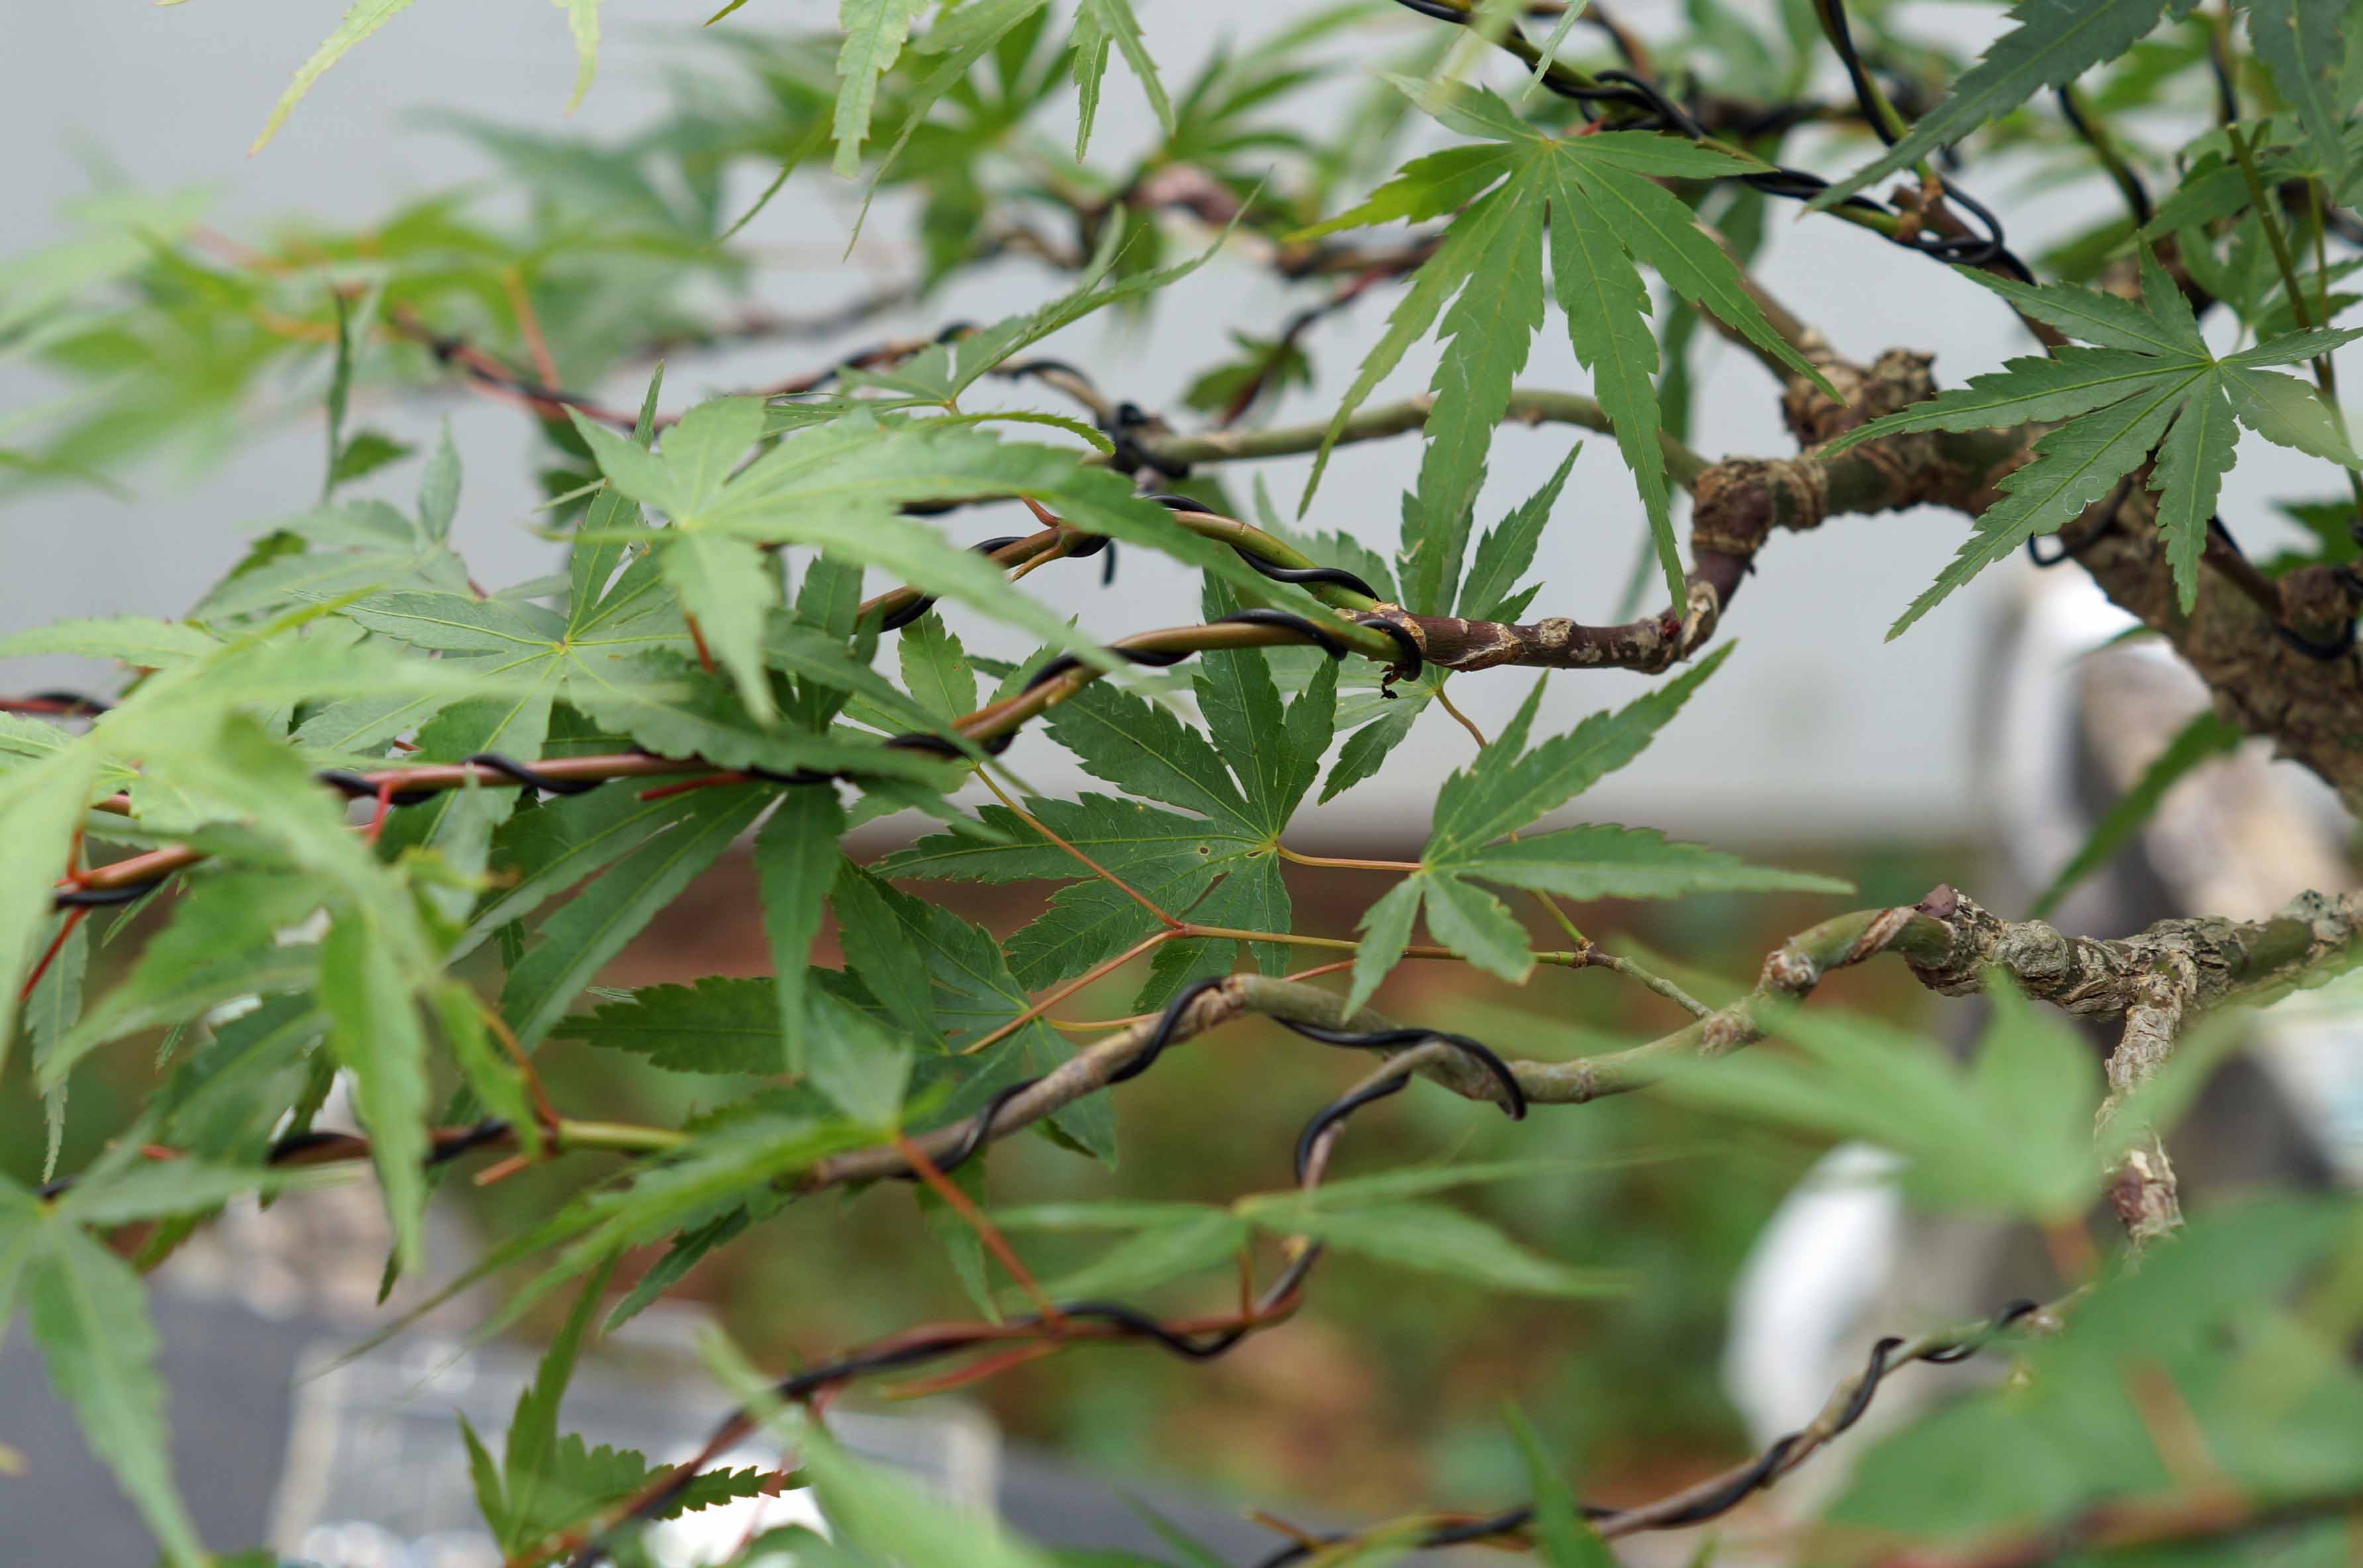
It is important to check your wires often when wiring in the Spring, it does not take long for them to bite in. Sometimes it only takes a few weeks and that is what happened to me. I did not check them soon enough and a few of the branches had wire that had really dug in. On this particular Maple, it will be ok because the corky bark will cover the marks left by the wire. But on a smooth barked maple it would take many years before they are not noticable. The work was done in late May 0f 2018.


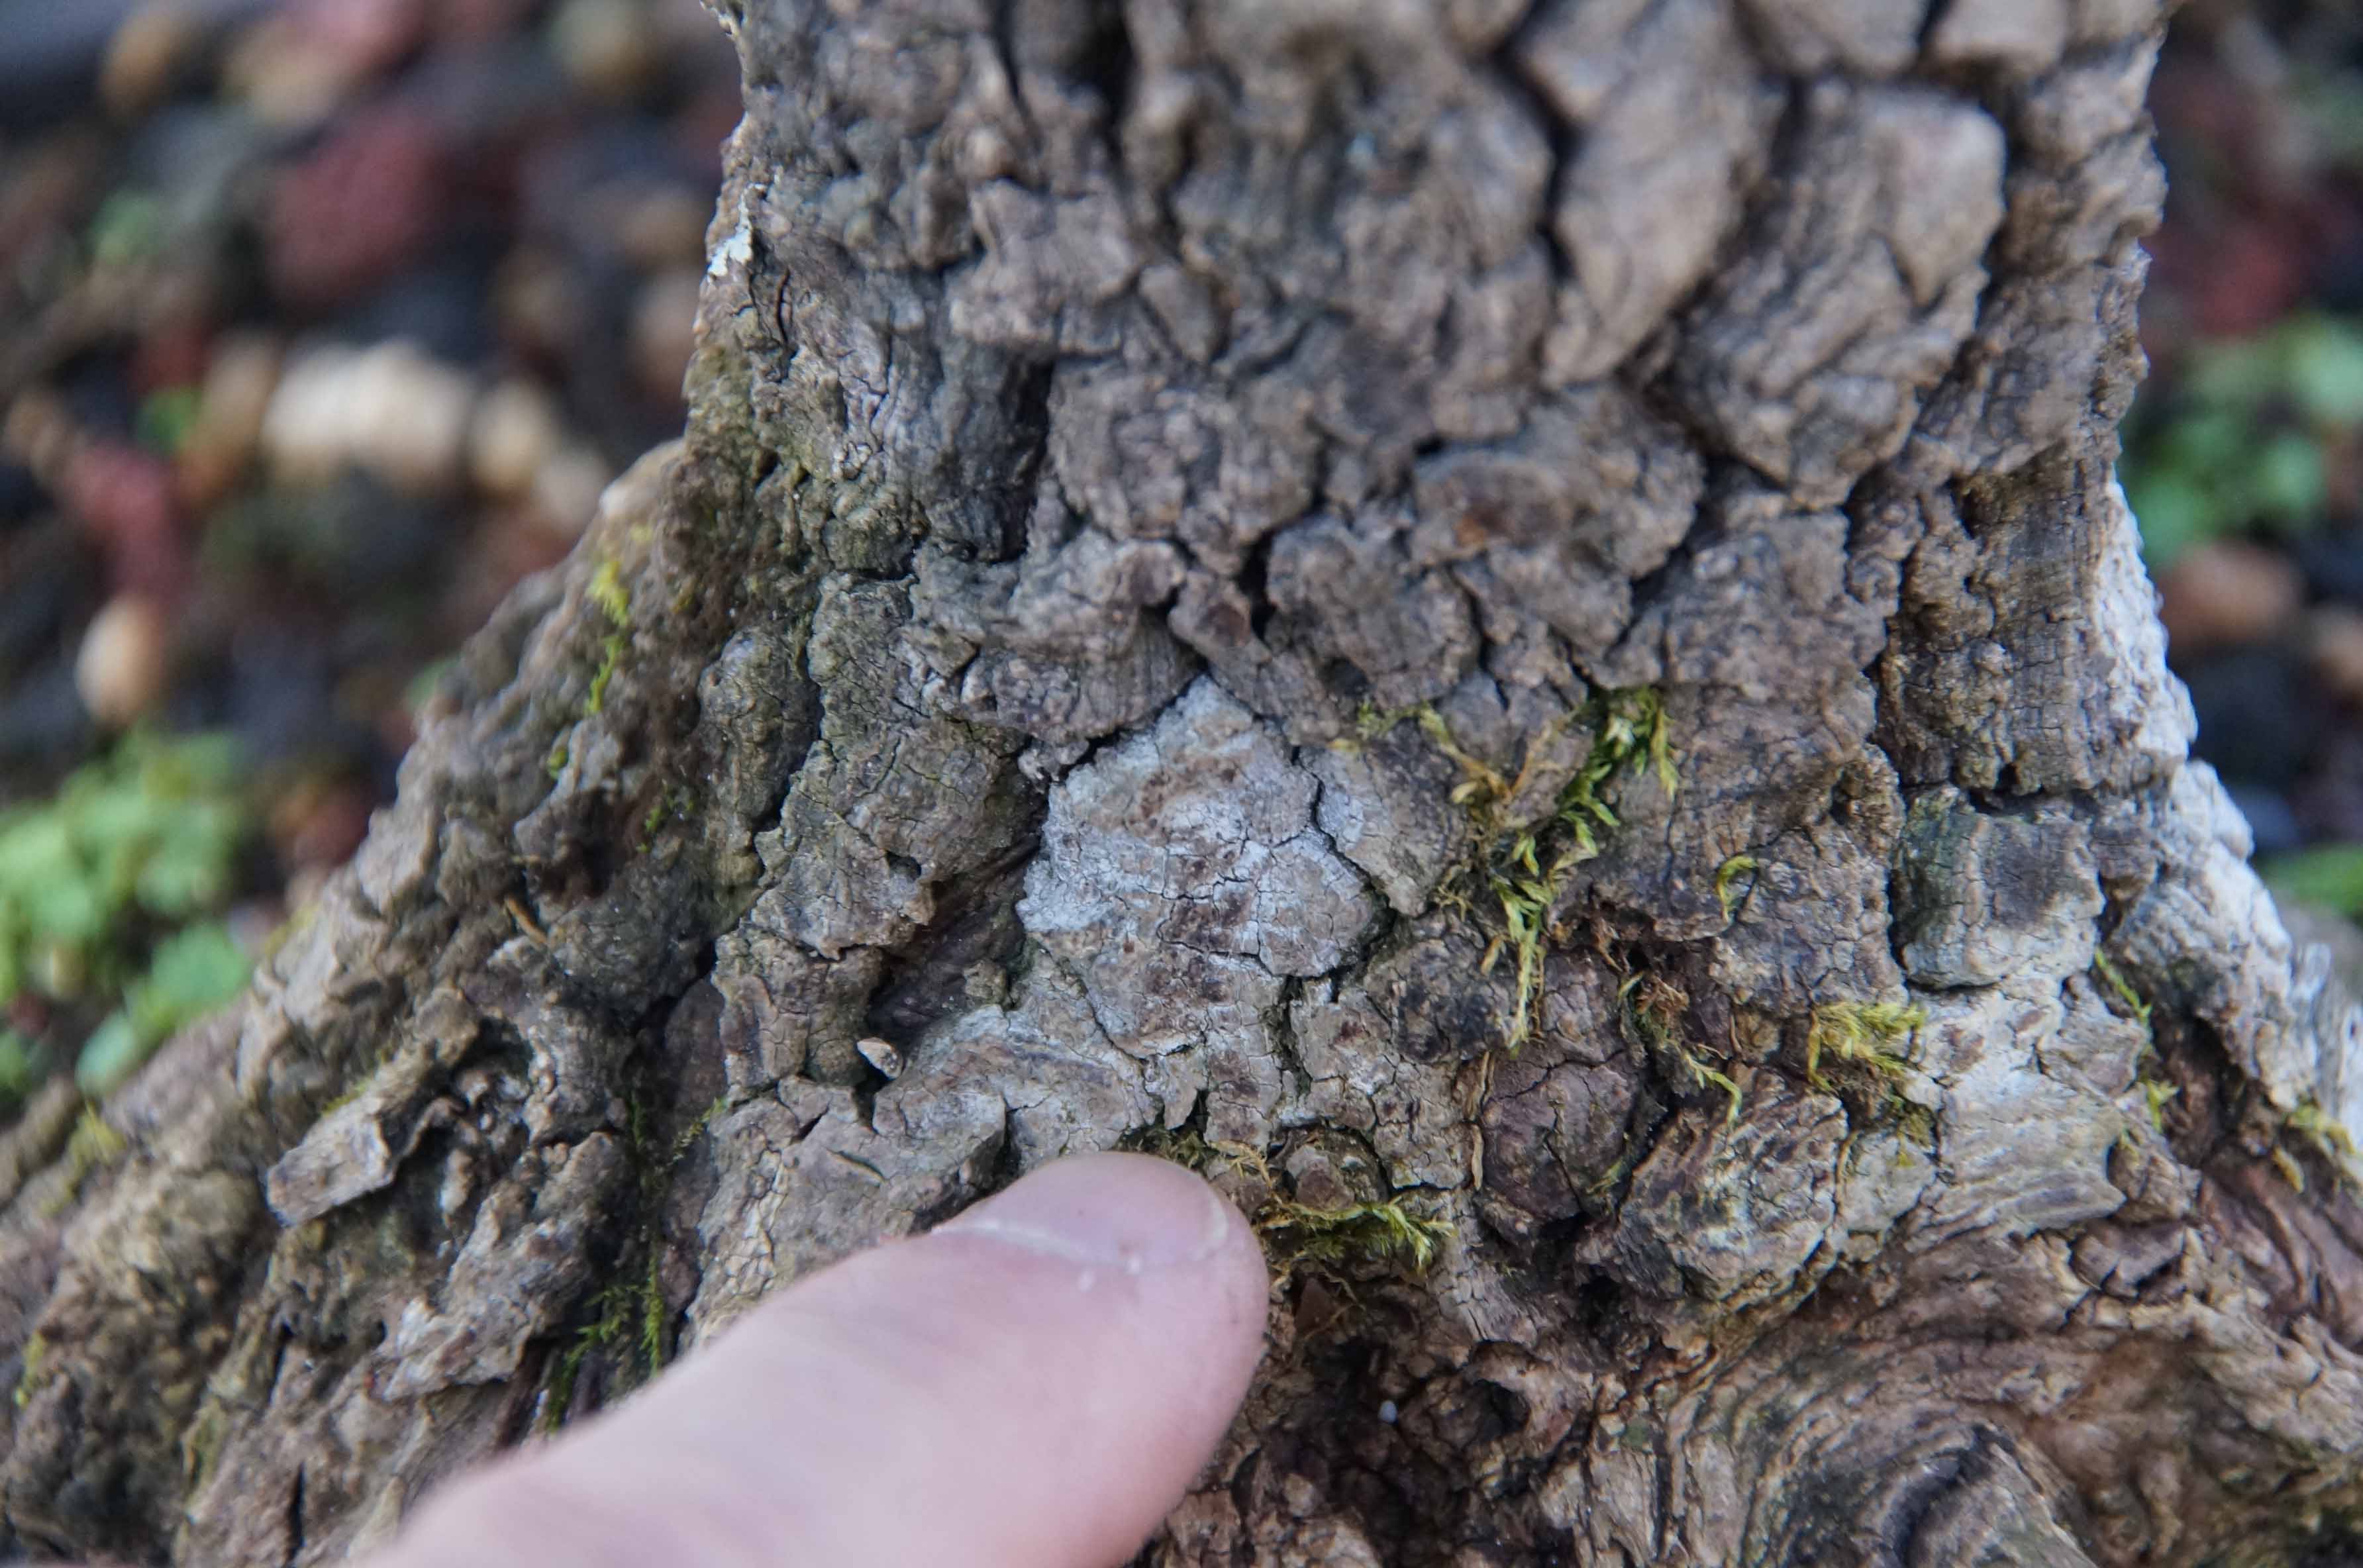
Some late winter pictures, taken in January of 2019, starting to get some decent ramification but still have a long way to go. Also, take a look at the progress on the wound, it has almost completely closed. I will recut the edges in the Spring and it should completely close this season.


More to Come...