FICUS FOREST II
"ficus nerifolia"
March 2017
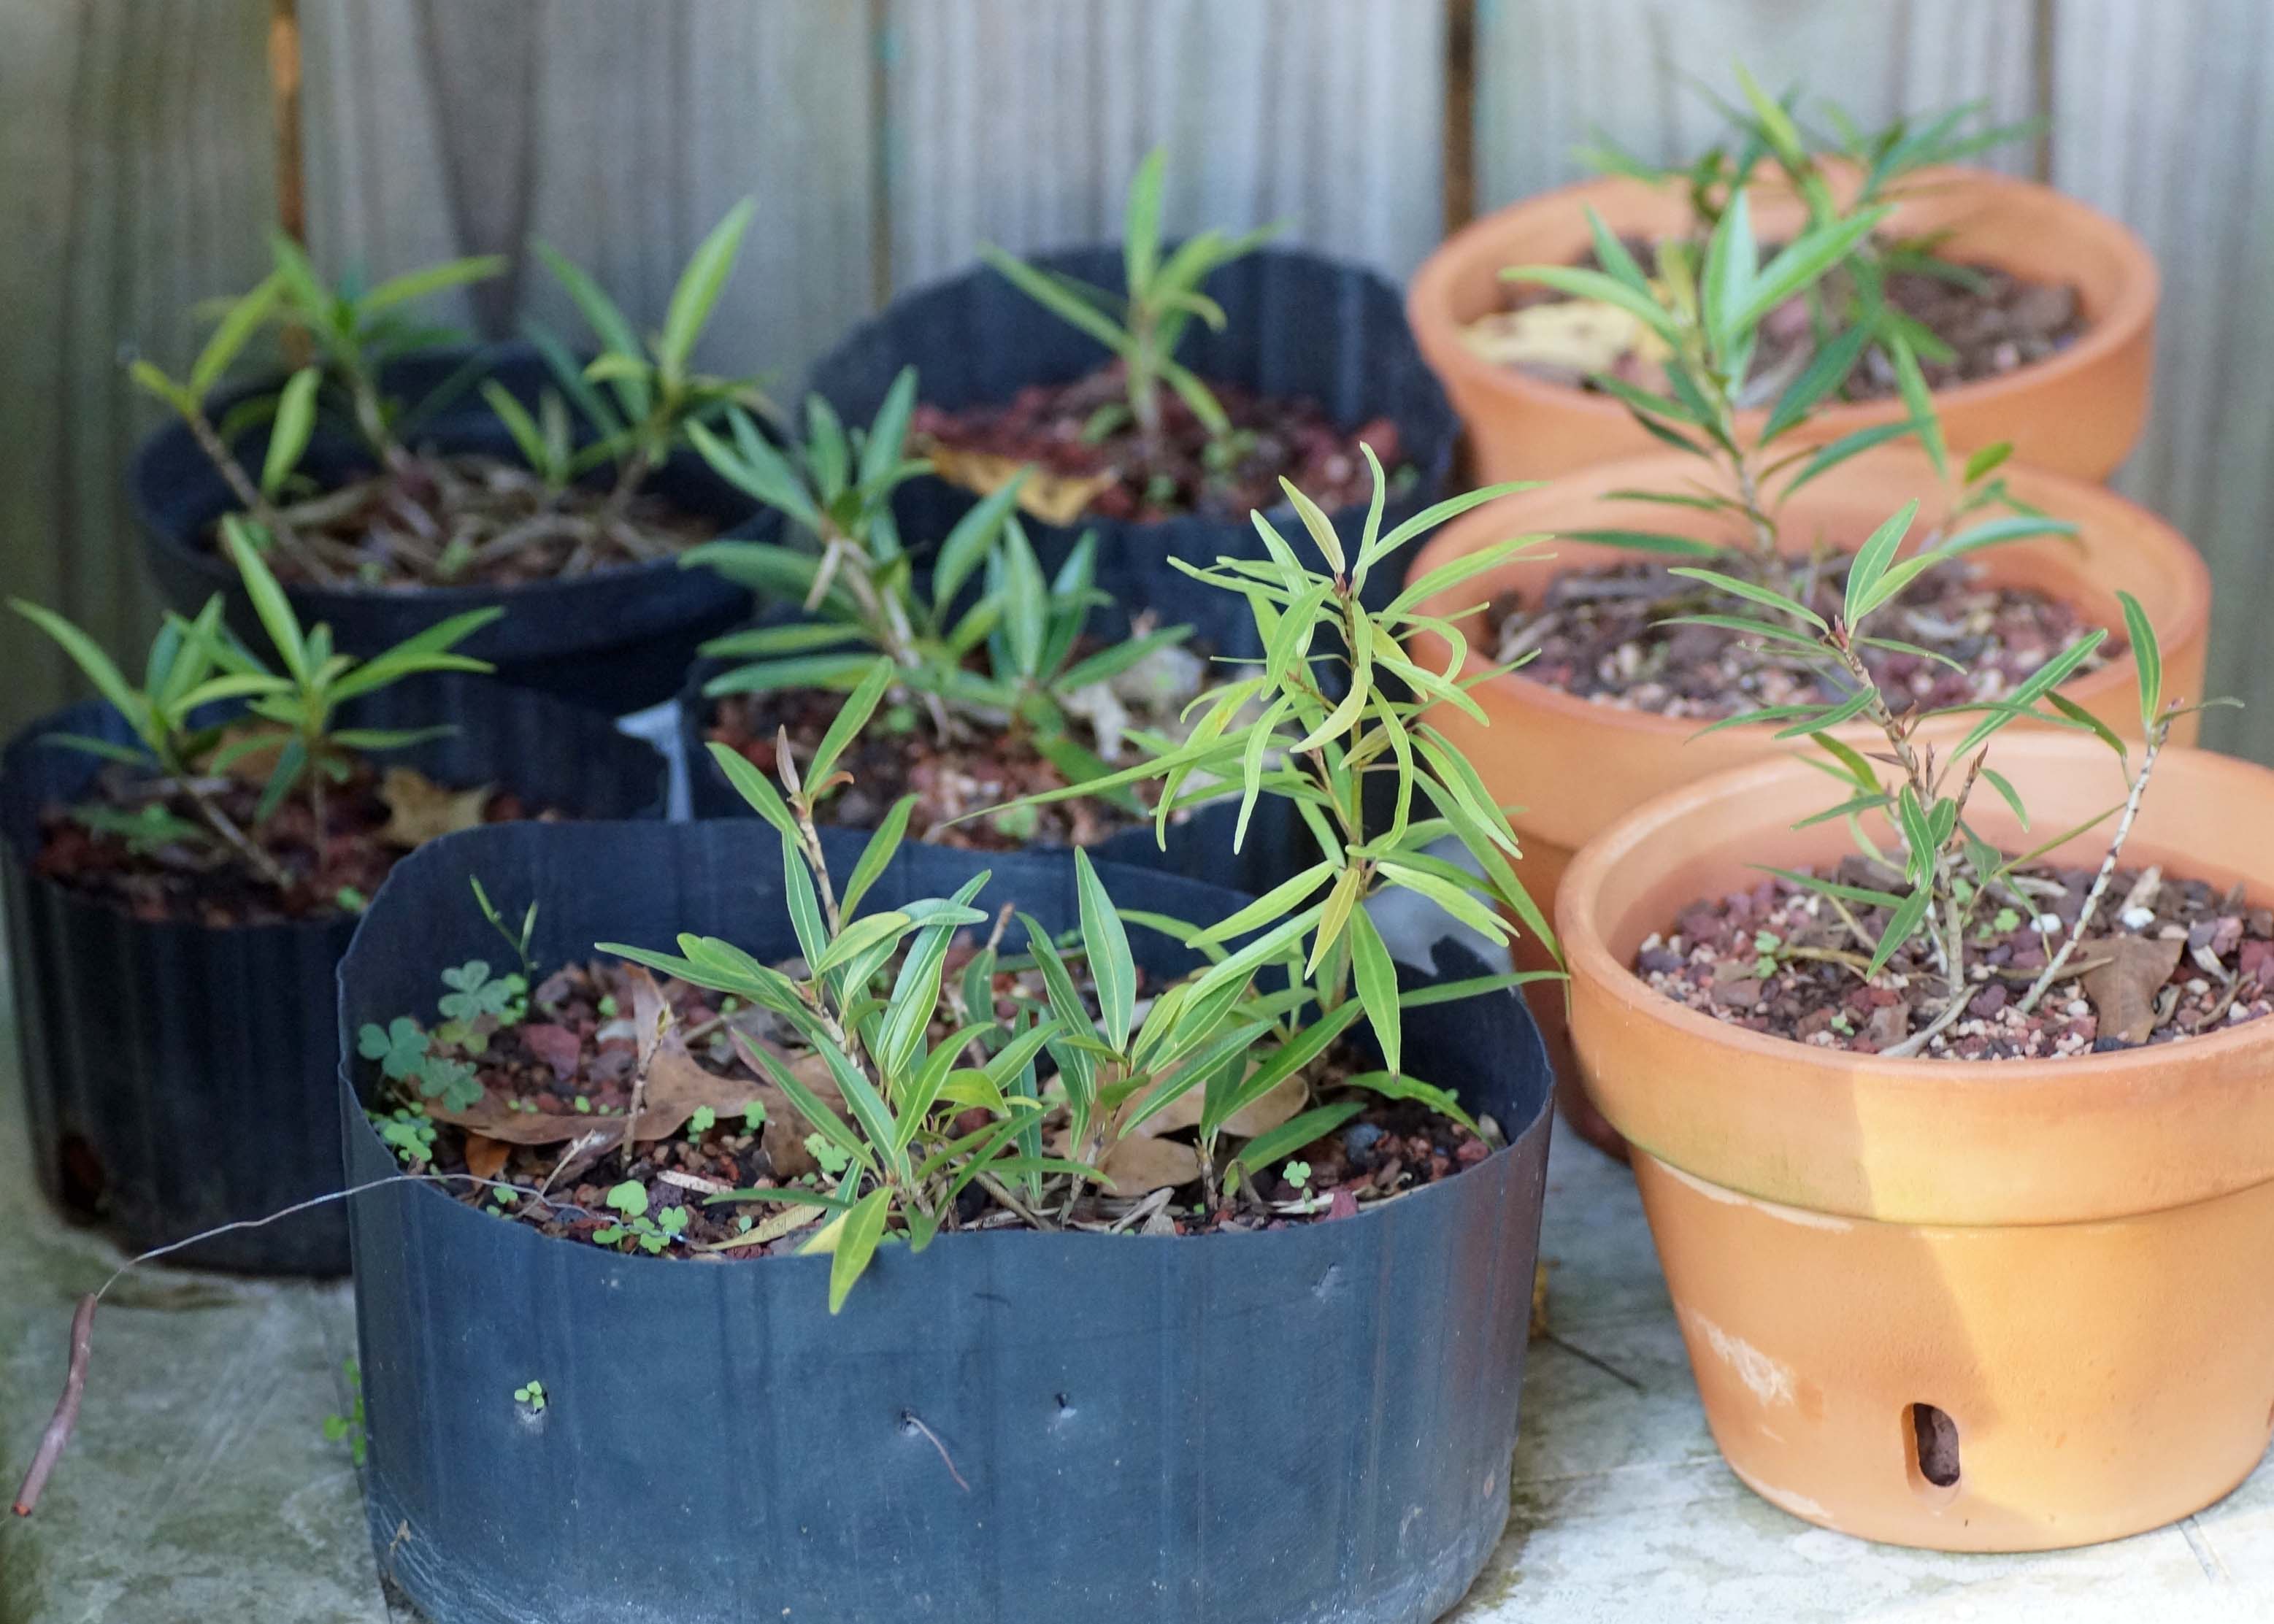
Having a large ficus forest around means that I always have a lot of cuttings. I used to strike them all, but over the last several years I have only struck those that have interesting shapes. That being said, I had a few cuttings around that I had struck over the past couple of years (mostly in 2014) taking up space. I have been getting rid of some stuff that I don't have a plan for, too many cuttings, so, it was either use them or toss them. I decided to put together another forest or group planting. None of them were spectacular or remarkable, just a bunch of spindly things. I am hoping that the sum of the parts will be better than each piece.
Having a large ficus forest around means that I always have a lot of cuttings. I used to strike them all, but over the last several years I have only struck those that have interesting shapes. That being said, I had a few cuttings around that I had struck over the past couple of years (mostly in 2014) taking up space. I have been getting rid of some stuff that I don't have a plan for, too many cuttings, so, it was either use them or toss them. I decided to put together another forest or group planting. None of them were spectacular or remarkable, just a bunch of spindly things. I am hoping that the sum of the parts will be better than each piece.

I took them out of the pot and cleaned the roots of soil and then gave them (the roots) a good pruning. Most of them had the large tuber type roots that you typically see on small ficus.
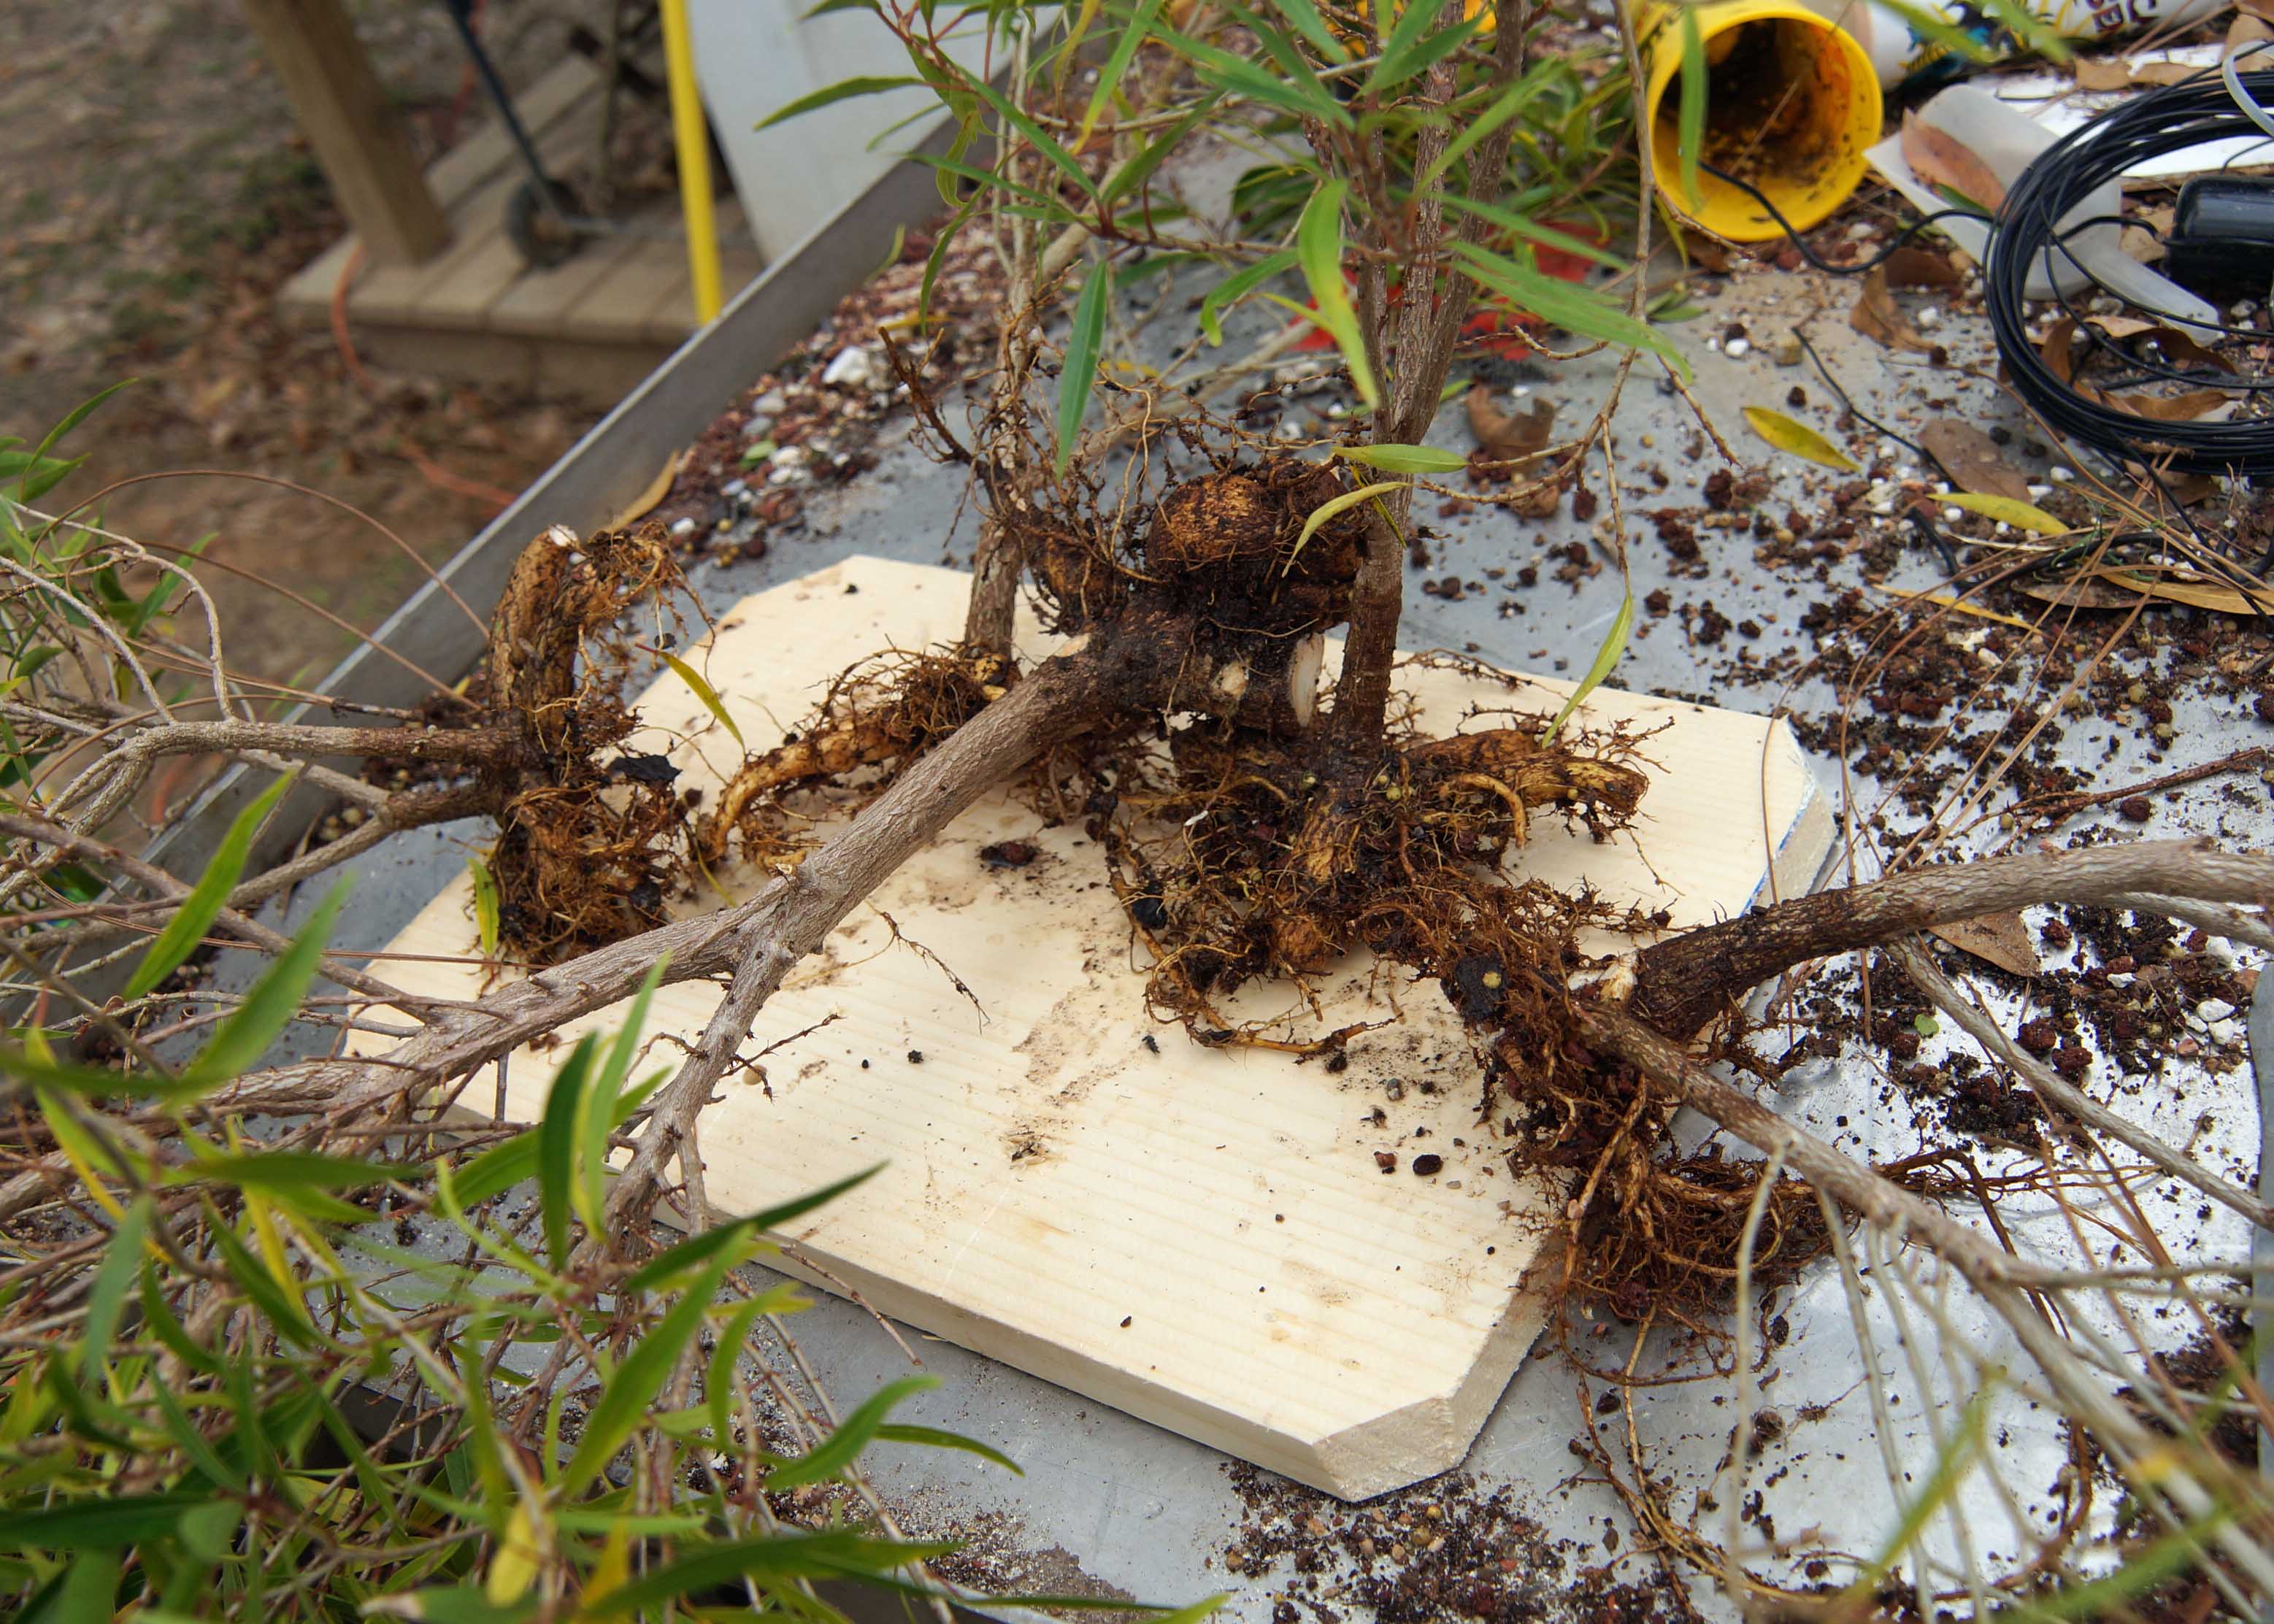
A forest planting requires that you arrange the plants in the pot and secure each one in place until the roots have time to fuse and make the group as one. There are numerous ways to accomplish this, just do an internet search and you will see, or maybe I’ll write about it. The pot that I will be using does not have many holes in the bottom for tie-down wires and I did not want to come up with something elaborate, I decided to try something that I have not seen done with ficus, or any group composition-----I’ll screw them to a board and then bury the board in the pot. This technique is used often with deciduous trees to make a fat spreading base or nebari. Maybe it will work with ficus, it sure made positioning and securing them easy-peasy. I happen to have an assortment of small stainless steel and brass screws on hand from a previous trip to Home Depot so I was set. I positioned them on the board and drilled holes where I wanted them set.

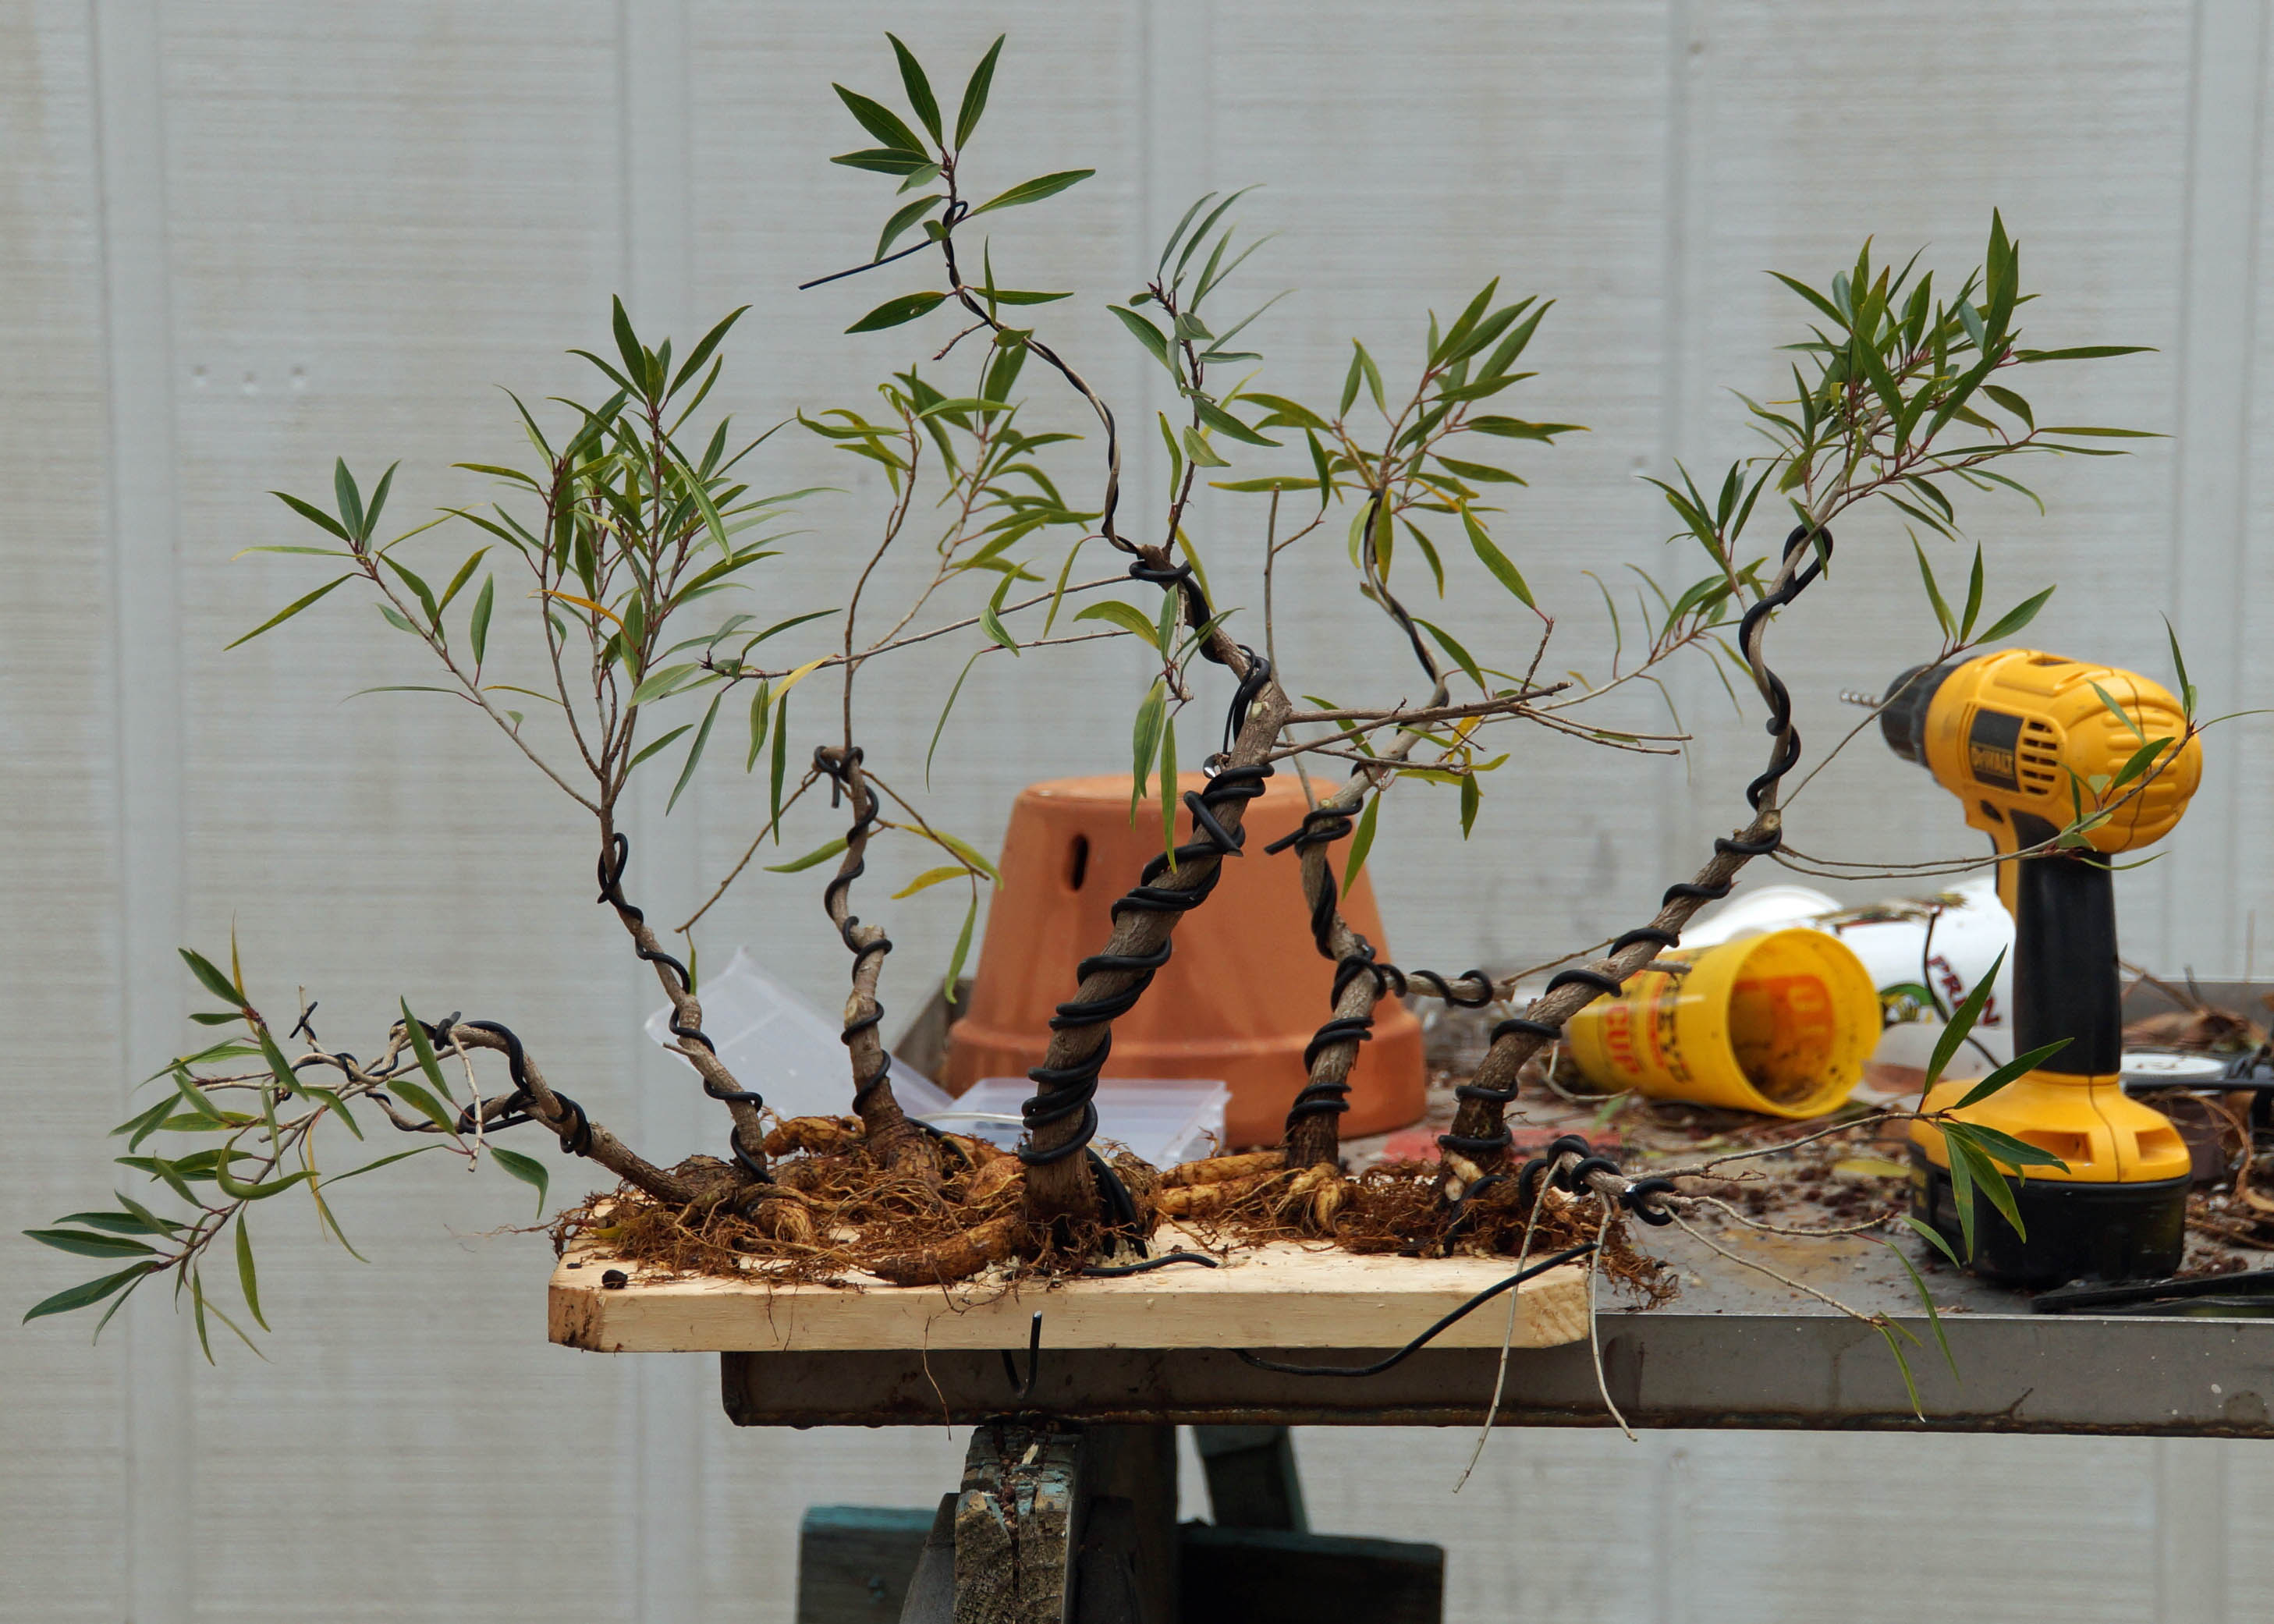
Using a screw, I attached each one to the board by placing the screw through the bottom of the board and screwing it into the very bottom of the trunk. It helps if you drill a small pilot hole in the trunk, it will give you a better chance of not splitting it.

After attachment, each one got a trim and some movement added to the trunk. The whole thing was placed into the pot on top of a layer of bonsai soil and then secured into place through the drainage holes. Once good and tight, it was back-filled with more bonsai soil. It is not much to look at now, but this summer it should fill in nicely.
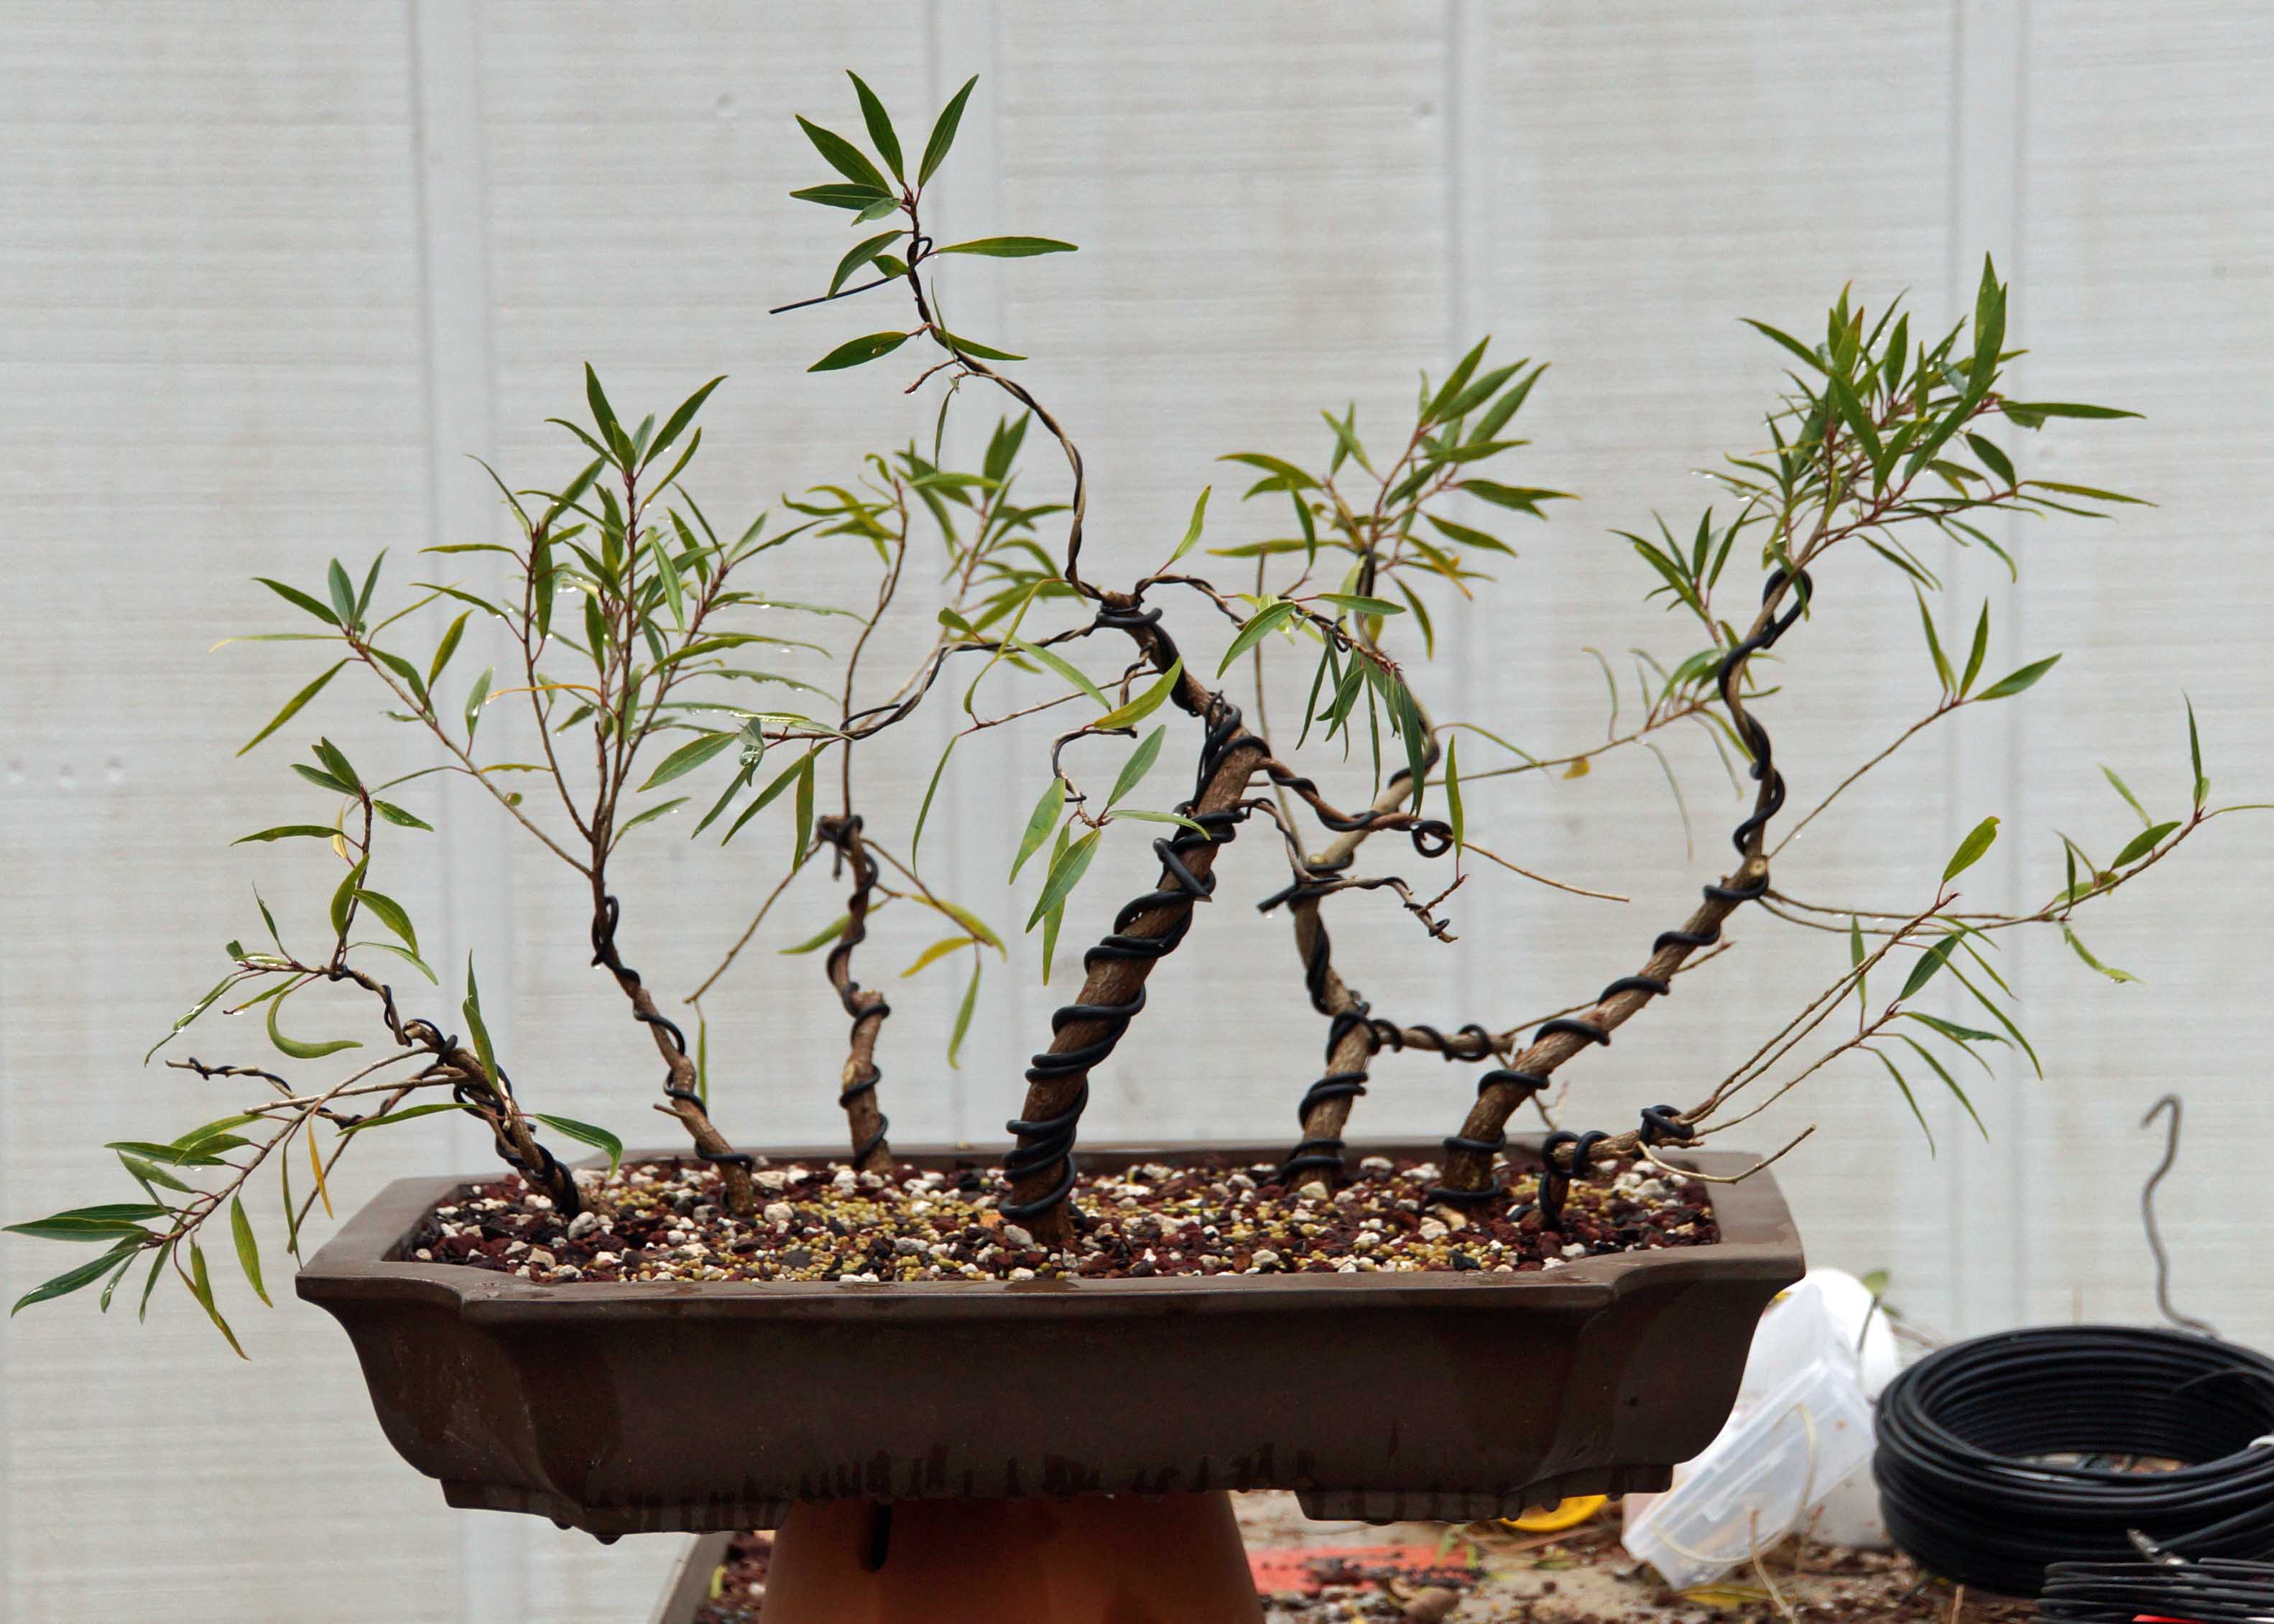
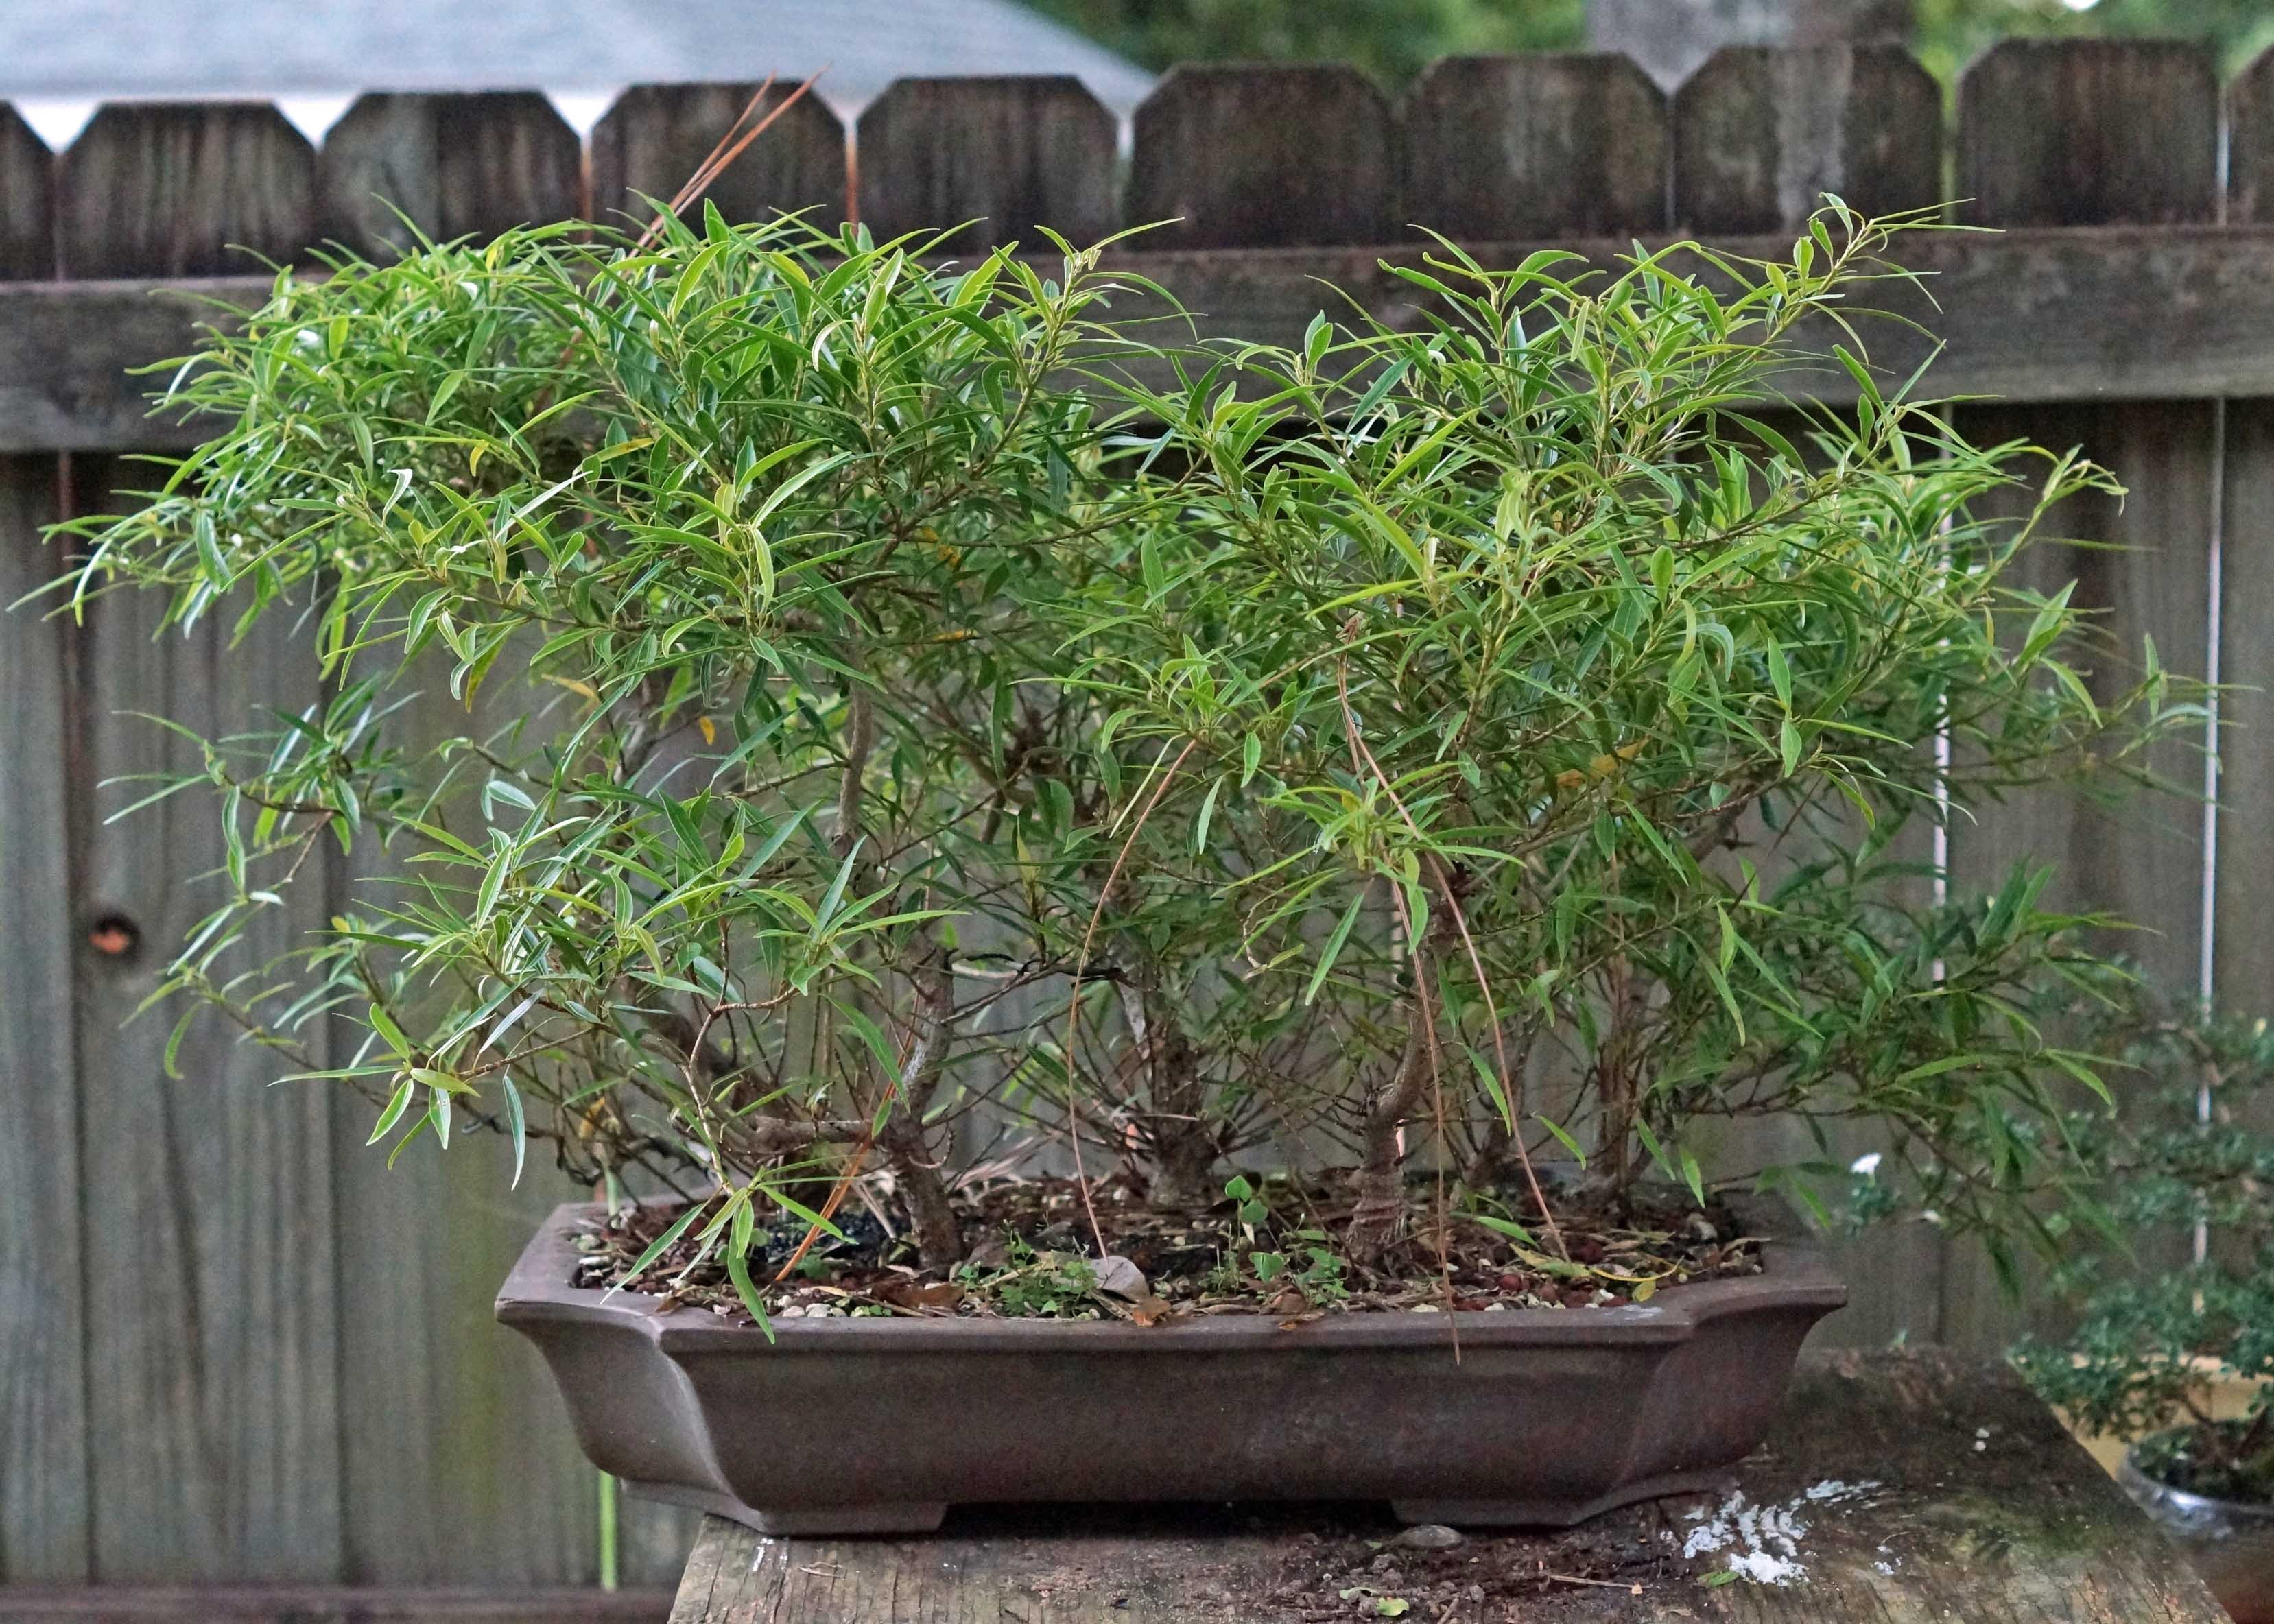
By the end of May, the trees had recovered from my not so delicate handling. Unfortunately, the top of the biggest one died. I think I twisted it too much, even for a ficus, and damaged the cambium layer. It appears to making up for it and with the aggressive growth of these trees it should catch up by the end of the year.
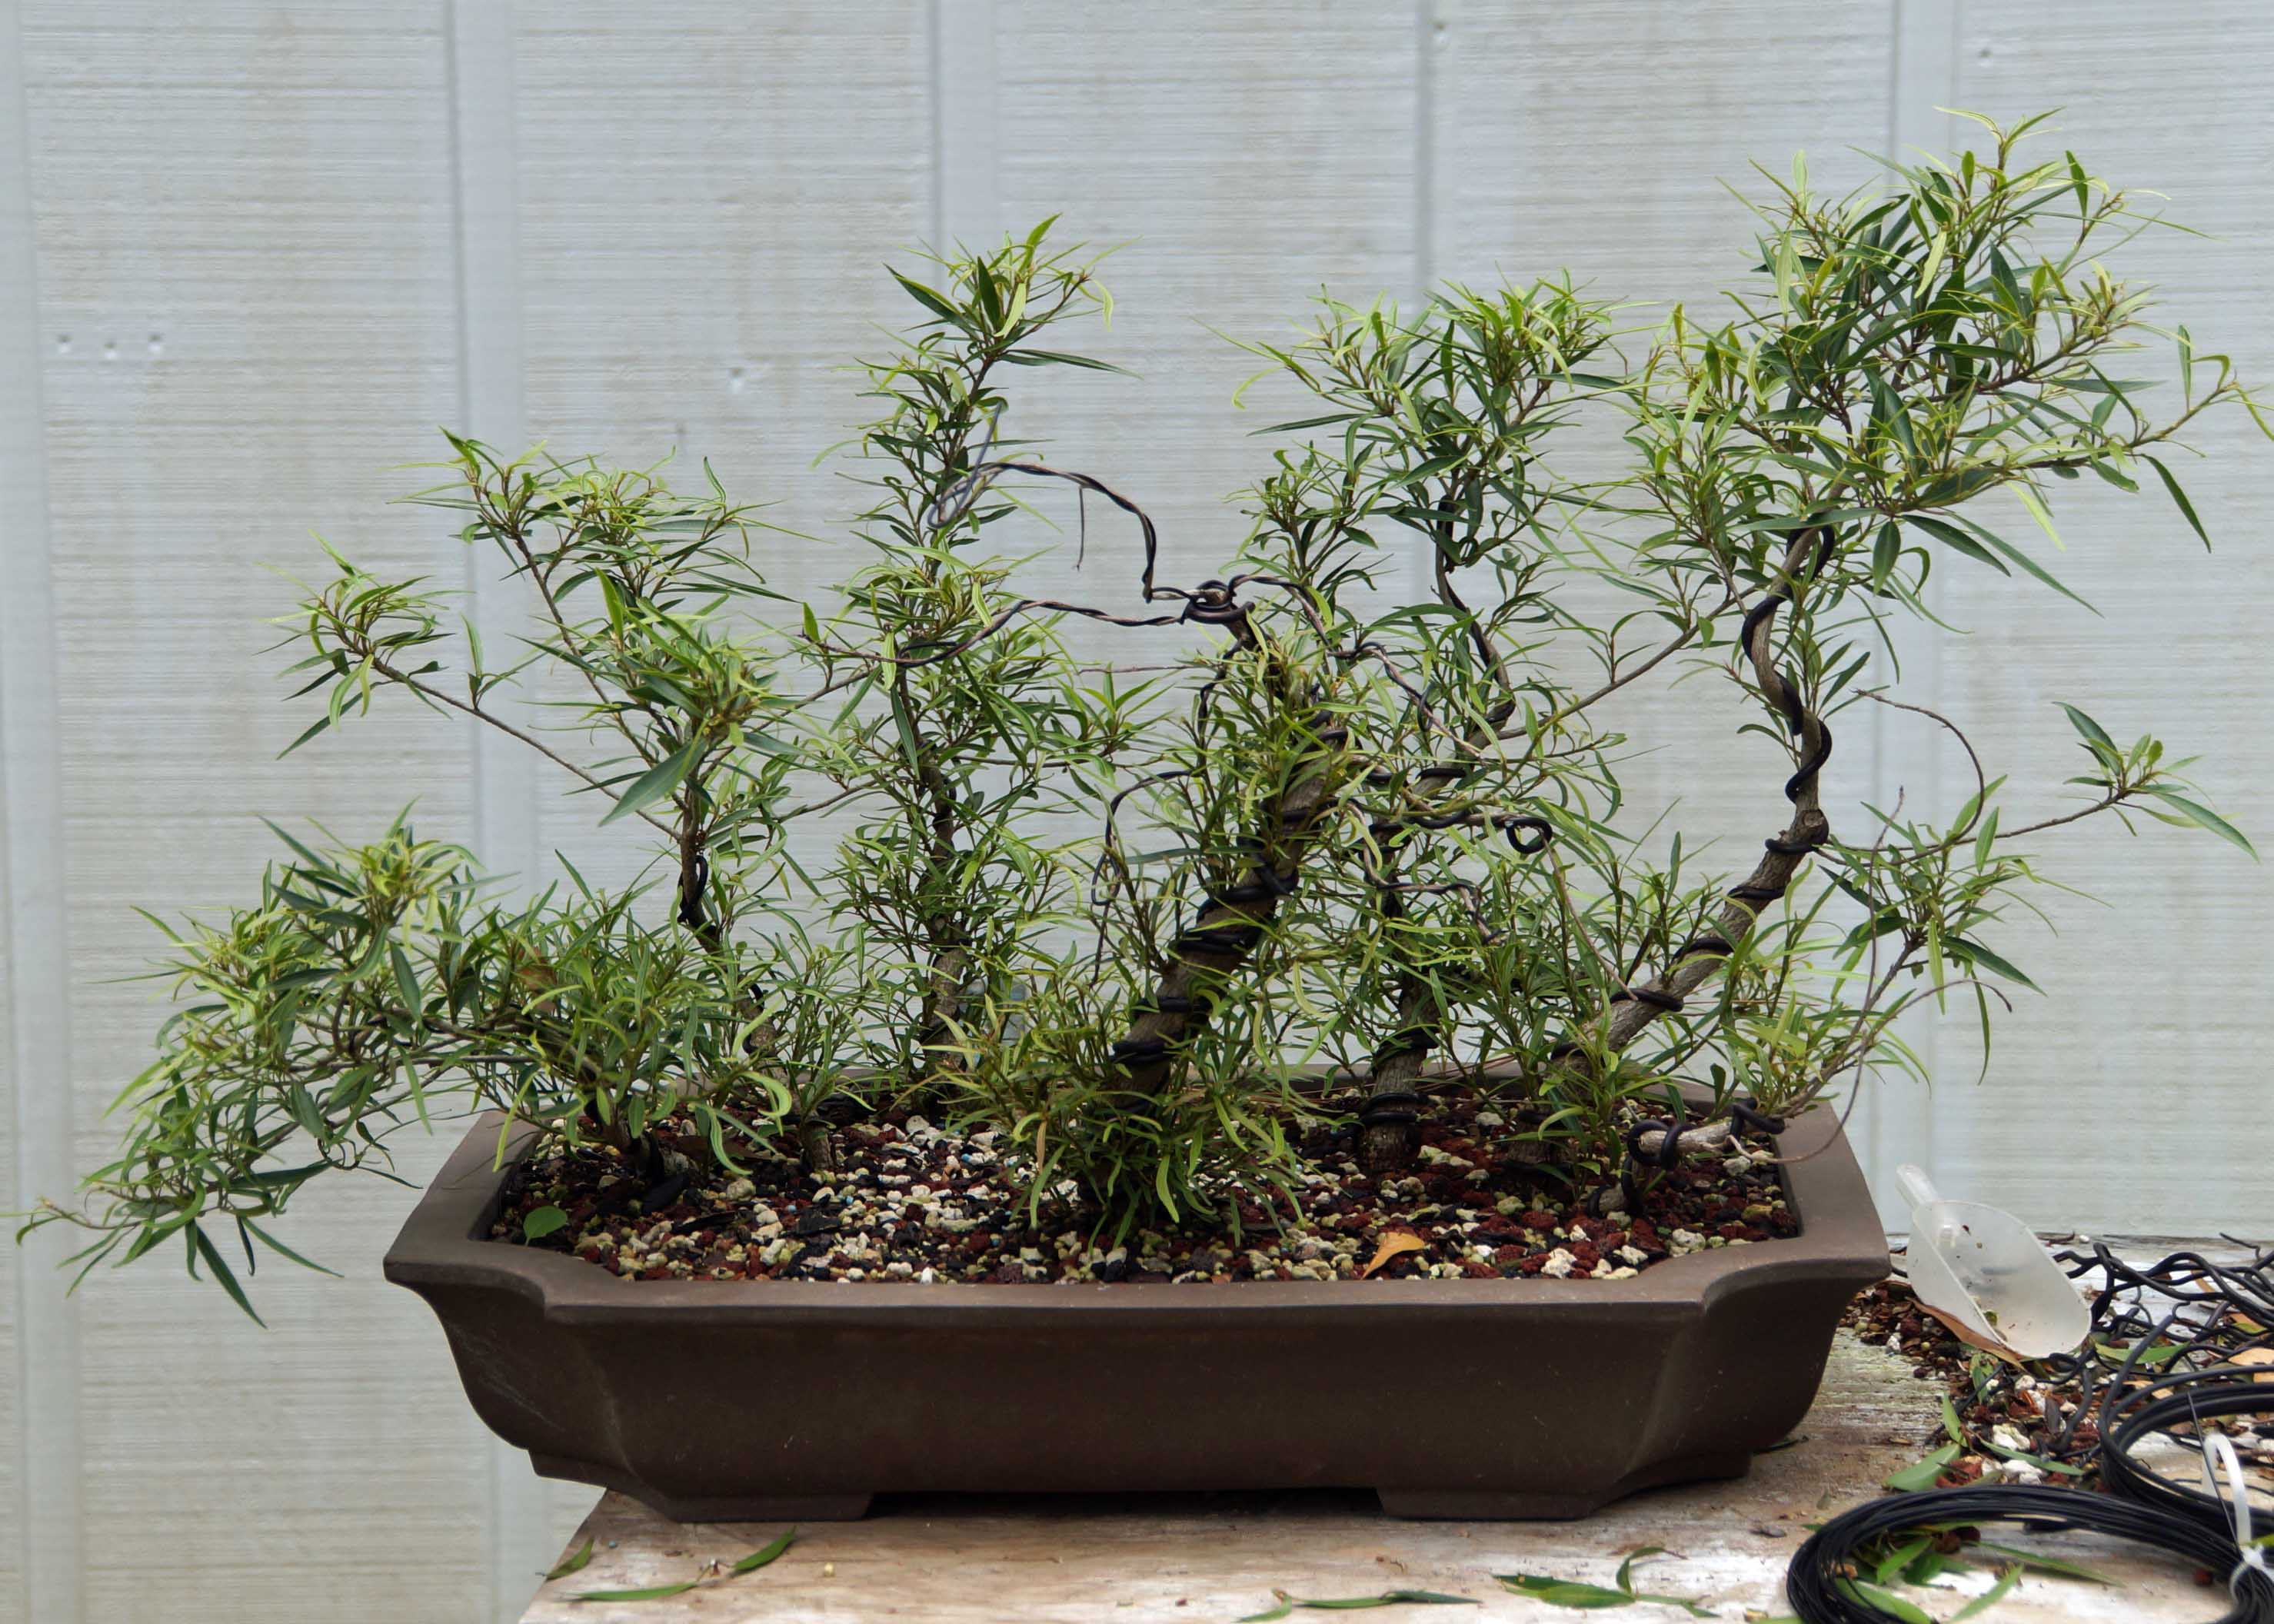
At the end of July, it had really put on some growth. I haven’t really done much to it other than remove some the wire. Just letting it grow and next Spring I will give a good trim and maybe select some branches.