

Elms, everybody needs at least one. I have four or five, all were started from either air layers or cuttings. They were just before budding out so it was time to repot, and this time into some nicer pots as they had both been growing in larger training pots most of their lives.
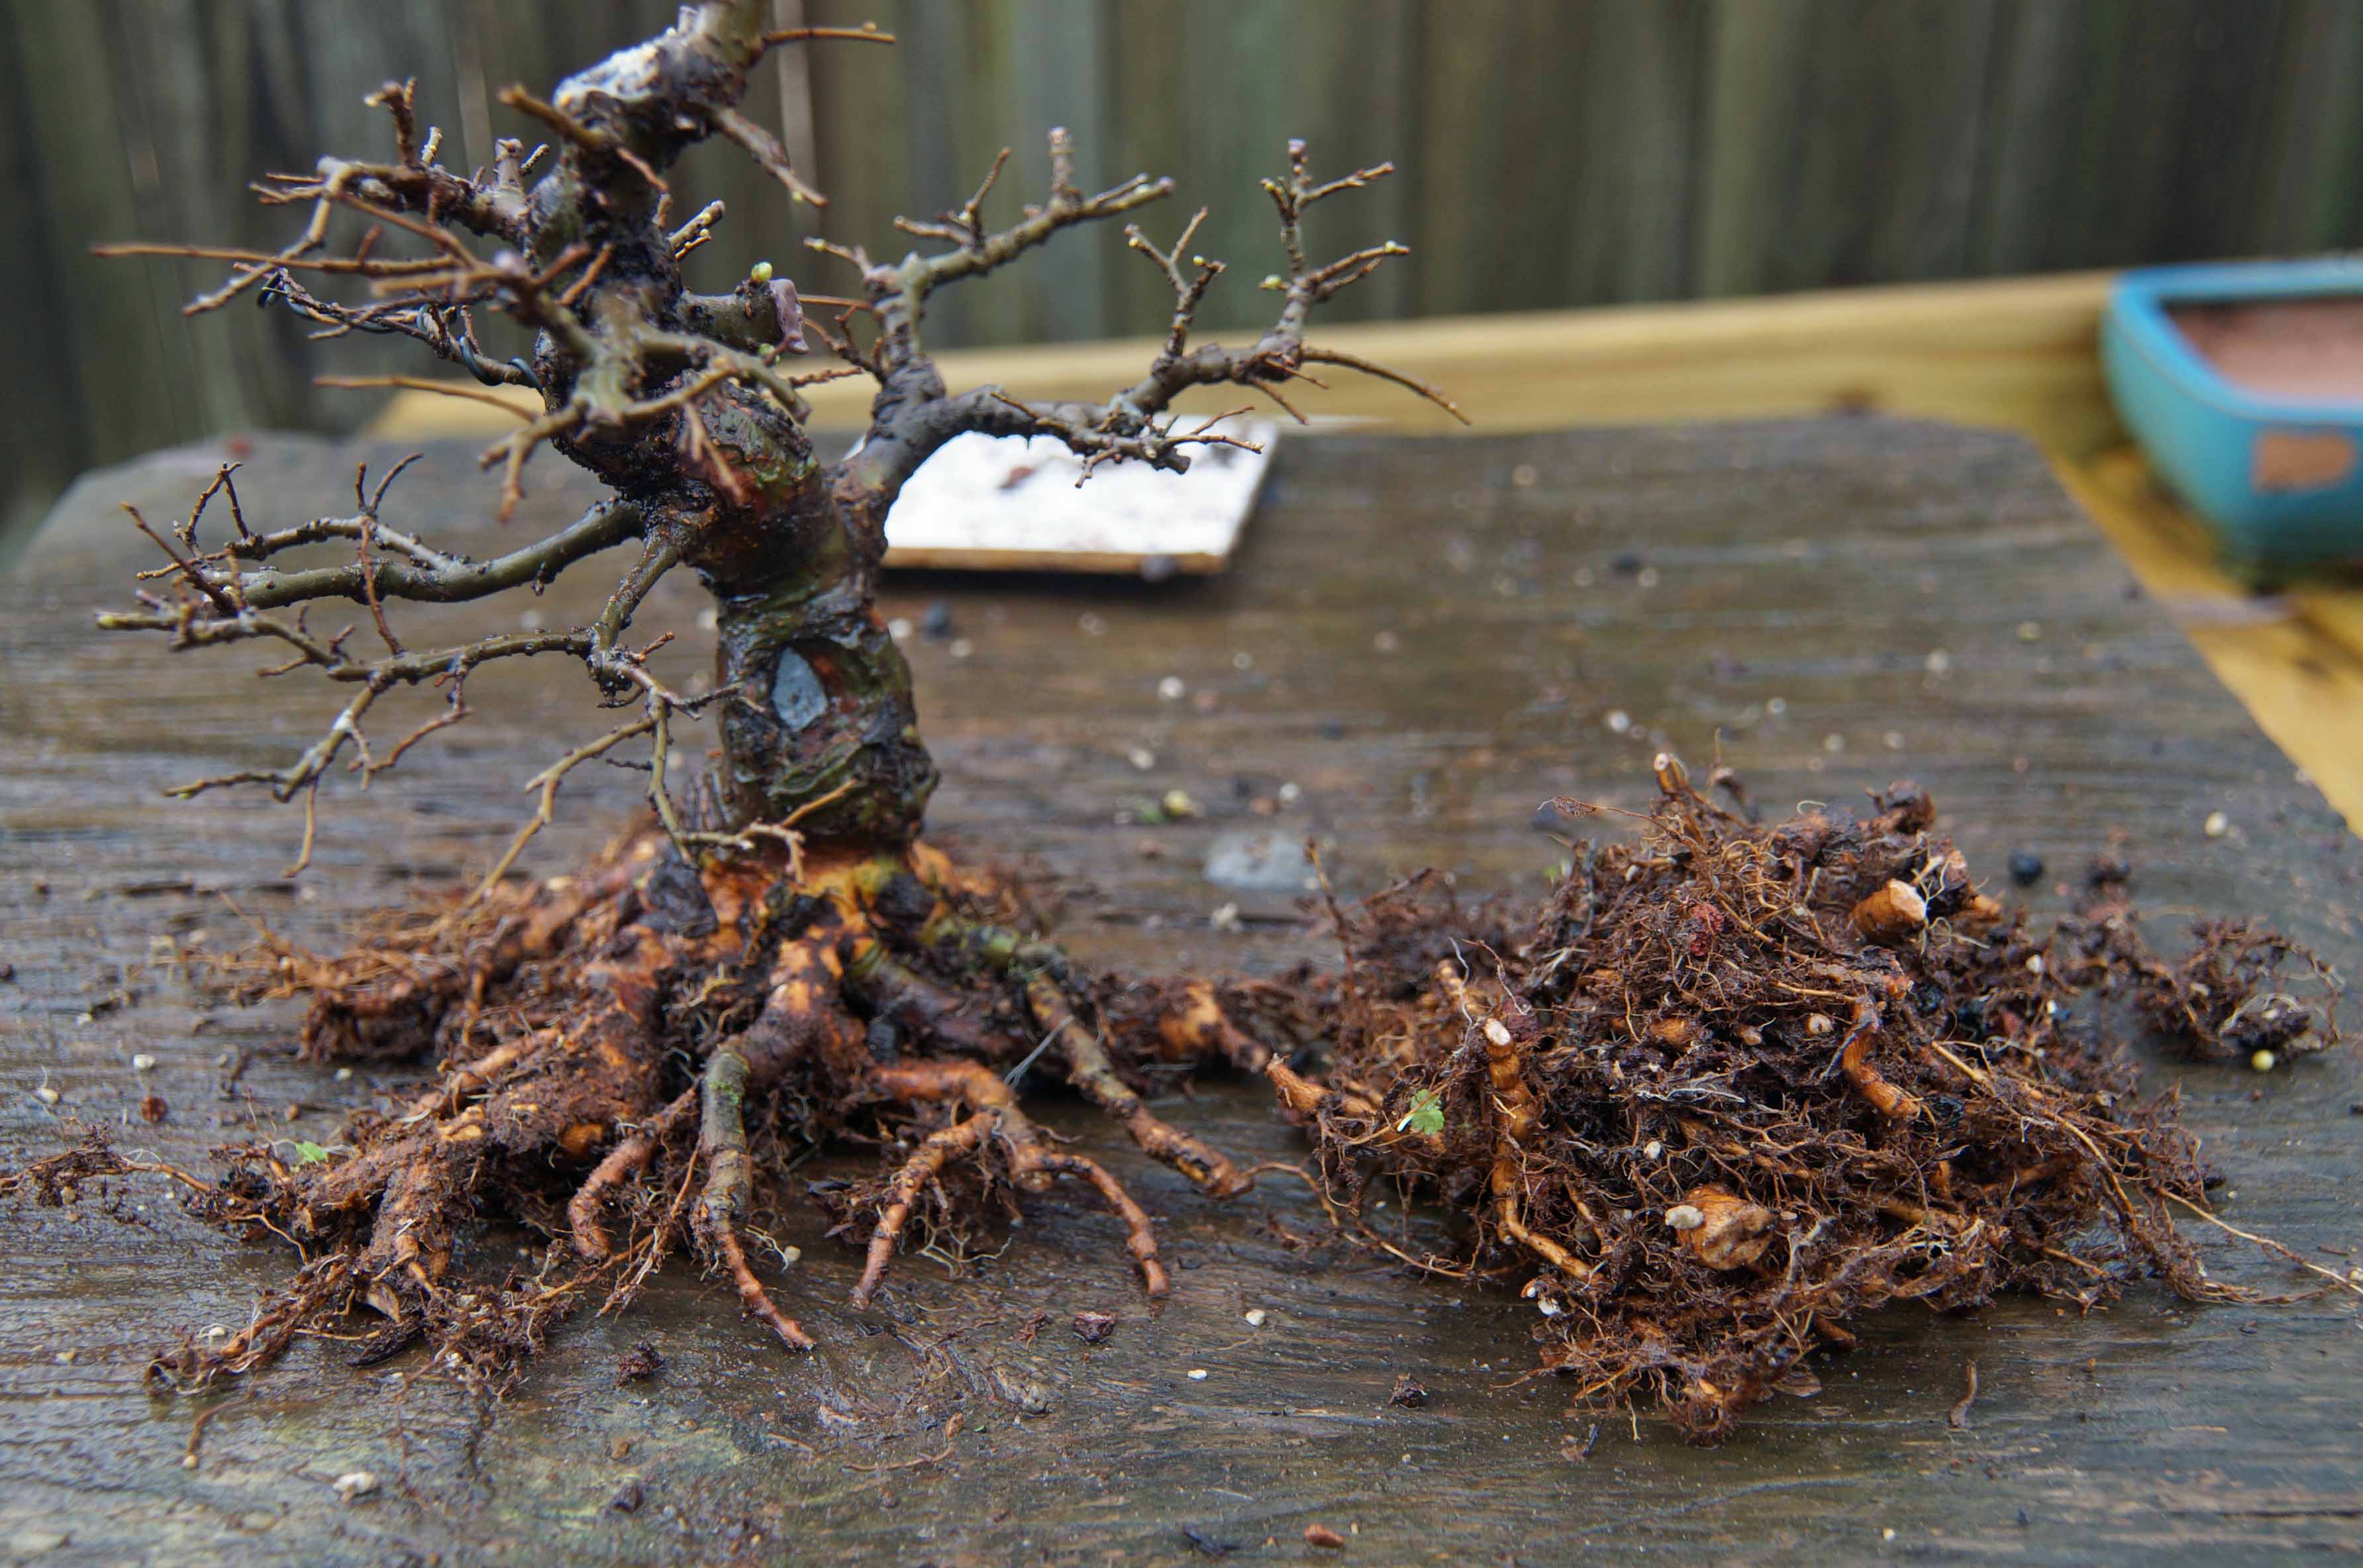
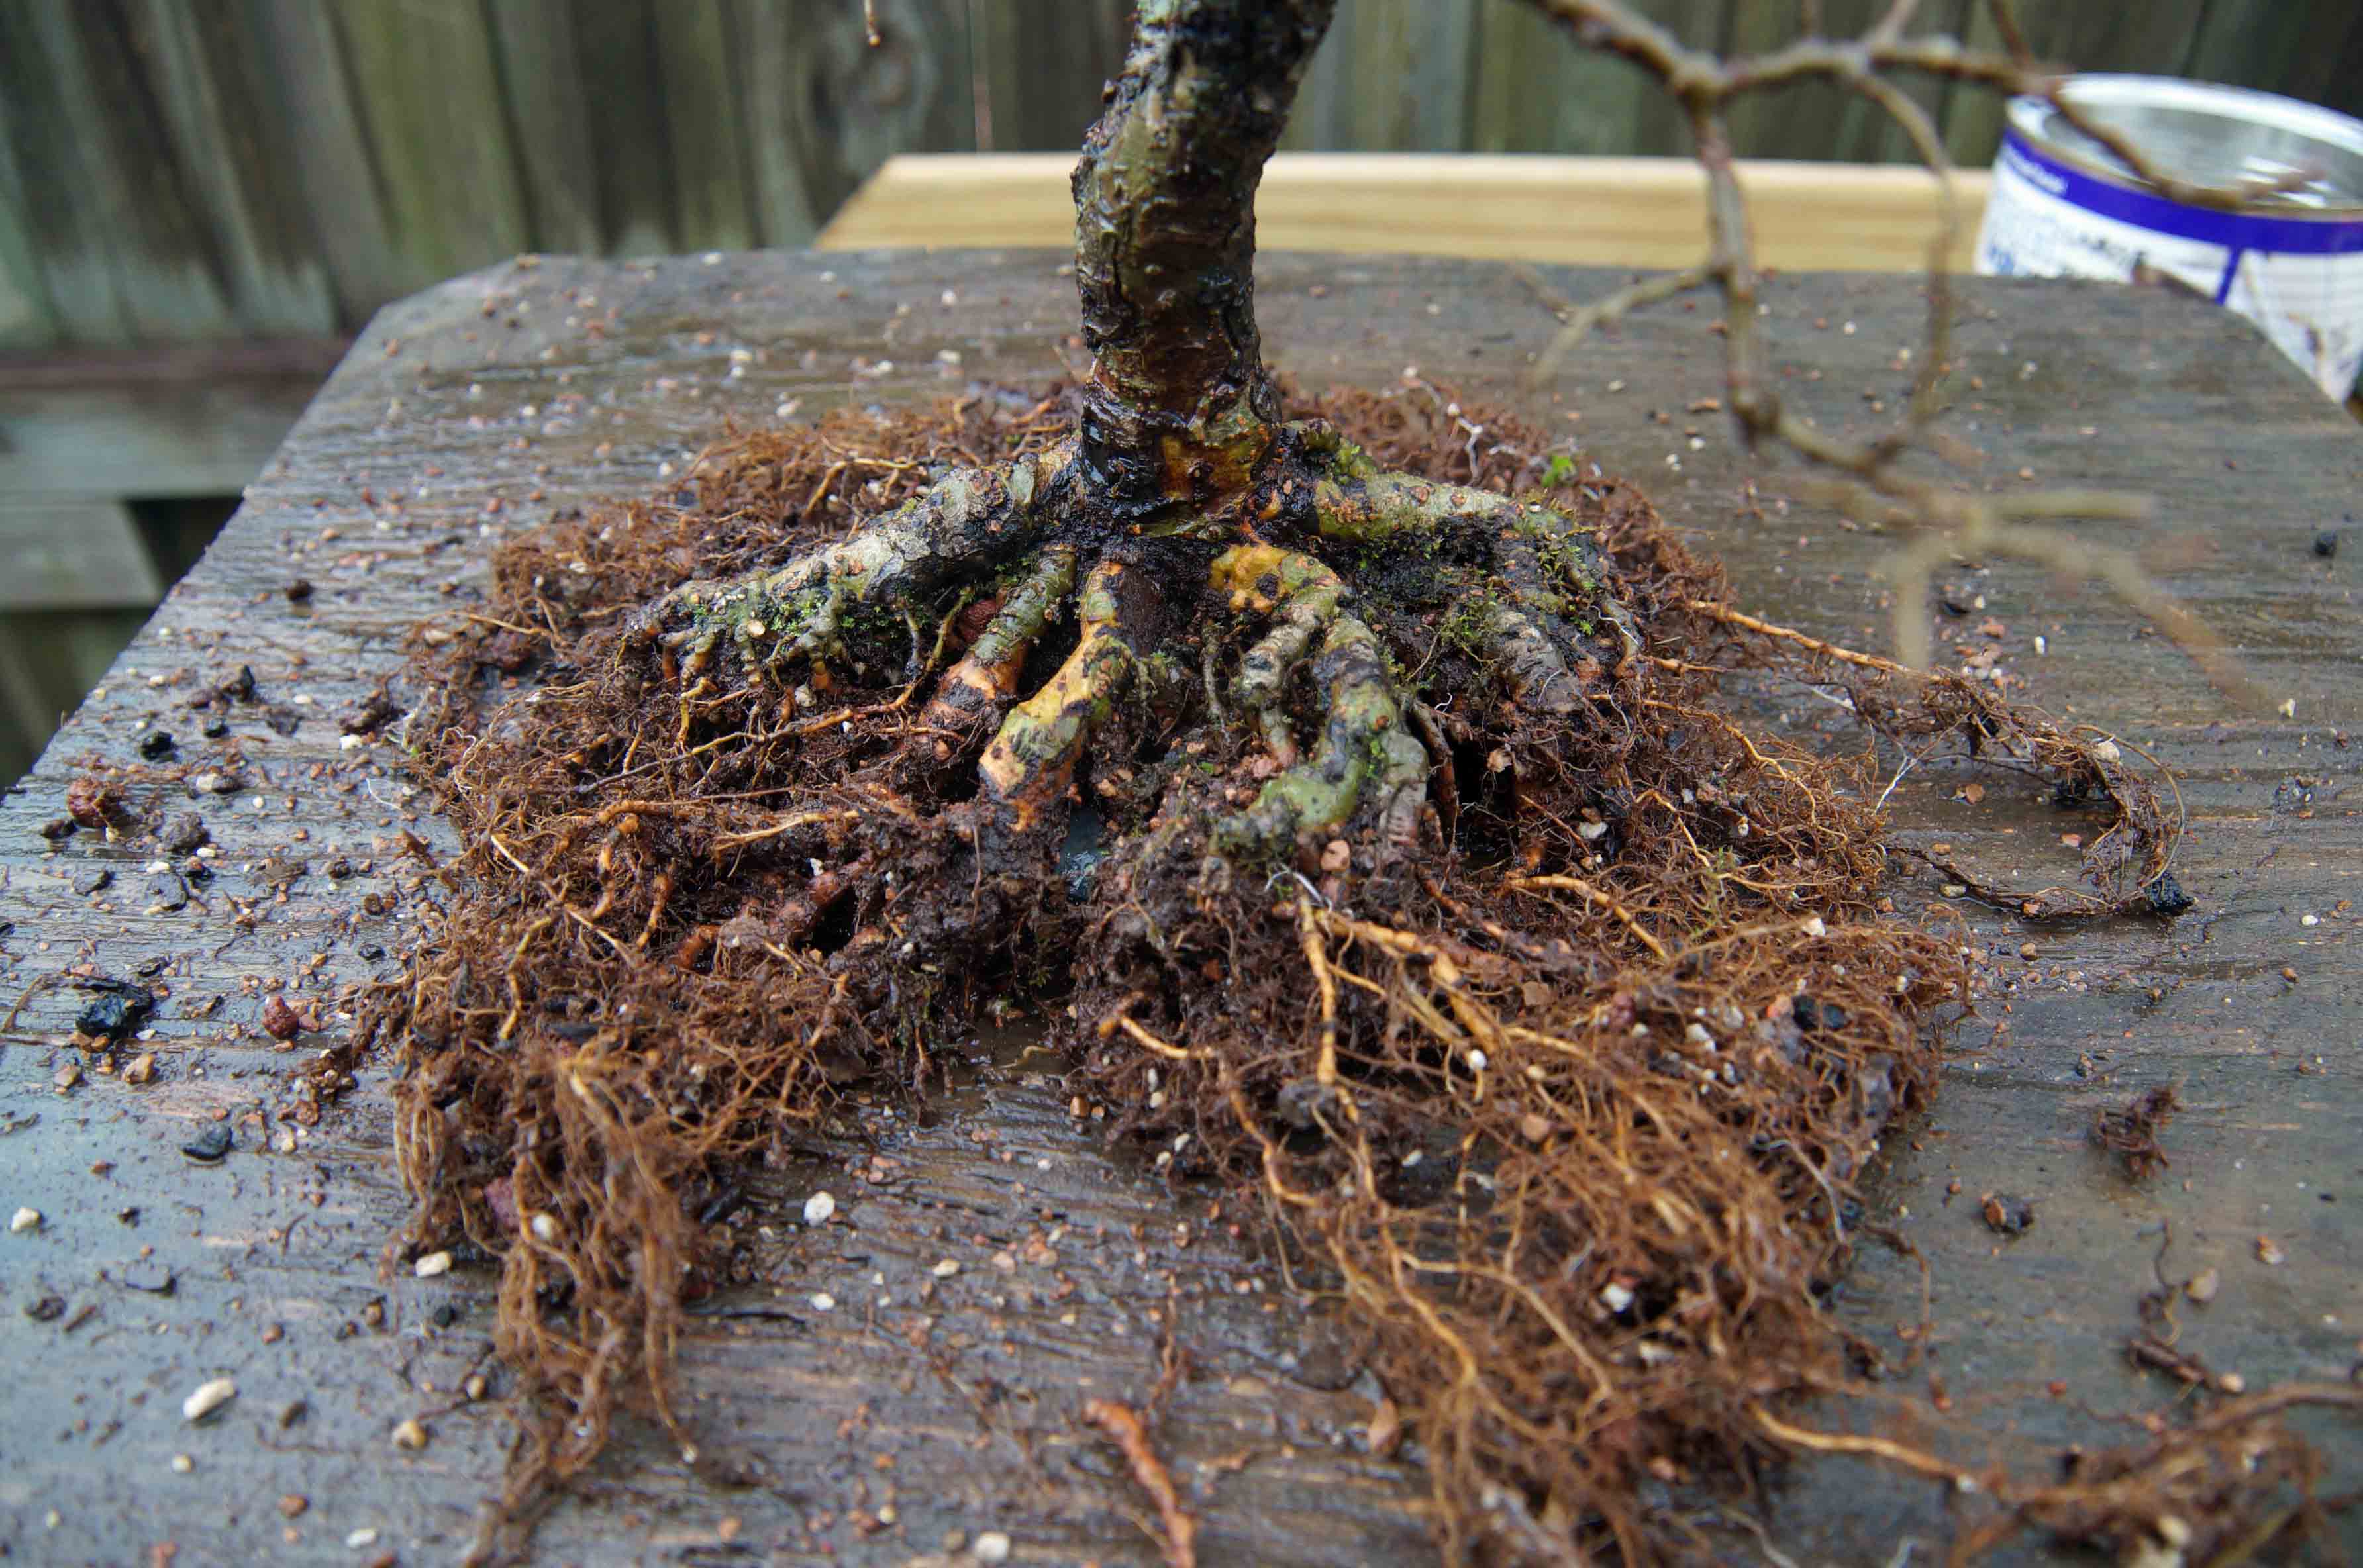
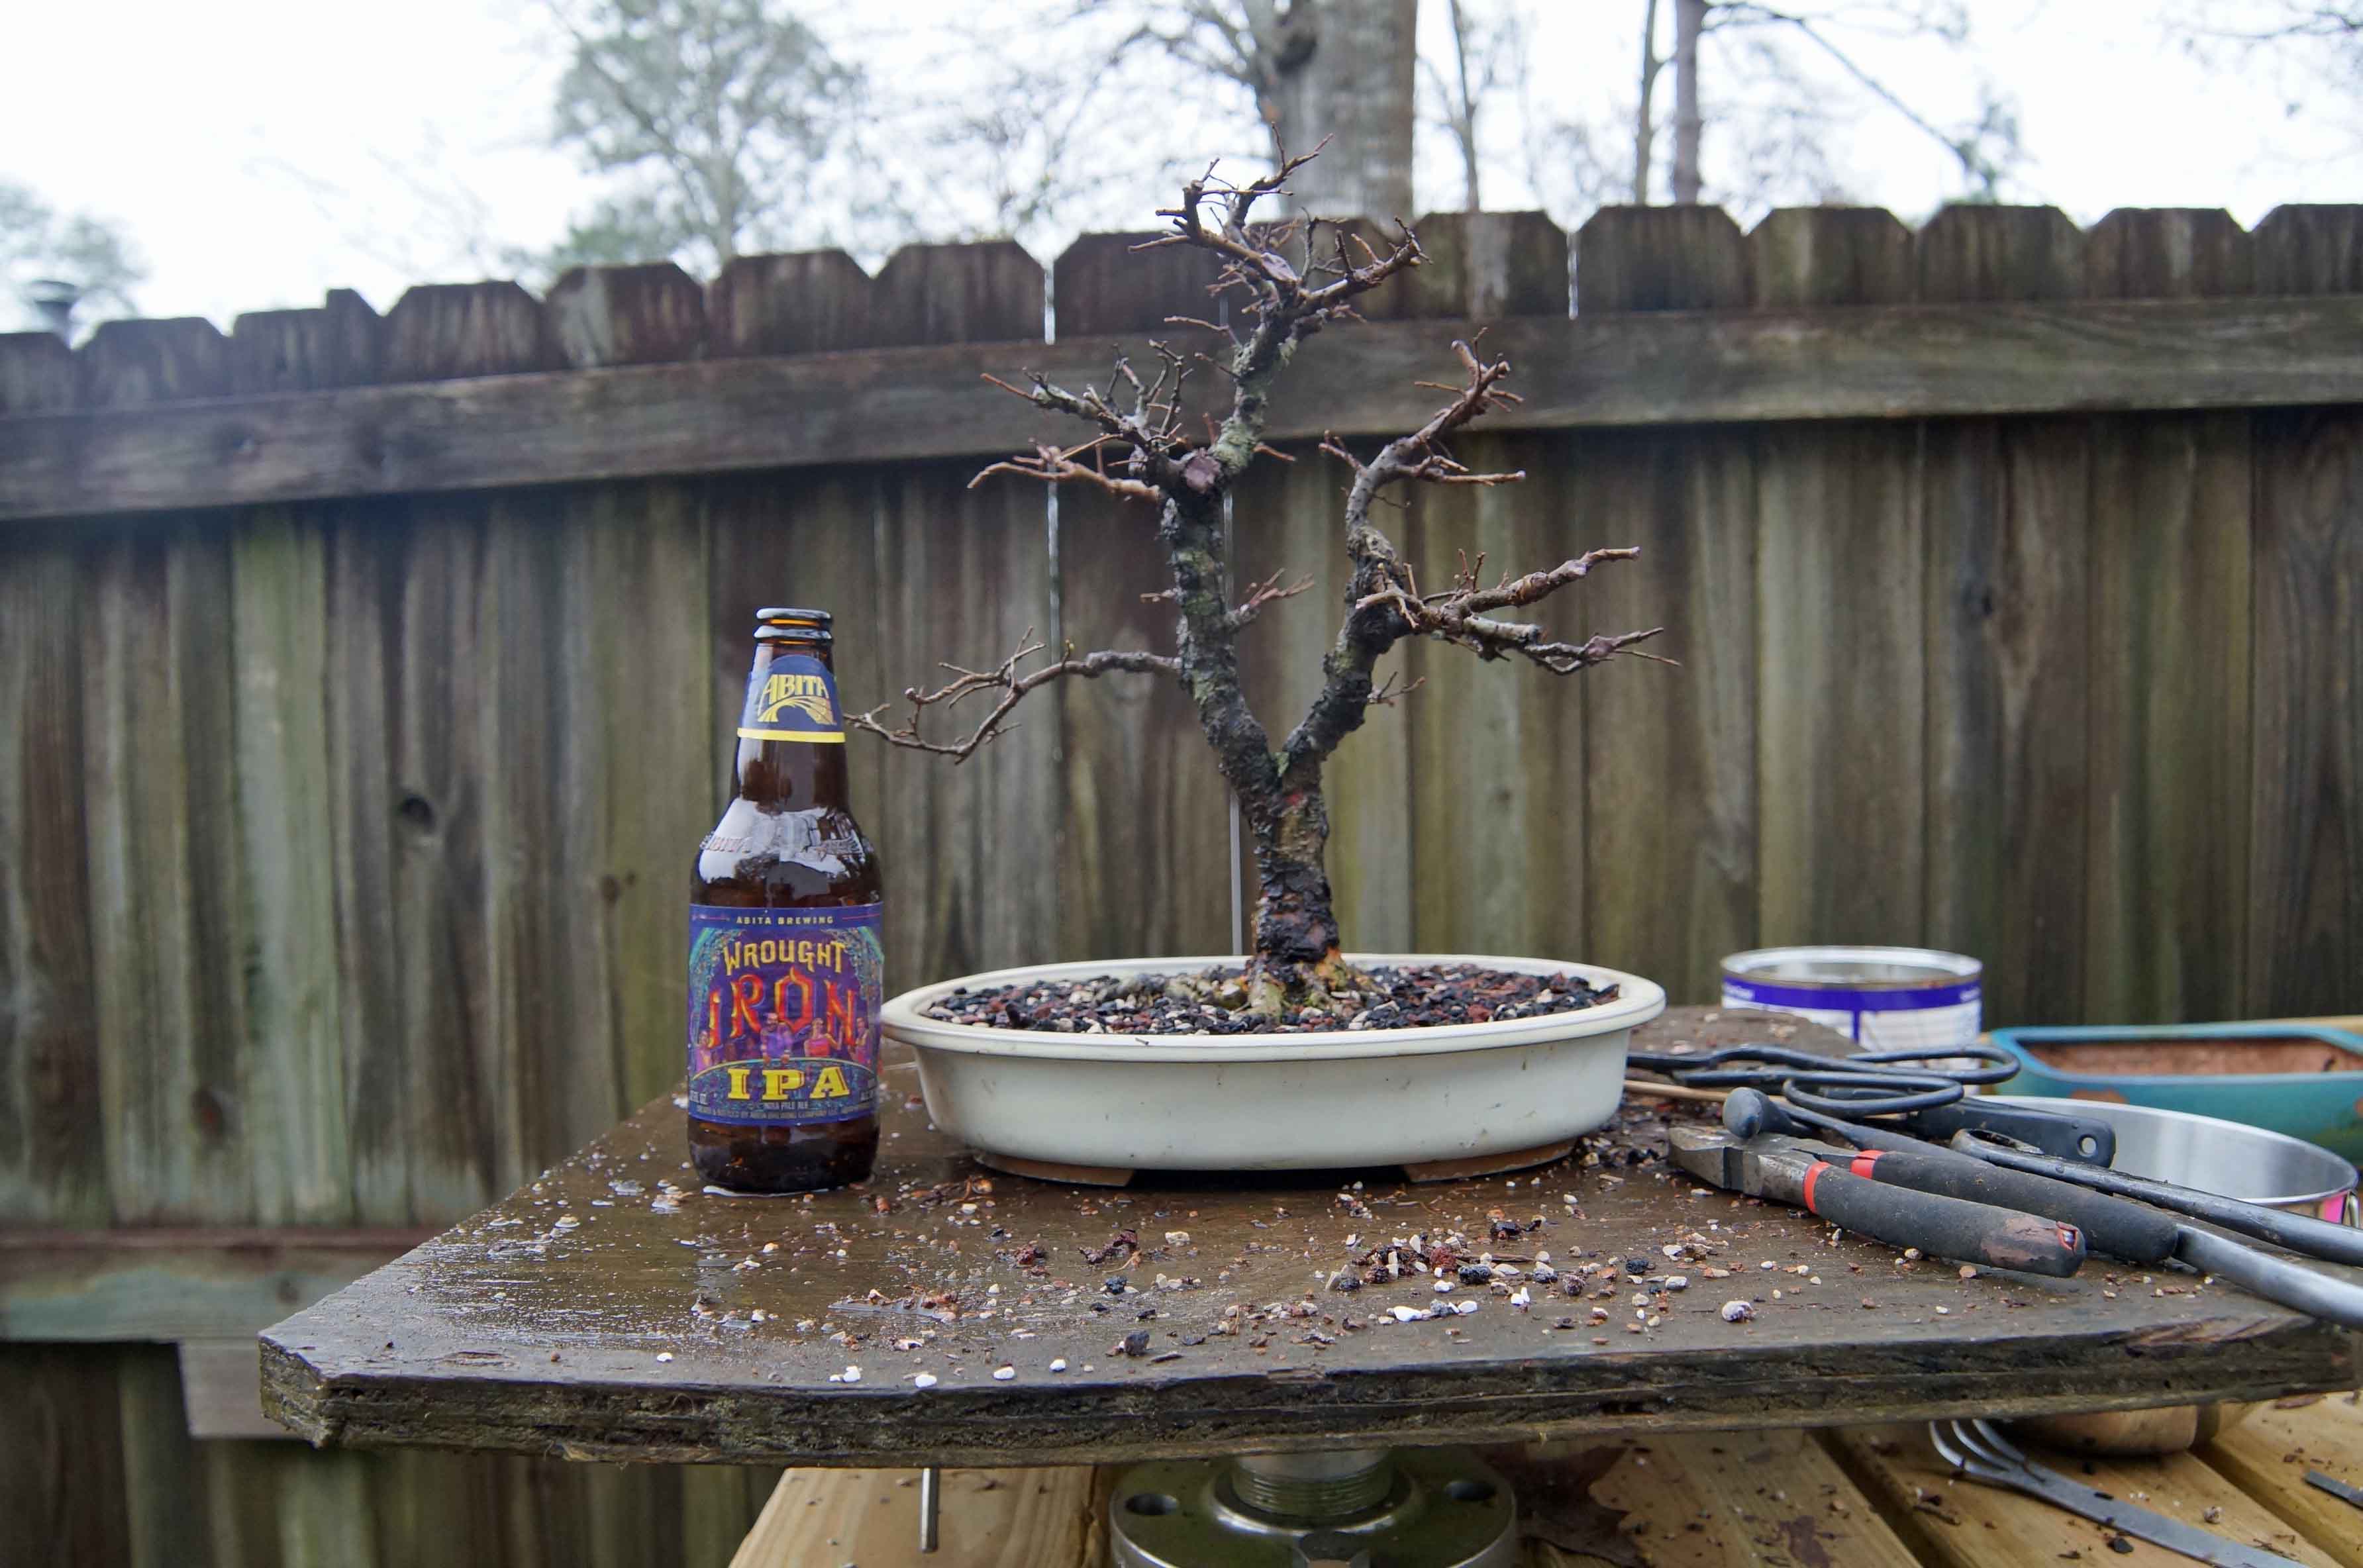
Tree number one is the result of the first air layer that I ever did. I don’t remember how long ago it was, I have pictures that go back to 2012 but I believe it is several years older. It has a nice flare at the base and some decent roots. Here is a look at it already pulled from the training pot just waiting to move into its new home
Tree number one is the result of the first air layer that I ever did. I don’t remember how long ago it was, I have pictures that go back to 2012 but I believe it is several years older. It has a nice flare at the base and some decent roots. Here is a look at it already pulled from the training pot just waiting to move into its new home
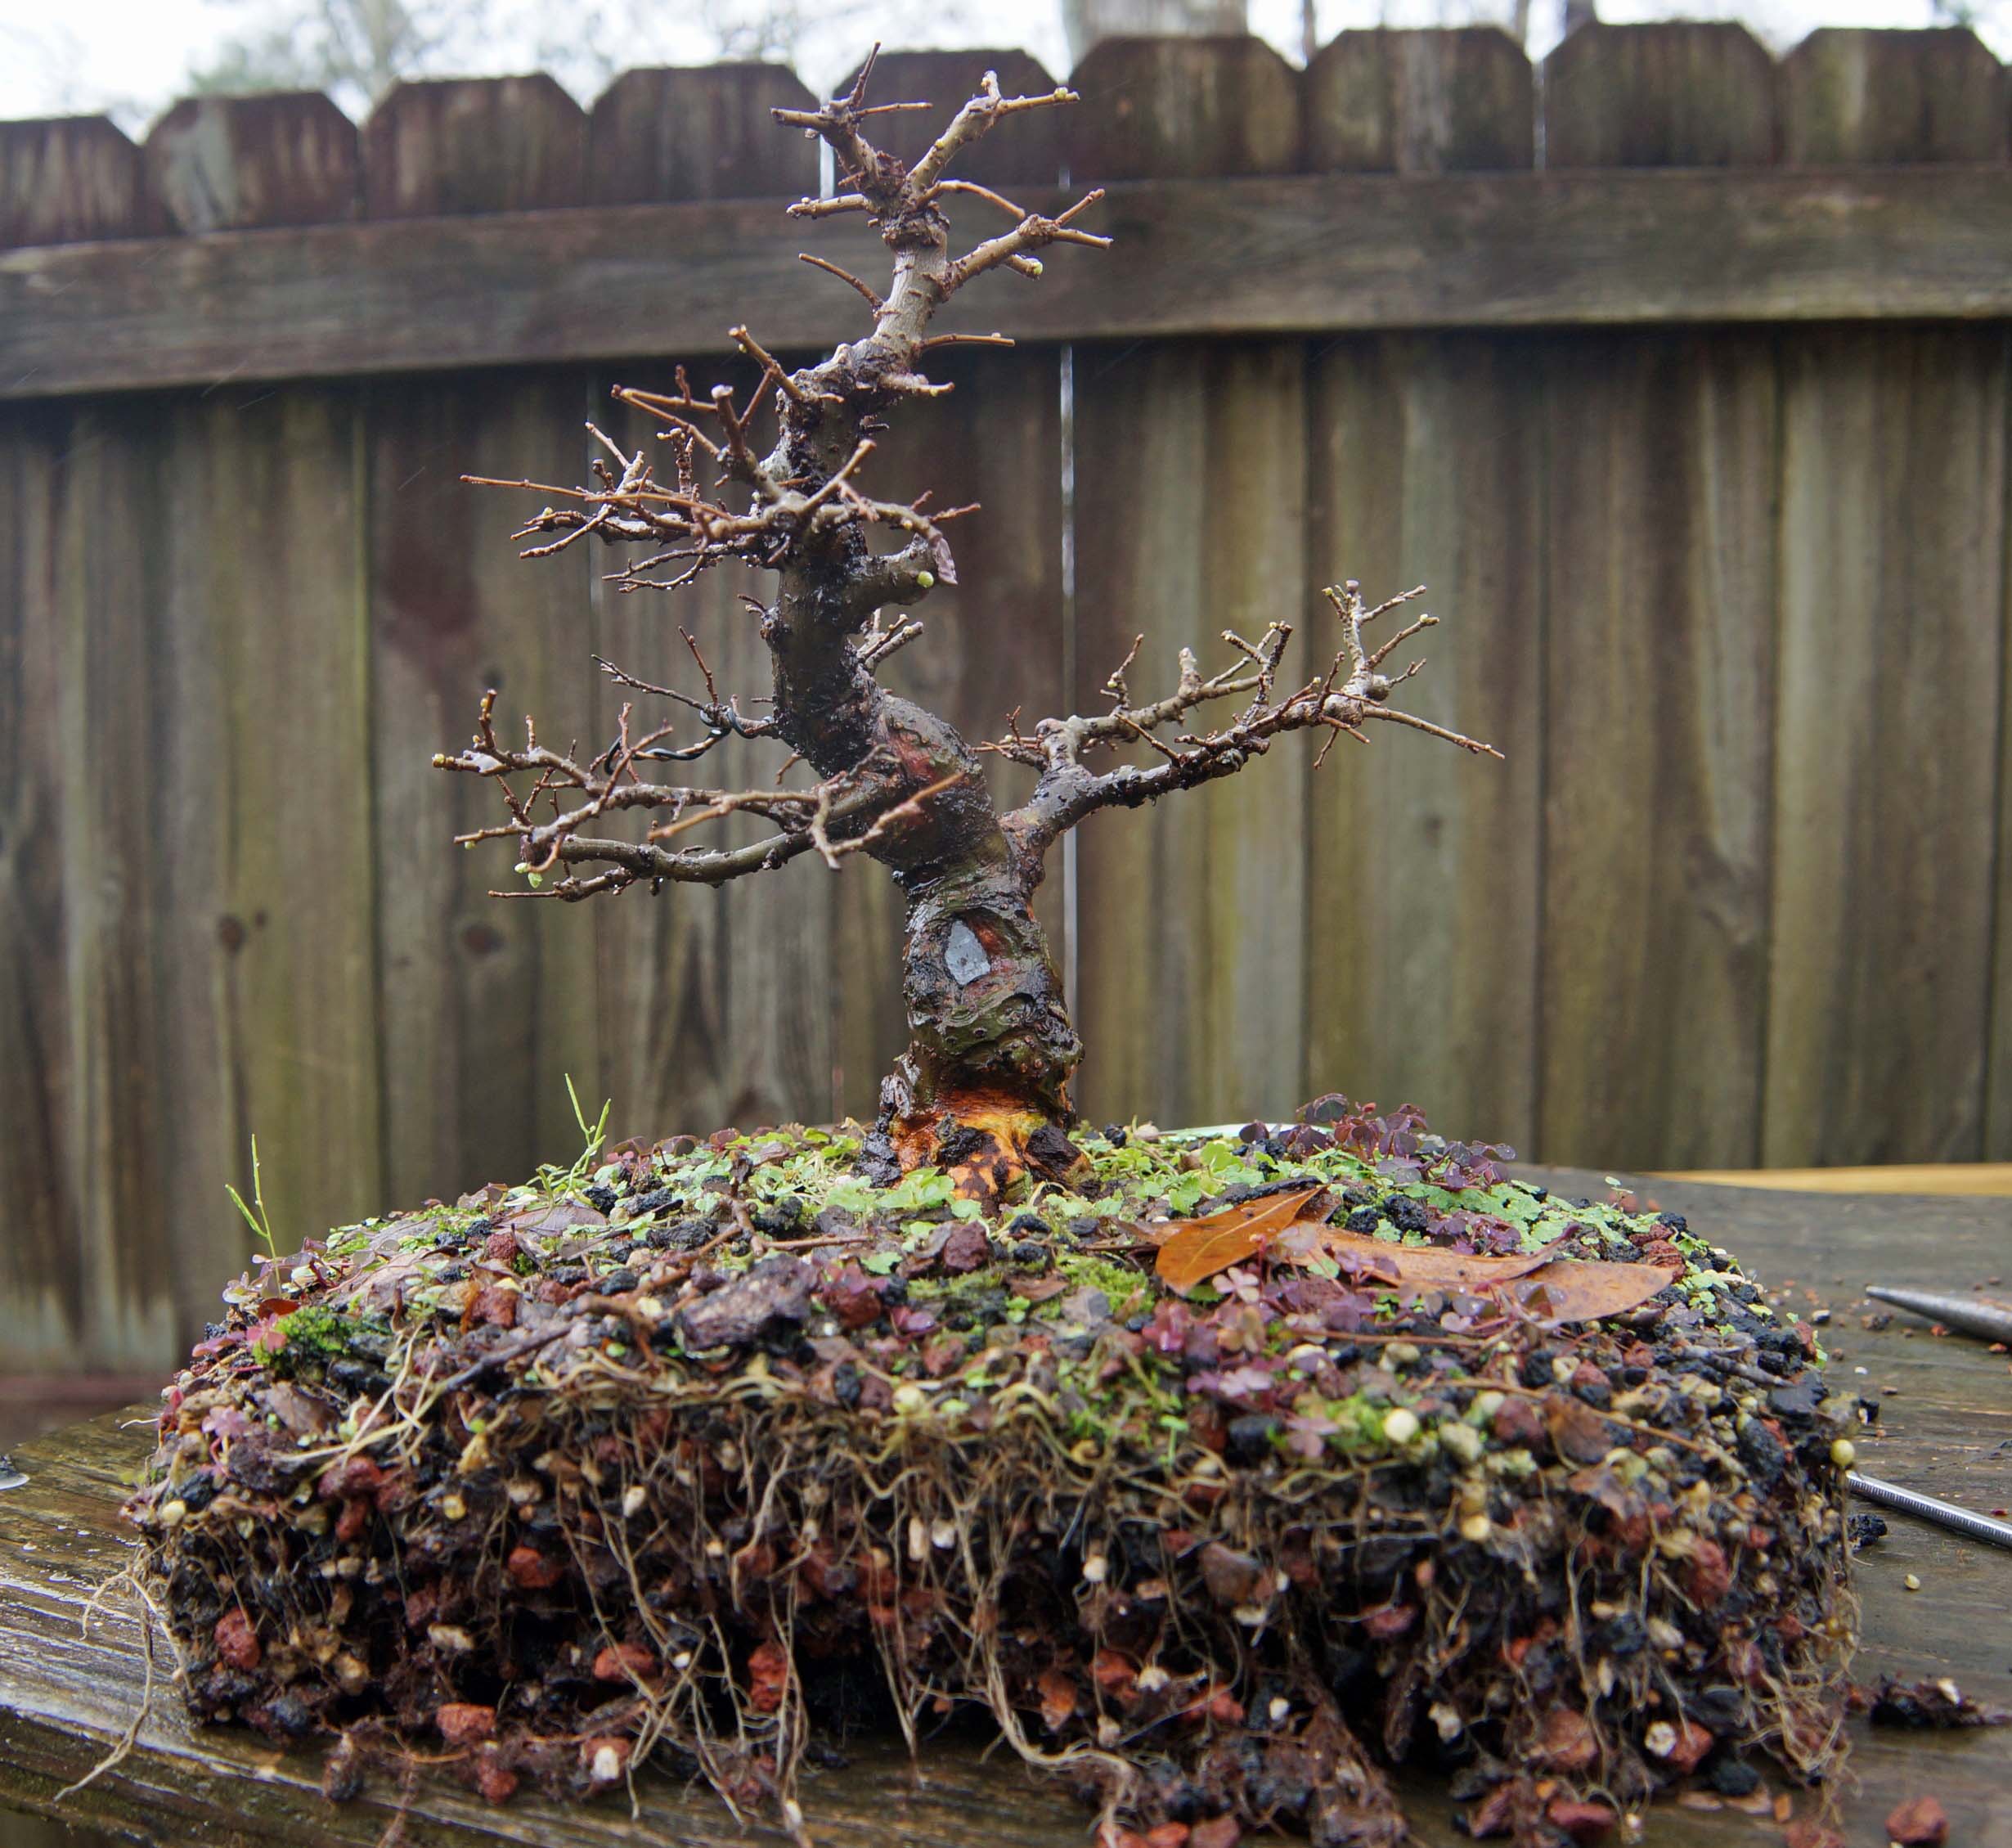

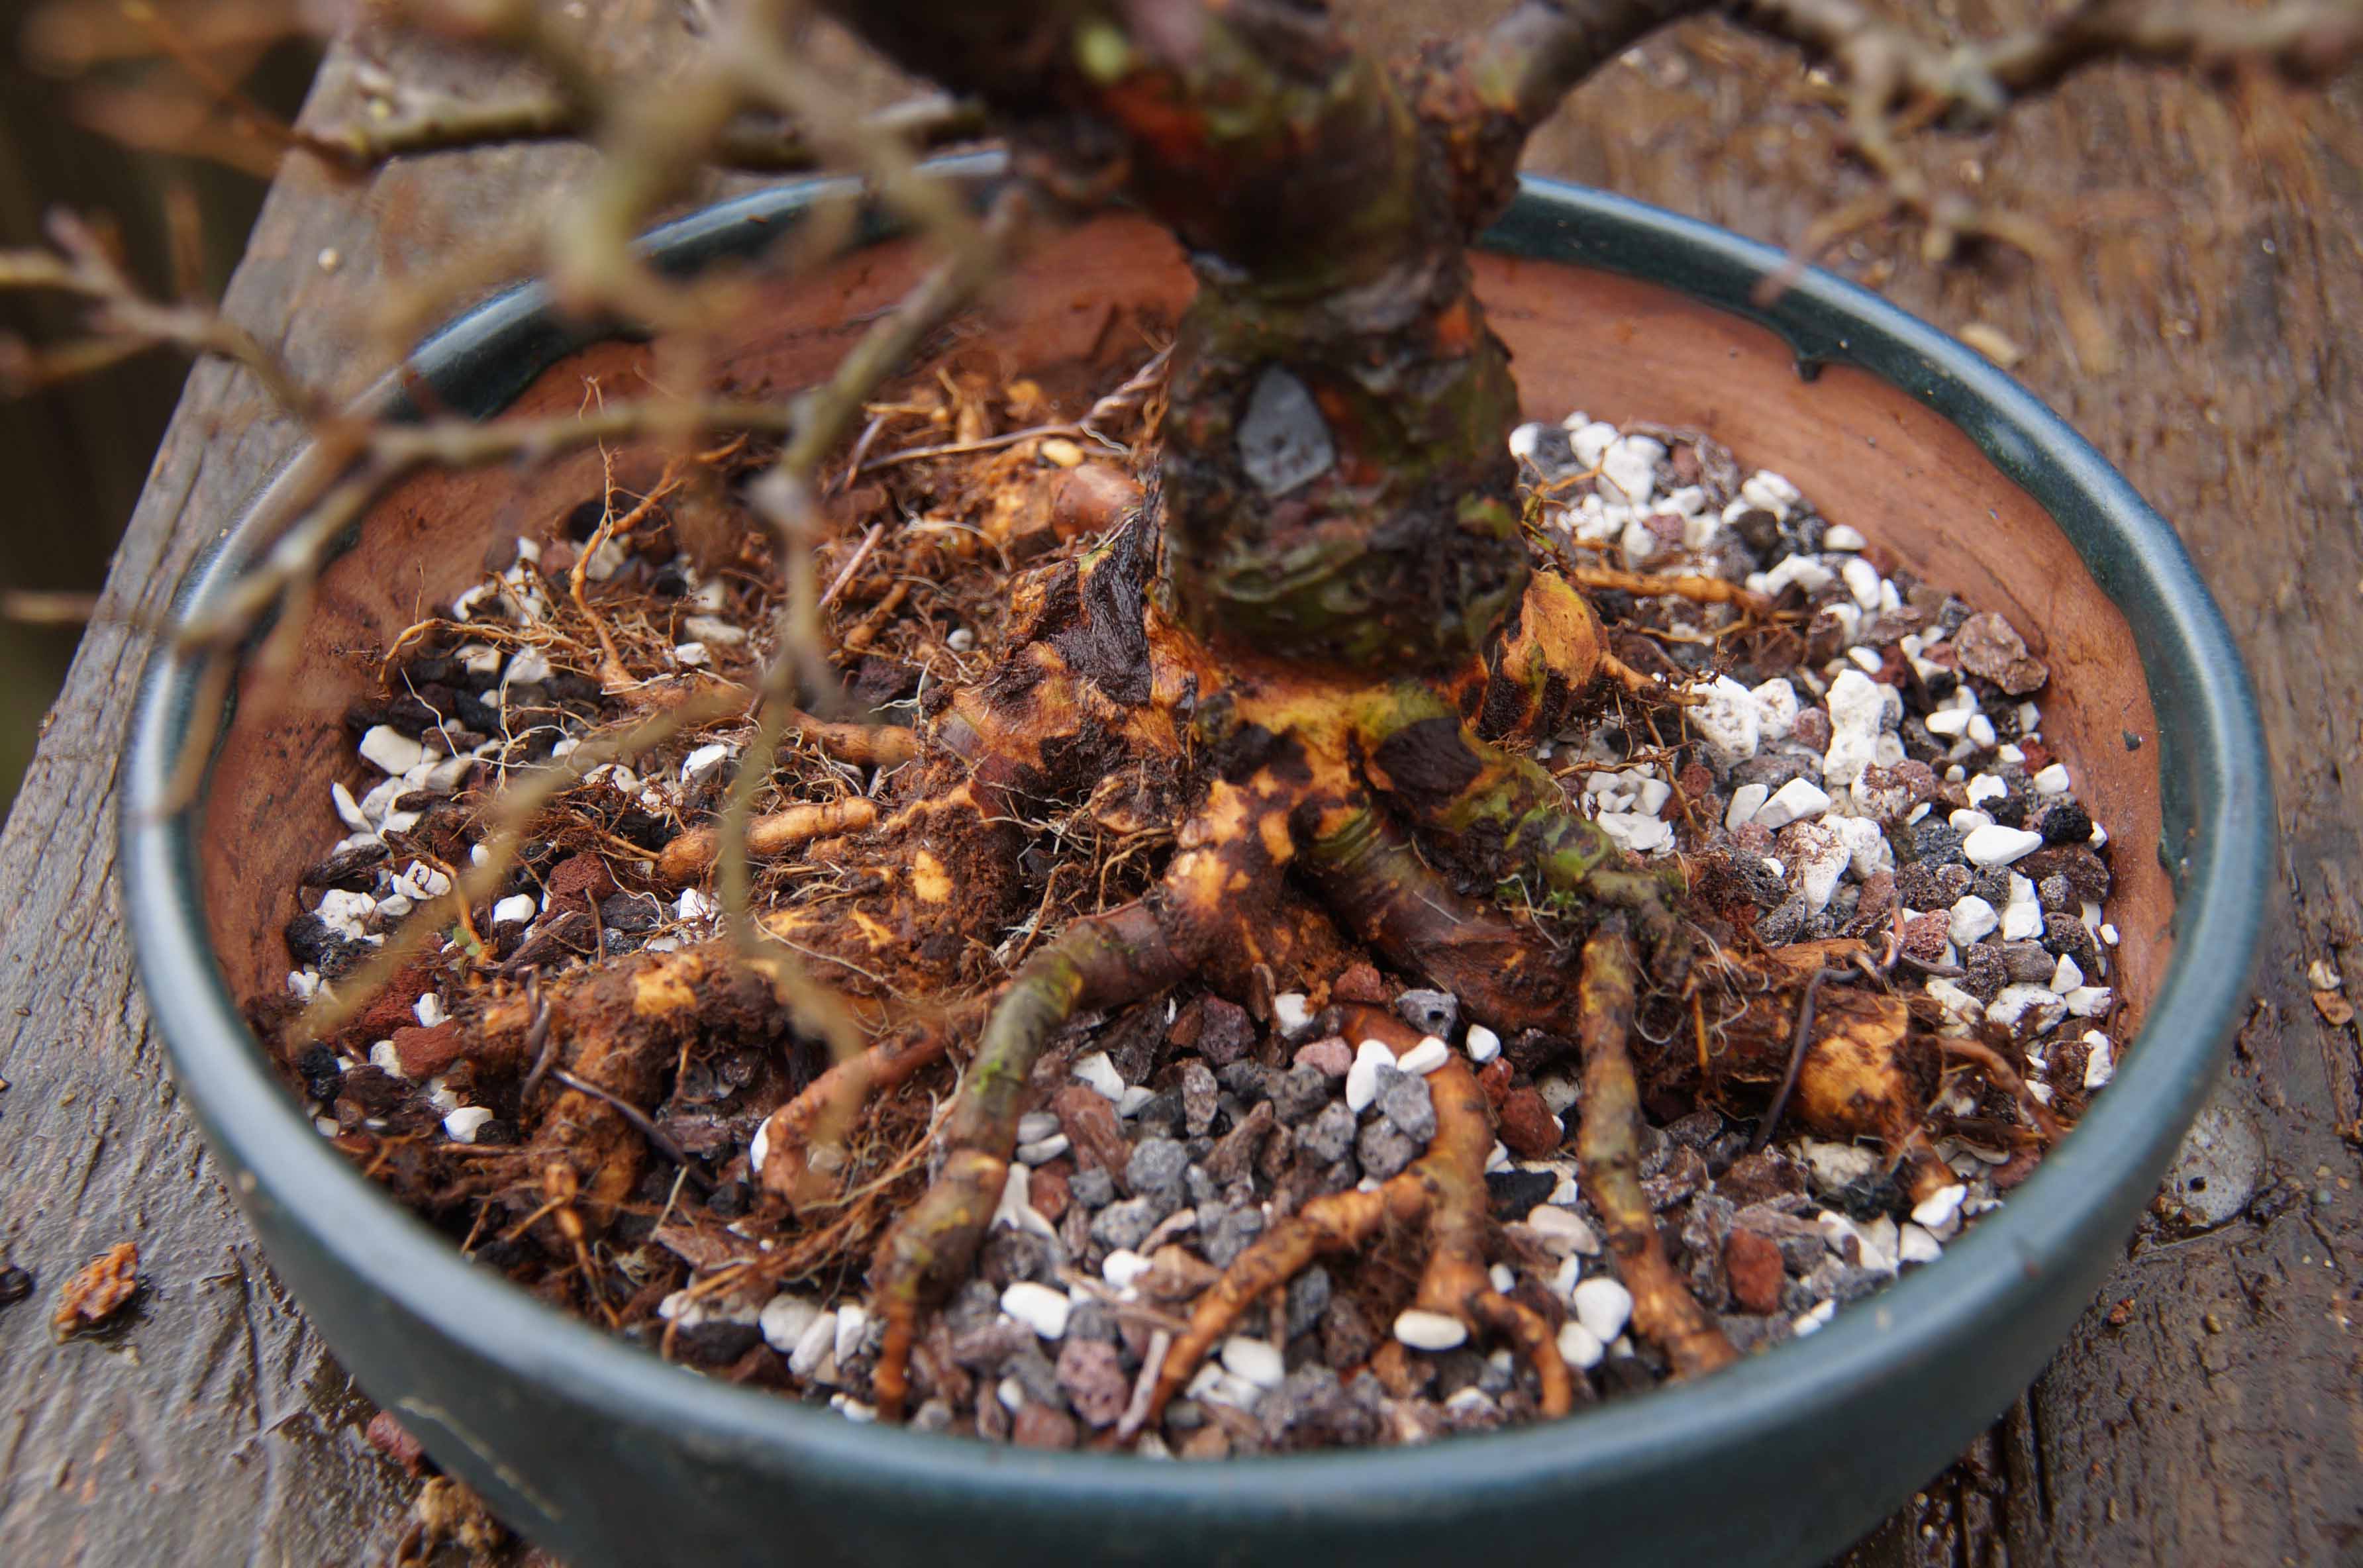
The yellowish color is where I cleaned some moss off of the trunk and, unfortunately, it took some of the bark with it. There is a type of moss called feather moss or some call it sheet moss, it is very pretty, but it is a tree eater; don’t let it get started on your trunk. I have to scrub it off several times a season. It is so humid here, in the Heart of Dixie, that if you stand still long enough, moss will grow on you.
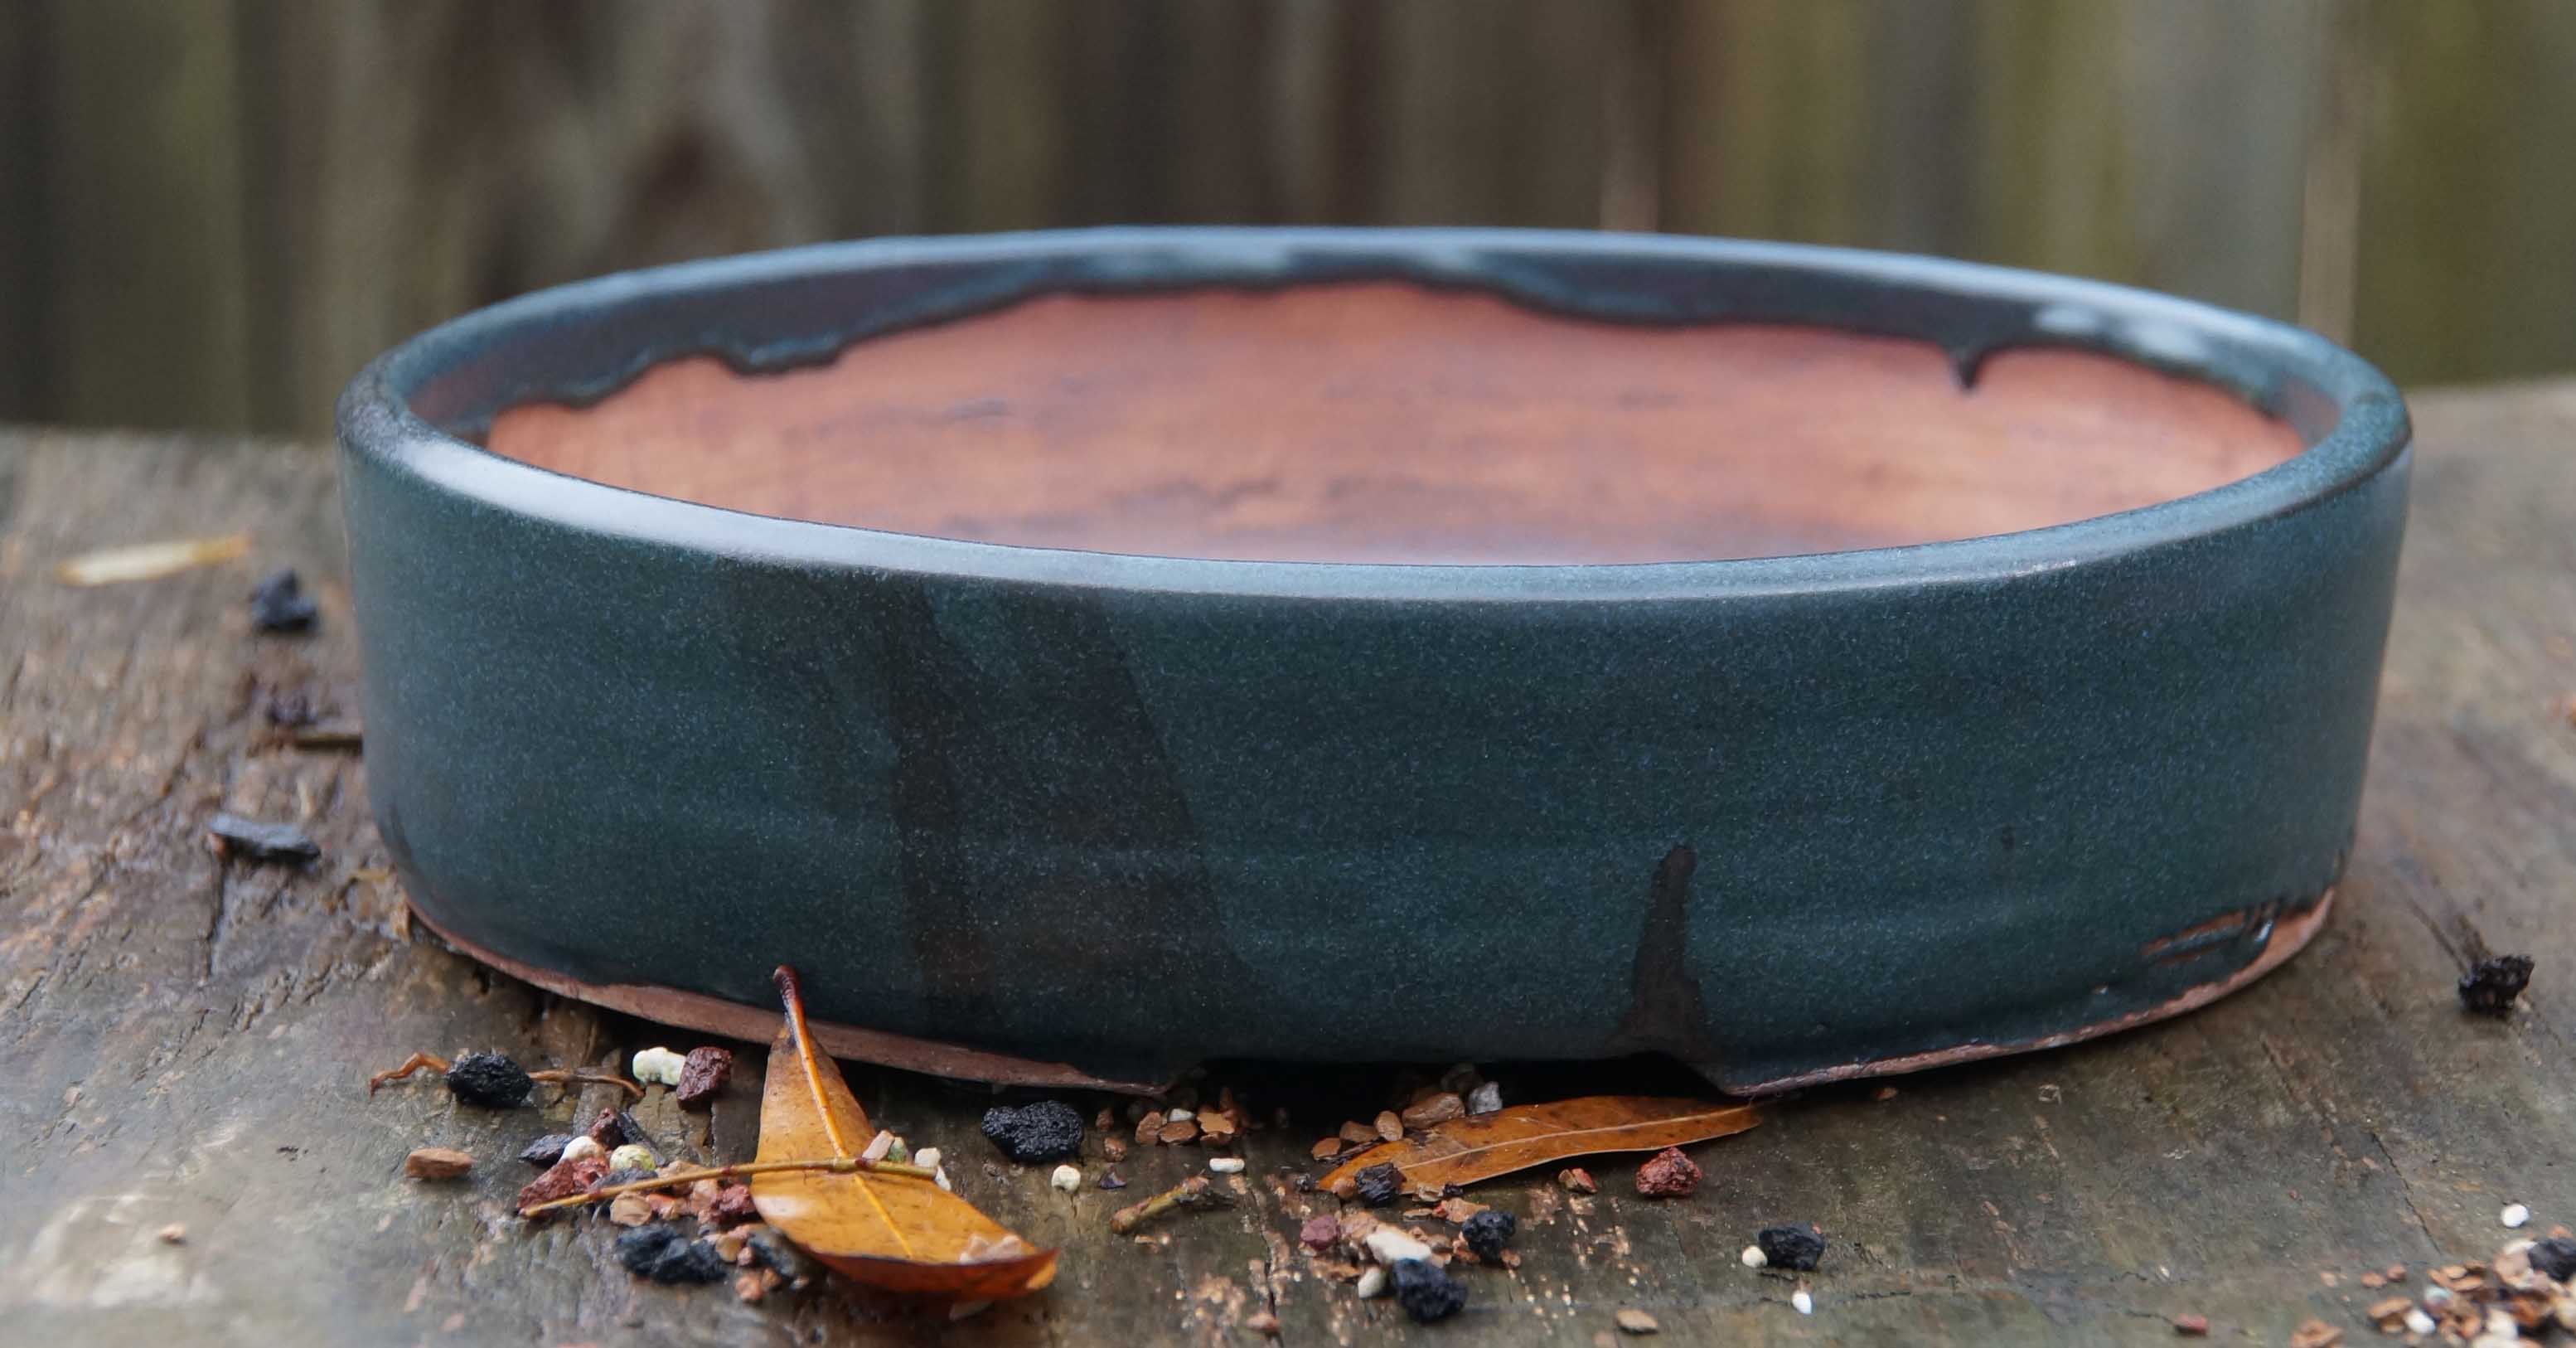
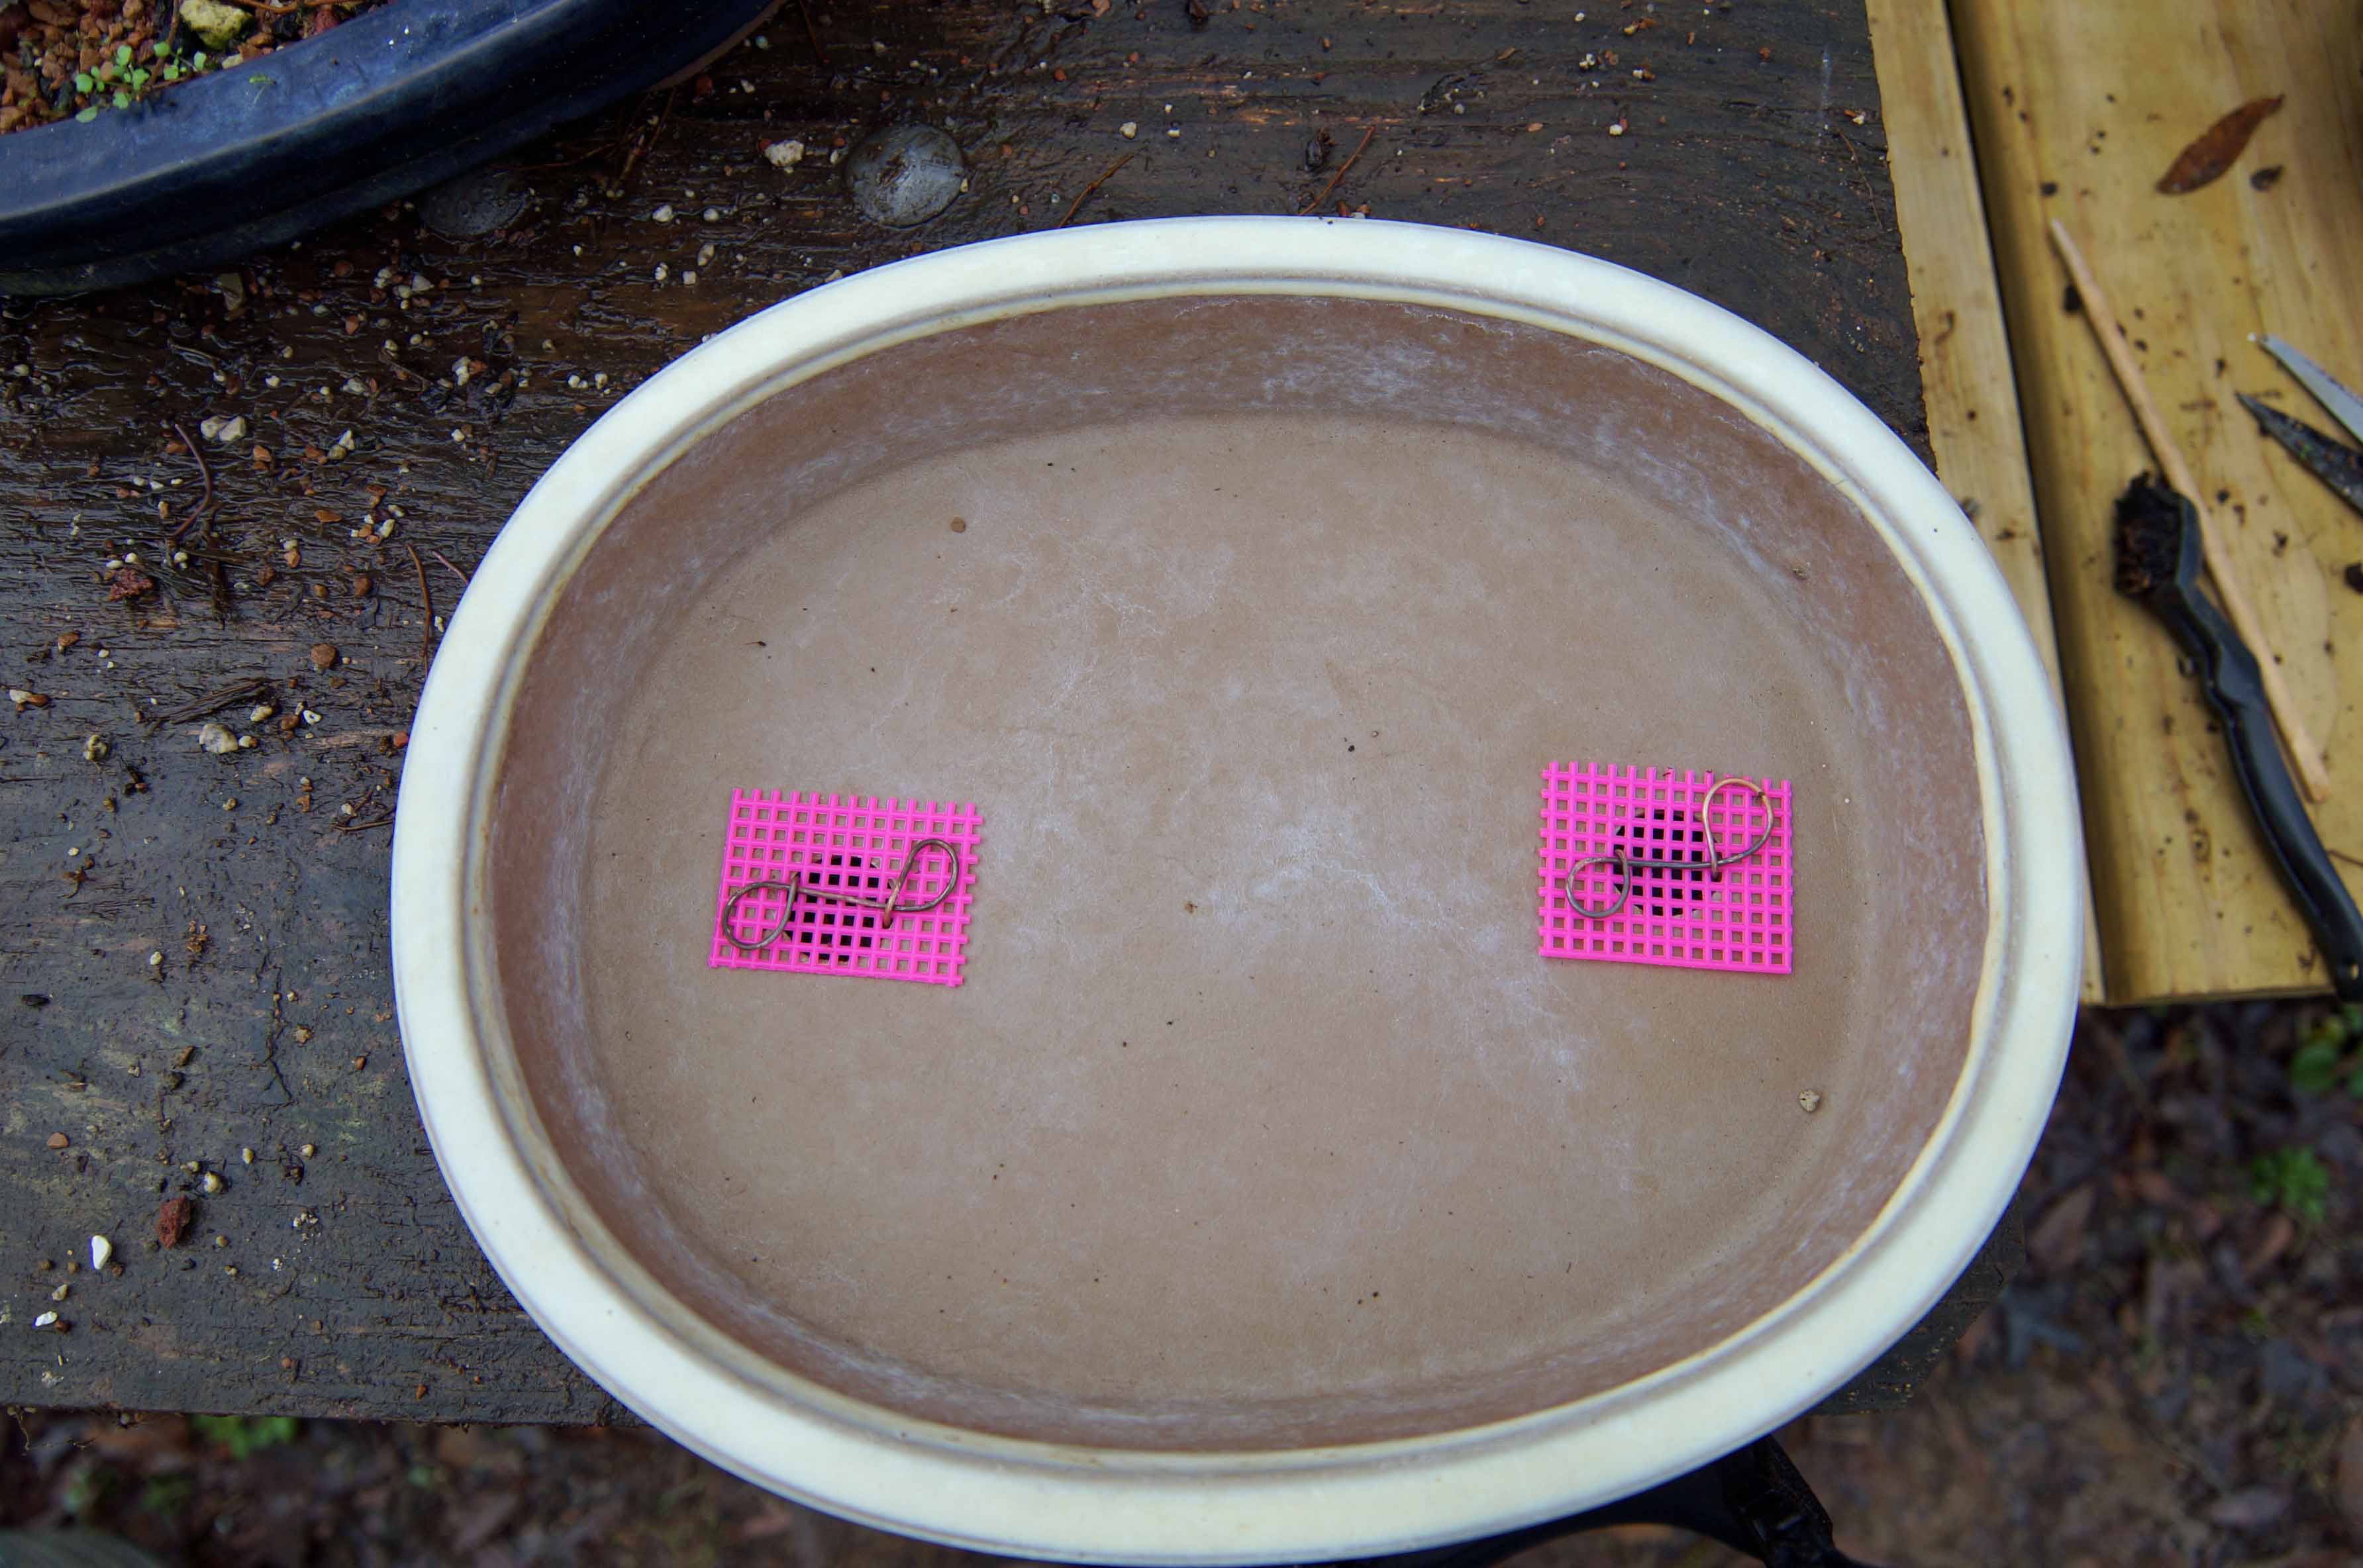
Before we tear into the roots, let’s get the pot ready for the tree once we are done with the root work. This elm is getting a new home this year. I purchased this nice little pot from Sam Miller, an American potter. He makes some really nice pots that scream quality and are reasonably priced. If need something custom, he will make one for you, too. You can find him at Intermountain Bonsai on Face Book. So here is the pot with the drainage screen already attached with wingadings. You can read about wingadings here.
Before we tear into the roots, let’s get the pot ready for the tree once we are done with the root work. This elm is getting a new home this year. I purchased this nice little pot from Sam Miller, an American potter. He makes some really nice pots that scream quality and are reasonably priced. If need something custom, he will make one for you, too. You can find him at Intermountain Bonsai on Face Book. So here is the pot with the drainage screen already attached with wingadings. You can read about wingadings here.


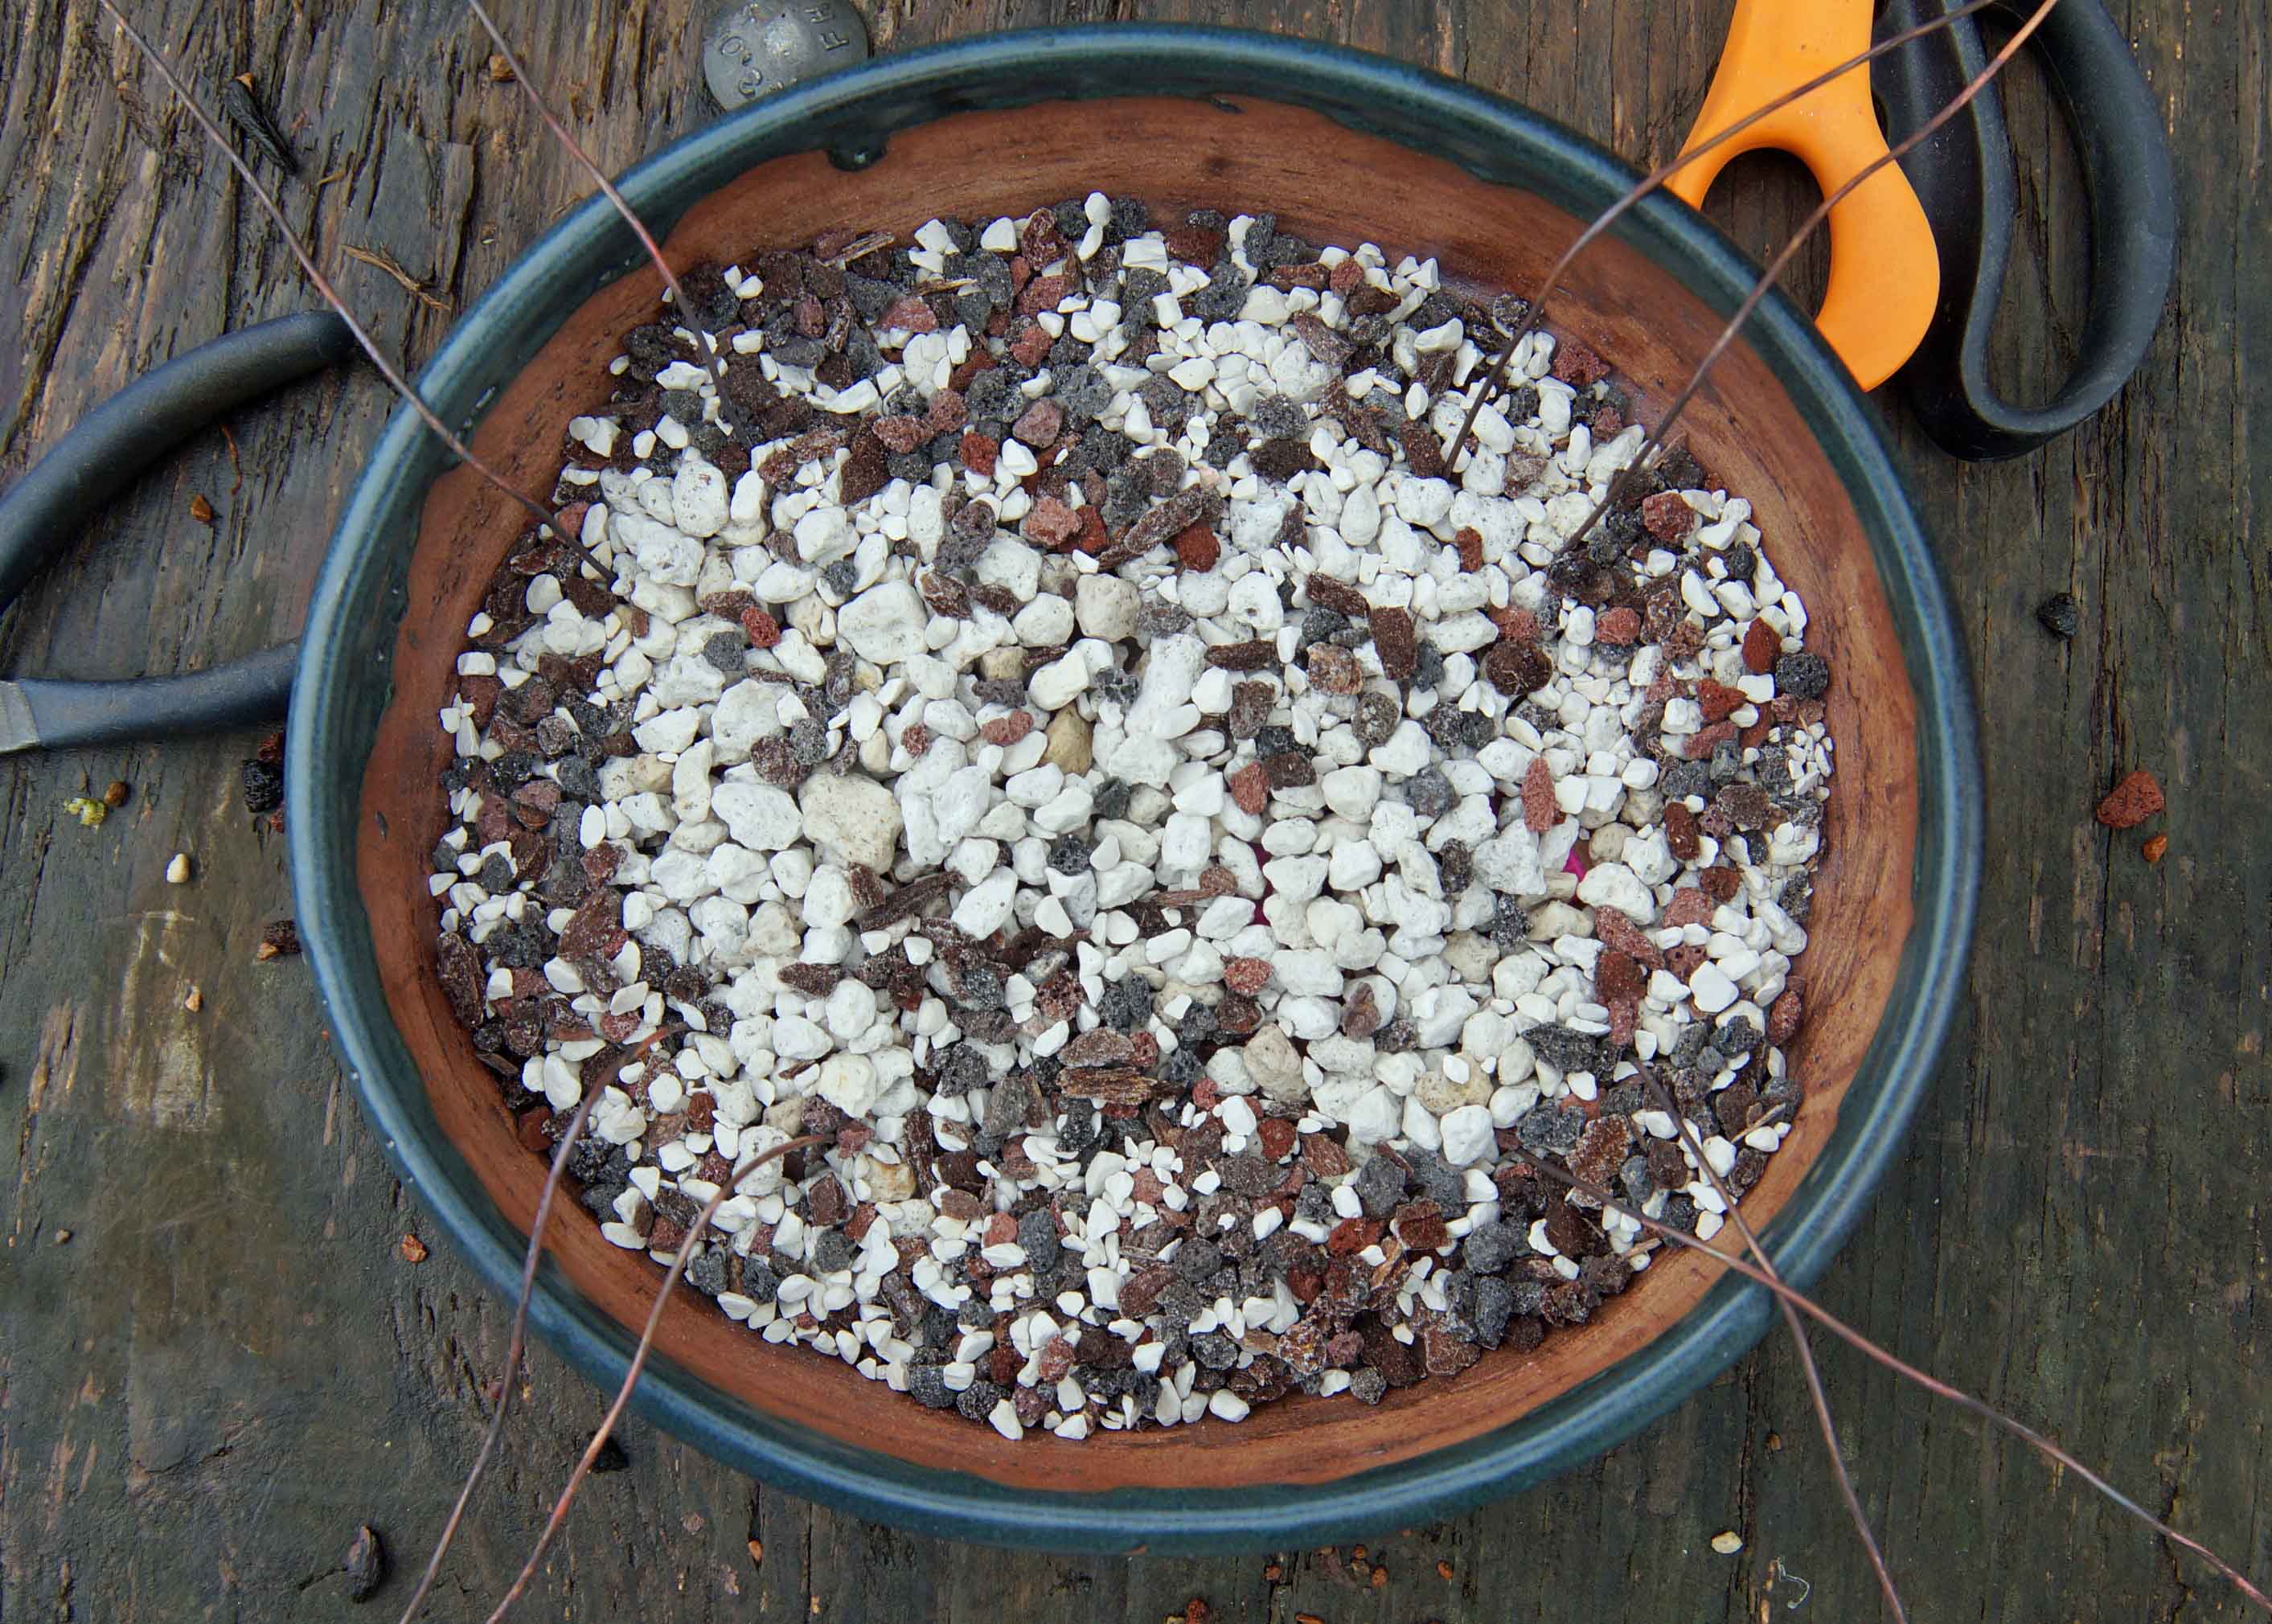
Hot pink screen, you ask? Why yes, I say. I find that the trees really like them and actually grow better if you use hot pink screen. Try it, you will be amazed at the results, it is better than Superthrive, even.
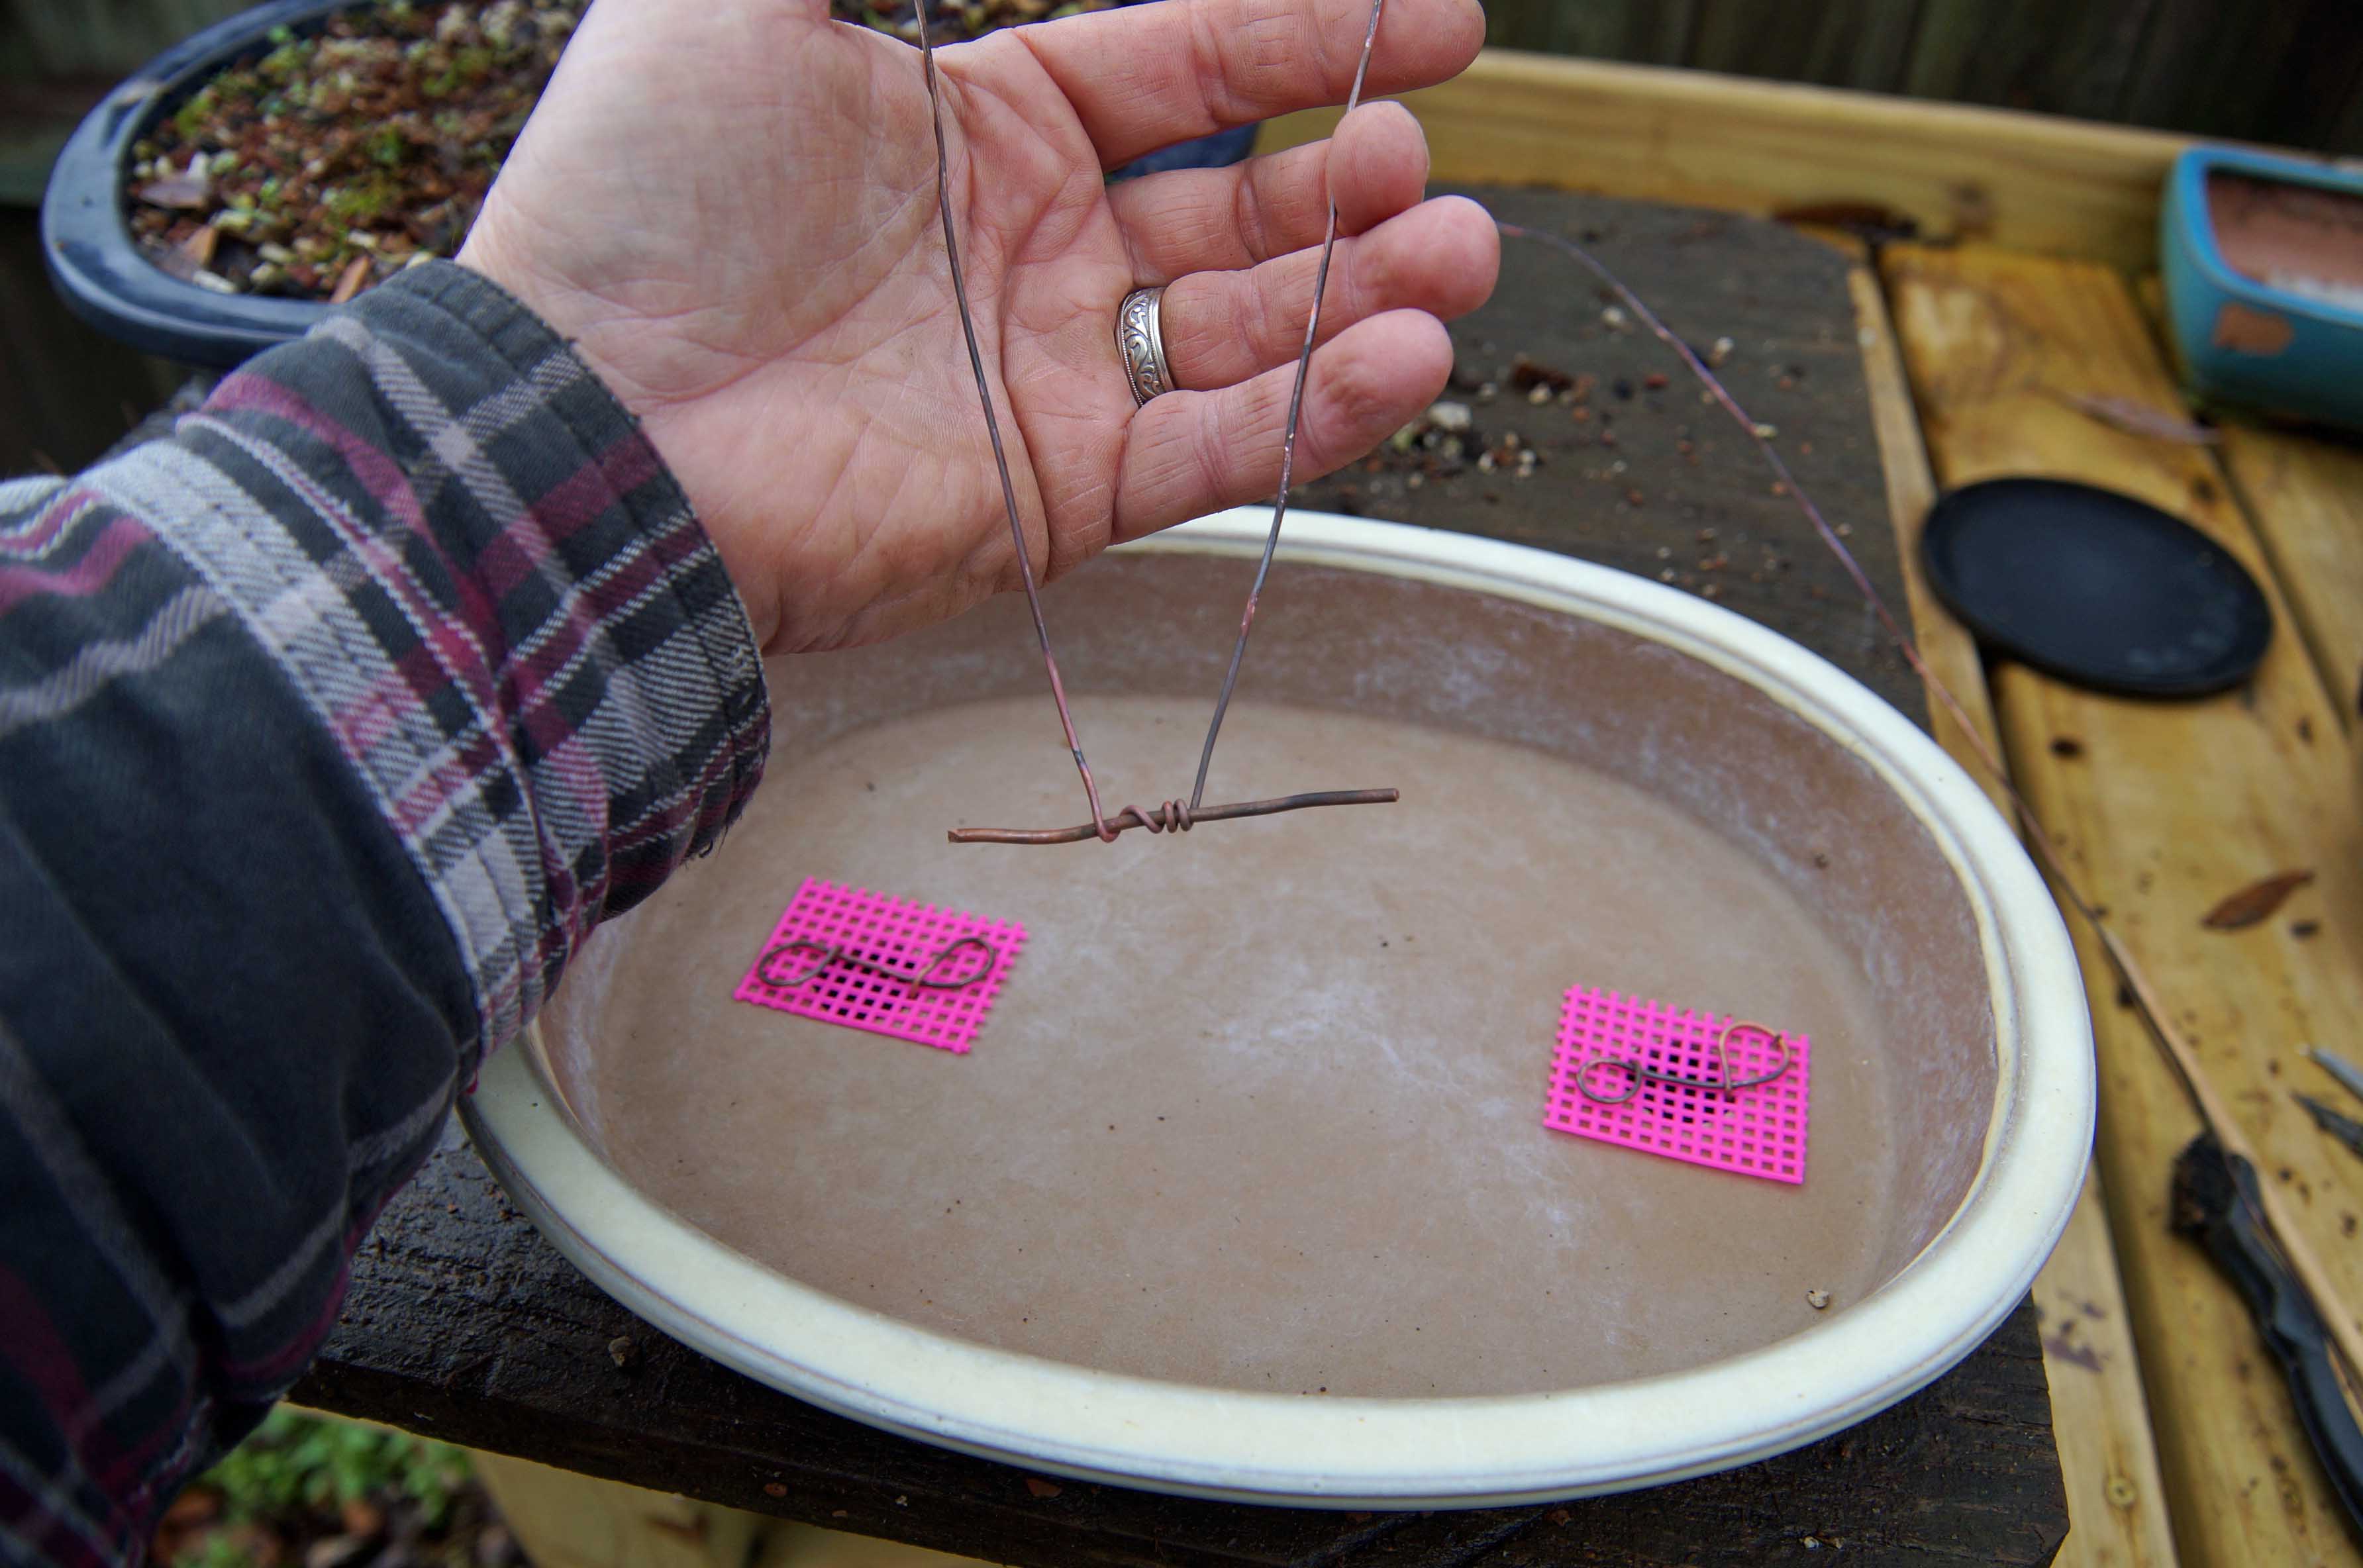
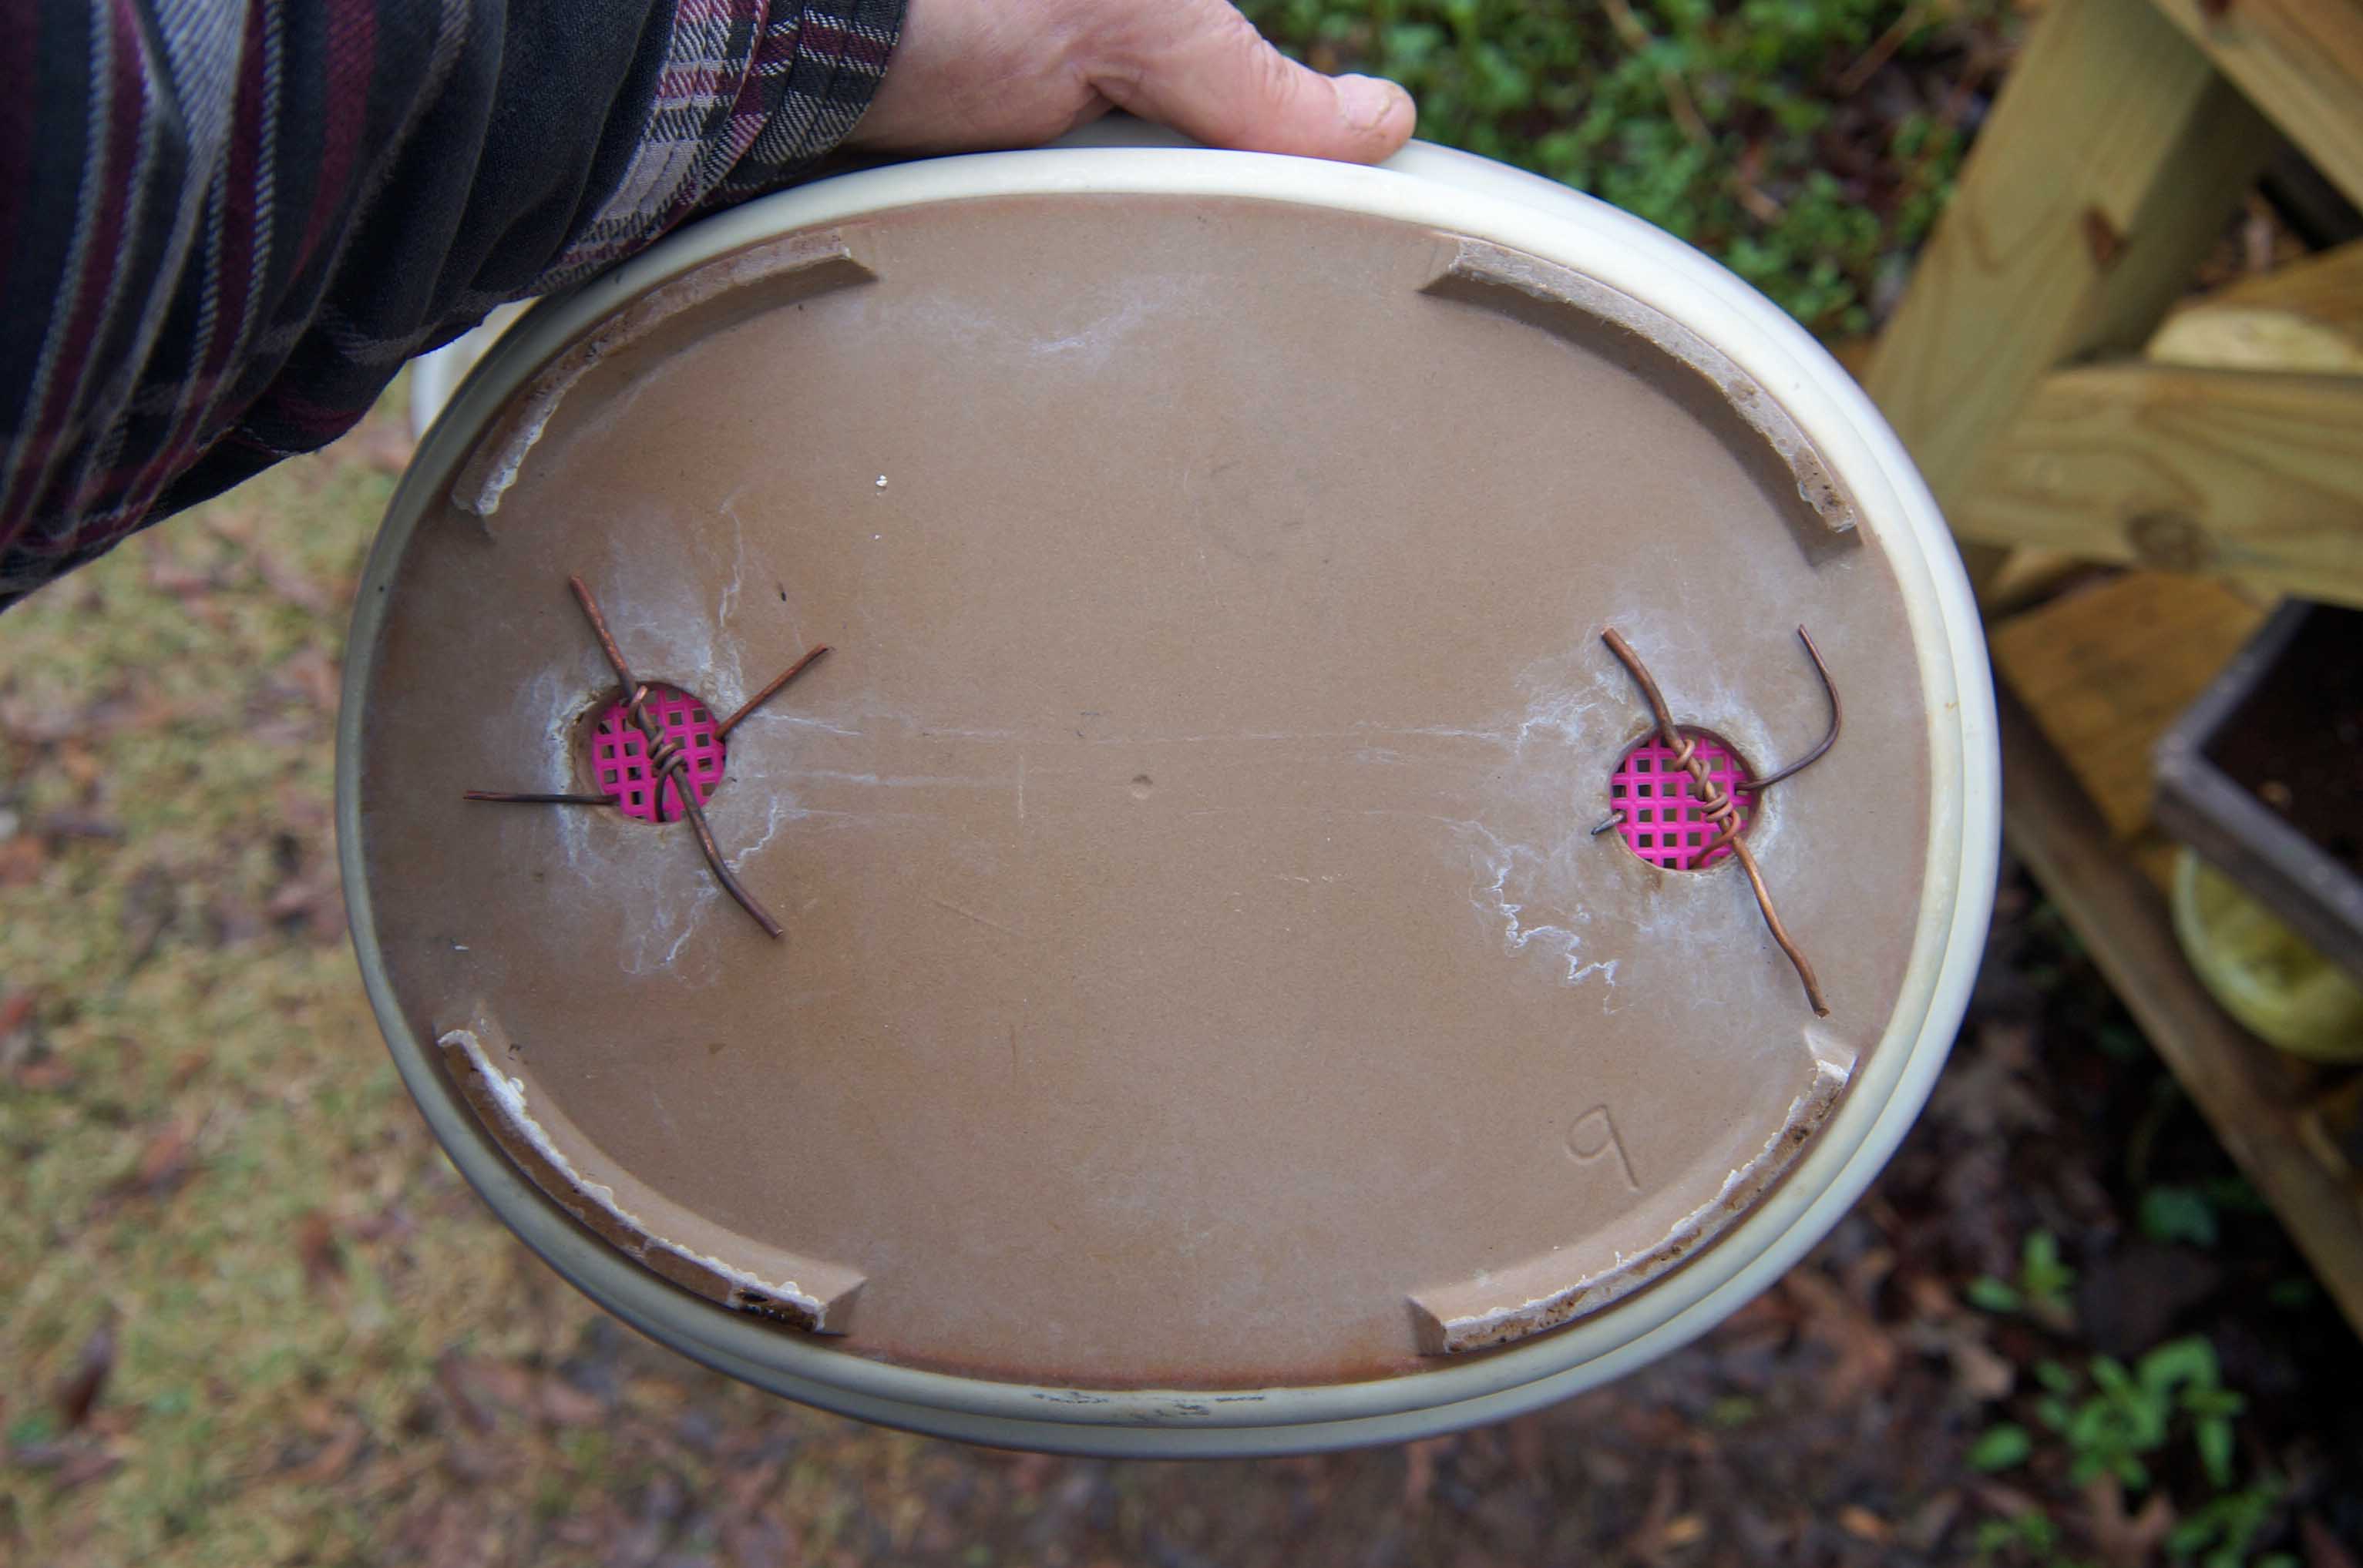
The tiedown wires were added, then some pumice for a drainage layer along with a mound of soil, the pot is standing on ready.
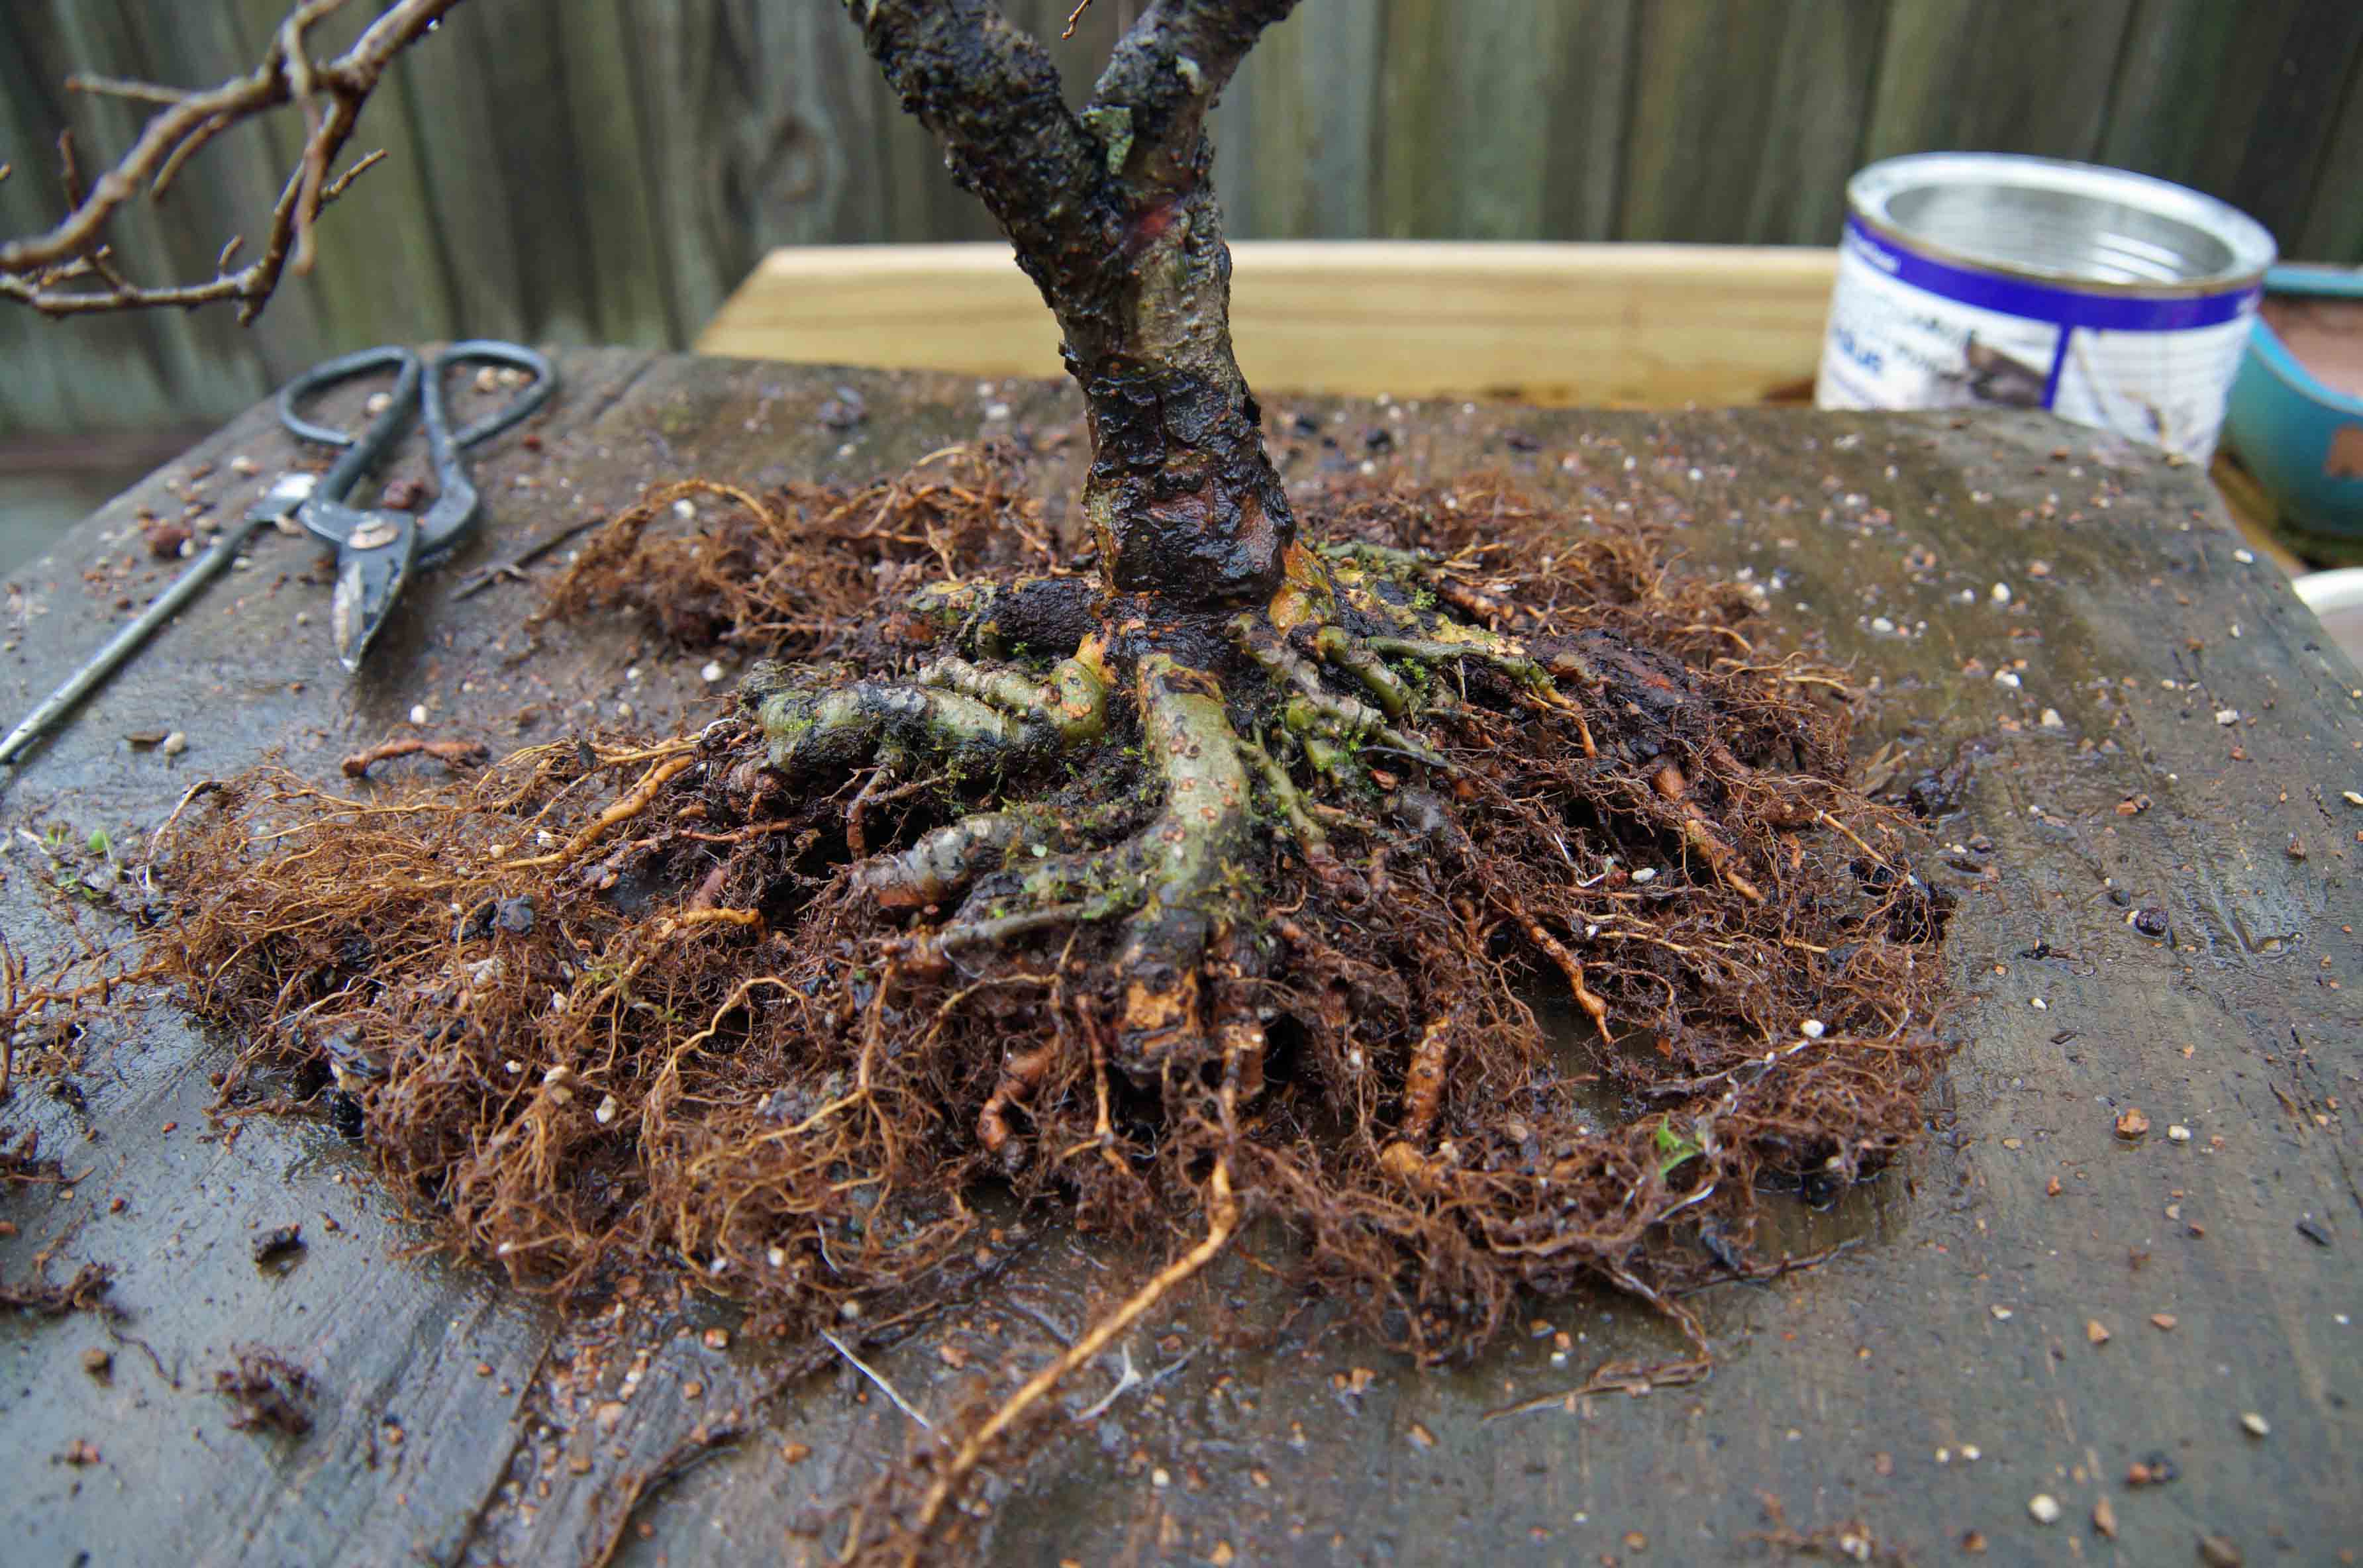
The soil was combed out of the roots and then they were gently washed. Notice how flat the roots are, I have been growing may elms while they were screwed to a cutting board for several years now, you can read about the technique here.
The tiedown wires were added, then some pumice for a drainage layer along with a mound of soil, the pot is standing on ready.
The soil was combed out of the roots and then they were gently washed. Notice how flat the roots are, I have been growing may elms while they were screwed to a cutting board for several years now, you can read about the technique here.
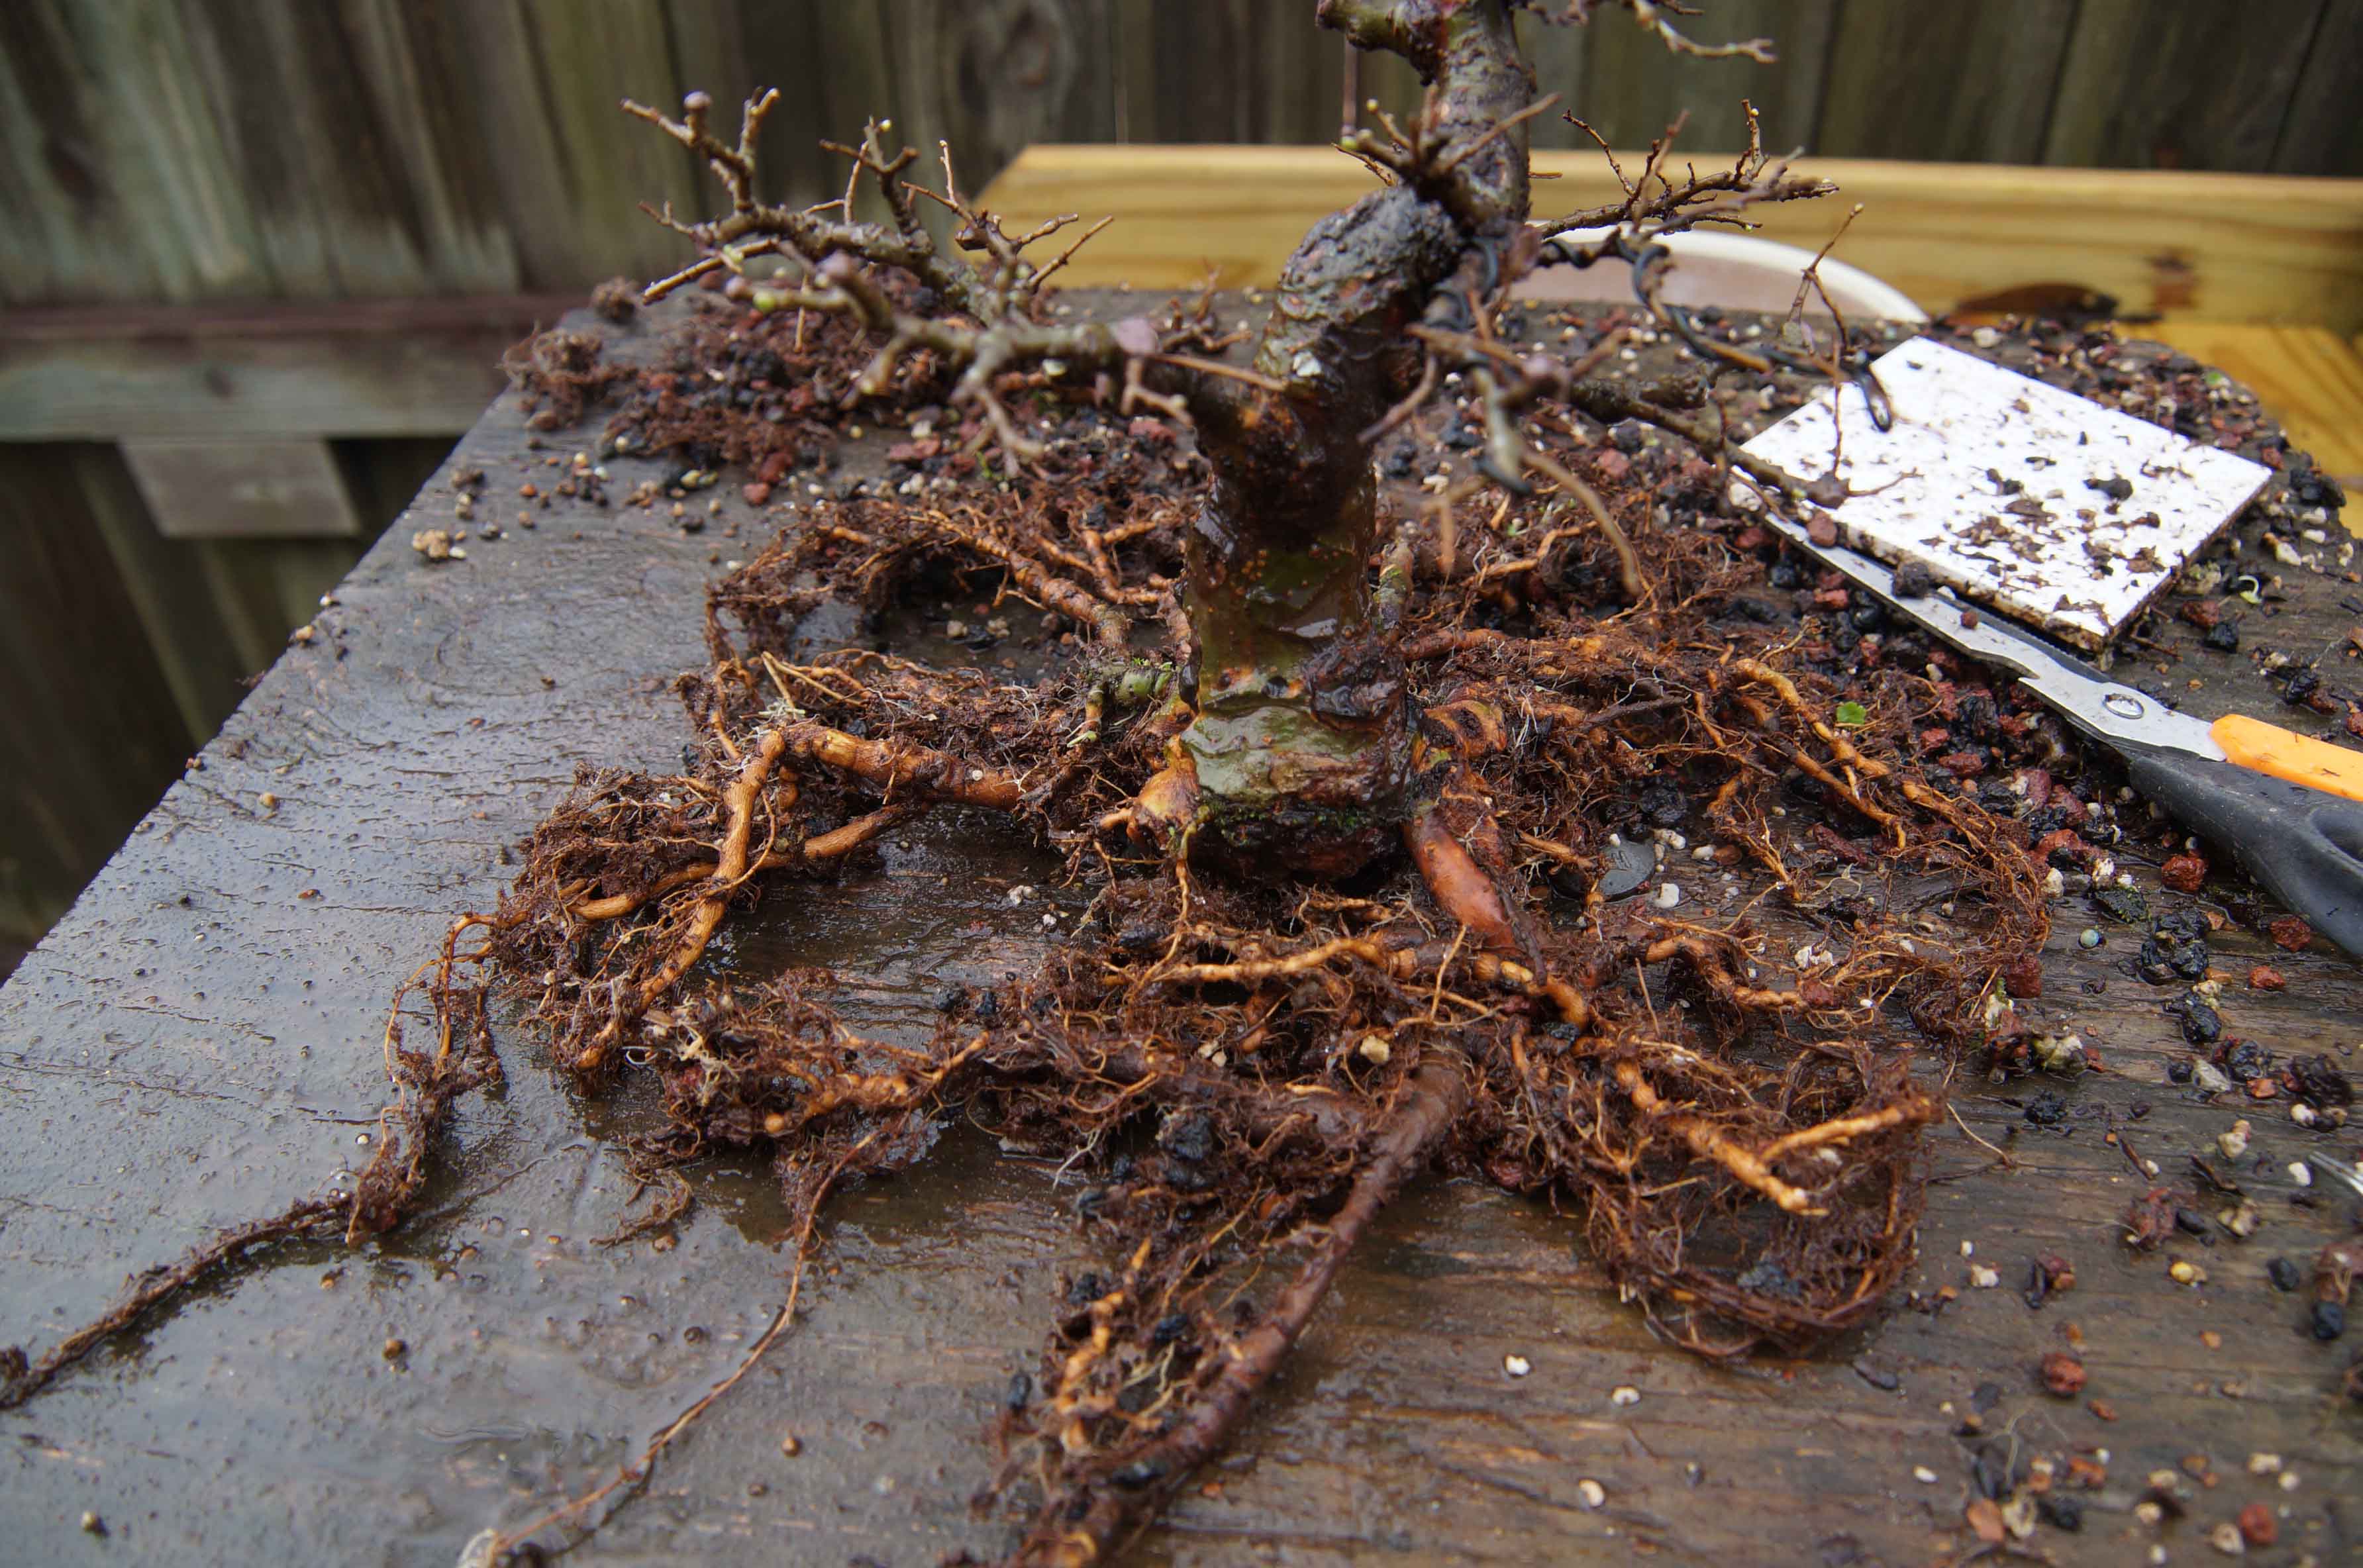

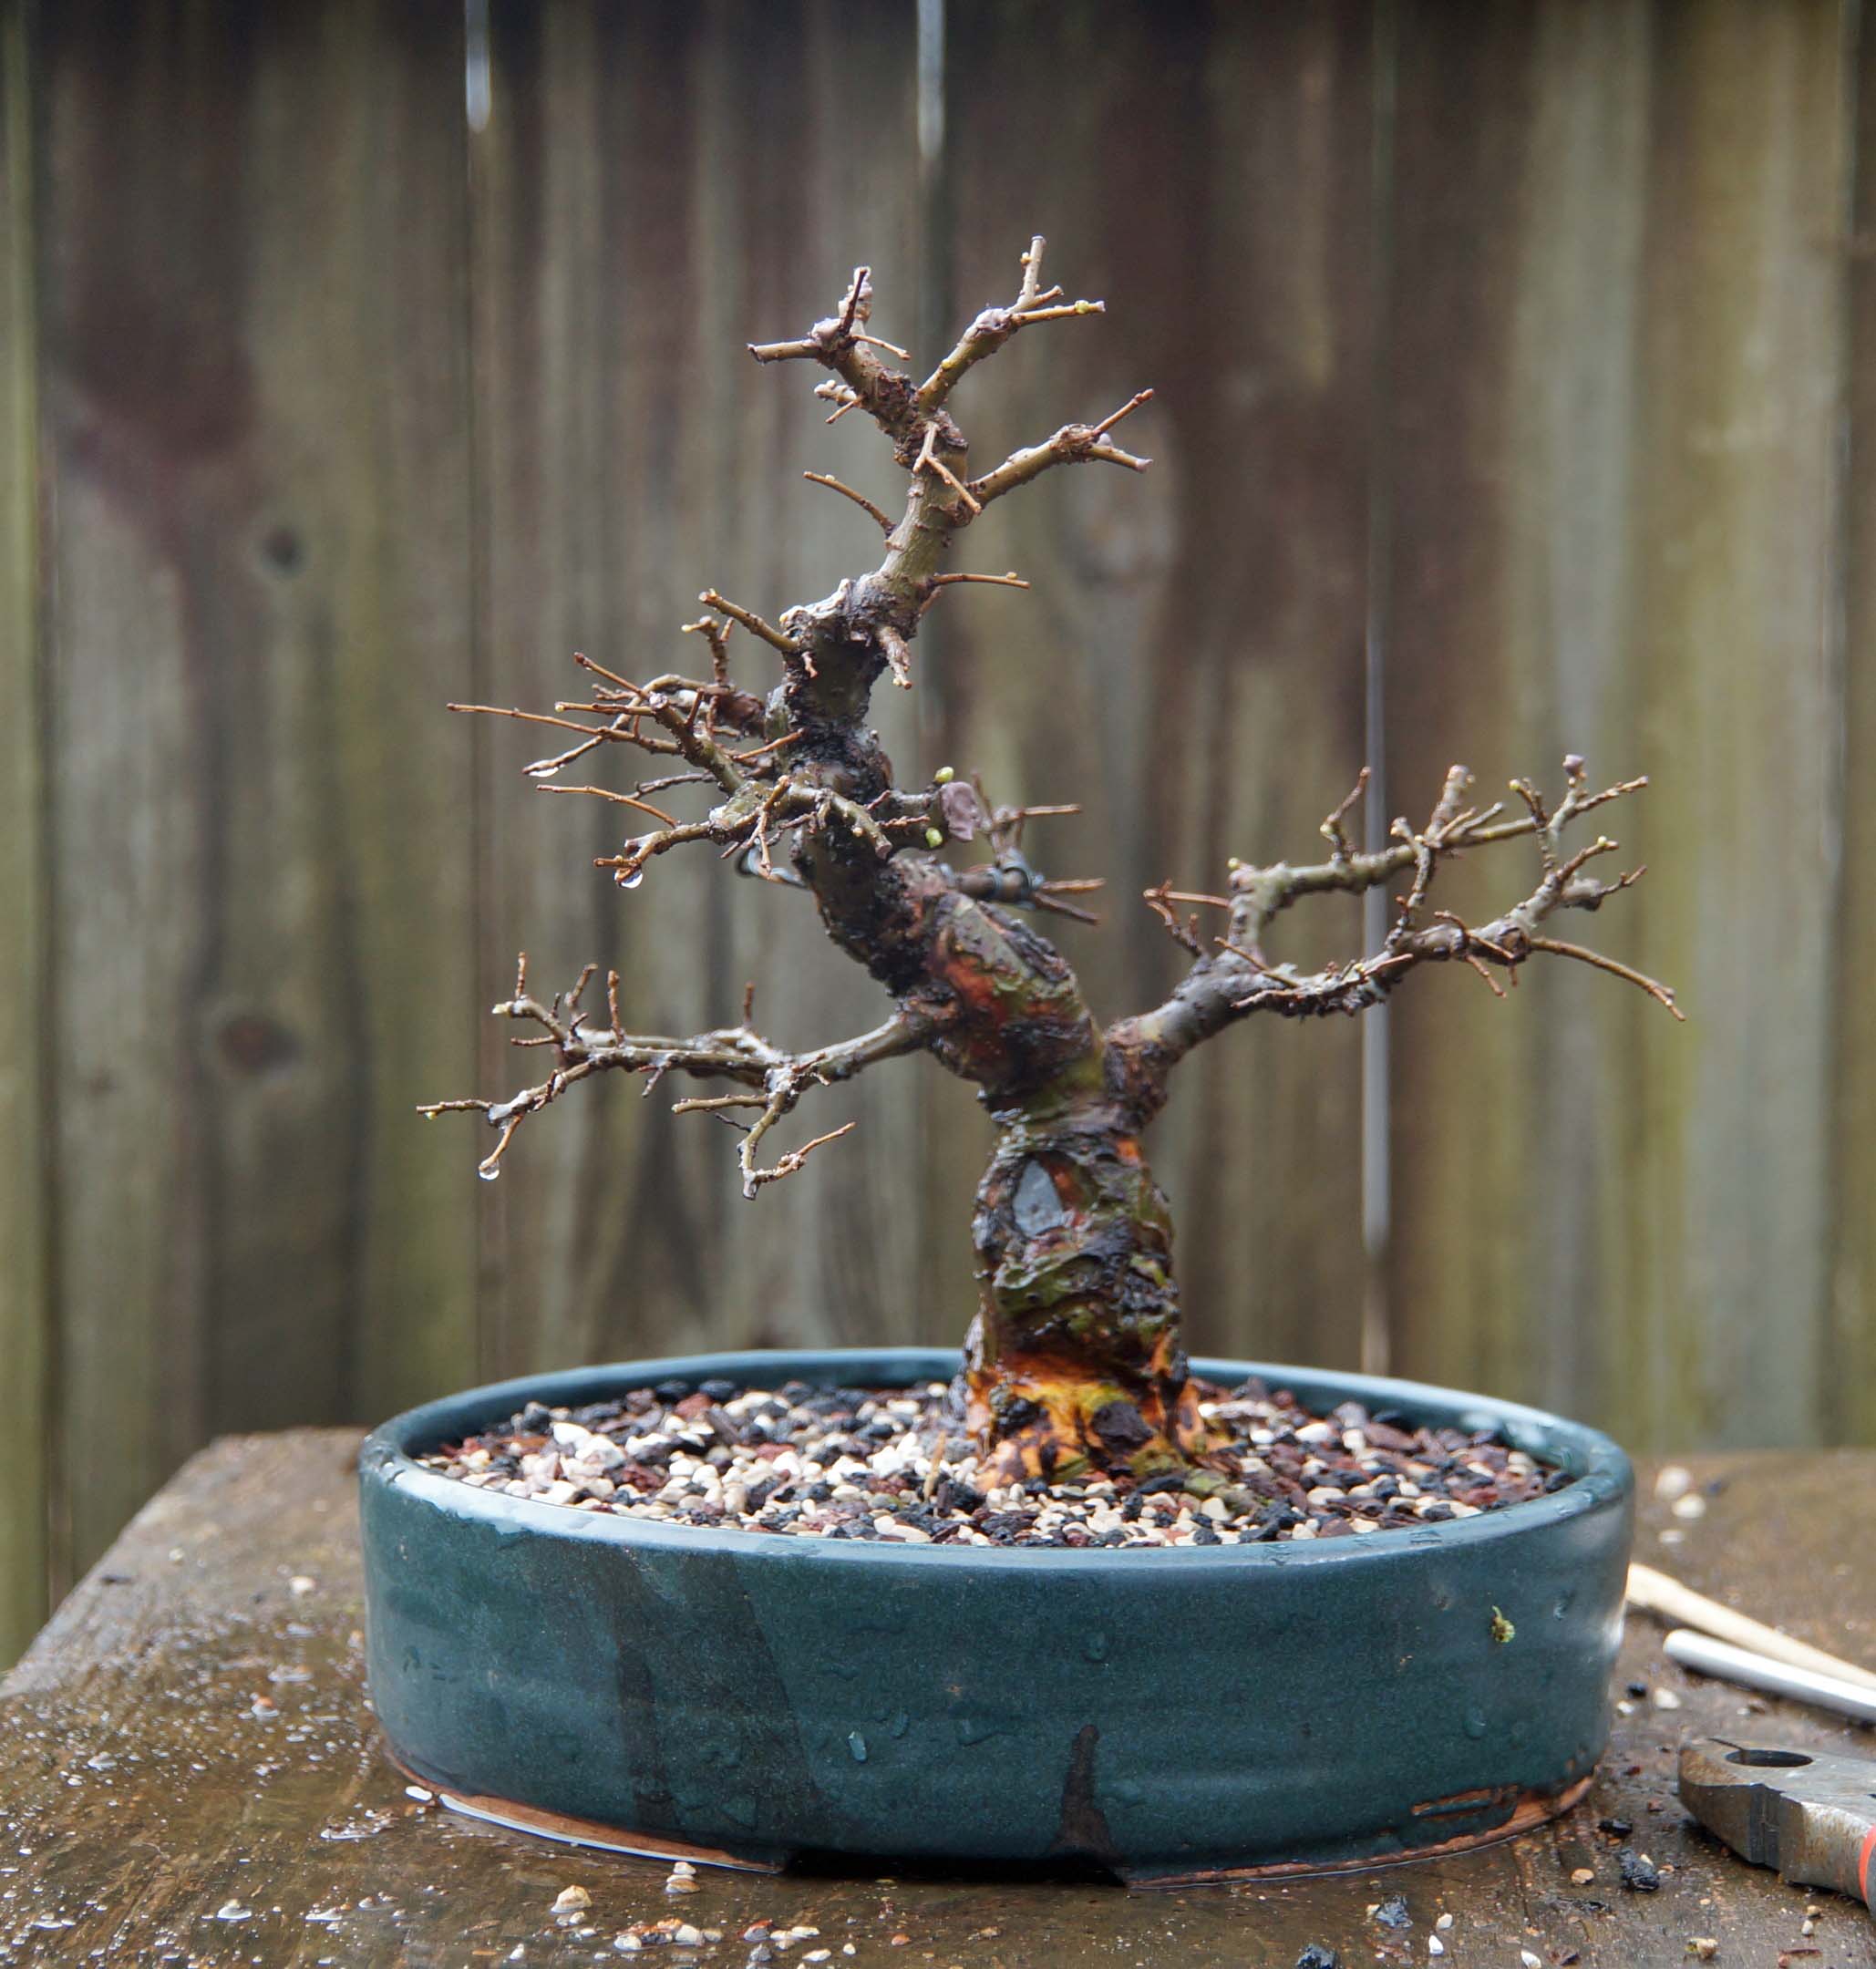
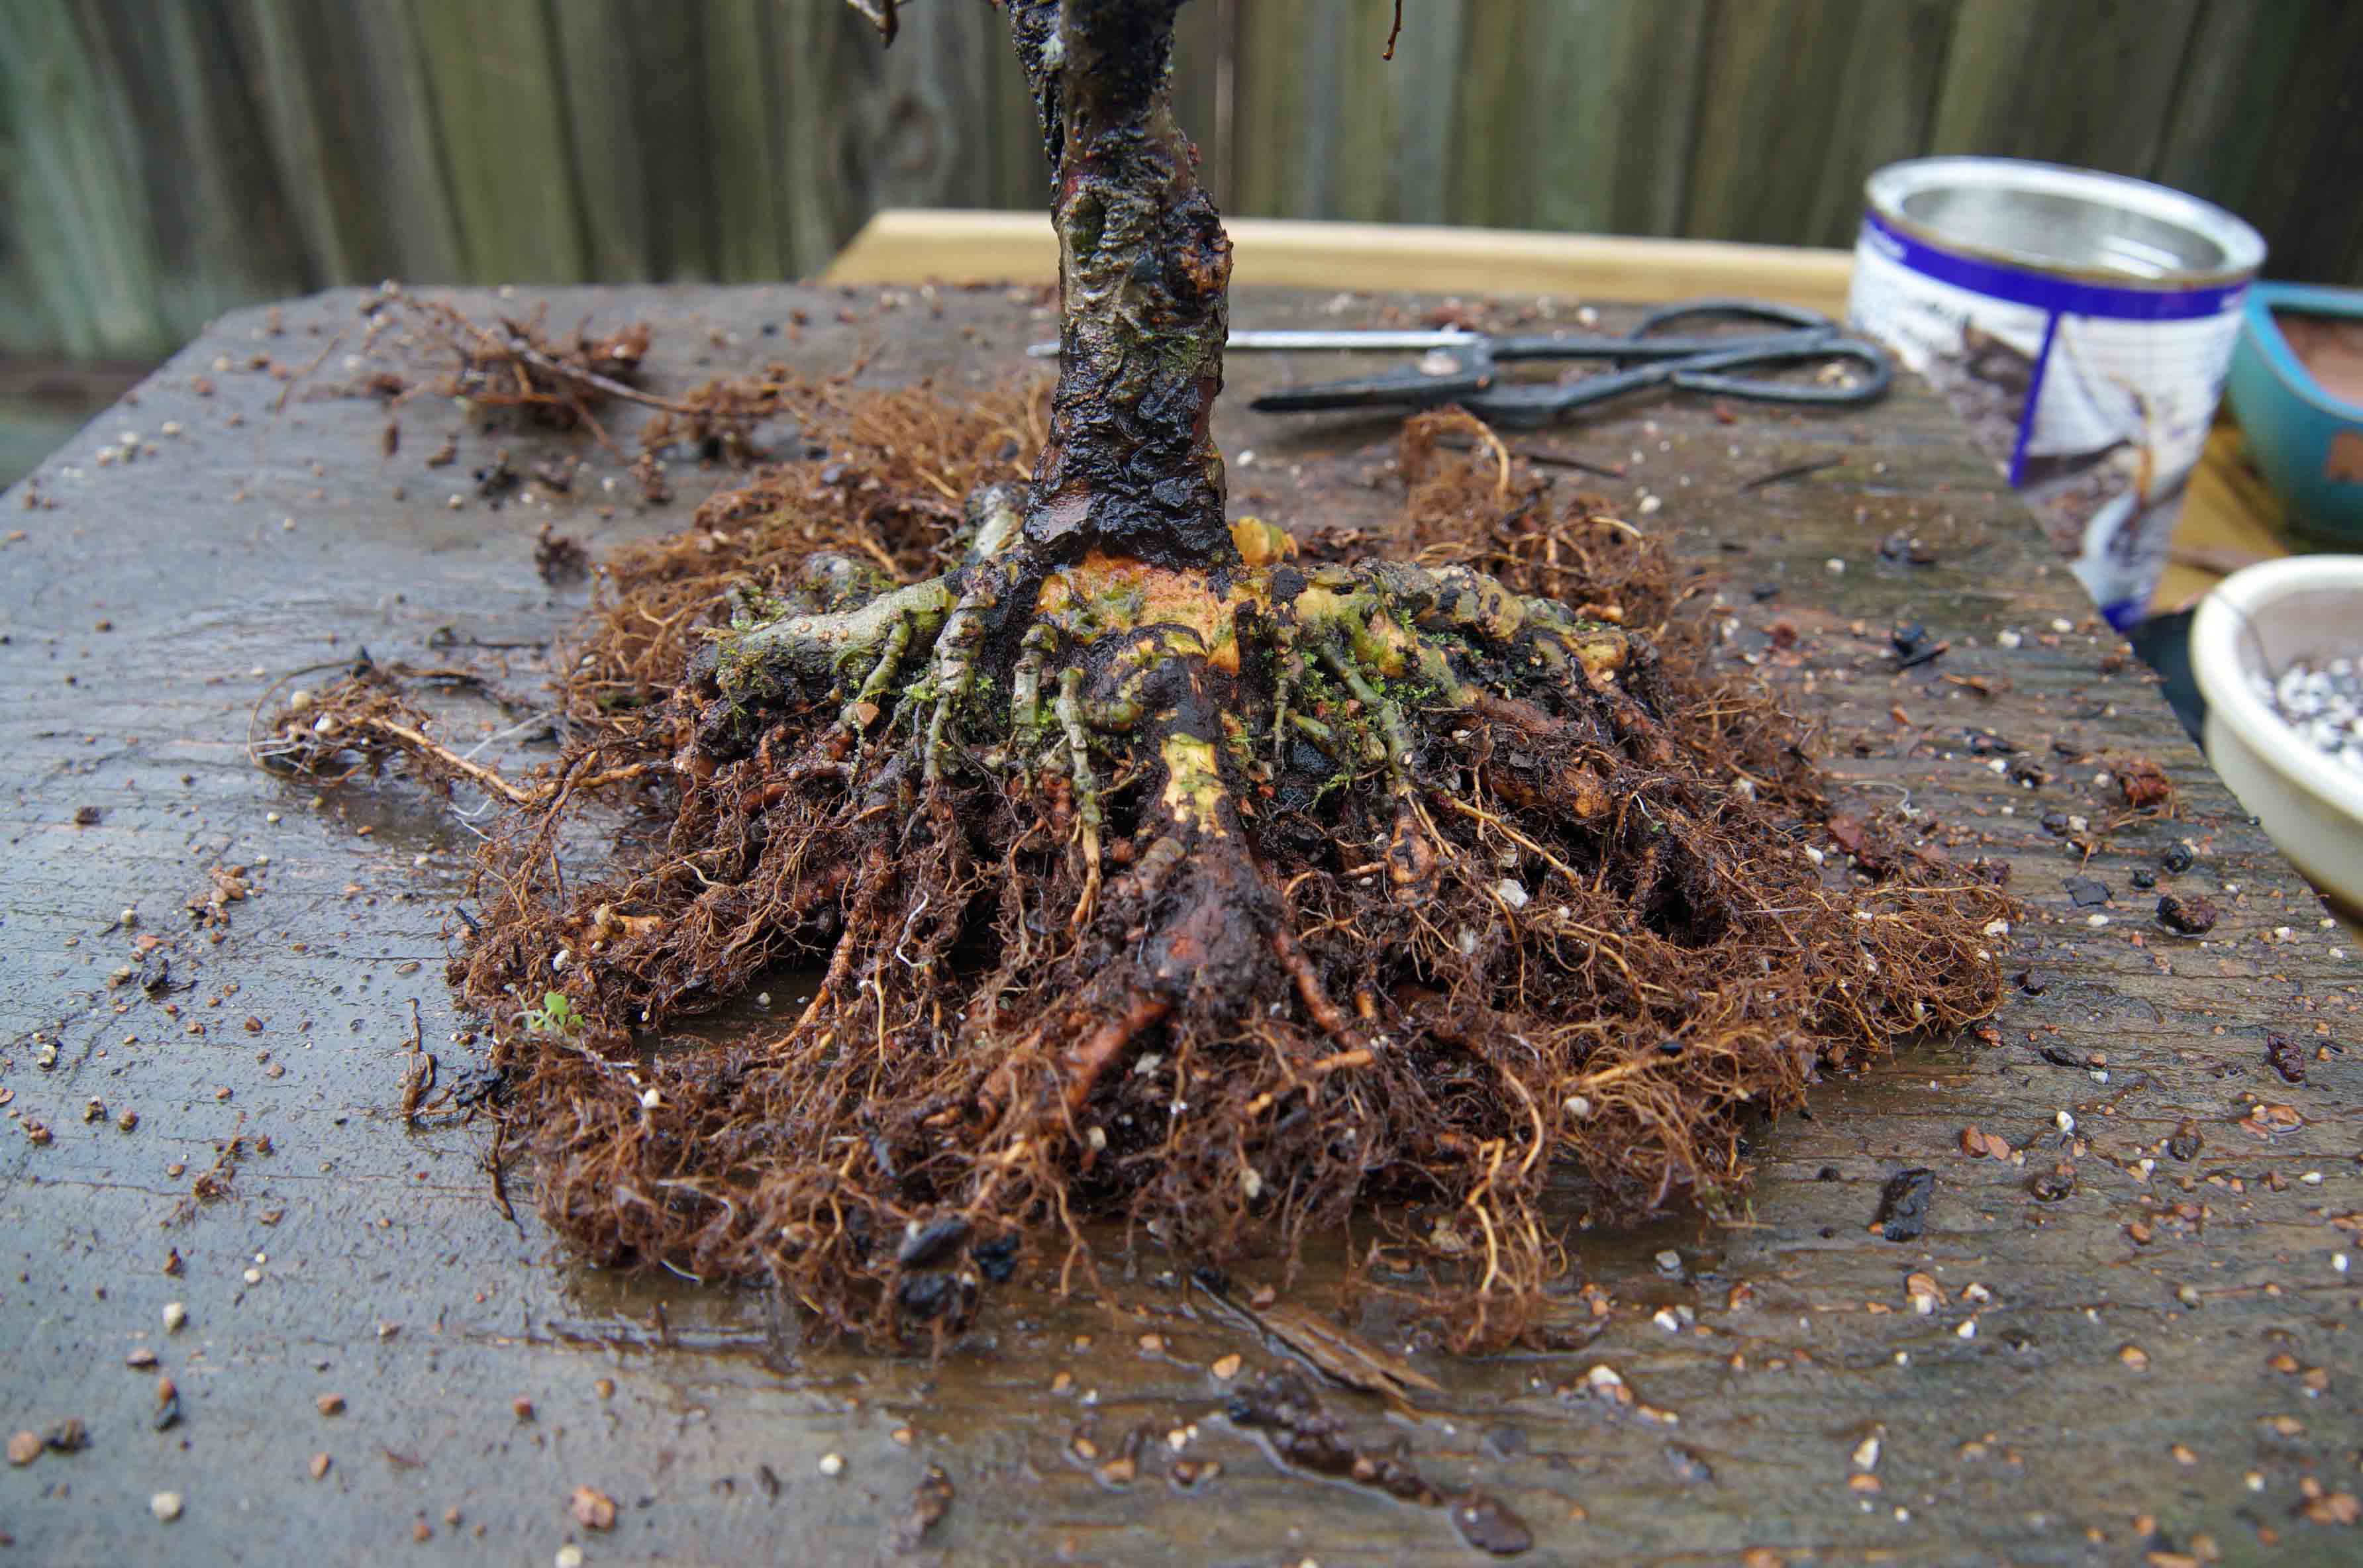
After getting the roots sorted out, they were trimmed back to fit the pot and a few that were not in the right spot were removed. A couple of the giant freaky tuber-like roots that elms like to make were cut back also.
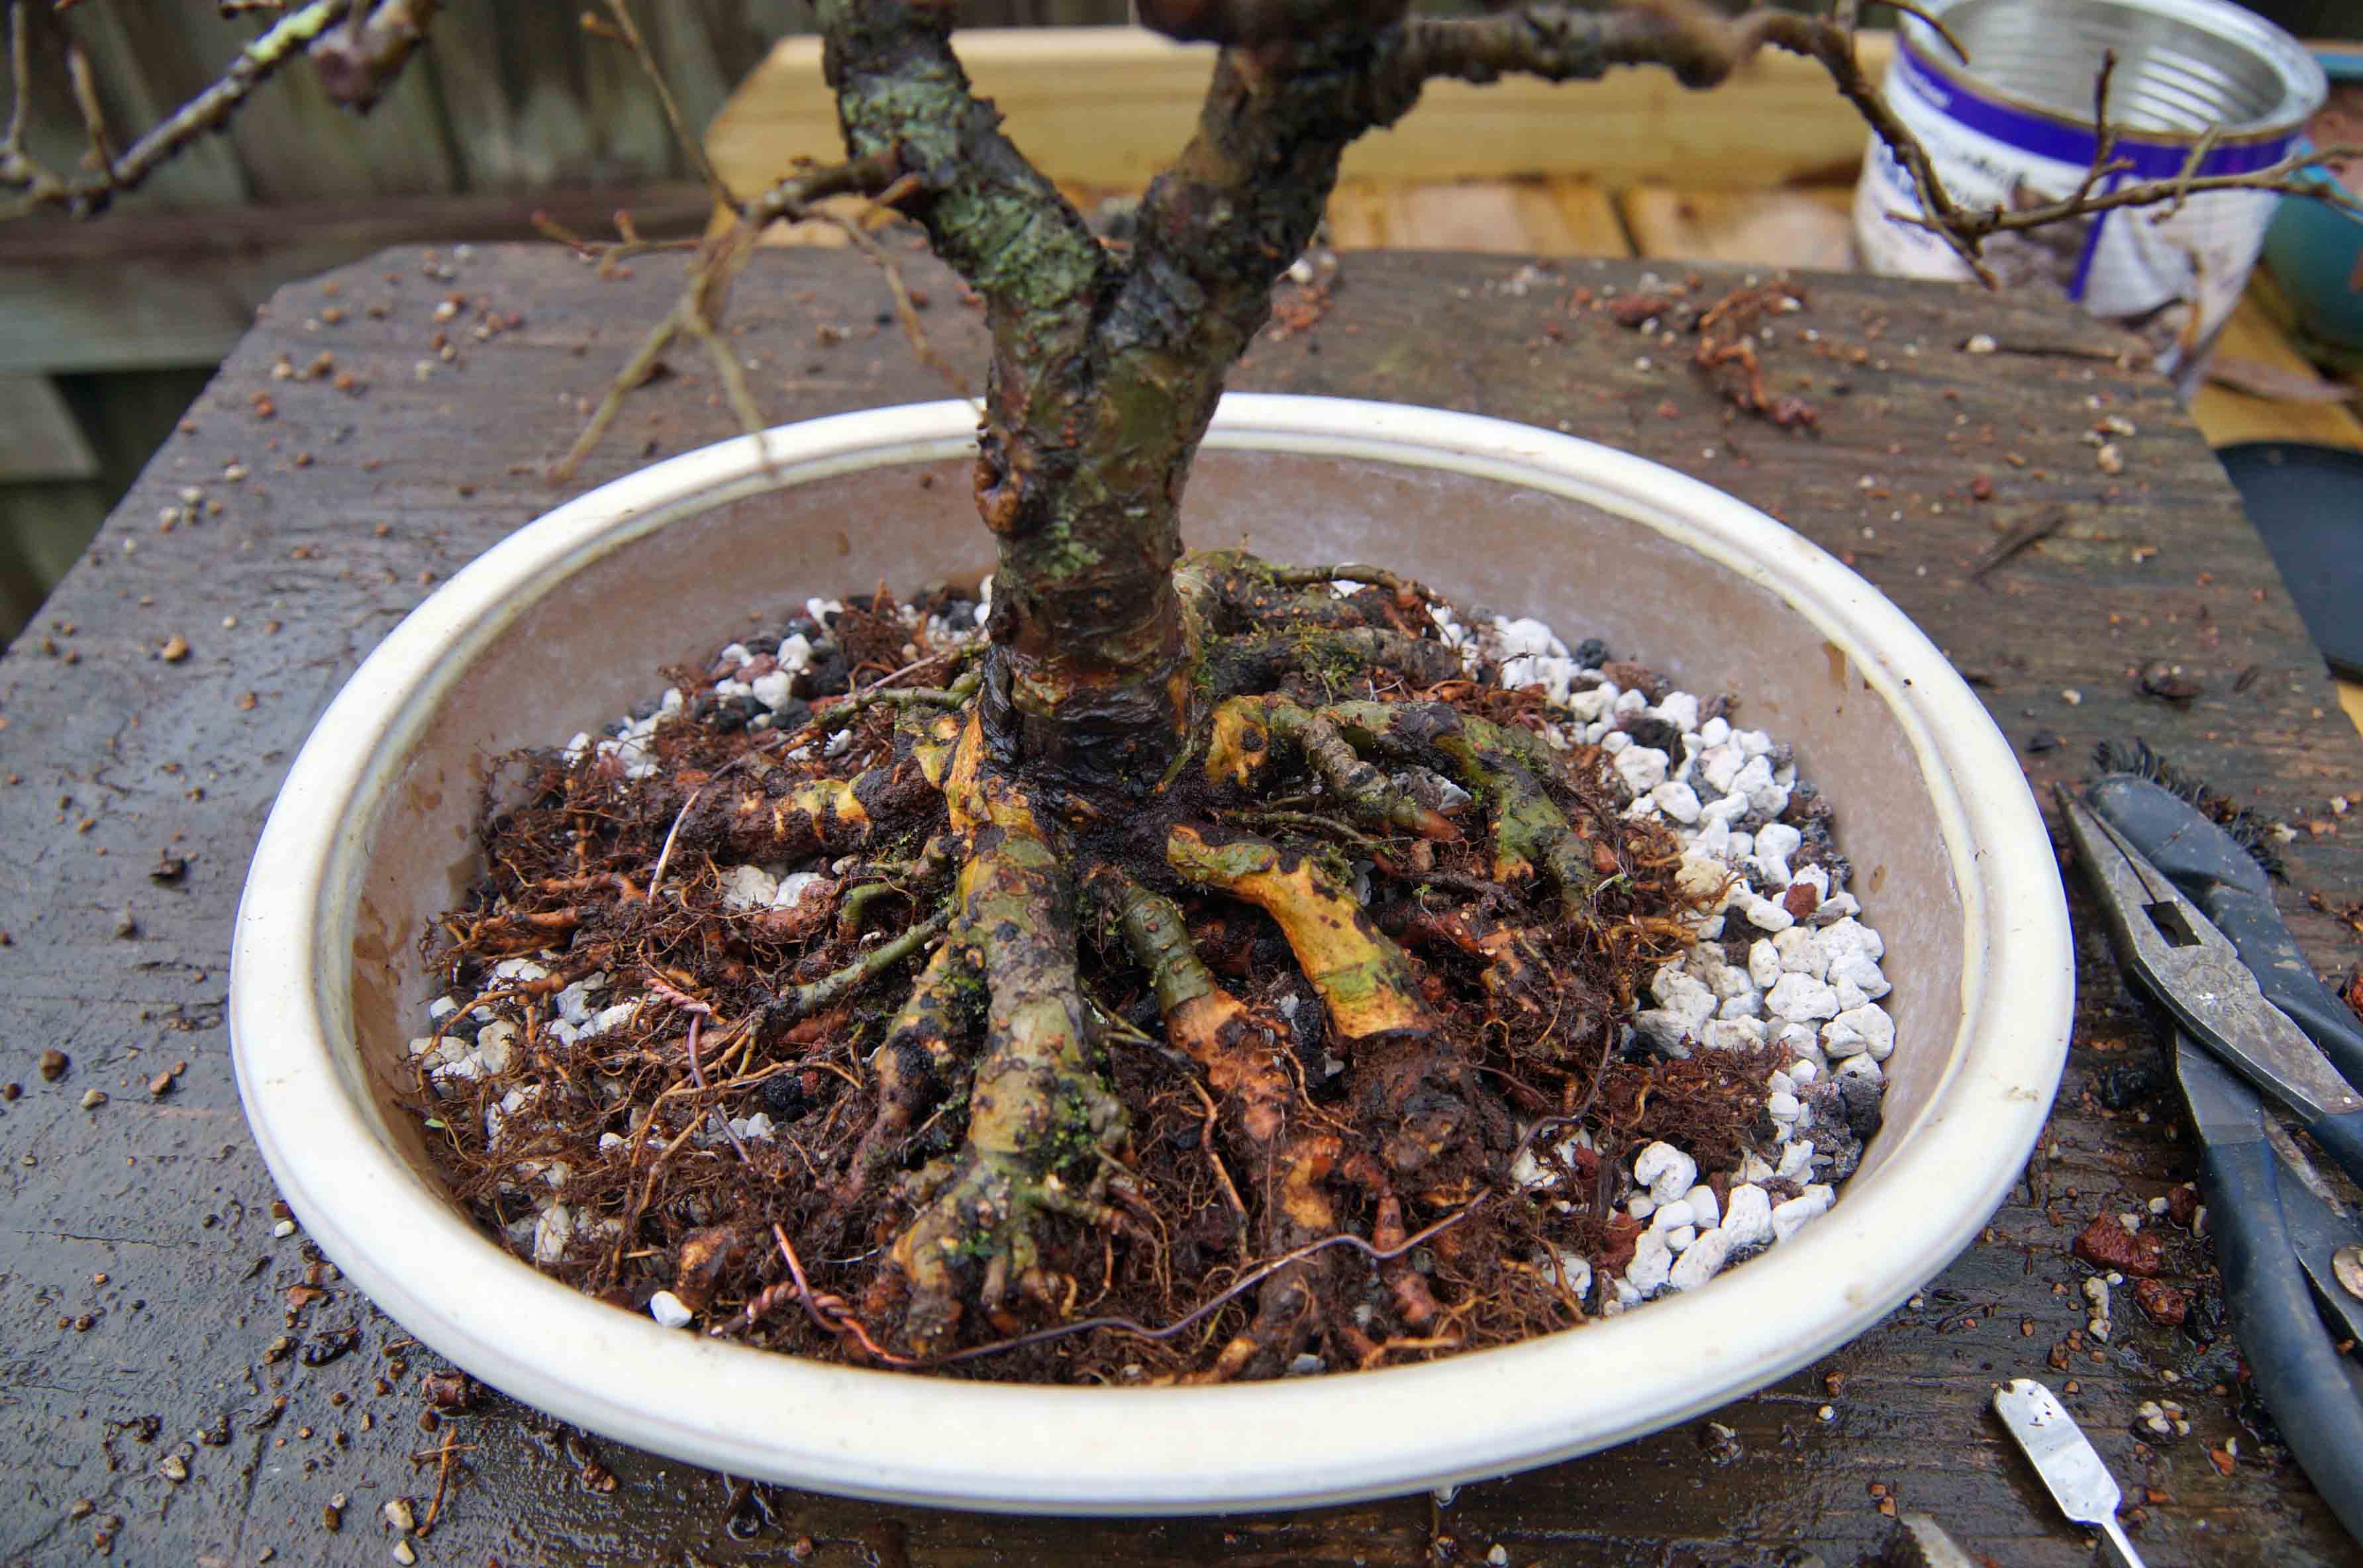
Then, into the pot with it, after tying it down, the pot was backfilled with soil and the soil was settled in with chopsticks.
Then, into the pot with it, after tying it down, the pot was backfilled with soil and the soil was settled in with chopsticks.
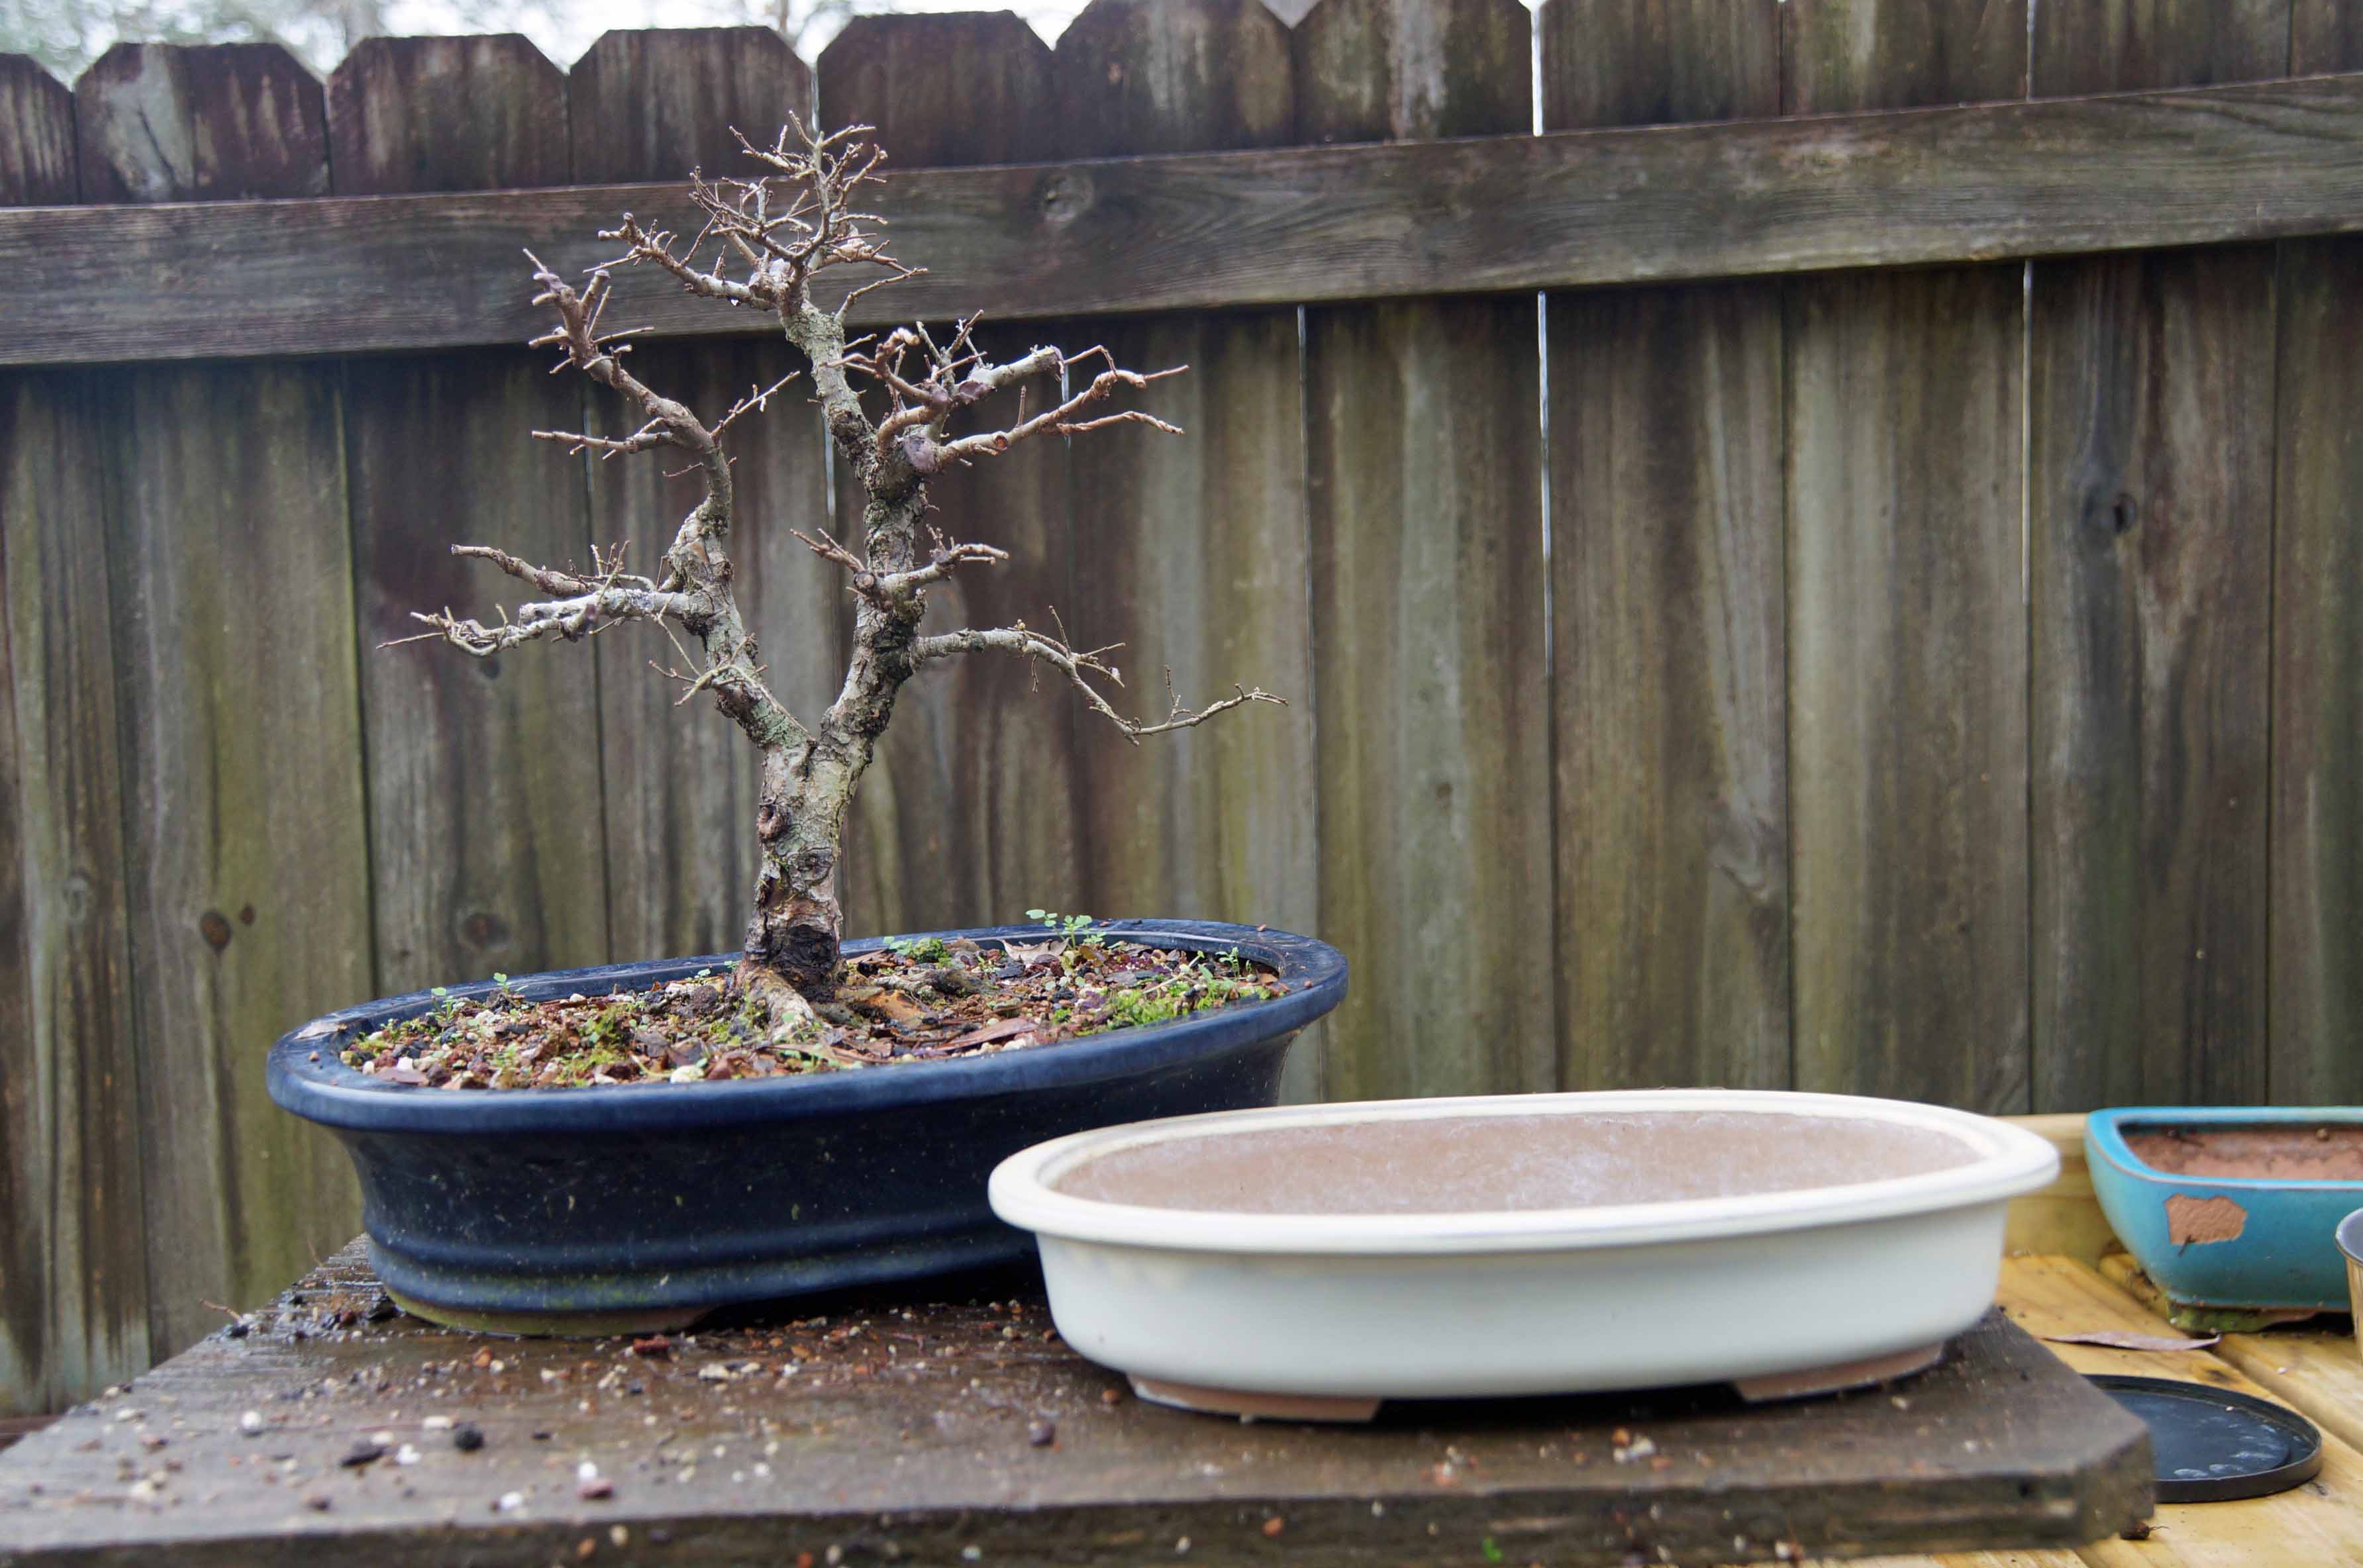
A good water was in order and she was set aside to grow, on to the next victim. Elm number two also began its life as an air layer and has been growing in various training pots for several years. Here she is next to her new home; a pot that I purchased in a Facebook auction, 99 cent Bonsai, check it out for some good deals.
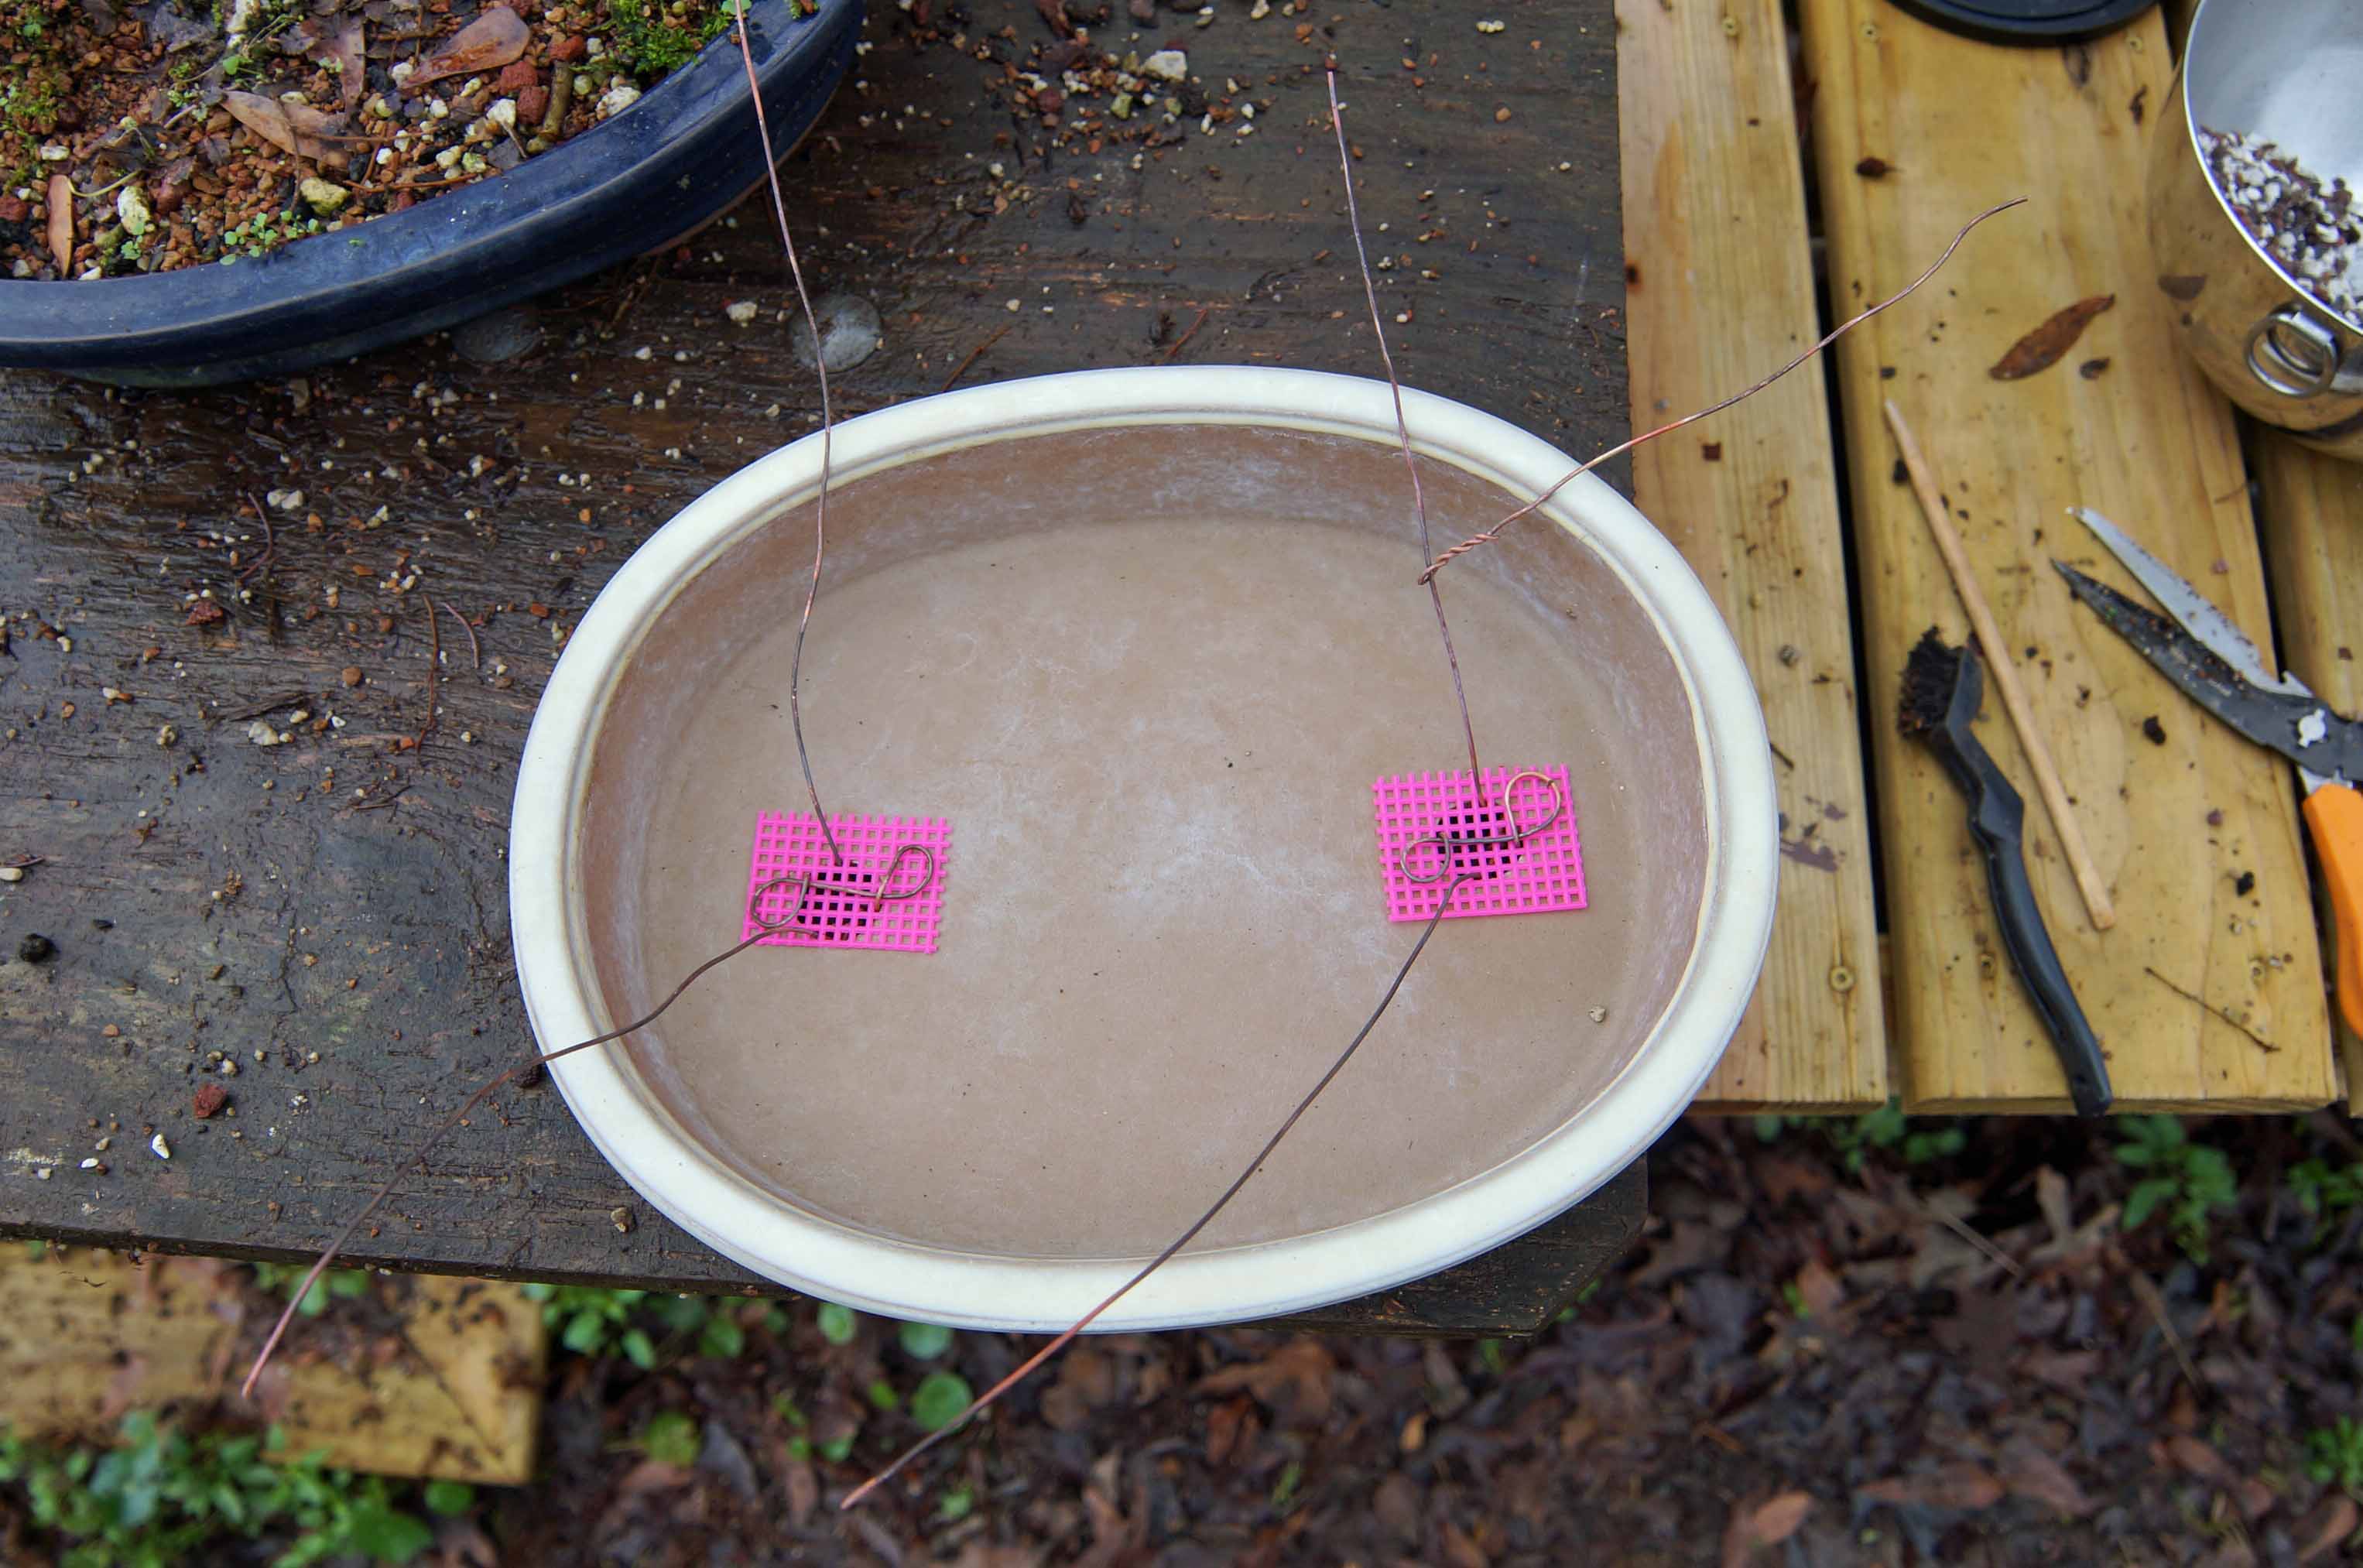
First, we will ready the pot, don’t forget those hot pink screens. Since this pot did not have any tie down holes, I had to be creative on the how to add four wires (I like to use the basket tie to holding them in, one day I will do a post on it). There are a number of ways to do this, the most common is to run the two wires from hole to hole, I find that this uses up a lot of wire. This is how I do it.
The roots were combed out and all of the soil was removed, then they were washed.

Then they were trimmed to fit into the pot.

Now, she is ready to try on her new shoes, looks like they fit. Soil was added and then a good watering.
If you have any questions about repotting, please feel free to ask, just use the contact page, I’ll be happy to help.