


I see this question asked a lot on various bonsai forums and, at times, on Facebook so I thought I would write an article about how I treat my azaleas post flowering. Before I get started, let me offer this little disclaimer:
This is by no means the only way to treat them nor am I claiming that this is the right way. There is a lot of conflicting information out there on the ‘net about azaleas in bonsai culture. A lot of it is completely wrong or outright fantasy, and some of it is sound advice. My intent is to show what I do and what works for me and if you try it you should get similar results. I encourage everyone to read as much as you can to help separate the facts from fiction, and use what you learn, and hopefully some of what I show, to formulate your own game plan.
Now that we have that out of the way, on with the show, err, article.
One thing to note is that whatever you do, you must prune azaleas. Azaleas, in their natural state, are bushes that we tend to style as trees. Left to their own devices, an azalea in a pot will always want to be a bush, and will start looking like one in short order if you don’t keep it trimmed.
A lot of how you handle the plant post flowering has to do with what stage of development it is in. For example, is it a younger plant that you are growing out and still developing structure; or, is it a plant that you are happy with the trunk and branch structure and just want to maintain. I will try to show each to give you an idea on how to proceed.
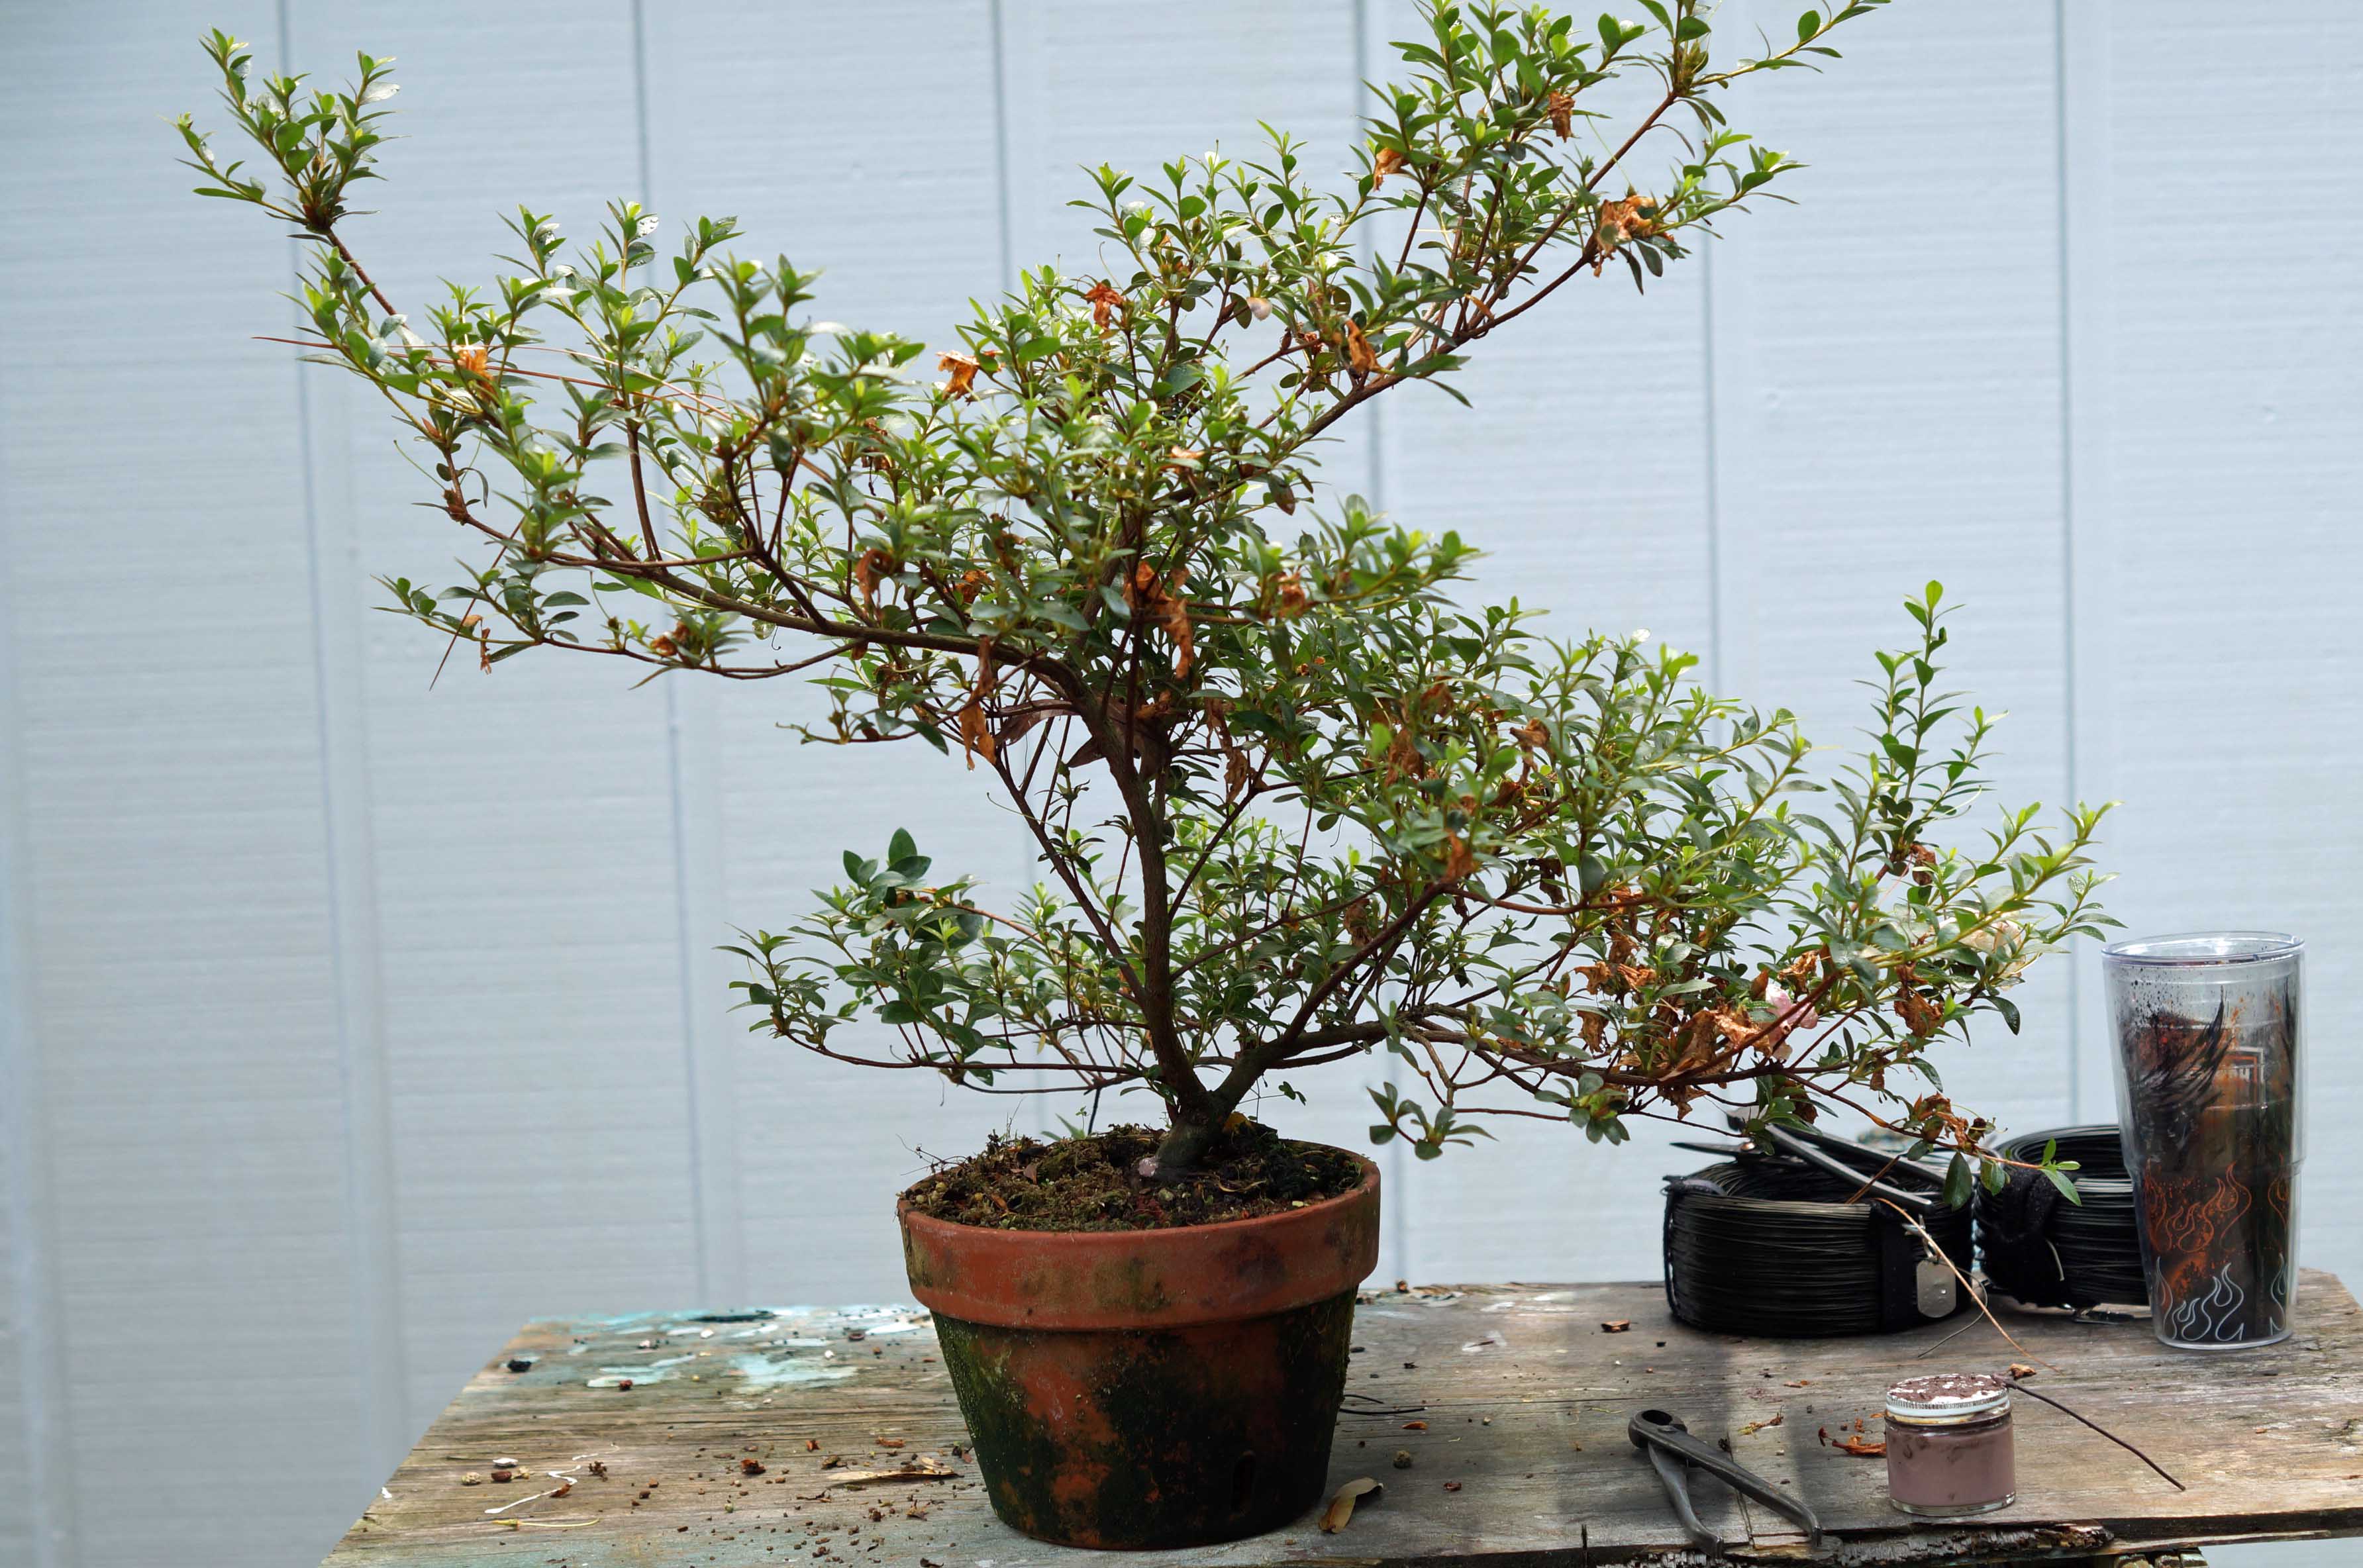
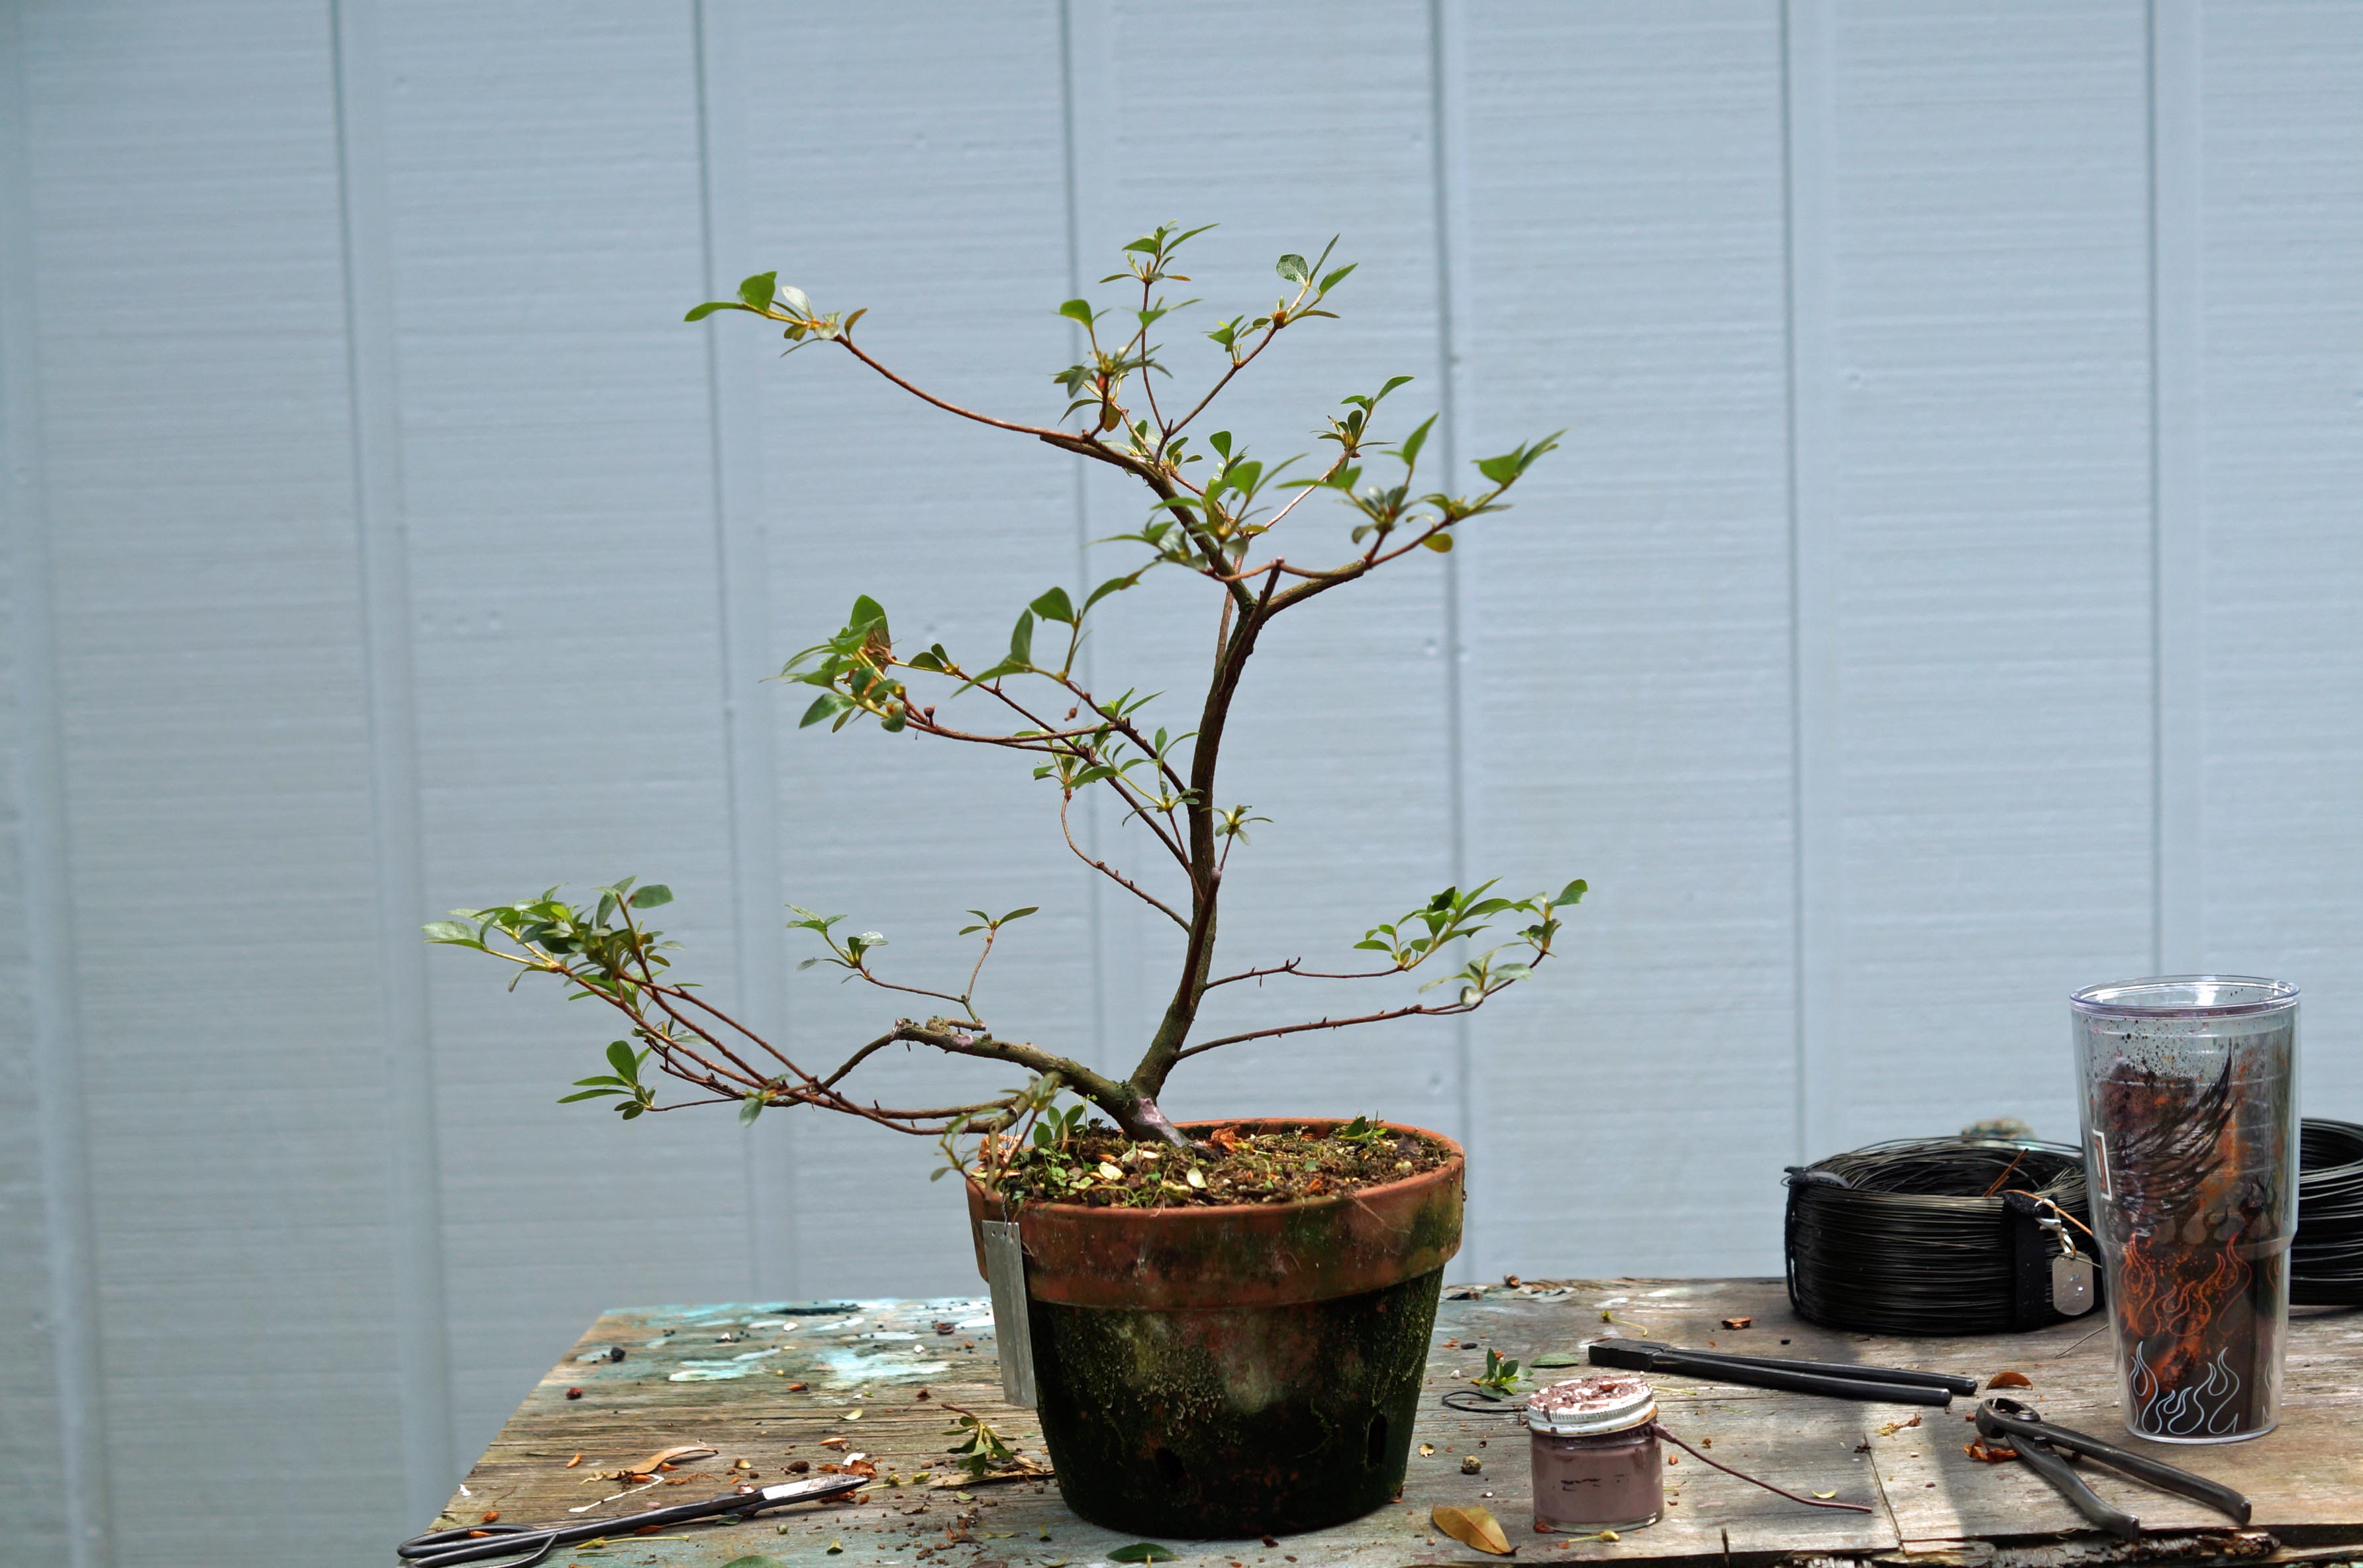
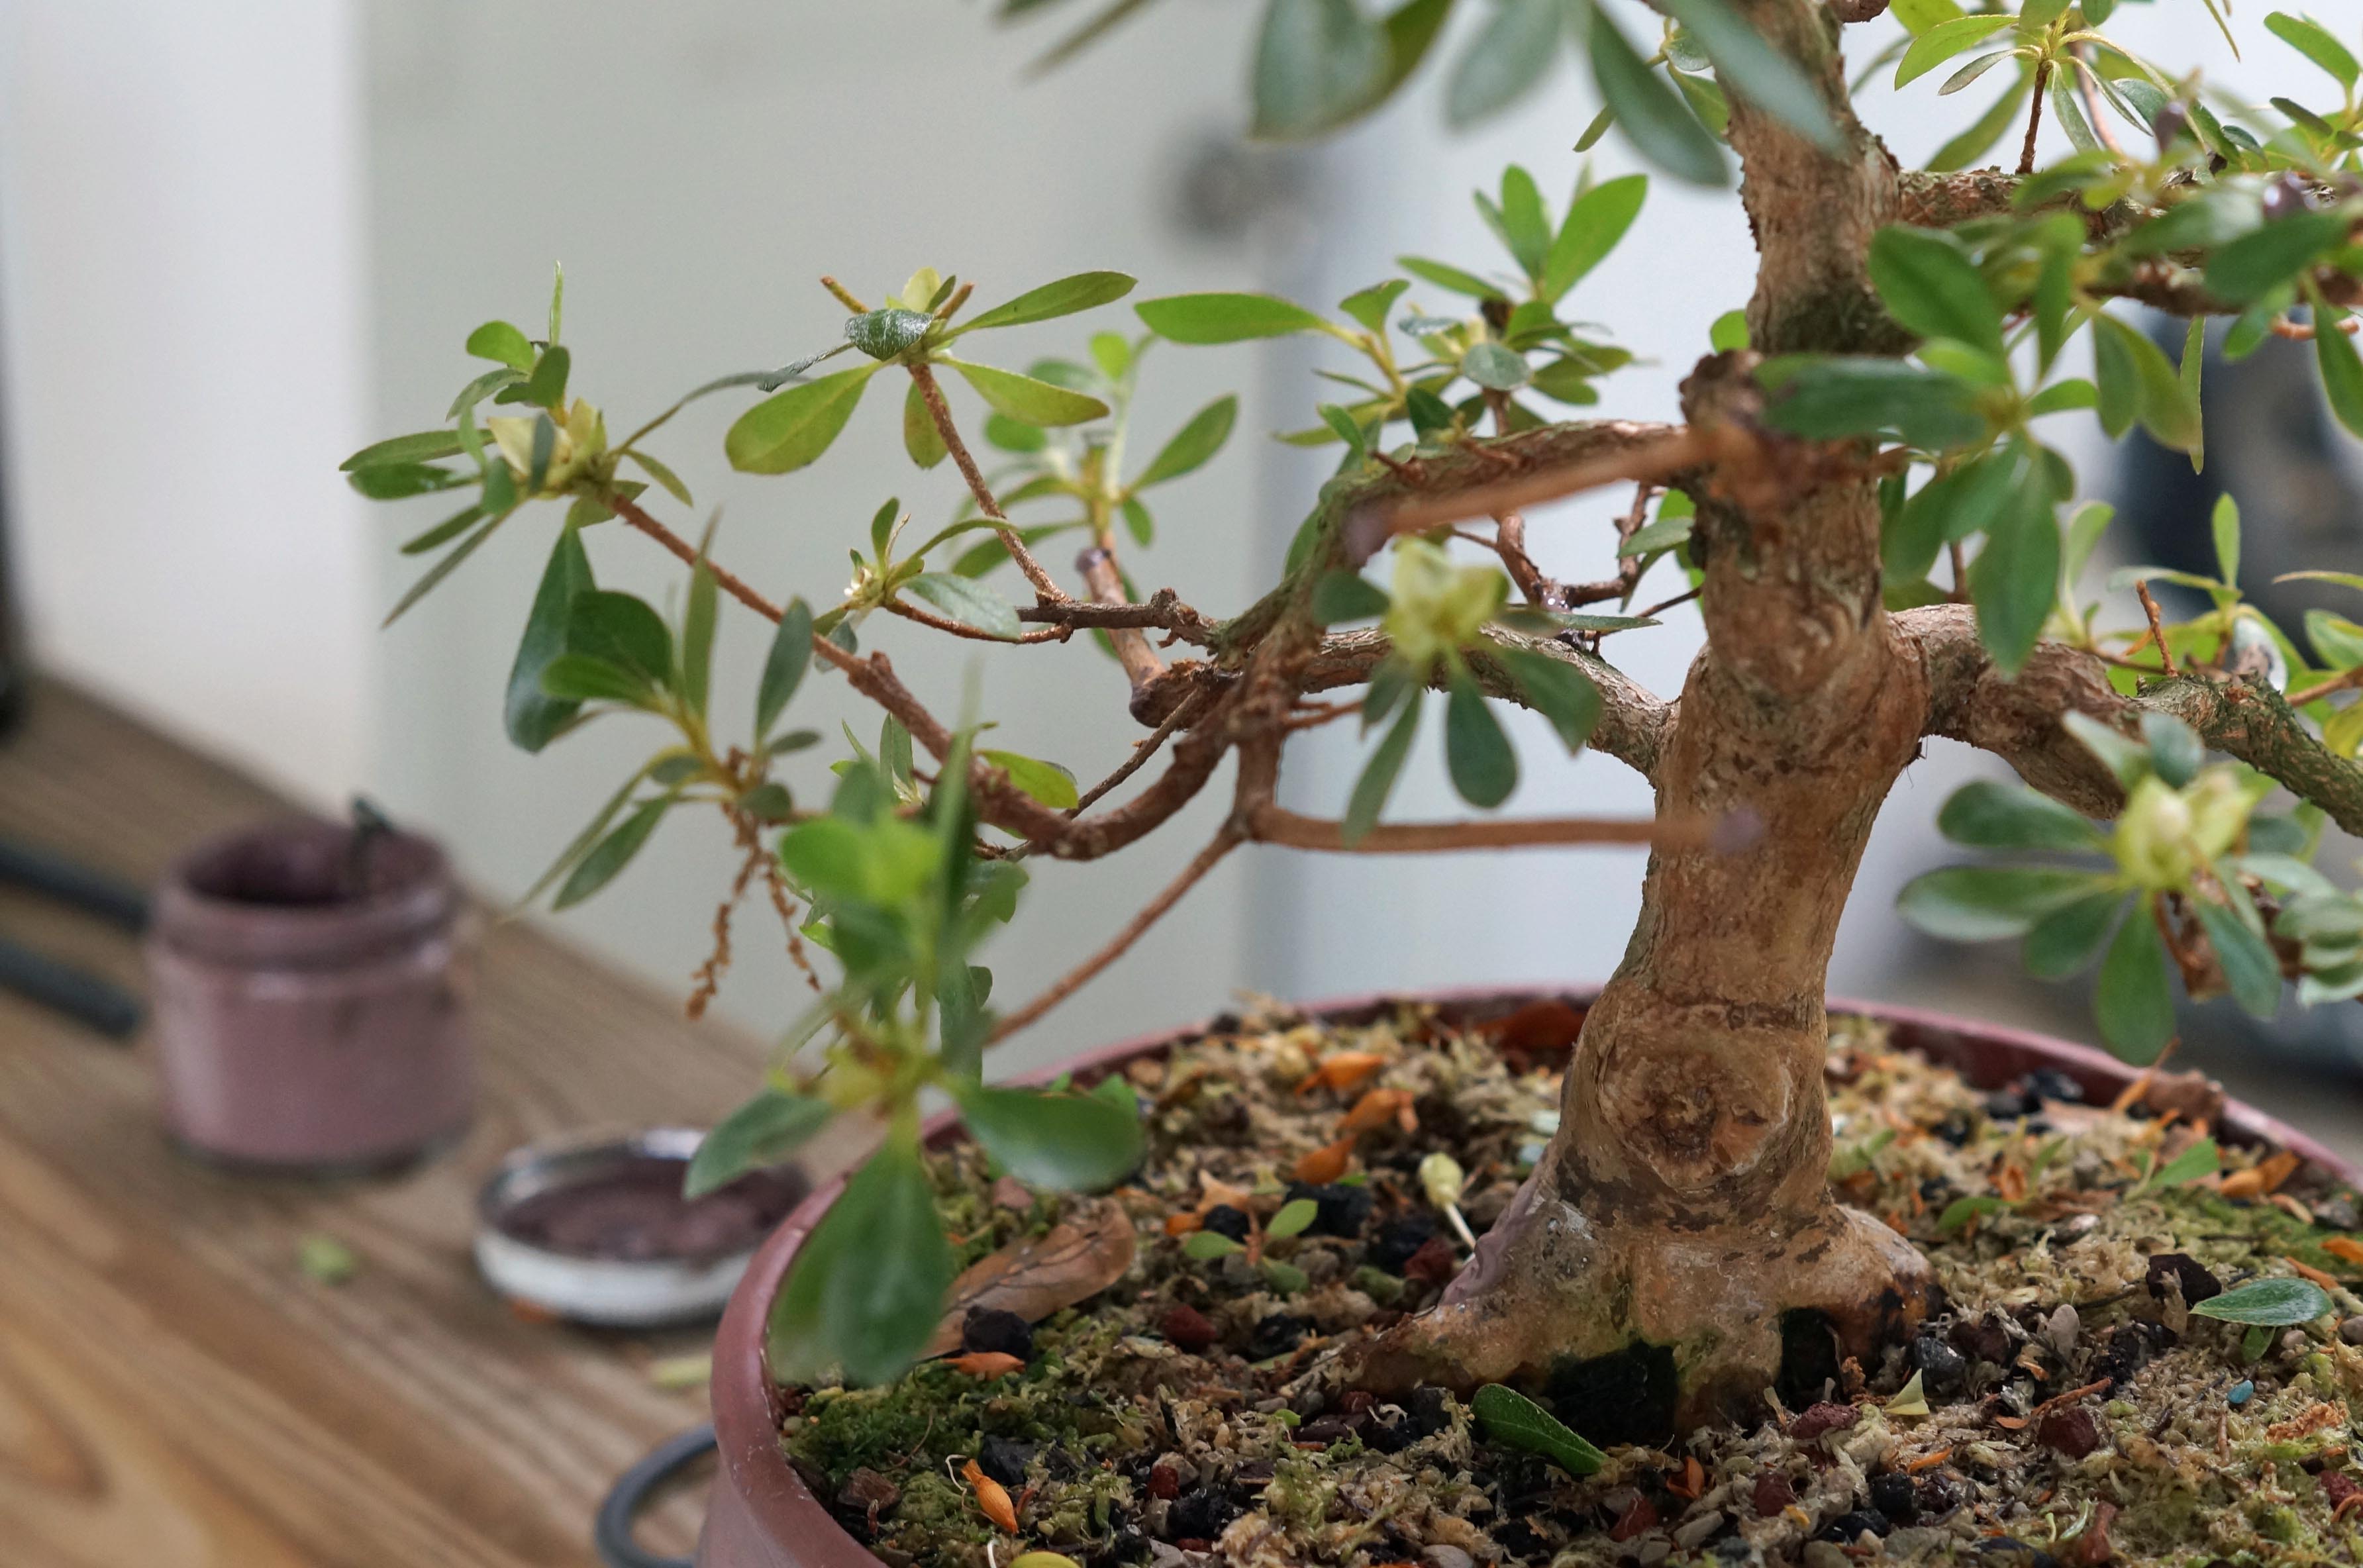
We’ll take a look at this one first, a three or four-year-old cutting that I rooted from an unknown satsuki that my dad owns. It has been growing in this terracotta pot and has had minimal pruning, the flowers are spent and have already either fallen off or have been removed. It just needs some pruning to preserve the trunk line and to keep from taking up so much room on the bench.
This is by no means the only way to treat them nor am I claiming that this is the right way. There is a lot of conflicting information out there on the ‘net about azaleas in bonsai culture. A lot of it is completely wrong or outright fantasy, and some of it is sound advice. My intent is to show what I do and what works for me and if you try it you should get similar results. I encourage everyone to read as much as you can to help separate the facts from fiction, and use what you learn, and hopefully some of what I show, to formulate your own game plan.
Now that we have that out of the way, on with the show, err, article.
One thing to note is that whatever you do, you must prune azaleas. Azaleas, in their natural state, are bushes that we tend to style as trees. Left to their own devices, an azalea in a pot will always want to be a bush, and will start looking like one in short order if you don’t keep it trimmed.
A lot of how you handle the plant post flowering has to do with what stage of development it is in. For example, is it a younger plant that you are growing out and still developing structure; or, is it a plant that you are happy with the trunk and branch structure and just want to maintain. I will try to show each to give you an idea on how to proceed.
We’ll take a look at this one first, a three or four-year-old cutting that I rooted from an unknown satsuki that my dad owns. It has been growing in this terracotta pot and has had minimal pruning, the flowers are spent and have already either fallen off or have been removed. It just needs some pruning to preserve the trunk line and to keep from taking up so much room on the bench.
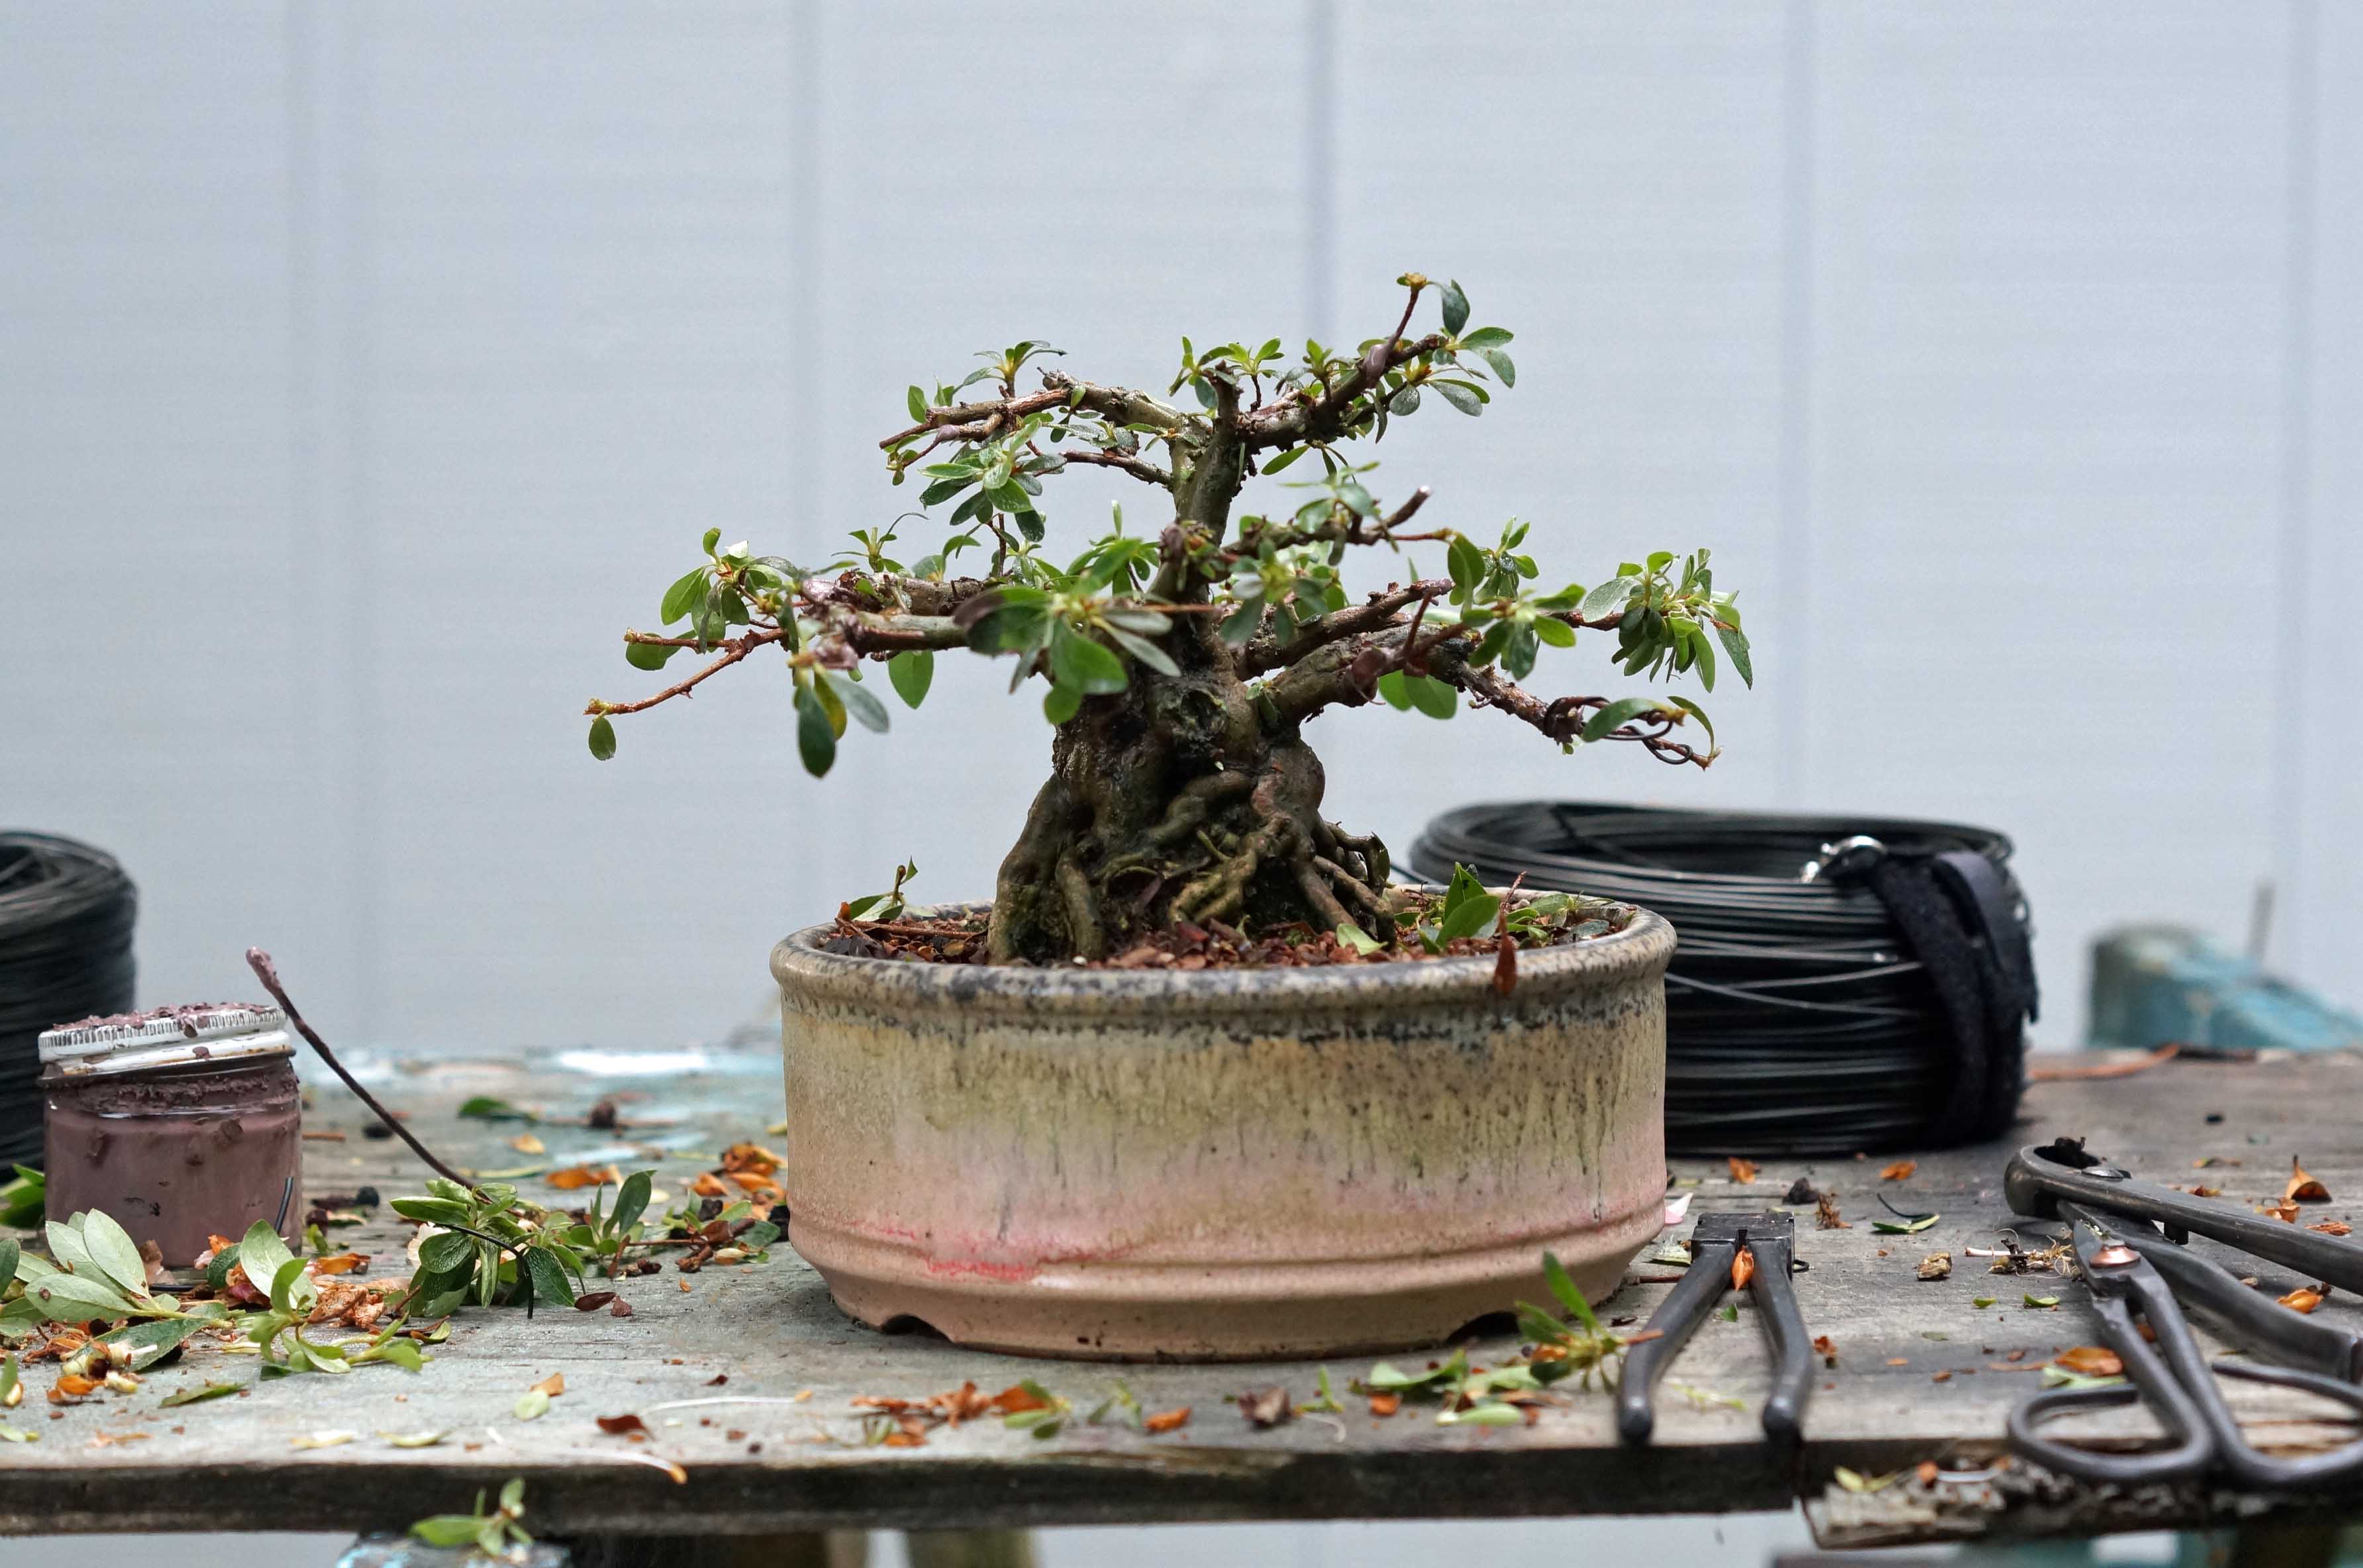
I like to start on these type of material by cutting all of the upright growth off of the branches and unnessary growth off the trunk. Don’t worry if you think it will look too sparse, the tree will put out more, if you leave it to grow as is, the growth will continue to thicken and sometimes ruin the branch taper.

Next, I take a look at the branches themselves and cut out any unnecessary ones. Sometimes this is called “cutting back to twos” because you cut all the forks to no more than two branches. This is not a hard fast rule, just a guide line, you may want to keep more.
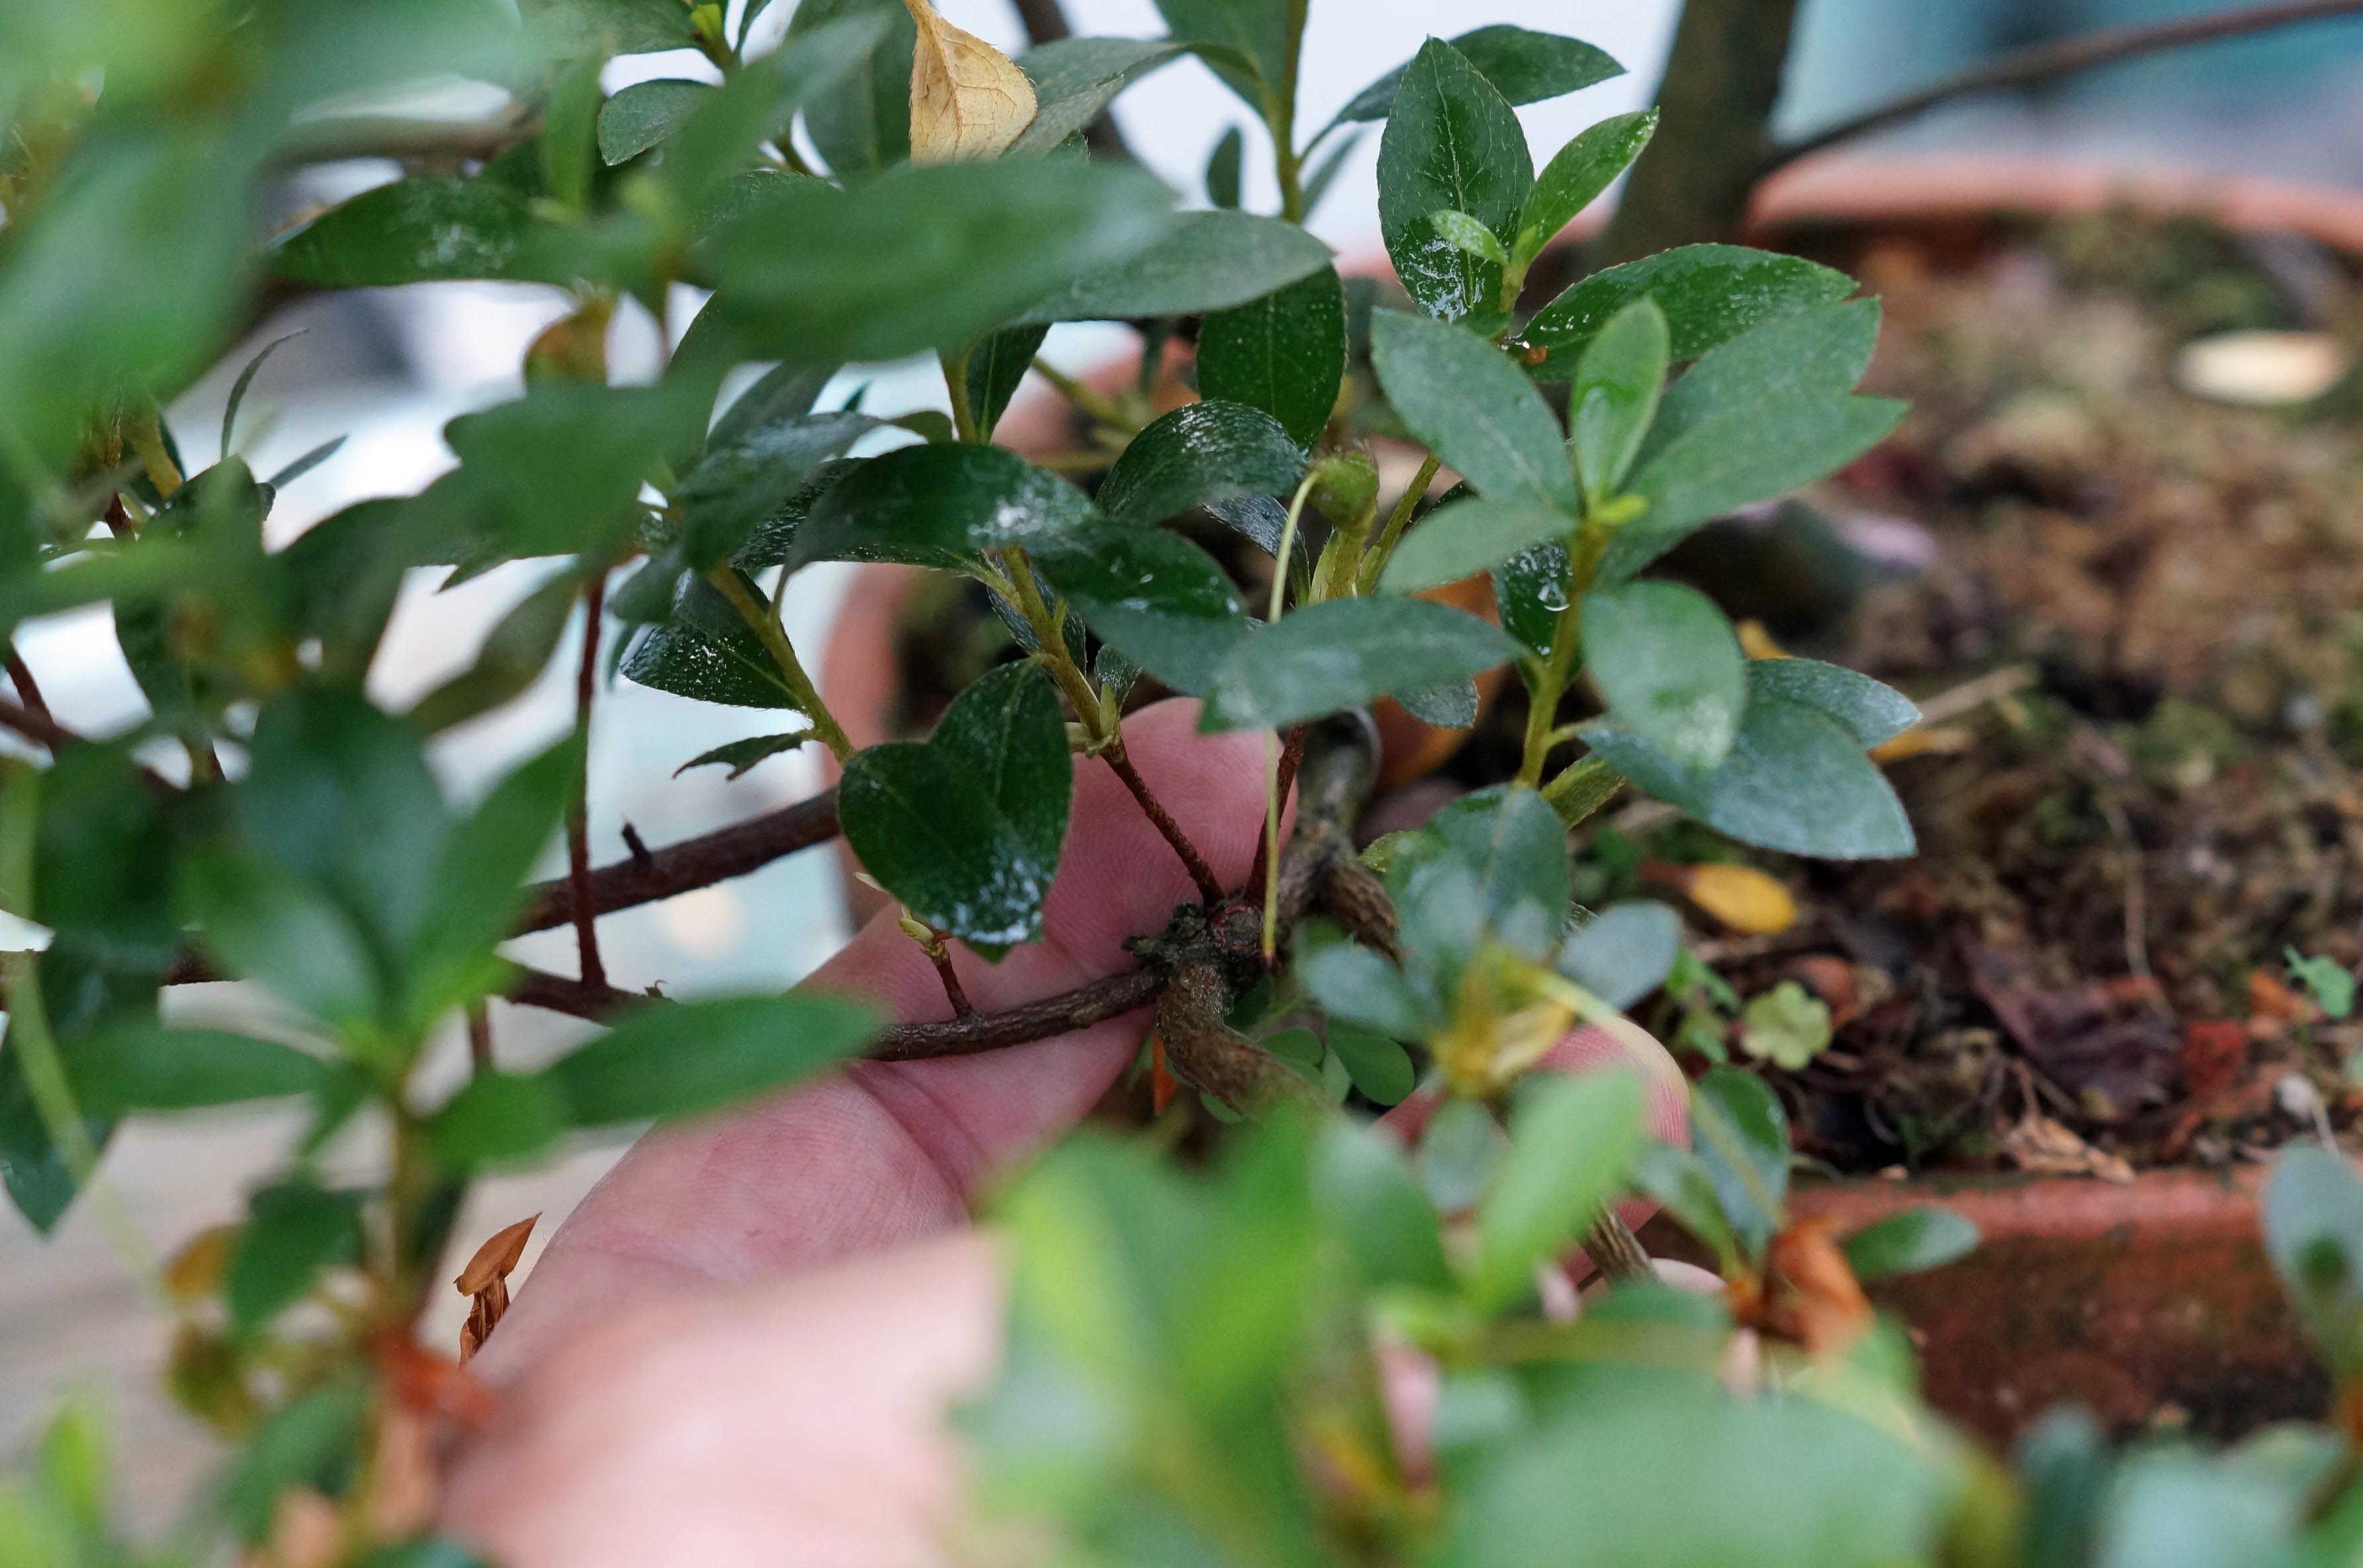
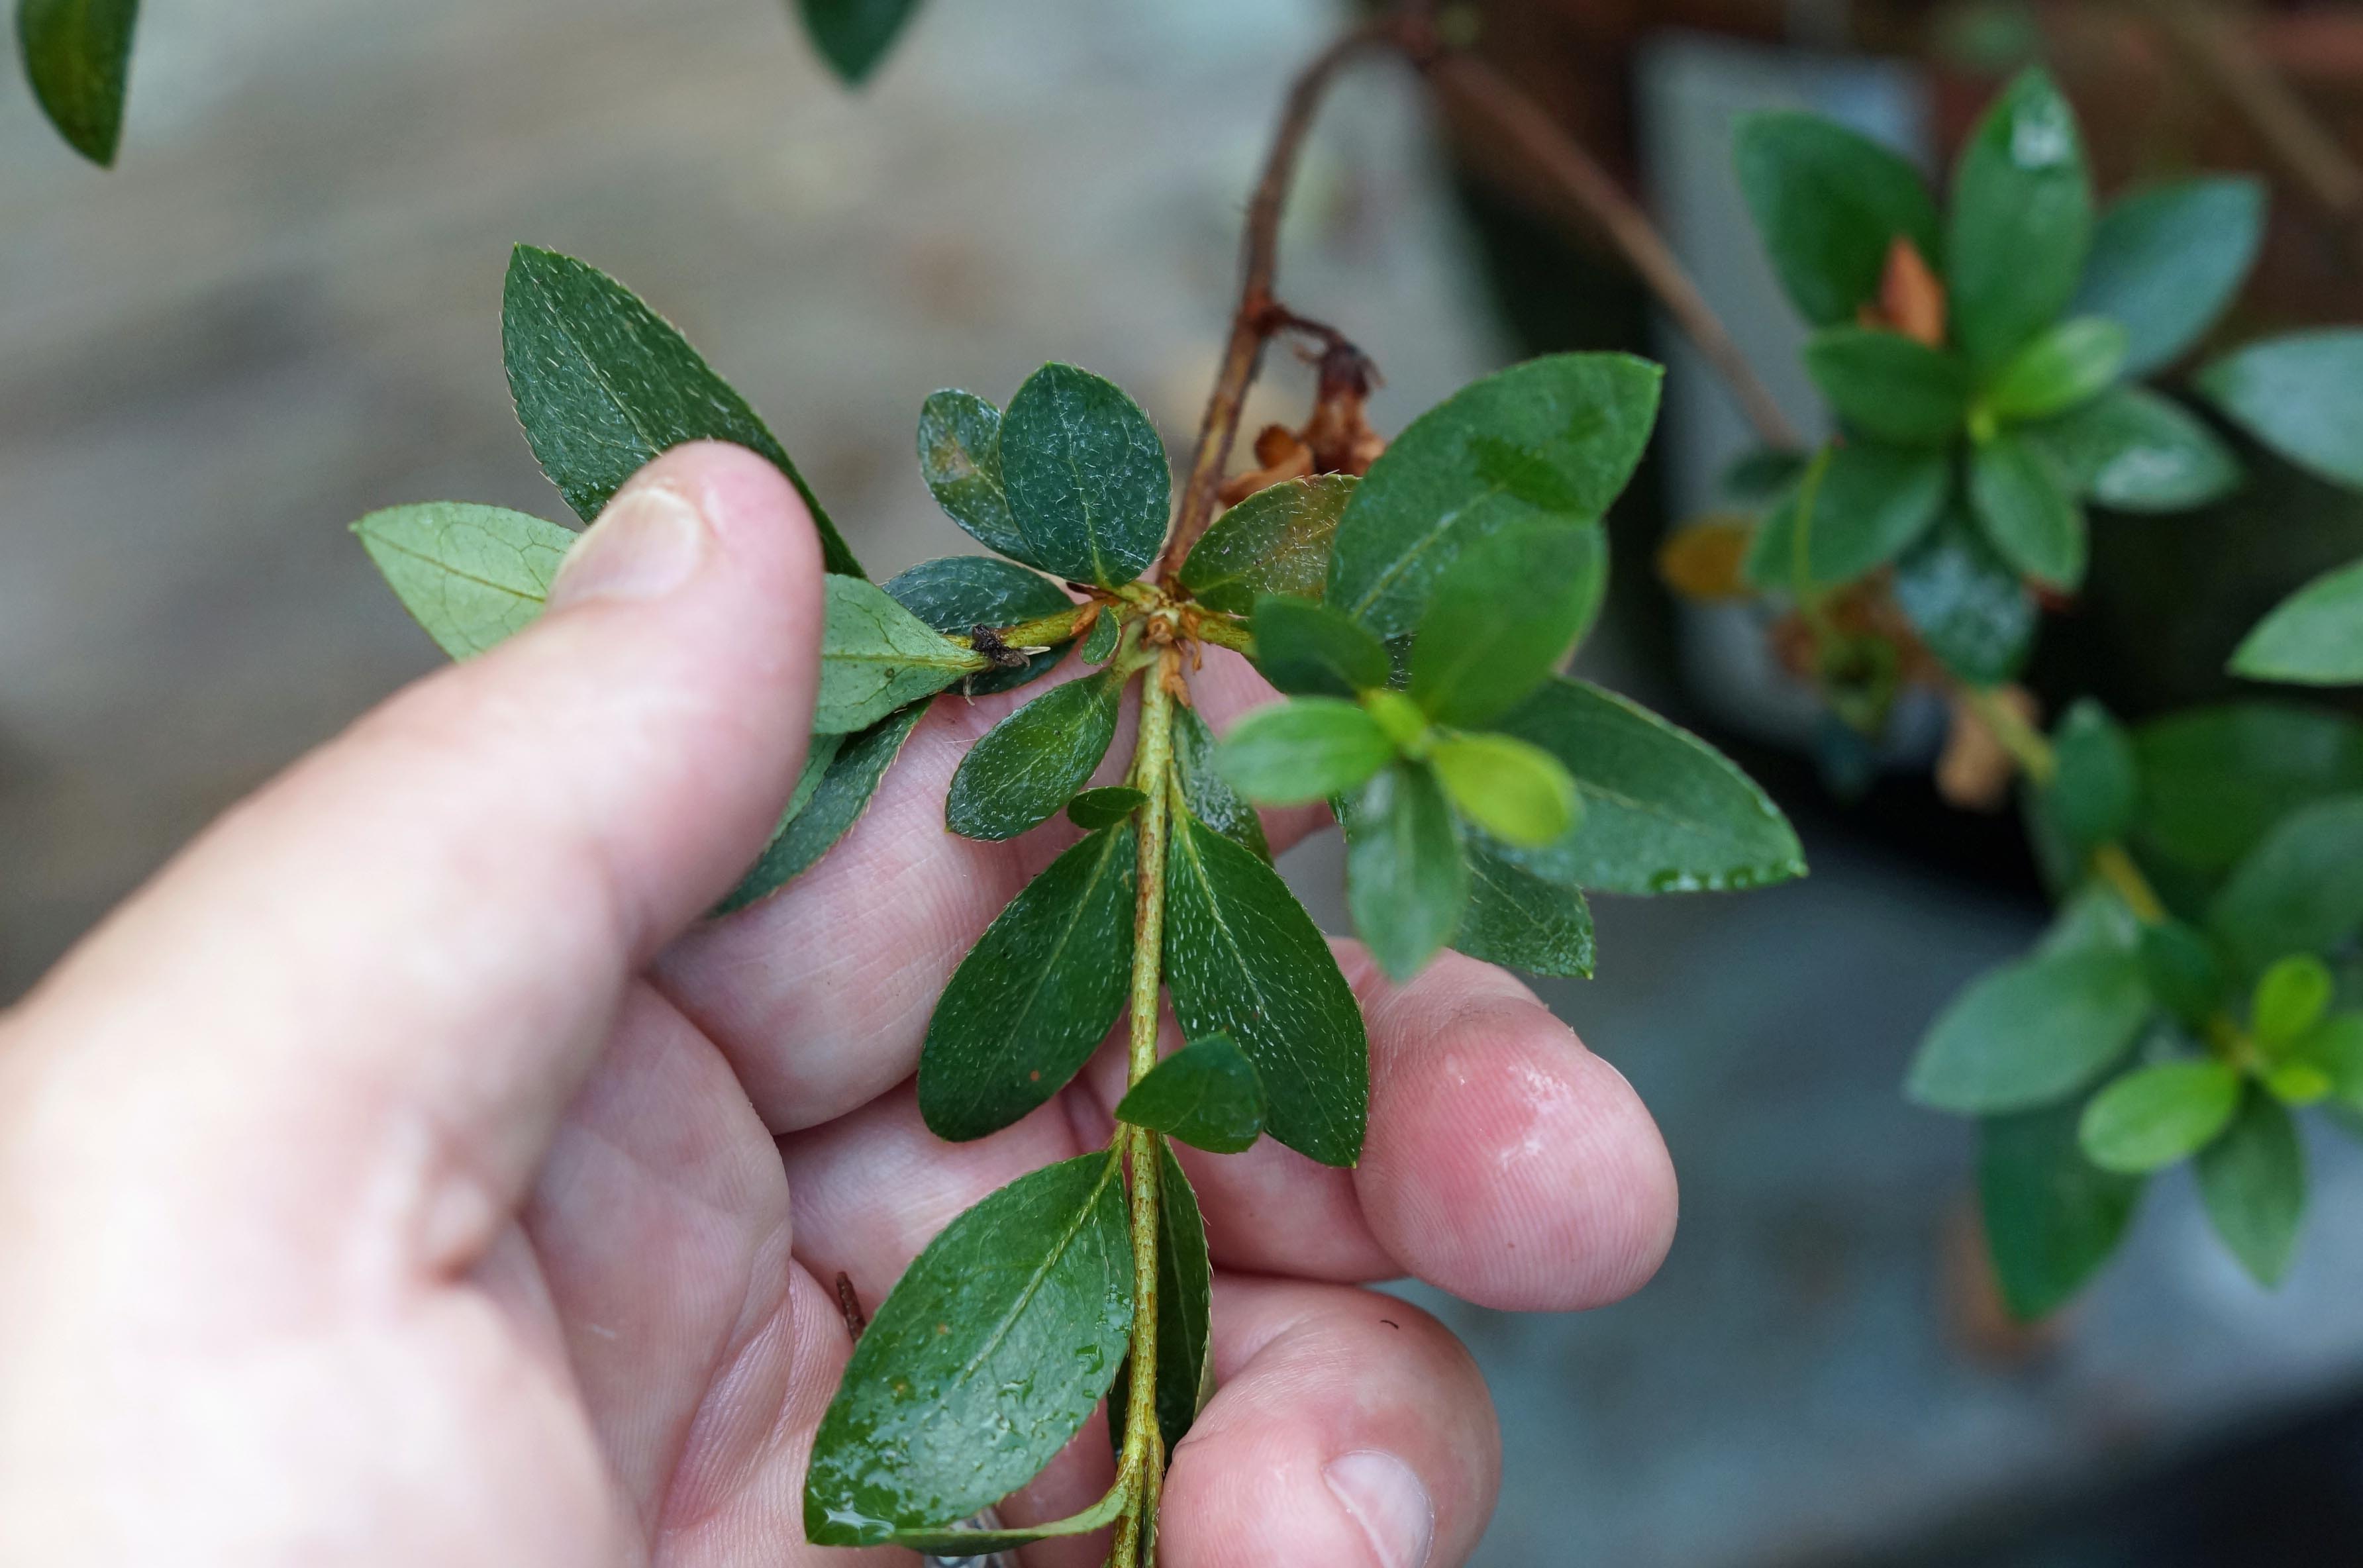
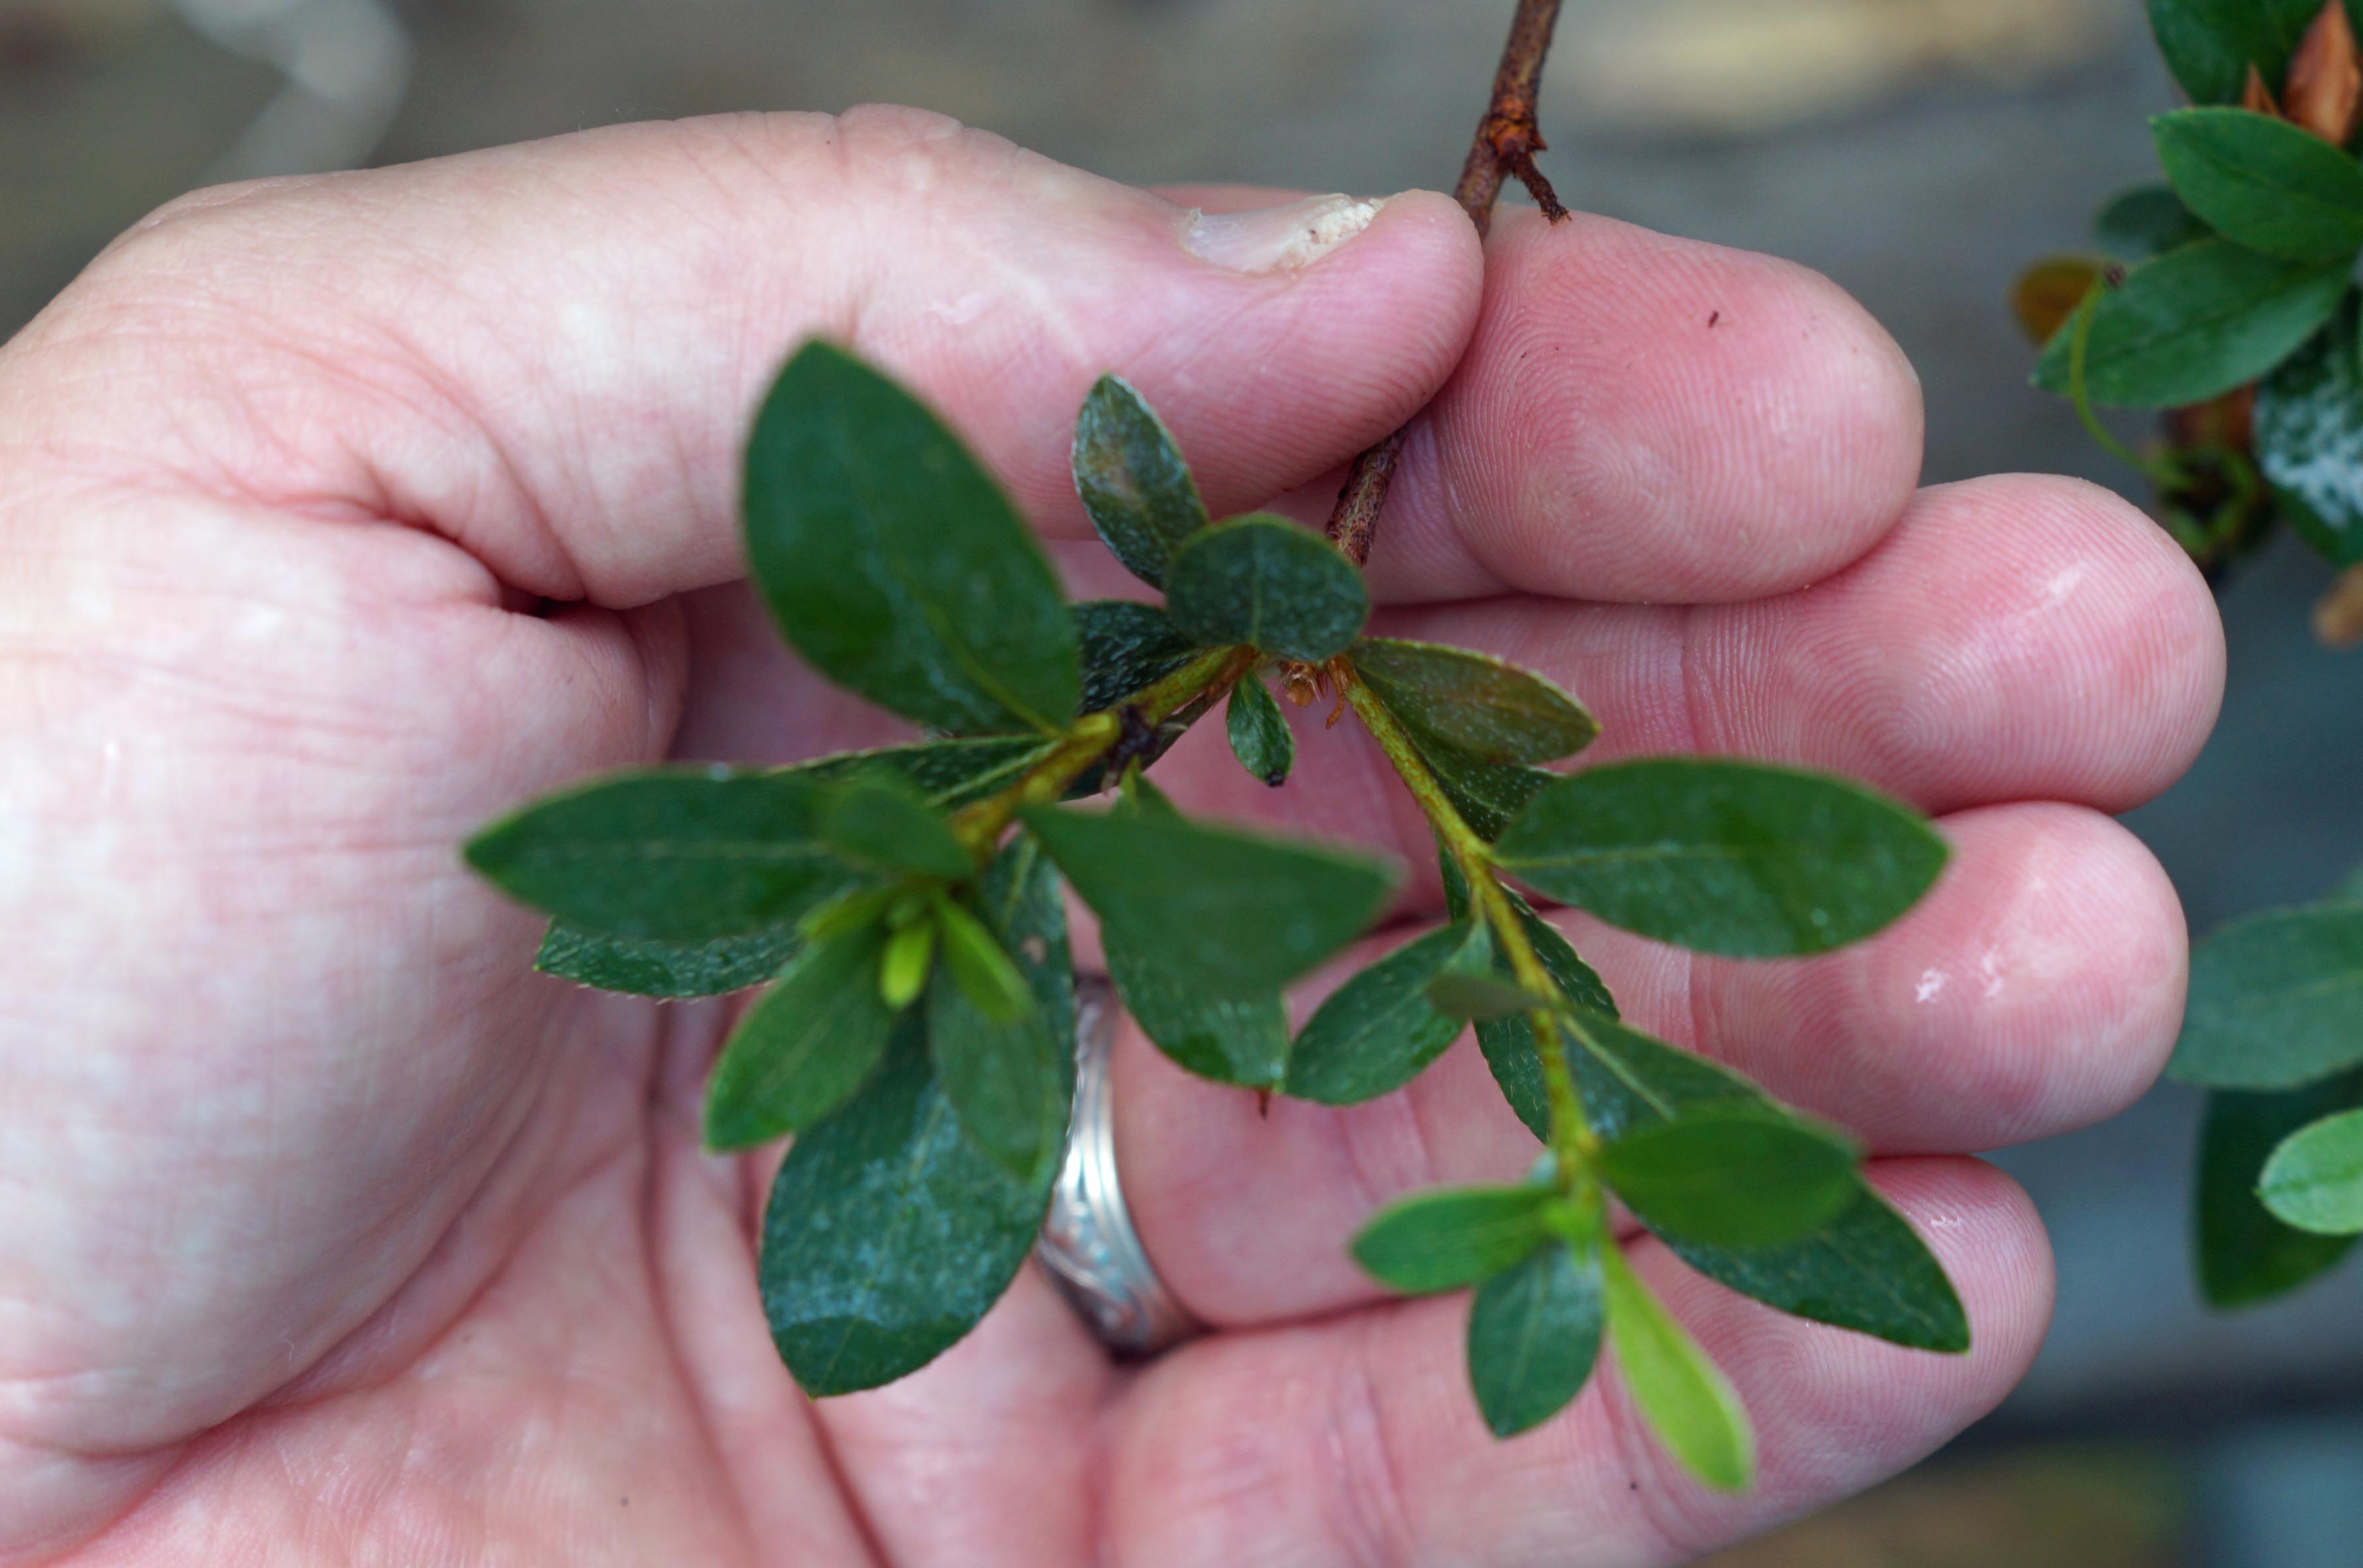
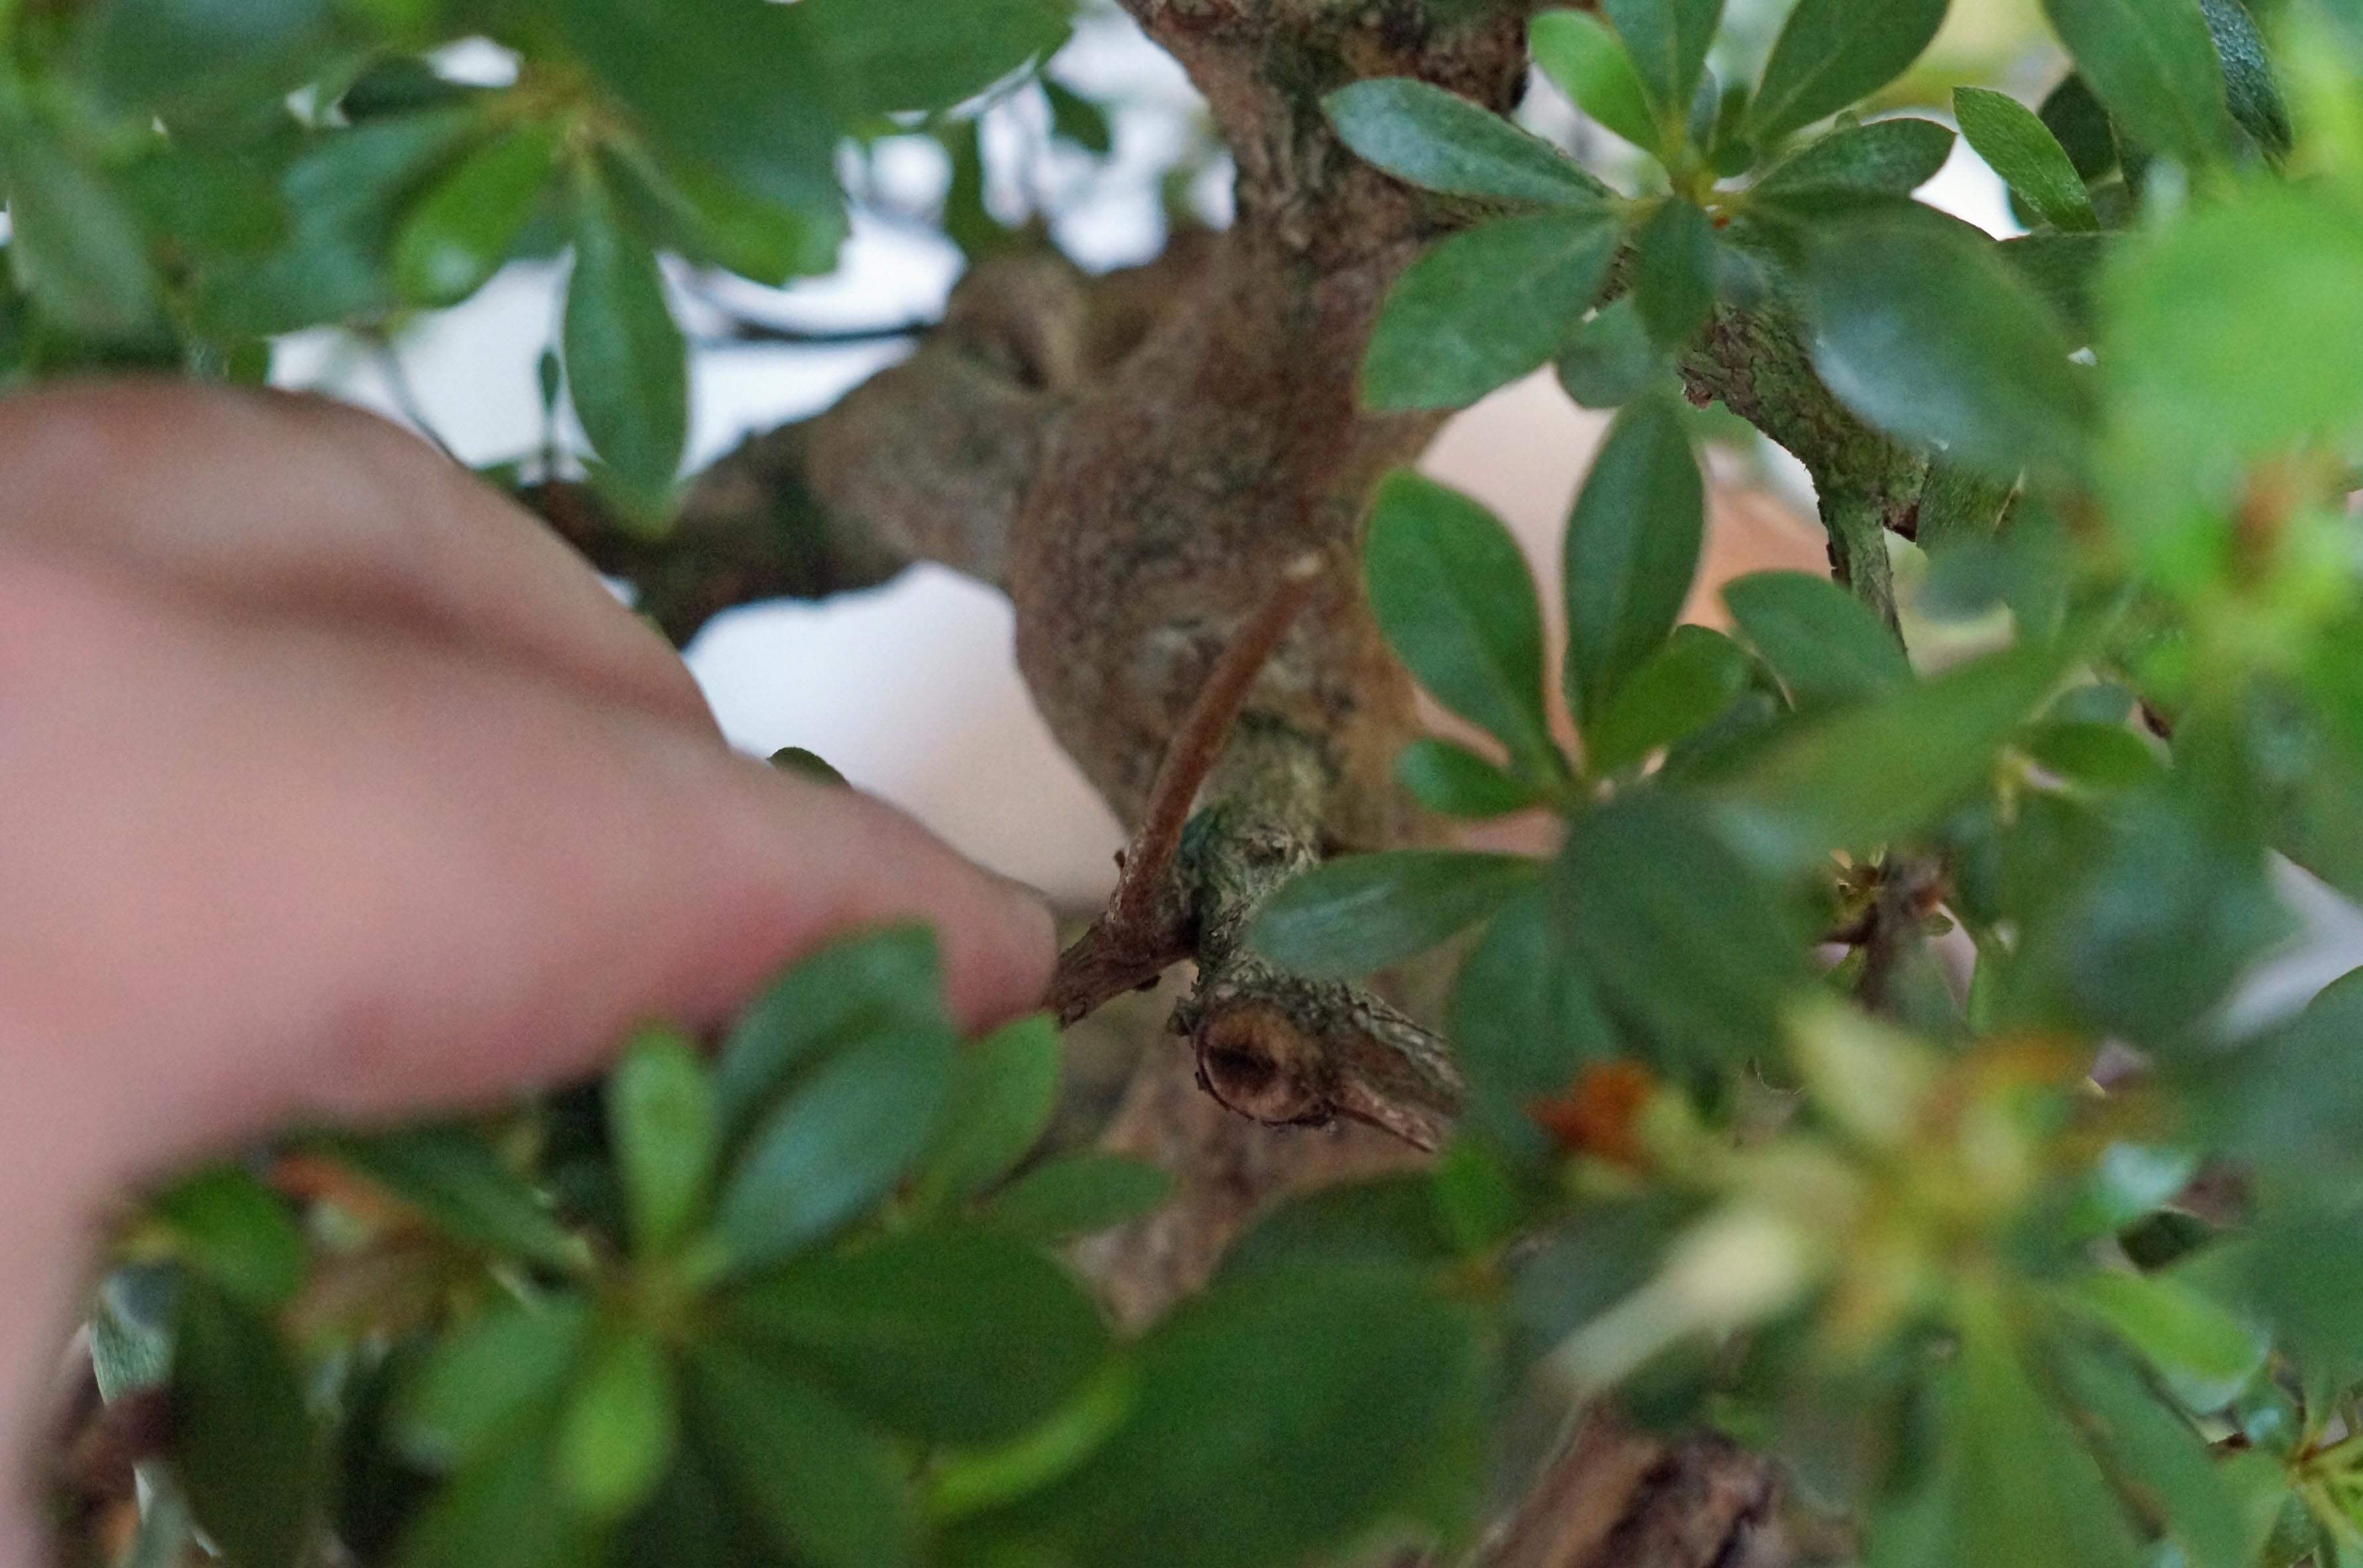
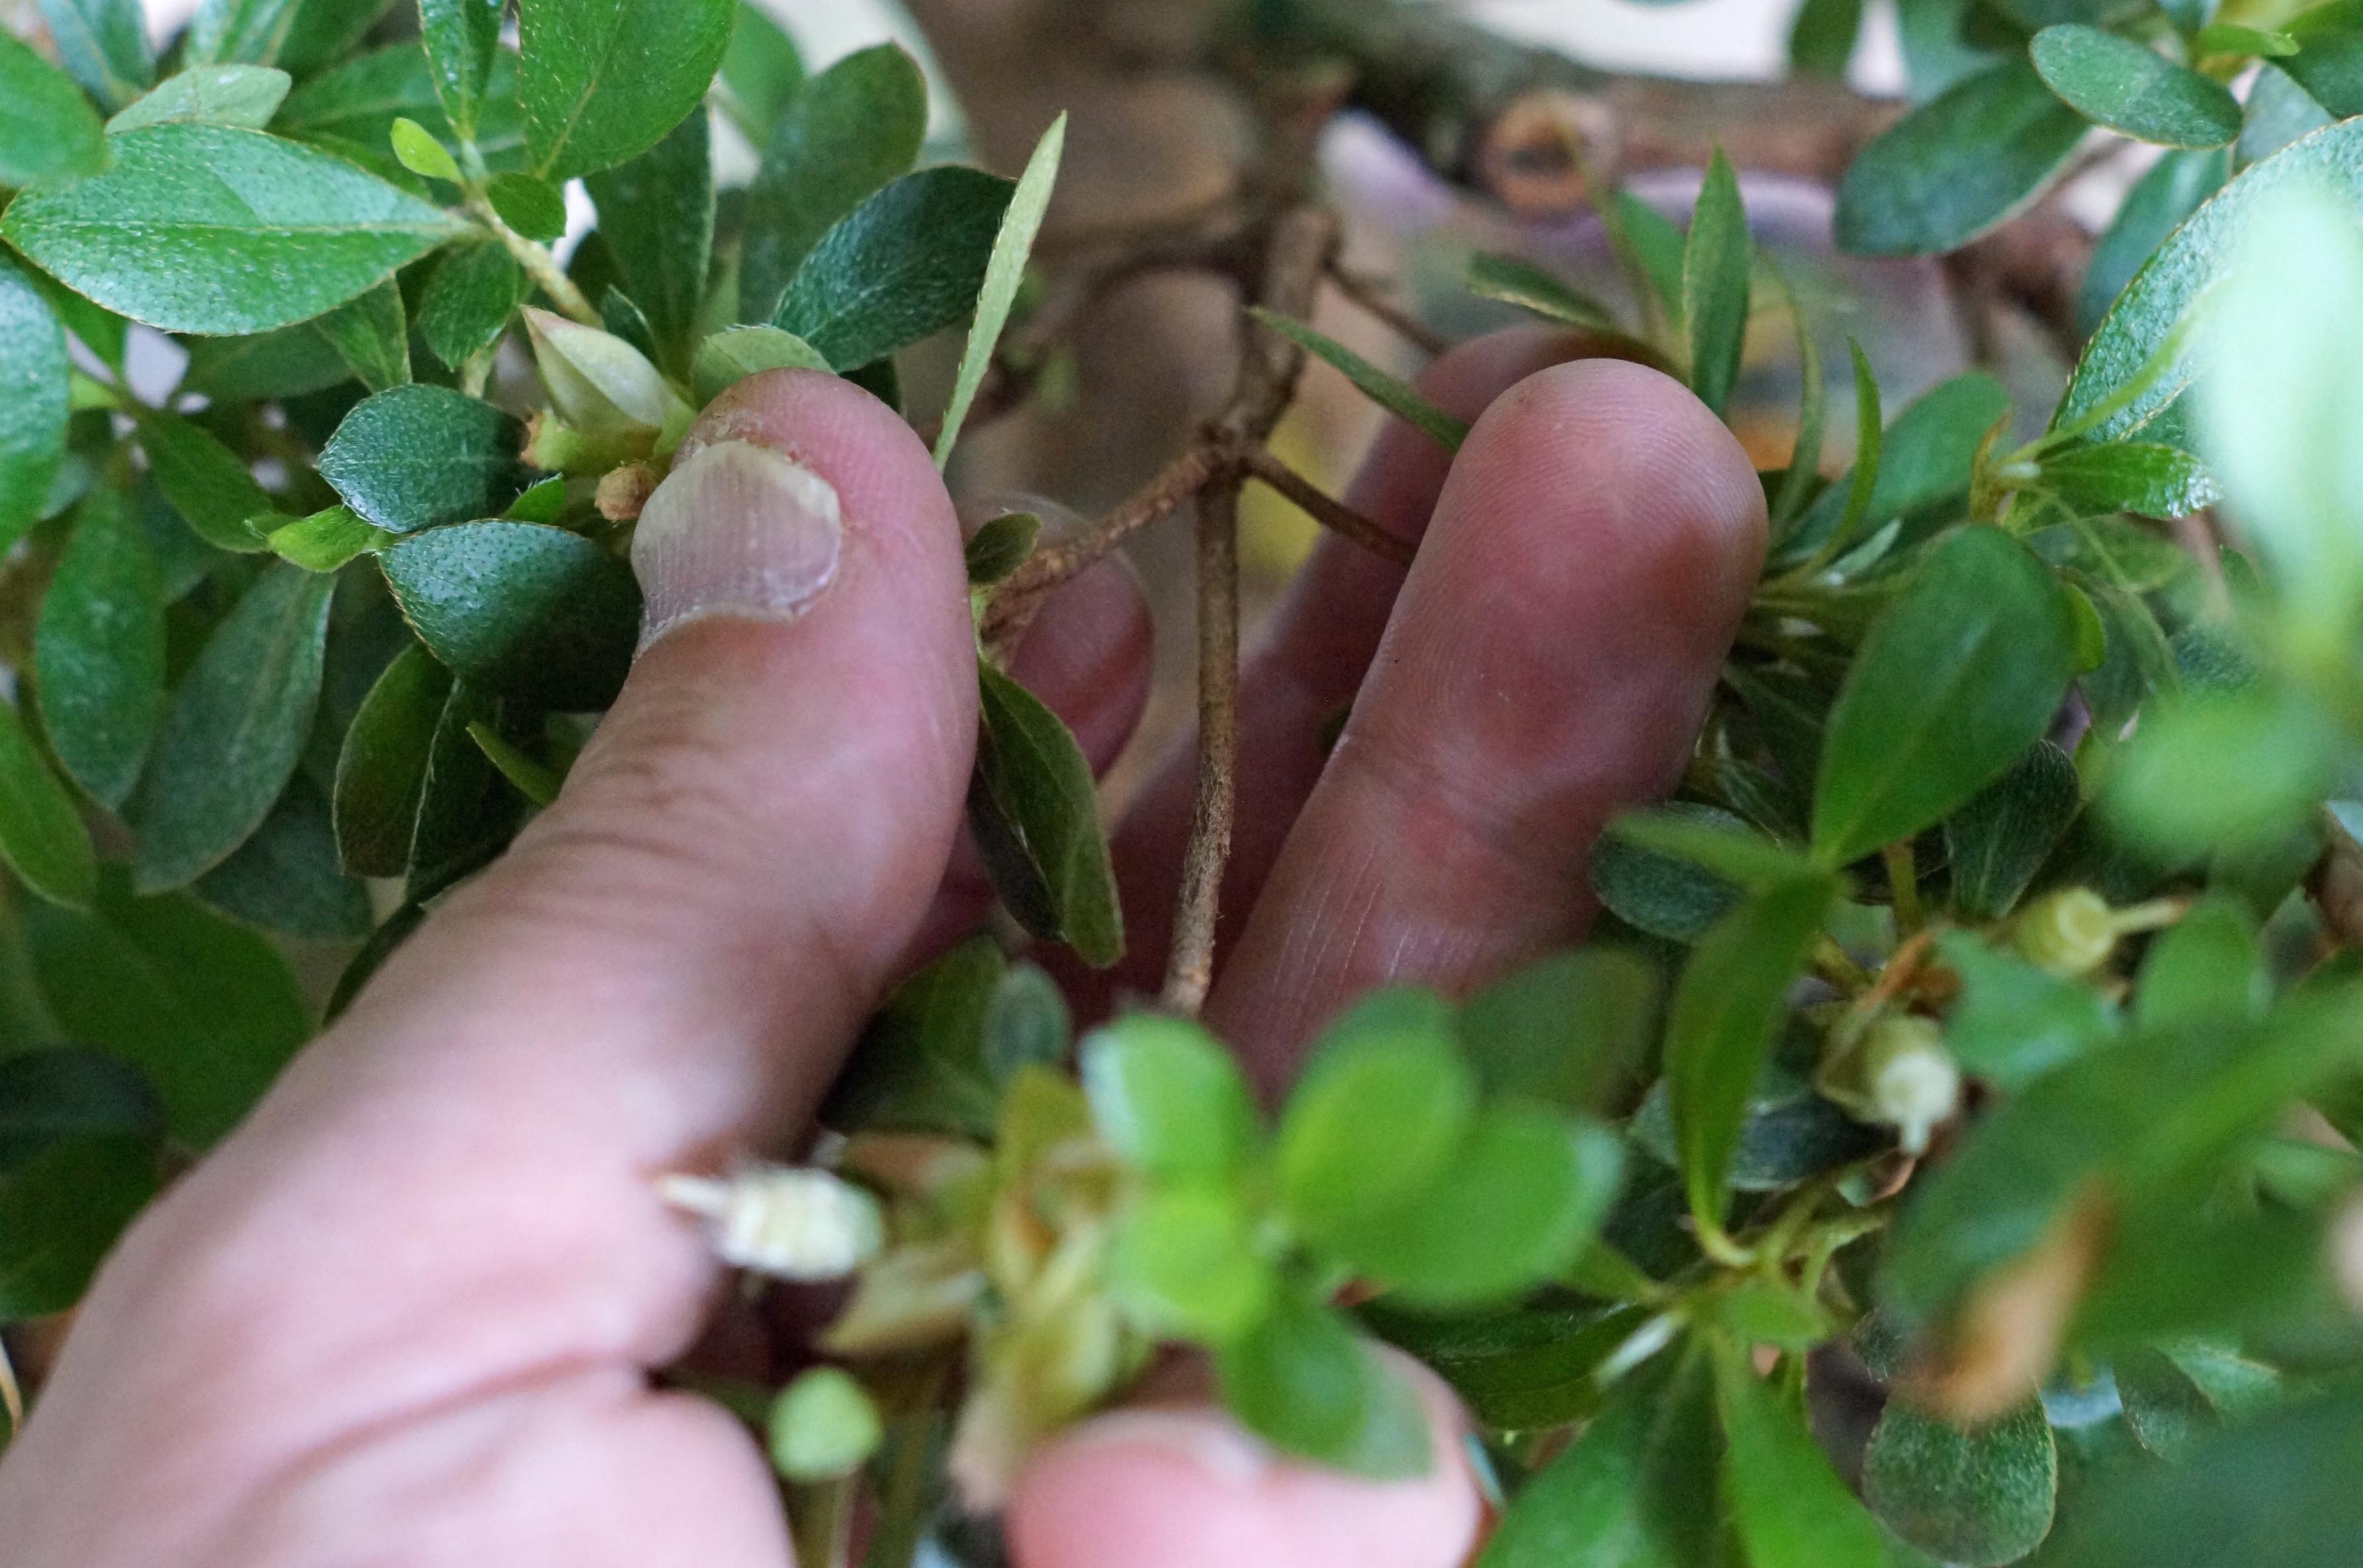
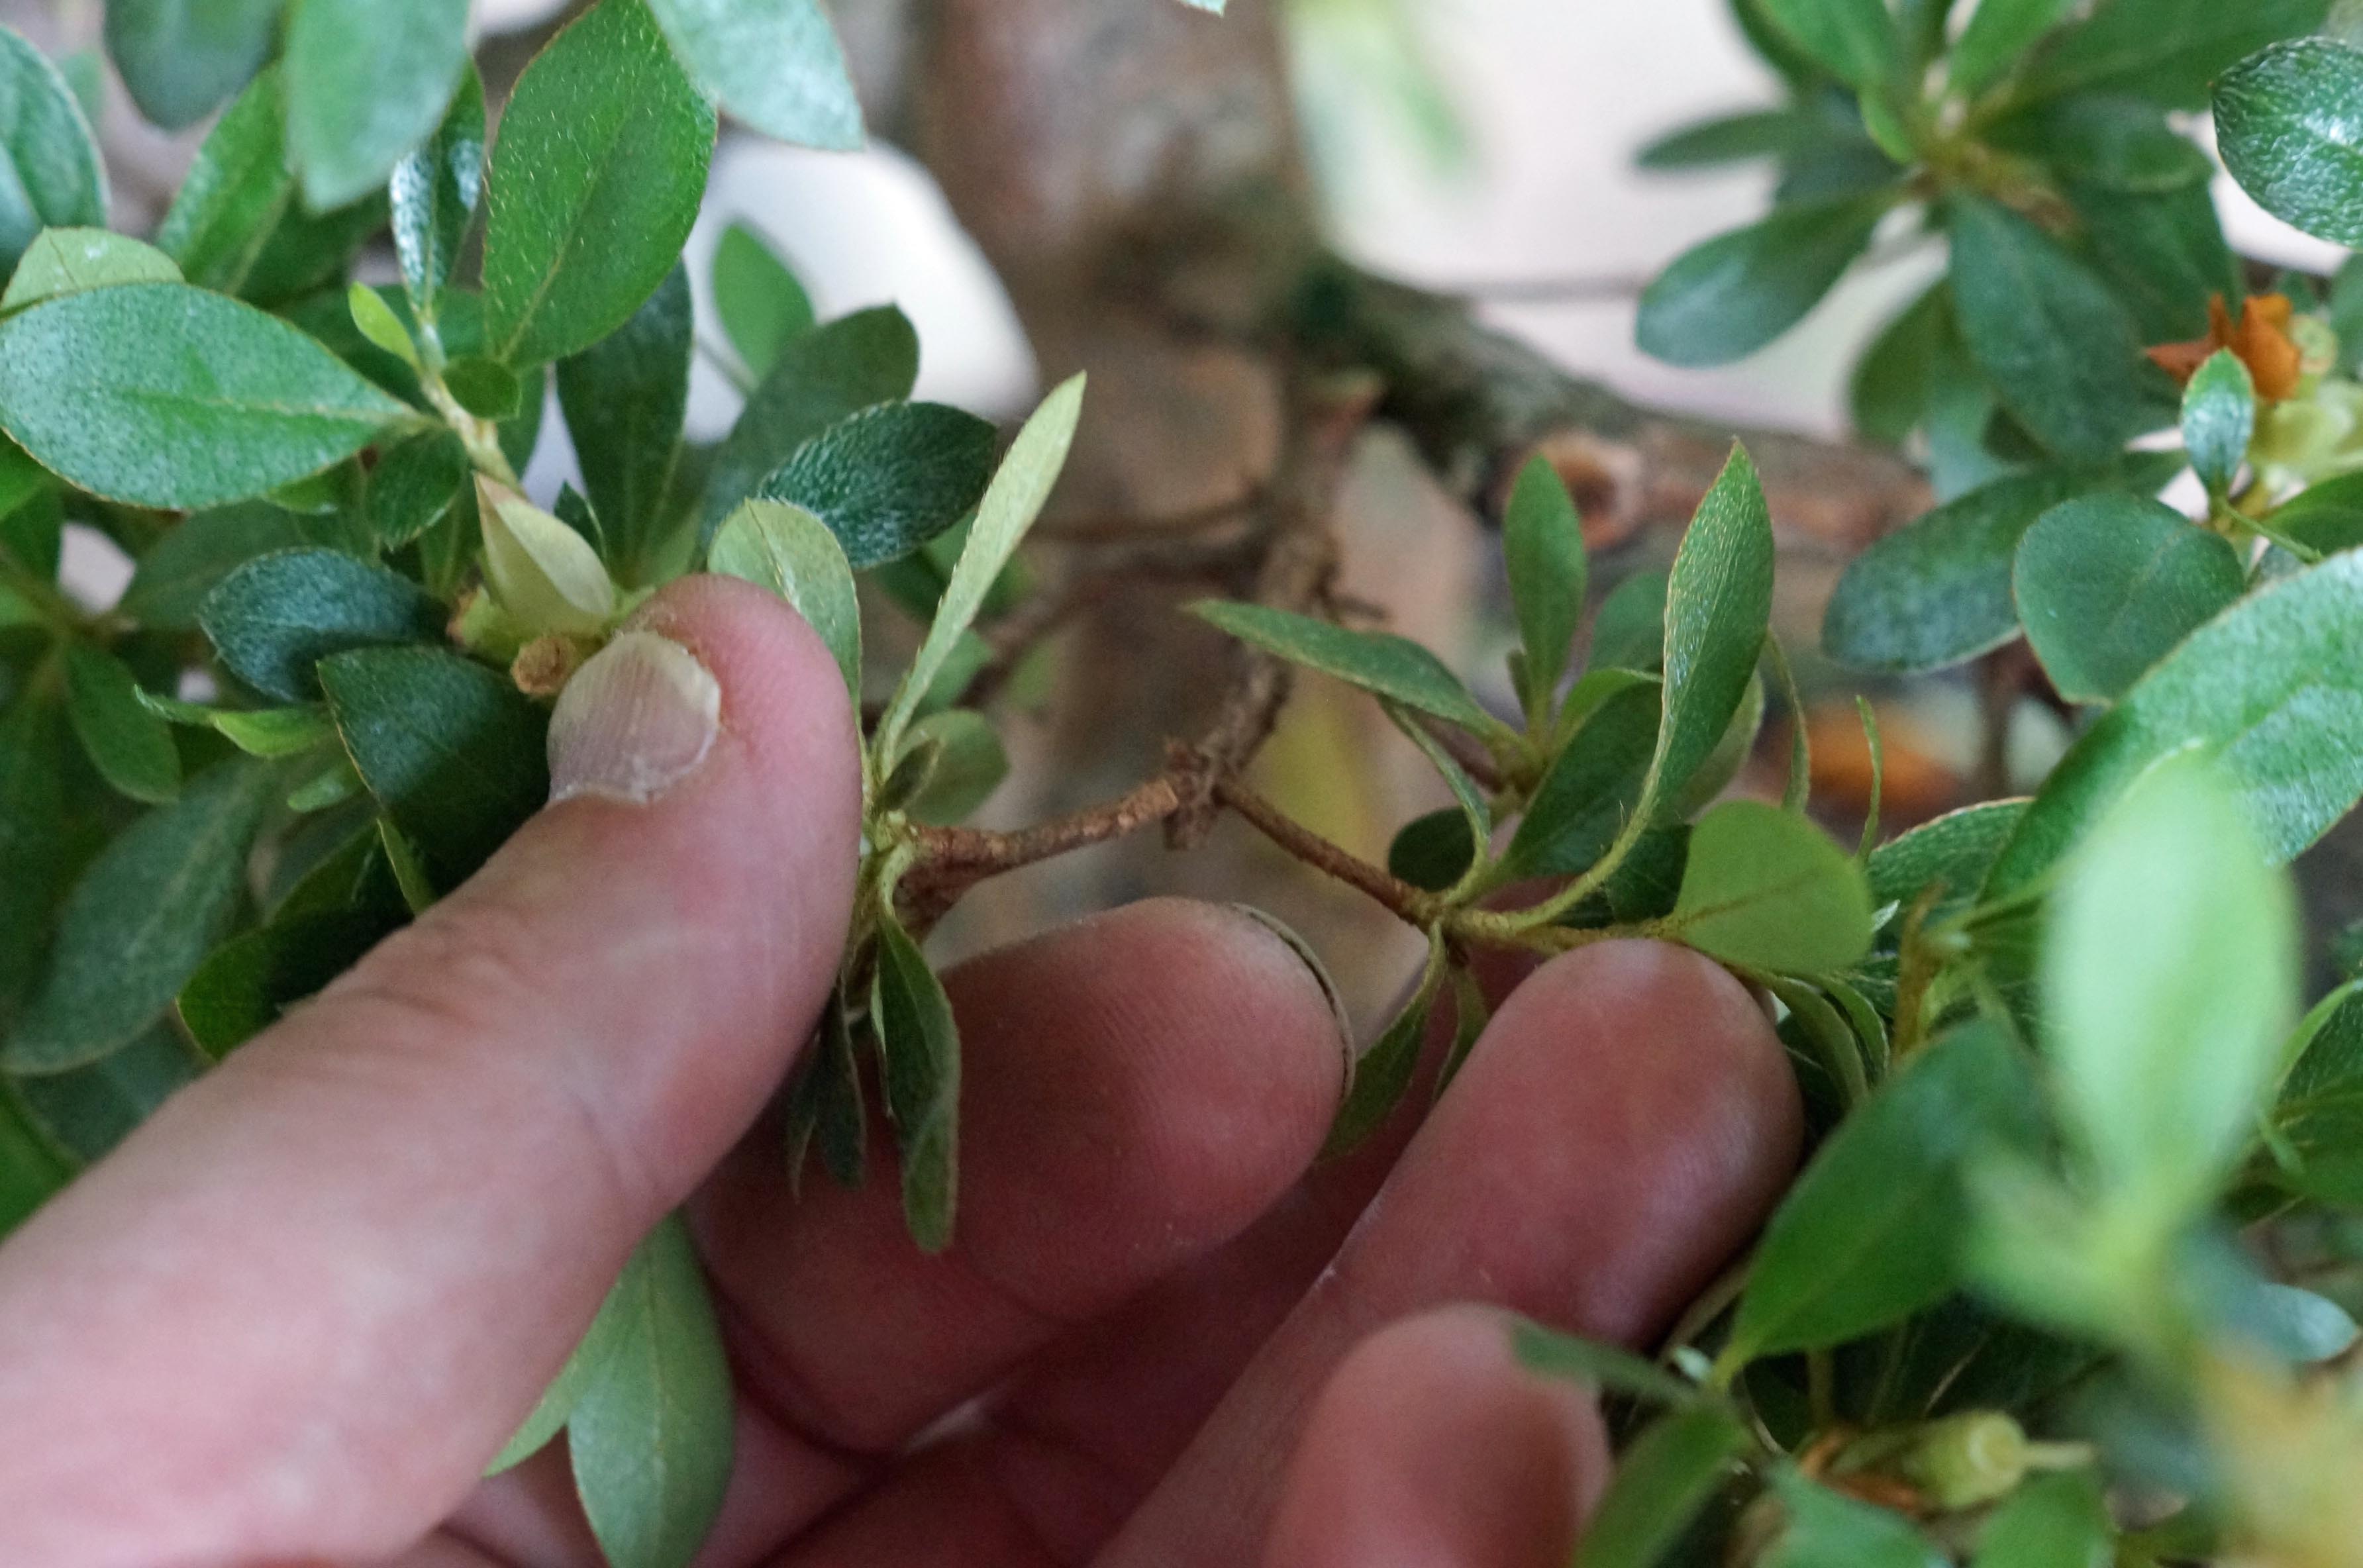
After that, I examine the end of the branches, this is where the flowers would have been, usually. Azaleas will add new growth around the flower bud, in a whorl of usually 3-7 branches. I have seen more sometimes and less other times; these will need to be thinned out. To do this select the two that you wish to keep. When choosing, try to select the ones that are growing in the direction that you need for your design. Remove the rest.
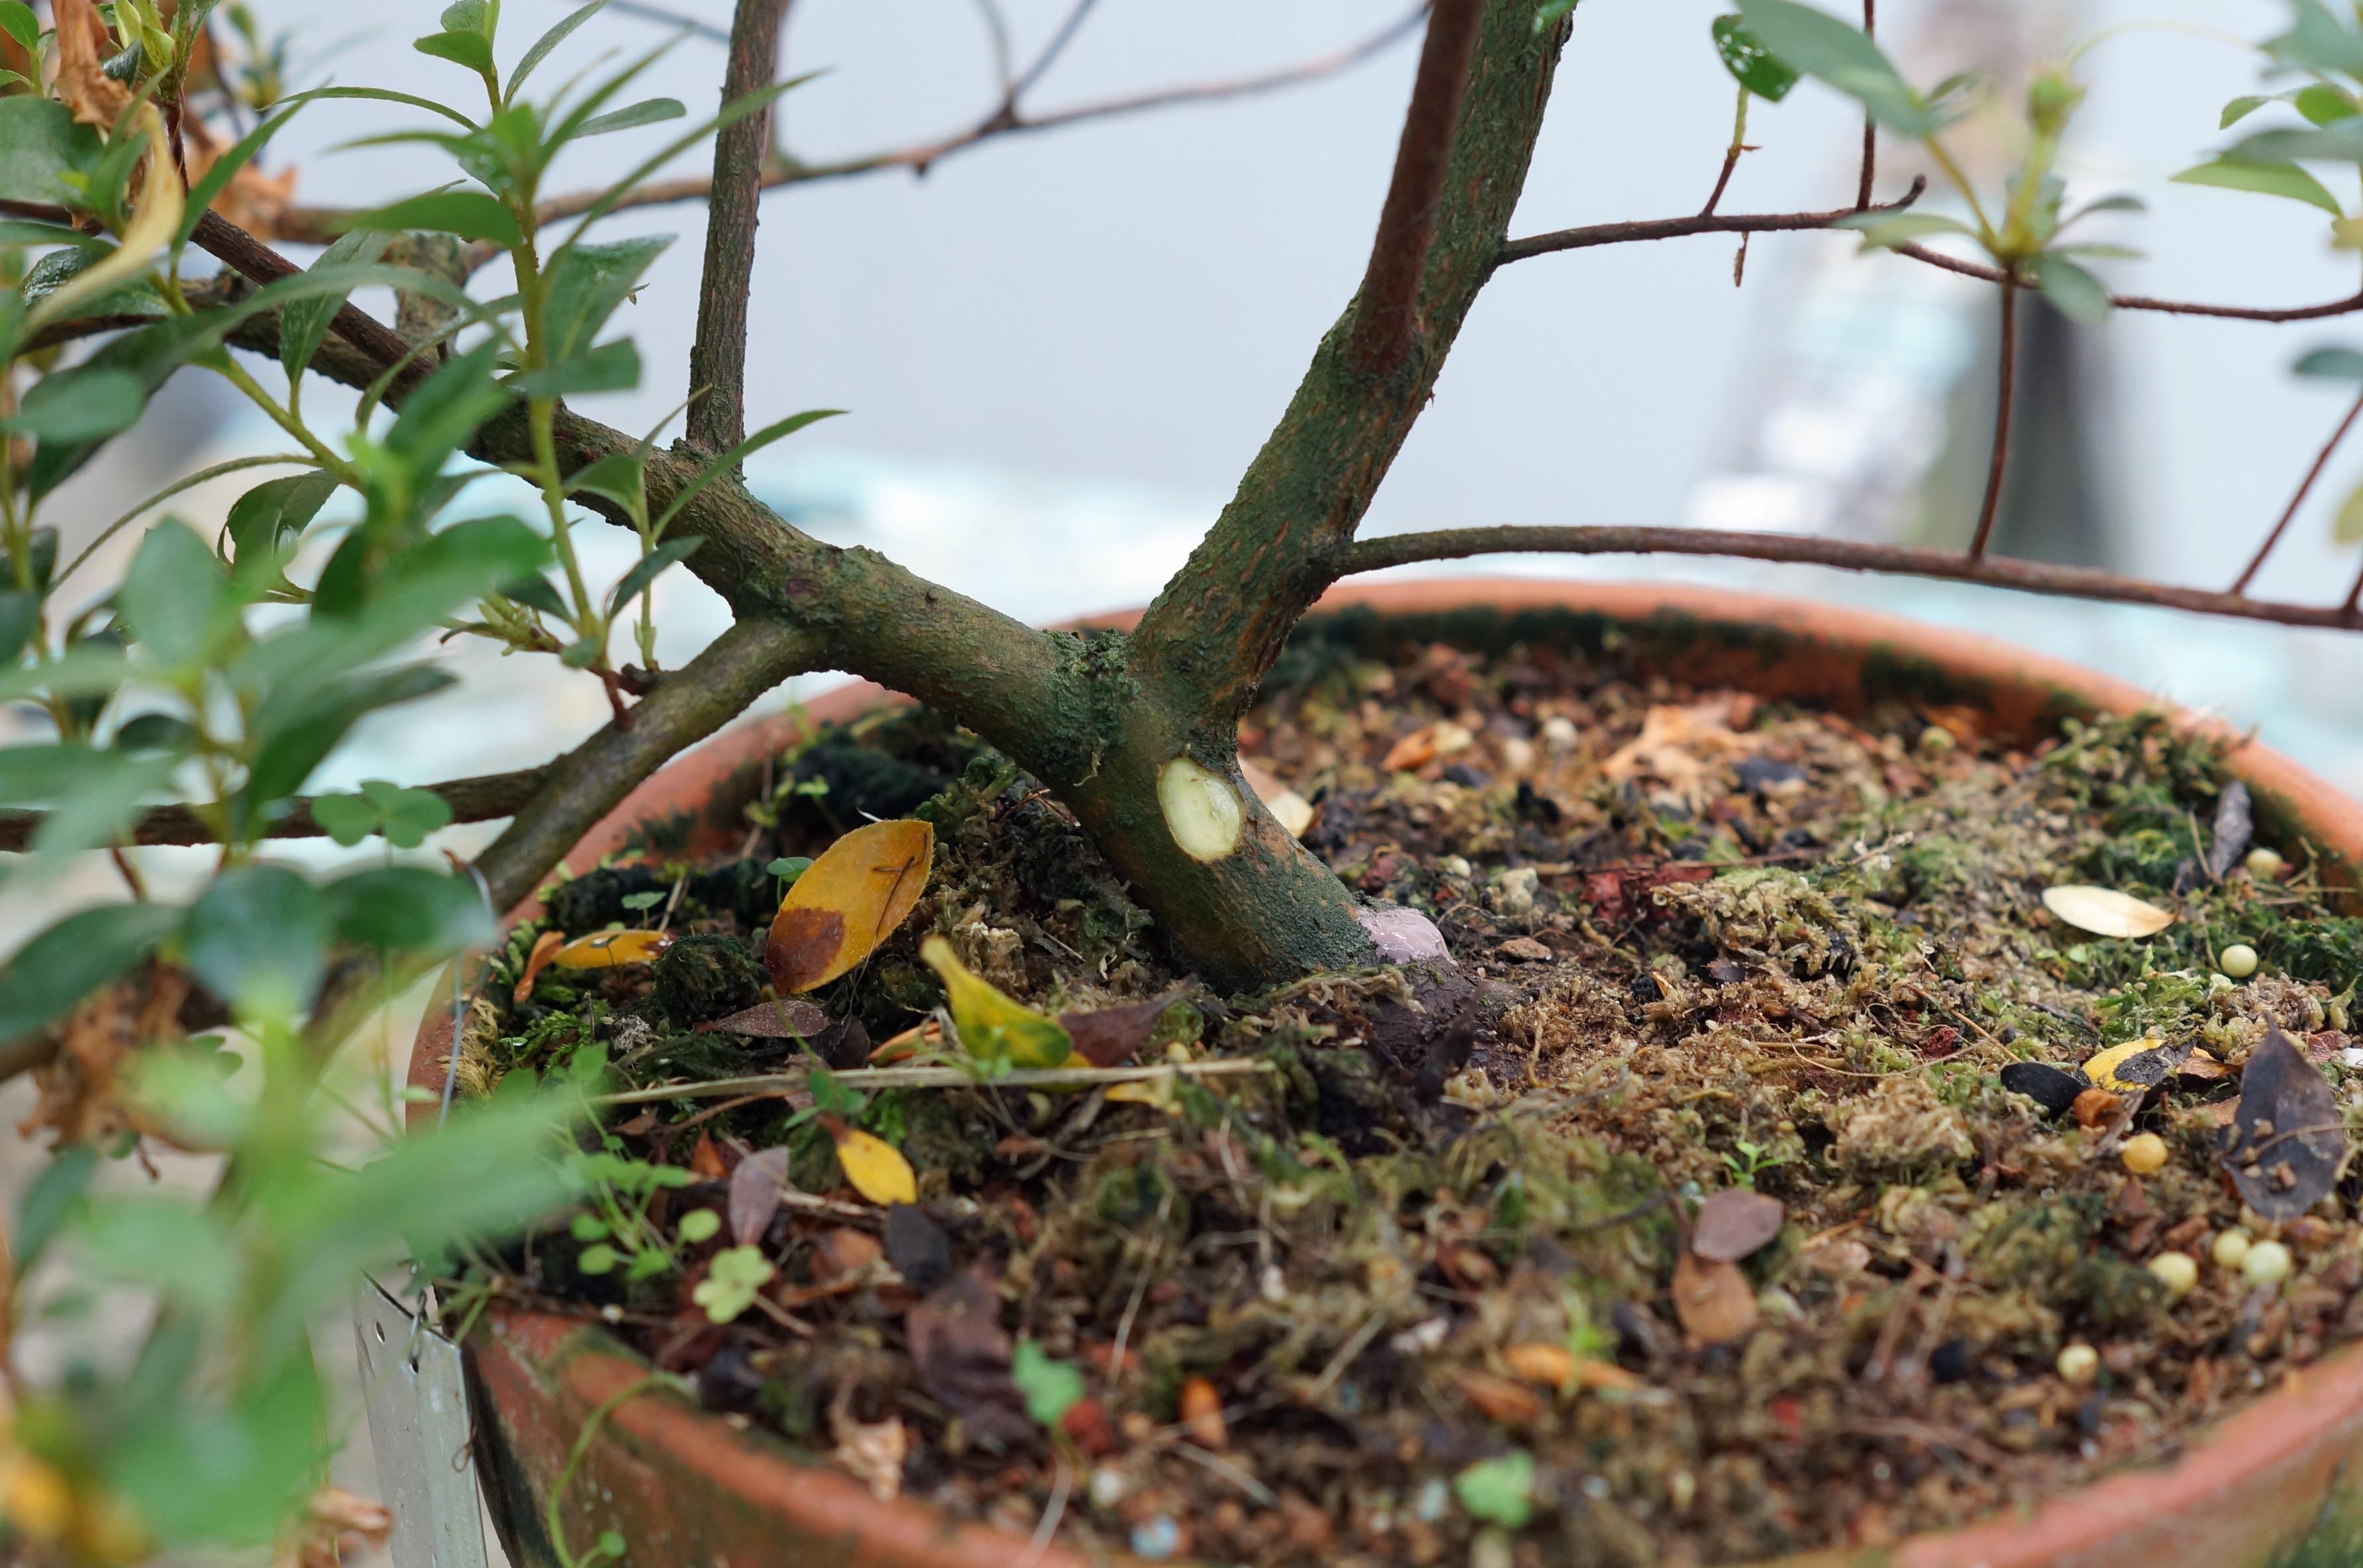
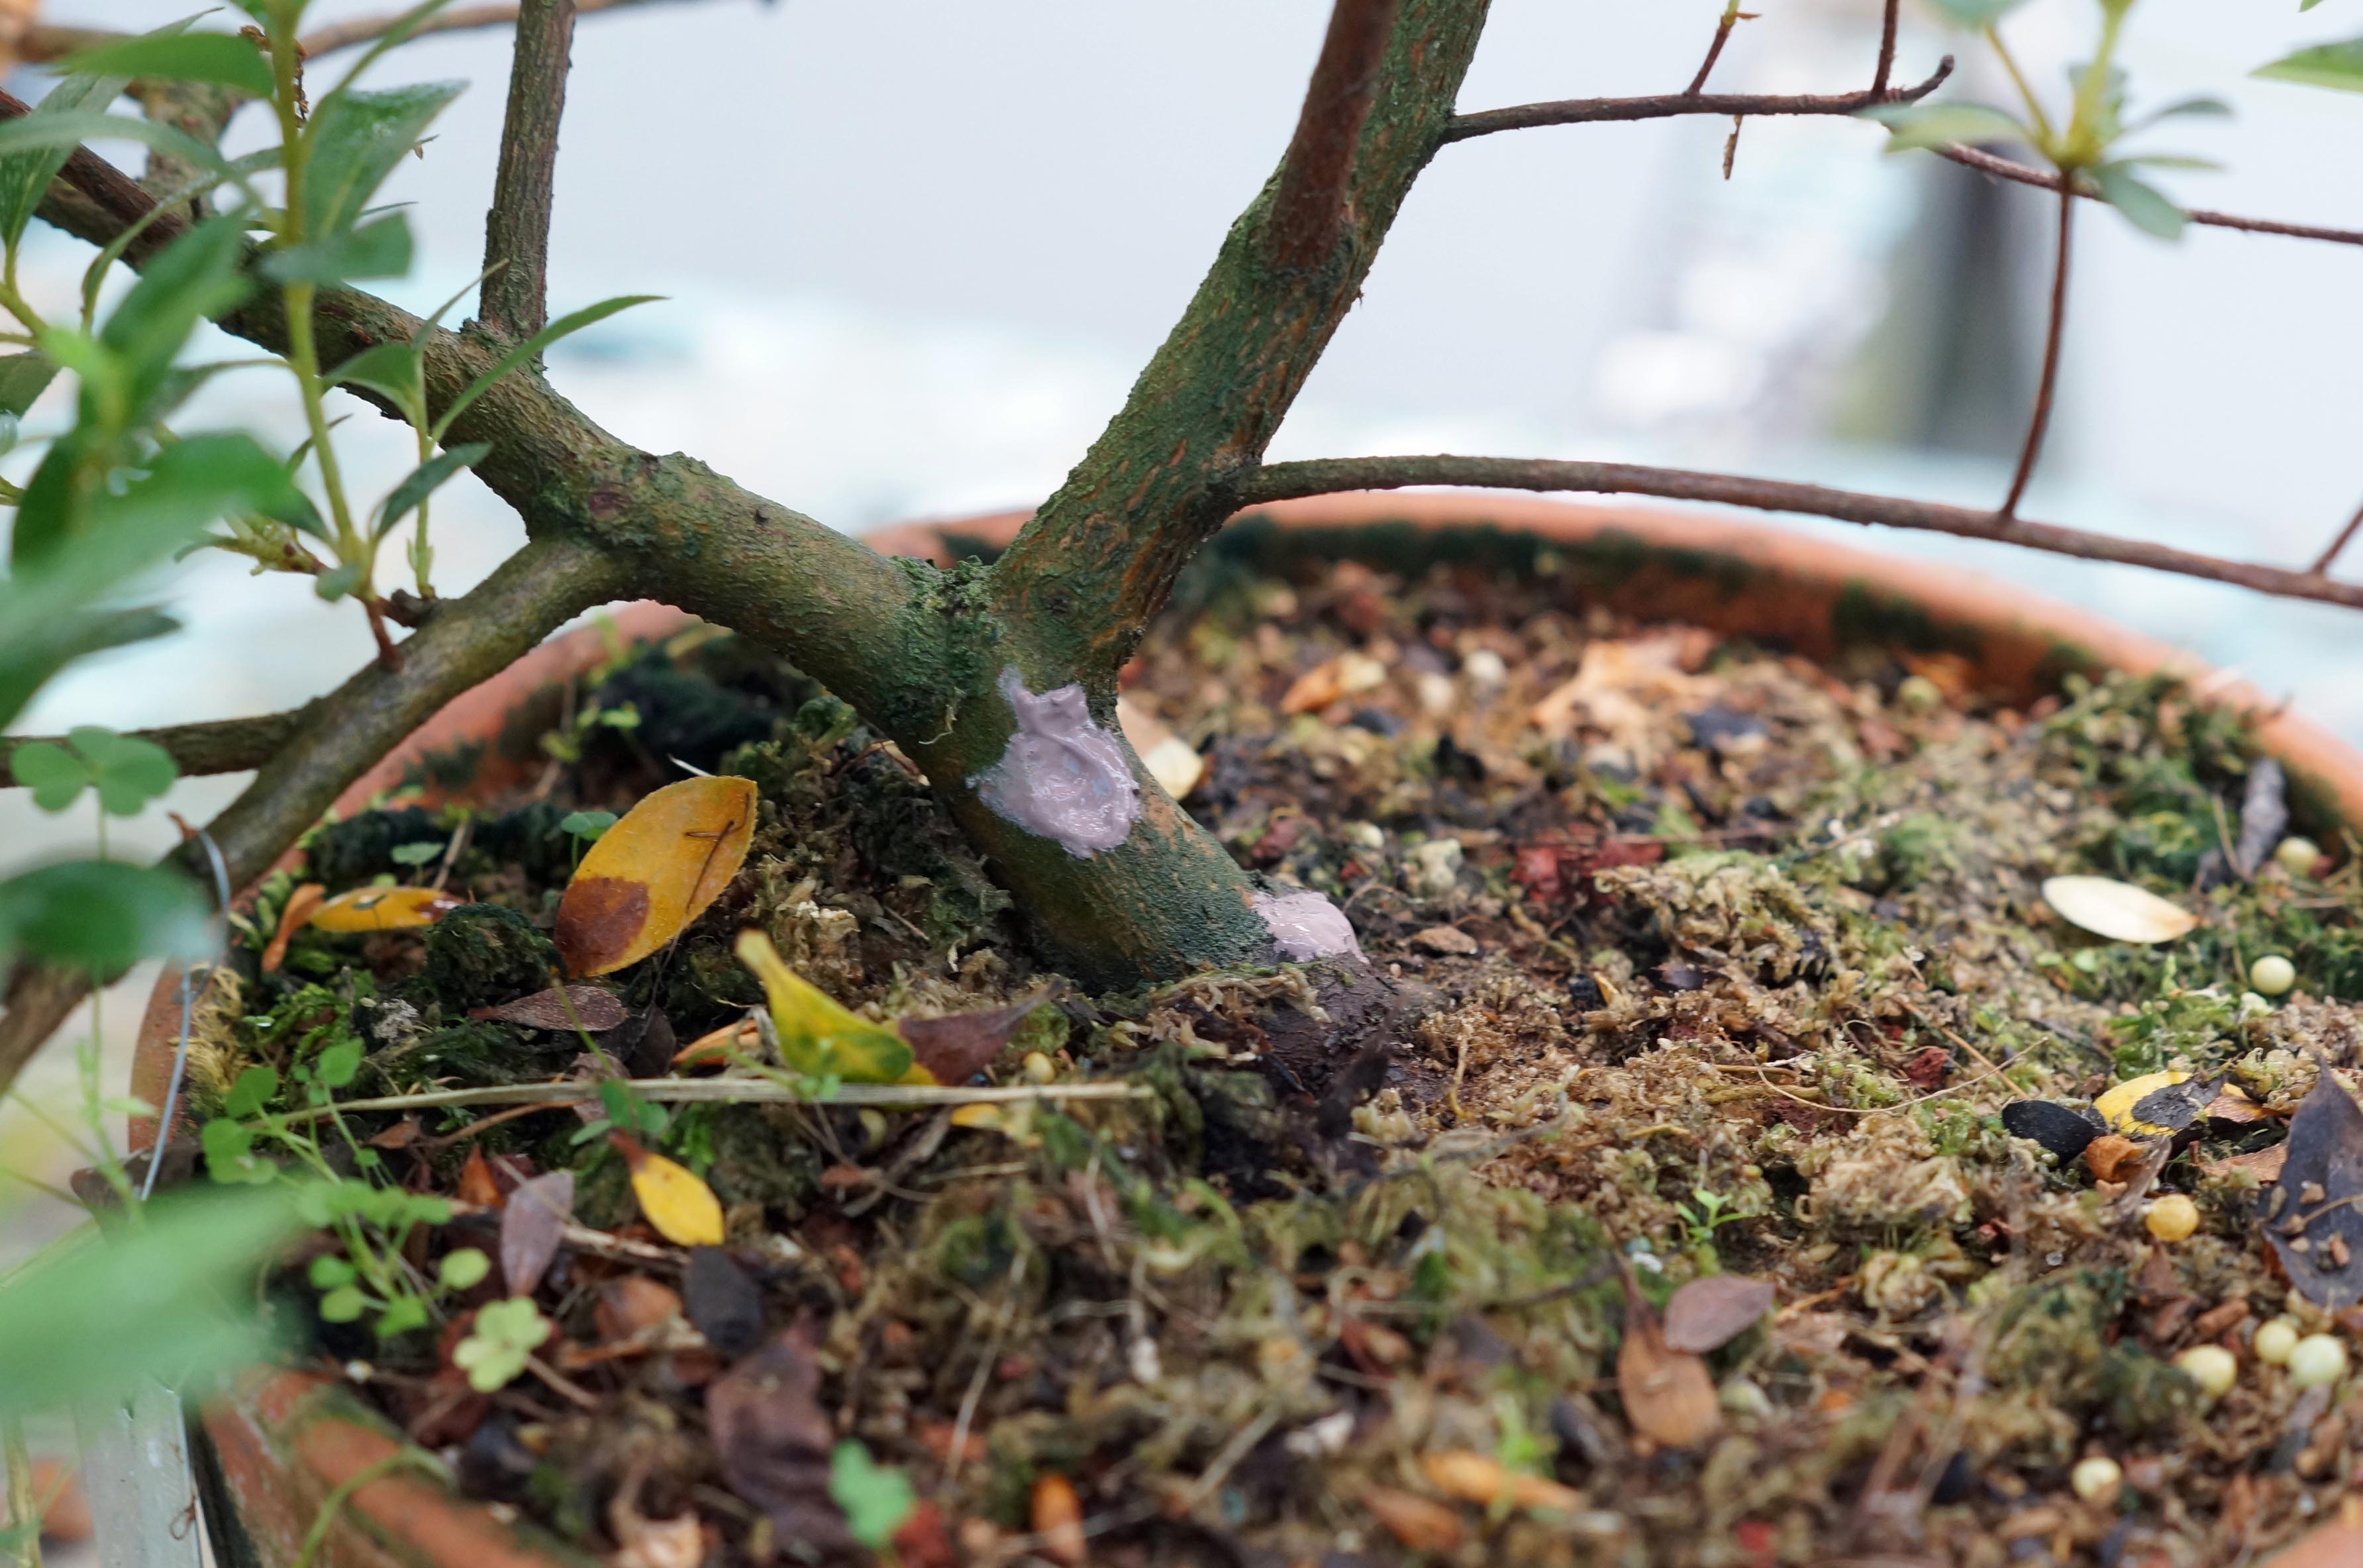
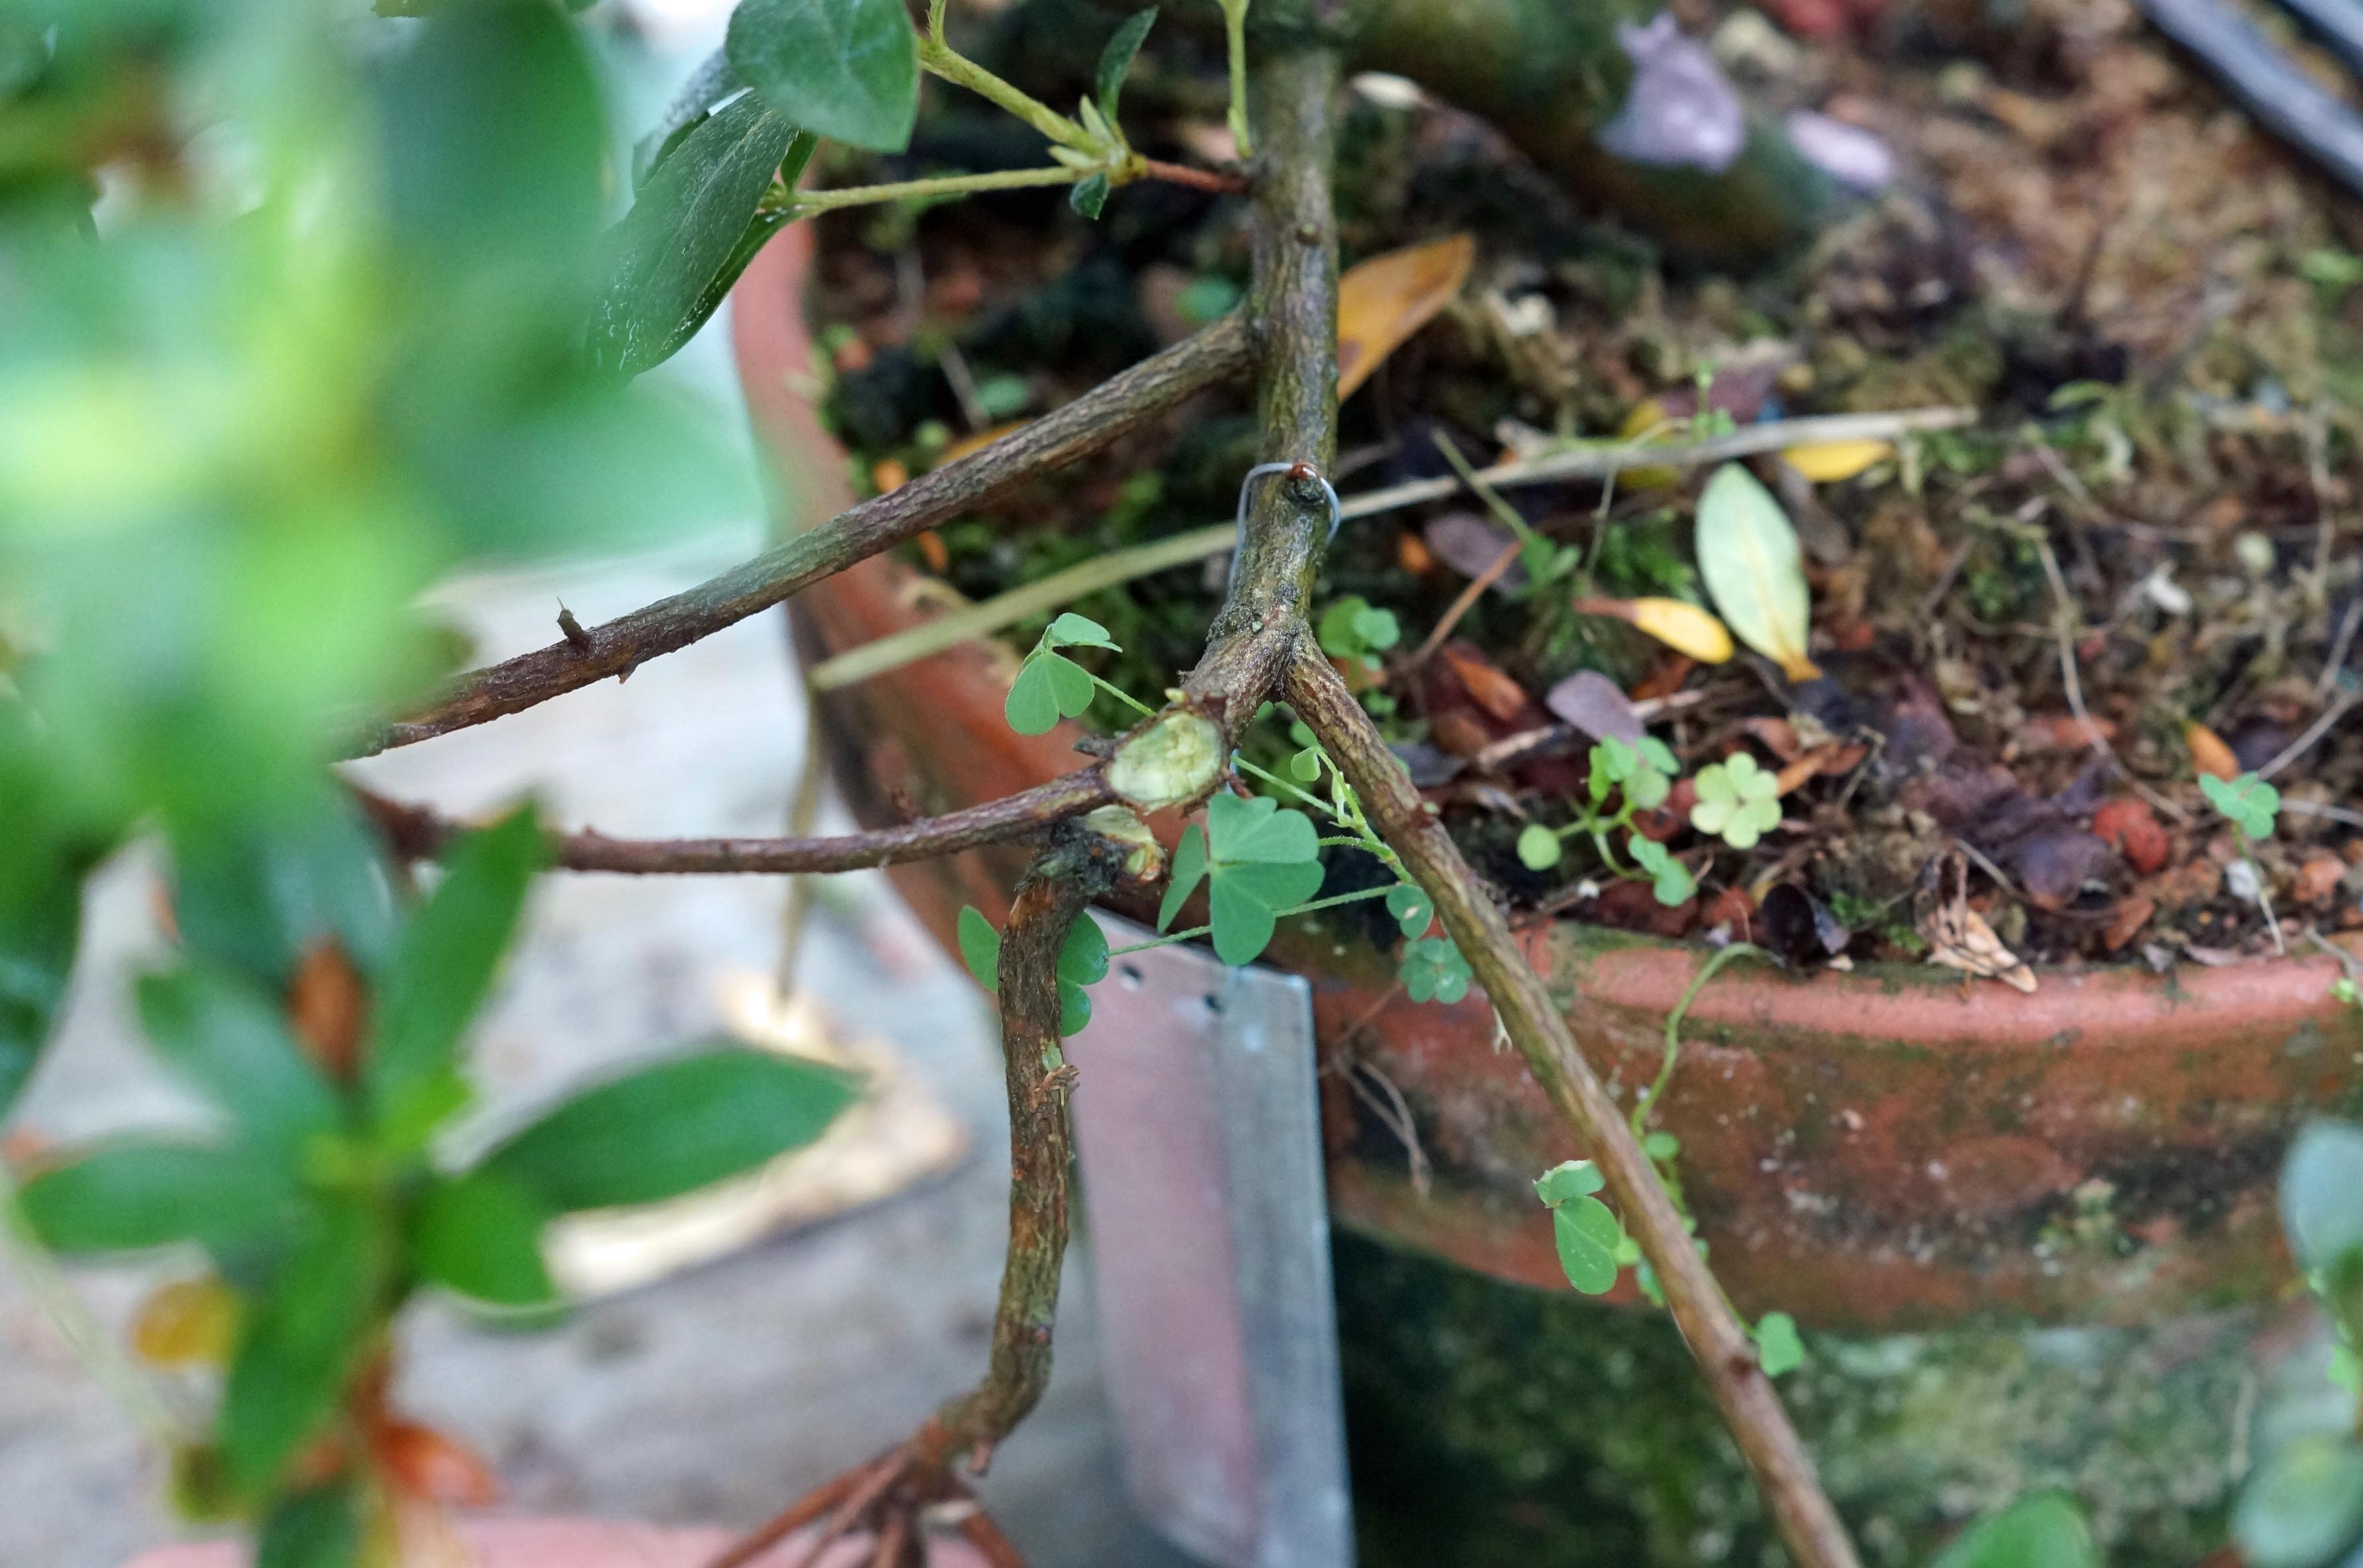
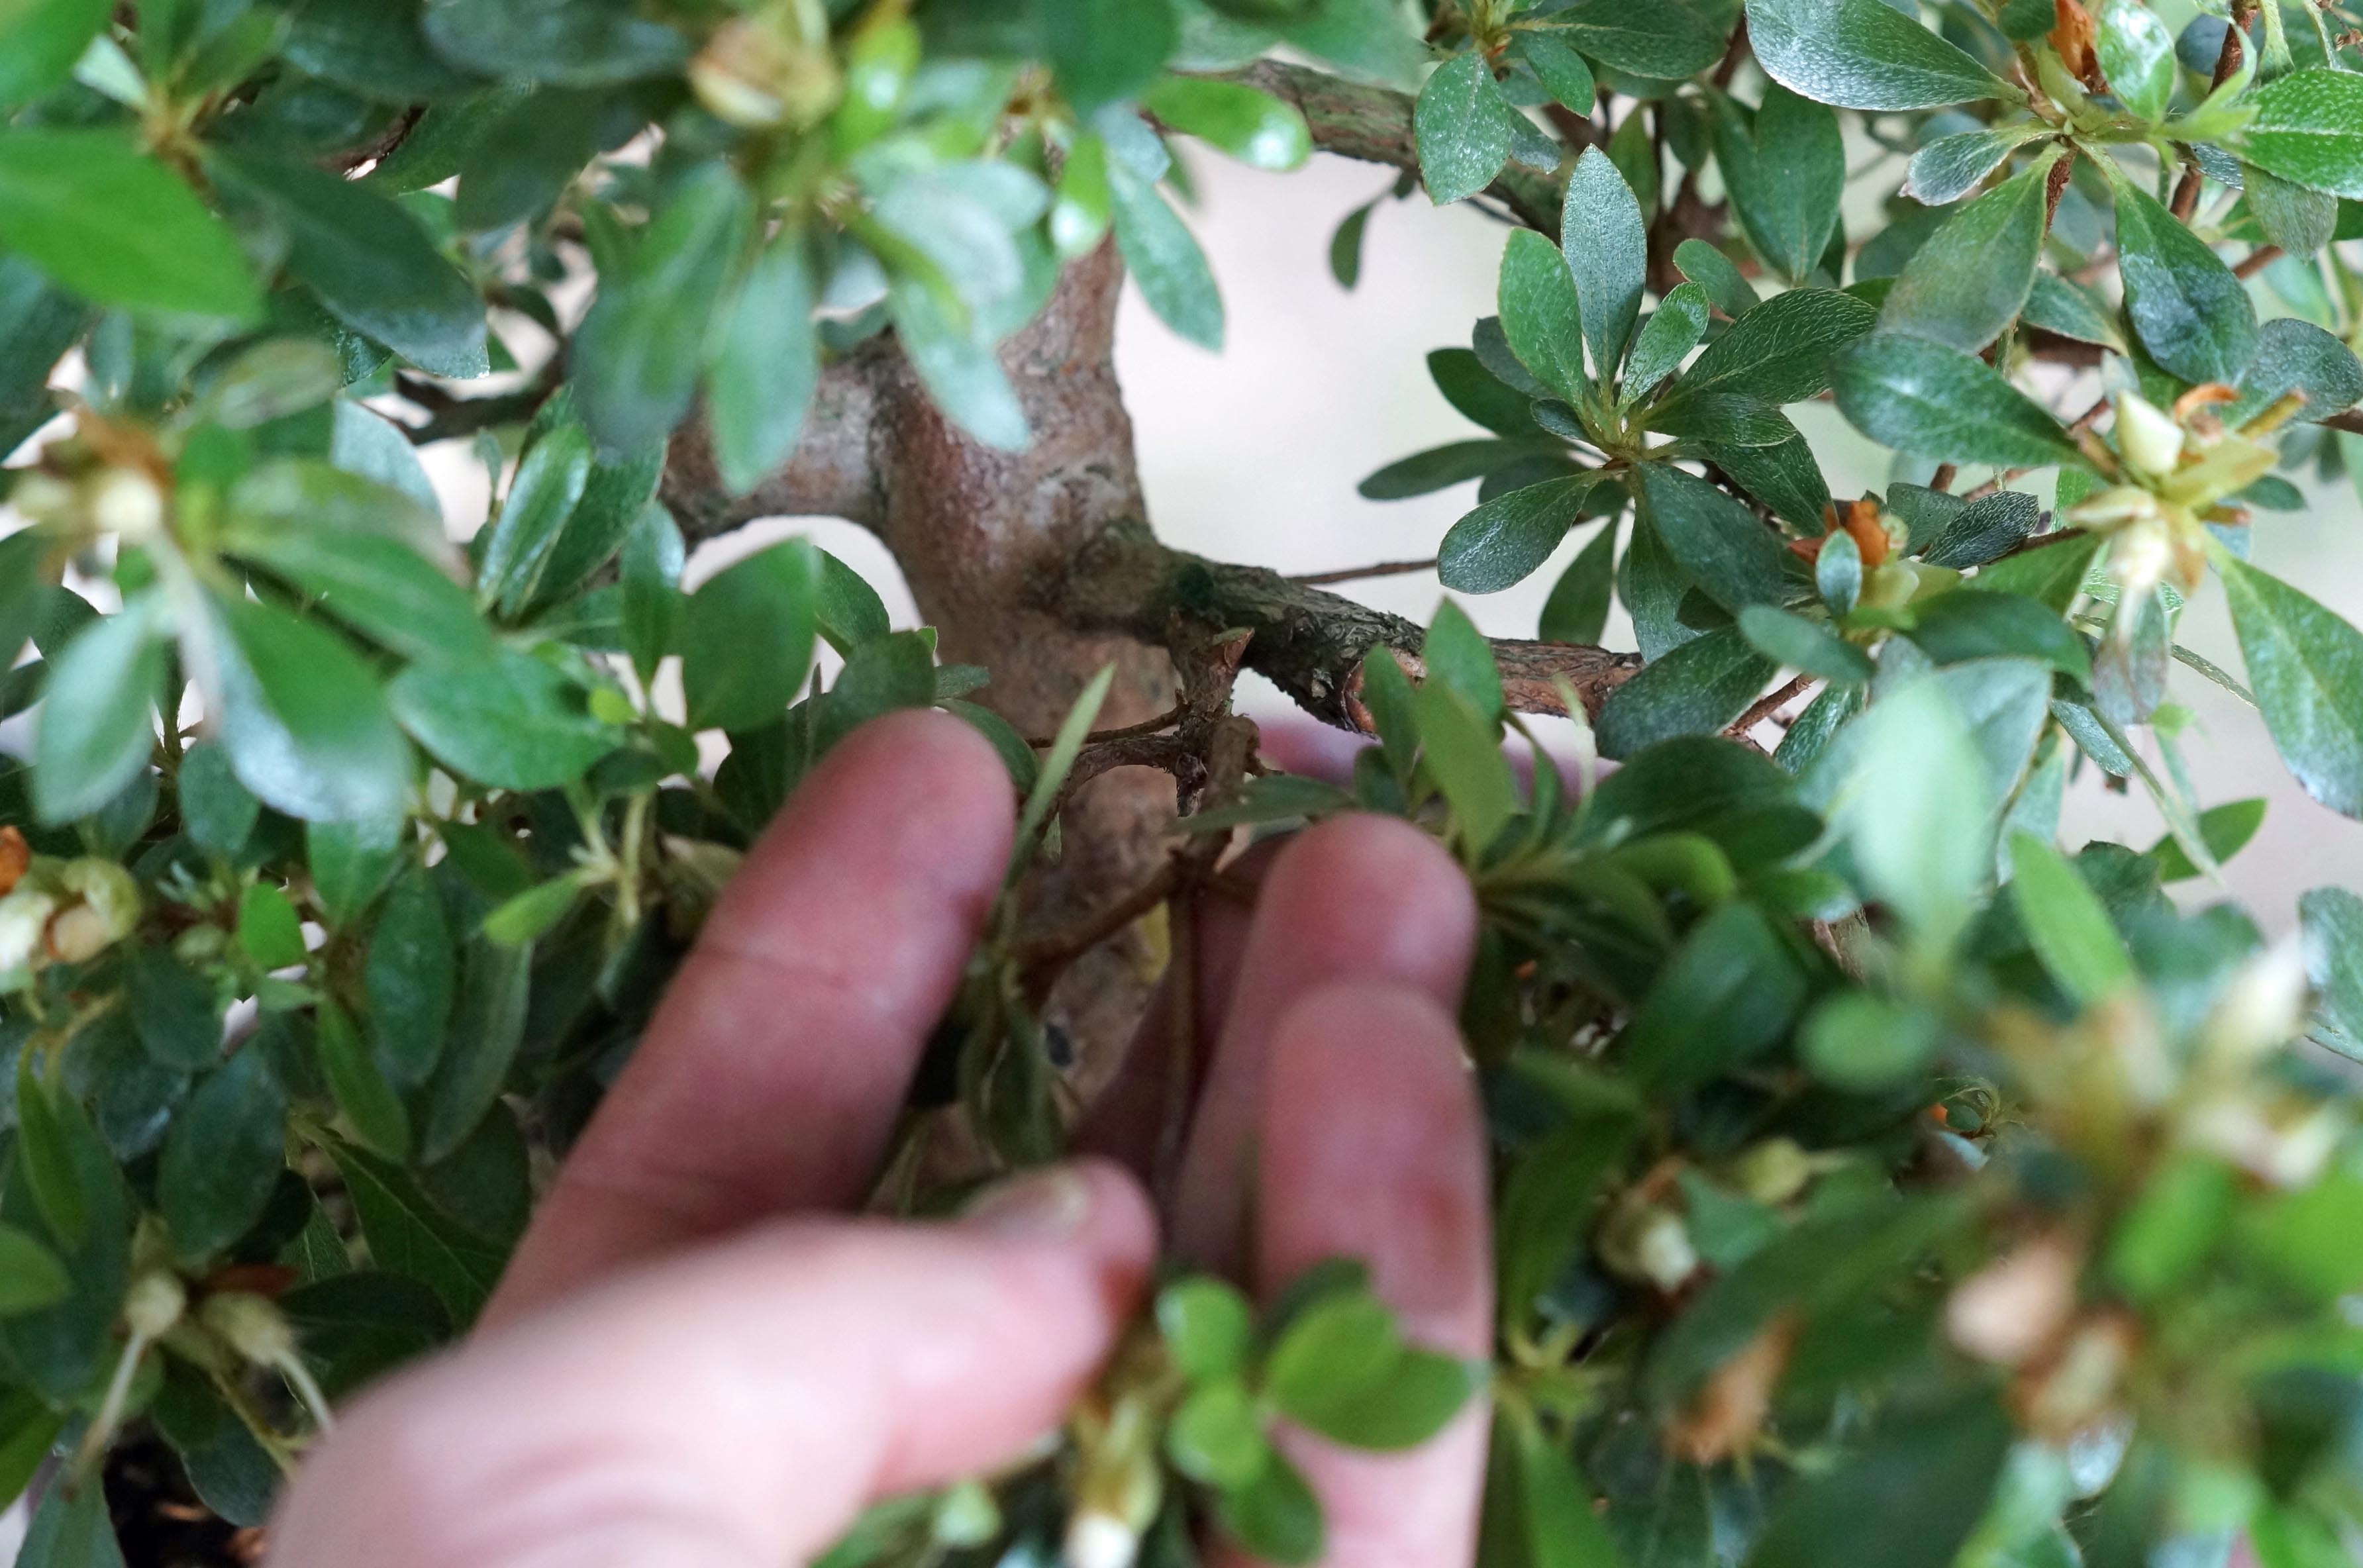
Now, take a look at the trunk line and remove any growth that is not in the right place, like the large shoot that was growing just up from the base. If it had been a little lower, I would have left it as a sacrifice branch to help thicken the base. When removing branches of this size, make a smooth cut and don’t leave a concave hollow on the trunk. Azaleas are very thin barked and the smooth surface helps them heal quicker and minimizes scarring.
I go through the whole tree and treat it like this, when I get done it looks like this, ready for another year.
I go through the whole tree and treat it like this, when I get done it looks like this, ready for another year.
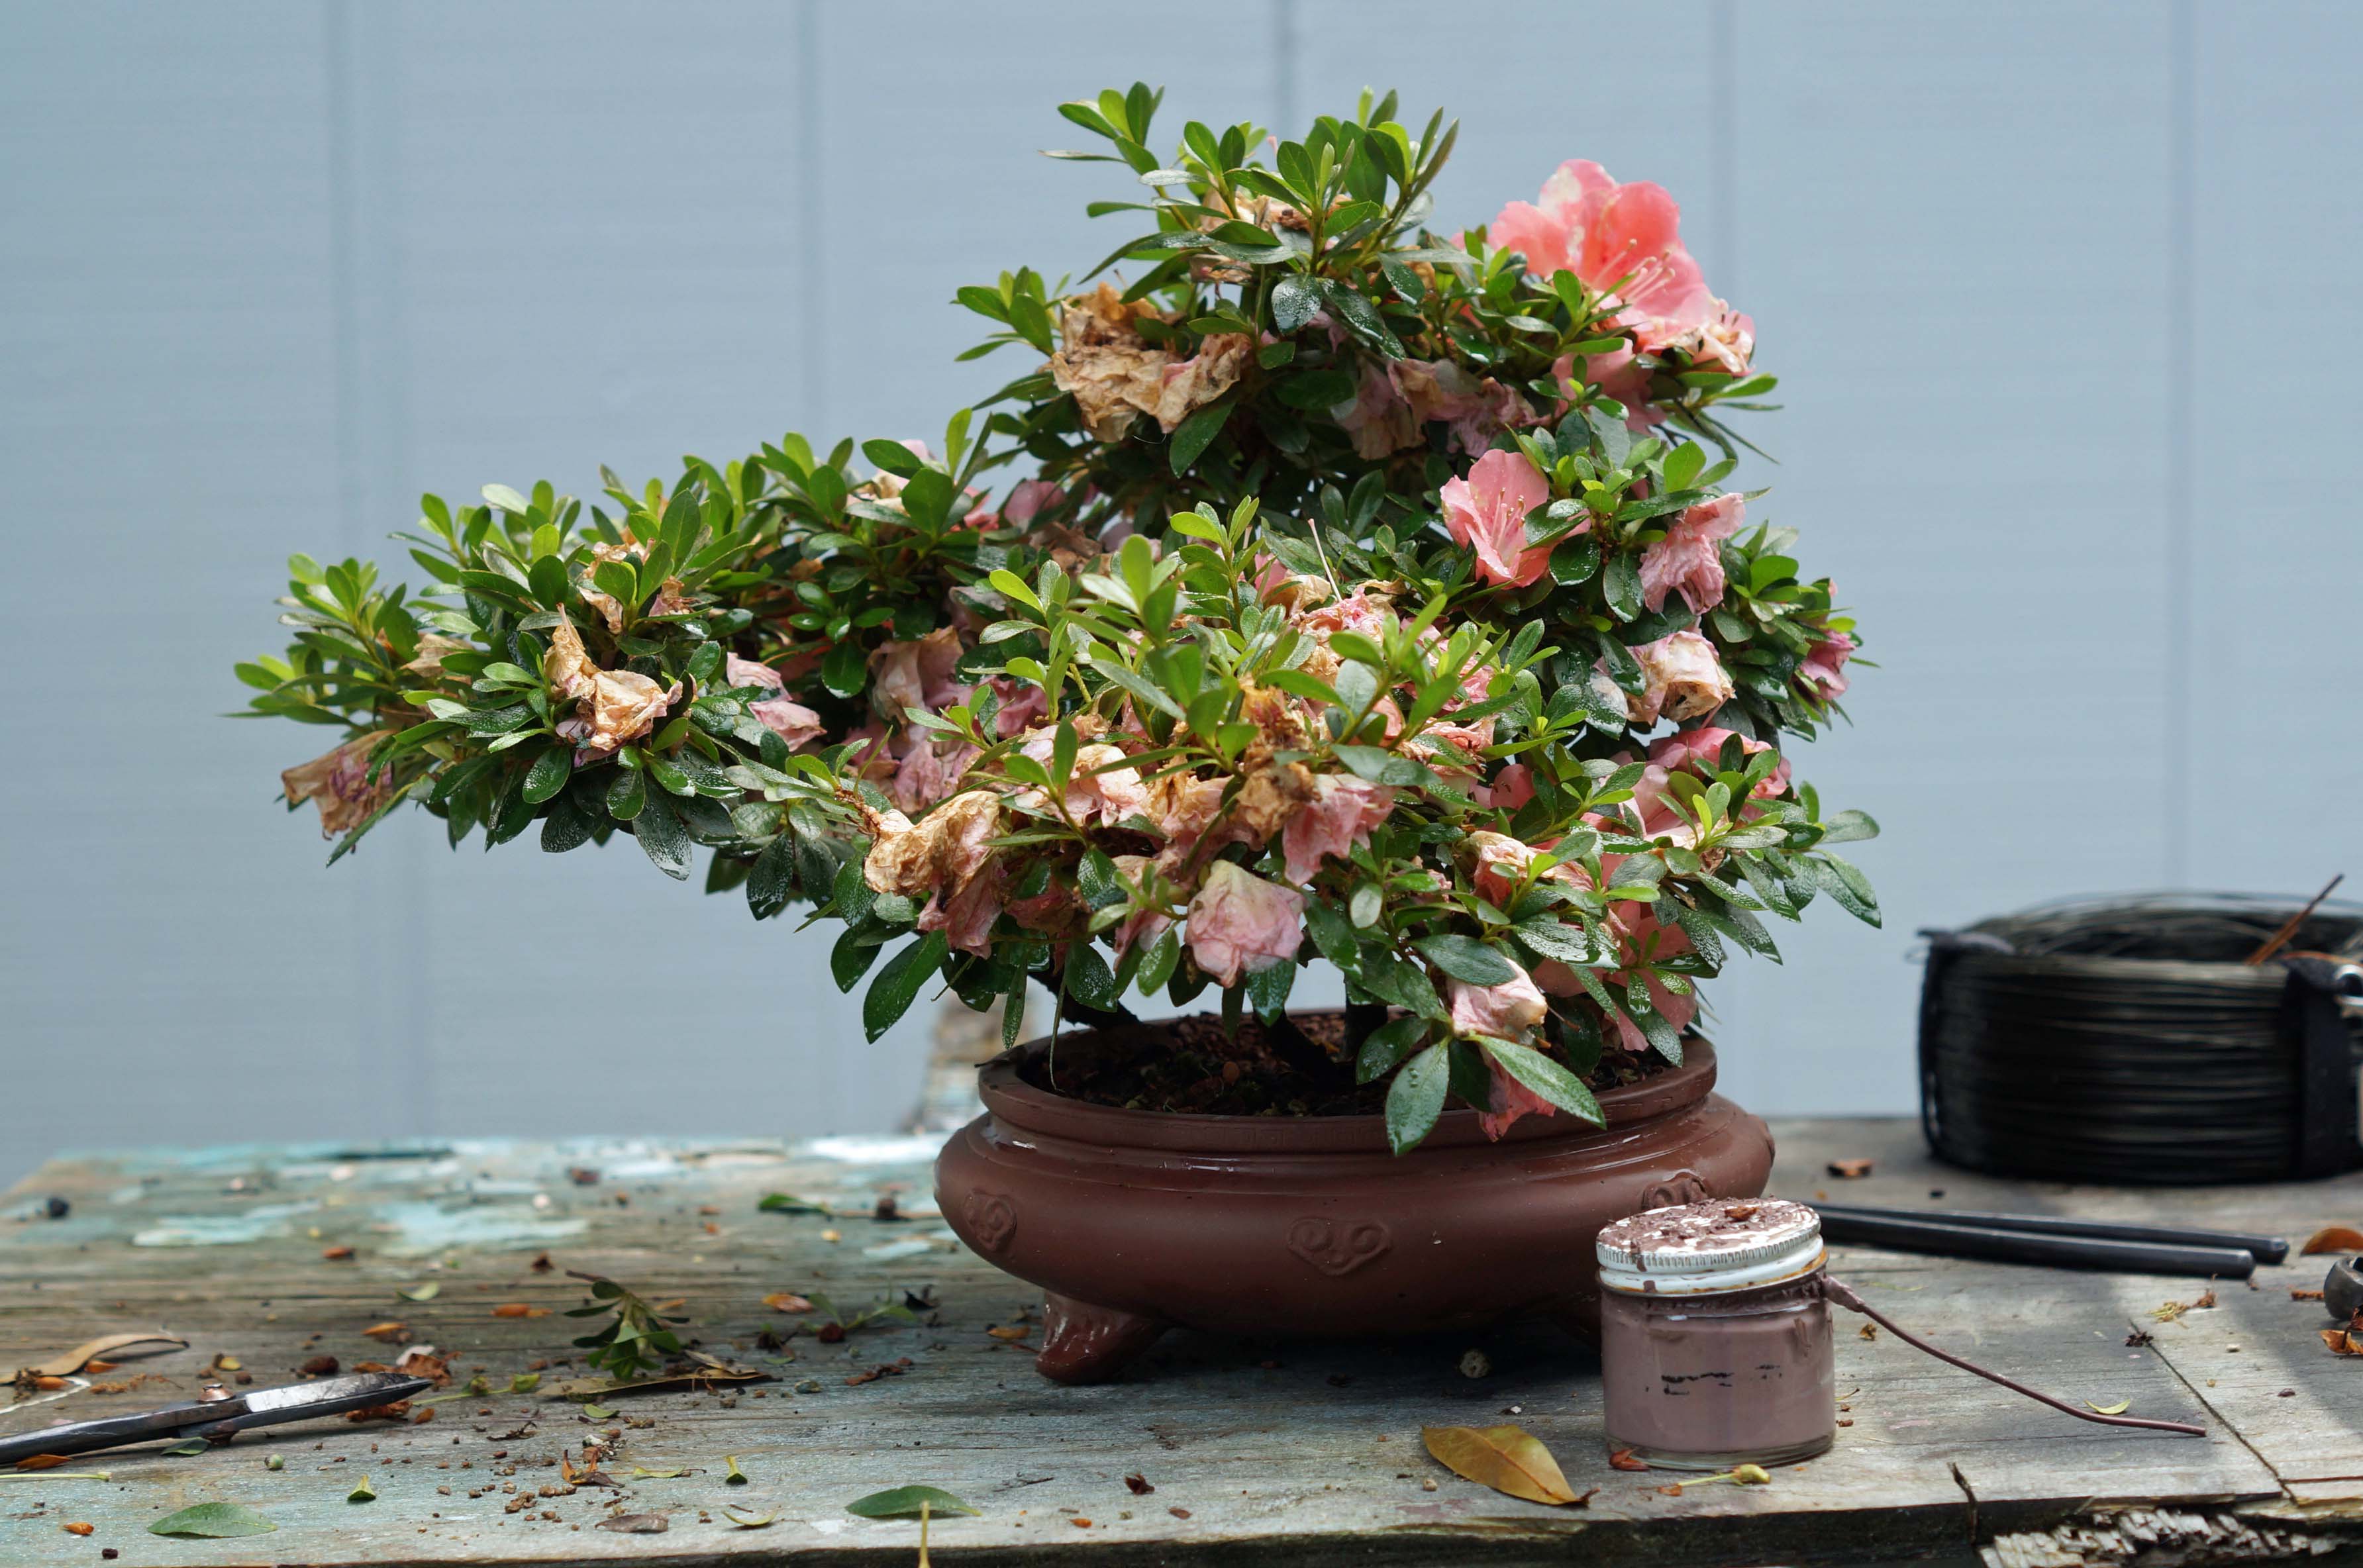
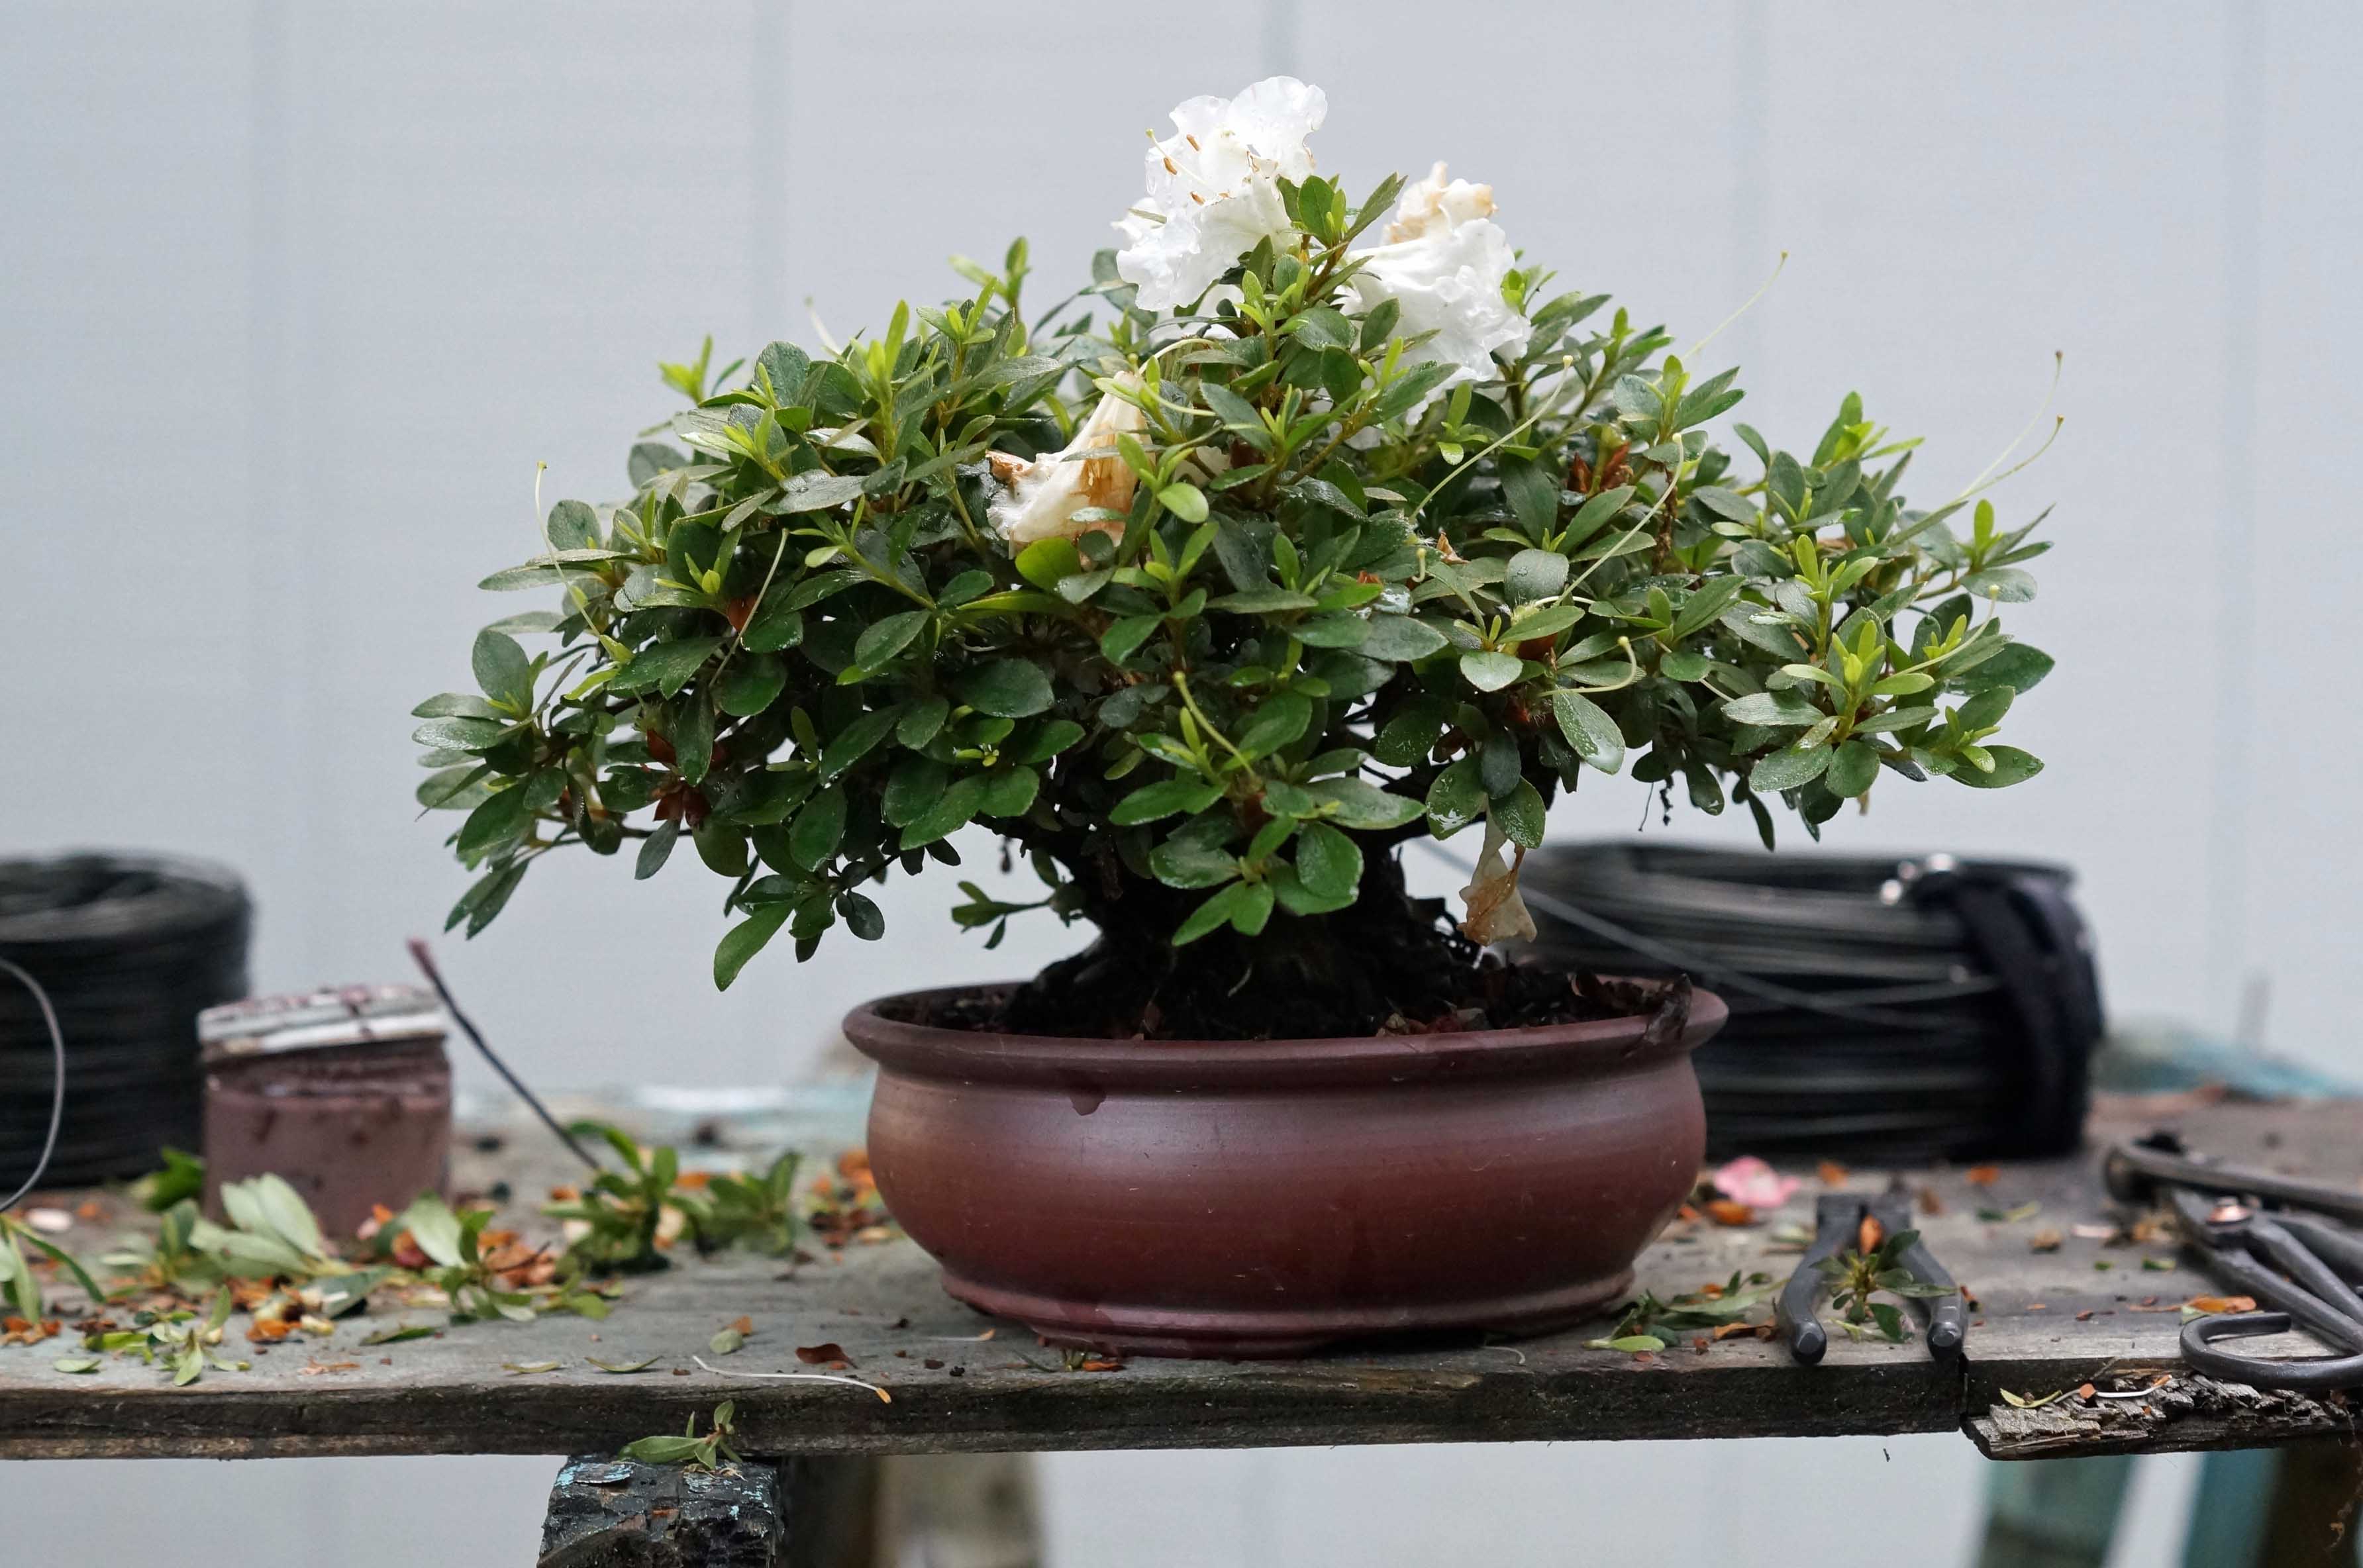
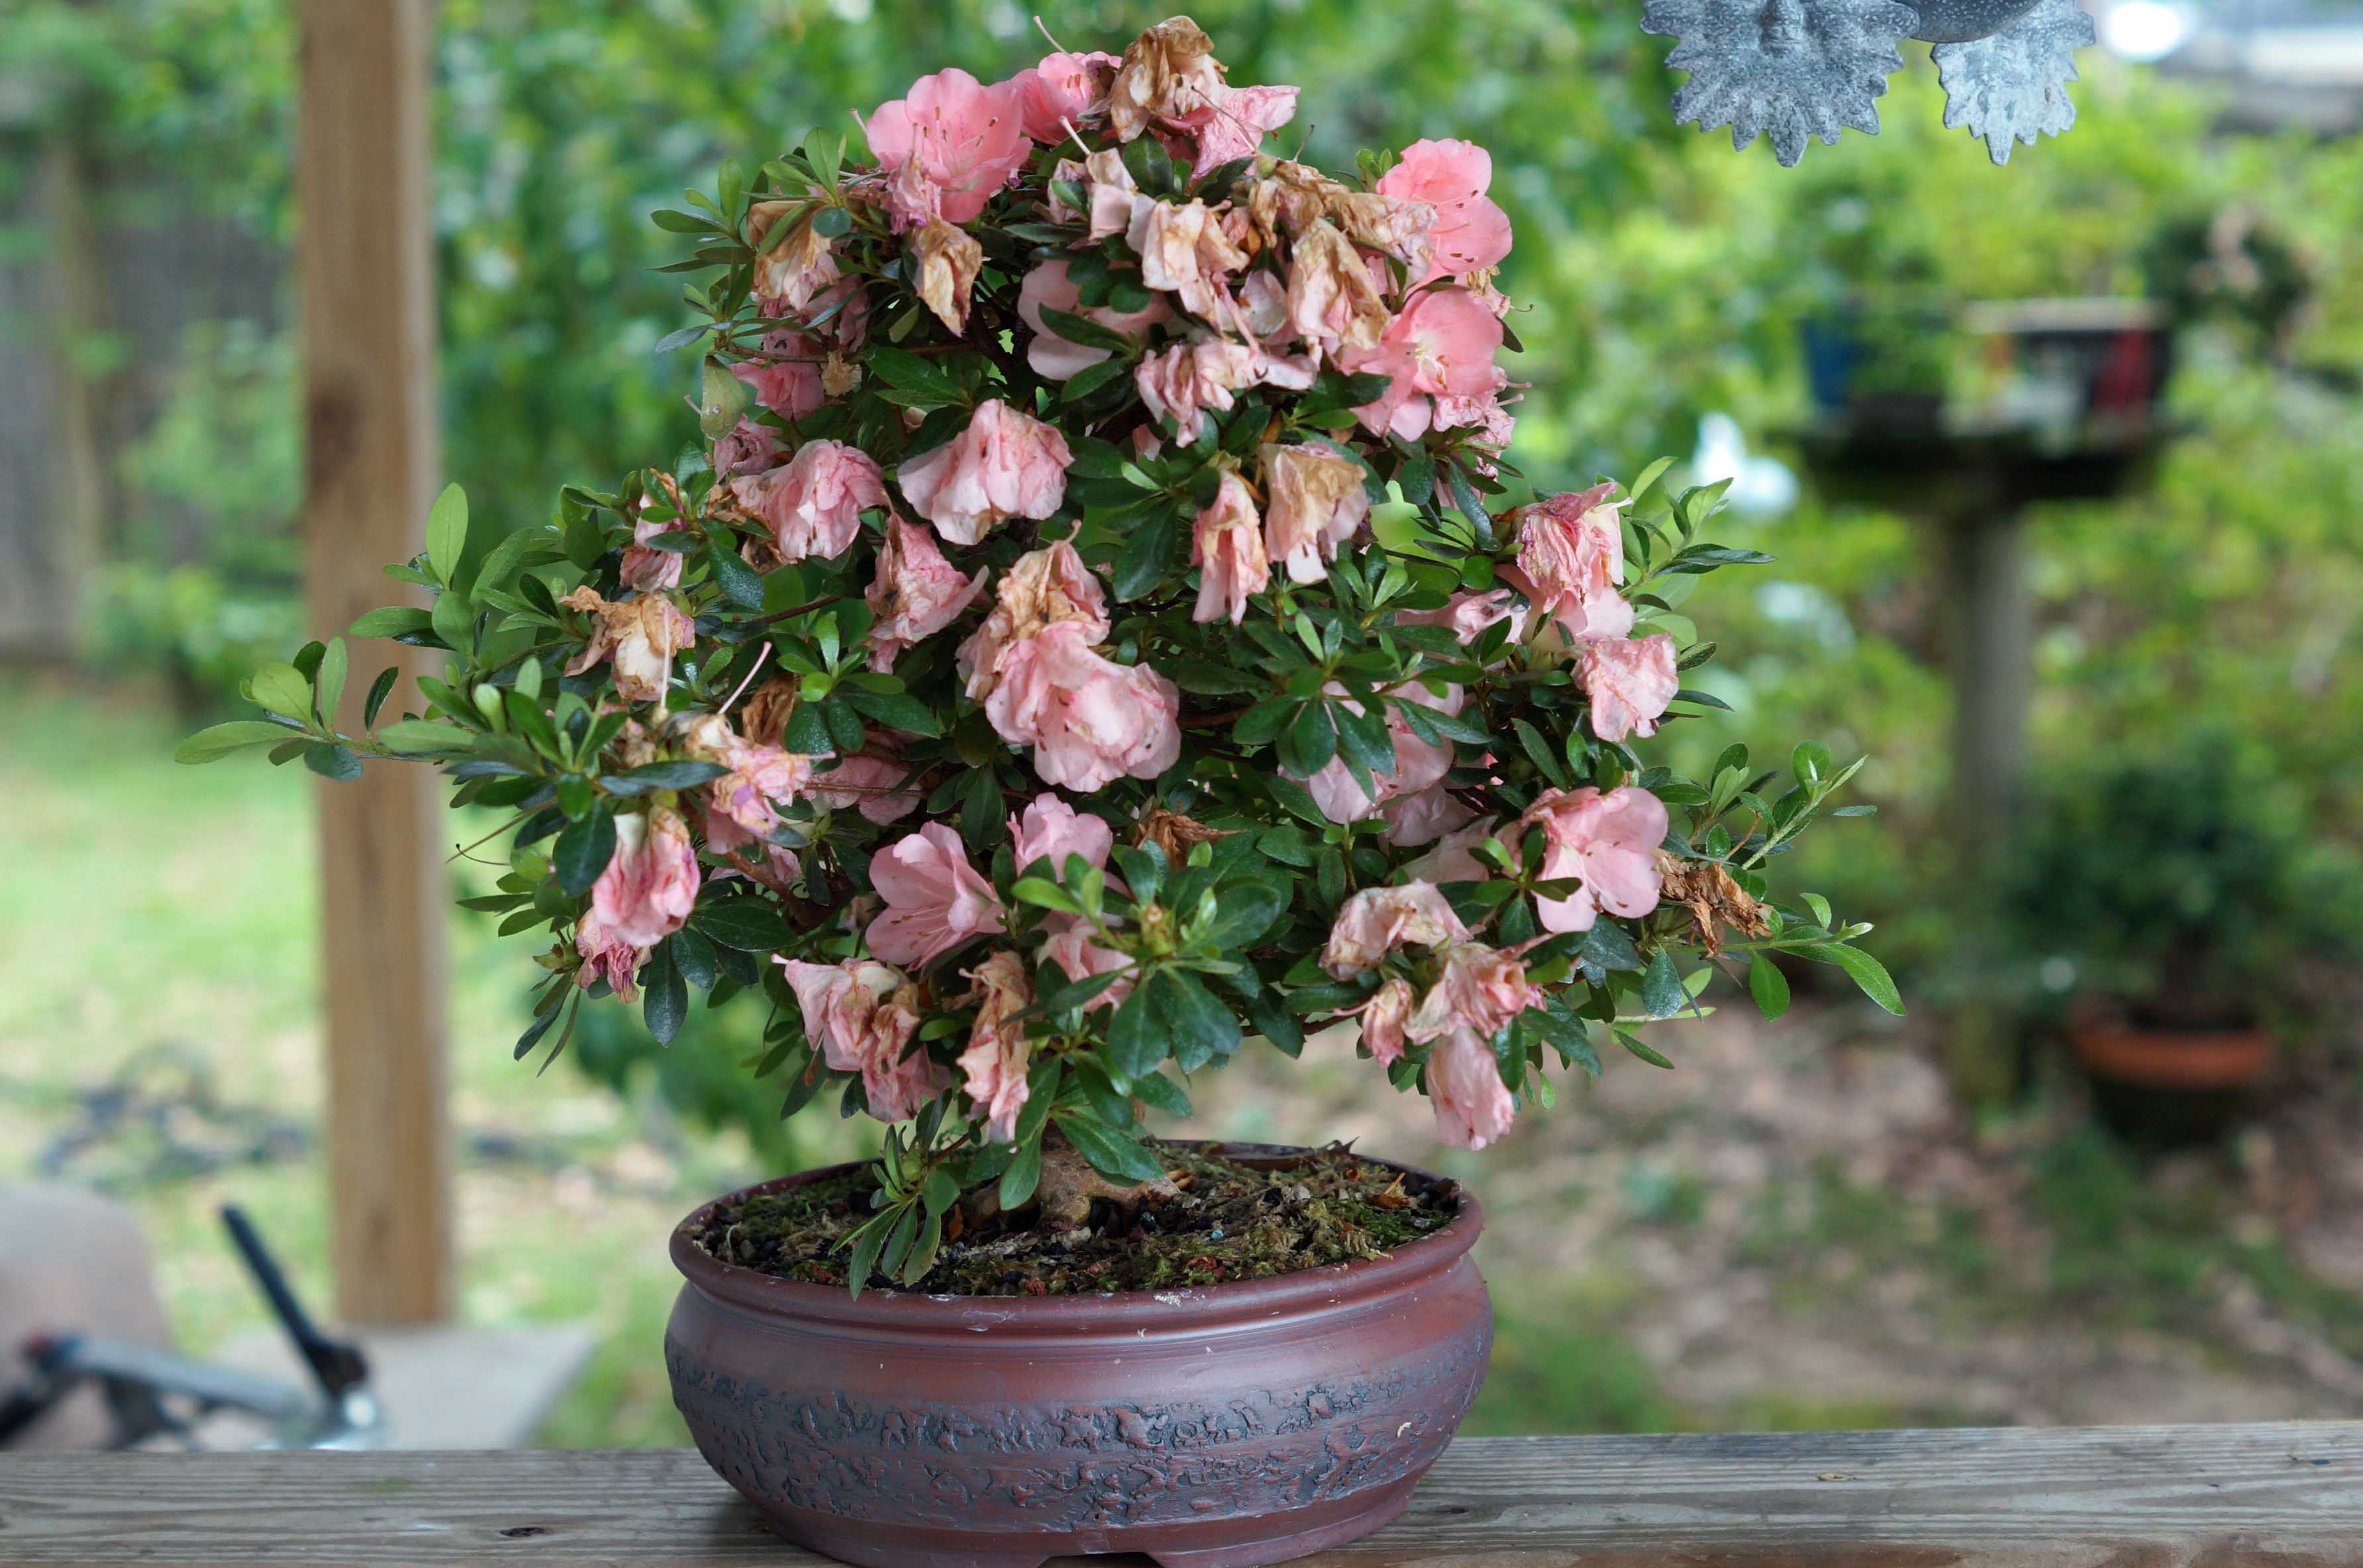
The next one is a satsuki azalea, wakaebisu, it is more established and is actually in a nice pot, made by Lynn August. She is an incredible potter, you can find her on FB or visit her website, www.lynnaugust.com . The azalea started its life as a Home Depot or Lowe’s landscape plant, I don’t remember which, it was purchased around 2008-2009. You see its progression to where it is today on this page. This is it with flowers earlier this month.
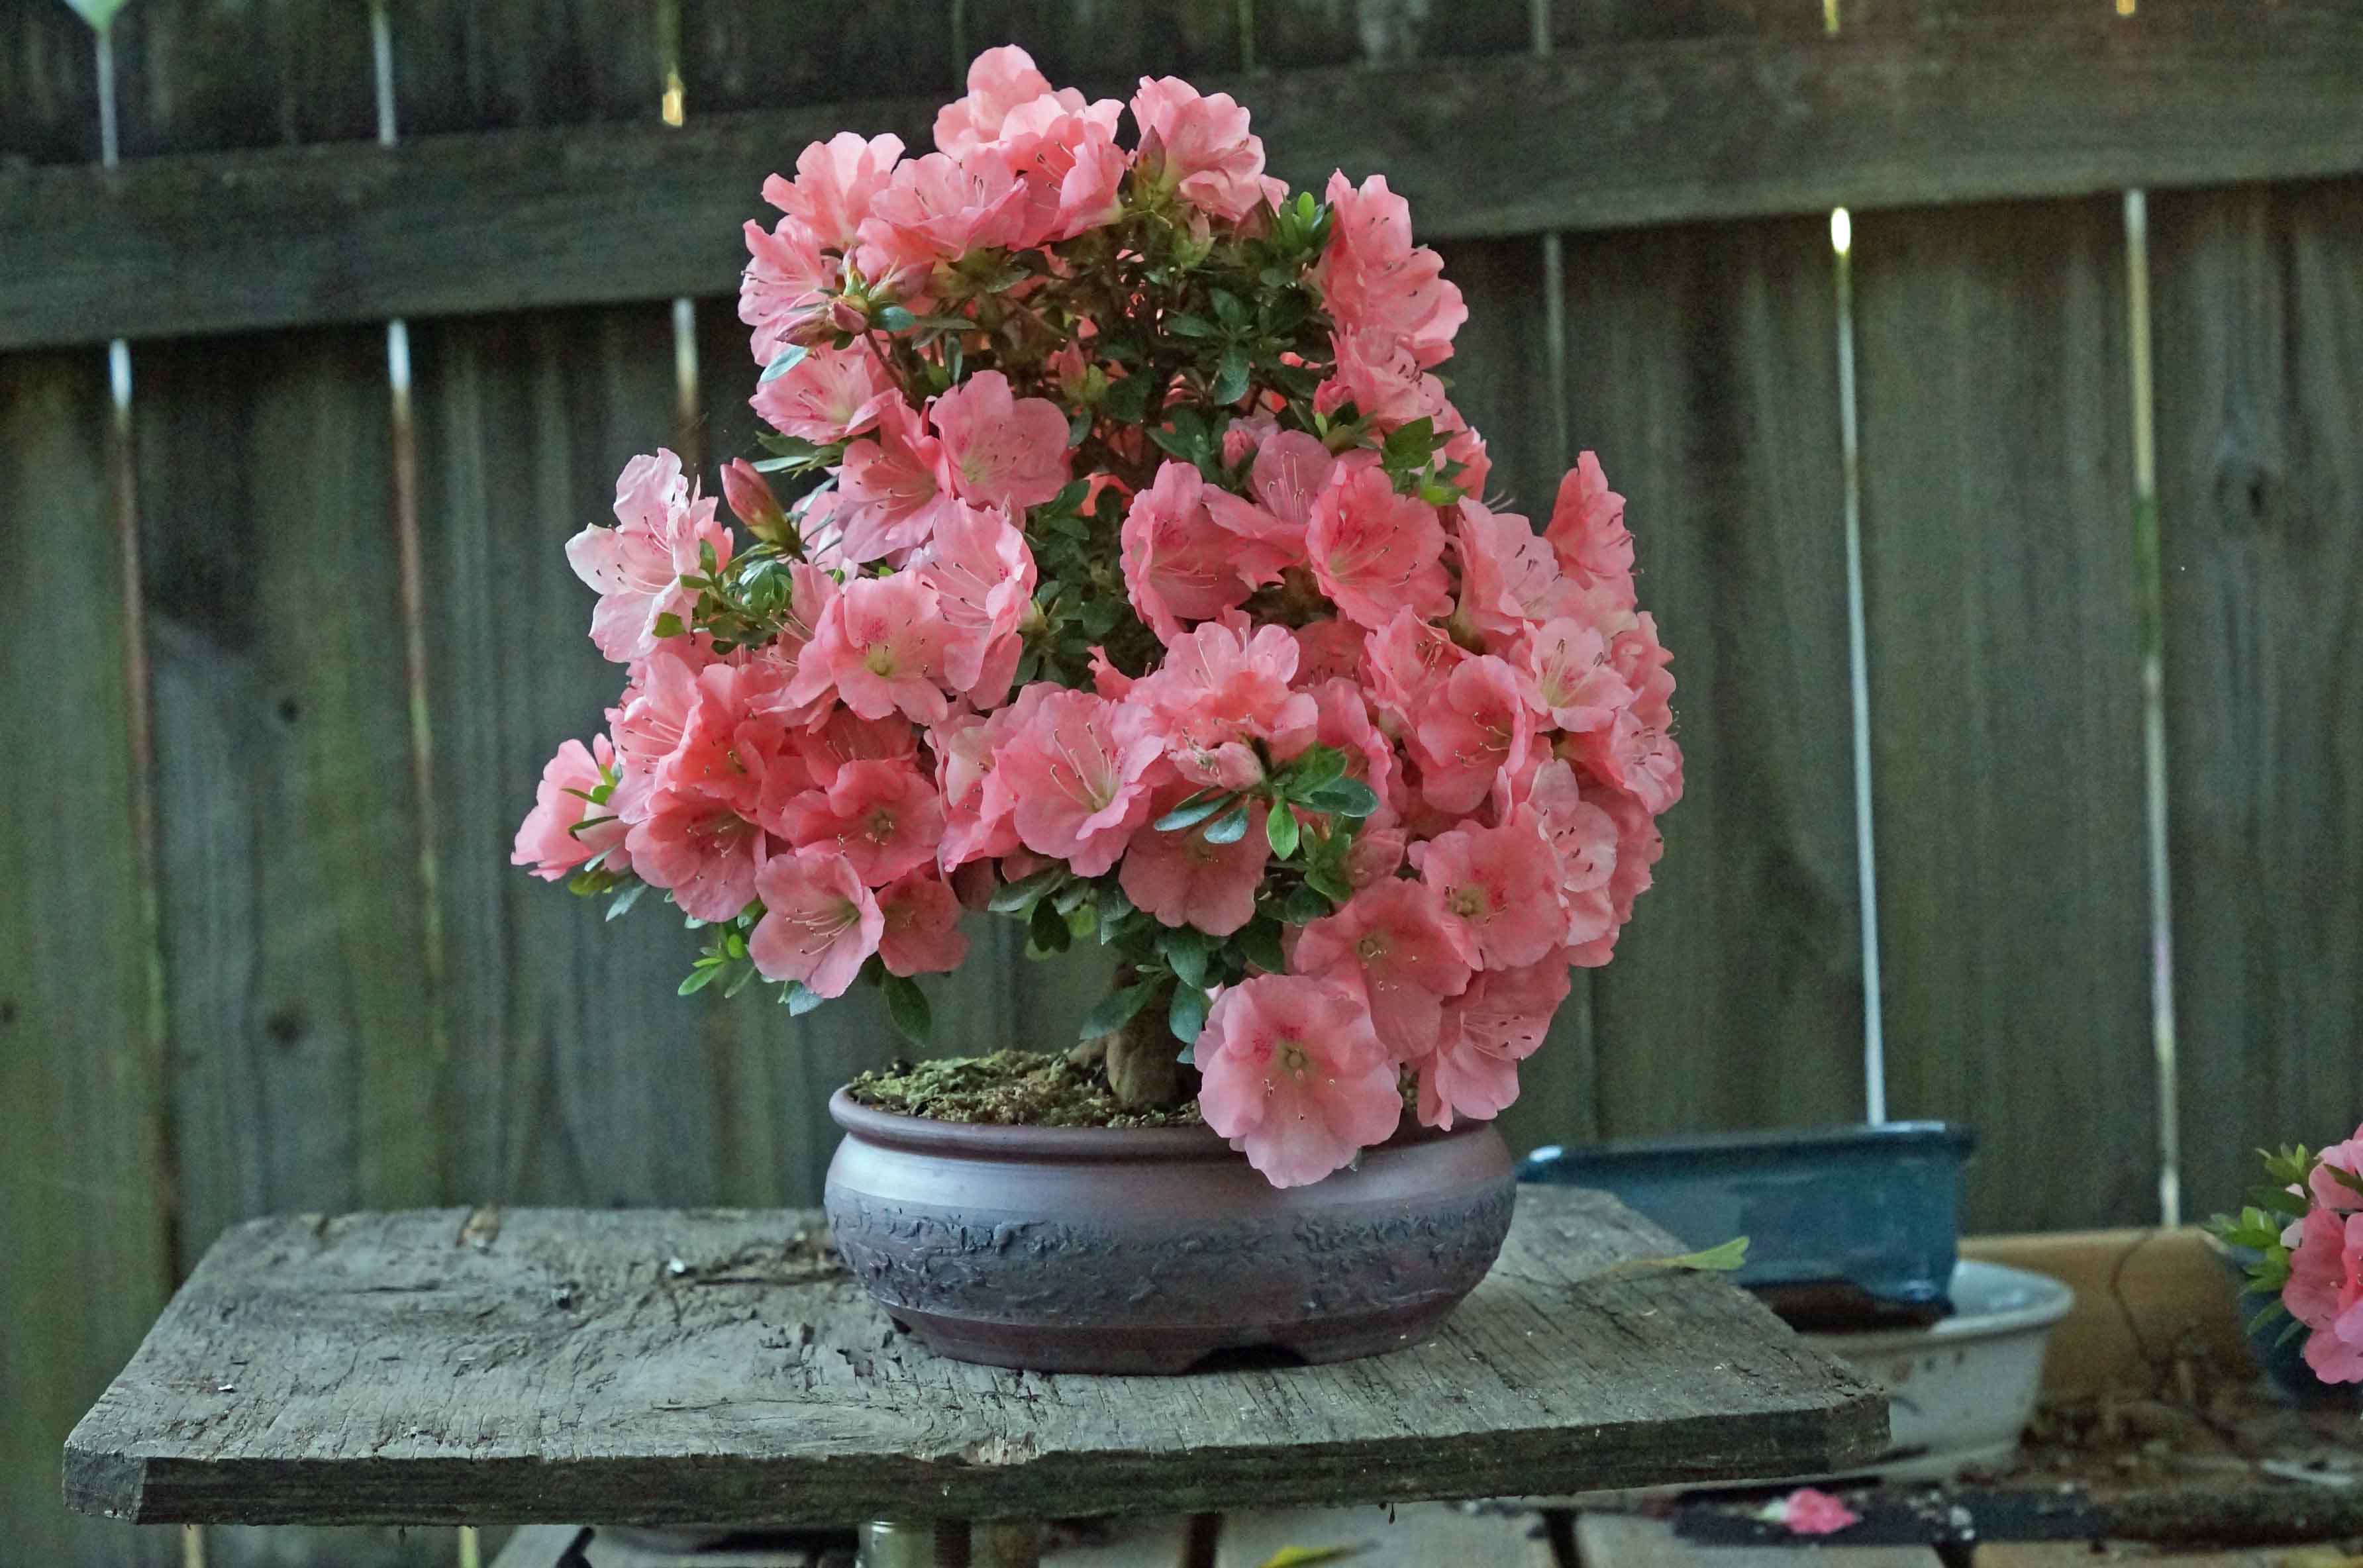
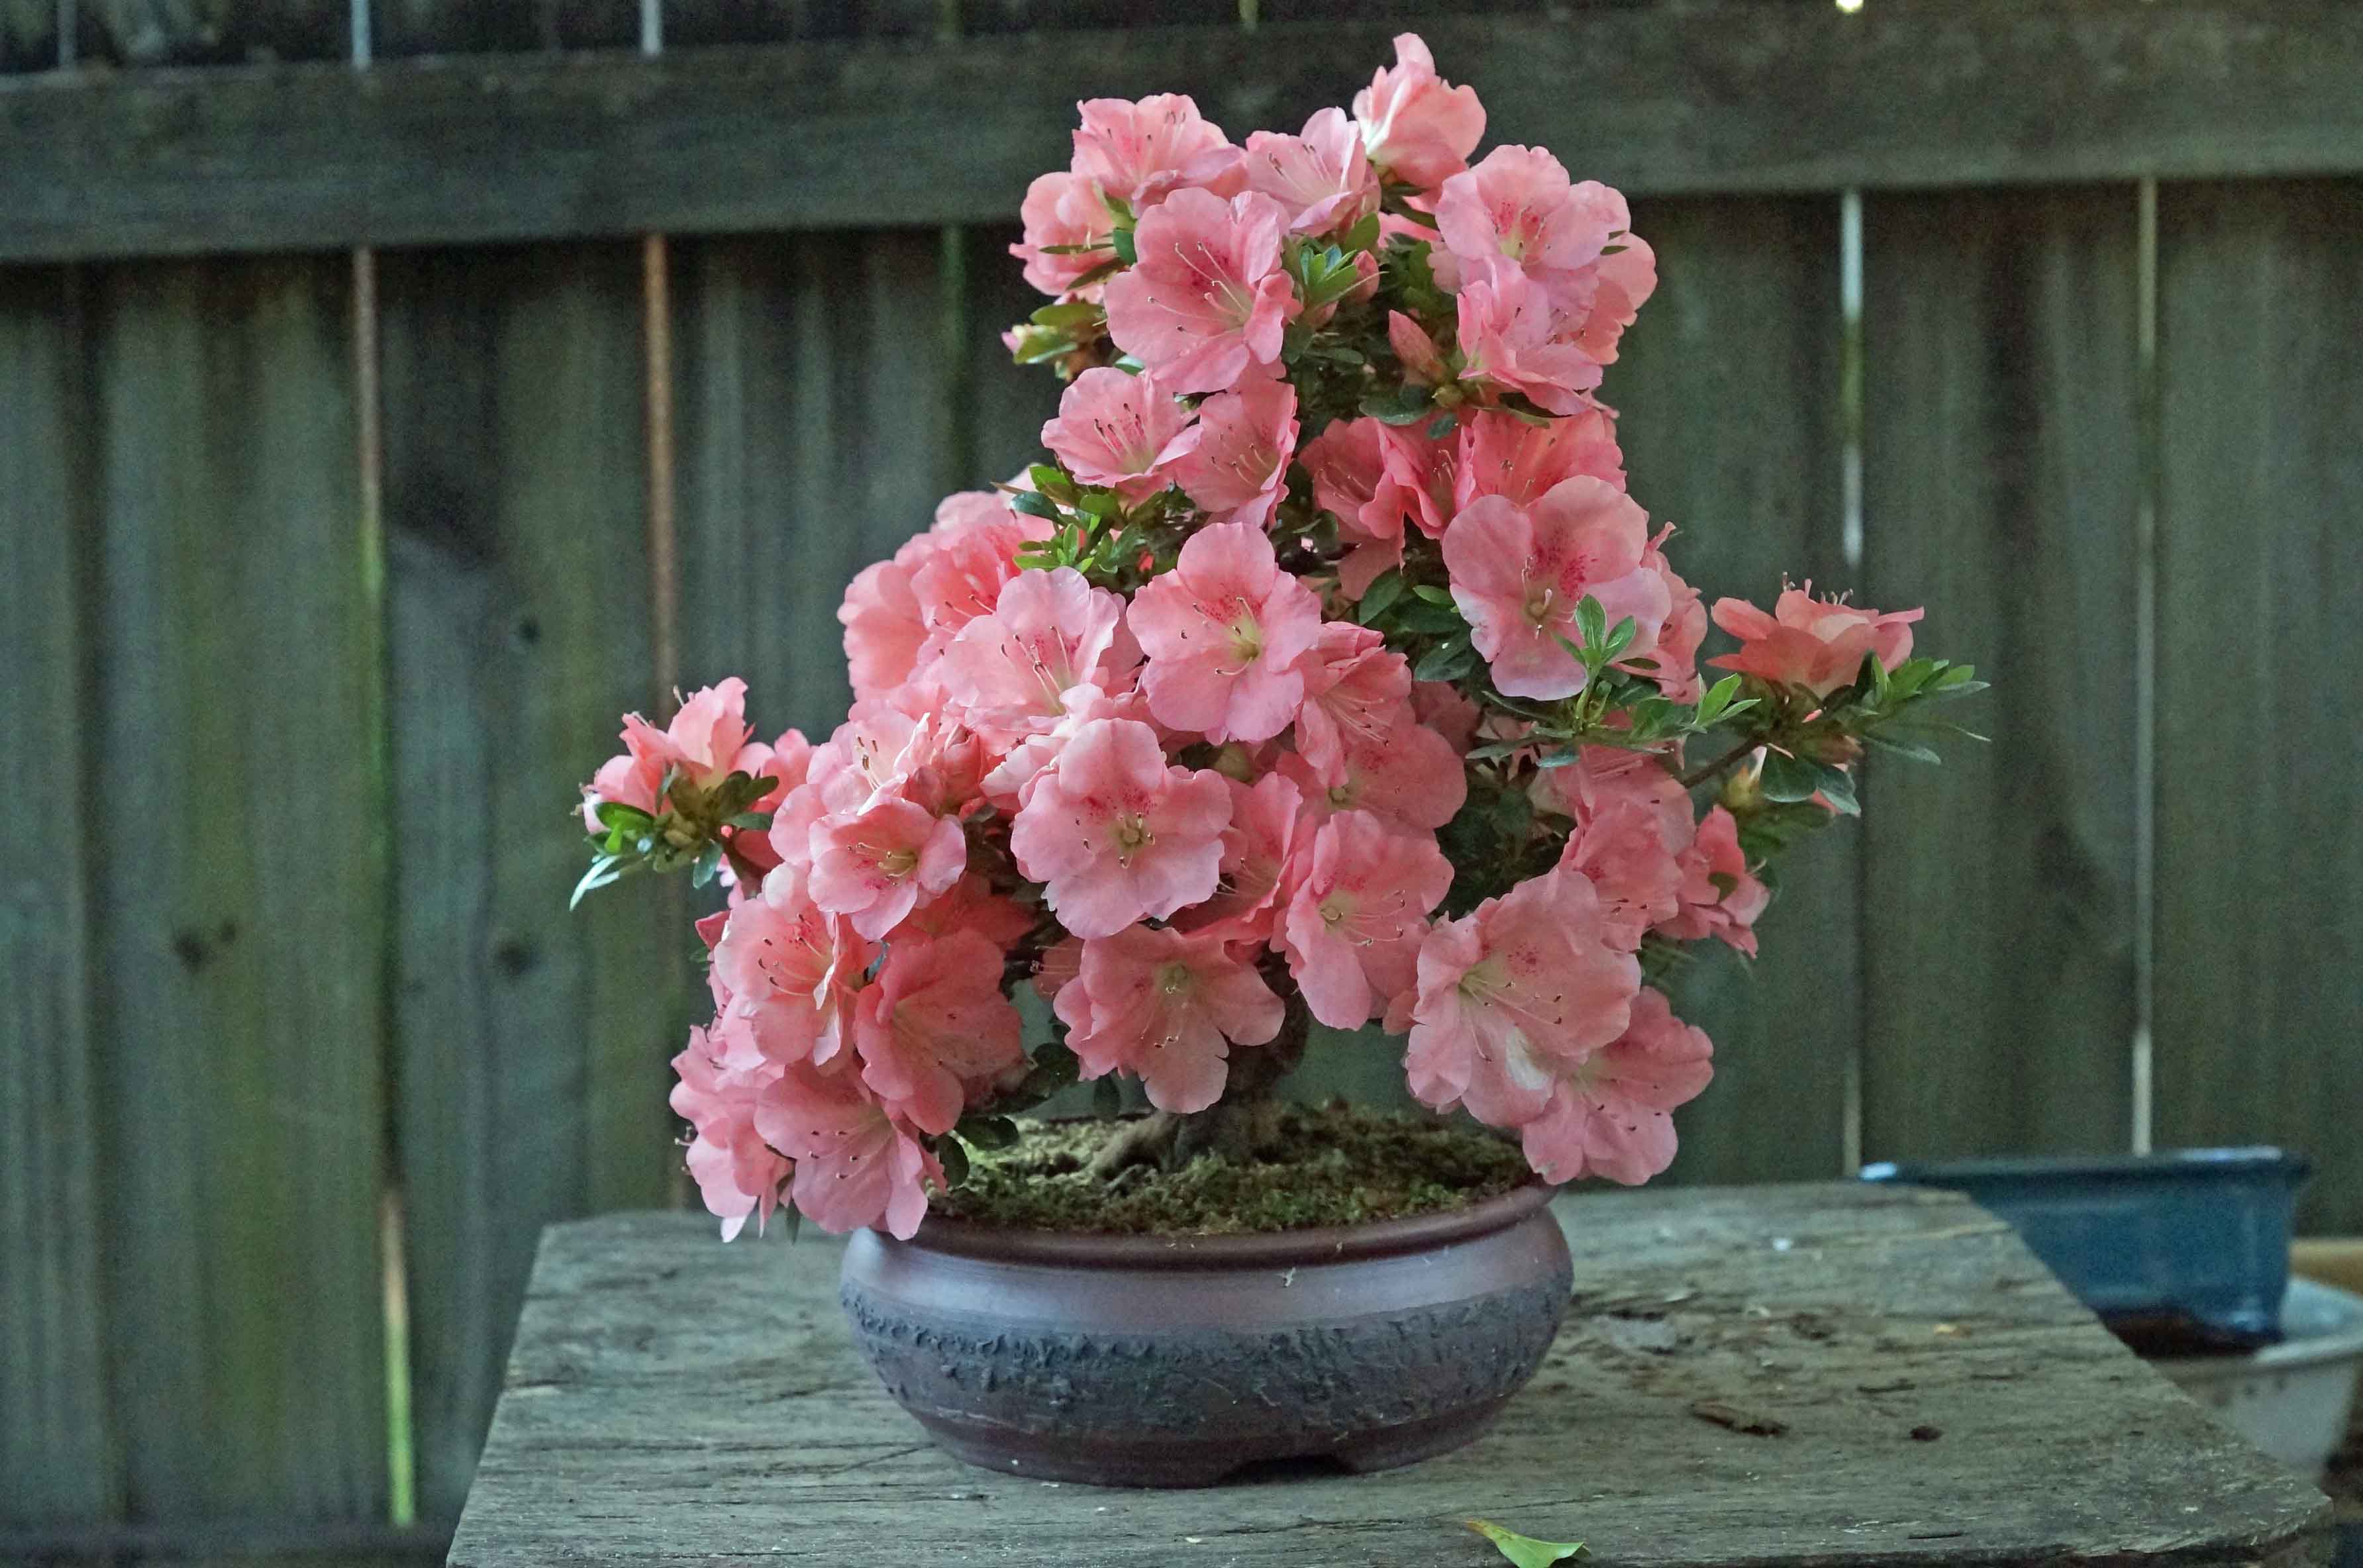
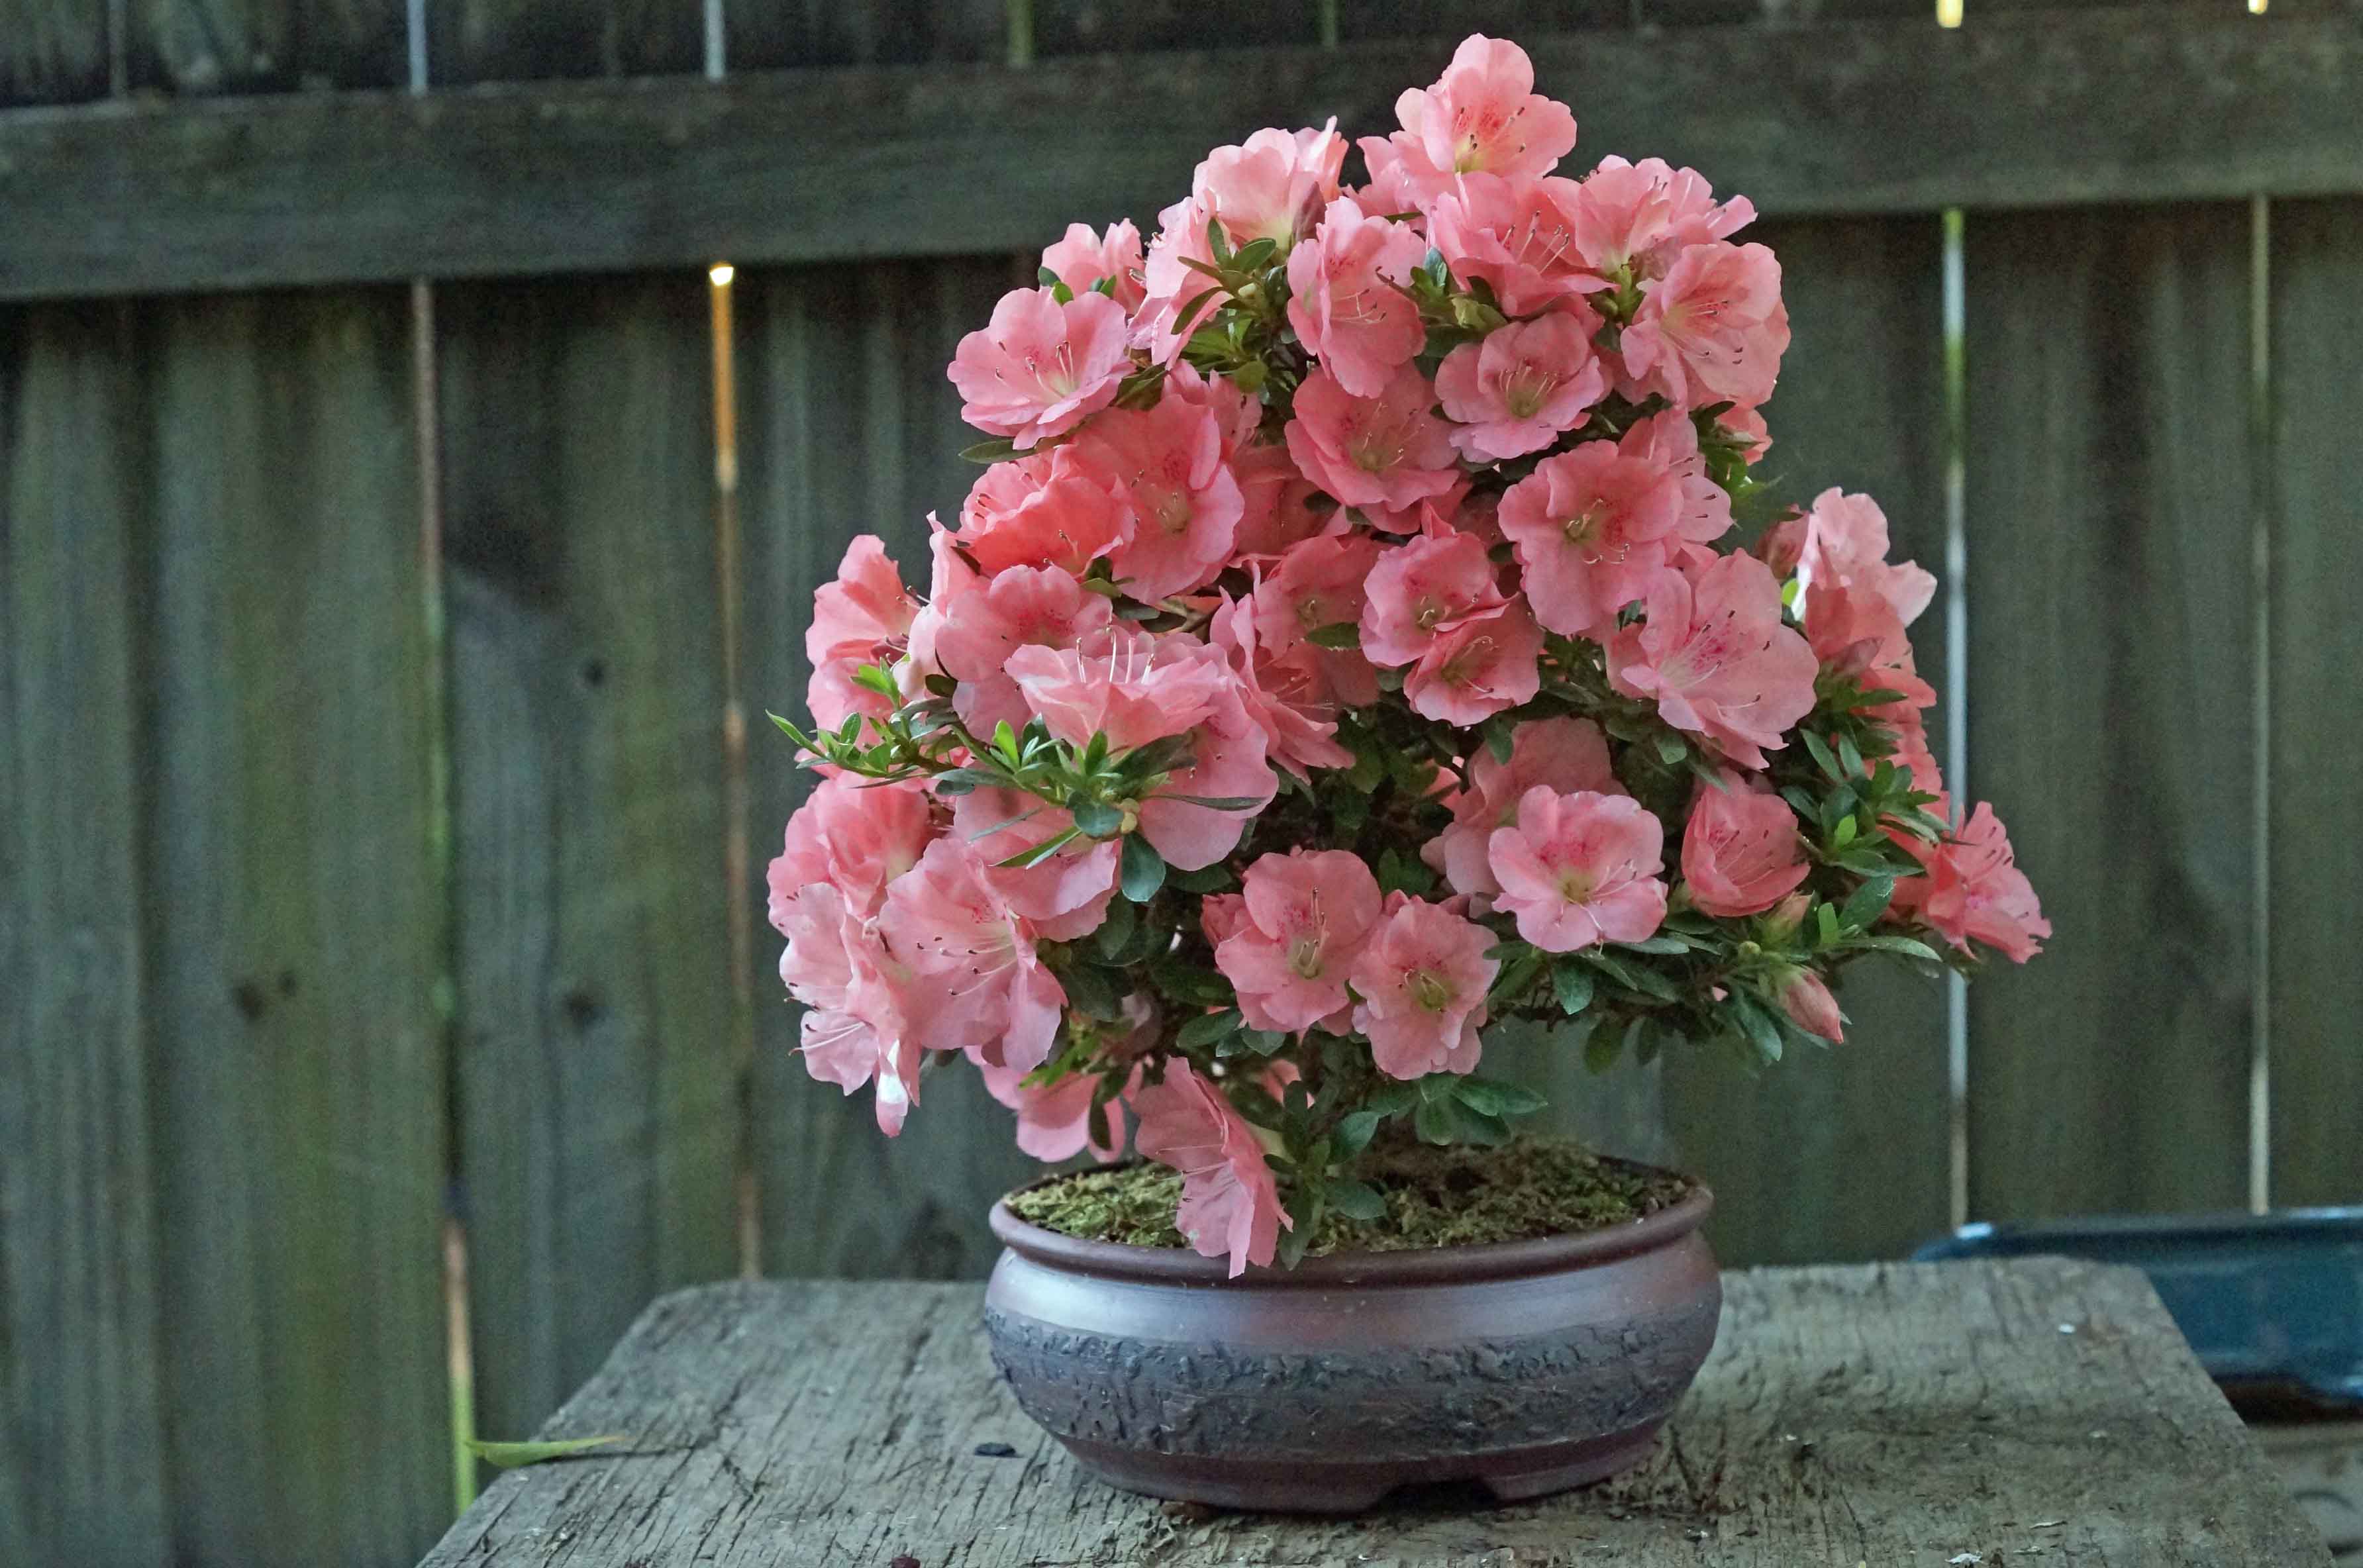
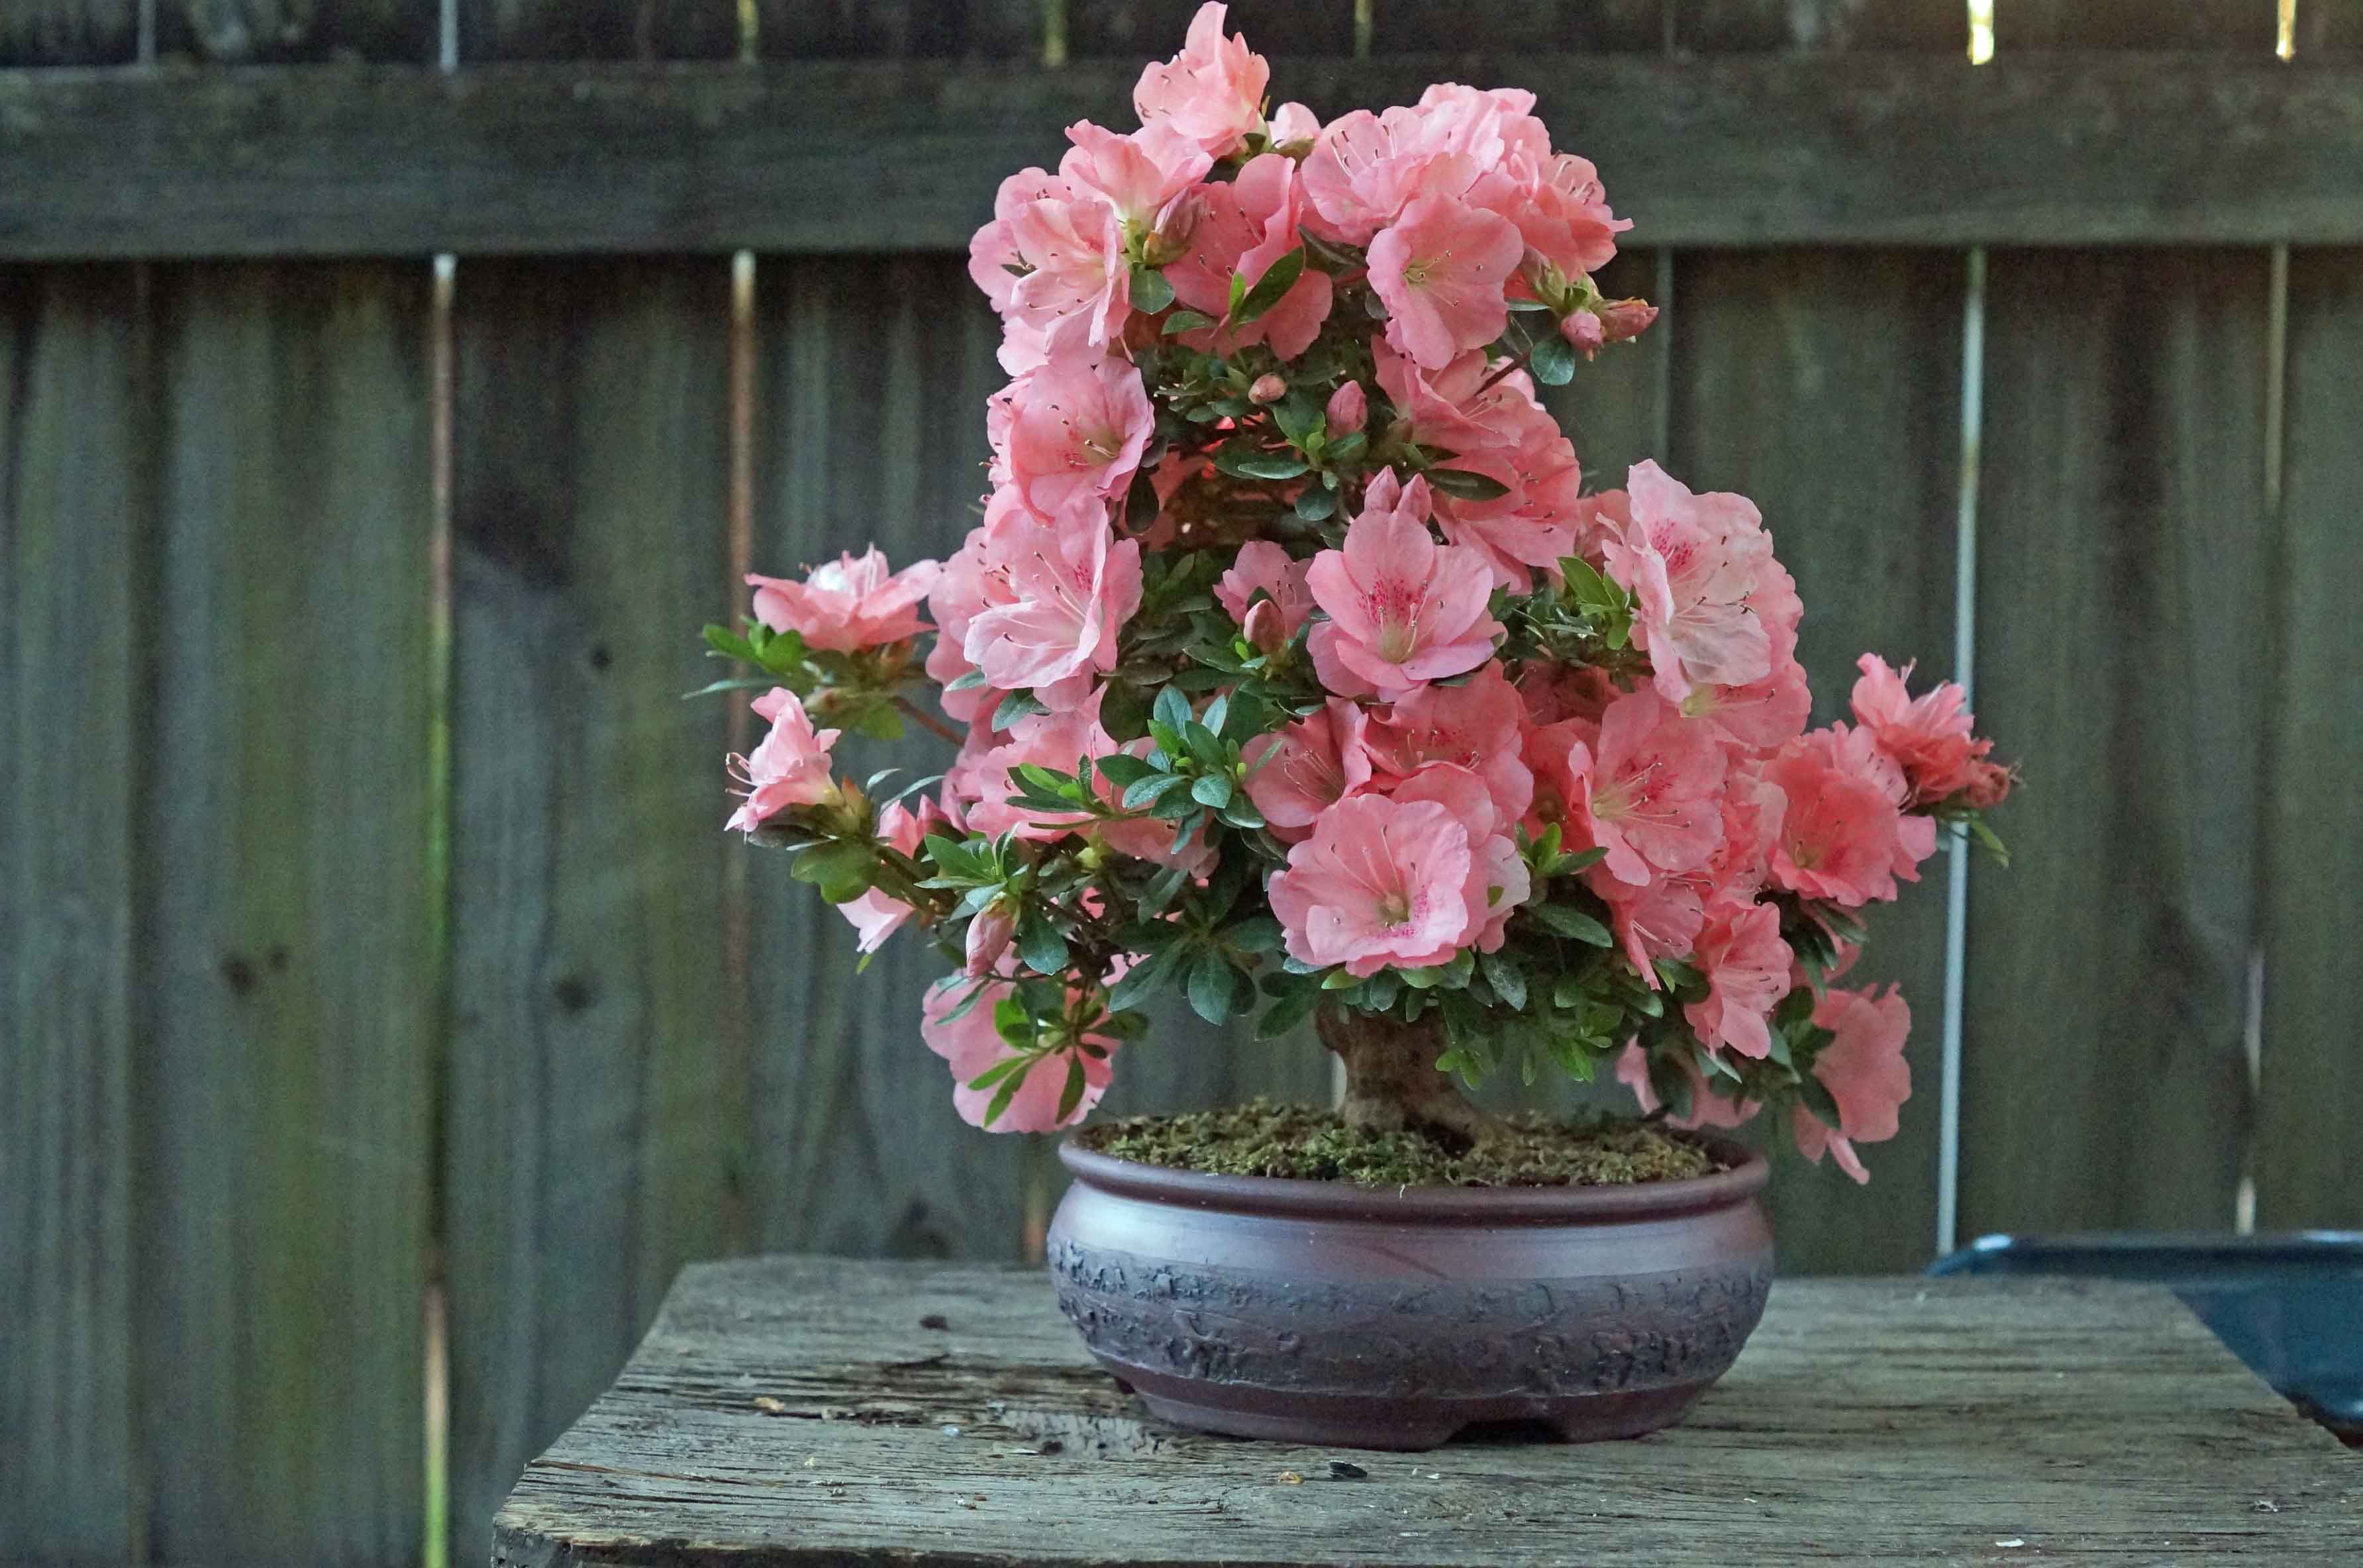
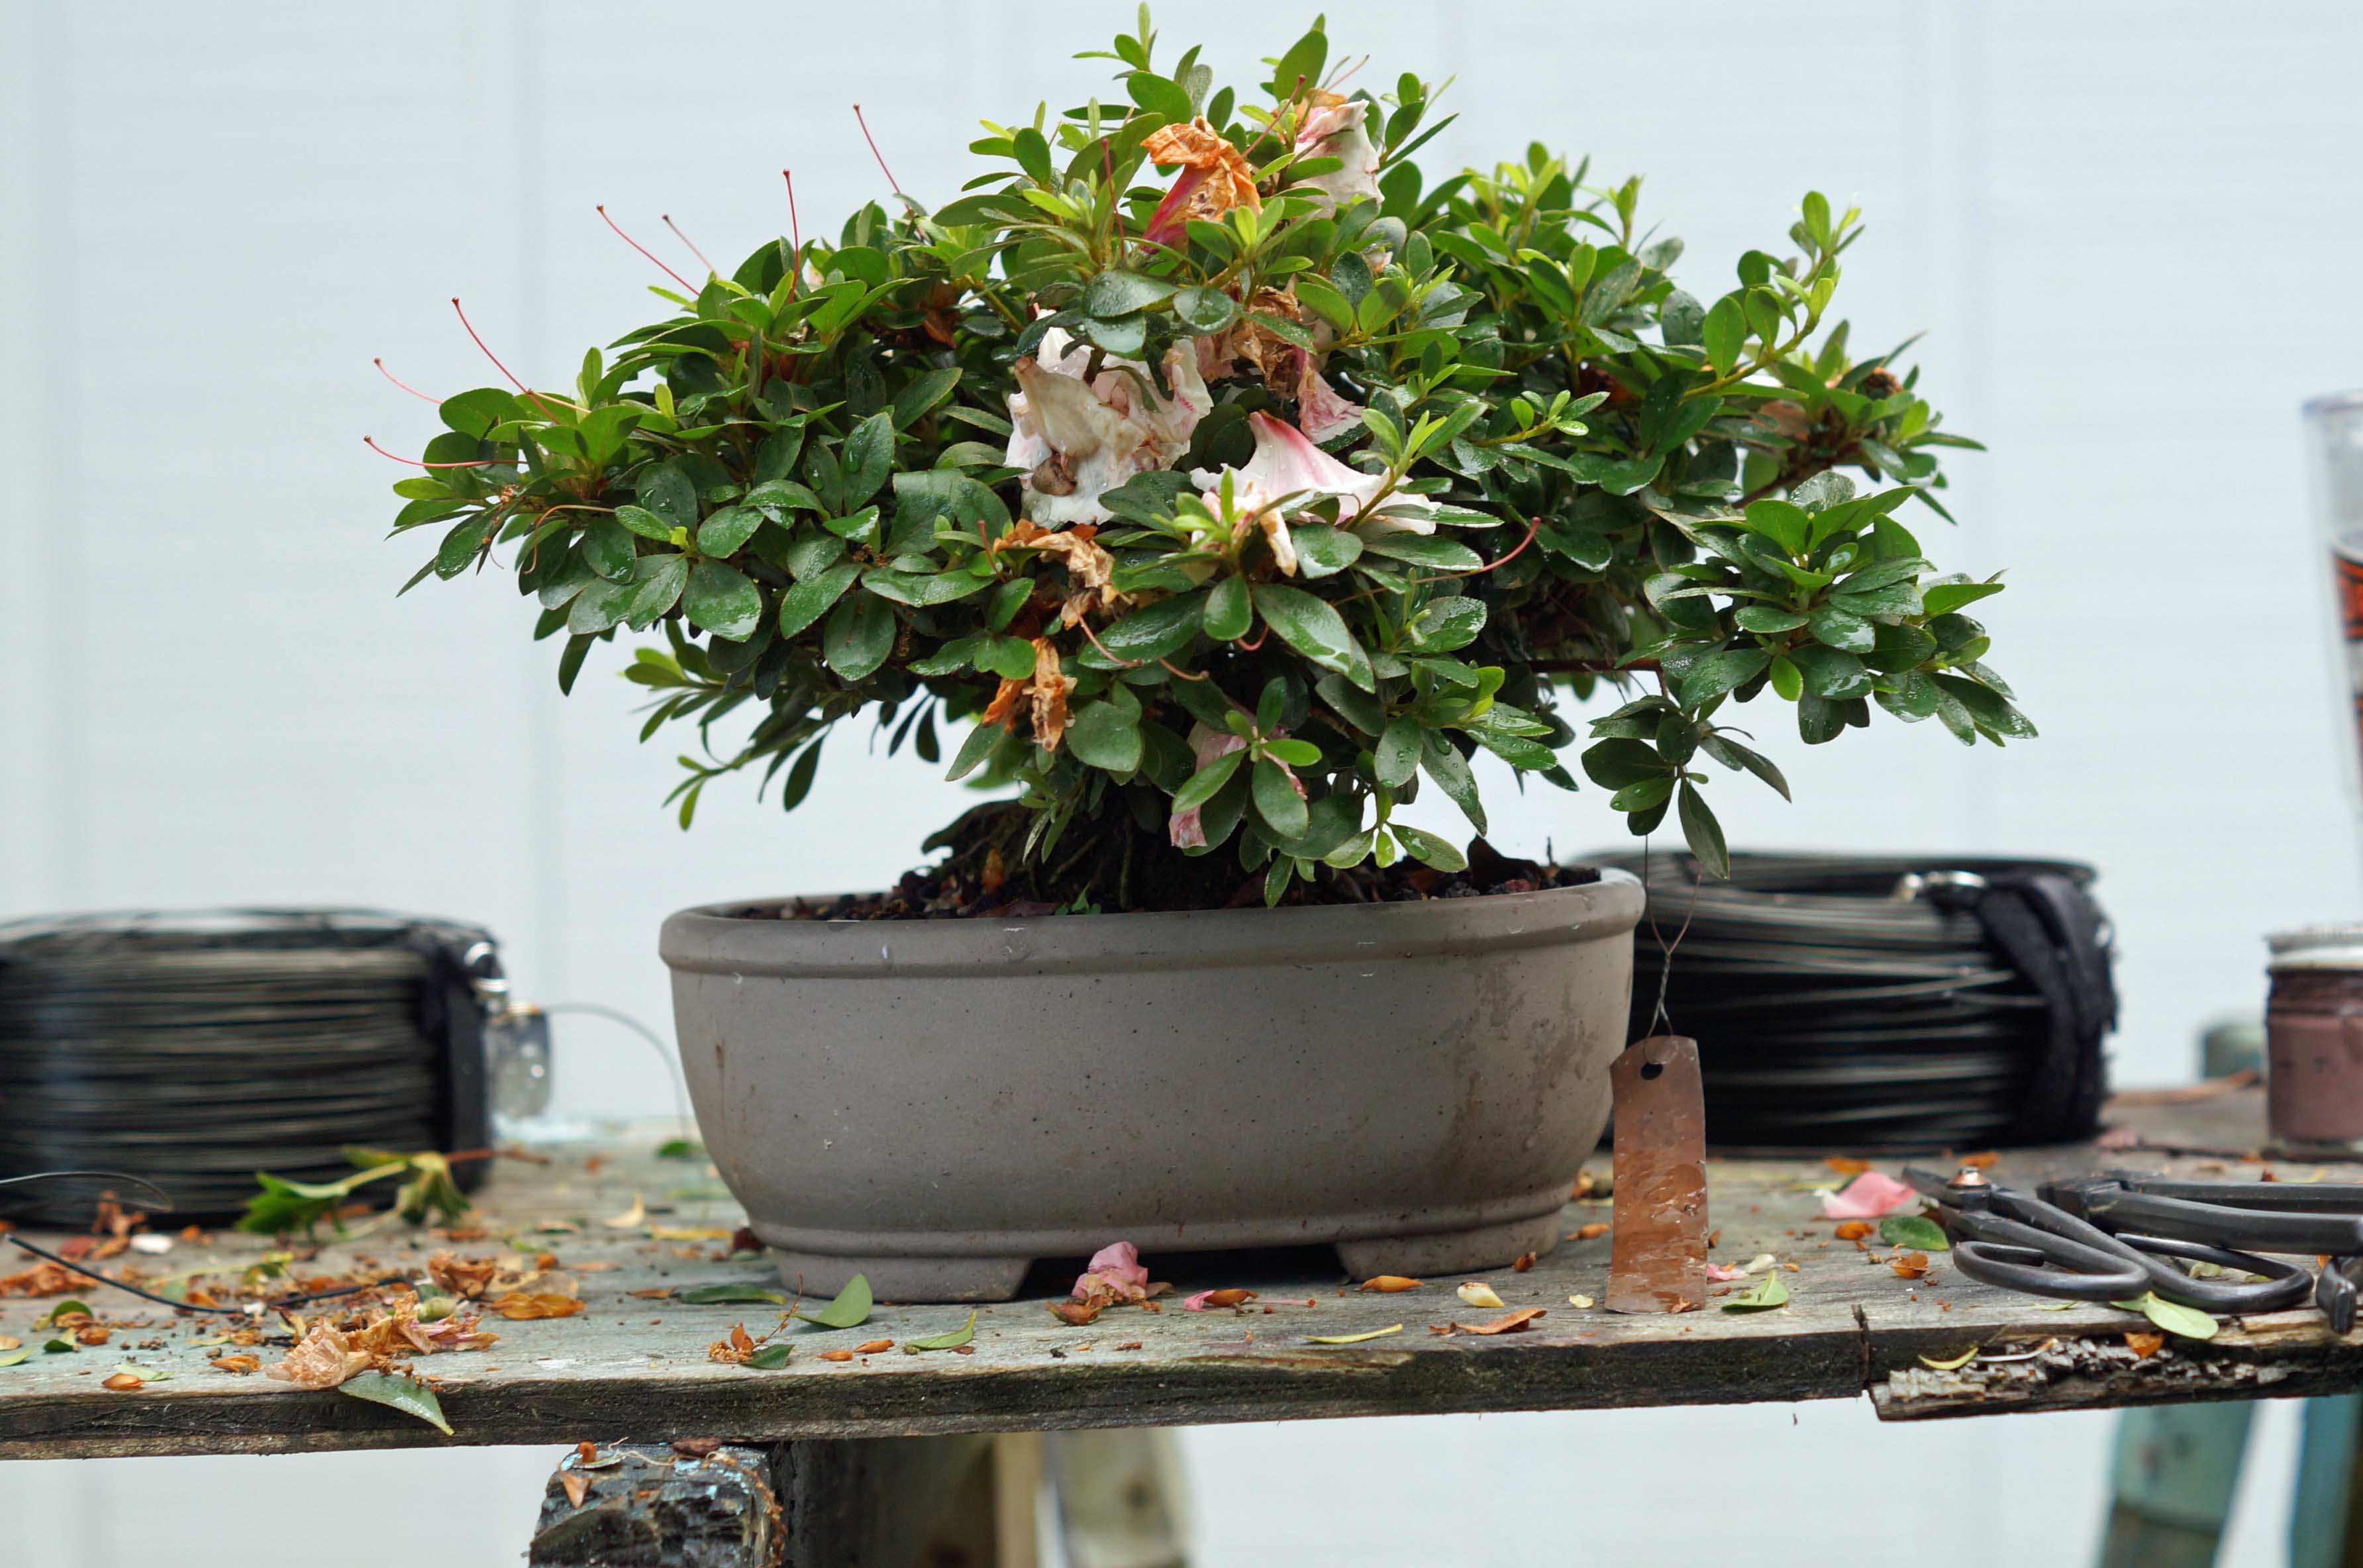
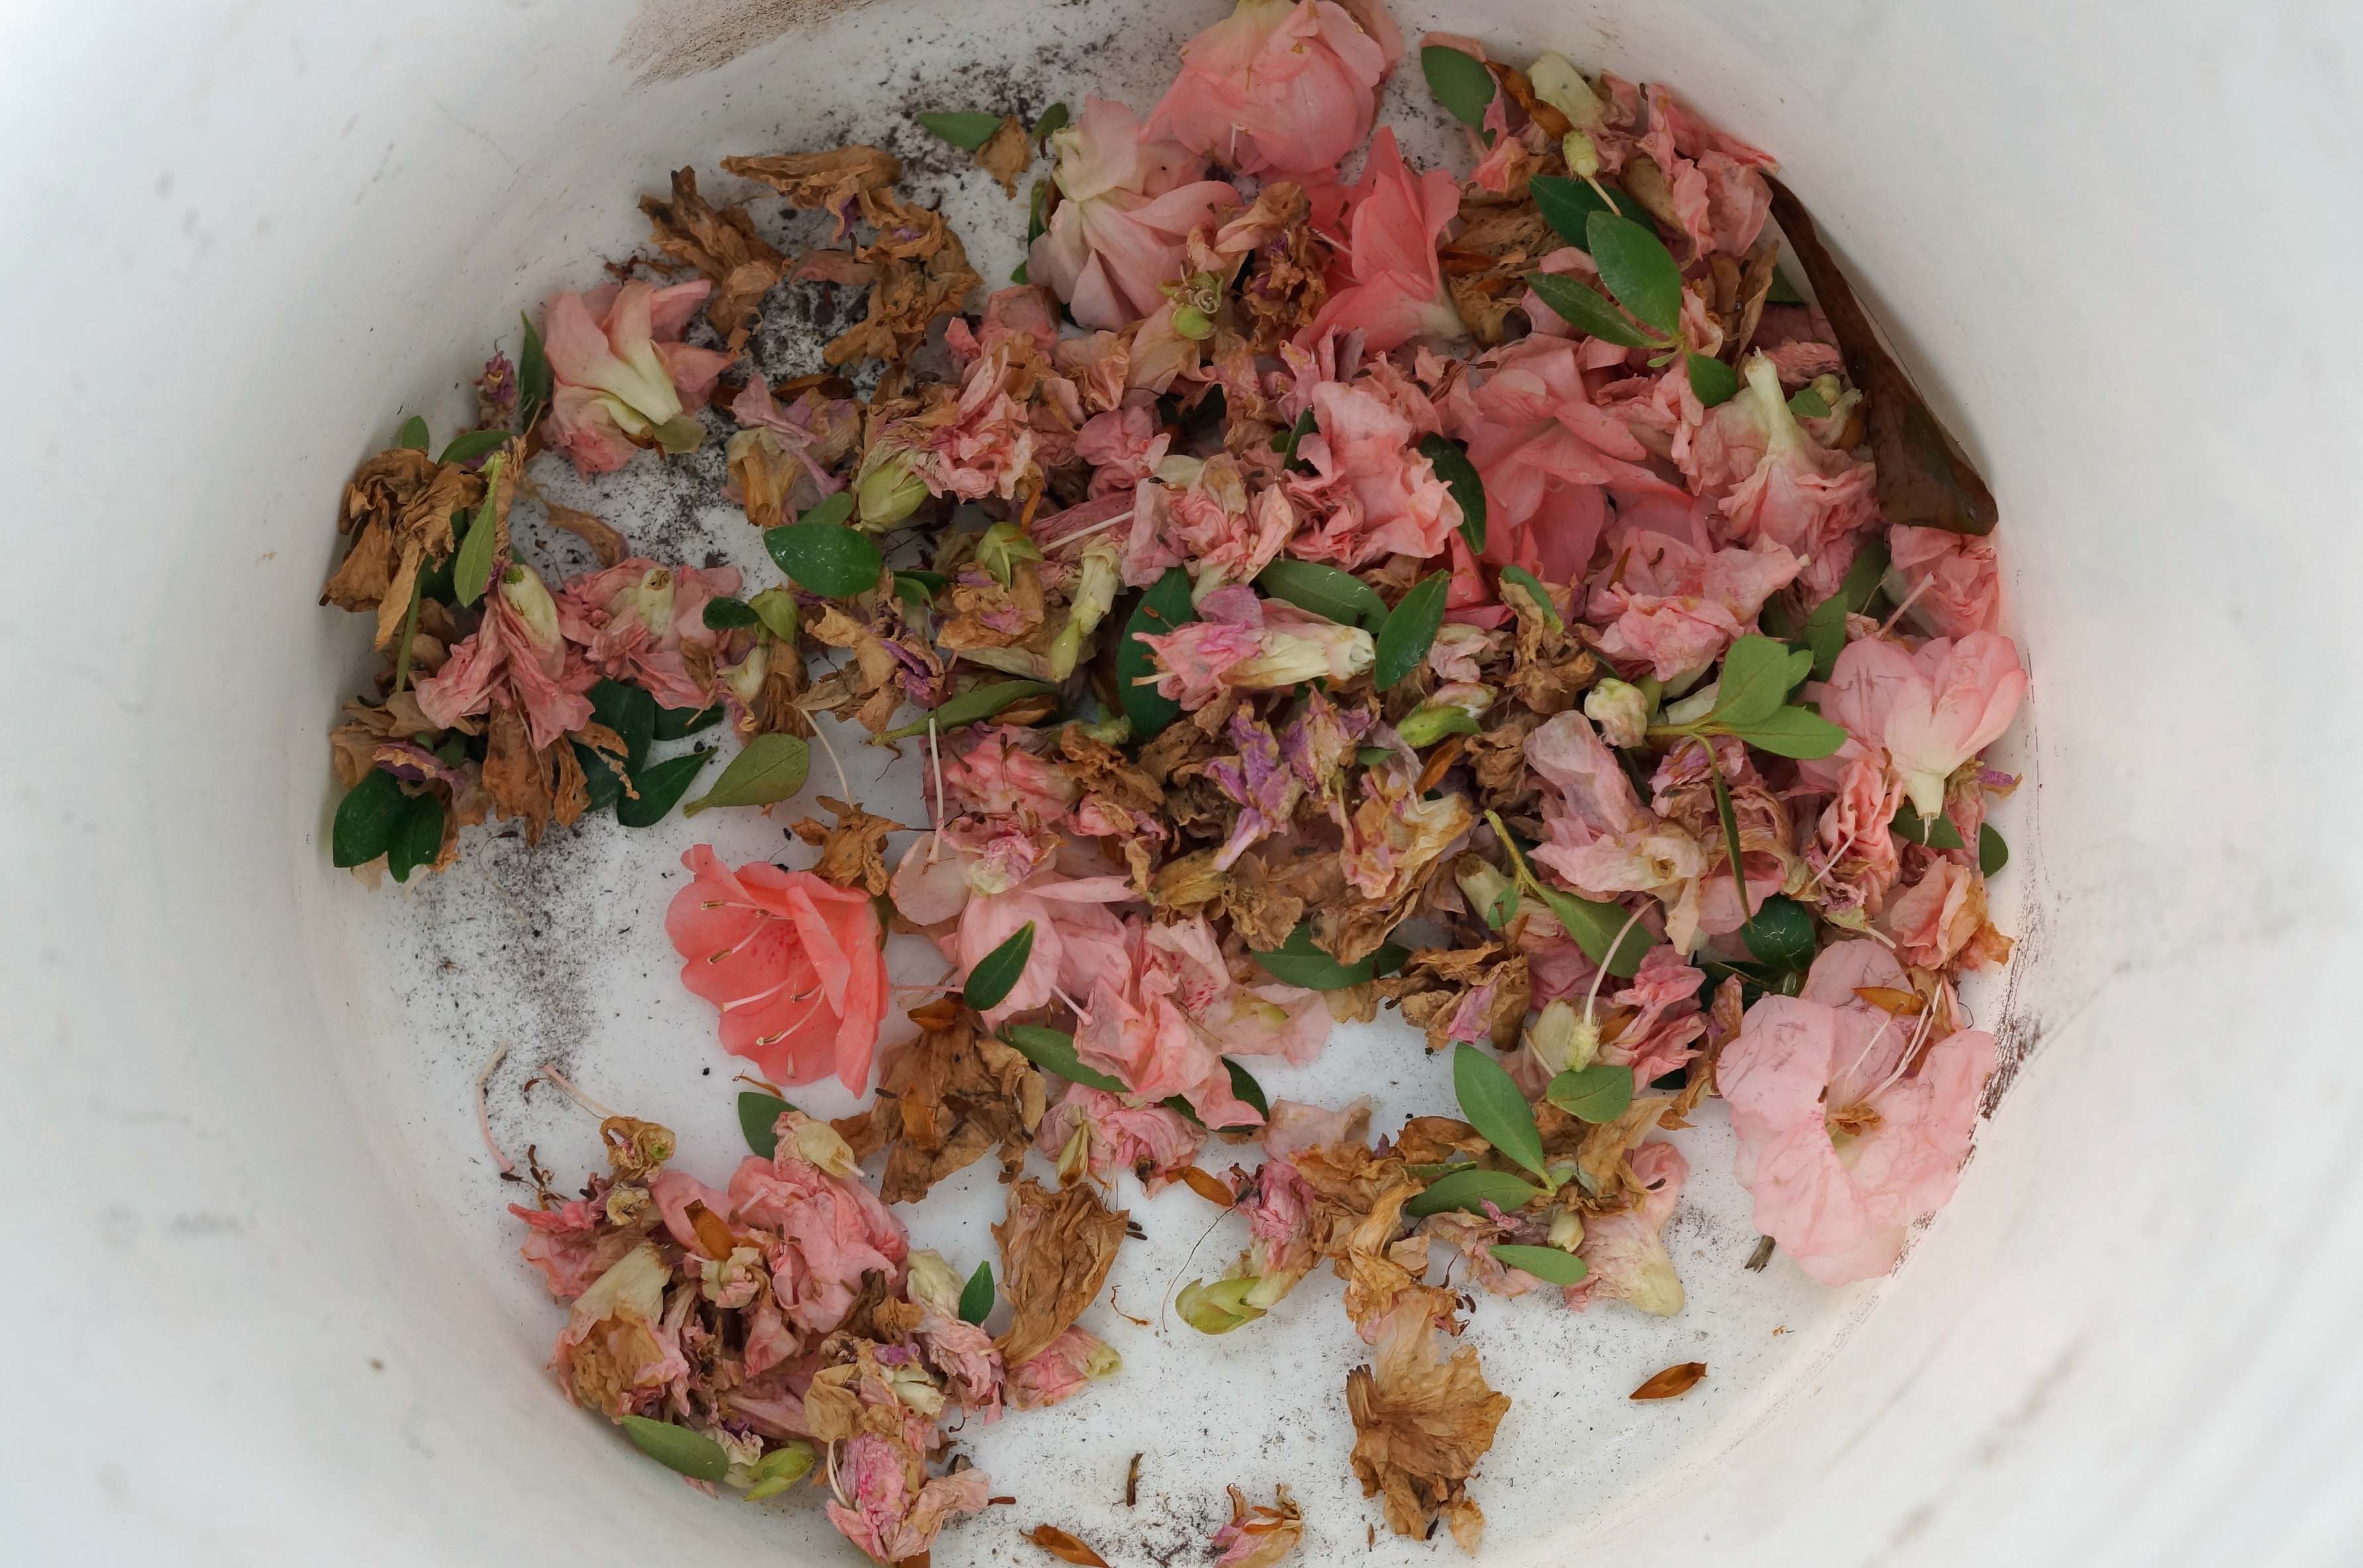
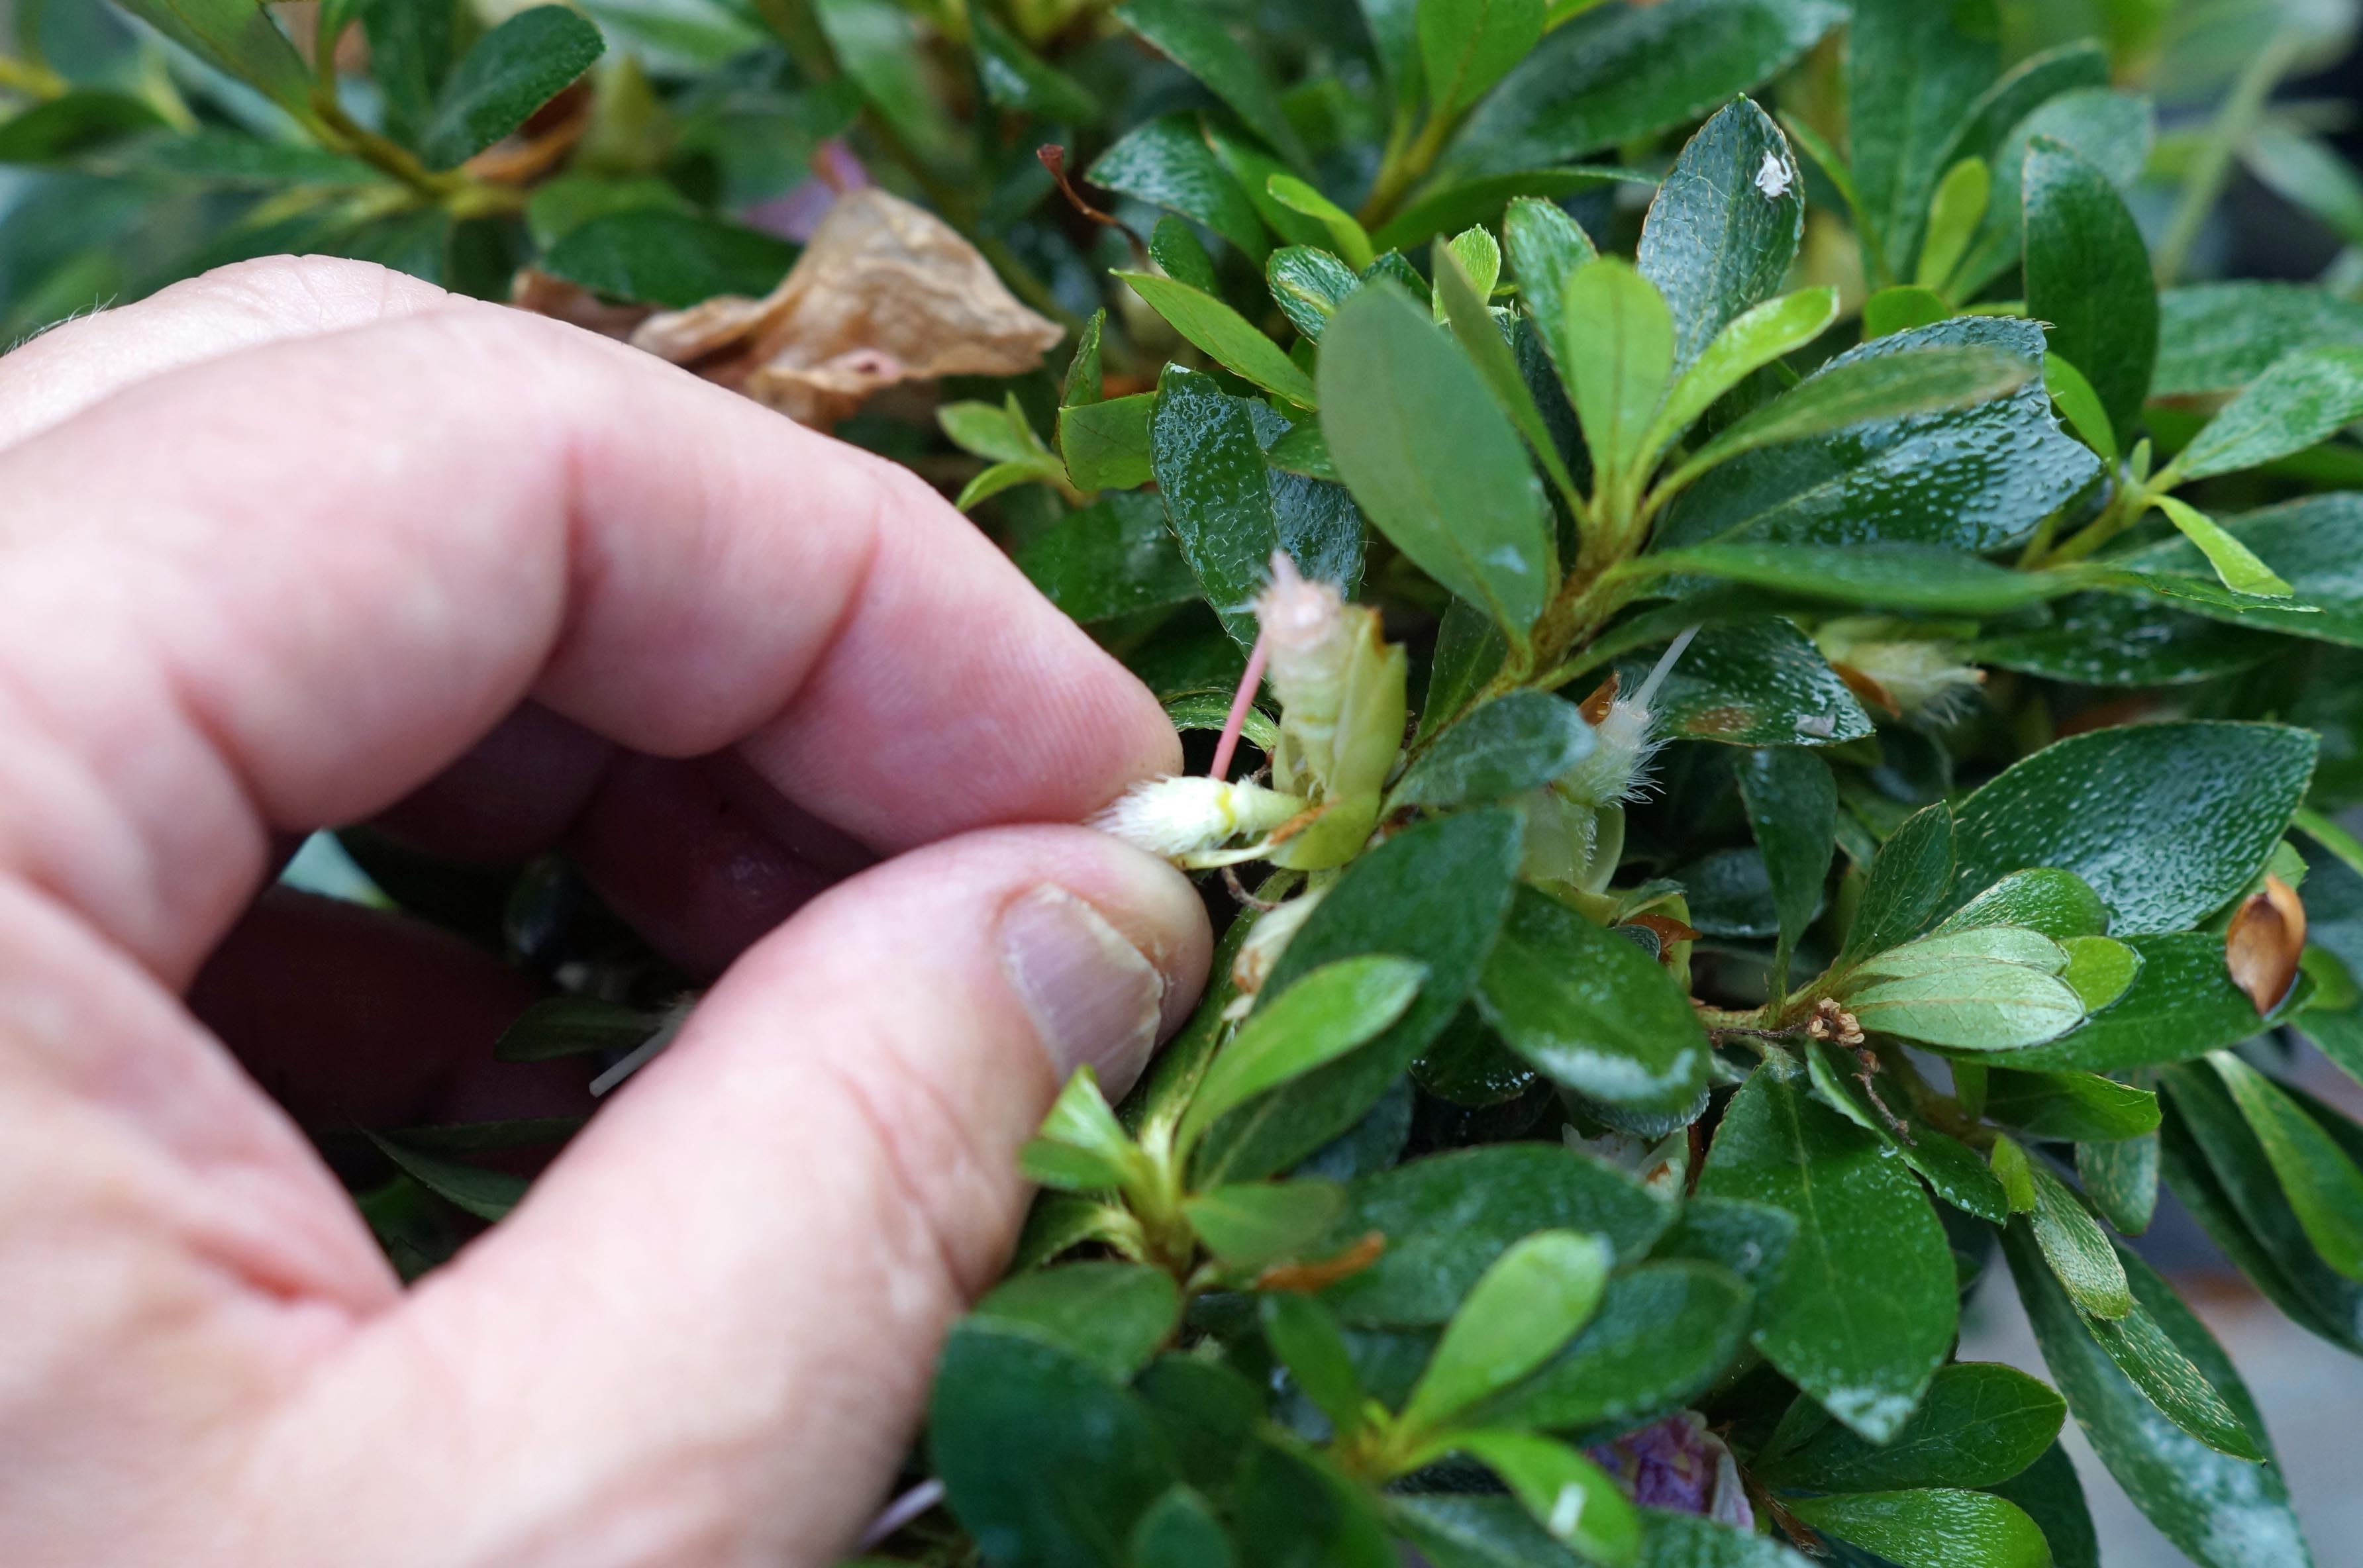
When the flowers start to fade, it is time to remove them. I like to take them off before they get this far, some of them are worse off due to getting hammered by petal blight.
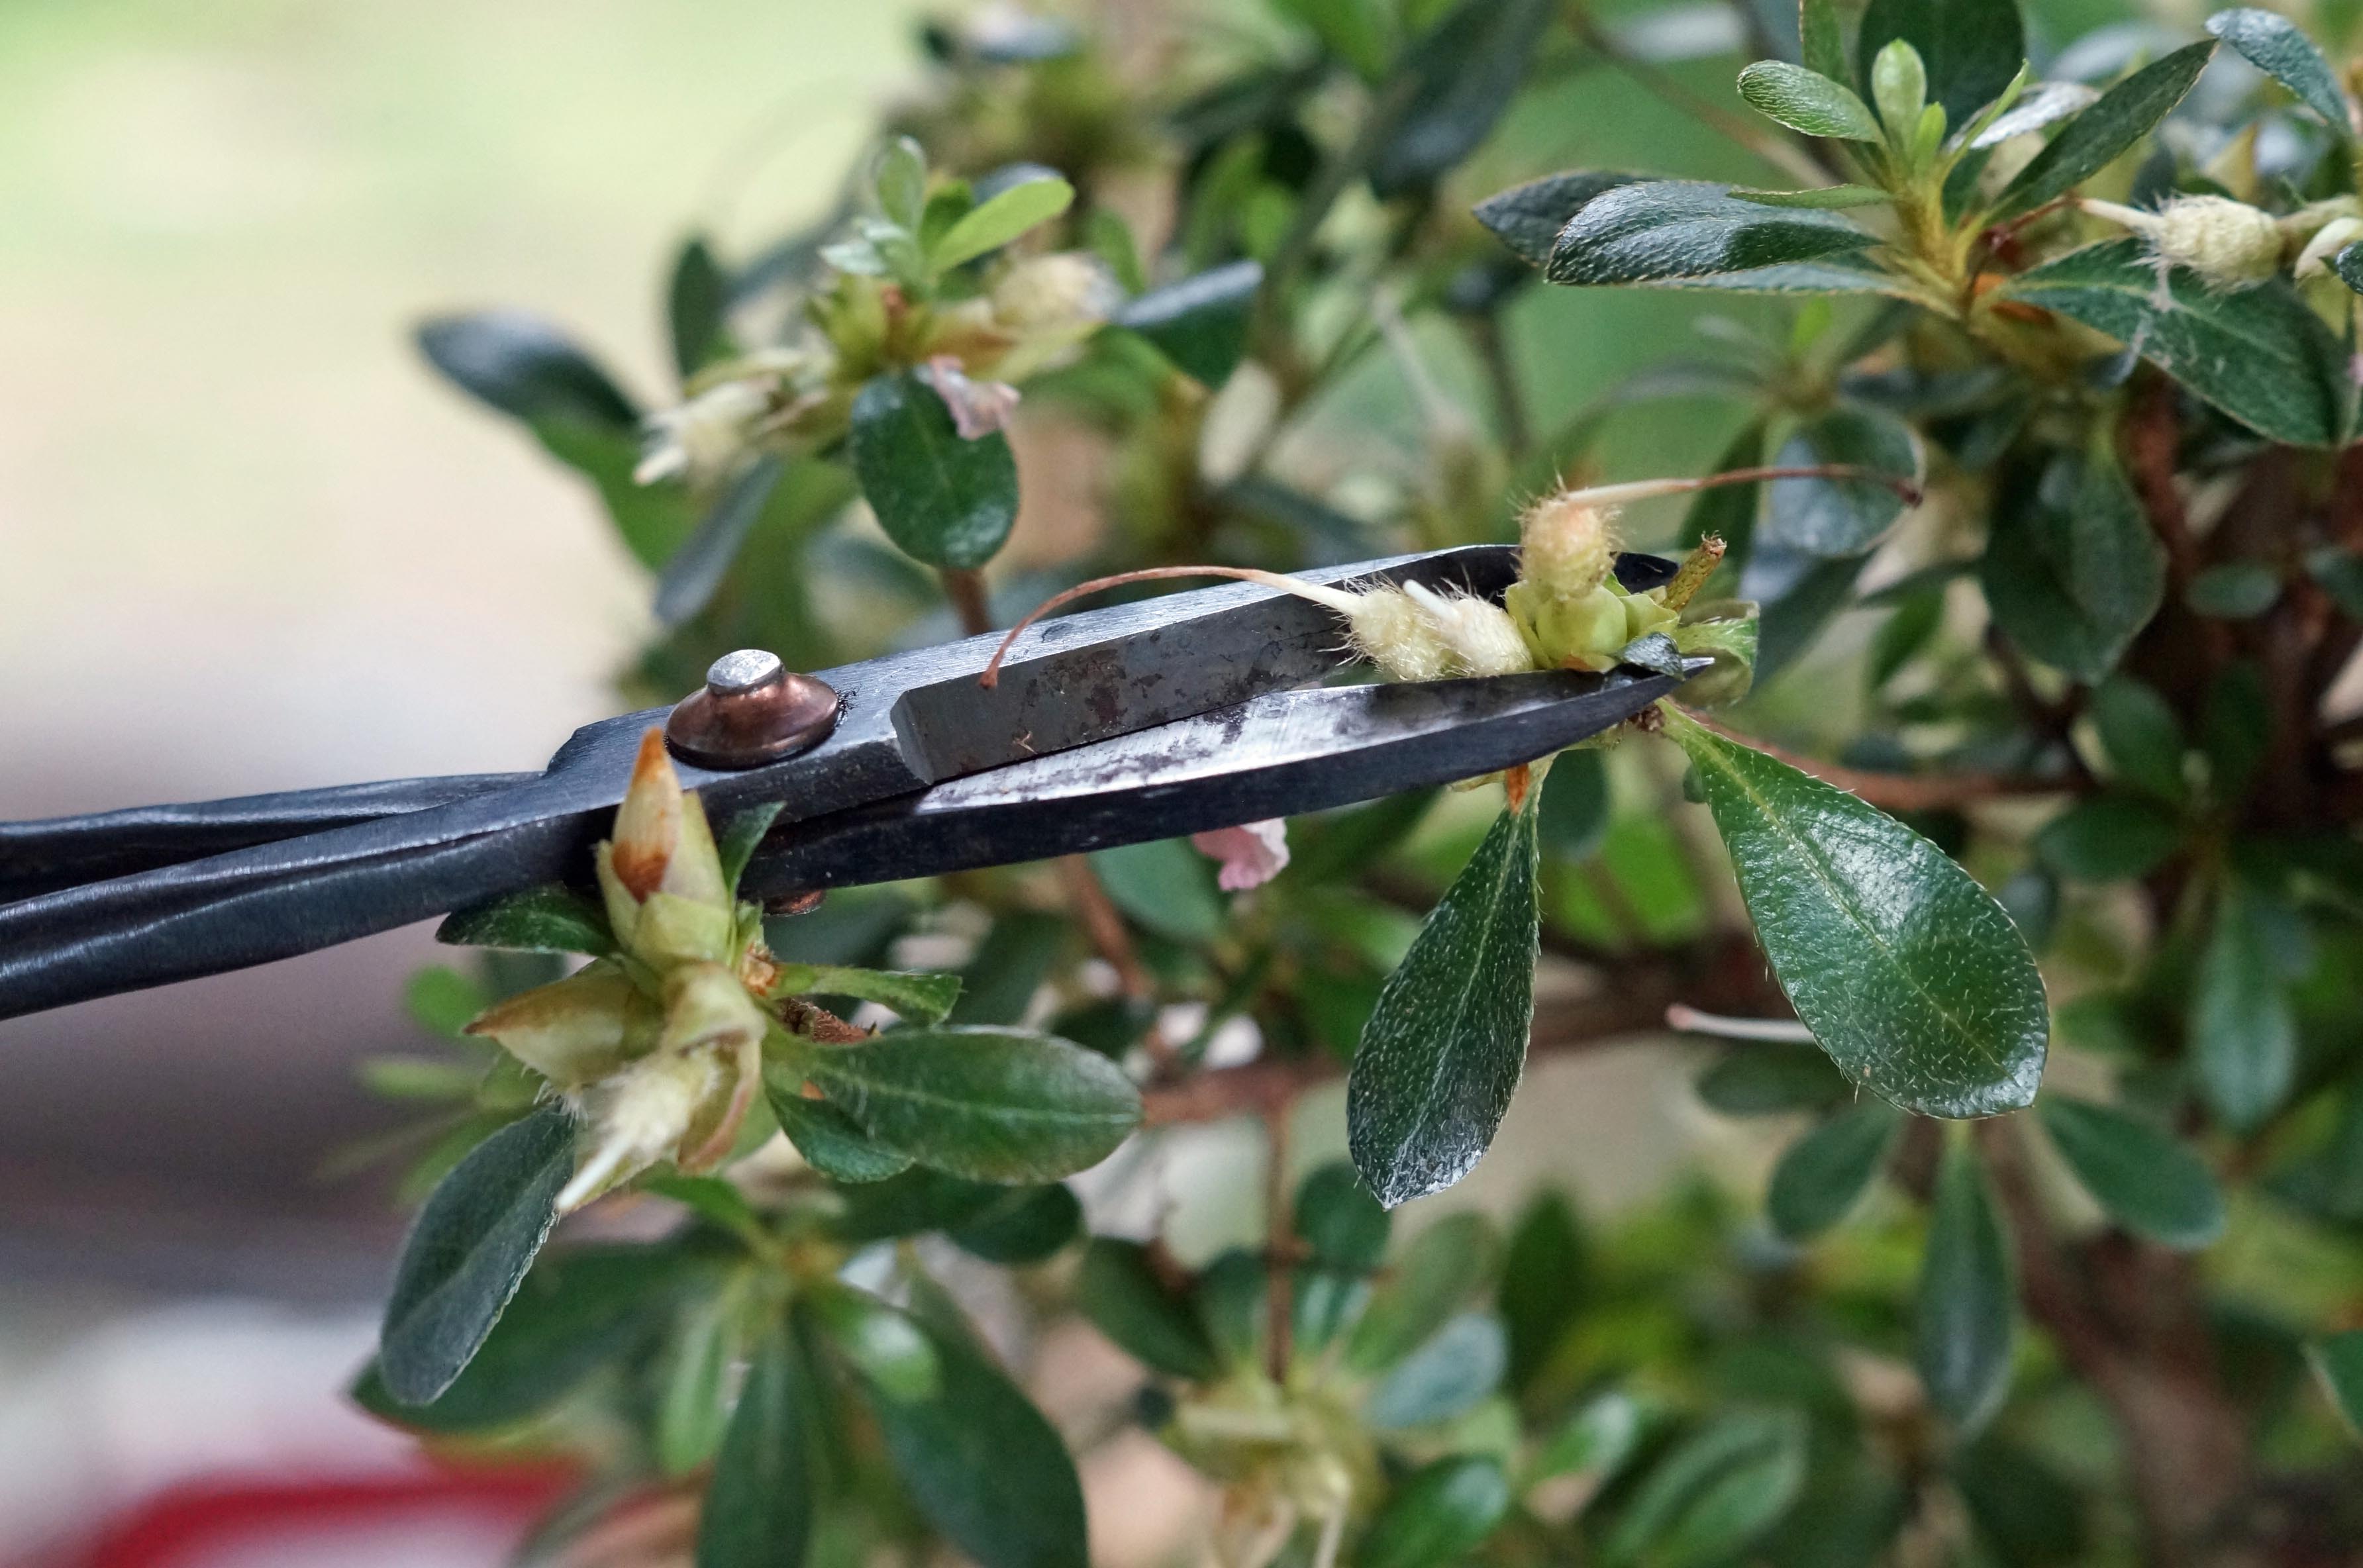
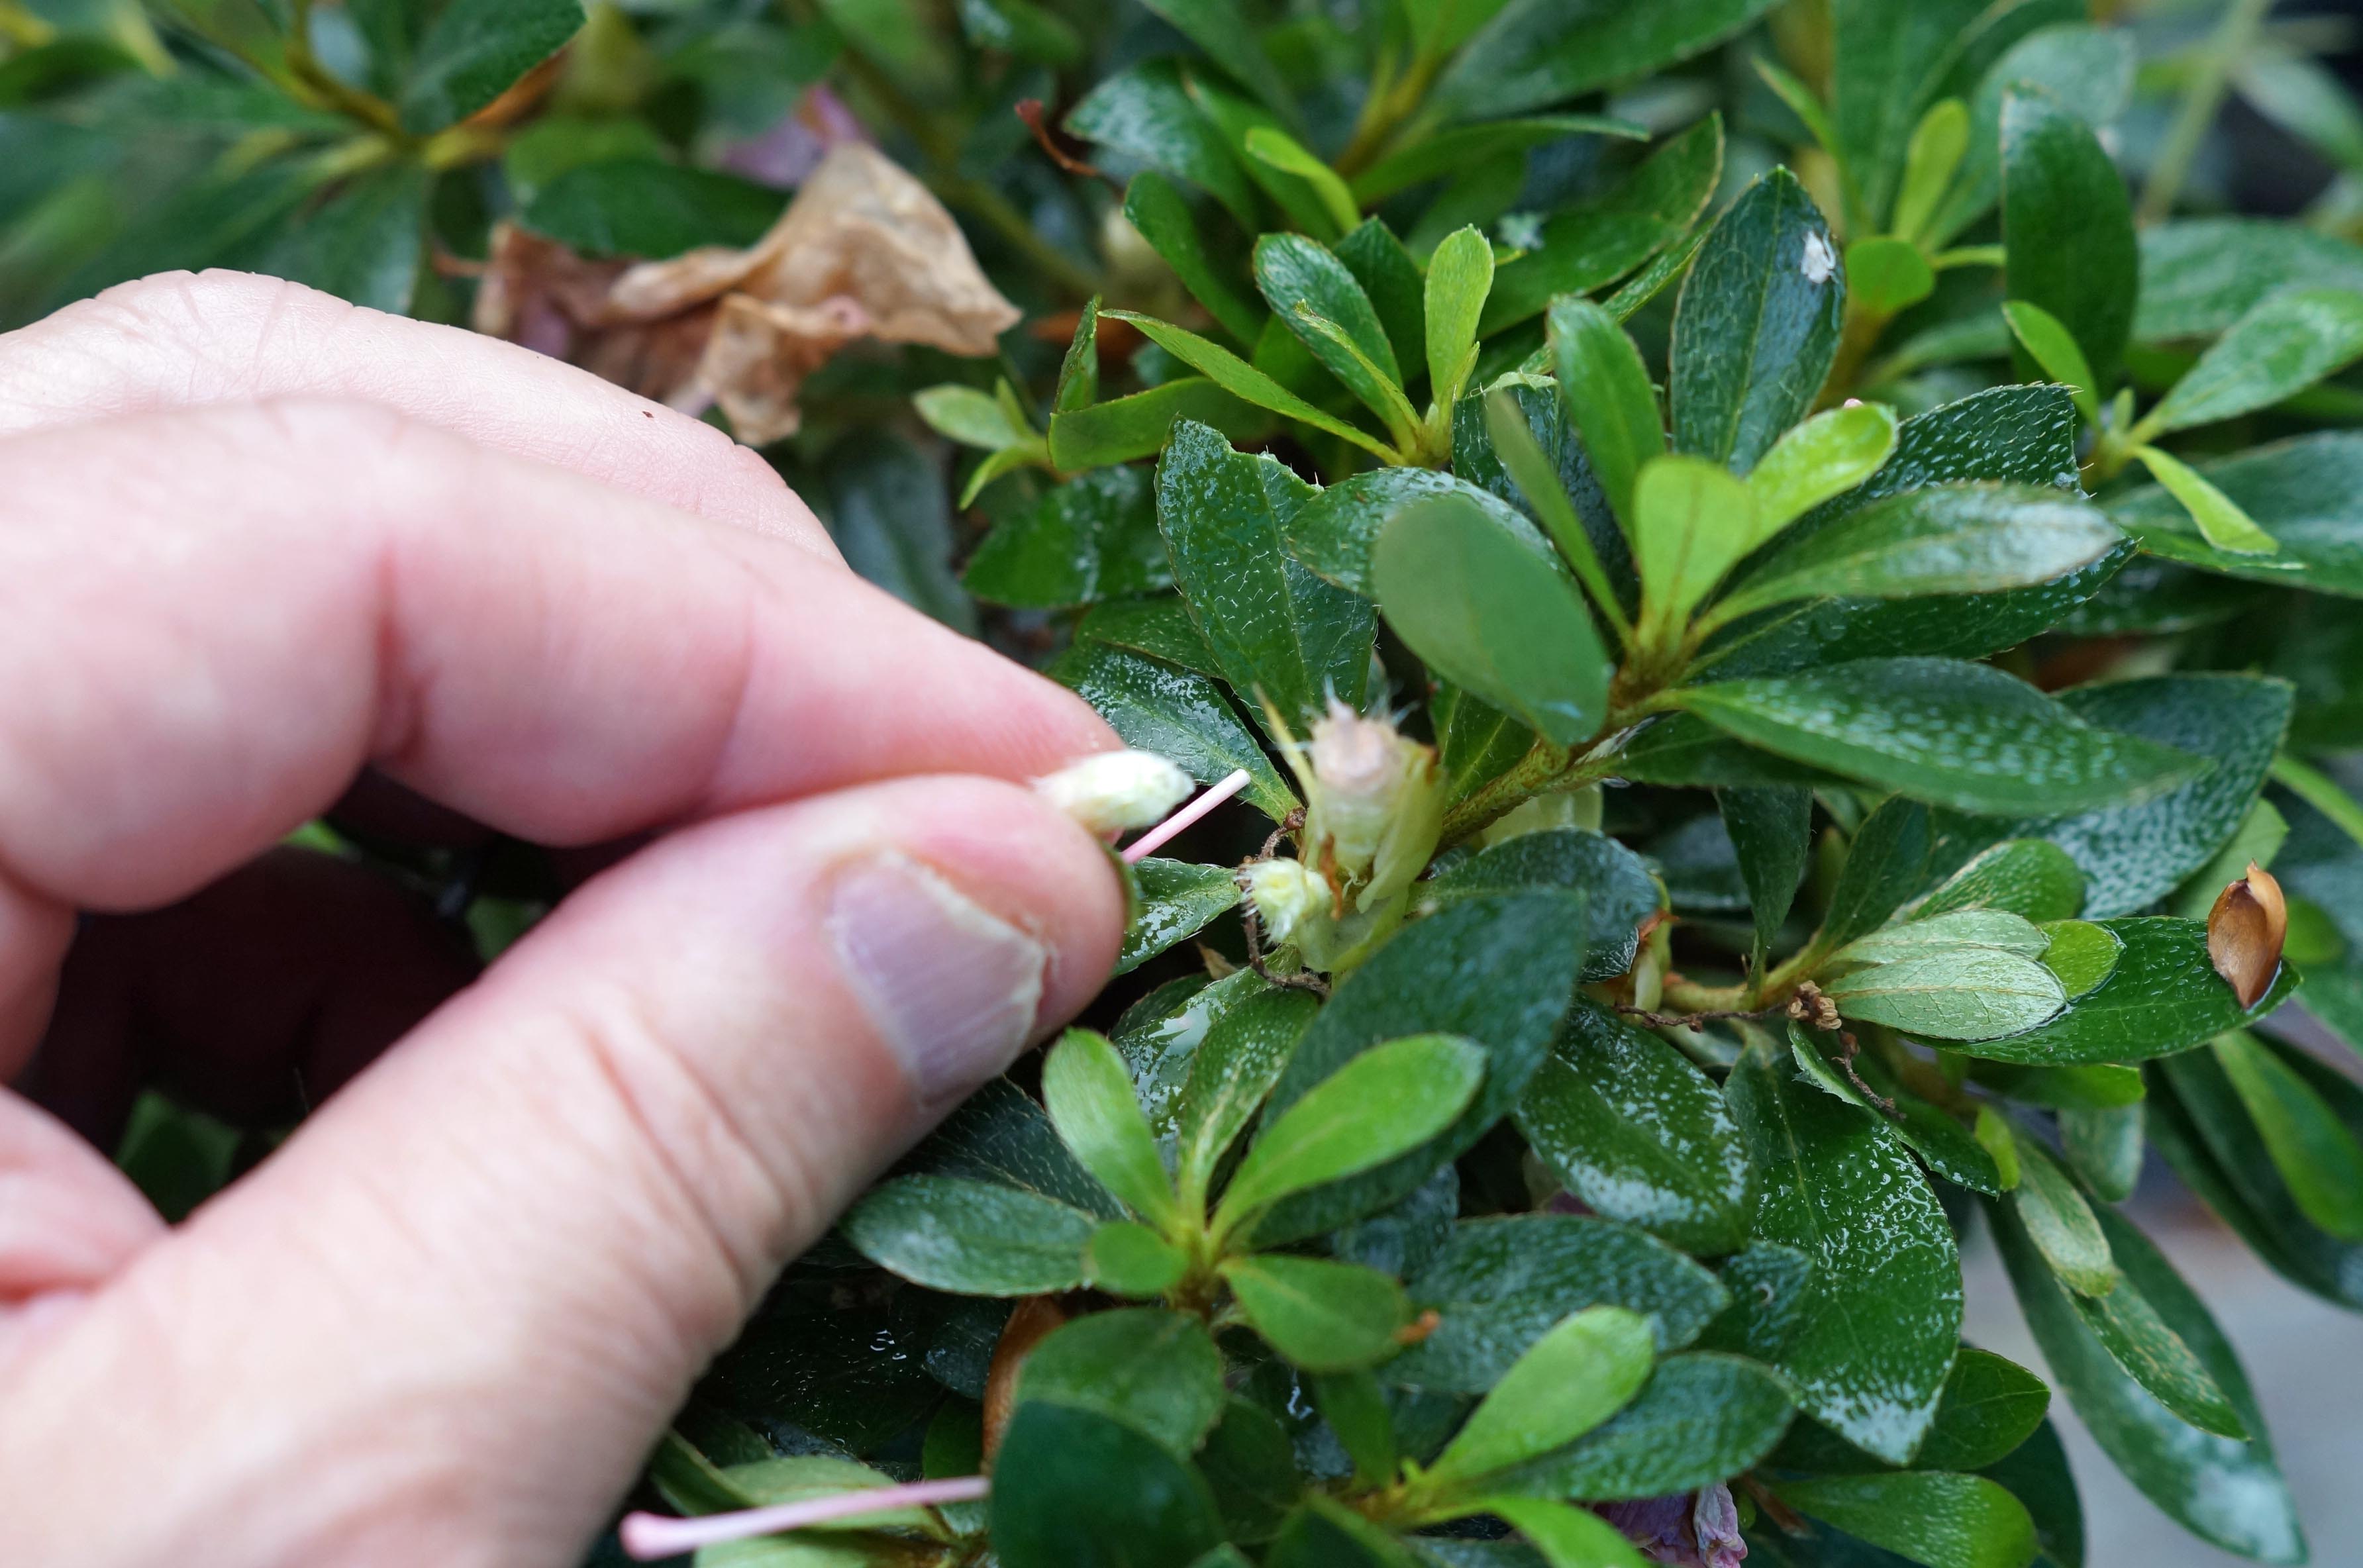
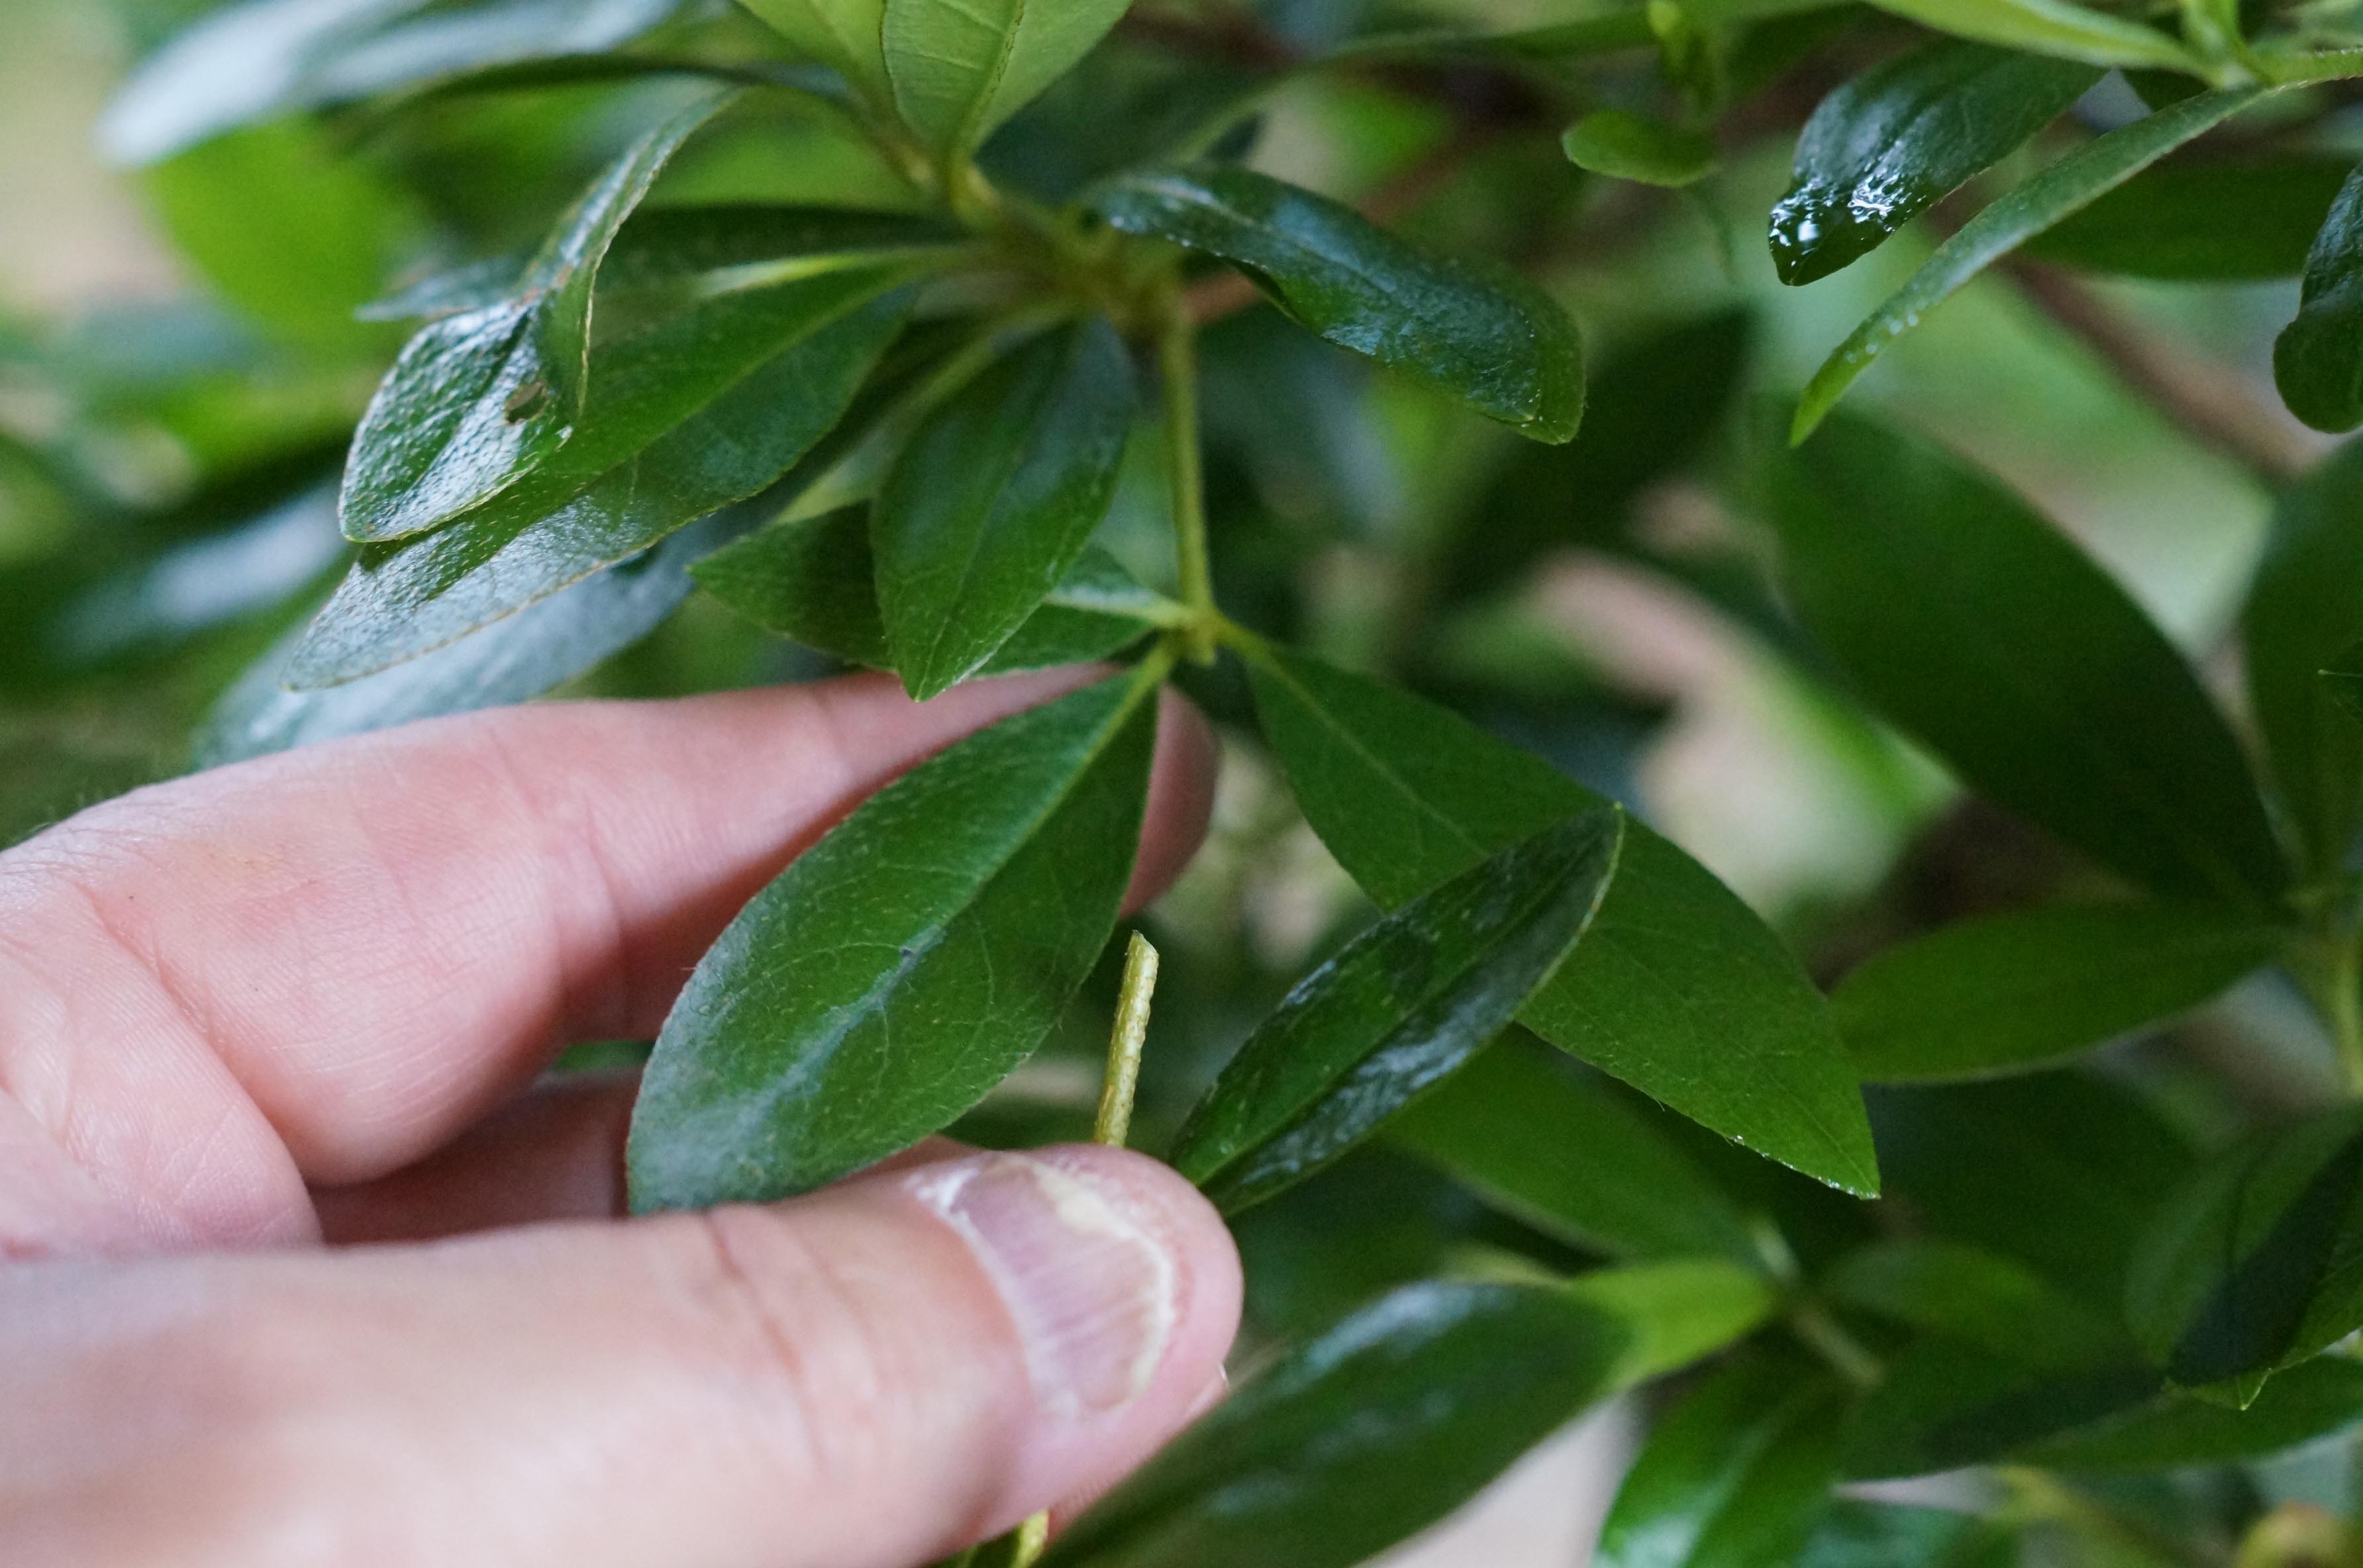
If you did not get them all with the flowers, go ahead and remove the rest of the pistils, the female parts of the flower that produces the seeds. You can cut them off or grasp them between your thumb and finger and give them a little twist, they pop right off. Leaving them on won’t hurt anything, it just gets them out of the way.
I feel my ears burning now and I hear the hammers driving the nails to build a gallows for my hanging by the bonsai azalea police, but it is true leaving them on won’t hurt a thing. This is azalea bonsai myth #7 – “leaving the pistils (called seed pods by some) on and allowing the seeds to form will rob the tree of energy that it could use for branch or foliar growth.” Simply not true! But I digress…..
I feel my ears burning now and I hear the hammers driving the nails to build a gallows for my hanging by the bonsai azalea police, but it is true leaving them on won’t hurt a thing. This is azalea bonsai myth #7 – “leaving the pistils (called seed pods by some) on and allowing the seeds to form will rob the tree of energy that it could use for branch or foliar growth.” Simply not true! But I digress…..

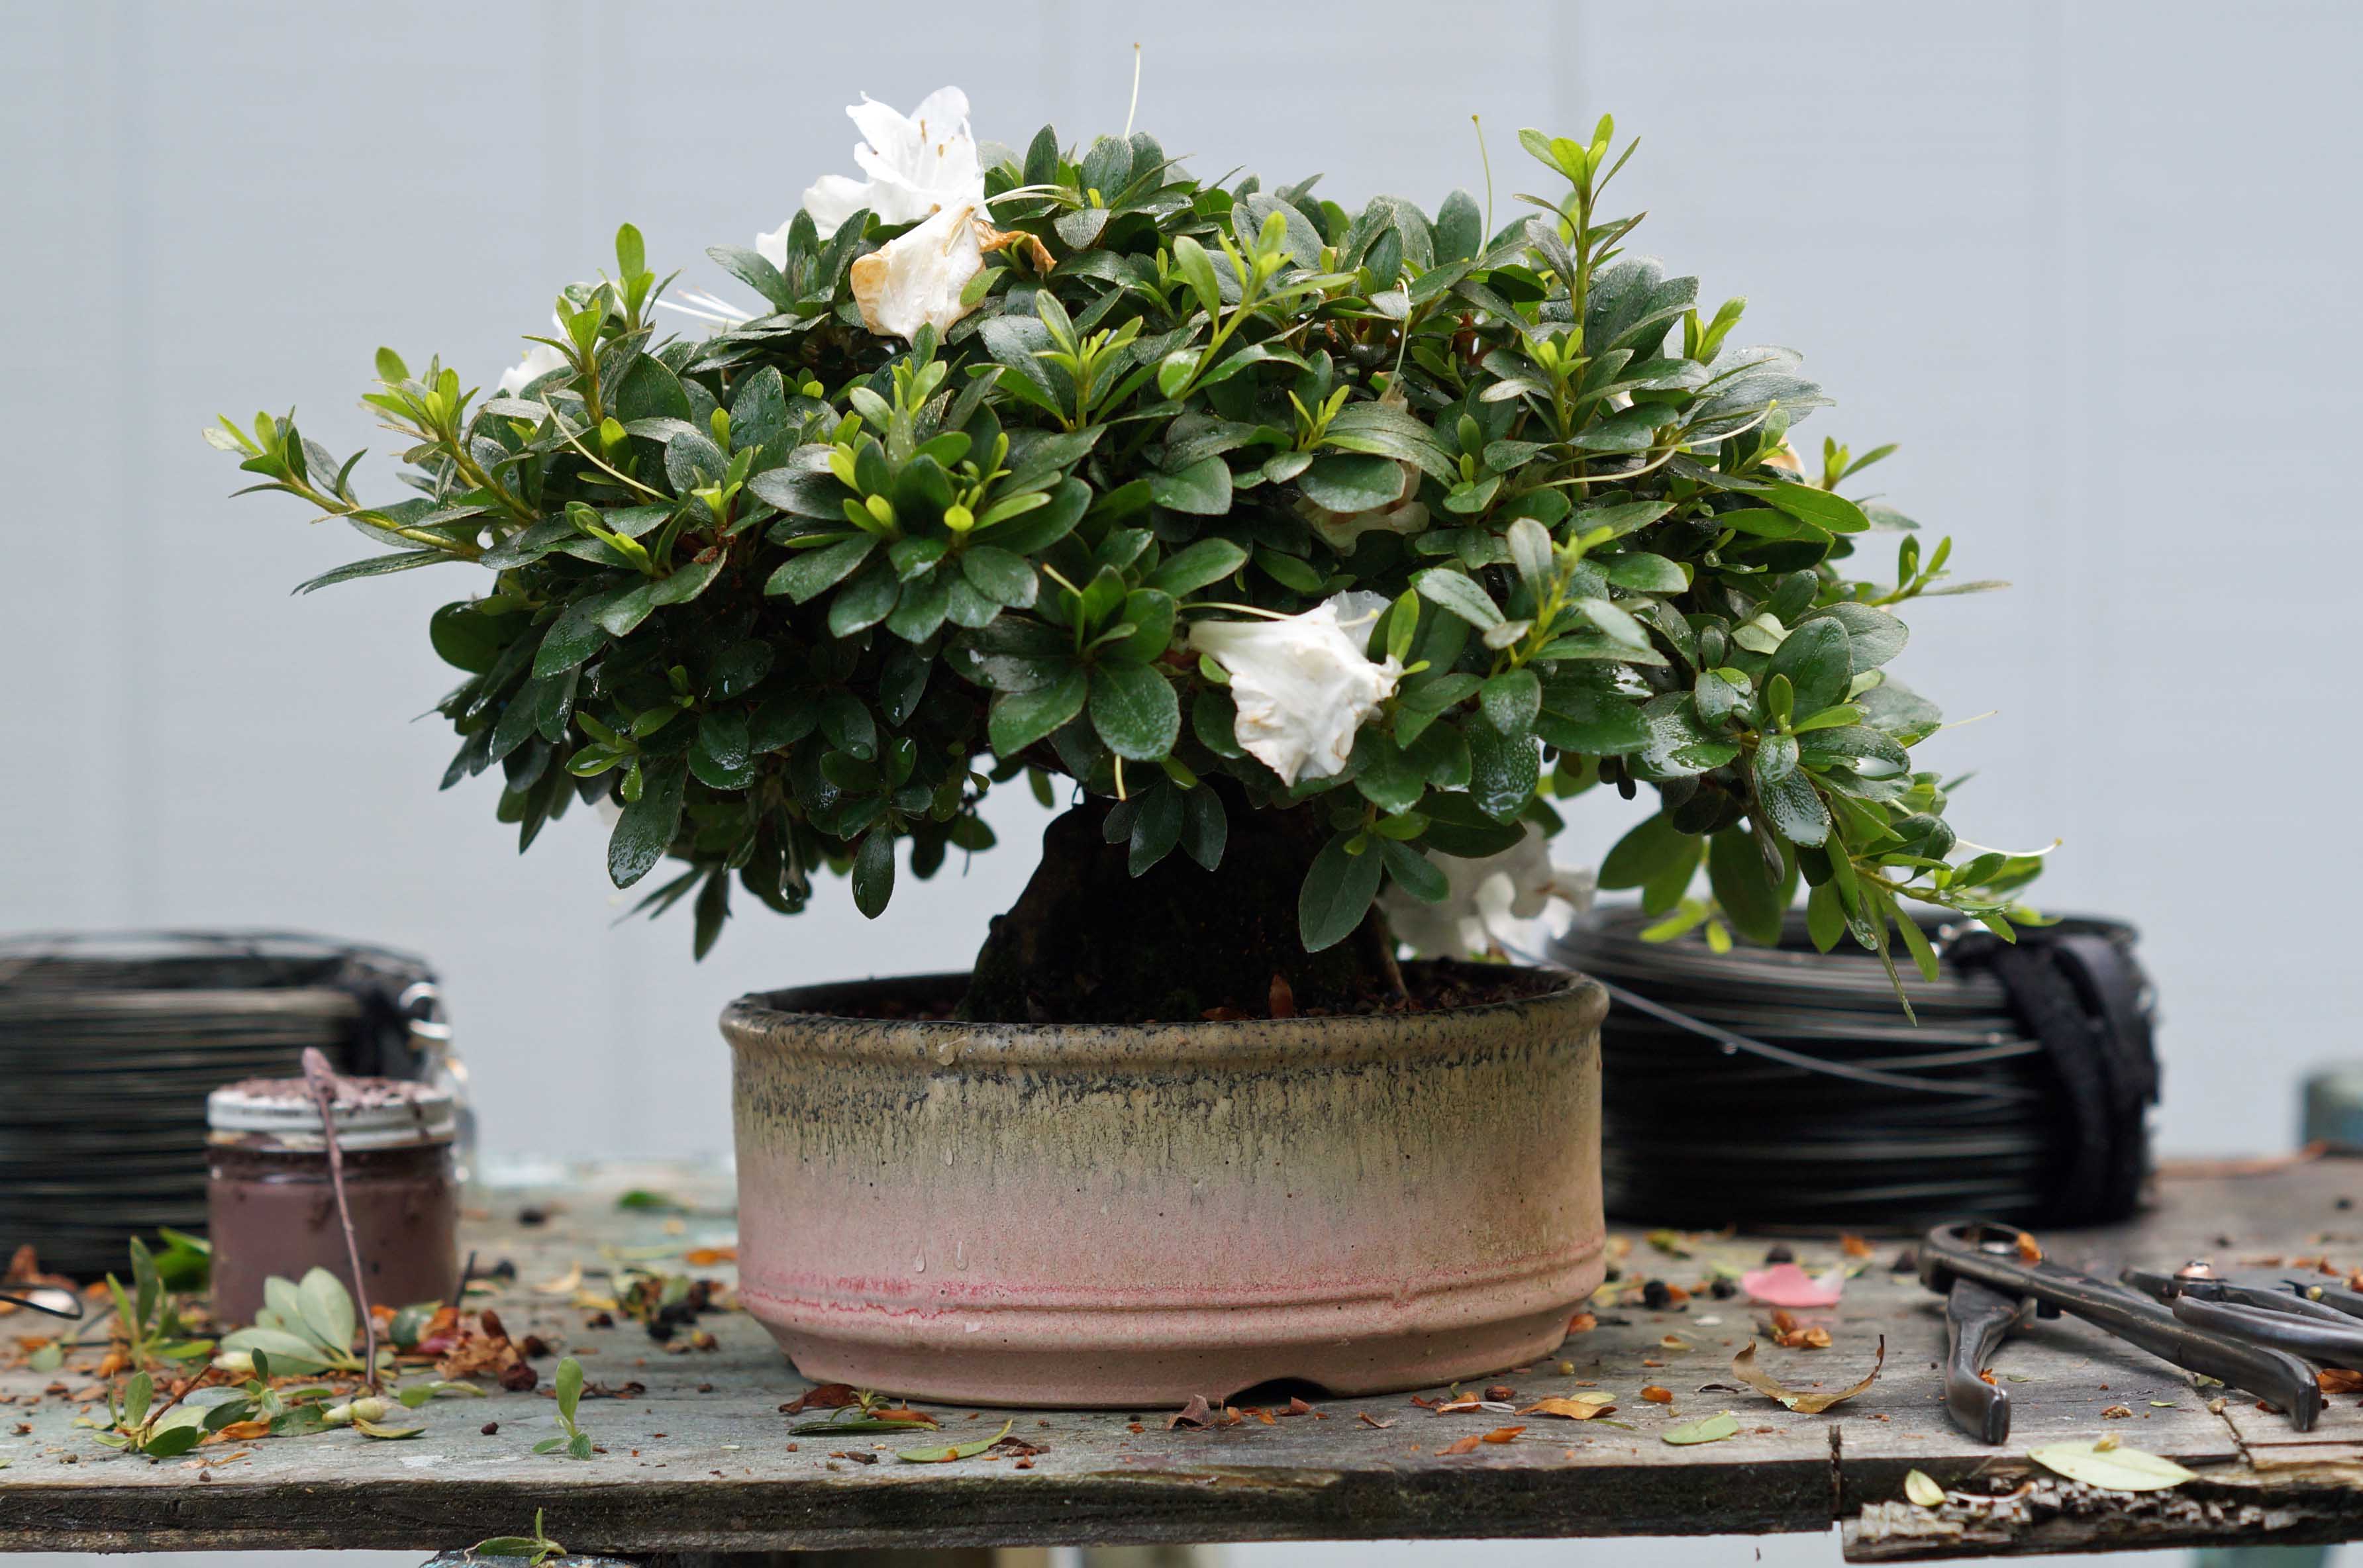
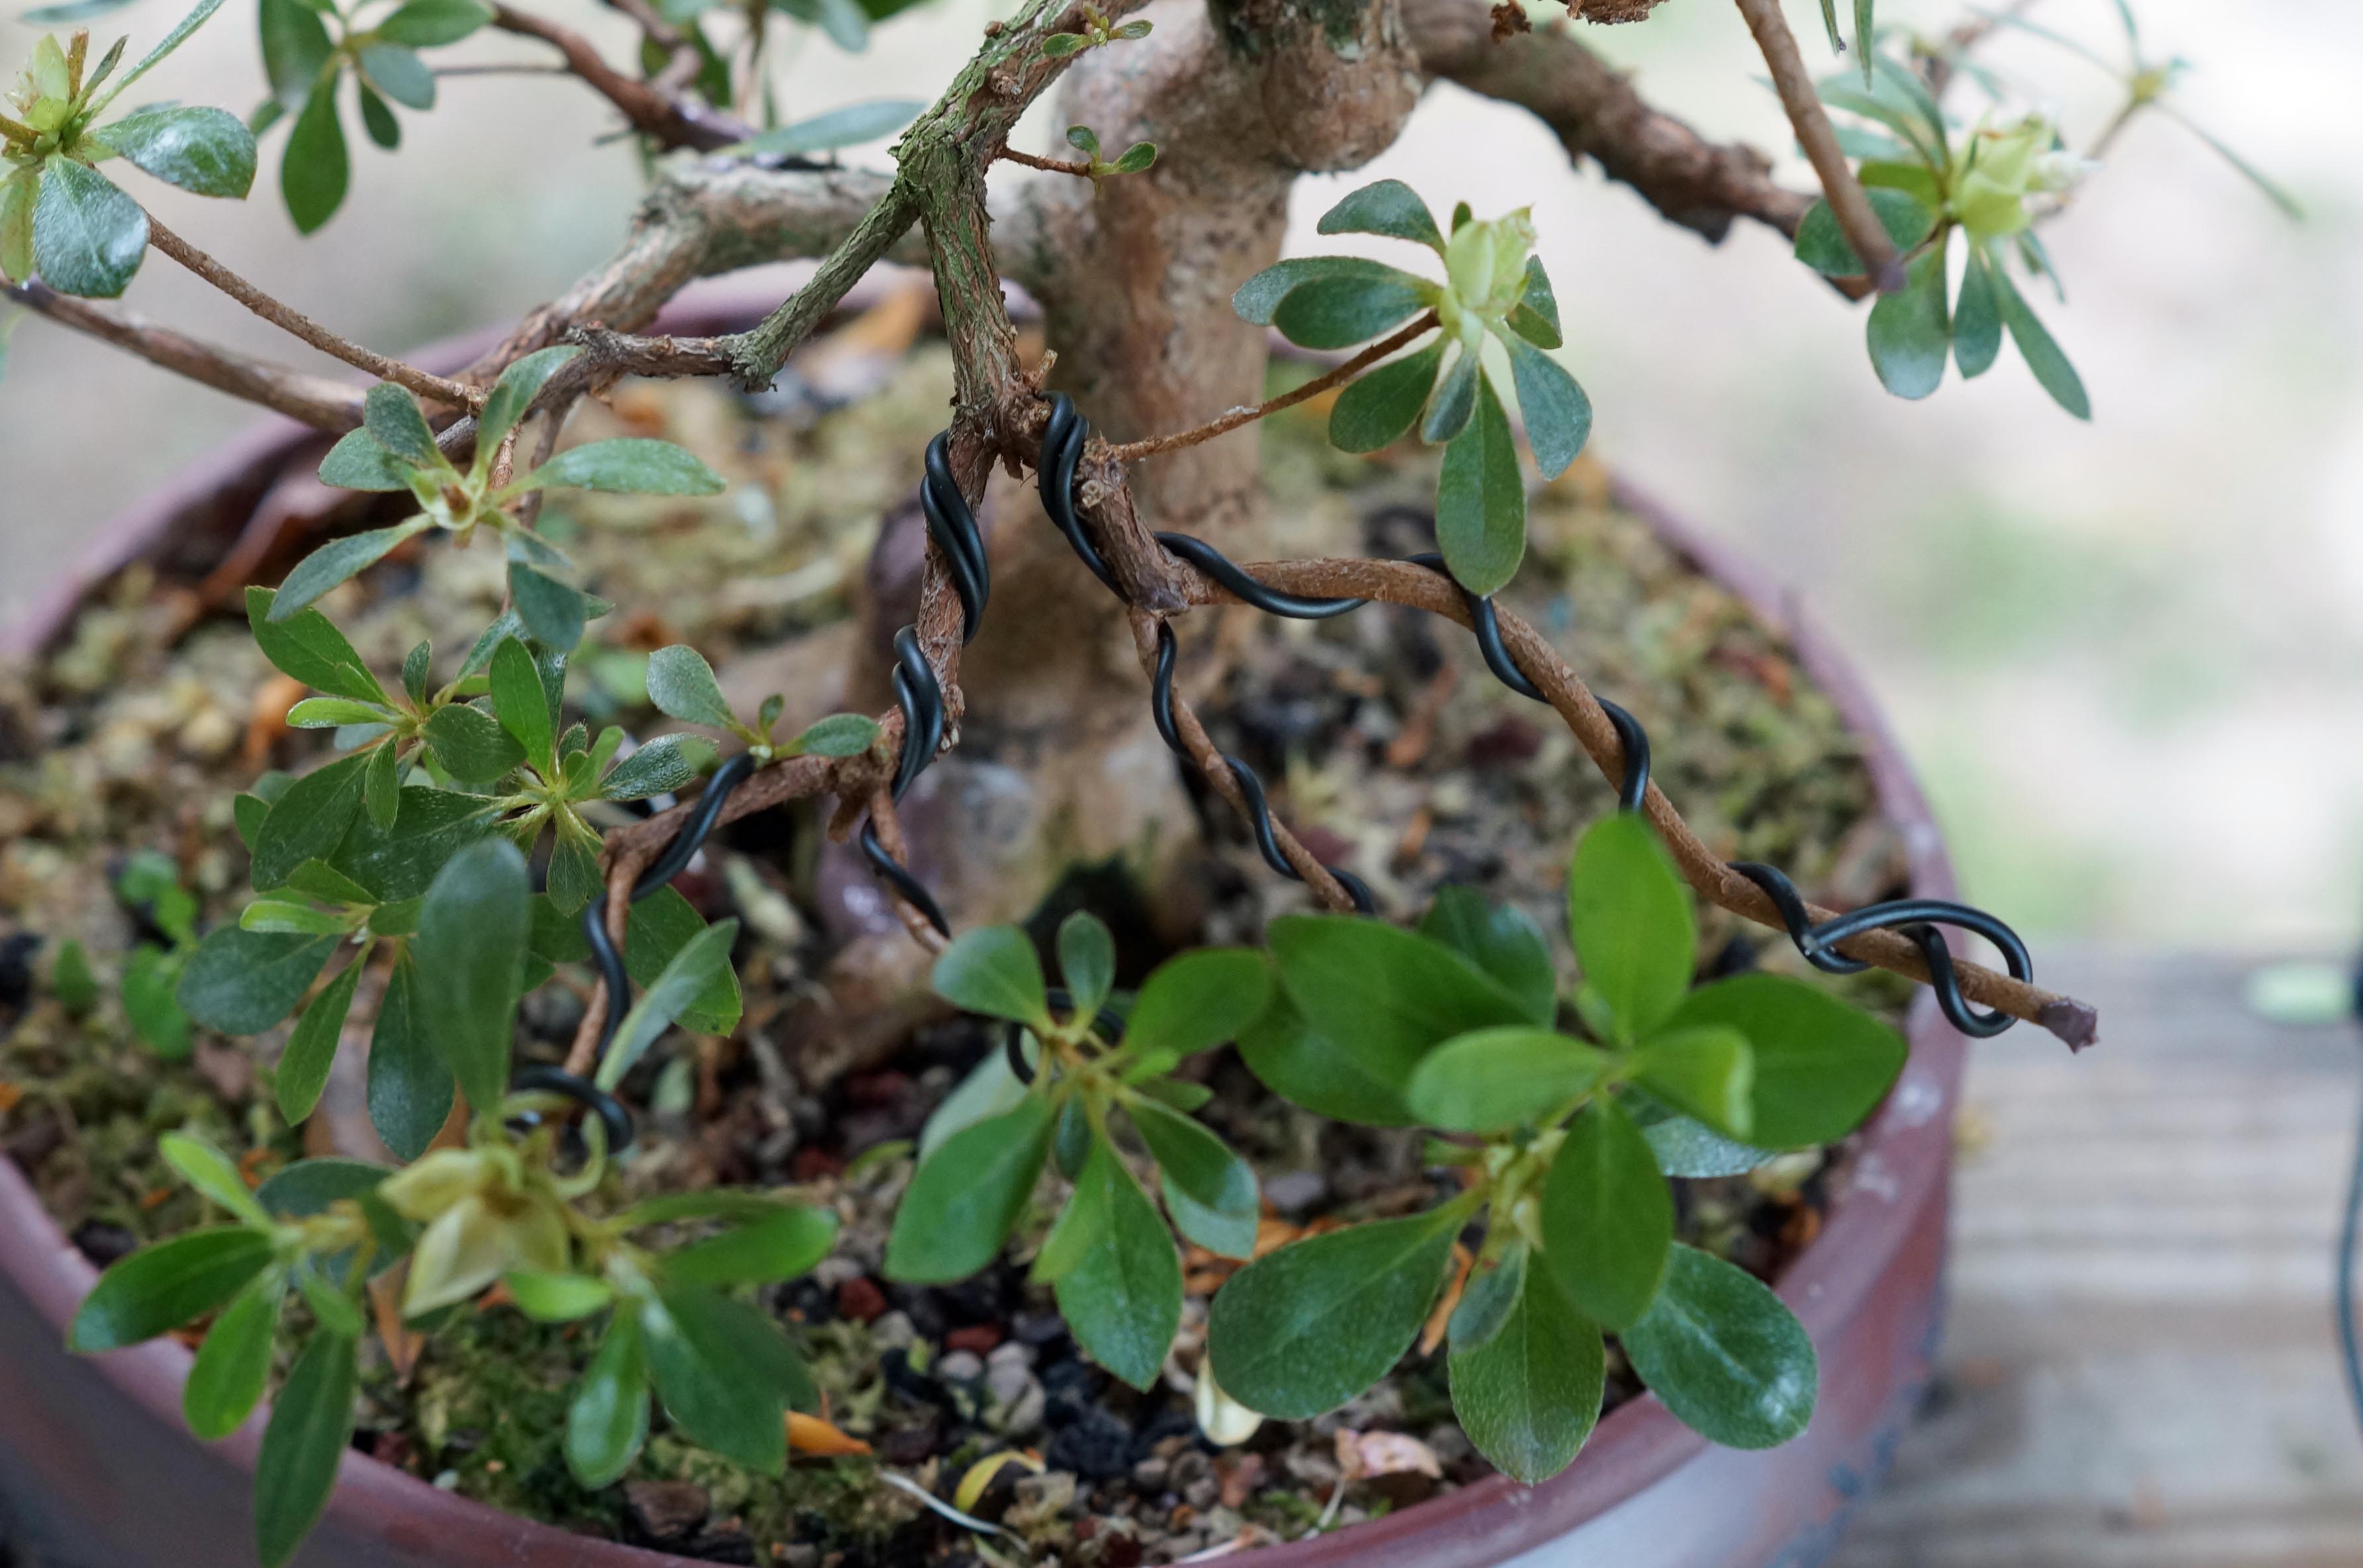
Now, like the example above we are just gonna remove all of the upward and downward growth, thin out the branches by cutting back to “twos”, and thinning out the new growth by thinning the whorls to two shoots. If you don’t want the shoots to lengthen, cut them back to one or two pairs of leaves.

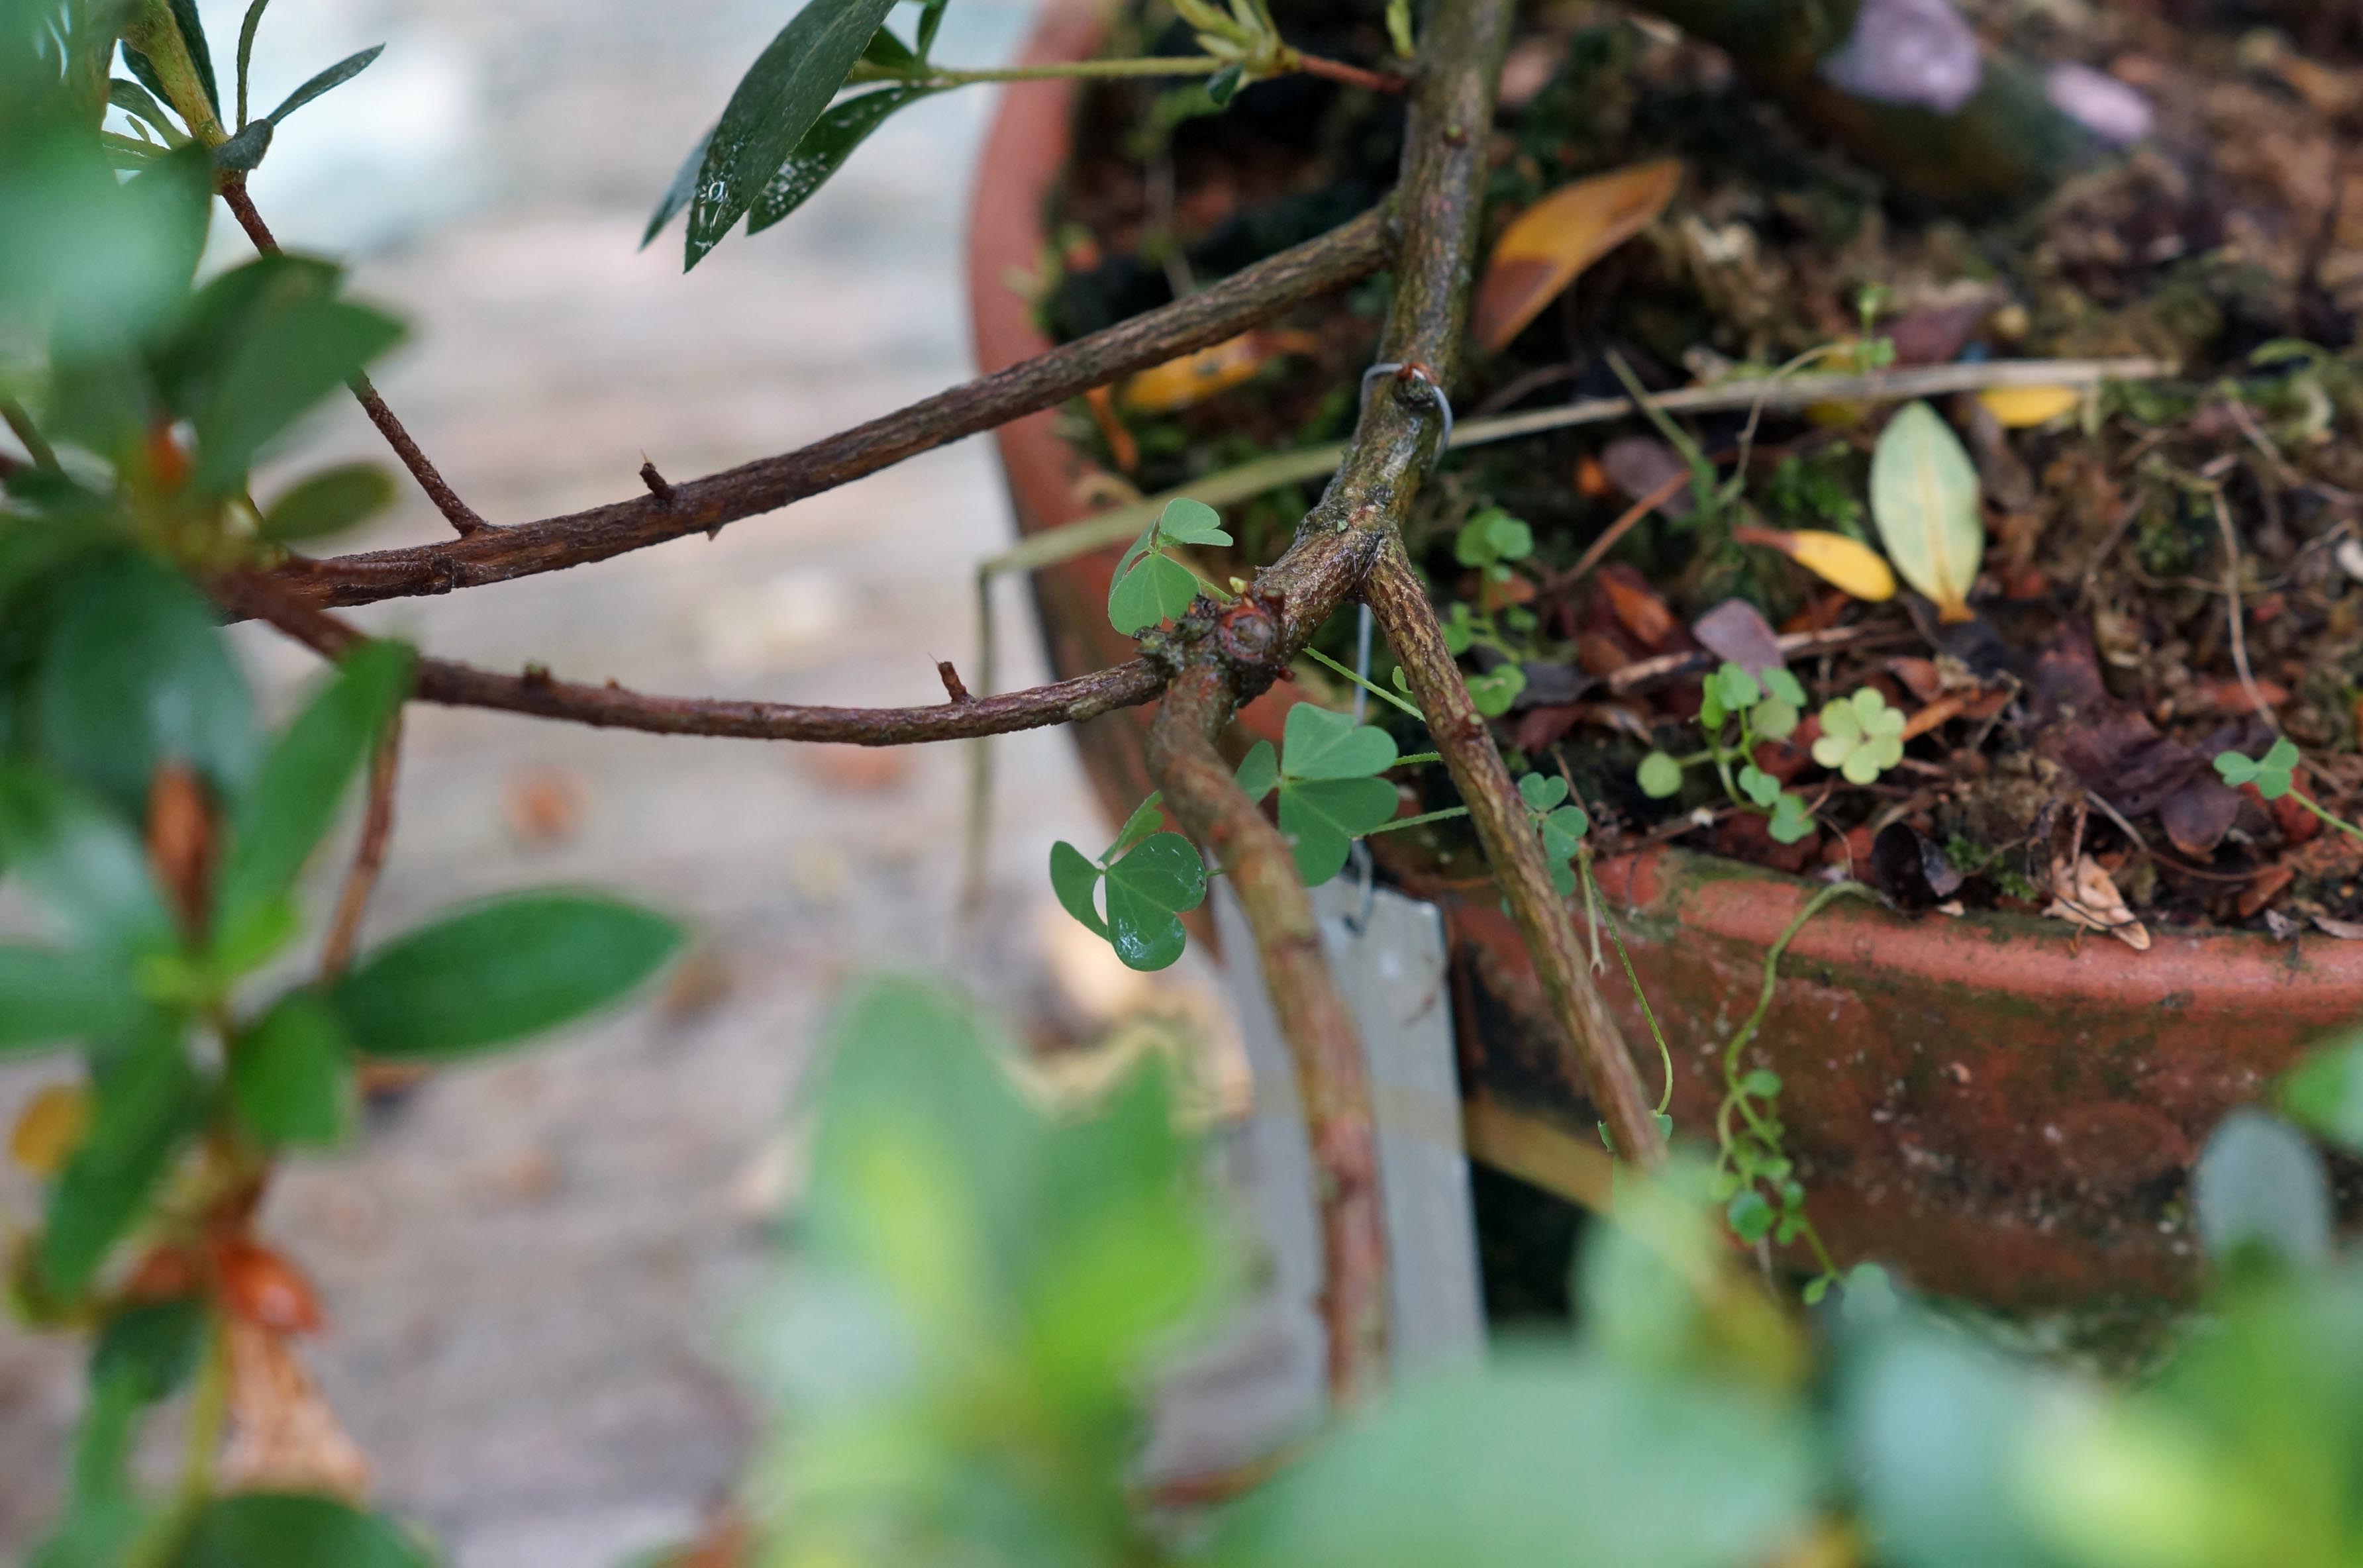
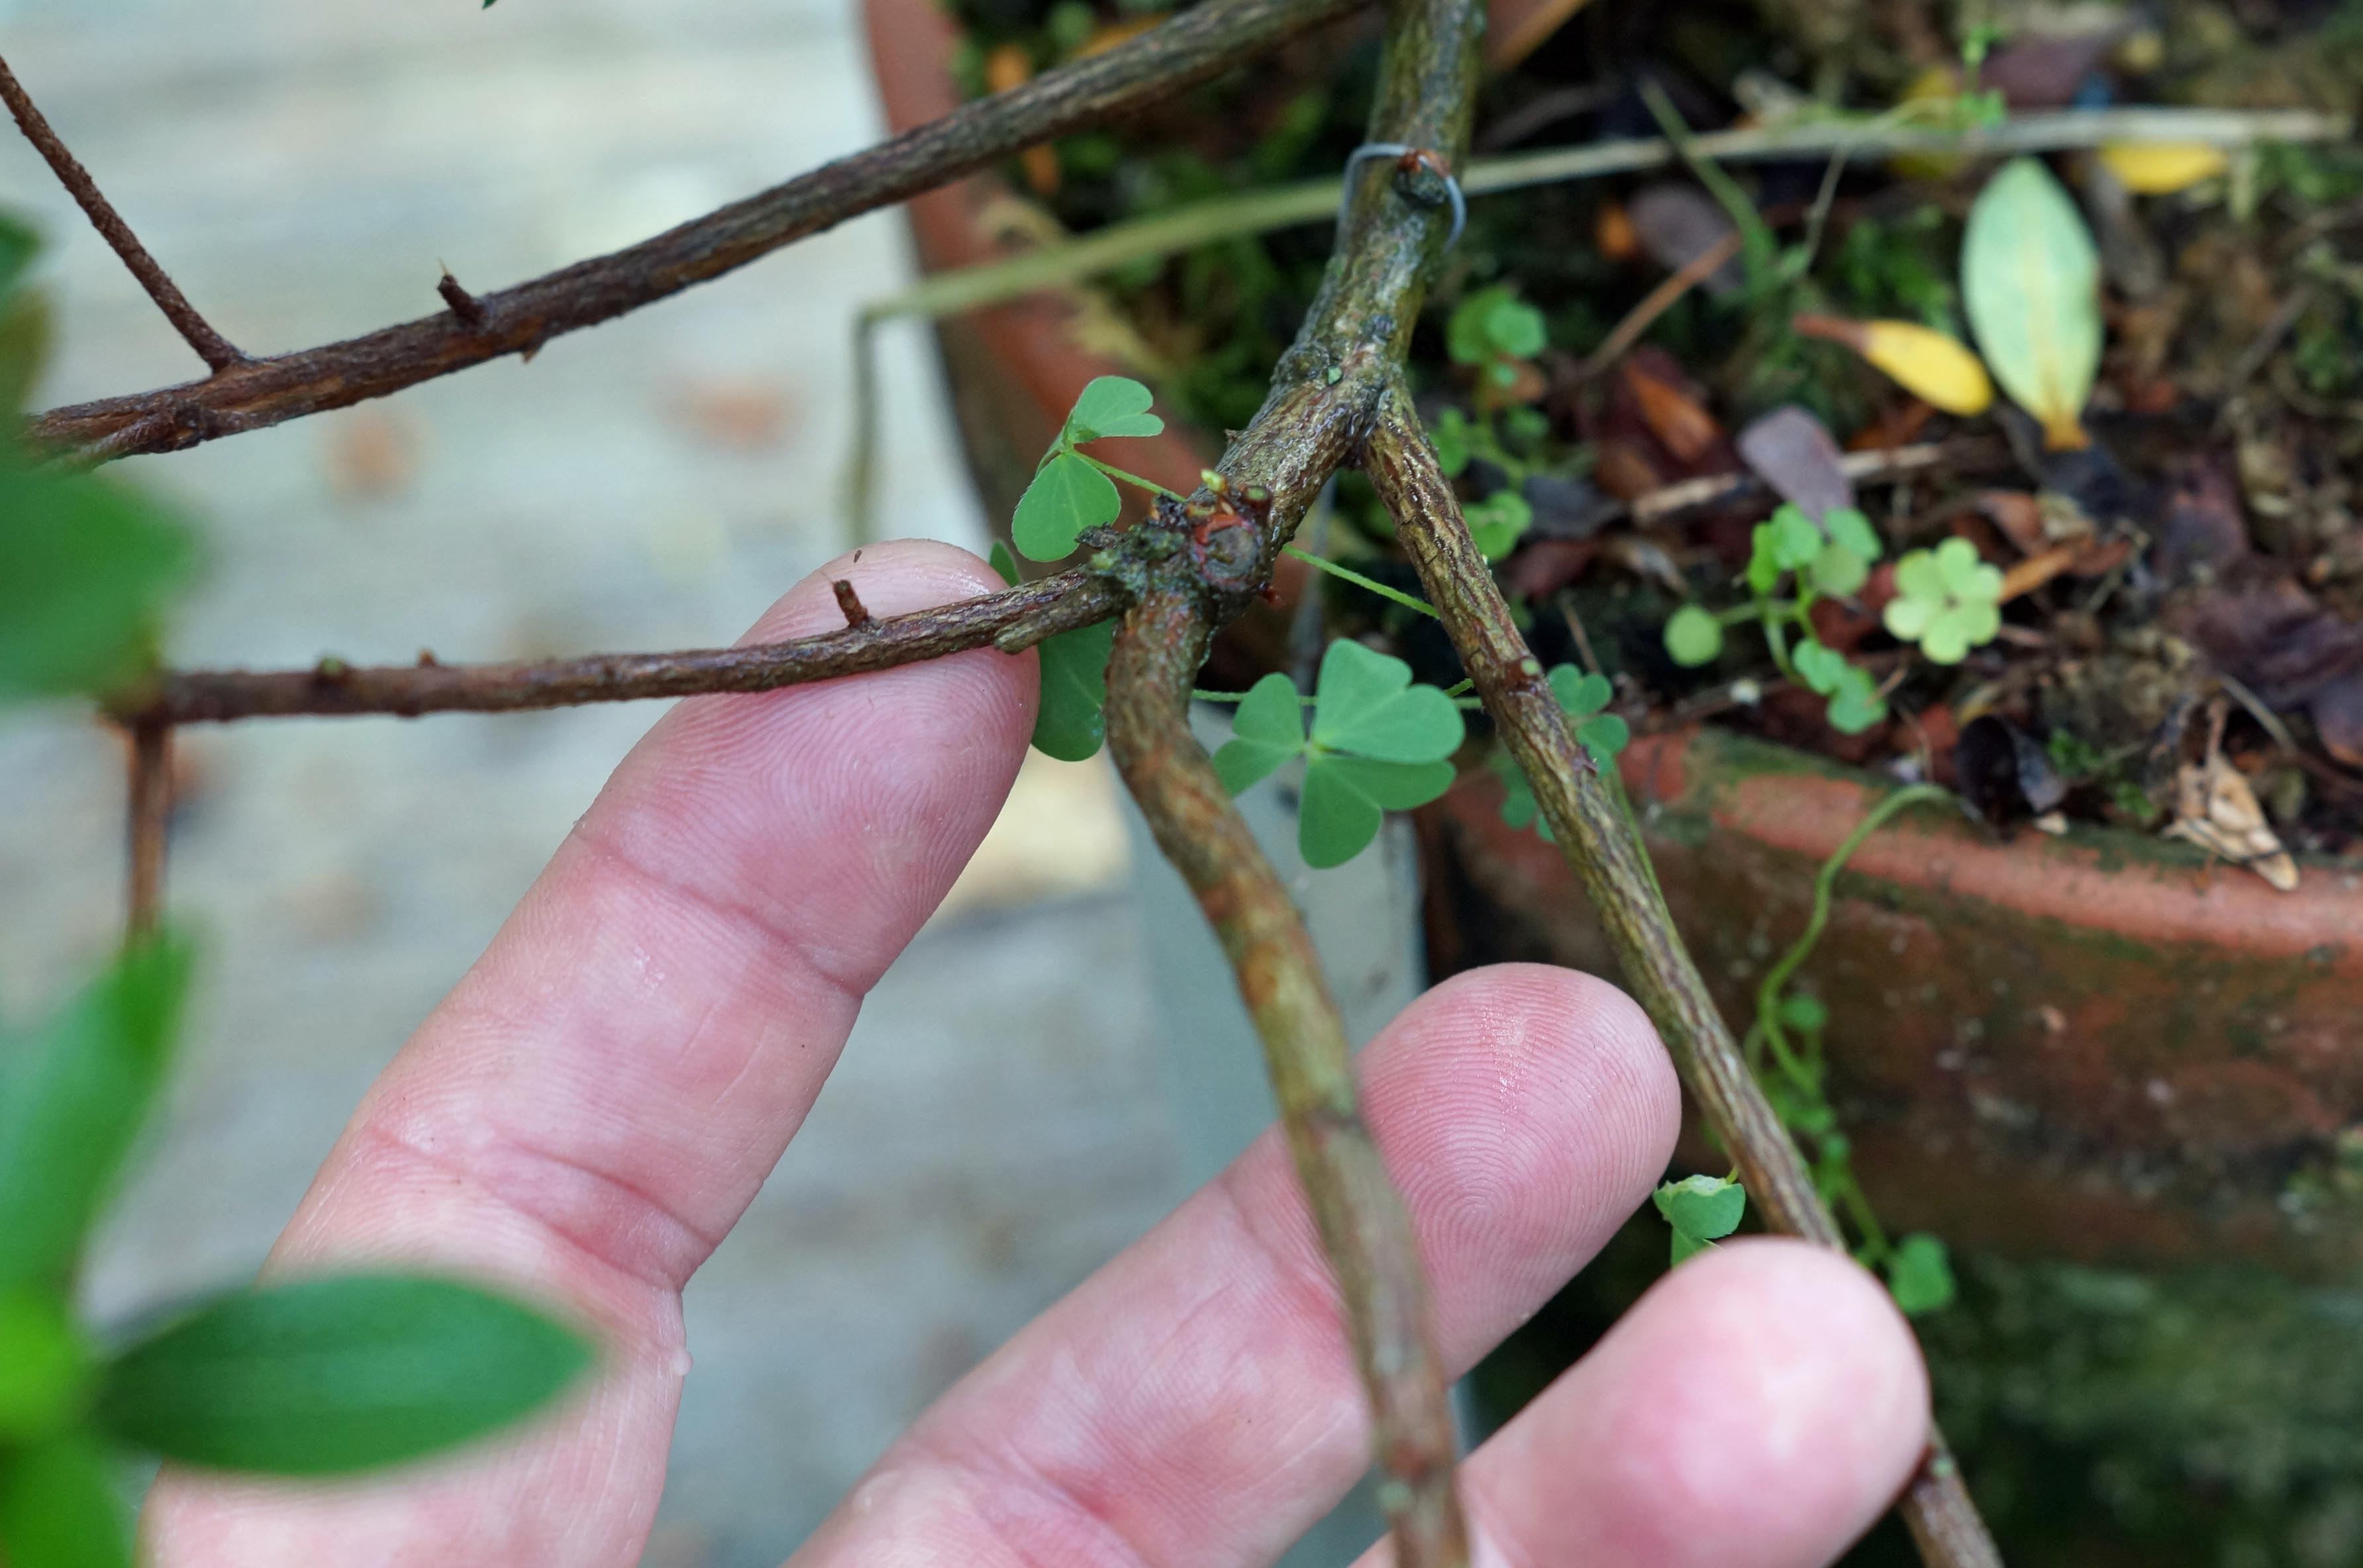
While in the process, I decided that the lower branch needed some wire. Make sure that you check wire on azaleas frequently, the bark damages easily if you allow it to cut in. It does not take long for a branch to set, only 3-4 weeks.
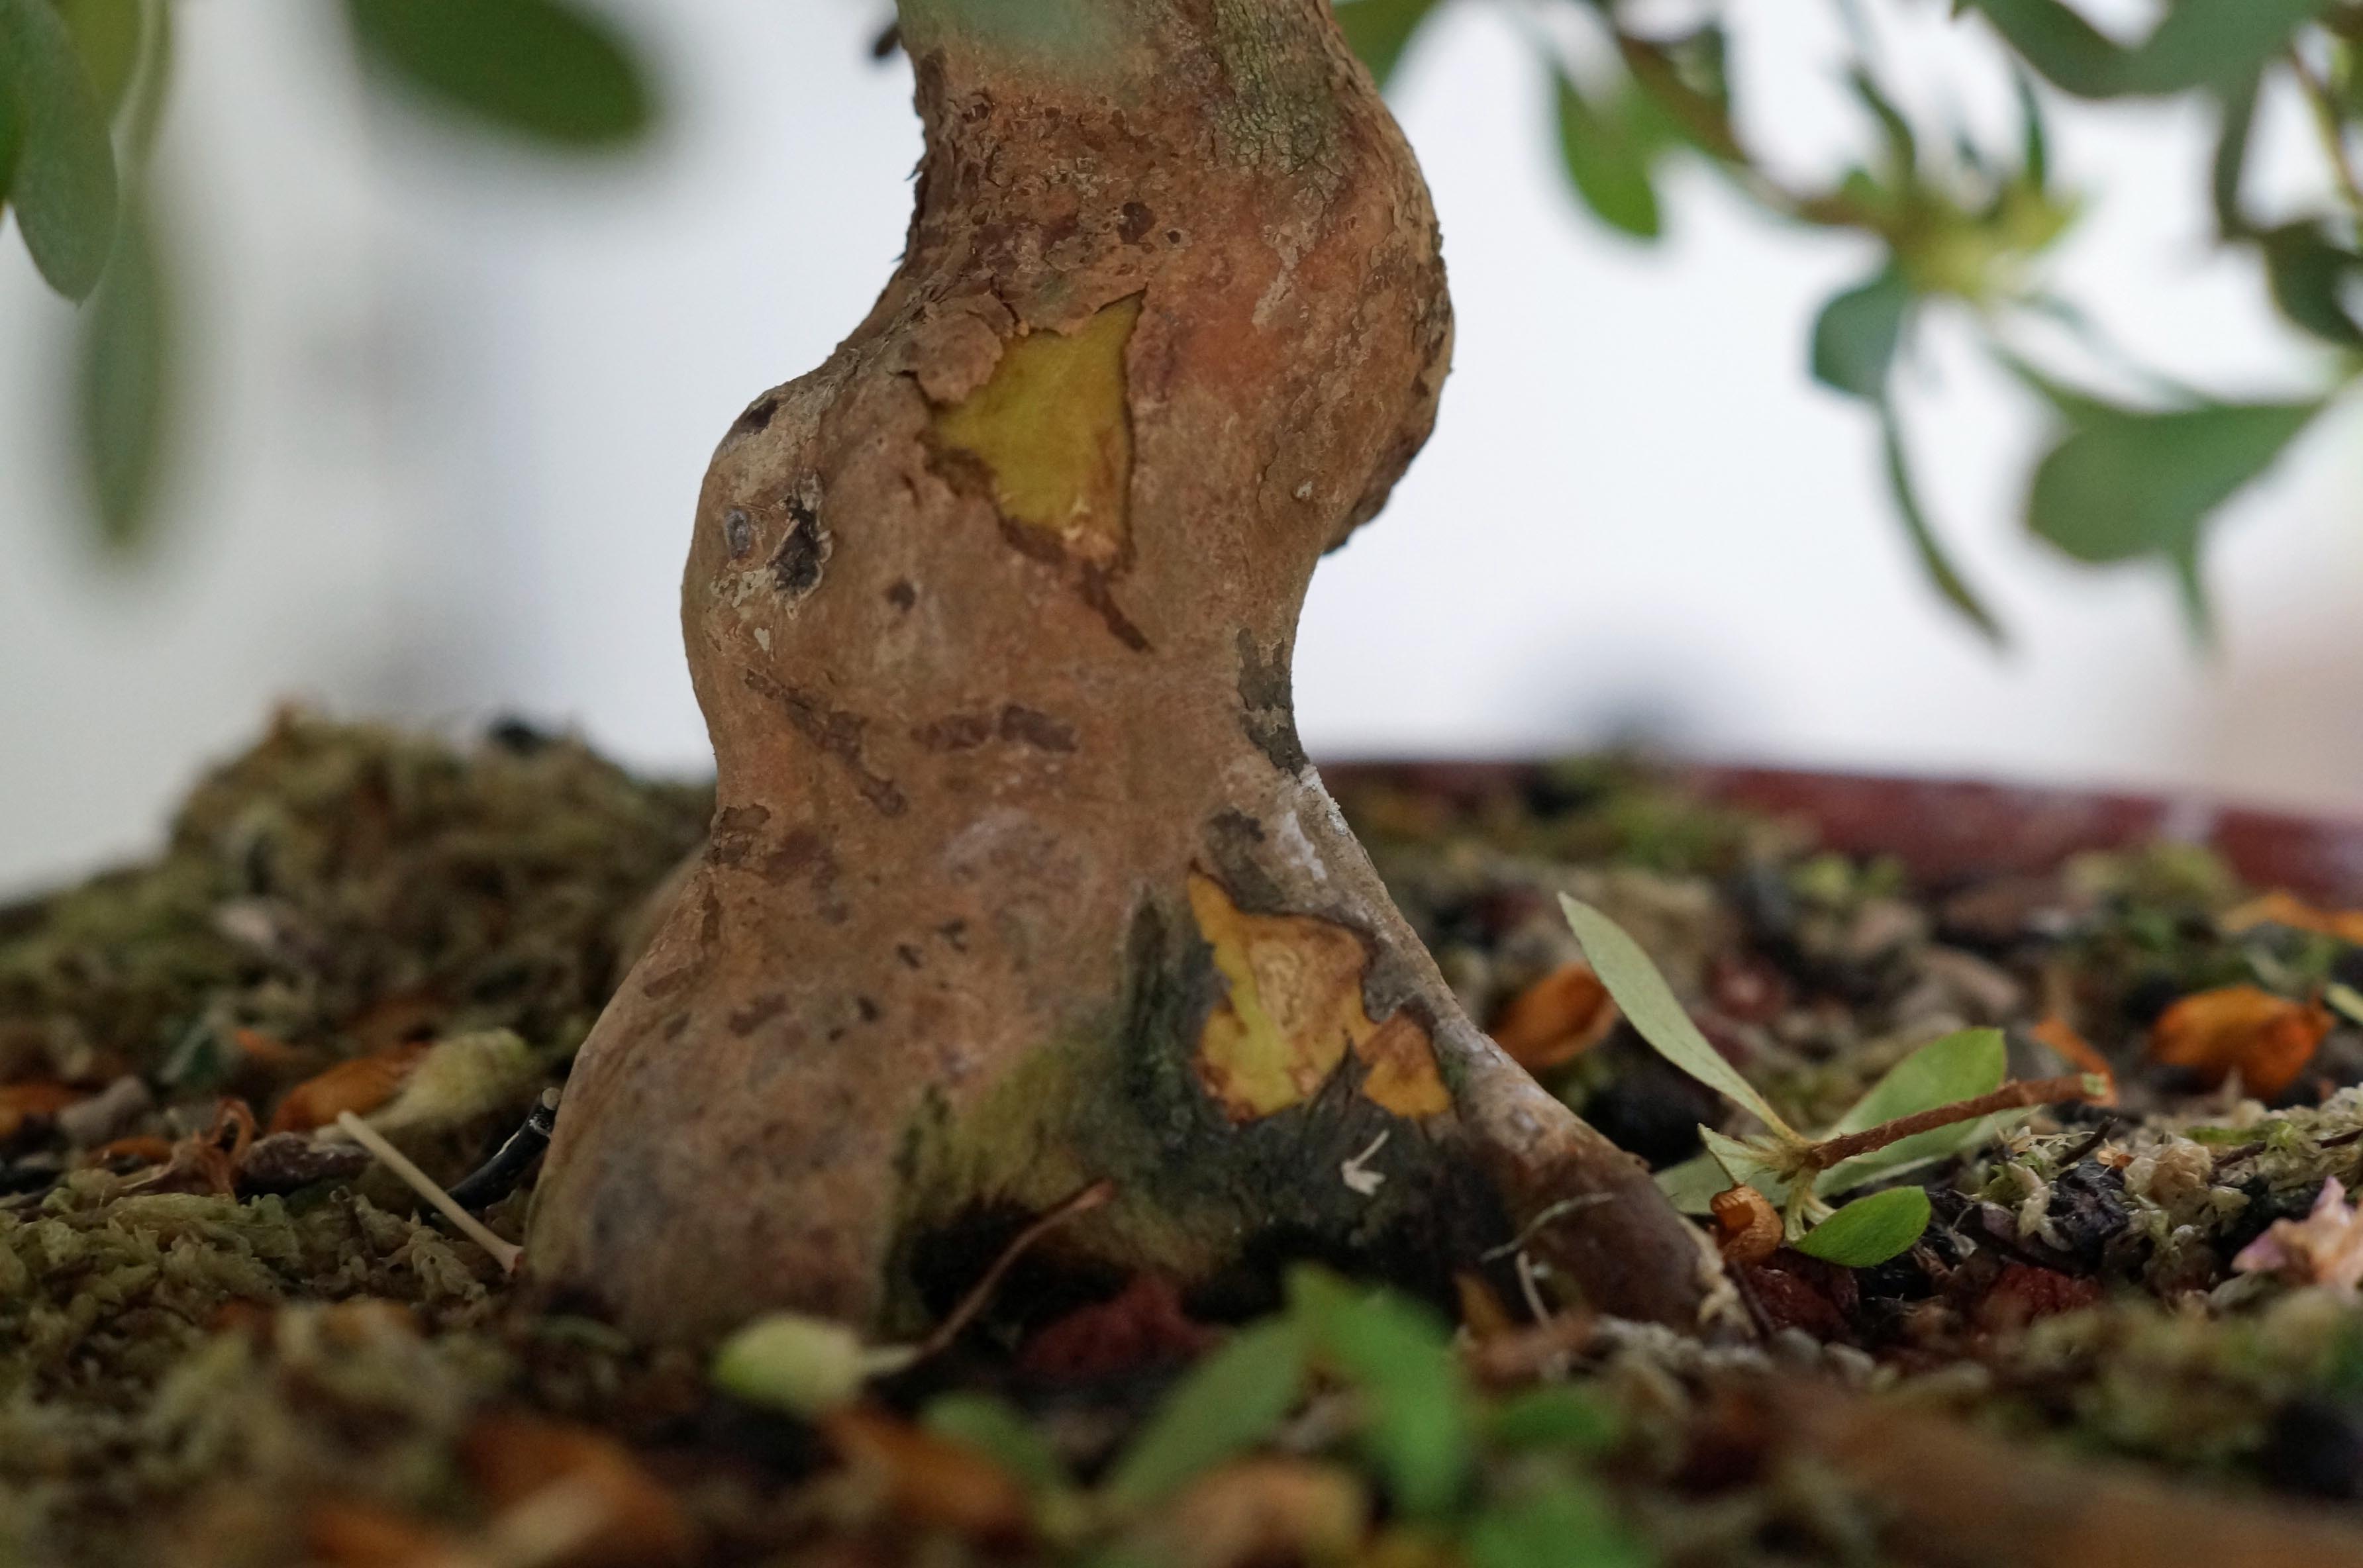
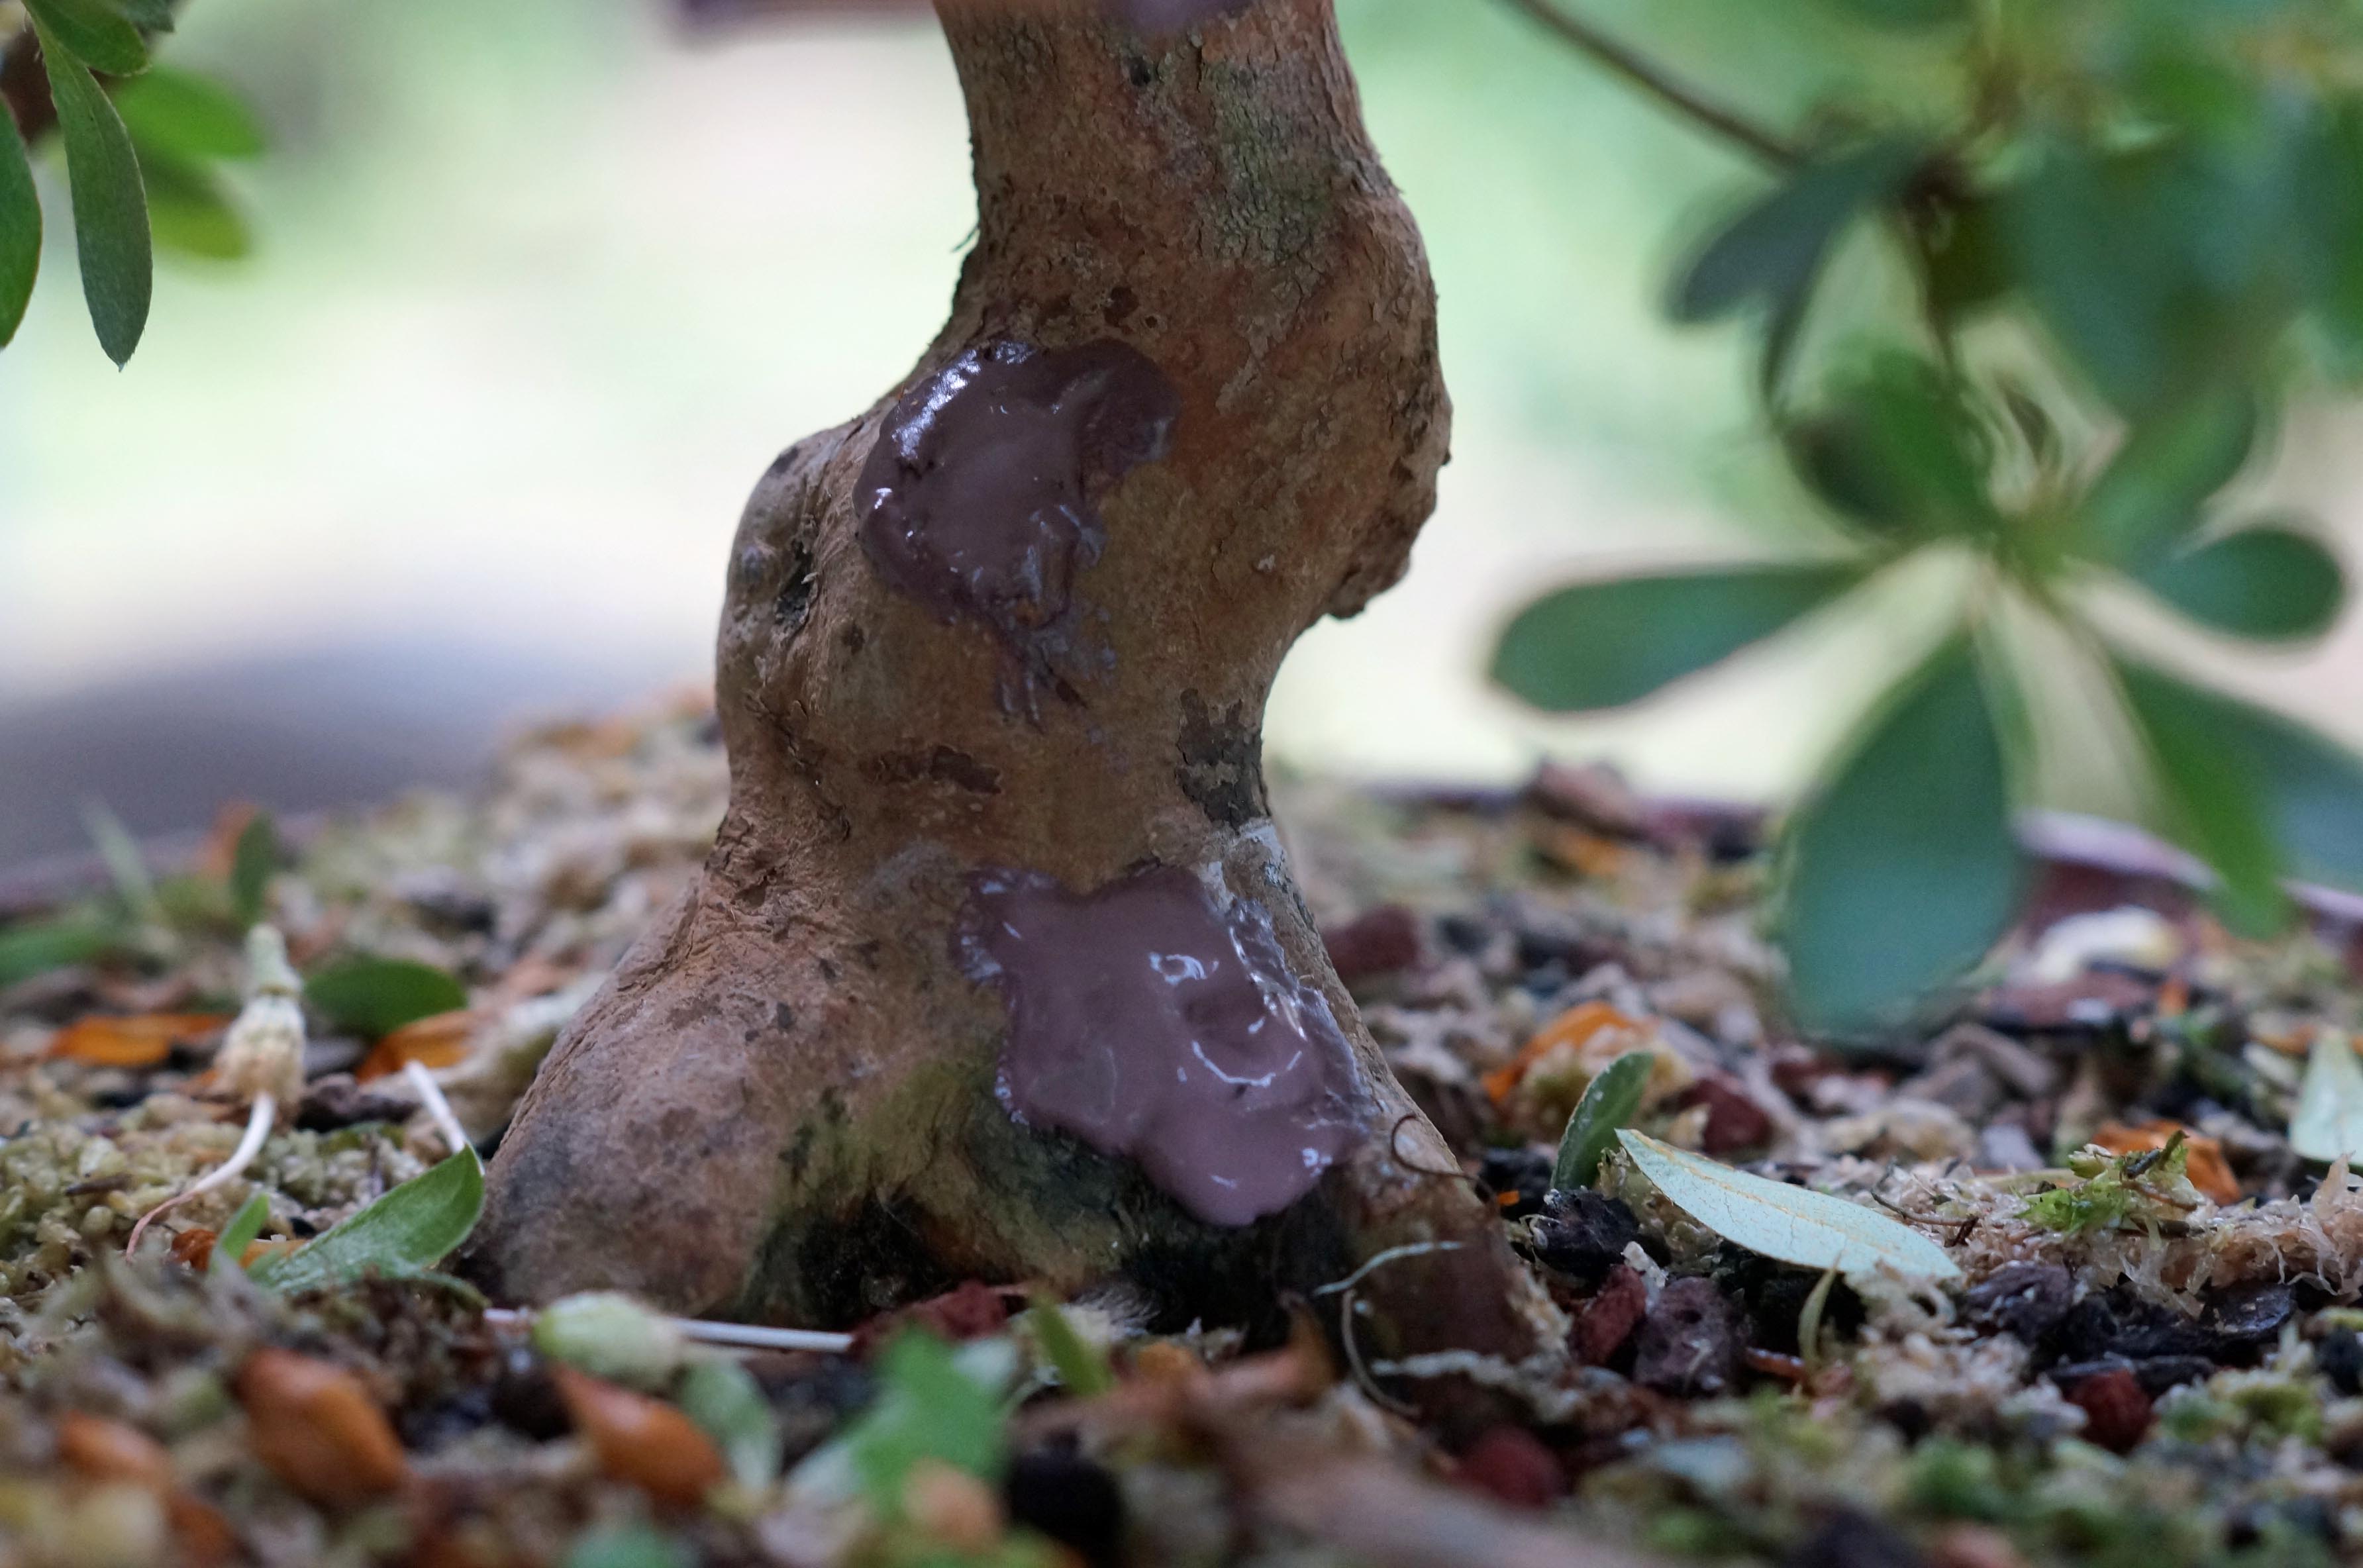
Damn squirrels! While working on this, I noticed a squirrel had taken a bite out of the trunk. I hate those little furry tree rats.
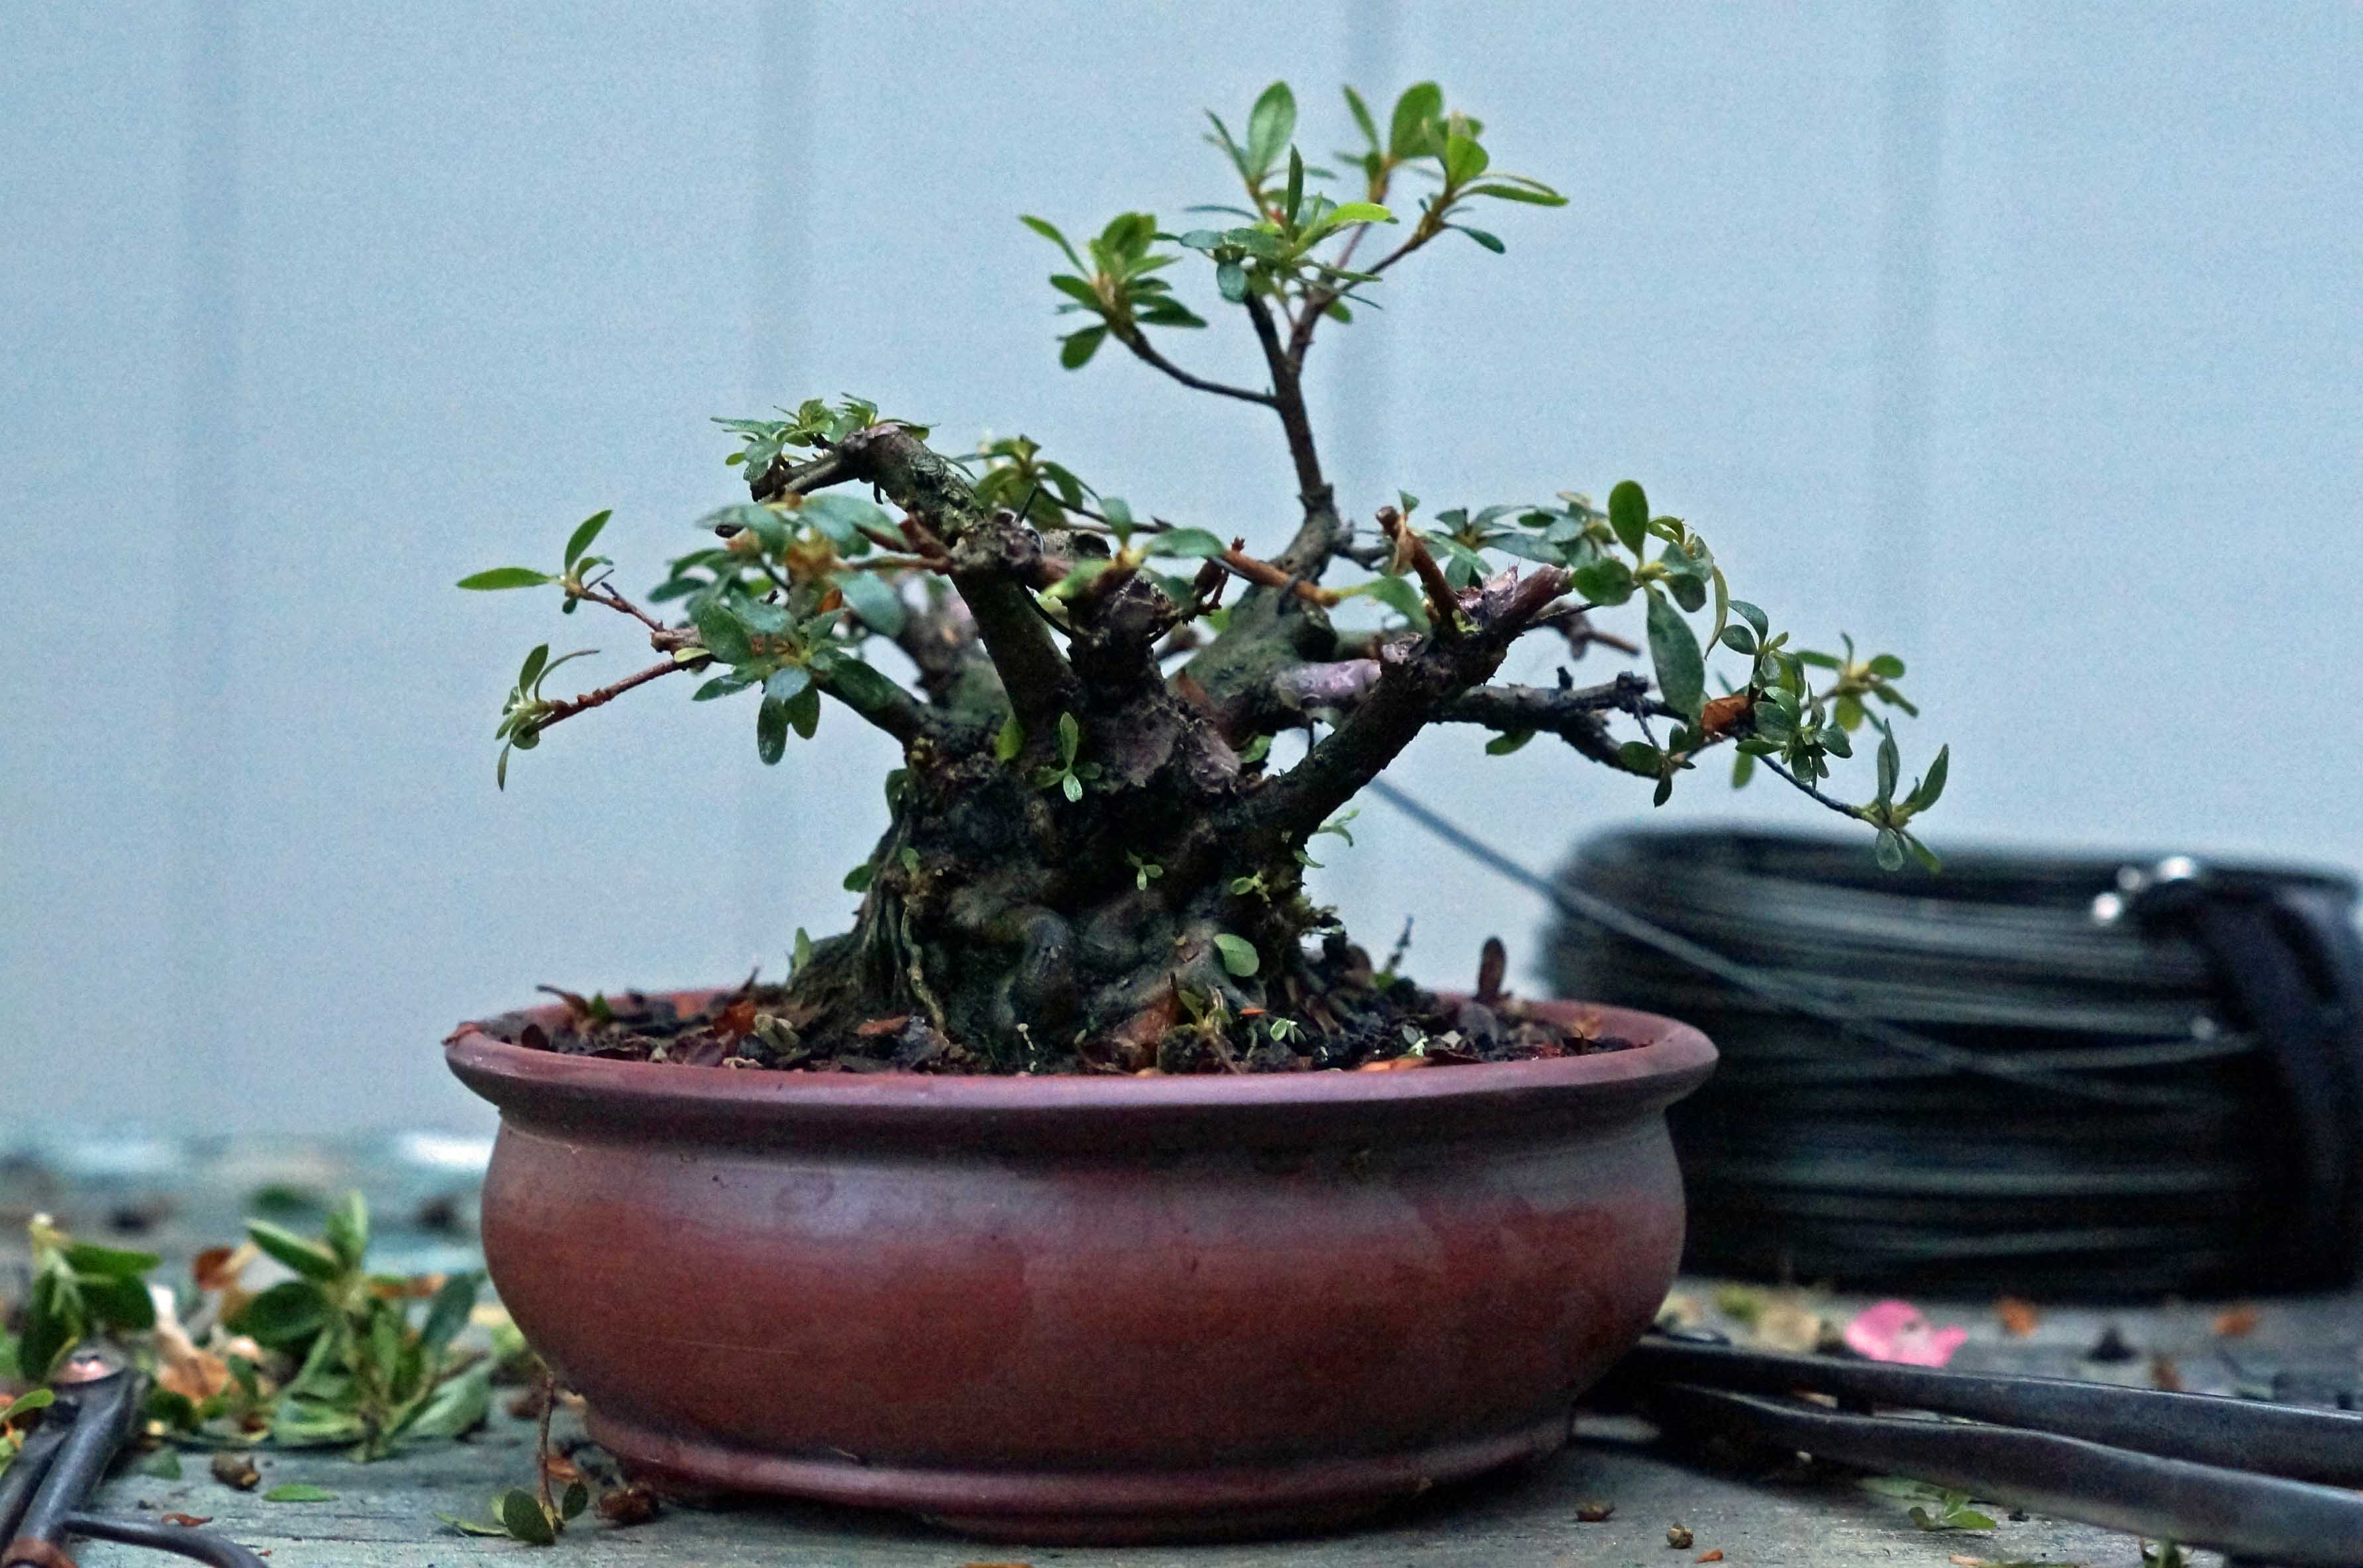
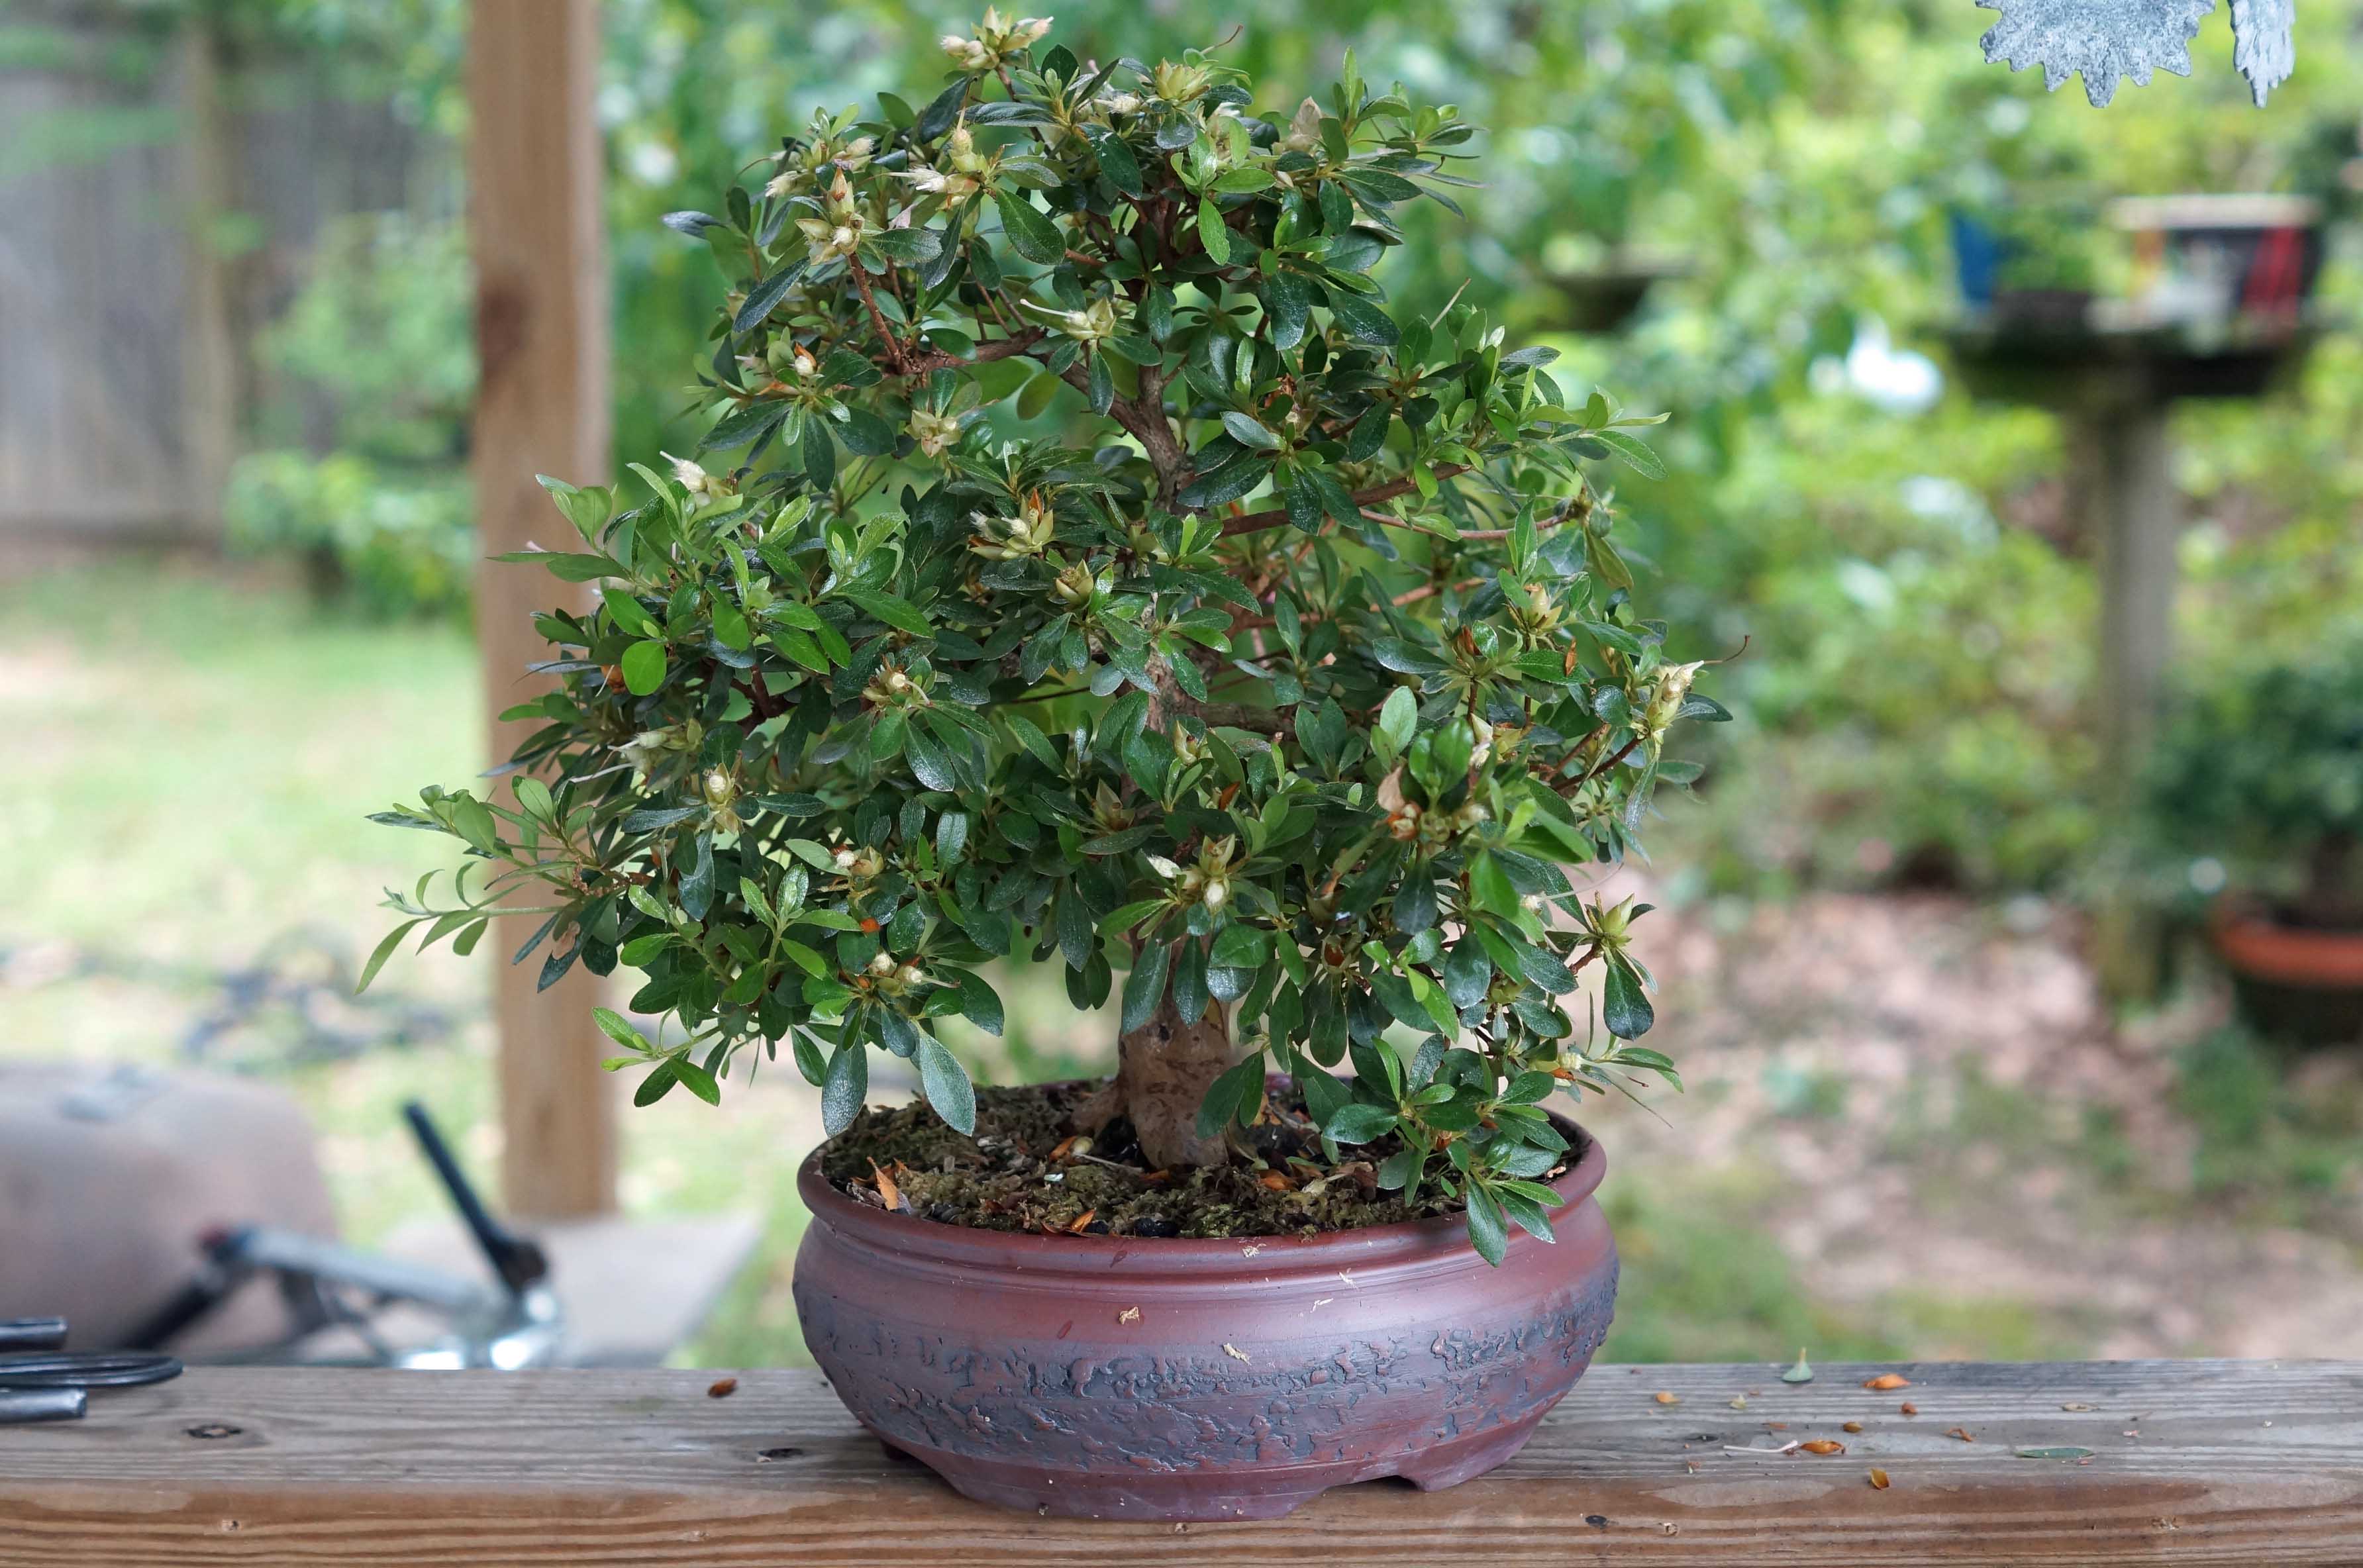
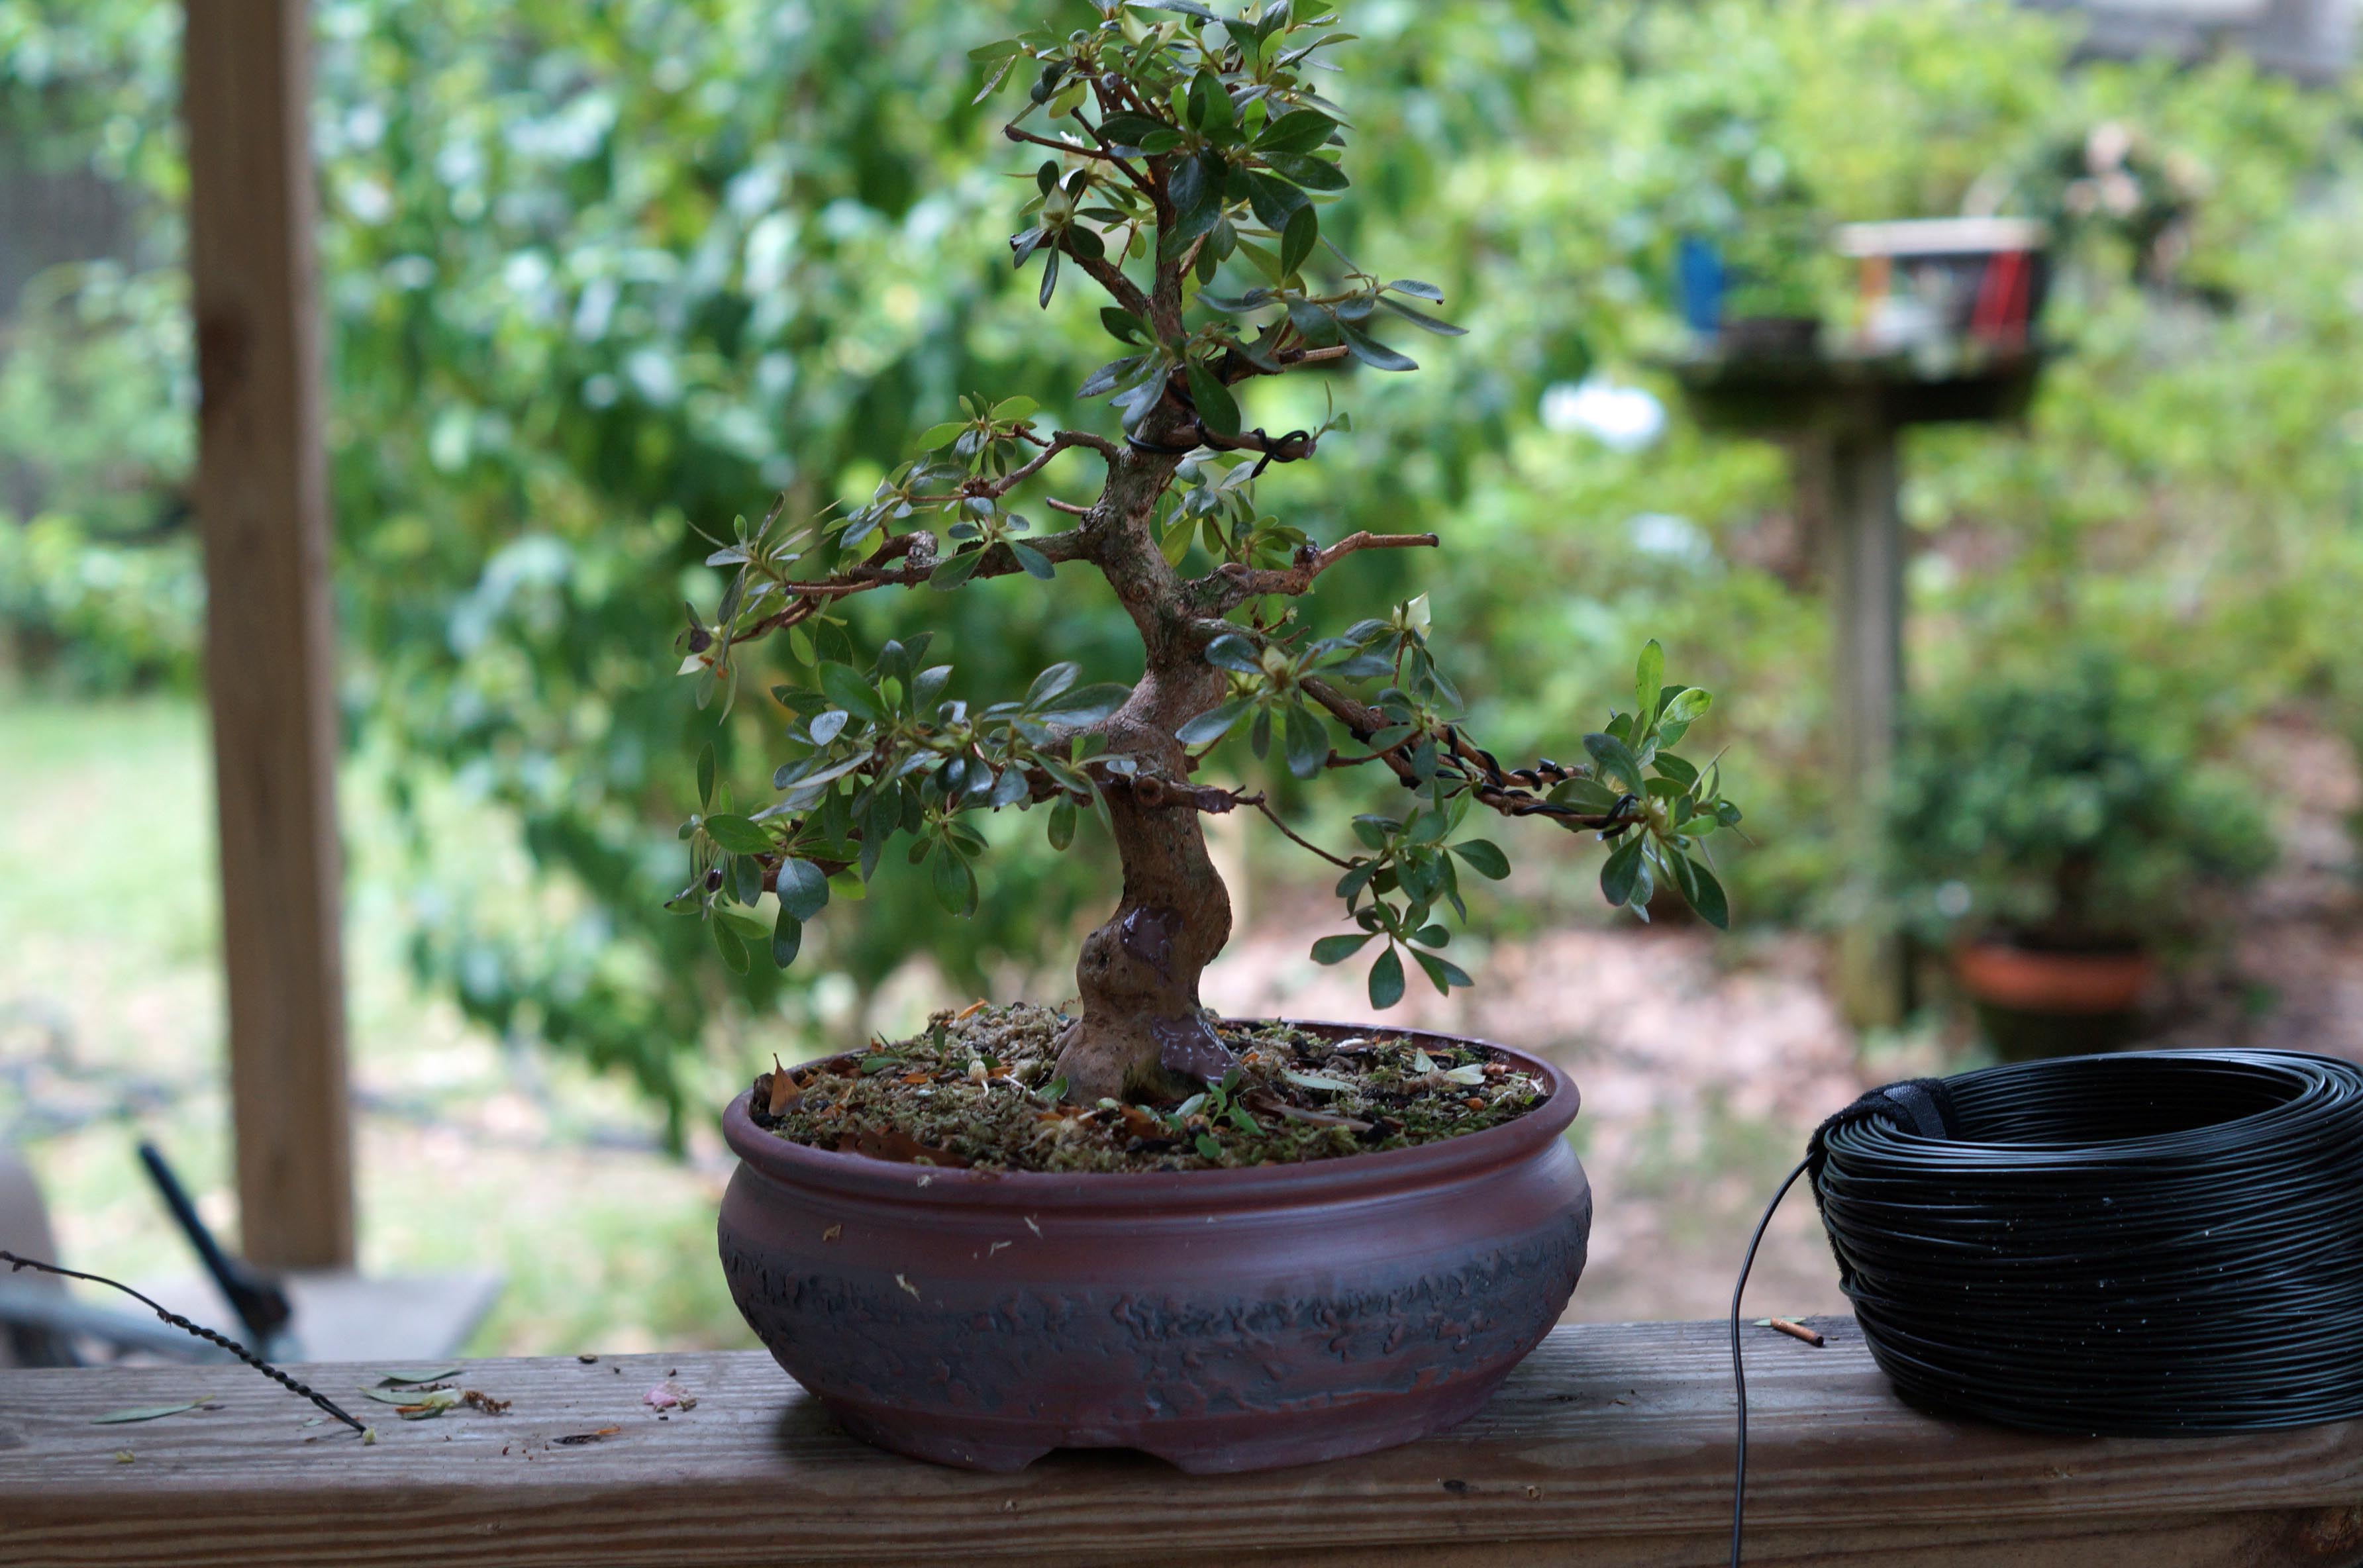
Finished and ready for a new season.
I will leave you with some before and after shots of some more post flower trims.